Rhinestone Gradient Glitter Nail Art — Glamorous Step-by-Step Tutorial
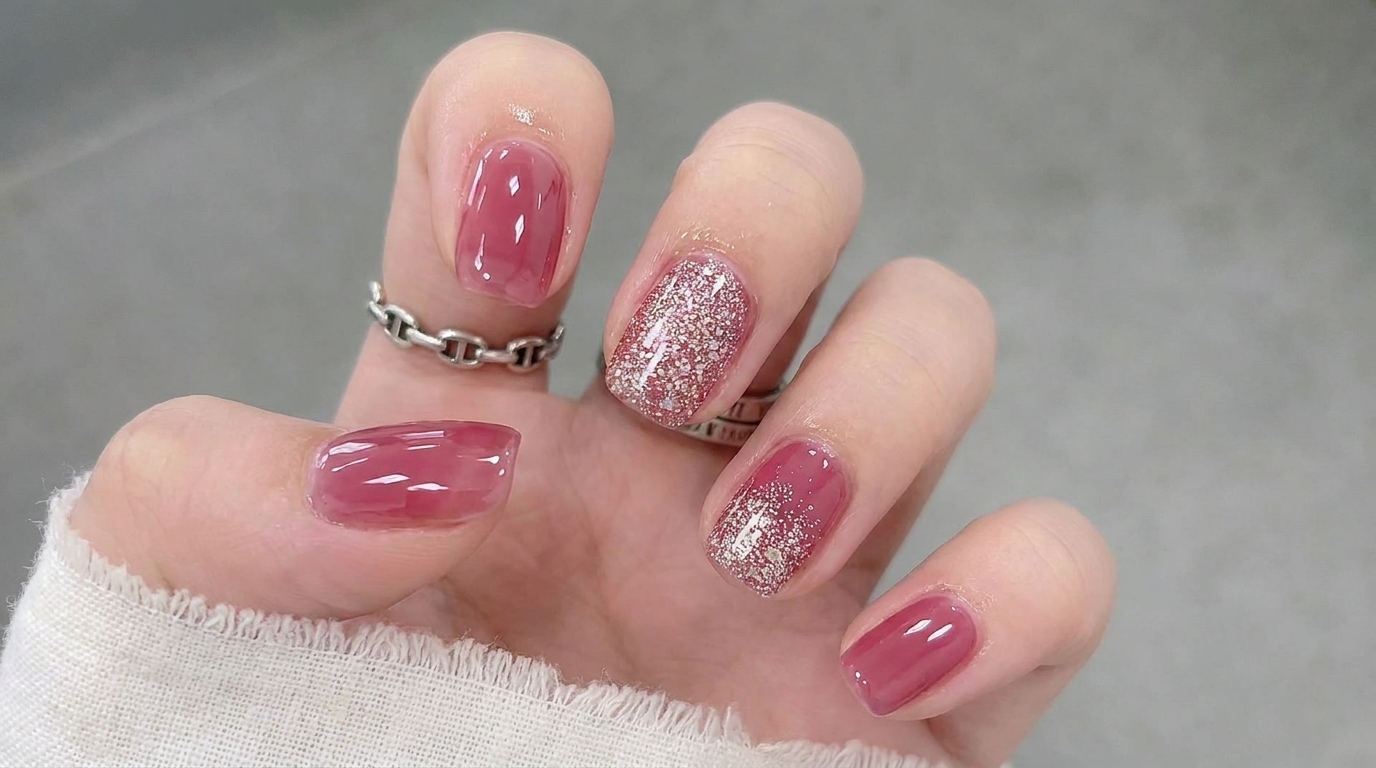
Elevate your manicure with this stunning rhinestone-accented rose gold glitter gradient. Learn how to achieve a professional, sparkling look at home.
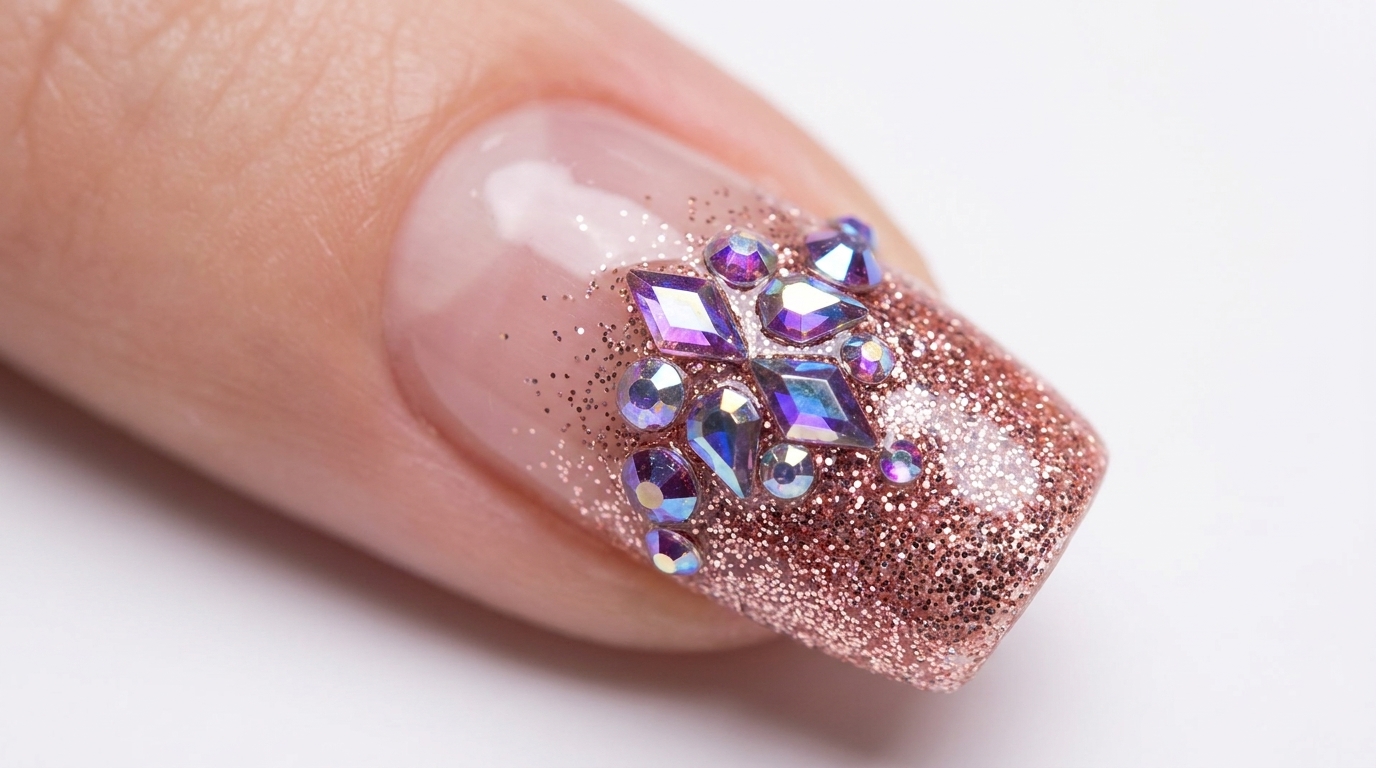
Adding dimension to a classic glitter gradient is a perfect way to bring a touch of luxury to your fingertips. This look combines the warmth of rose gold glitter with the brilliant, light-catching sparkle of iridescent geometric rhinestones. It is a sophisticated, eye-catching design that works beautifully for special occasions or whenever you want to add some extra glamour to your day.
Steps
- 1Apply first glitter layer
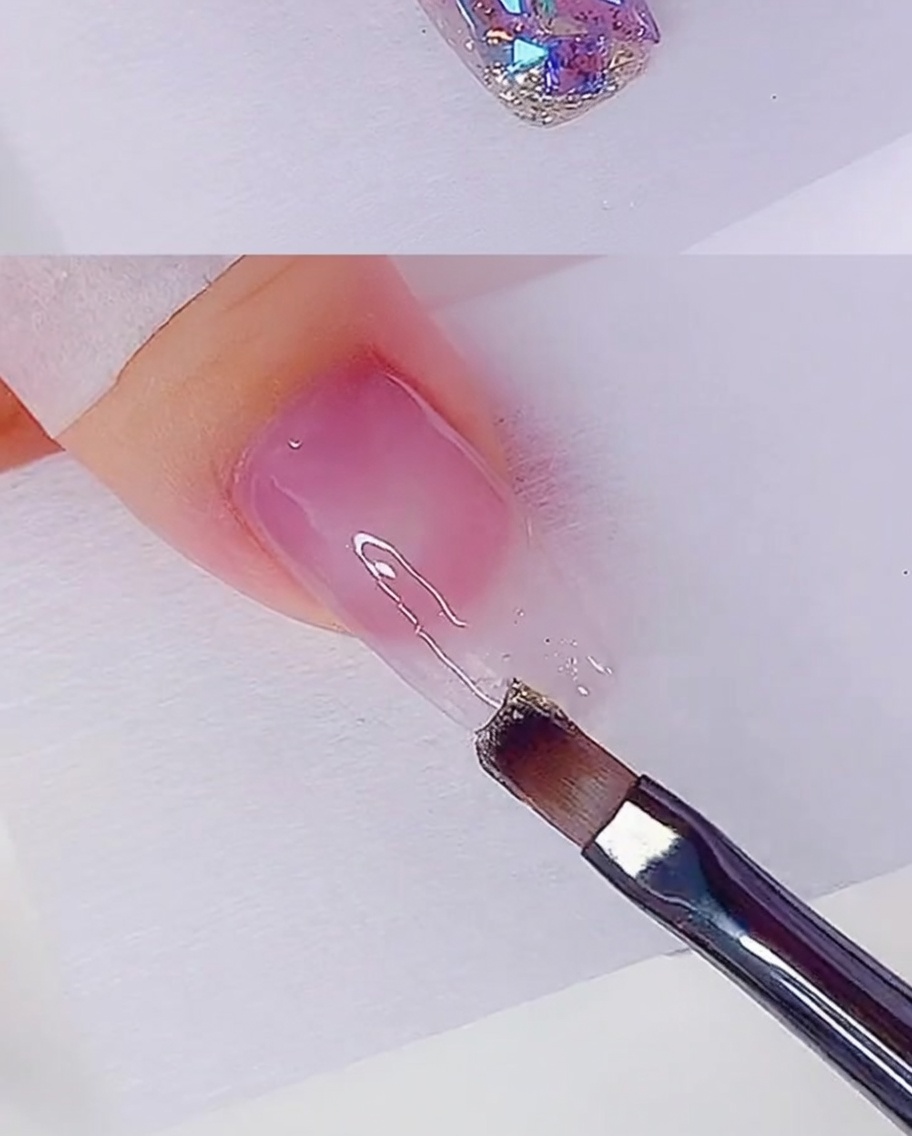
Using a flat brush, apply a thin layer of rose gold glitter gel to the tip of the nail. Use light, dragging motions to distribute the glitter evenly, creating a gentle gradient effect that fades toward the center of the nail bed. Ensure the coverage is uniform at the free edge.
Tip: Keep the layer thin to avoid bulkiness at the tip; you will build the intensity with a second coat. - 2Deepen the glitter gradient
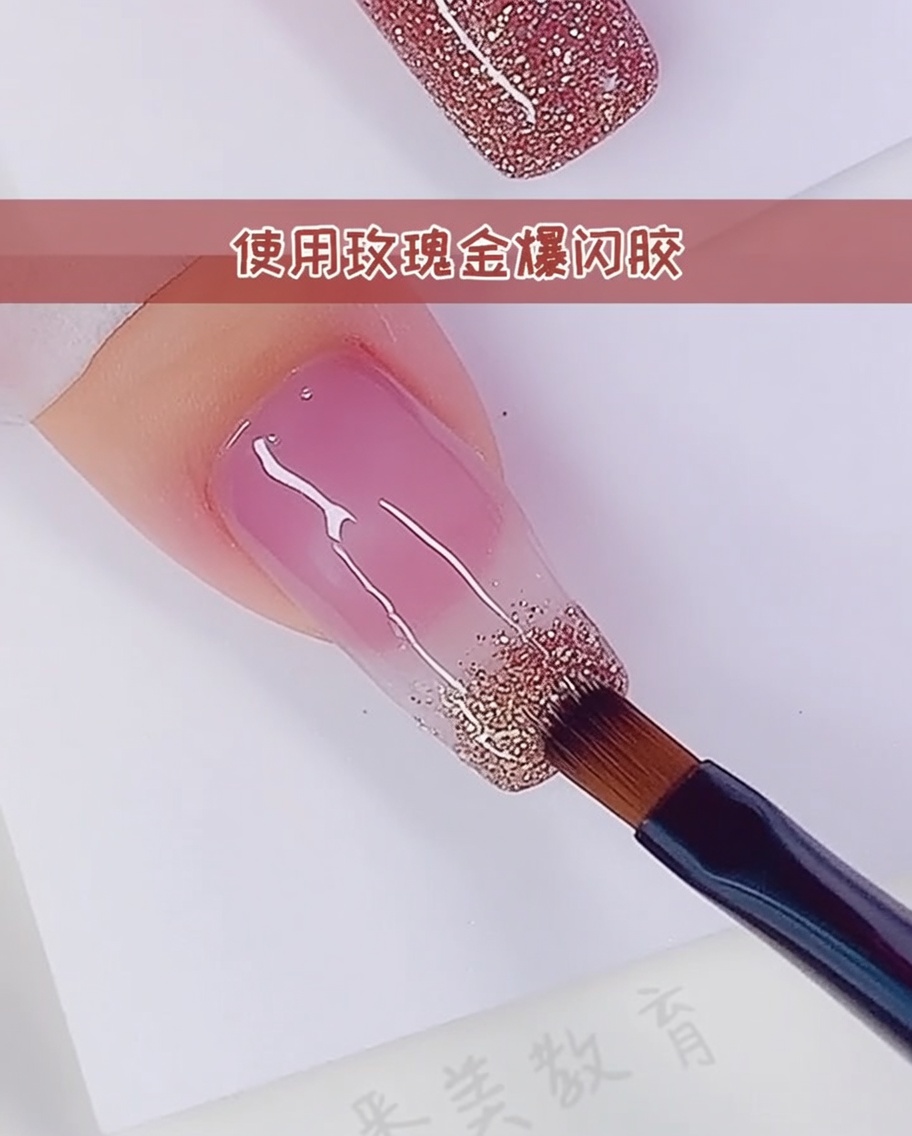
Apply a second layer of rose gold glitter gel specifically over the tip area. Focus on saturating the very end of the nail, then lightly feather the brush toward the center to build a denser, more opaque gradient transition.
Tip: Lightly tapping the brush can help deposit more glitter pigment at the tip for a more intense look. - 3Perfect the gradient
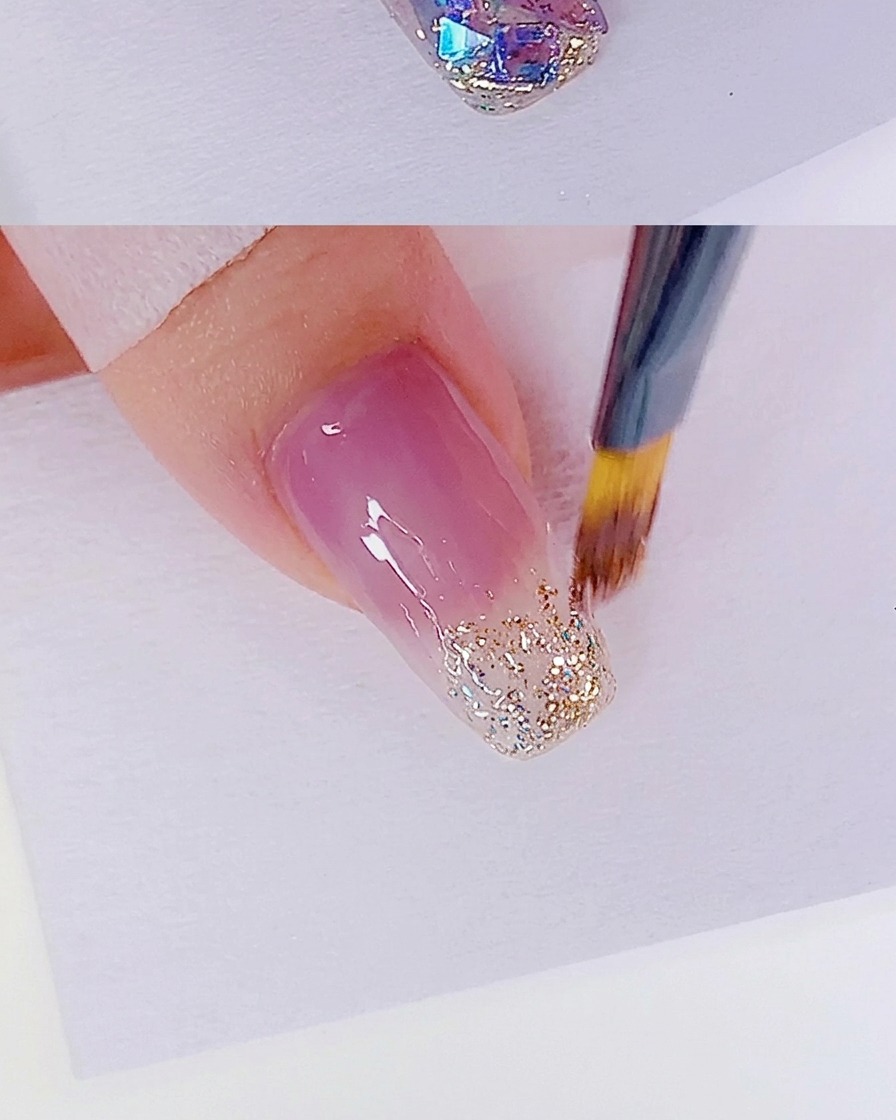
Clean your brush and use it to gently smooth out the glitter gel. Soften the edge where the glitter meets the bare nail, ensuring a seamless, blurred transition that looks natural and refined.
Tip: A clean, dry brush works best to diffuse the glitter particles without adding more product. - 4Apply rhinestone adhesive
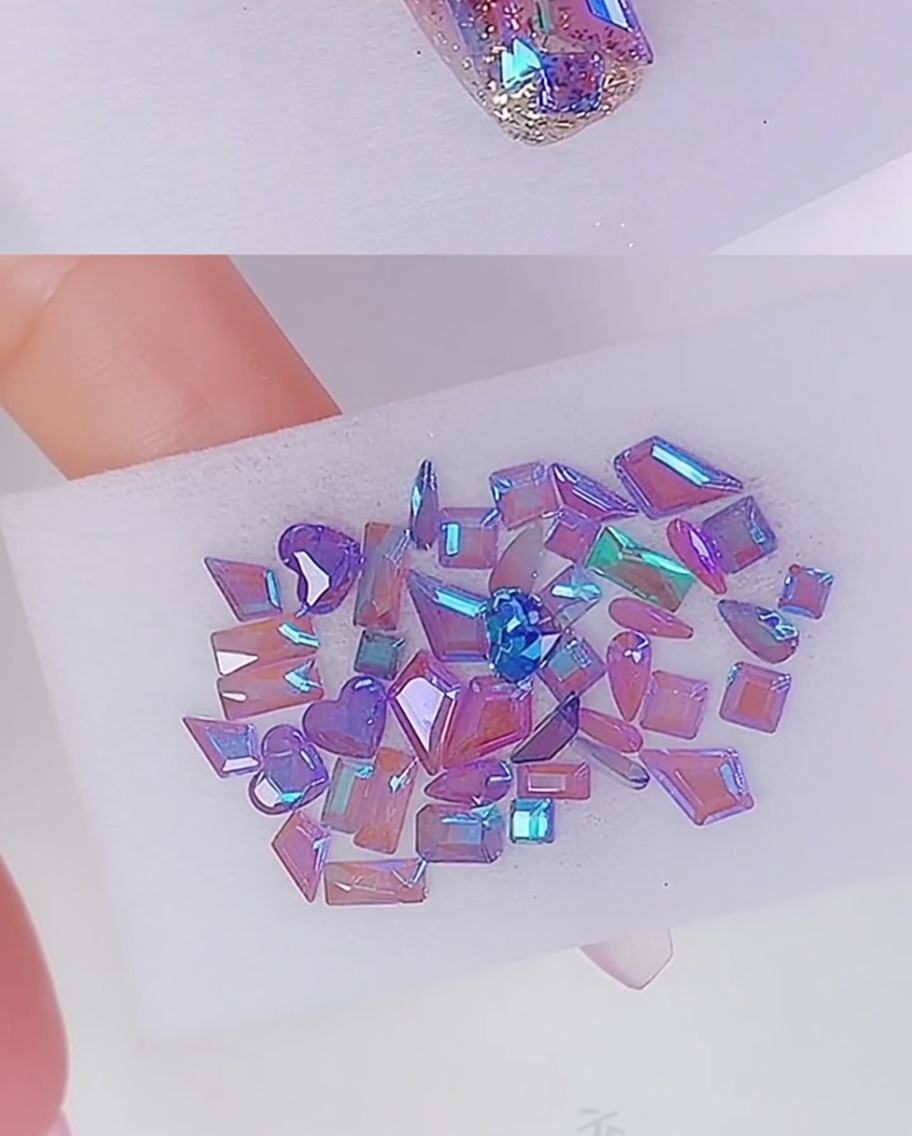
Using a precision tool or fine brush, place small, controlled dots of rhinestone glue at the boundary where the glitter gradient ends. These dots will serve as the anchor points for your iridescent stones.
Tip: Apply only as much glue as you need for the stones to prevent excess spreading under the decorations. - 5Place first rhinestone
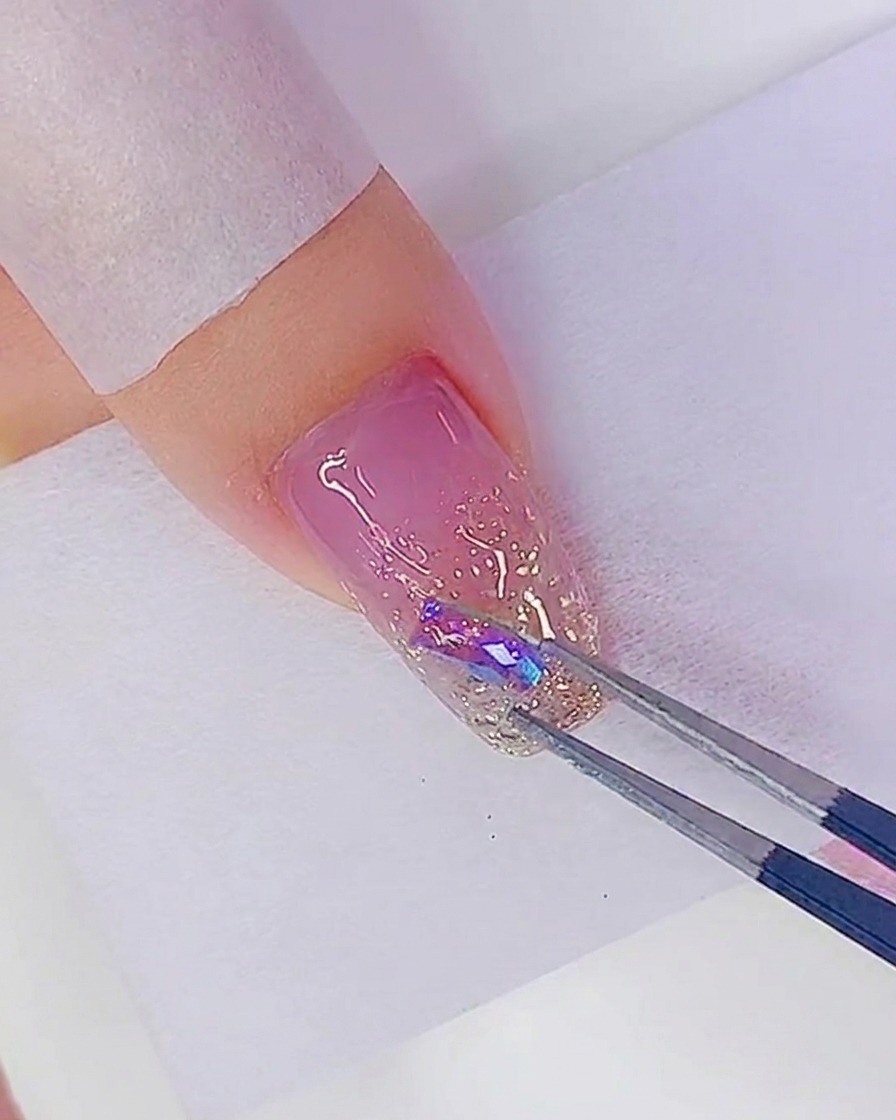
Using tweezers, carefully pick up an iridescent rhinestone and press it firmly onto the wet glue dot. Ensure the stone is positioned correctly and sits flush against the nail surface.
Tip: Apply gentle pressure to the stone to set it into the glue, but avoid pressing too hard to prevent it from sliding out of place. - 6Create stone cluster
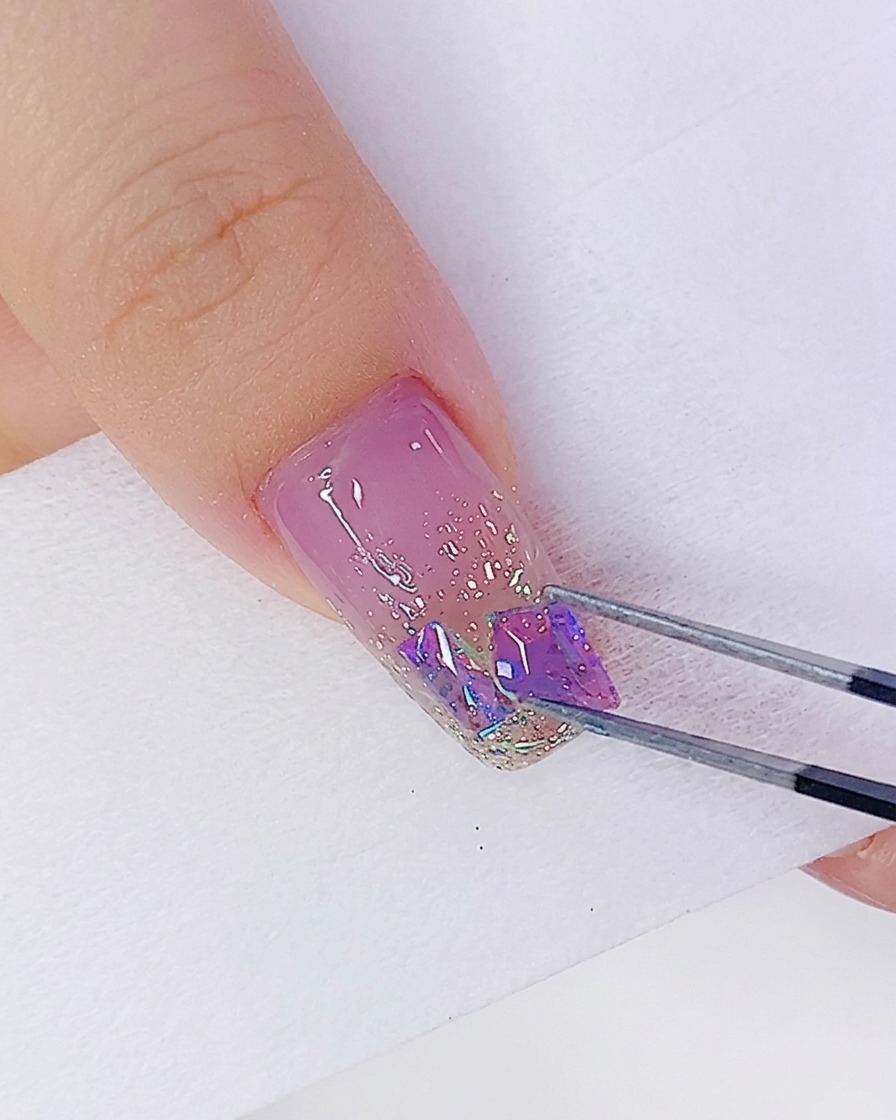
Continue picking up and arranging various geometric iridescent rhinestones over the remaining glue dots. Cluster them together artistically to create a decorative, sparkling accent at the base of the glitter gradient.
Tip: Vary the shapes and sizes of the rhinestones to add visual interest and texture to the cluster. - 7Position the rhinestones
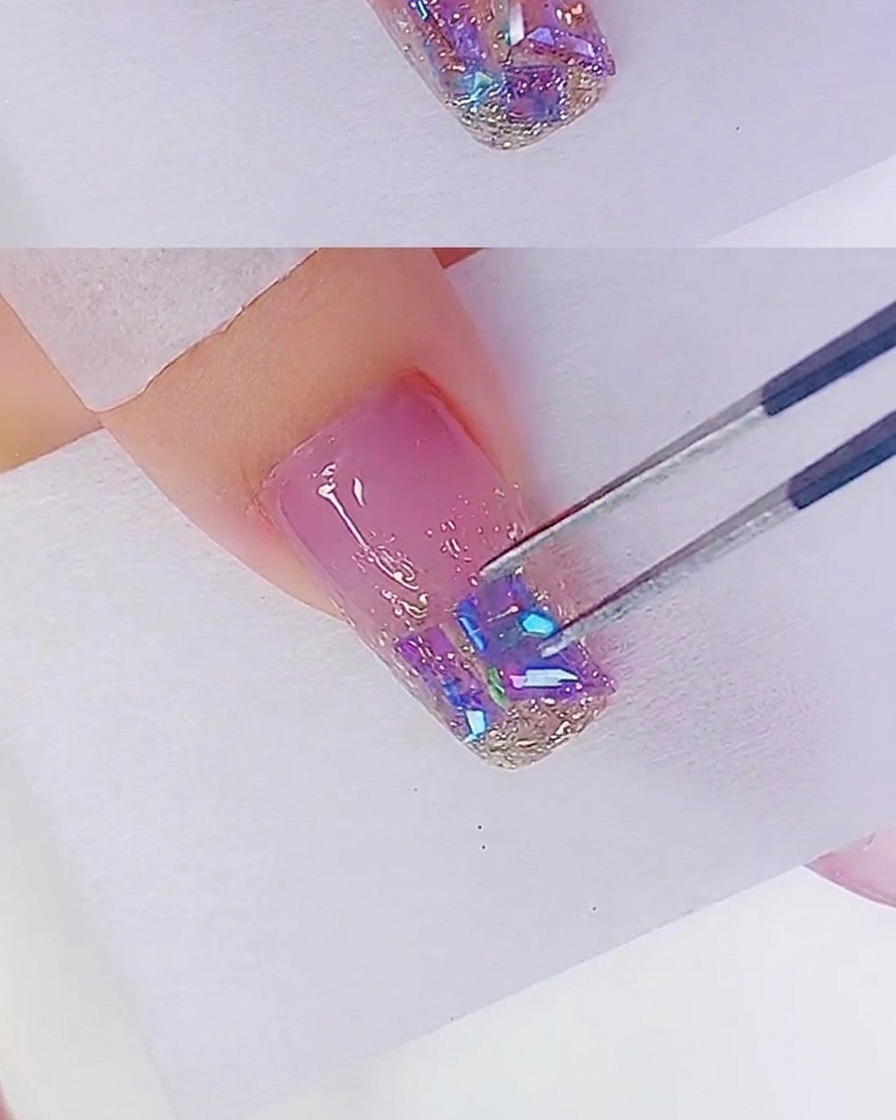
Using a pair of precision tweezers, gently nudge each iridescent rhinestone into your desired spot while the glue is still tacky. Aim for a dense, artistic arrangement by clustering the stones closely together on the nail tip to create a rich, sparkly texture. Ensure they are laid flat to keep the surface relatively even for the final top coat.
Tip: Work slowly and use light pressure; if the stones are not yet secure, you can easily slide them into place without disturbing the surrounding glitter. - 8Apply top coat
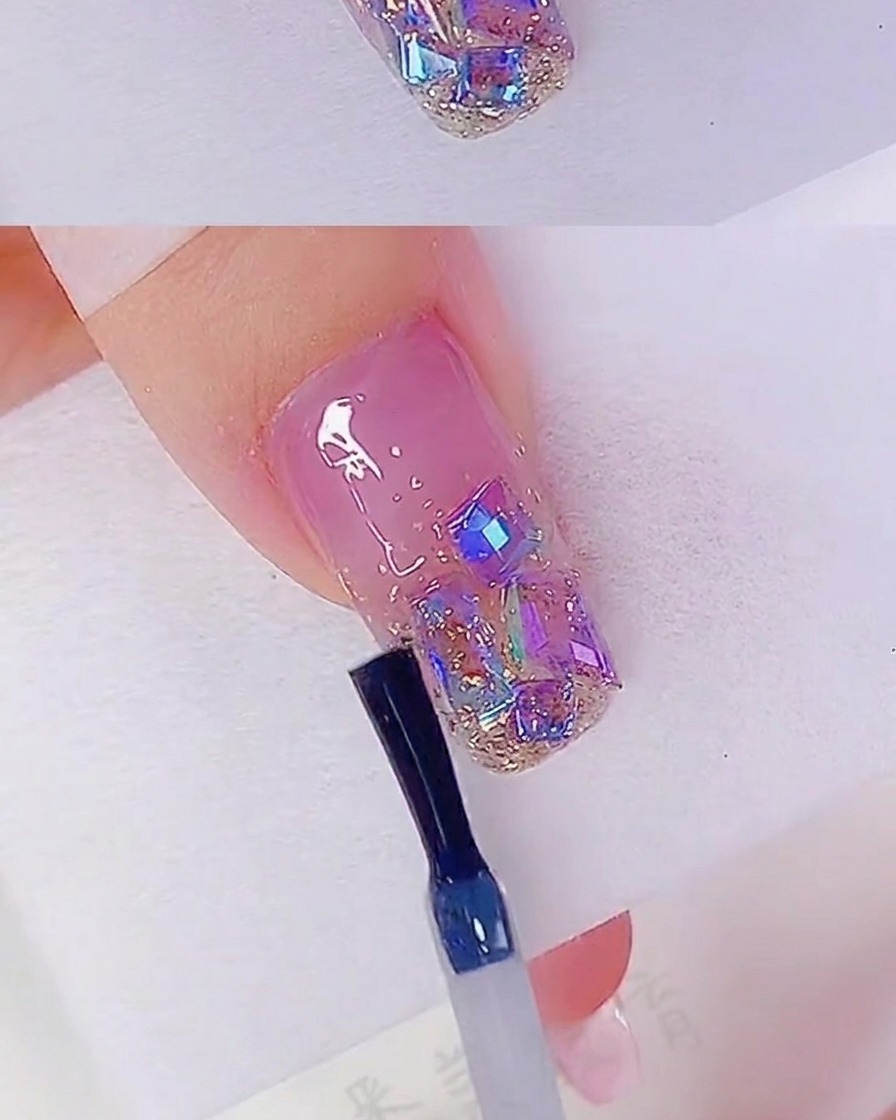
Apply a generous layer of clear top coat over the entire nail, ensuring you carefully brush over and around the rhinestones to seal them in place. This step is crucial for preventing the embellishments from snagging and for providing a smooth, high-shine finish that protects the overall design. Cure under your UV or LED lamp until fully set.
Tip: Apply a slightly thicker layer of top coat than usual to fill in the gaps between rhinestones, creating a smooth surface that feels solid to the touch.