Rose Lychee Jelly Nebula Cat Eye Nails — Step-by-Step Tutorial
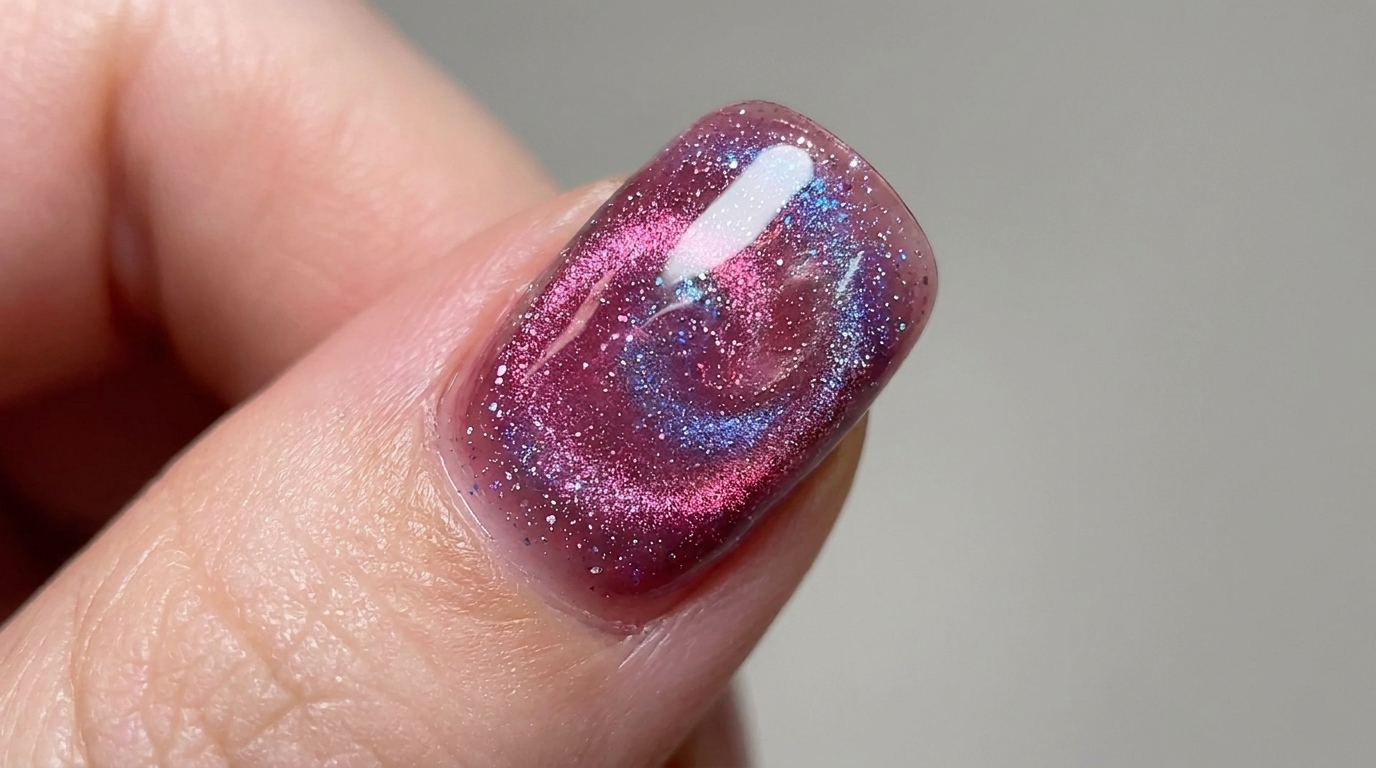
Create mesmerizing depth with our rose lychee jelly and magnetic nebula cat eye nail tutorial. Achieve a sparkling, galaxy-inspired finish at home.
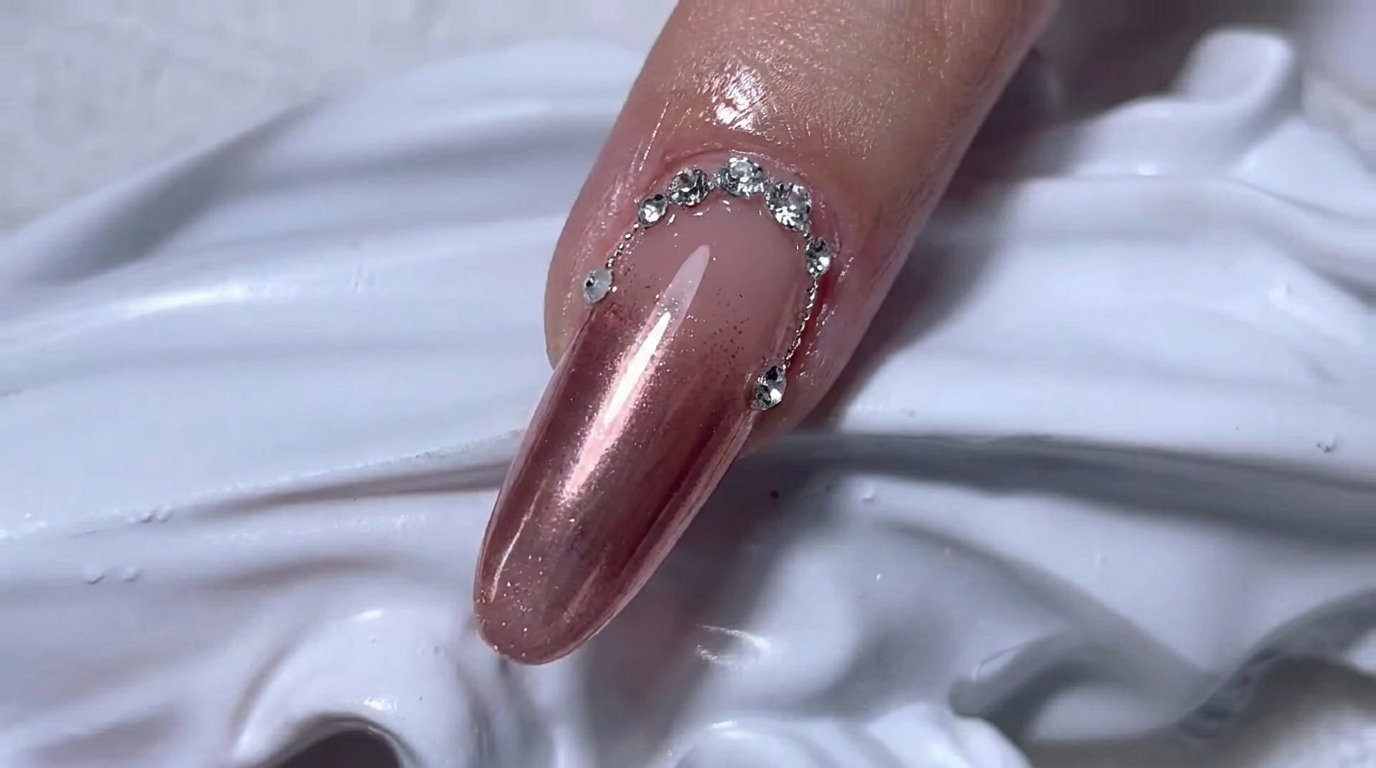
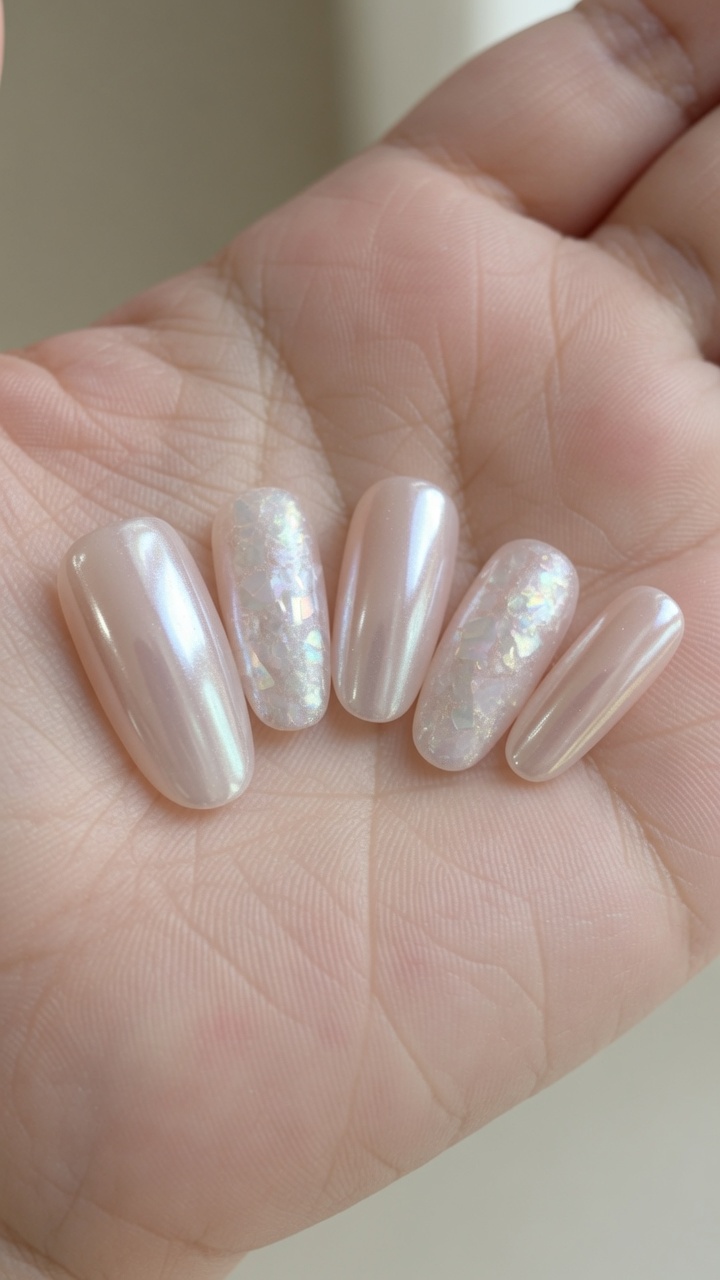
The combination of translucent jelly polish and magnetic cat eye effects creates a stunning multidimensional look that resembles a deep space nebula. This tutorial breaks down the layering technique required to achieve this sheer, sparkling finish. With the right magnetic manipulation, you can create unique, swirling patterns that elevate a simple manicure into a professional-grade design.
Steps
- 1File and shape the nails
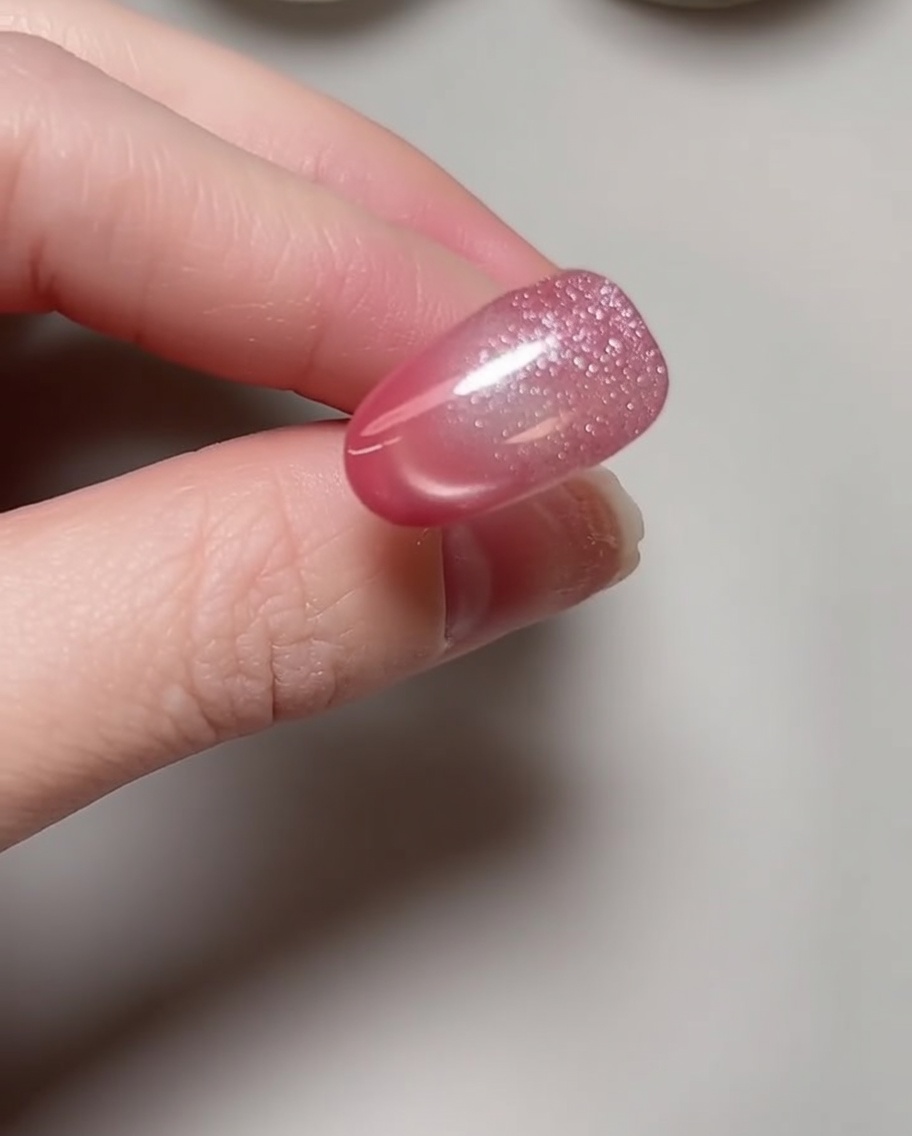
Begin the manicure by filing and shaping your nails to your desired length. Gently file the free edge of each nail to ensure a clean, uniform shape and to prepare the surface for better product adhesion.
Tip: Always file in one direction to prevent splitting the natural nail edge. - 2Push back cuticles
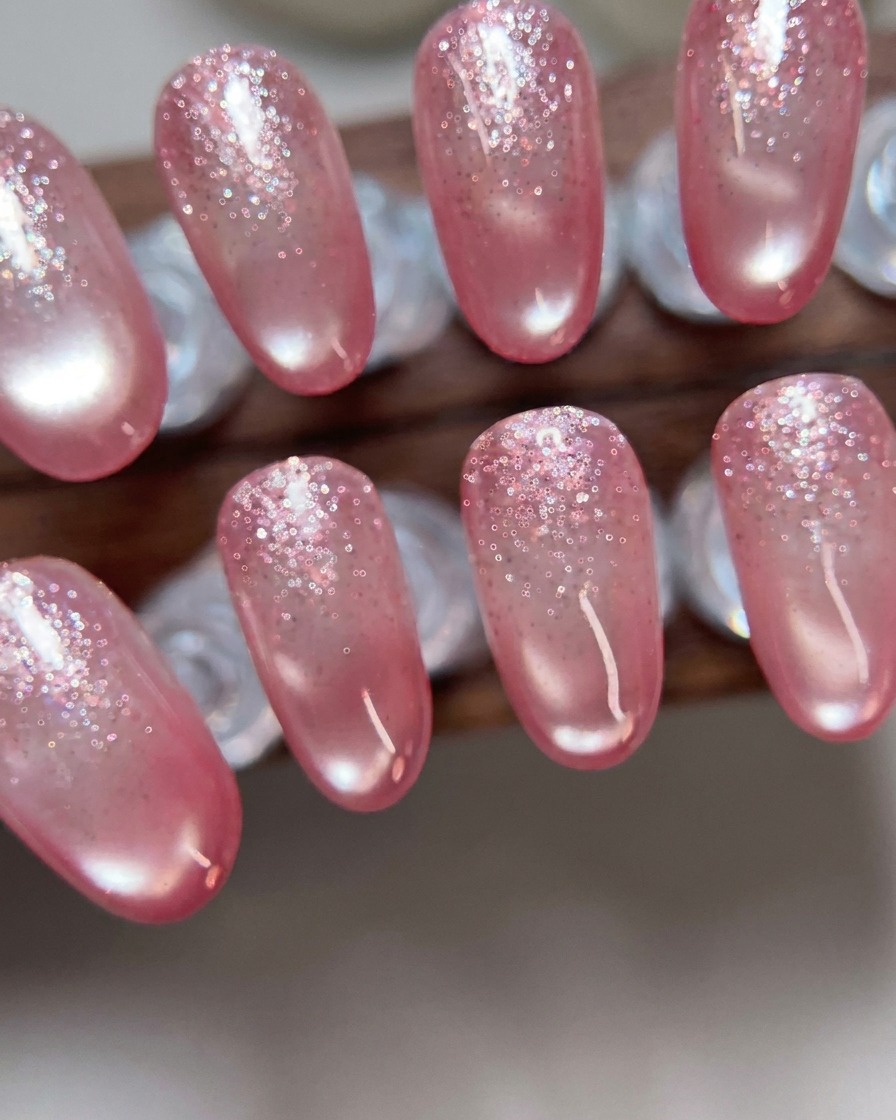
Using a metal cuticle pusher, gently and carefully push back the cuticles around the nail bed. This clears the nail plate of excess skin, providing a larger, clean canvas for your gel application.
Tip: Use gentle pressure to avoid damaging the delicate living tissue of the cuticle. - 3Apply gel base coat
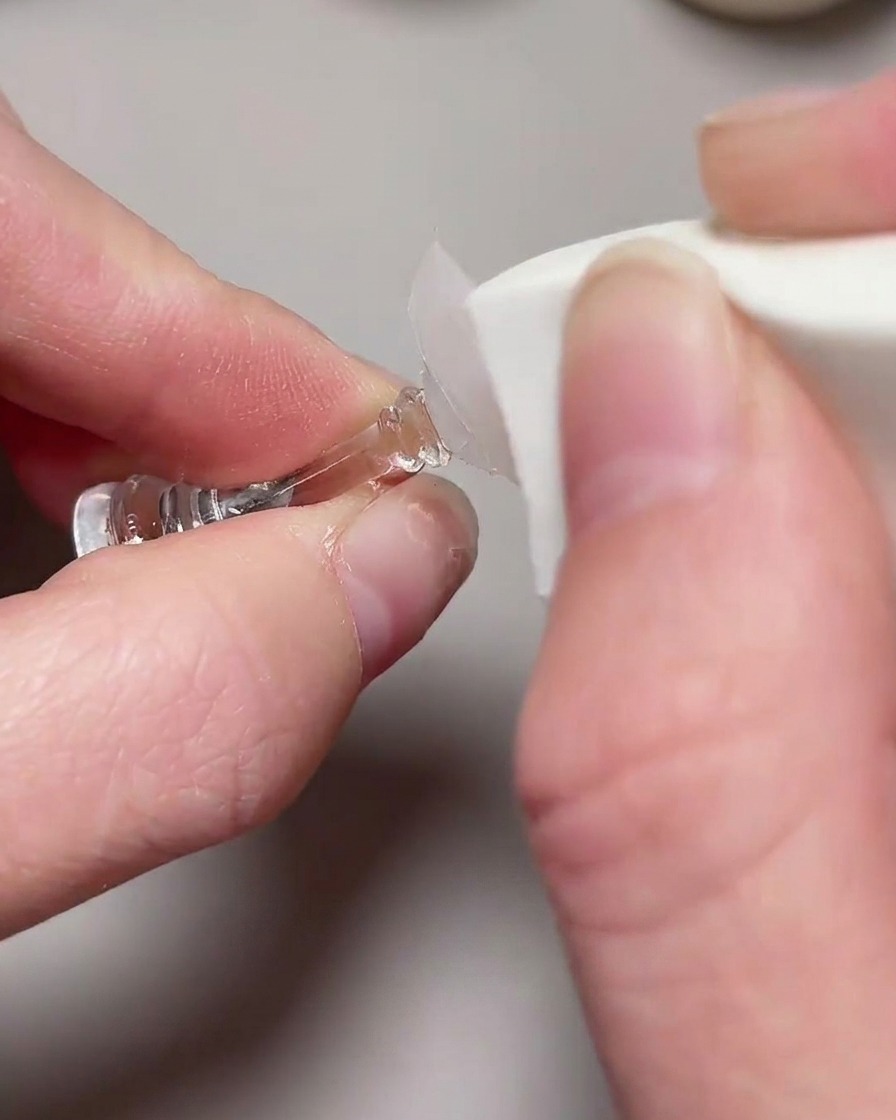
Apply a thin, uniform layer of gel base coat to the cleansed nail plate. Ensure you cap the free edge to enhance durability and prevent lifting.
Tip: Applying a thin layer is crucial to ensure it cures properly and does not wrinkle. - 4Cure base coat
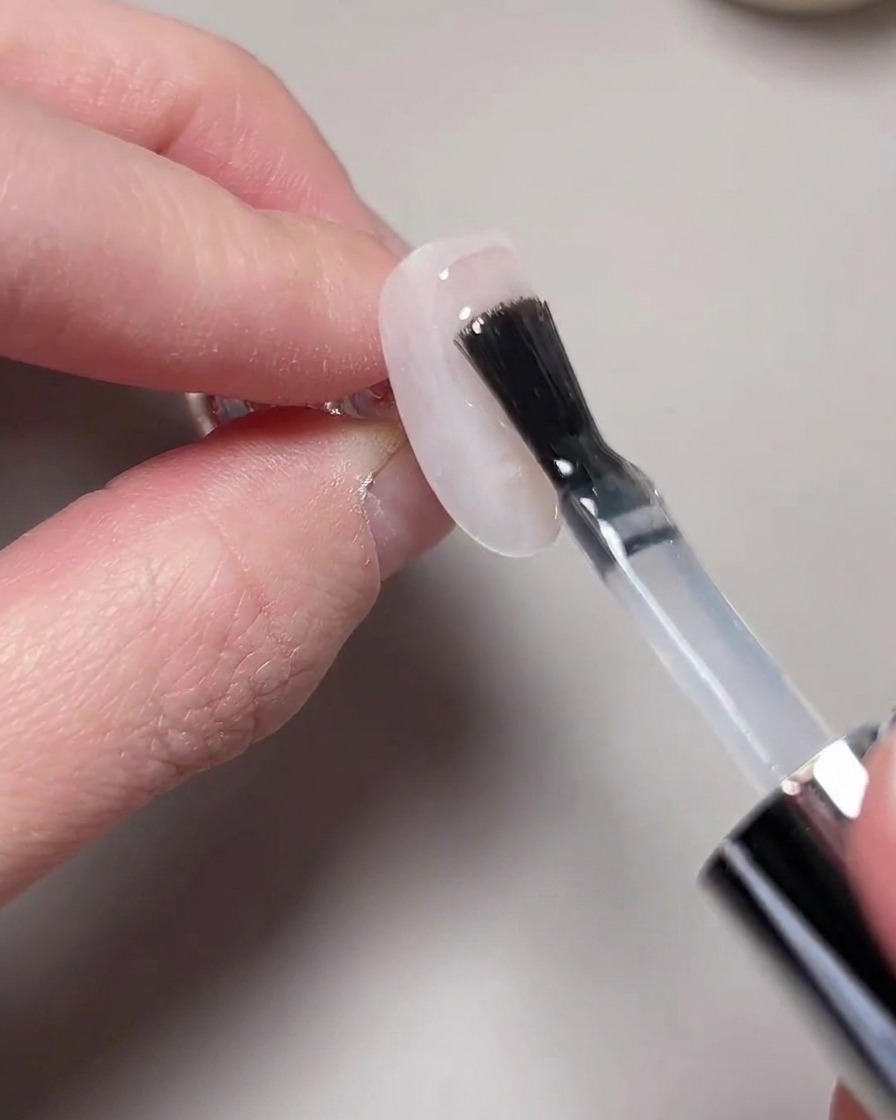
Place your hand under the UV/LED lamp to cure the base coat. Follow the specific timing instructions provided by your gel brand to ensure the layer is fully set.
Tip: Ensure your hand is placed flat and steady under the lamp for consistent curing. - 5Apply first layer of rose lychee jelly
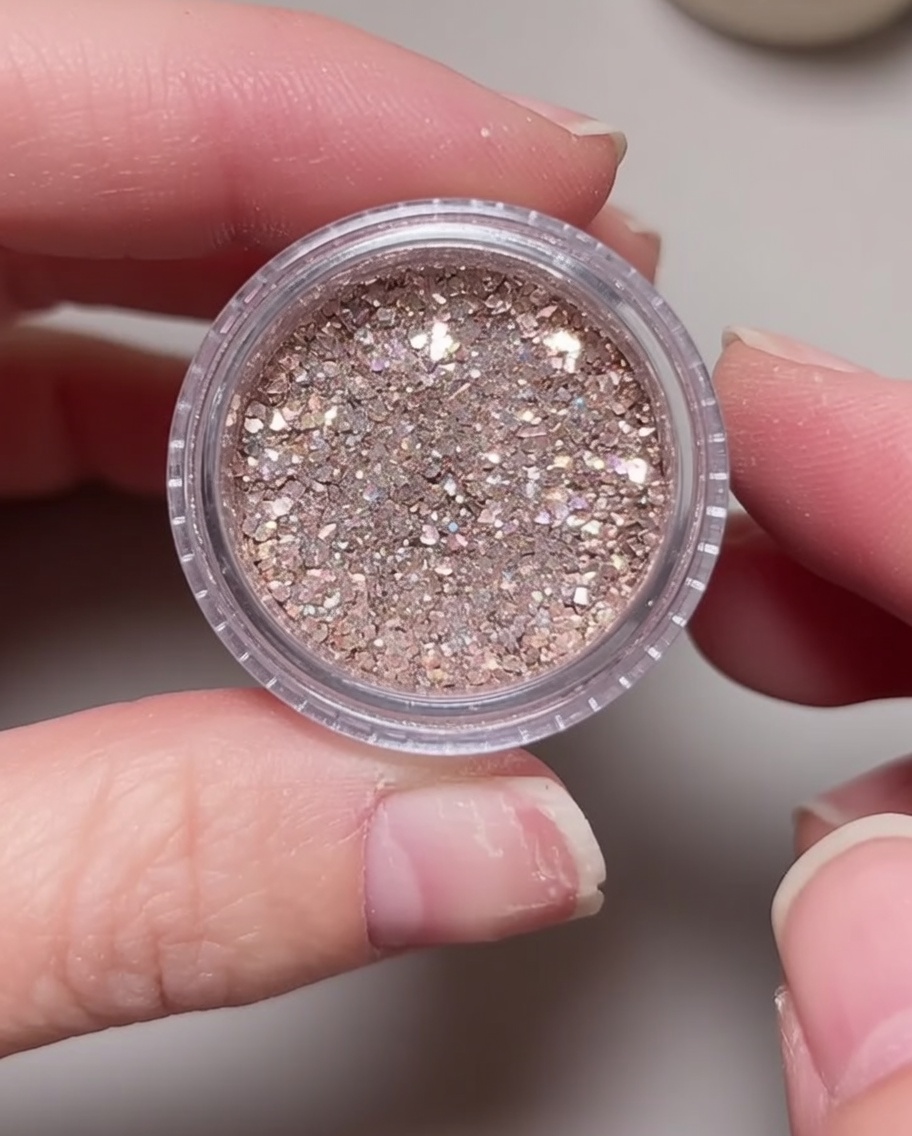
Apply a thin, even first coat of the rose lychee jelly-tinted gel polish. This layer should be translucent, creating the signature sheer base that gives this look its depth.
Tip: Keep the coat thin to avoid pooling around the cuticles and ensure an even, sheer finish. - 6Apply second layer of jelly polish
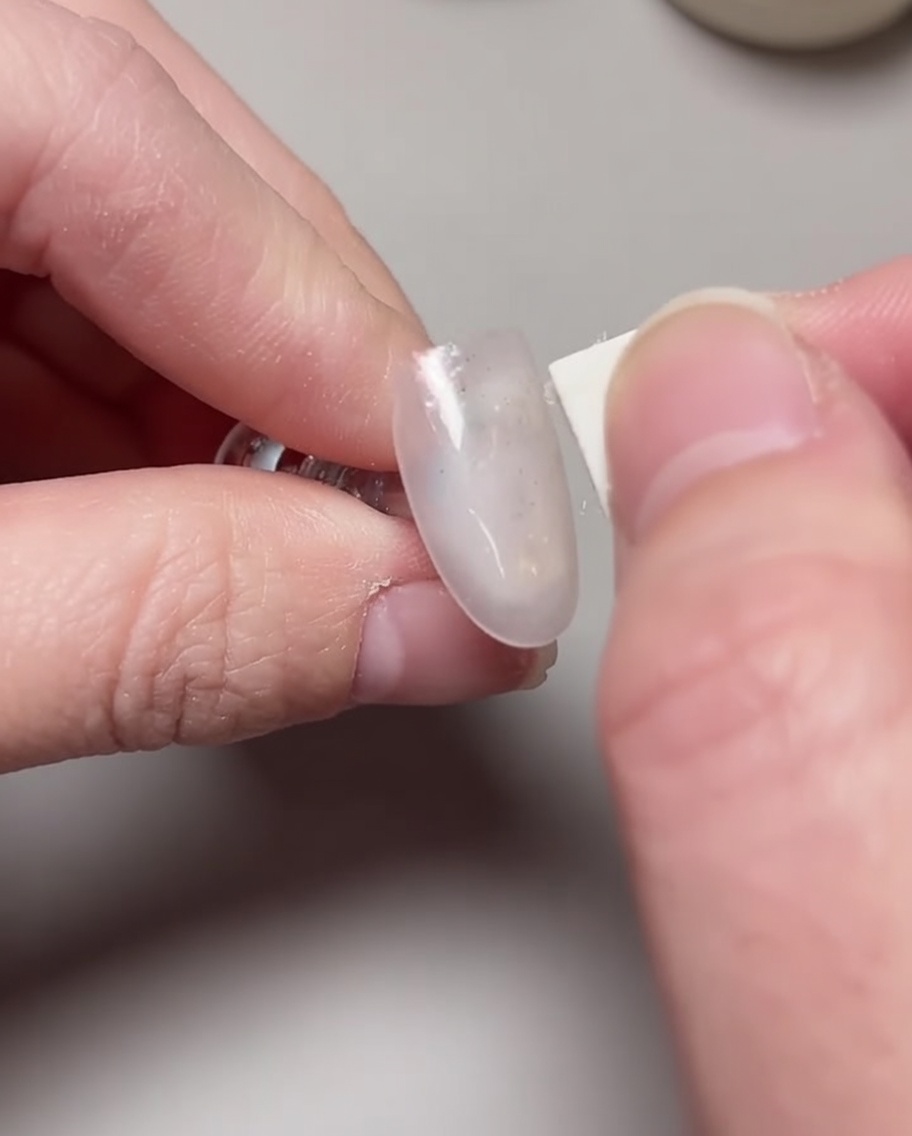
Apply a second coat of the rose lychee gel polish to build color intensity. This step ensures the base is saturated enough to complement the sparkling cat eye effect that follows.
Tip: You can focus the application toward the center of the nail for a slight gradient effect if desired. - 7Cure the color coats
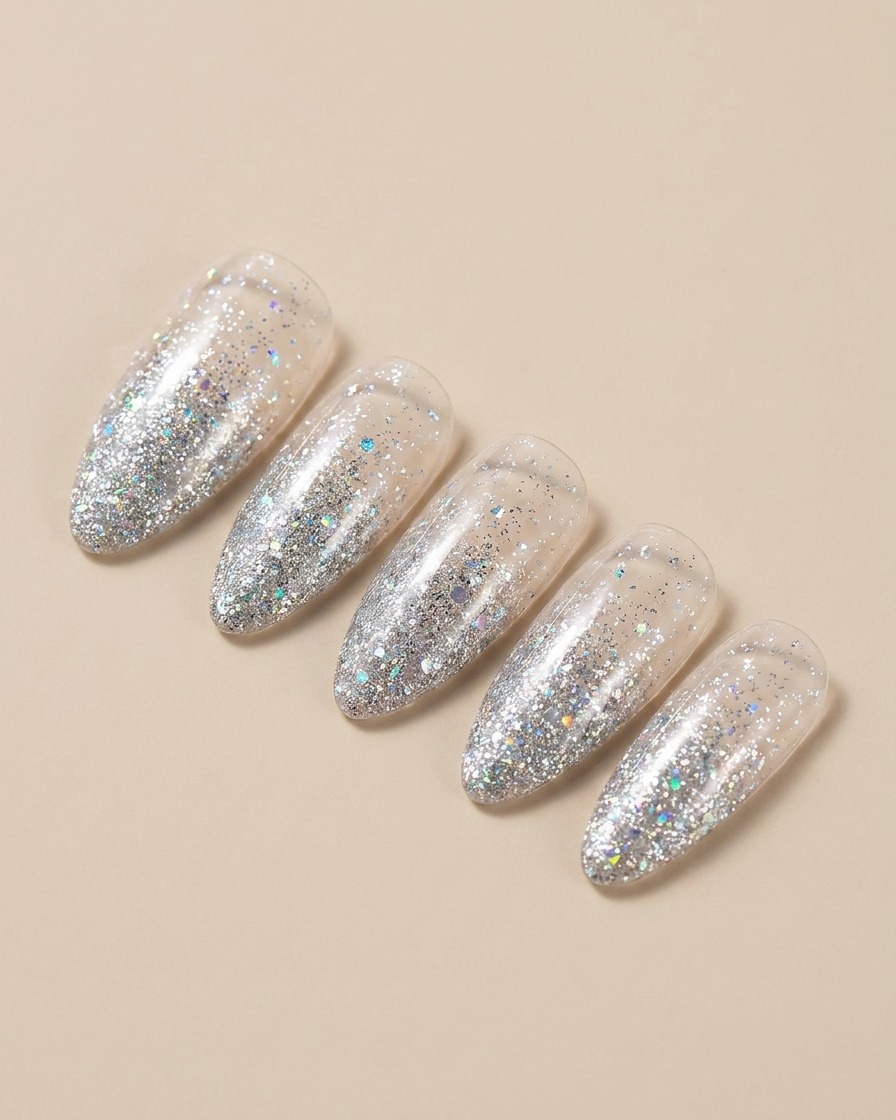
Place your nails under the UV/LED lamp to cure the color coats. Ensure your fingers are positioned flat to allow for even light distribution and complete curing of the gel polish.
Tip: Check that all nails are fully exposed to the light source to avoid under-curing, which can lead to lifting. - 8Apply explosive cat eye gel
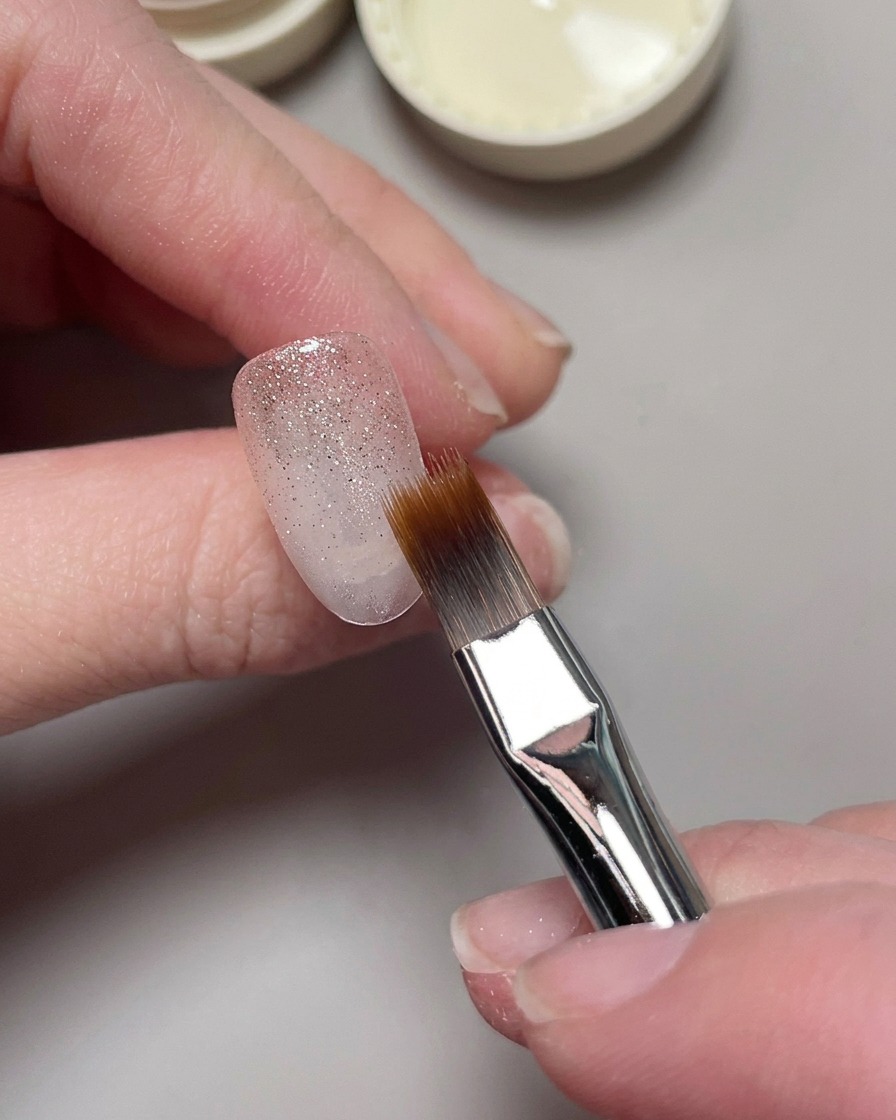
Apply an even layer of the explosive cat eye gel polish over the cured jelly base. Work carefully to cover the nail plate without touching the cuticles.
Tip: Use a steady hand to apply the polish, ensuring the magnetic particles are distributed smoothly across the surface. - 9Manipulate the nebula pattern
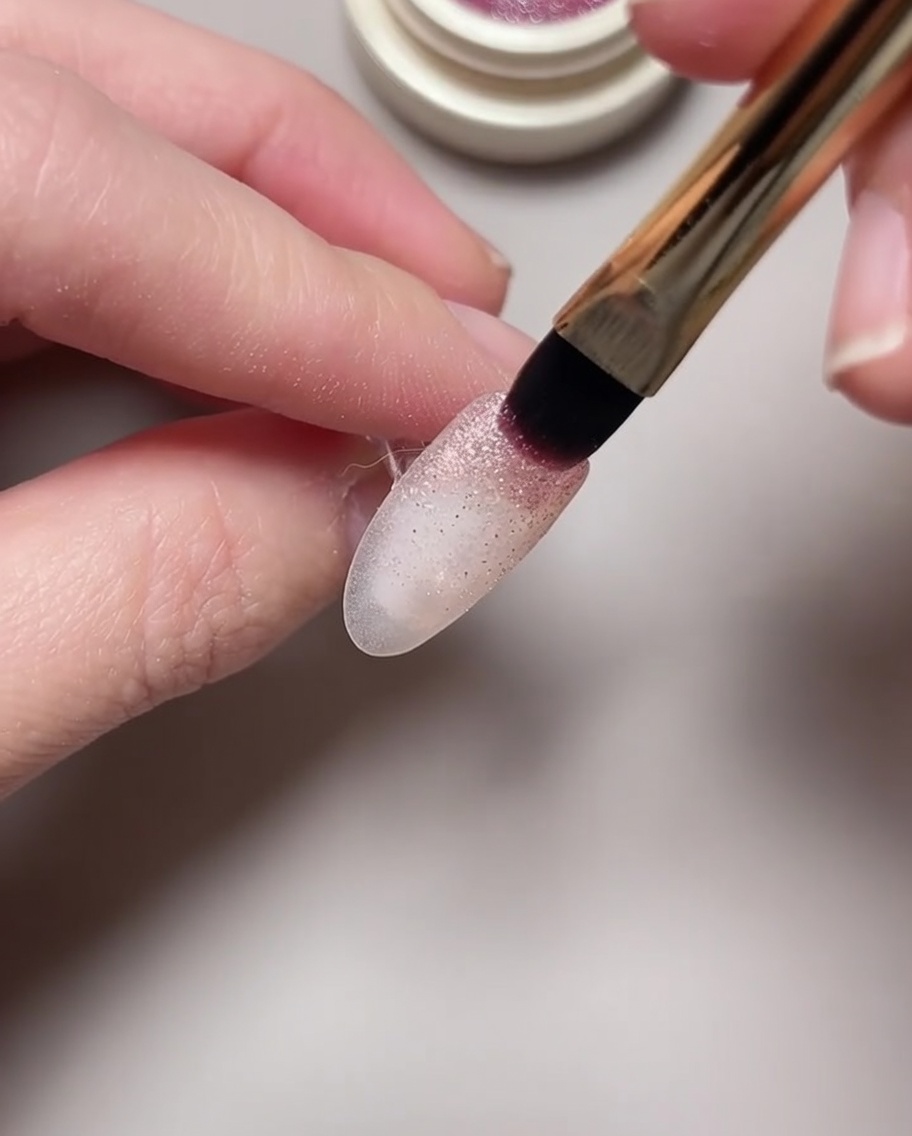
Hover the magnet tool closely over the wet gel surface. Move the tool in circular or sweeping motions to pull the magnetic particles into a swirling, nebula-like pattern before curing.
Tip: Experiment with different angles and distances with the magnet to create unique swirls and depth in the cat eye design. - 10Cure cat eye gel
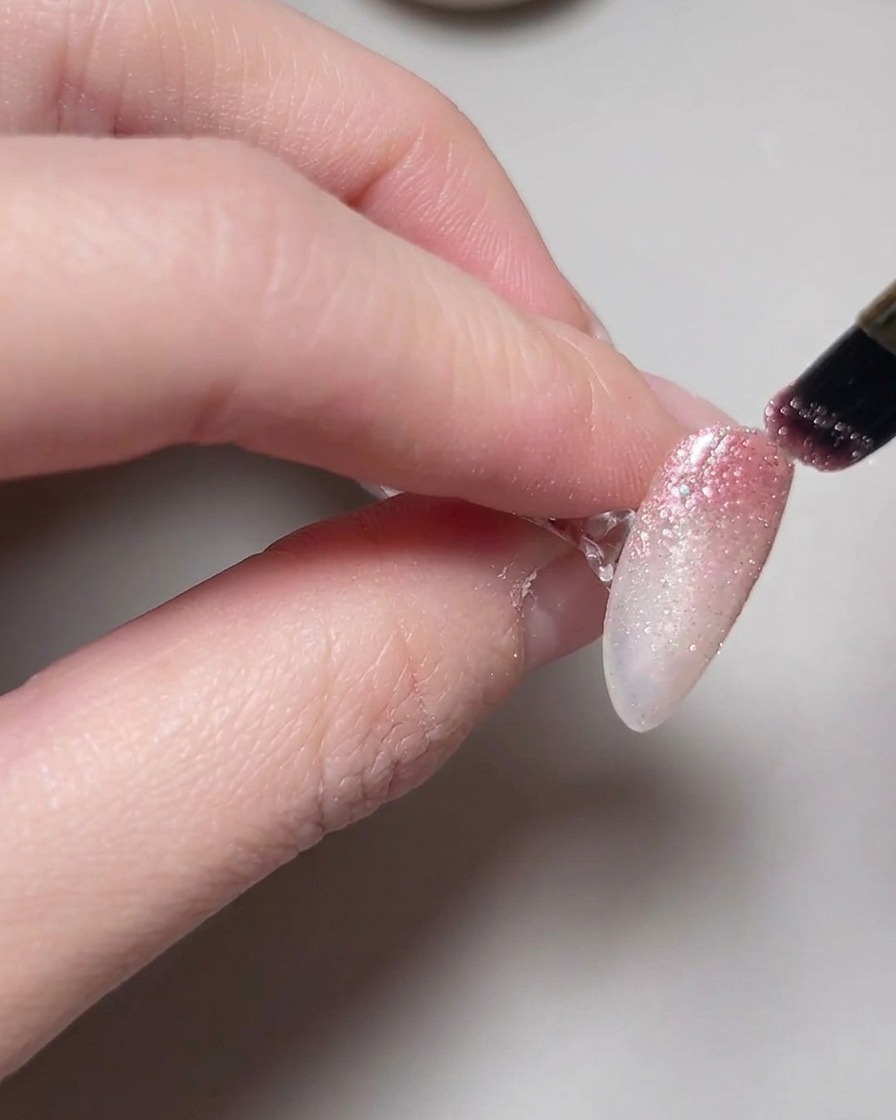
Place the nail under the UV/LED lamp to cure the cat eye effect. Hold the hand steady to maintain the pattern created by the magnet while the gel hardens.
Tip: Keep the nail directly under the light source to lock in the intricate magnetic design. - 11Apply top coat
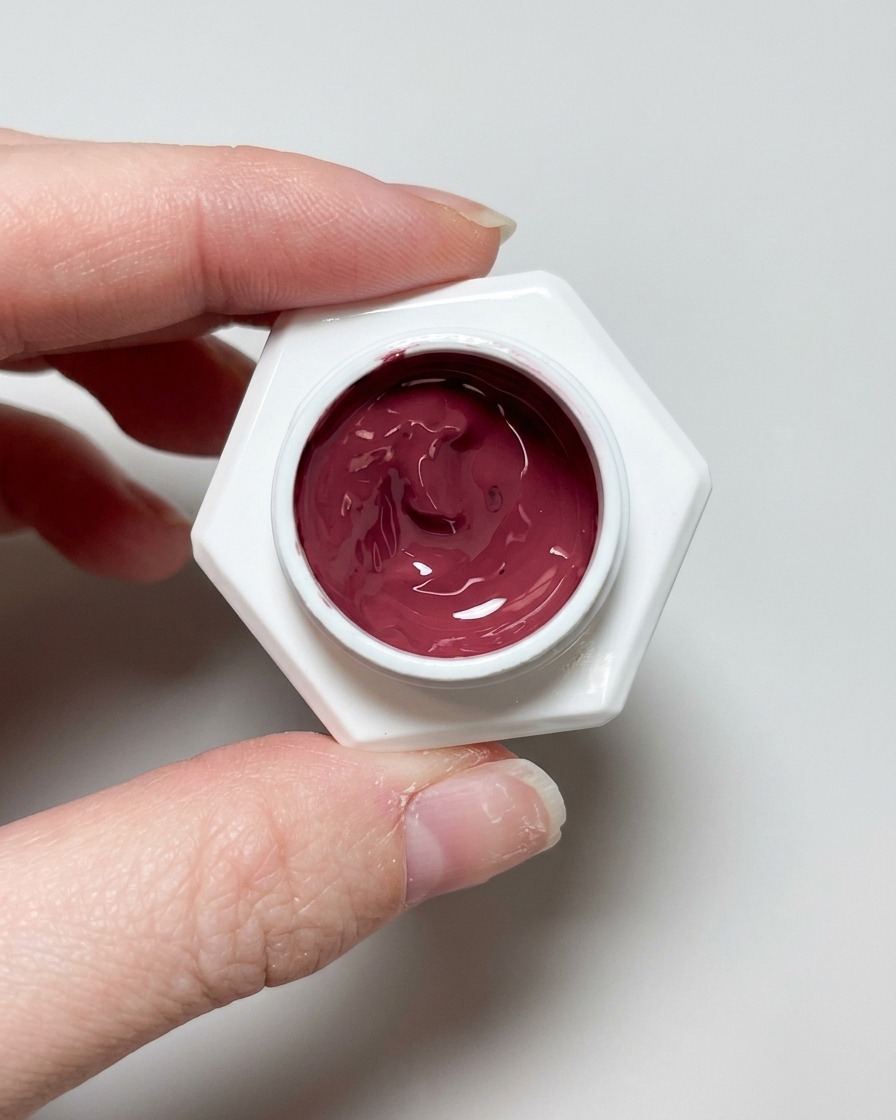
Apply a thin layer of no-wipe gel top coat over the entire nail to seal the design and add shine. Ensure you cap the free edge for better durability.
Tip: A no-wipe top coat is convenient because it doesnt leave a sticky residue after curing, saving you an extra step. - 12Final cure
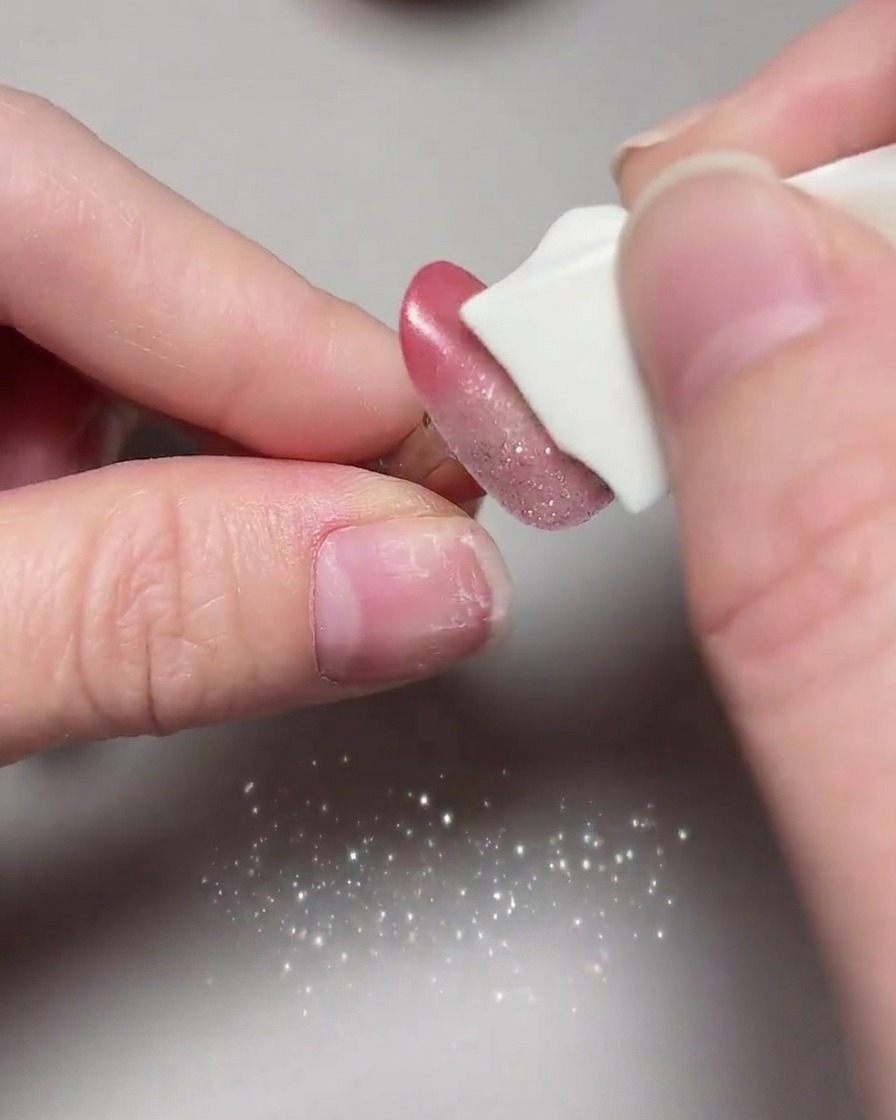
Place the nails under the UV/LED lamp for the final cure. This ensures the top coat is fully set, providing a long-lasting, high-shine finish to your manicure.
Tip: Ensure the final cure duration follows the product instructions to guarantee a durable and glossy result.