Rose Gold Chrome Gradient Nails — Elegant Rhinestone Tutorial
Create a stunning rose gold chrome gradient with a delicate rhinestone accent. This step-by-step guide helps you achieve a high-gloss, mirror-like finish at home.
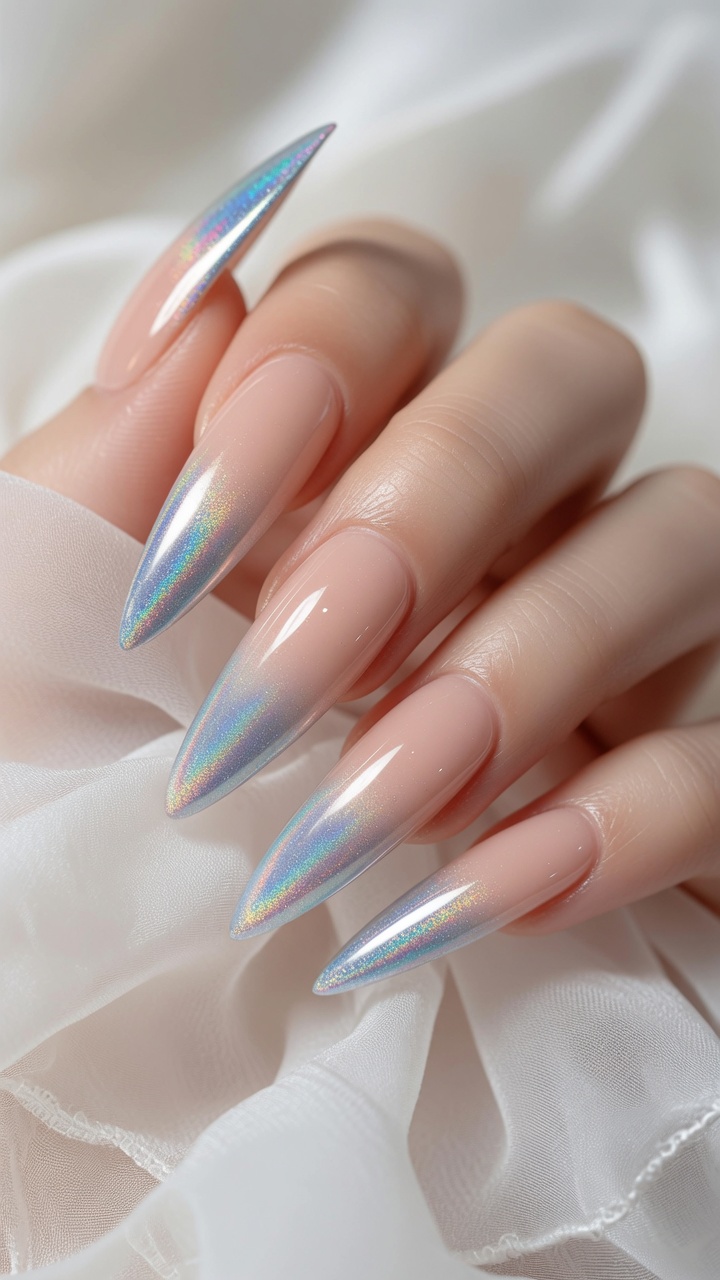
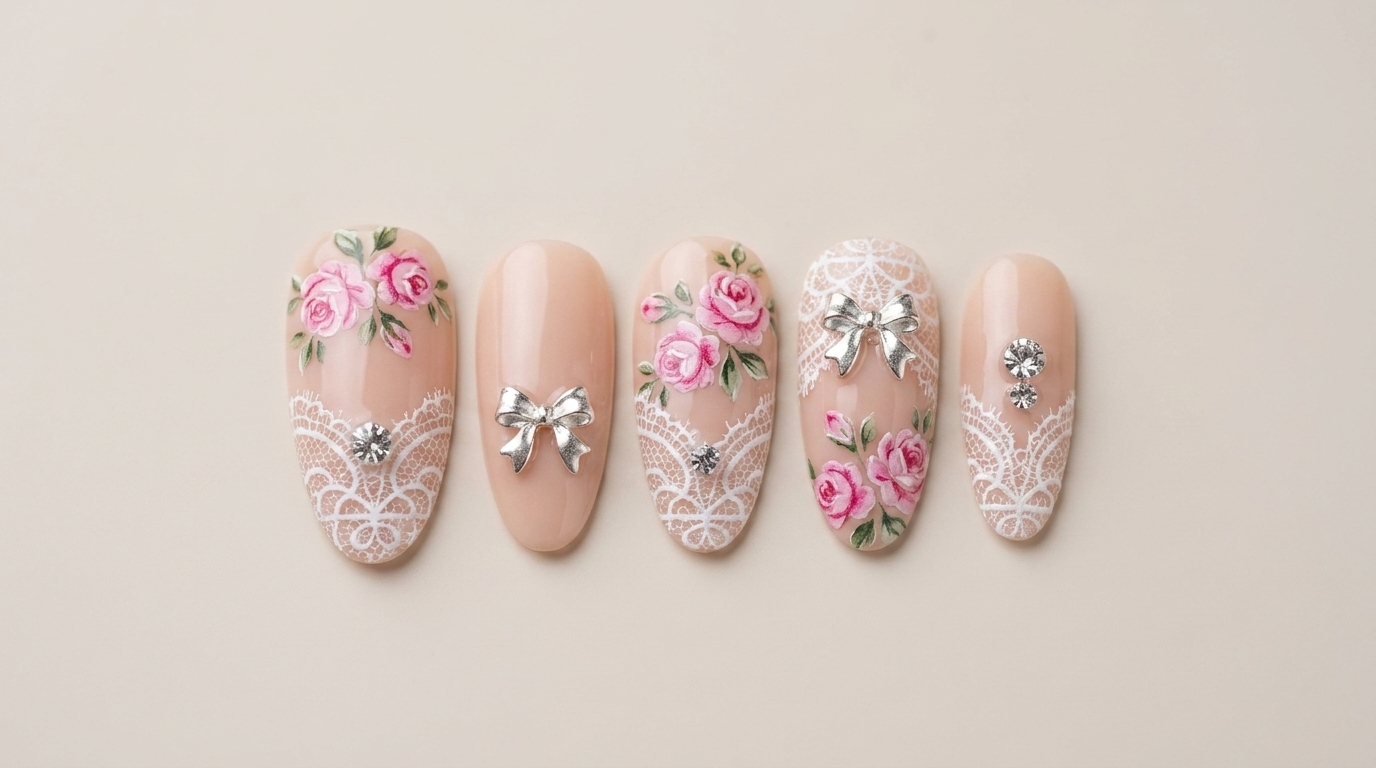
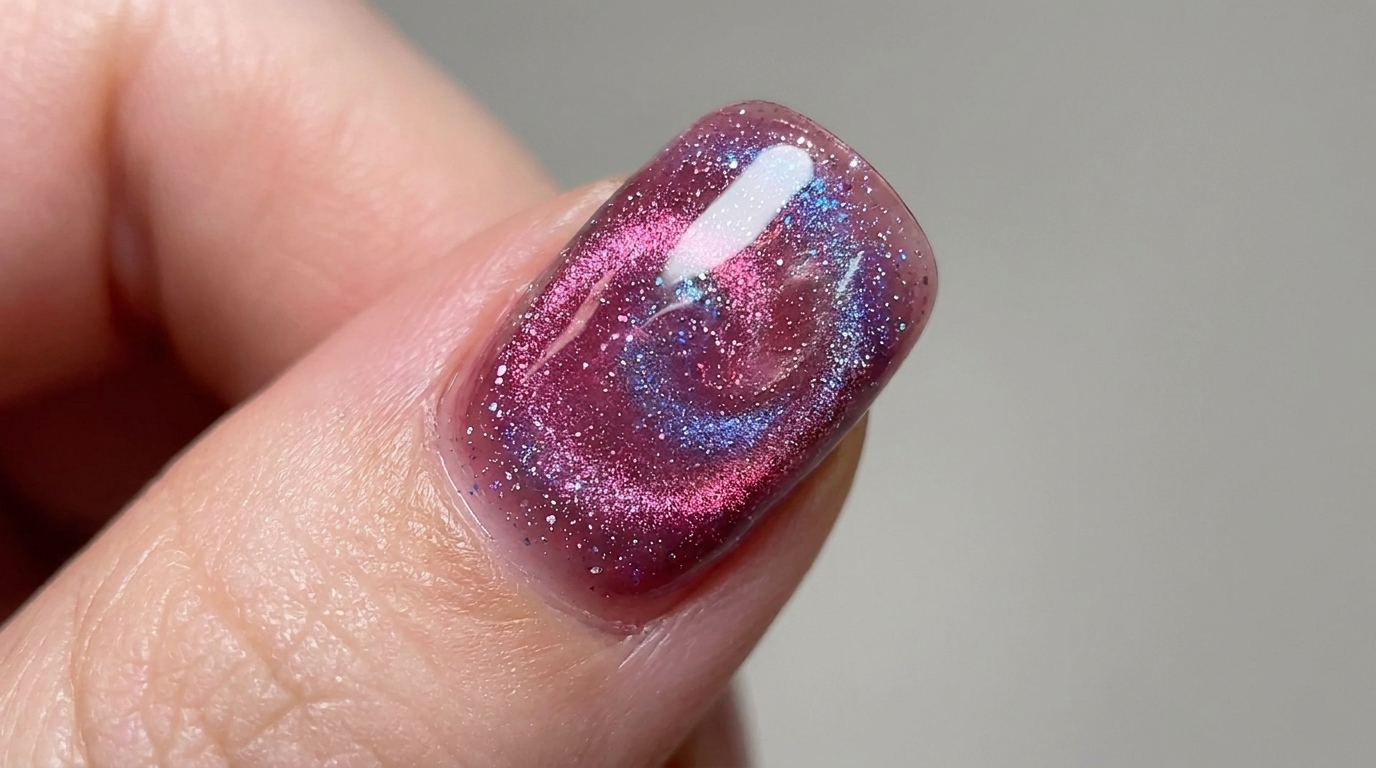
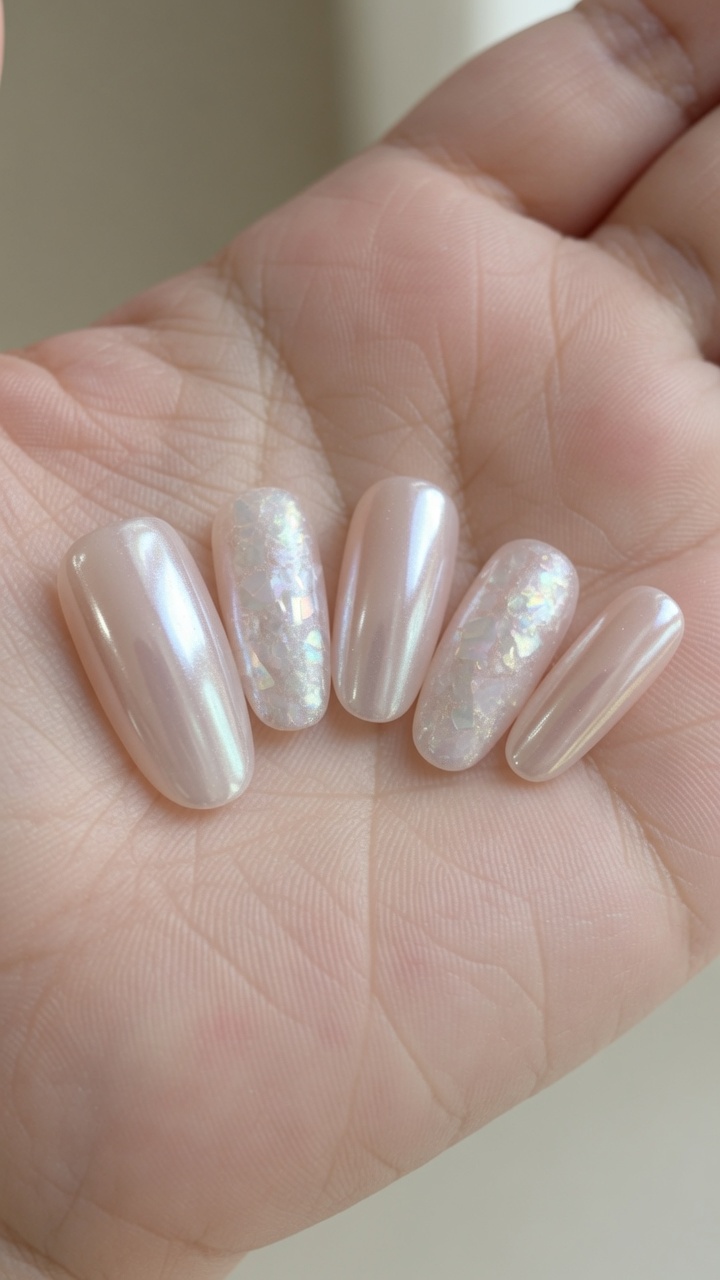
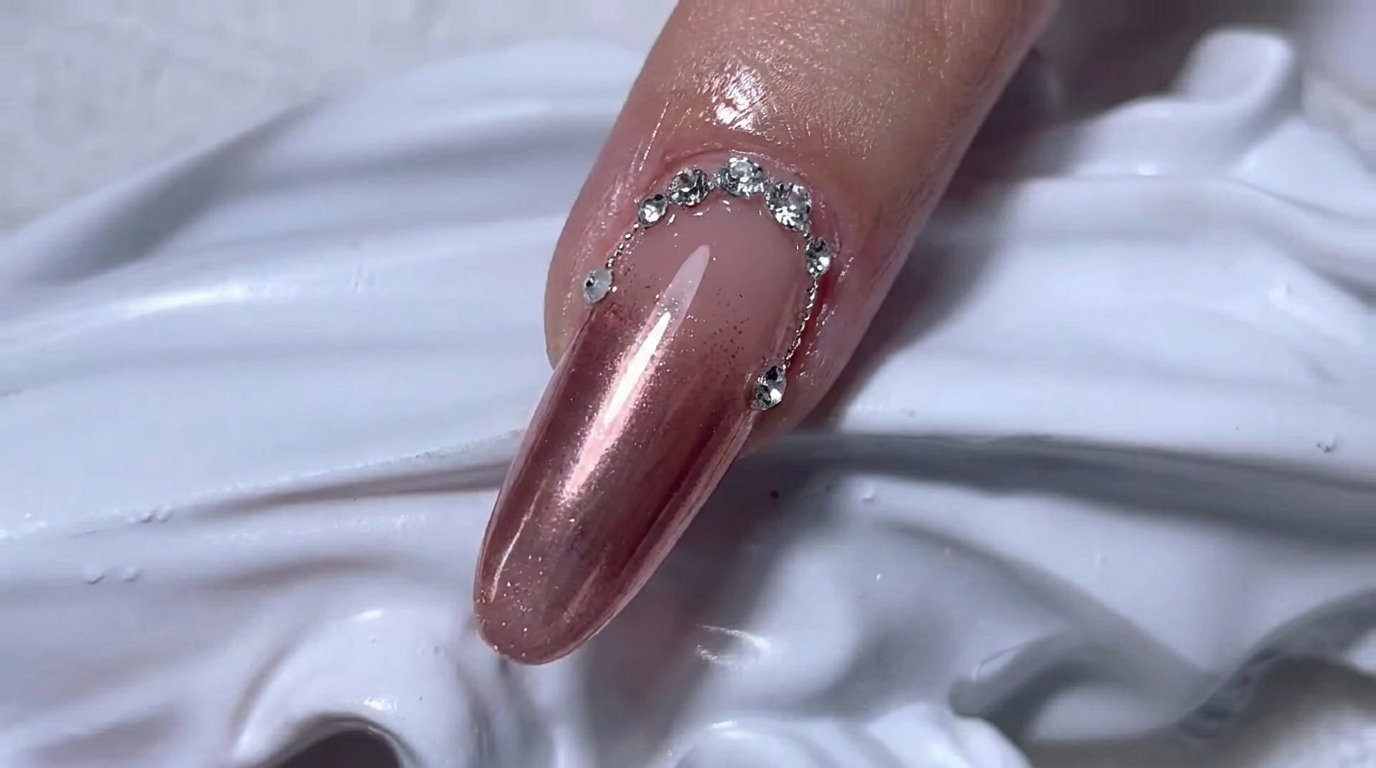
This rose gold chrome gradient look offers the perfect blend of modern metallic shine and timeless elegance. The combination of a nude base with a mirror-finish chrome tip creates a sophisticated transition, while the curved rhinestone detail near the cuticle adds a touch of luxury. It is an ideal design for those looking to elevate their manicure with a professional-looking, multi-dimensional finish.
Steps
- 1Apply sheer nude base
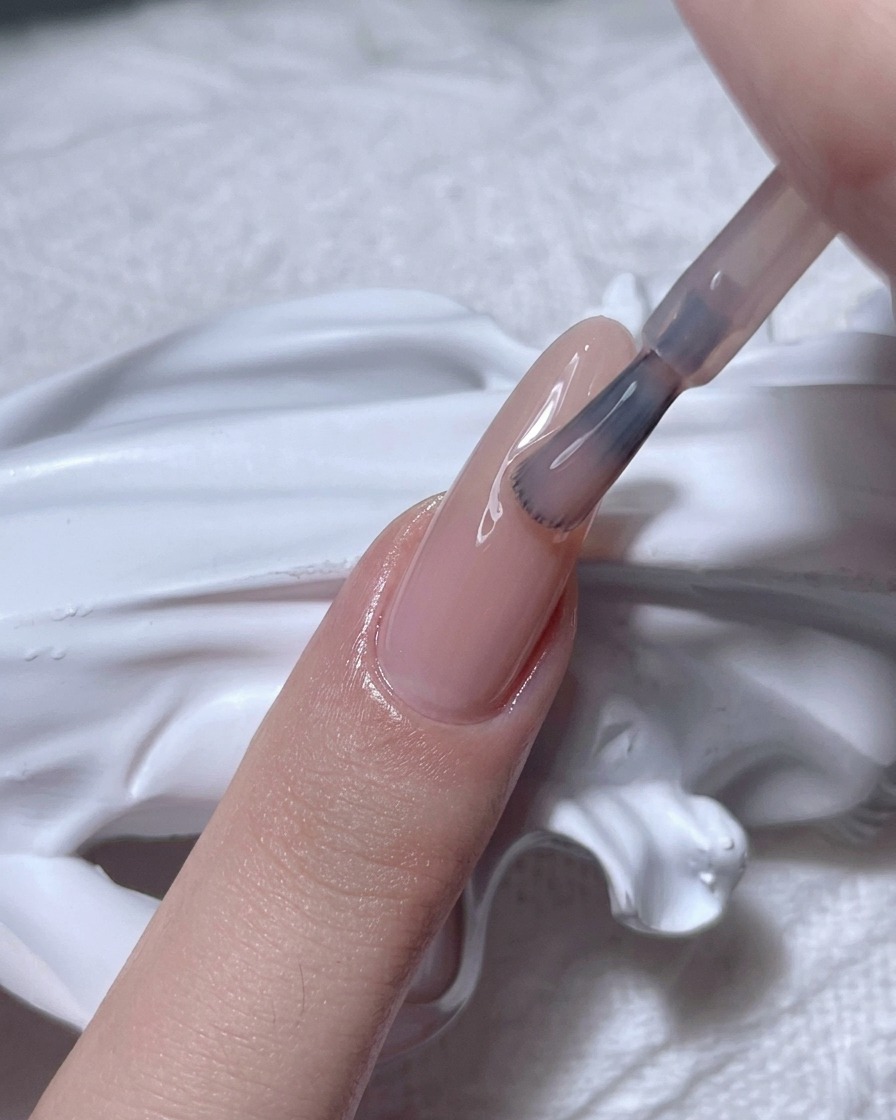
Apply a thin, even layer of your sheer nude base gel across the entire nail plate, starting from the cuticle and moving toward the free edge. Ensure the coat is smooth and avoids pooling at the sides or cuticles to maintain a clean foundation for the chrome powder application.
Tip: Use light pressure with the brush to avoid brush marks in the sheer color. - 2Select the base shade
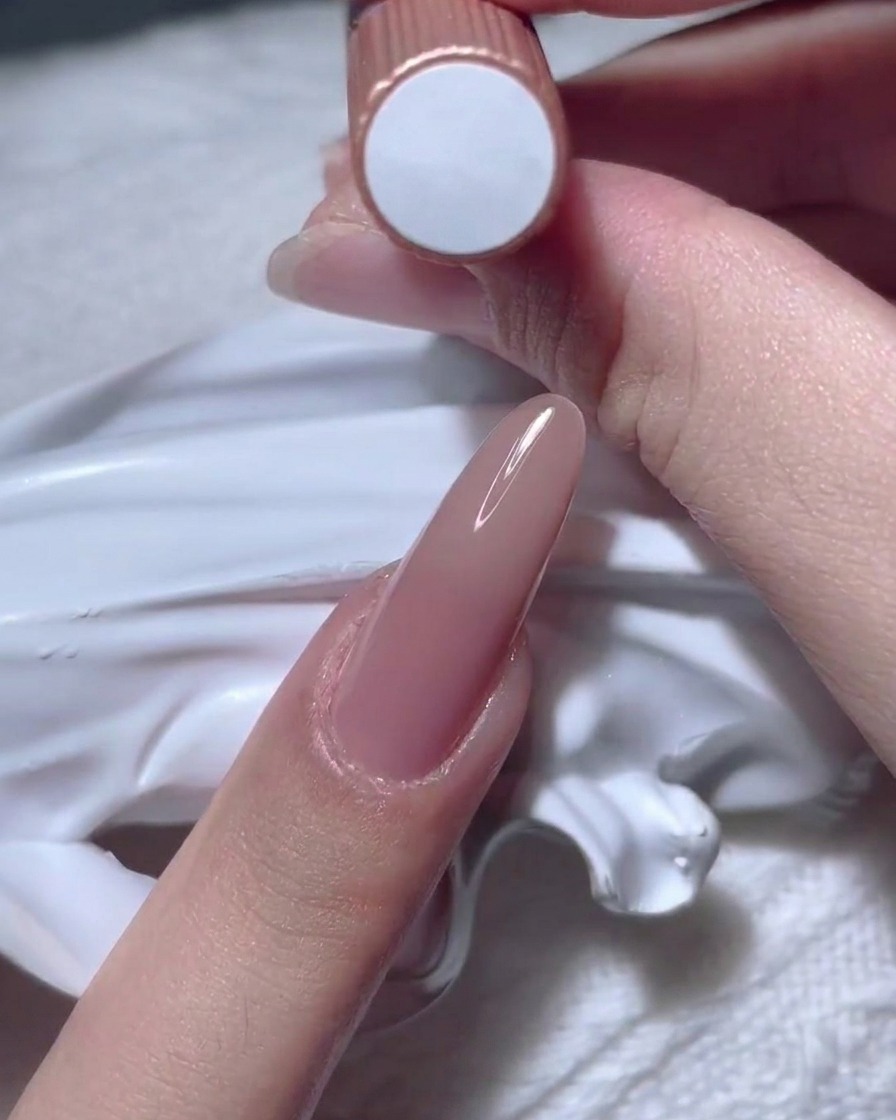
Choose a neutral nude gel polish that complements your skin tone to serve as the foundation. This creates a clean base for the subsequent metallic gradient application.
Tip: Ensure the polish is fully blended by rolling the bottle between your hands before use. - 3Apply non-wipe top coat
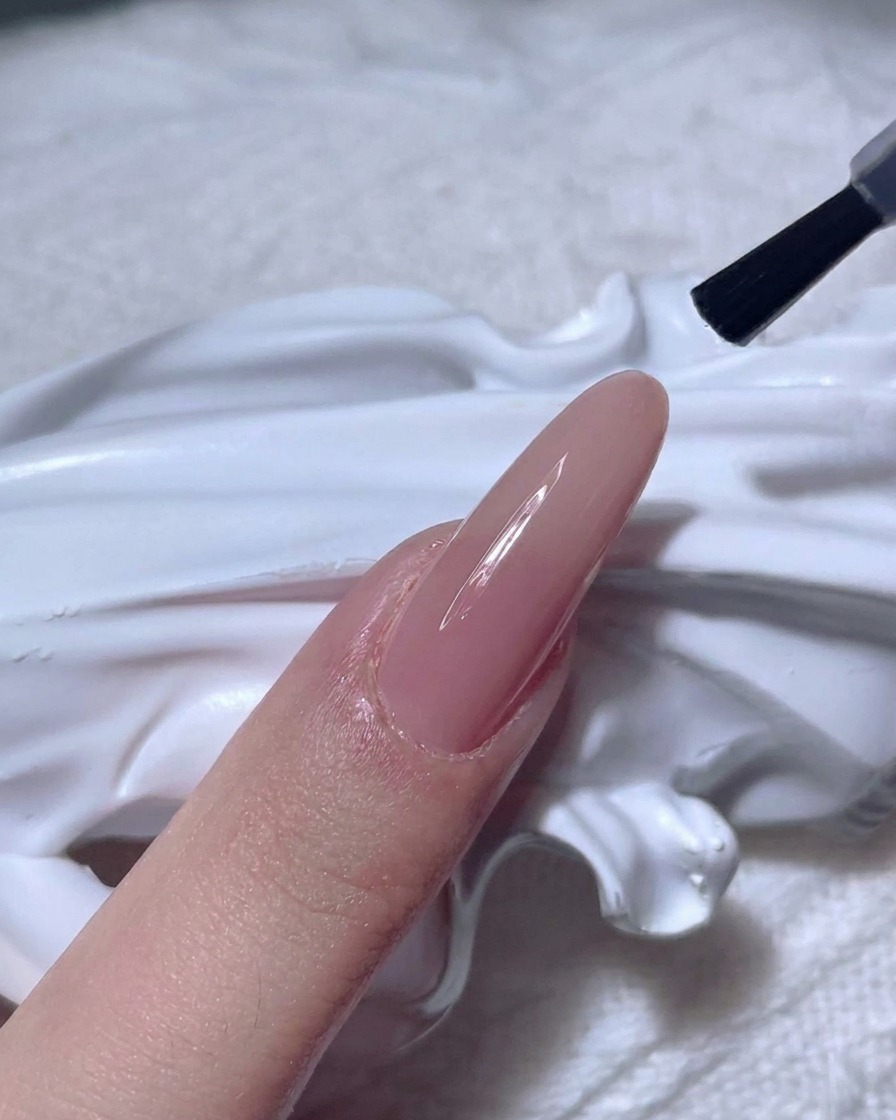
Apply a thin layer of a high-quality non-wipe top coat over the cured base color. This non-wipe surface is crucial as it provides the perfect tacky-free base necessary for the rose gold chrome powder to rub on evenly and achieve a mirror-like finish.
Tip: Ensure the top coat is applied smoothly, as any bumps or unevenness will be magnified by the chrome powder. - 4Prepare chrome powder
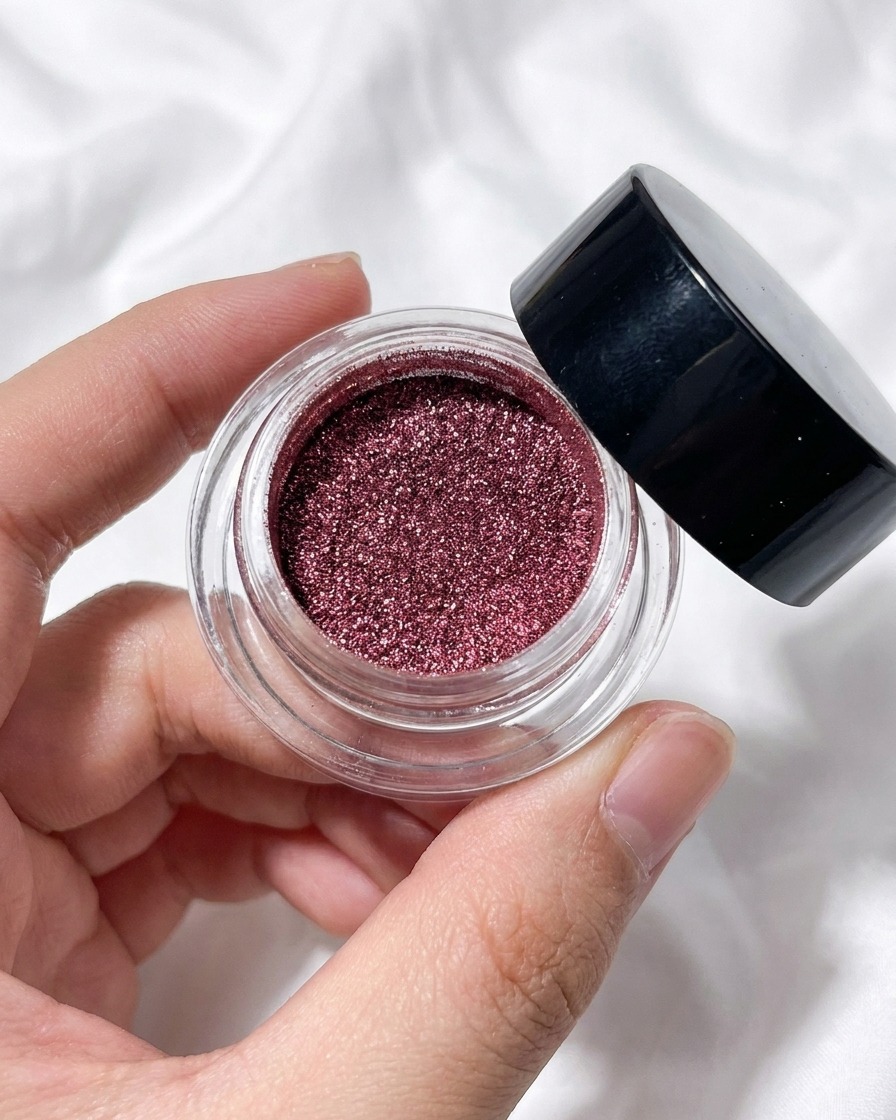
Take a clean eyeshadow sponge applicator and gently dip it into the container of rose gold chrome powder. Pick up a small, manageable amount of pigment on the tip of the sponge, ensuring it is evenly distributed for a smooth application onto the nail.
Tip: A little powder goes a long way; start with a small amount and add more if needed. - 5Create chrome gradient
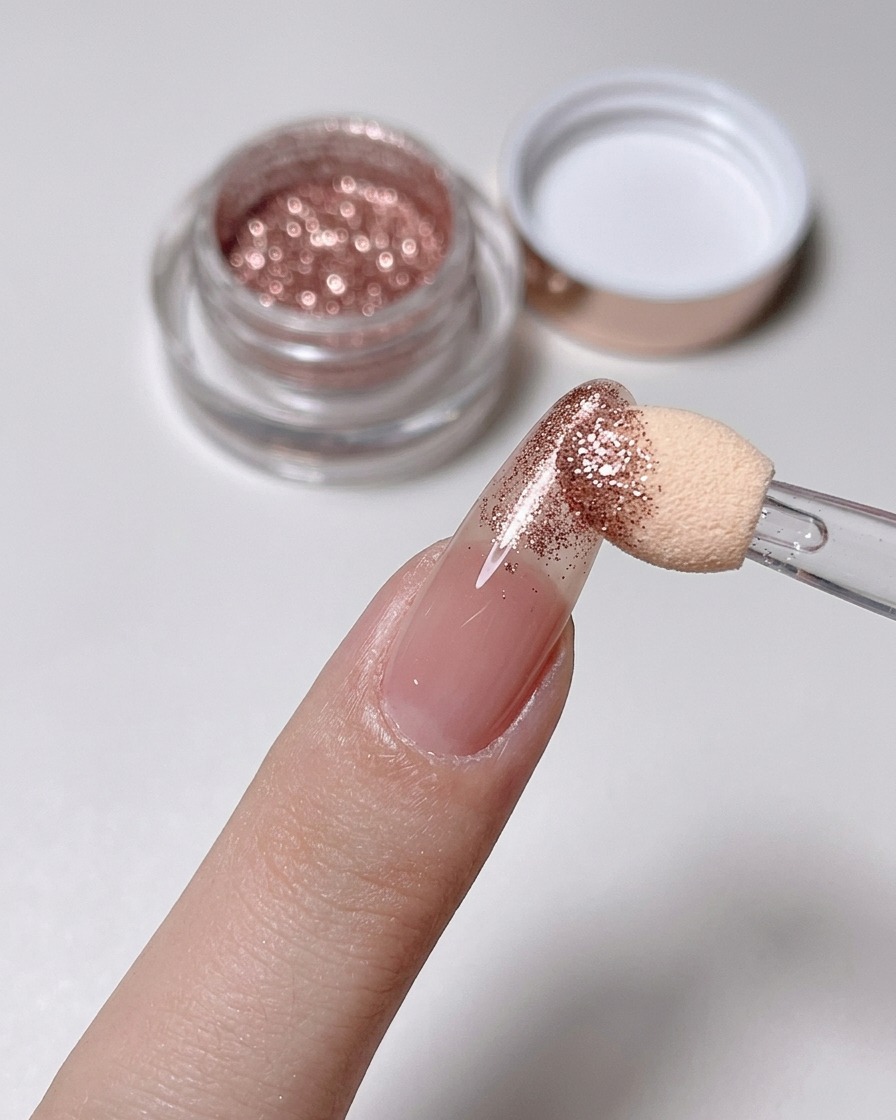
Gently rub the rose gold chrome powder onto the tip and mid-section of the nail, focusing on blending the powder upward toward the cuticle to create a soft, seamless gradient. Use back-and-forth or circular motions with the sponge applicator to buff the powder into the non-wipe top coat.
Tip: Vary the pressure to control the intensity of the gradient effect. - 6Buff to mirror finish
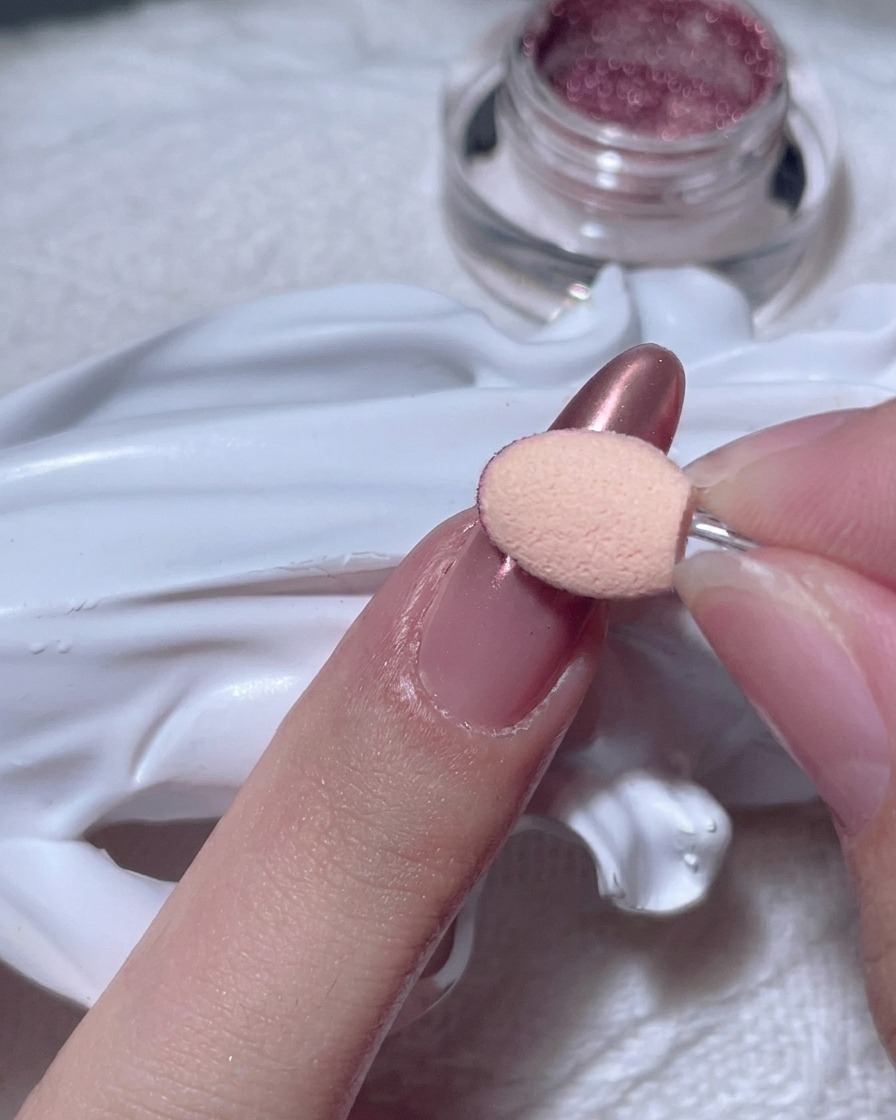
Continue buffing the powder into the surface of the nail, focusing on the tip and mid-section. Work the pigment thoroughly into the top coat until the rose gold creates a smooth, intense, mirror-like gradient finish that fades beautifully toward the cuticle.
Tip: Keep buffing until no loose powder remains and the surface is completely smooth and reflective. - 7Clean excess chrome powder
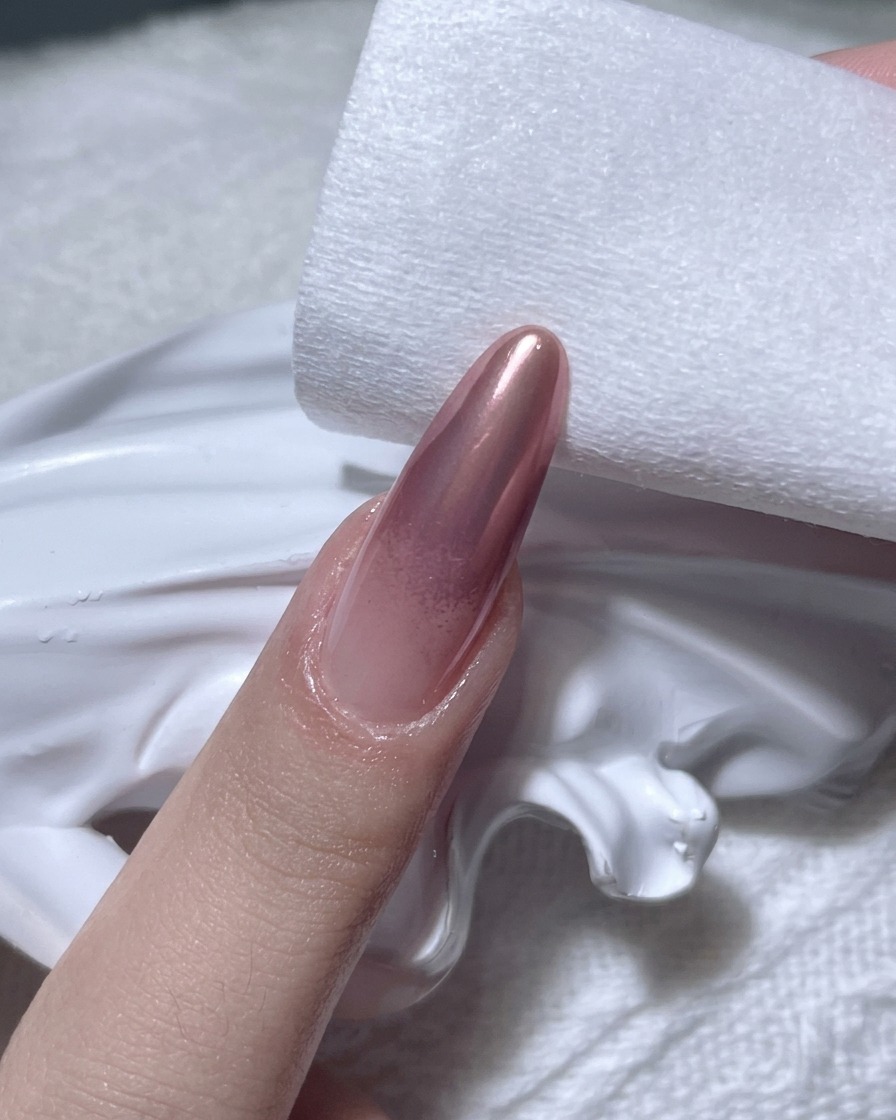
Use a lint-free pad to gently wipe the skin and outer edges surrounding the nail. This removes stray chrome particles that could prevent proper adhesion of the subsequent gel layers and cause premature lifting or peeling.
Tip: Wiping the edges thoroughly ensures your base gel forms a complete seal around the chrome. - 8Encapsulate chrome with base gel
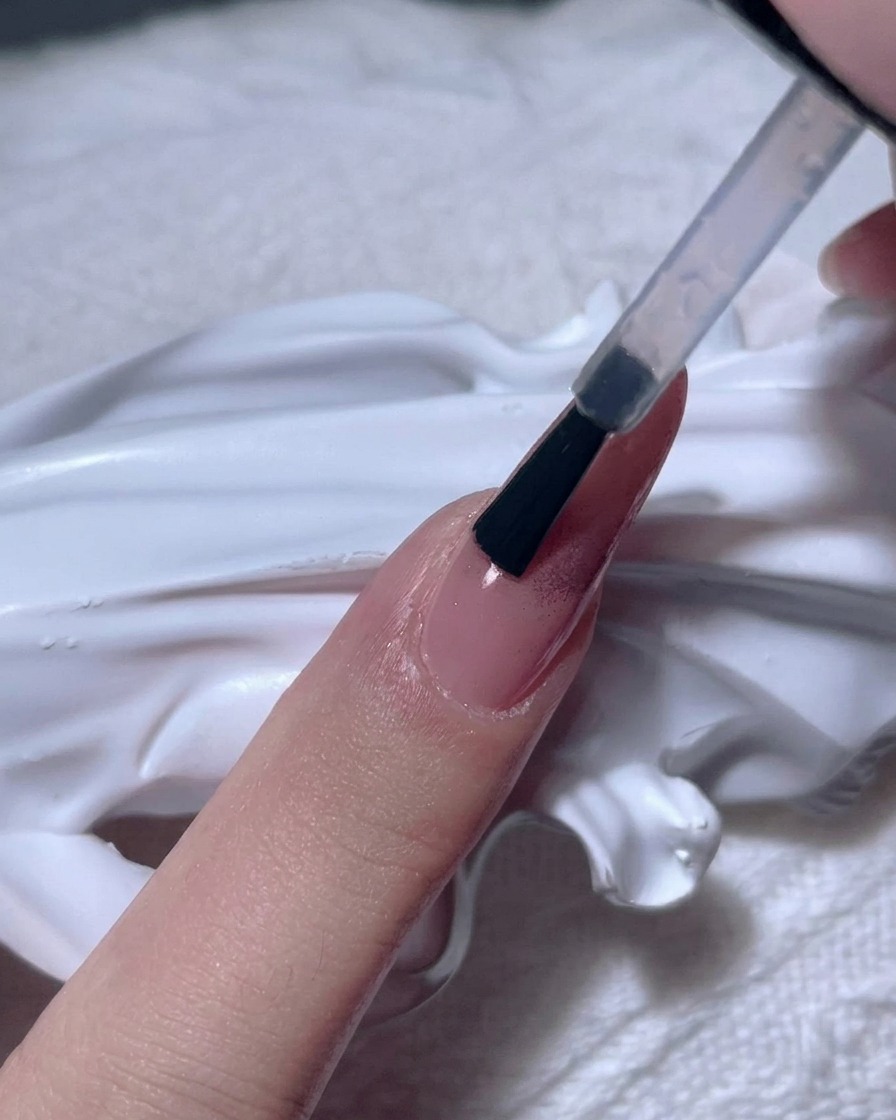
Apply a thick, viscous layer of clear builder or base gel over the entire nail surface. This step is crucial for sealing the delicate chrome powder, preventing it from wearing off or dulling over time.
Tip: Make sure to cover the free edge completely to protect the chrome finish. - 9Place rhinestones along the cuticle
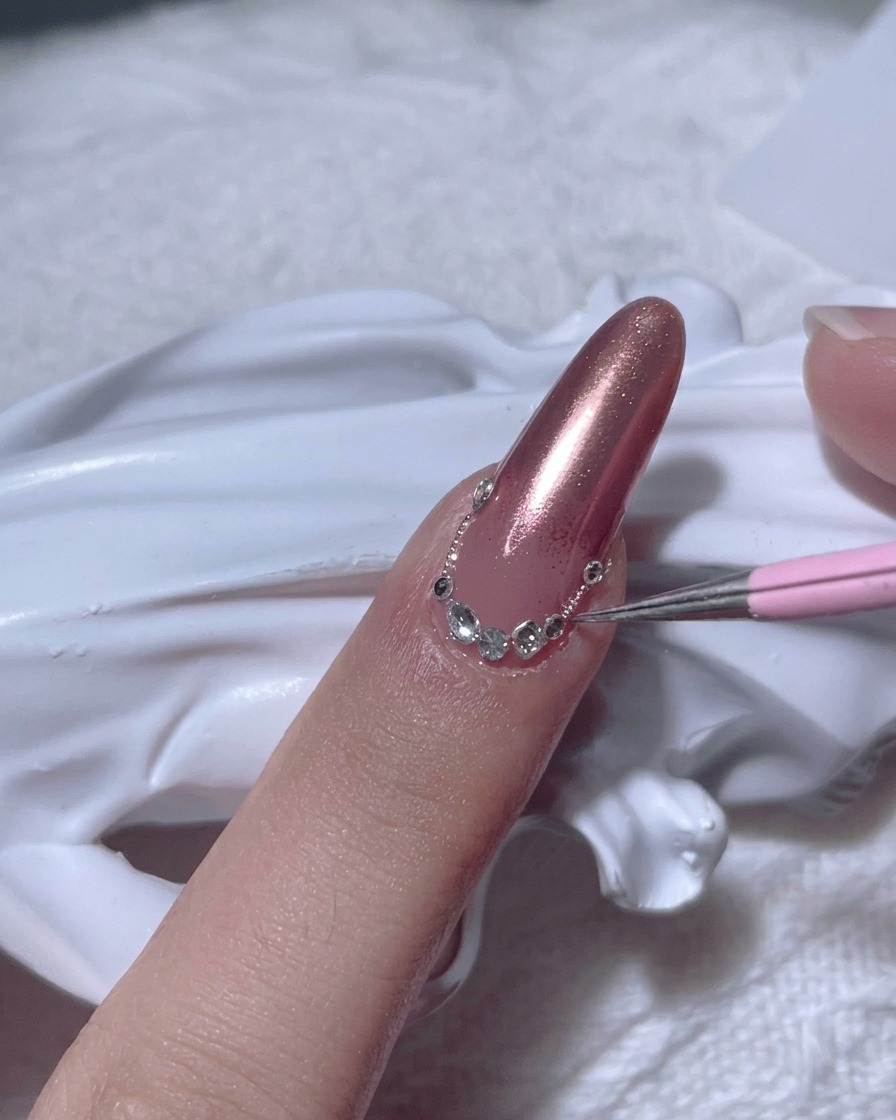
Using a fine detailer or dotting tool, carefully pick up small, clear rhinestones. Place them one by one along the base of the nail, following the curve of the cuticle to create an elegant, sparkling accent.
Tip: Work slowly and use a tiny dab of clear gel as glue to keep the rhinestones firmly in place. - 10Complete the rhinestone arc
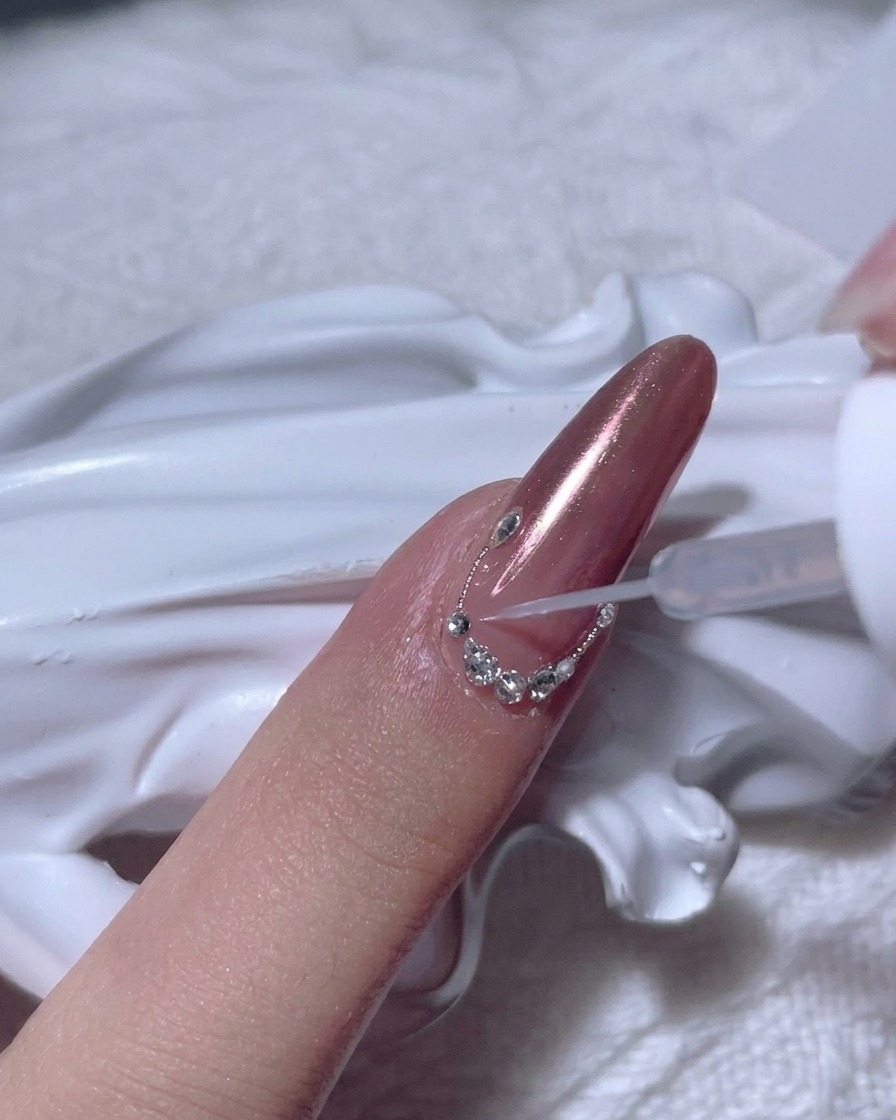
Continue placing rhinestones until you have formed a perfectly curved, sparkling arc that frames the cuticle line. Ensure each stone is aligned symmetrically to match the natural curvature of the nail.
Tip: Check the symmetry from a few angles before curing the gel to ensure the arc looks perfect.