Pearl Chrome Glazed Donut Nails — Elegant Step-by-Step Tutorial
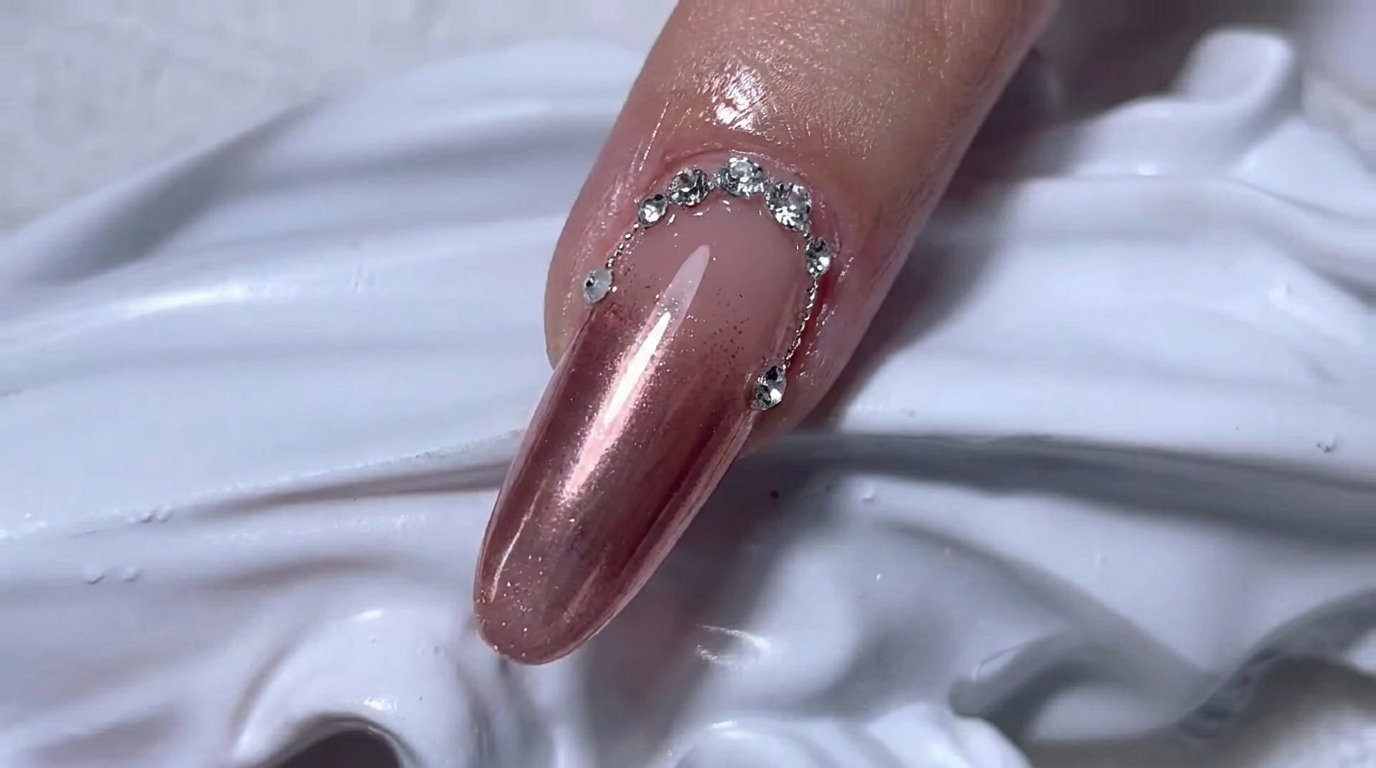
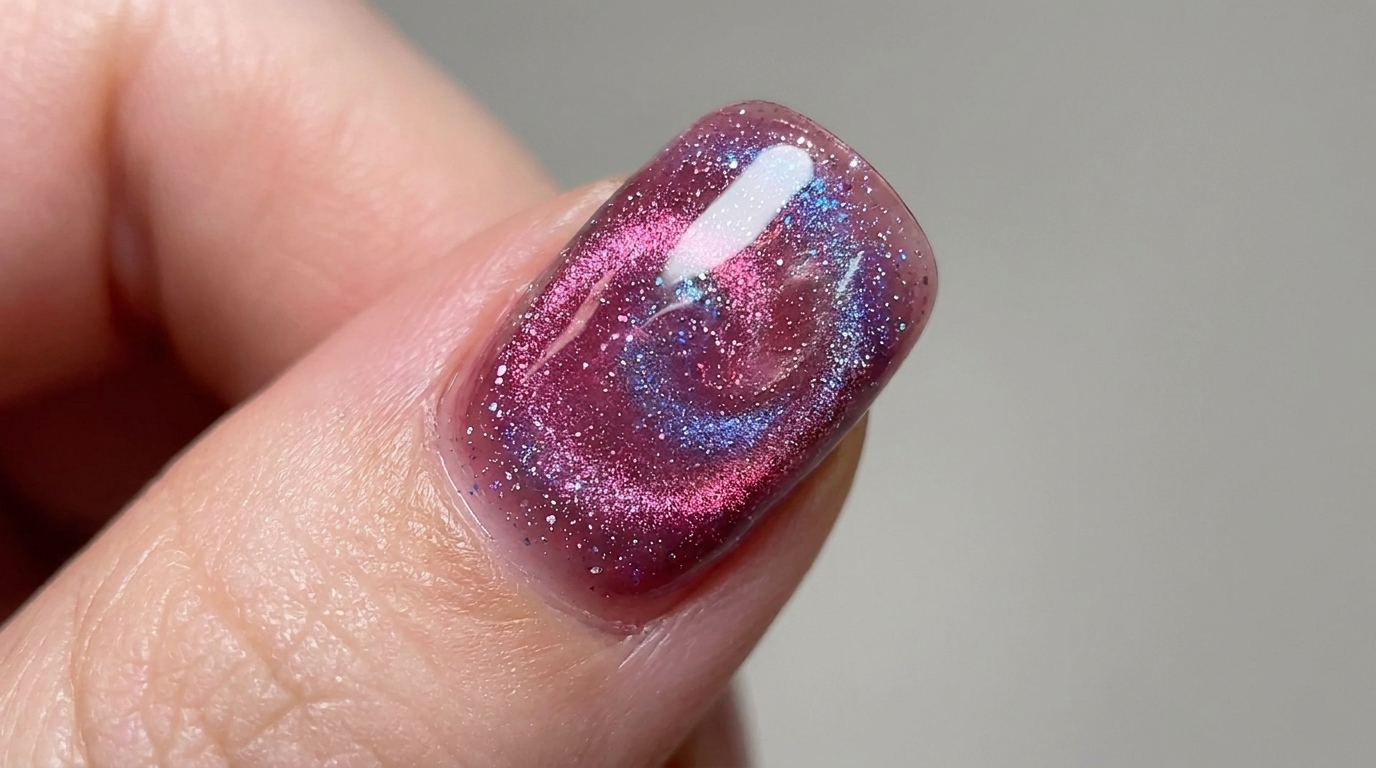
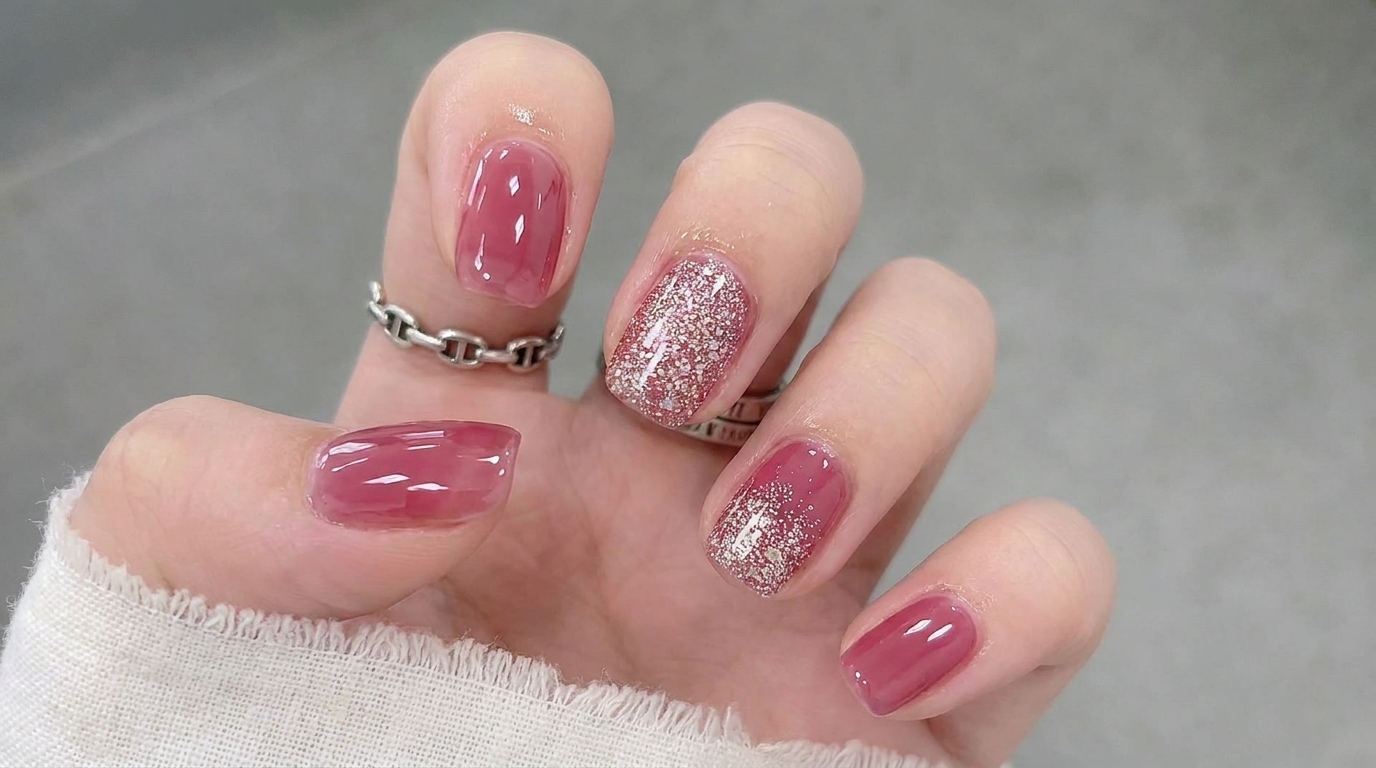
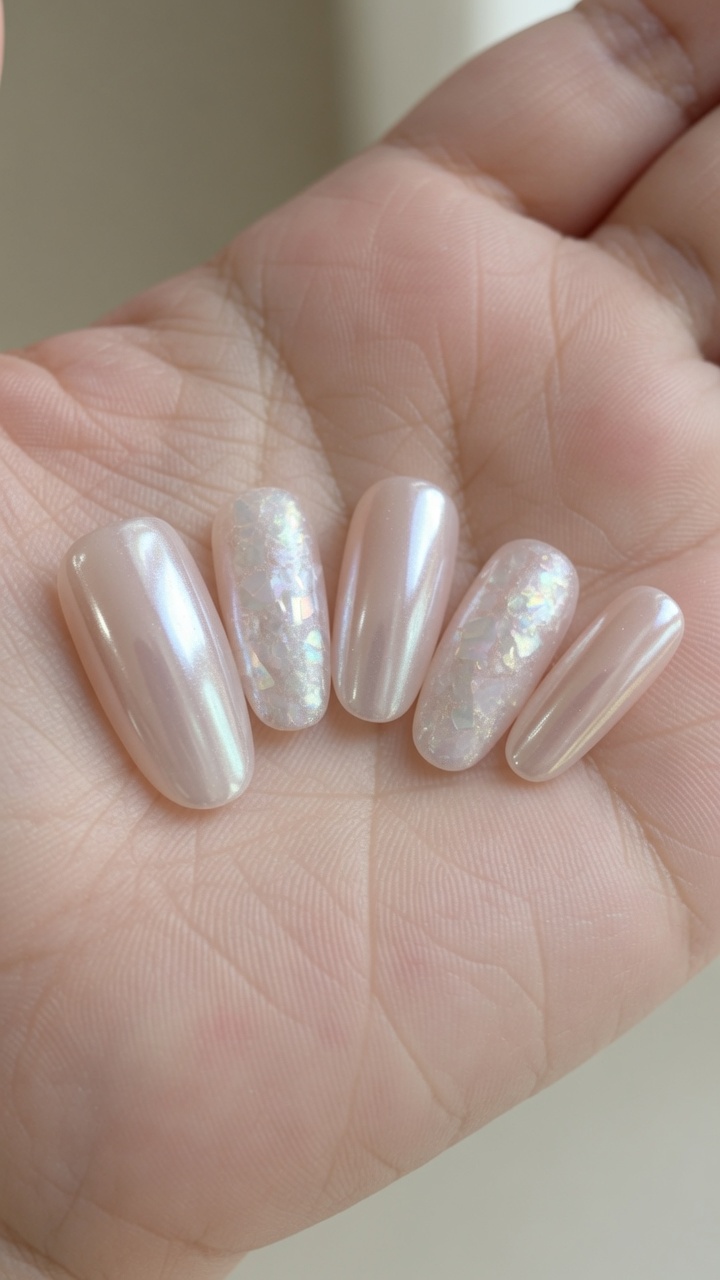
Achieve the viral glazed donut look with this pearlescent chrome nail tutorial. Combine delicate cloud art and shimmering shell flakes for a high-shine finish.
The glazed donut nail trend continues to captivate with its sheer, ethereal glow and high-gloss finish. This tutorial shows you how to elevate the classic look by incorporating delicate cloud-patterned smudging and encapsulated shell flakes for added texture. Follow these steps to master the perfect balance of pearlescent chrome and sheer, milky elegance.
Steps
- 1Apply Yuzhi D03 Base Coat
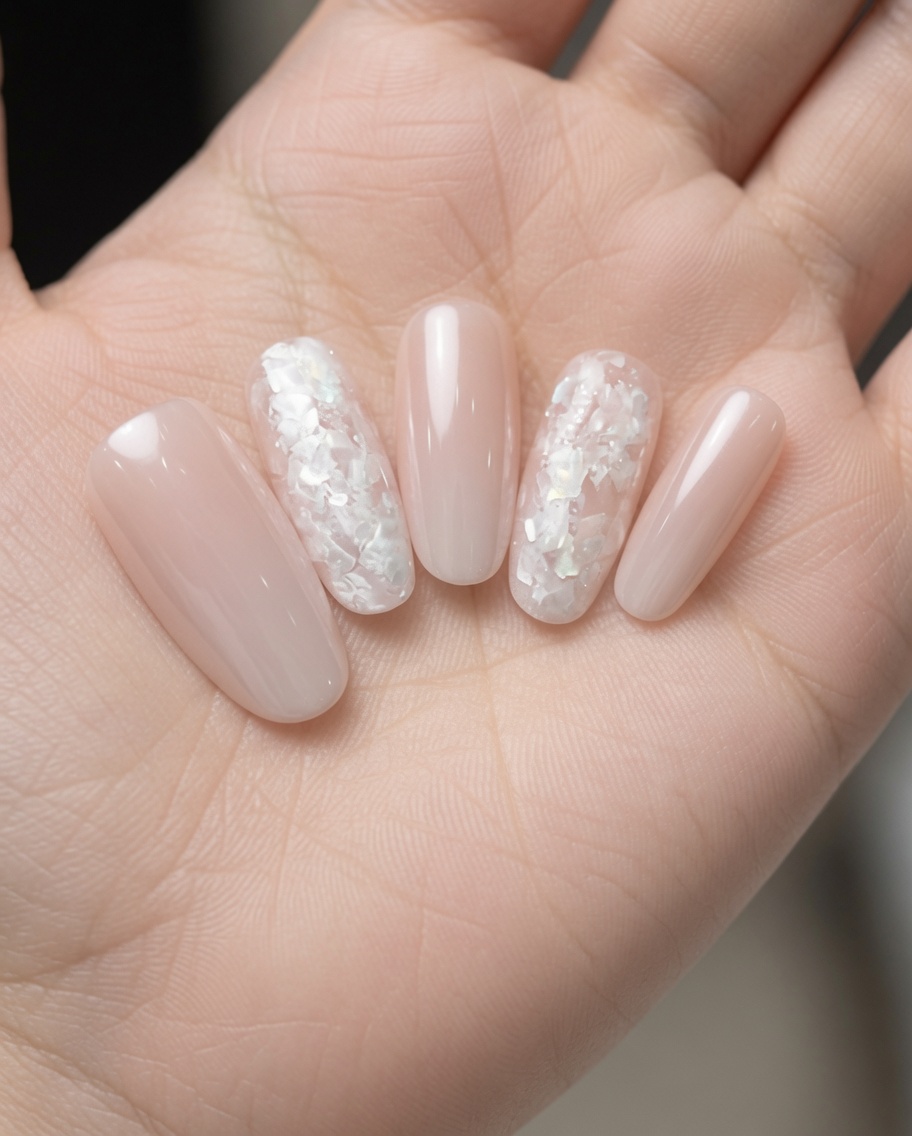
Begin the nail application by applying a layer of Yuzhi D03 base coat to the clean, prepped nail plate. Ensure an even, thin application across the surface, taking care to avoid the cuticle area. This layer provides a smooth foundation for the following nail art steps.
Tip: Apply in thin, controlled strokes to prevent pooling around the cuticles. - 2Create Gradient Tip with Gentle 01
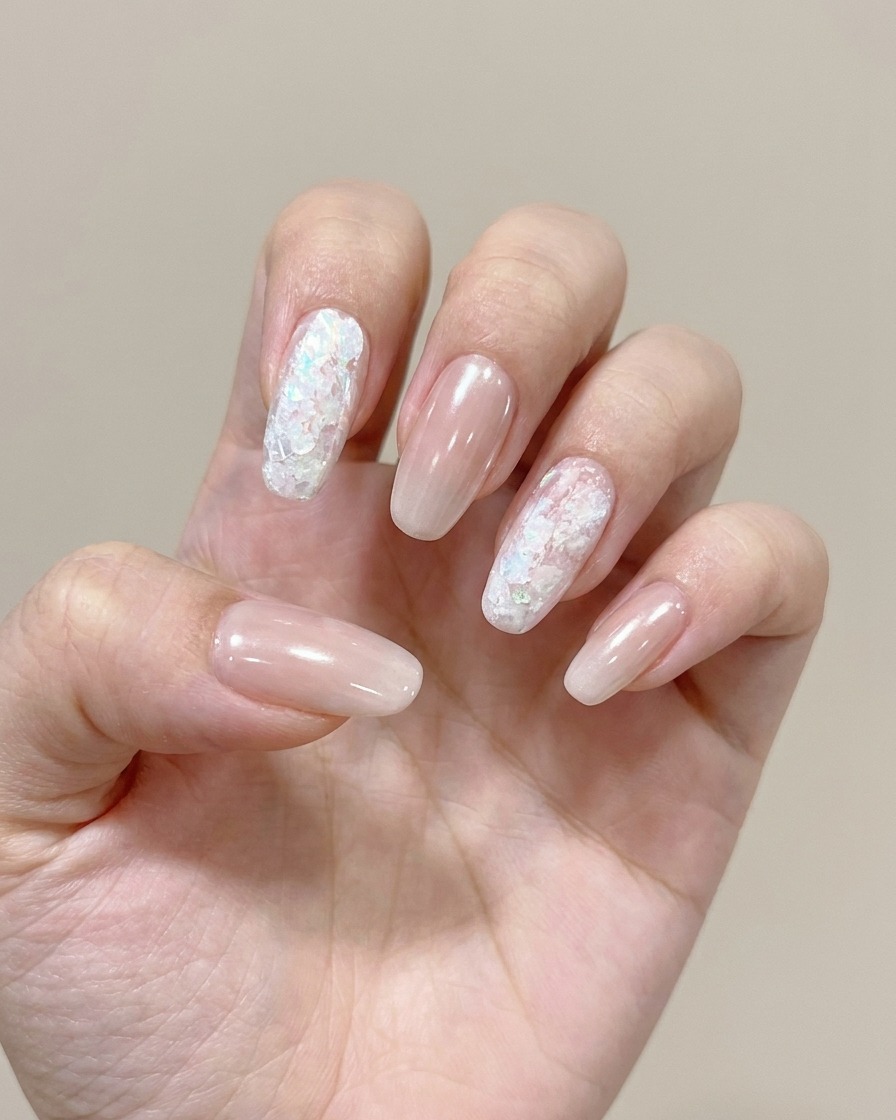
Apply Gentle 01 color gel to the tip of the nail. Use a sponge to gently dab and blend the color upwards, creating a soft gradient effect that is delicate and pretty.
Tip: Dab lightly with the sponge to achieve a smooth transition without harsh lines. - 3Design Cloud Patterns
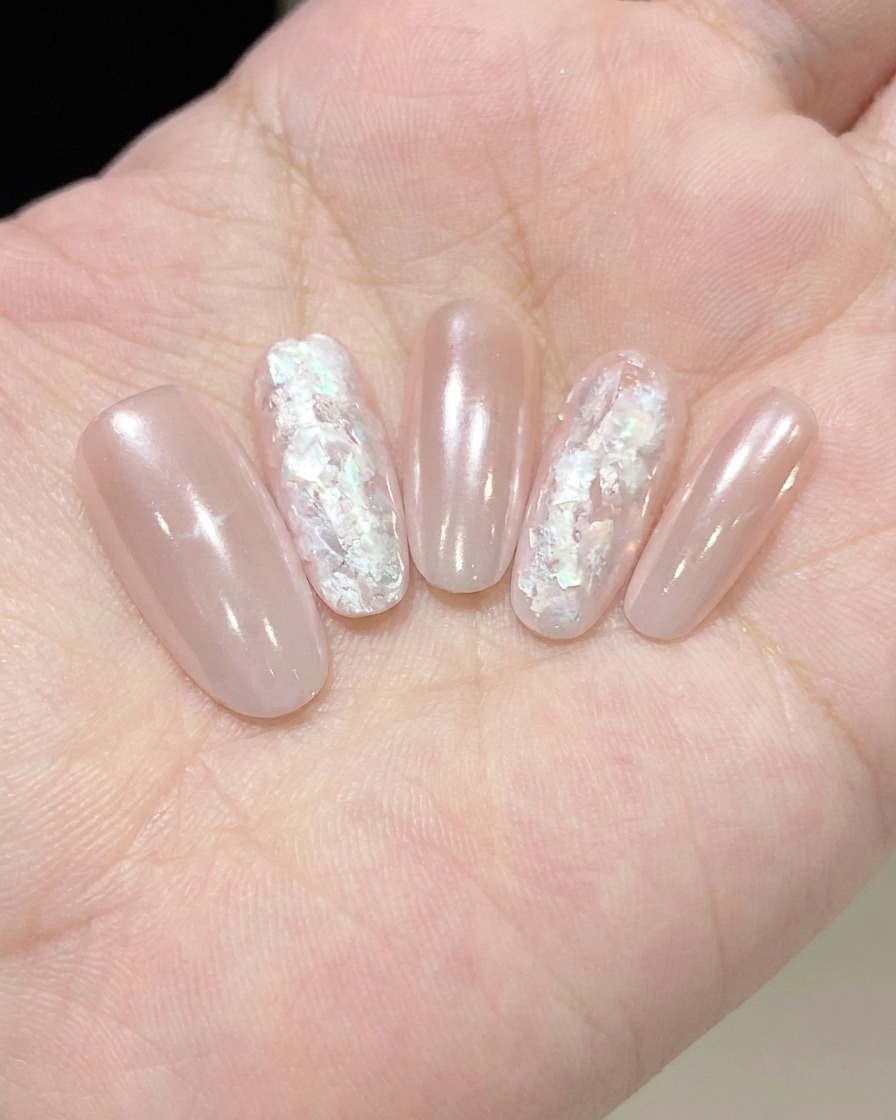
Using Fine Pearl Glue and a fine liner brush, carefully paint cloud-like patterns onto the nail. Use a gentle smudging technique to blend the product, creating a delicate, ethereal effect.
Tip: Use light pressure with the liner brush to maintain the airy, cloud-like shape. - 4Apply Strong Diamond Glue
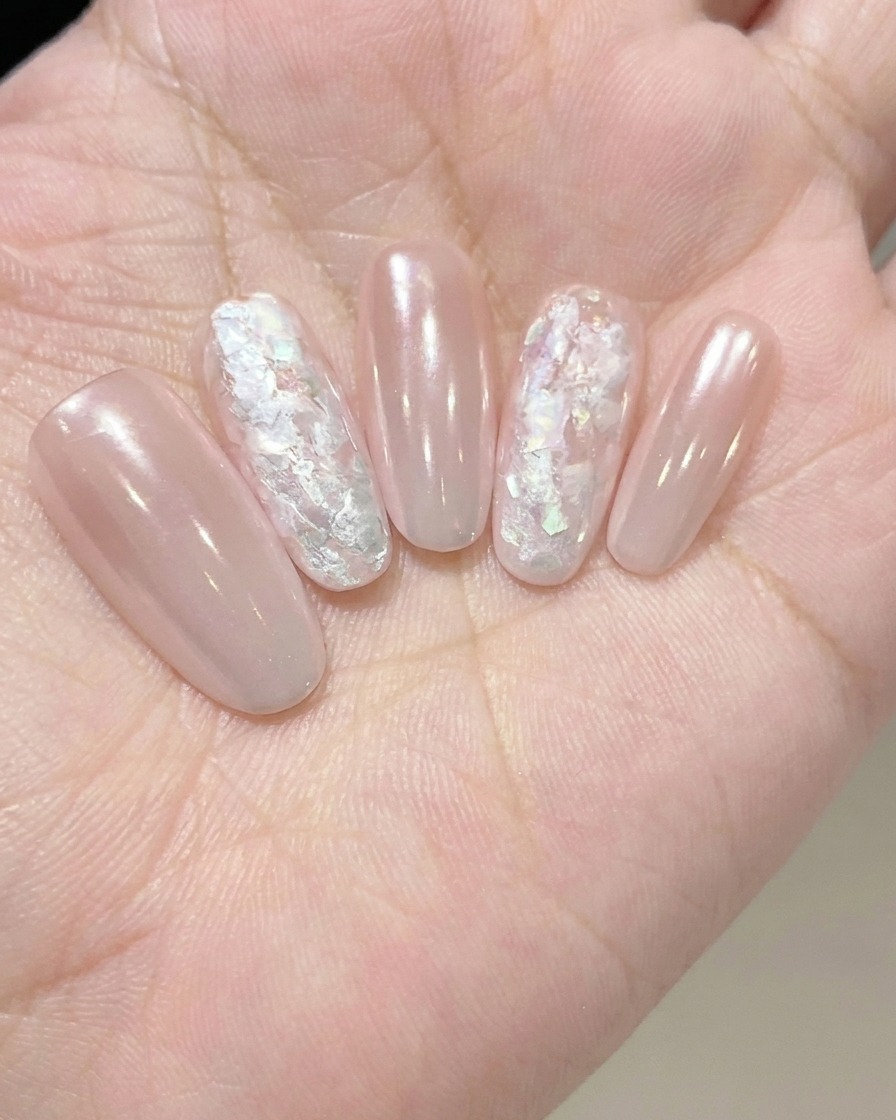
Apply a layer of Strong Diamond Glue over the nail surface. This acts as a strong adhesive base to securely hold the shell flakes in the next step.
Tip: Ensure an even layer so the shell flakes can be embedded uniformly. - 5Embed Shell Flakes
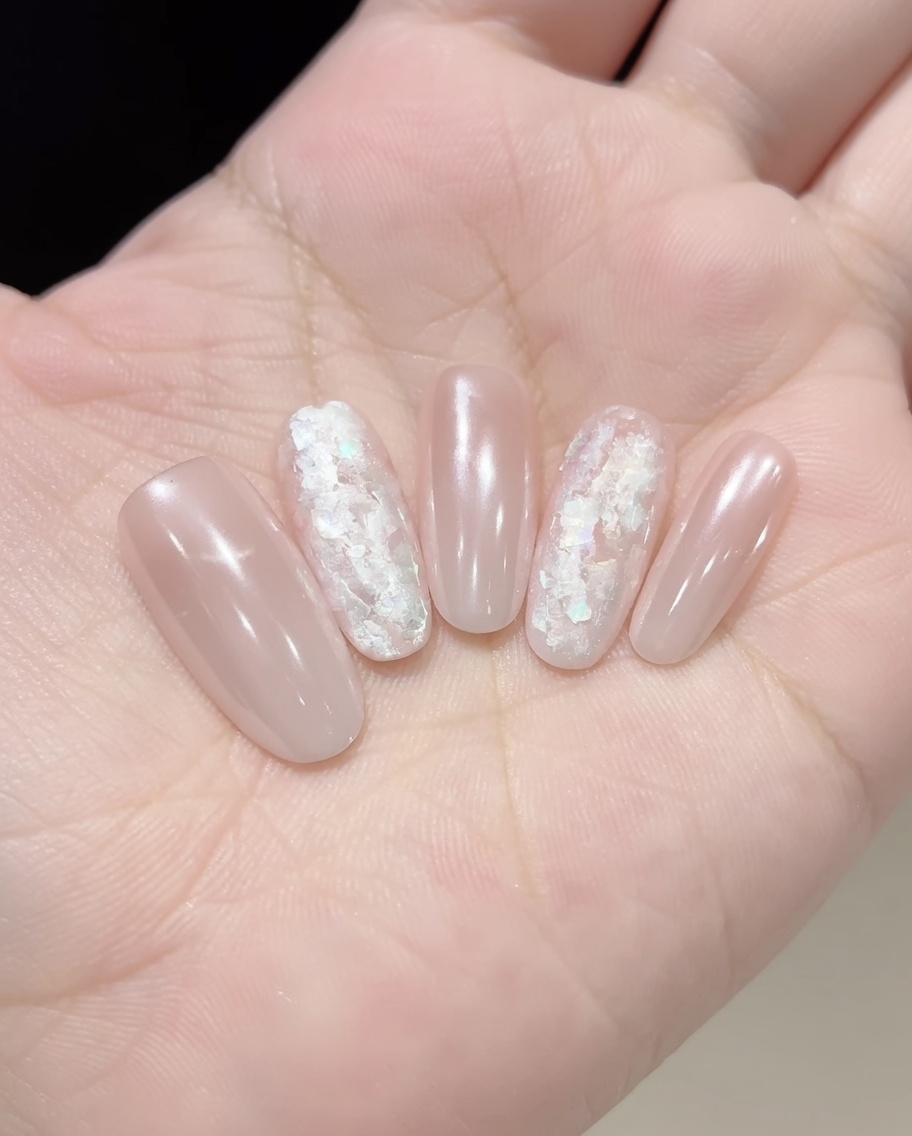
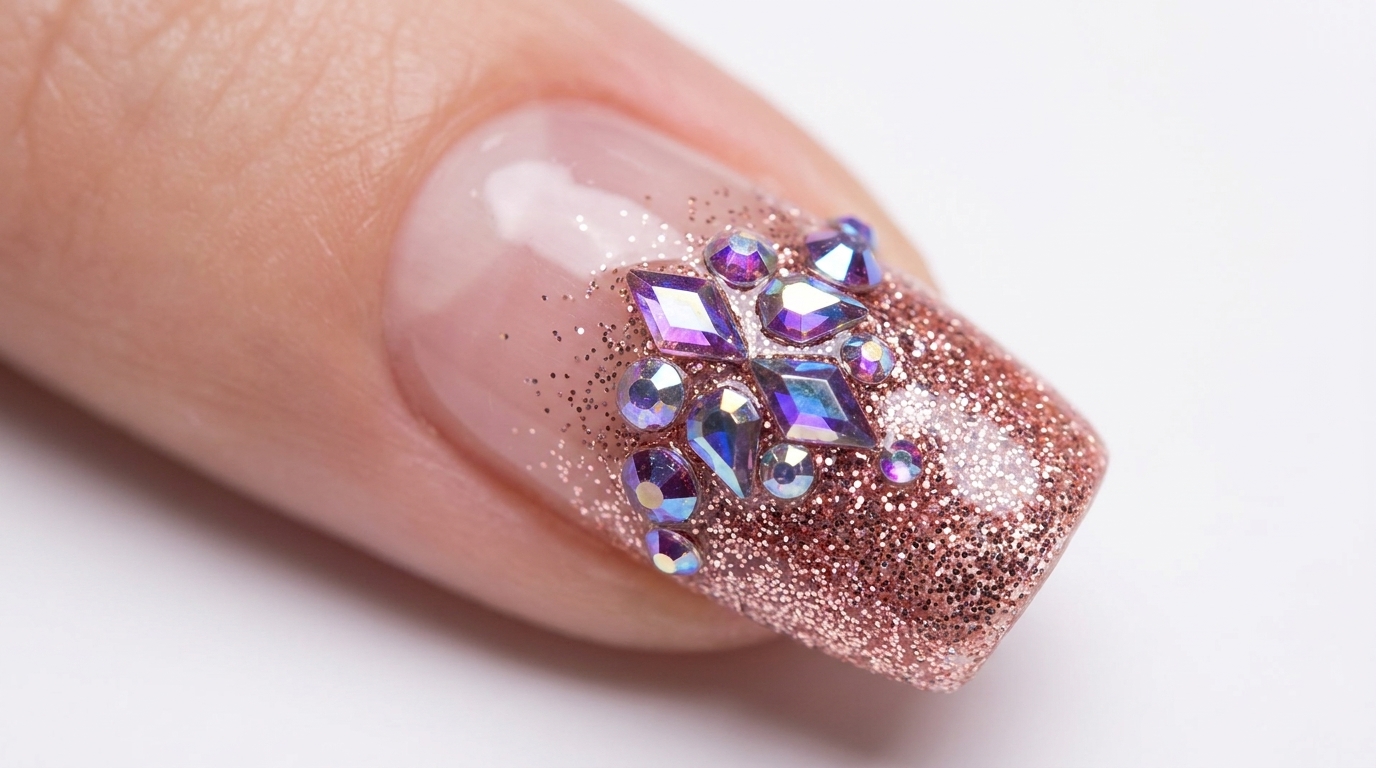
Using a liner brush, carefully place small pieces of shell flakes onto the surface where the Strong Diamond Glue was applied. Arrange them to create a textured, shimmering look.
Tip: Work in small sections to ensure flakes adhere well before the glue cures. - 6Apply Soft Reinforcing Glue
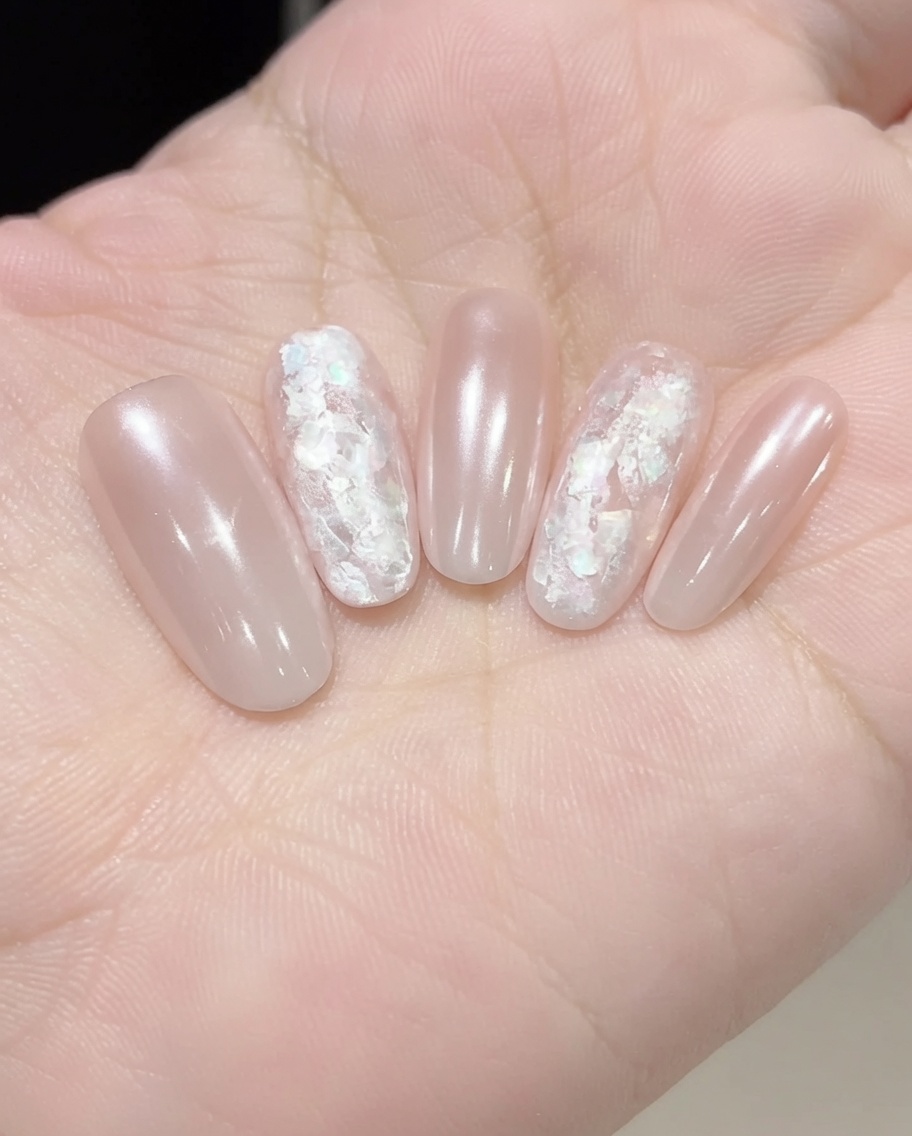
Once the shell flakes are placed, apply a layer of Soft Reinforcing Glue over the entire nail. This encapsulates the flakes, providing a smooth, protected surface for the final finish.
Tip: Ensure the flakes are fully covered to prevent any snagging. - 7Remove the tacky layer
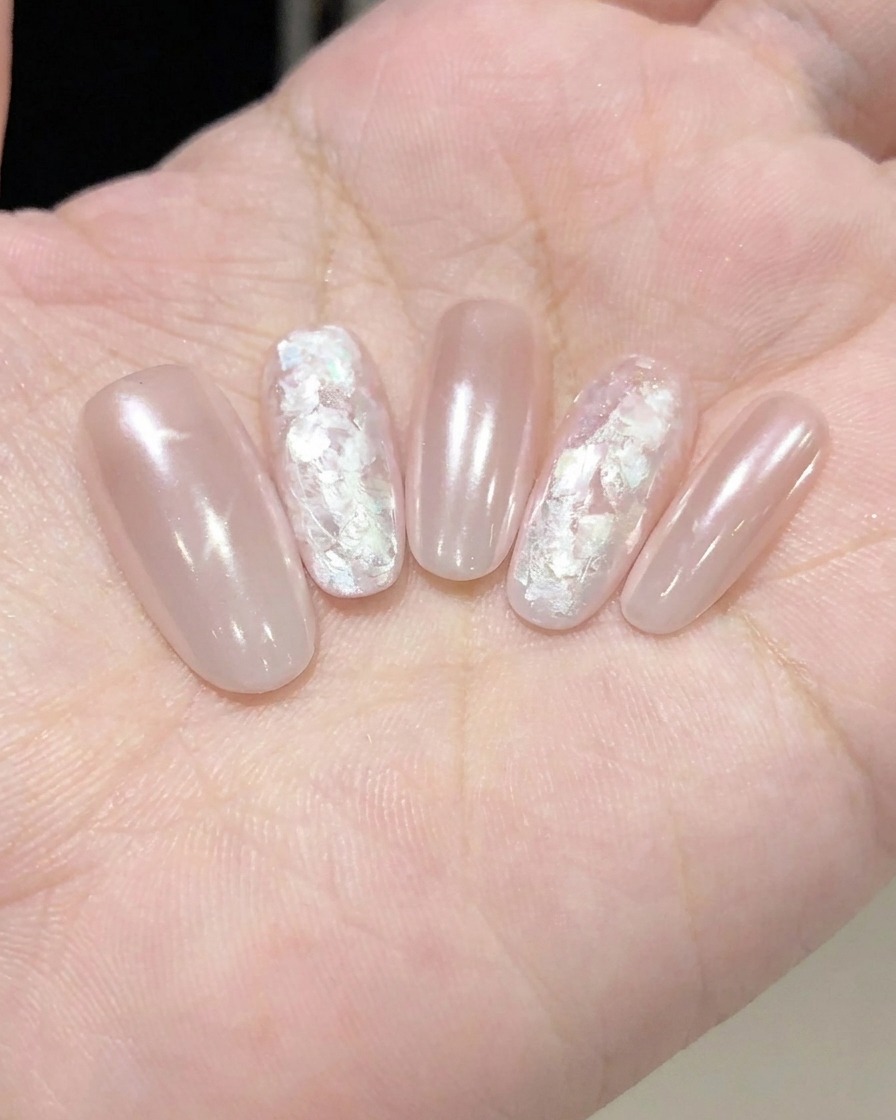
Using a lint-free wipe saturated with a small amount of nail cleanser, gently wipe the surface of the cured nail. This removes the sticky inhibition layer left after curing, leaving a smooth, clean finish.
Tip: Be thorough but gentle to avoid dulling the shine you just created. - 8Apply a final layer of Fine Pearl Glue
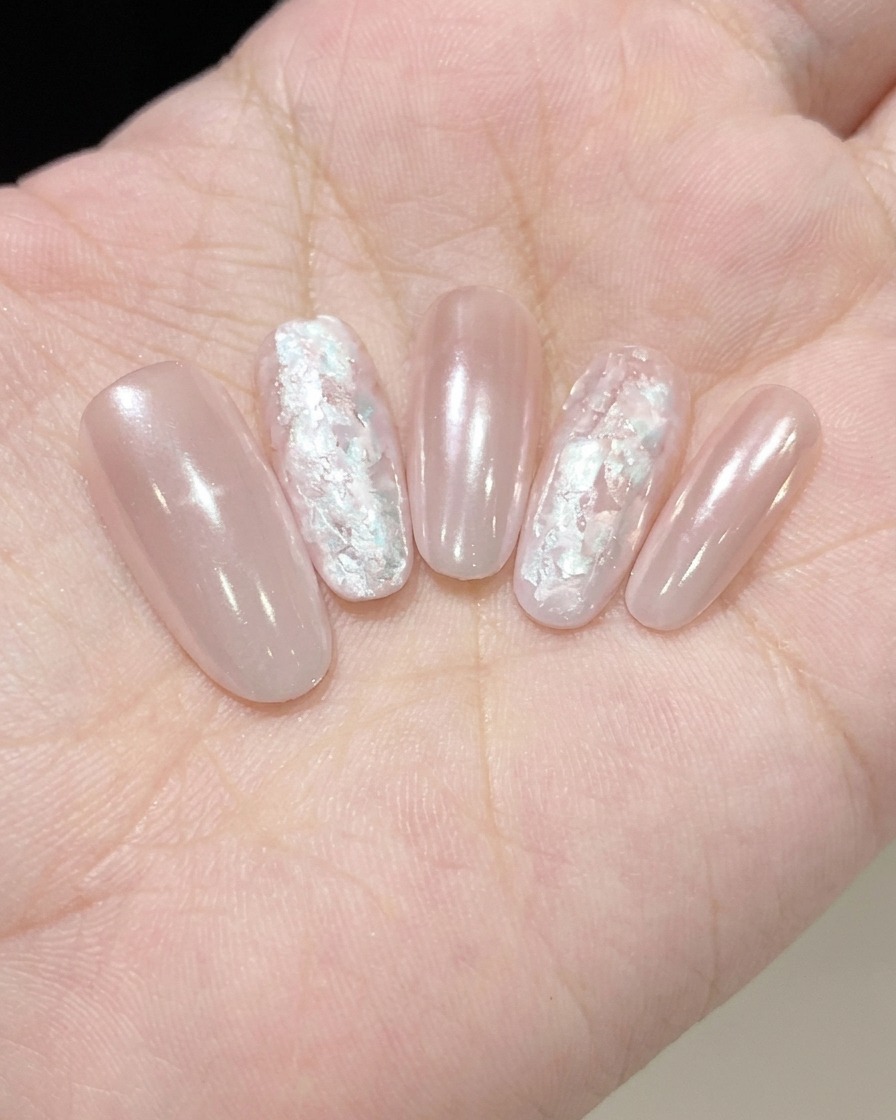
Apply an even, thin layer of Fine Pearl Glue over the entire nail surface. This adds an extra layer of depth and shimmer, enhancing the pearlescent finish of the design. Ensure full coverage and cure according to your lamps instructions.
Tip: Keep the layer thin to avoid bumps or uneven textures. - 9Apply Silk Smooth Top Coat
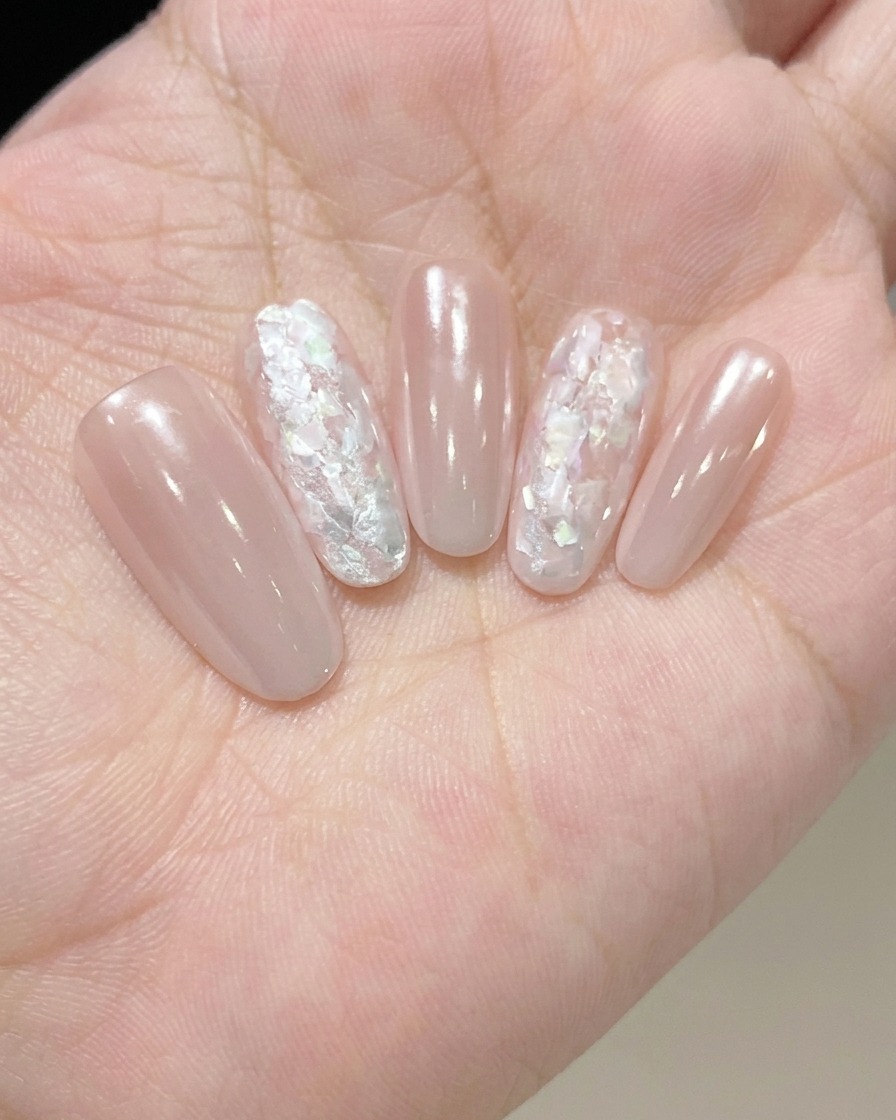
Apply a generous, even layer of Silk Smooth Top Coat over the nail. This seals in the design, protects the finish, and gives it a high-gloss, silky appearance. Cap the free edge to ensure longevity.
Tip: Ensure the top coat is applied smoothly, covering the entire nail surface. - 10Create a gradient on the second nail
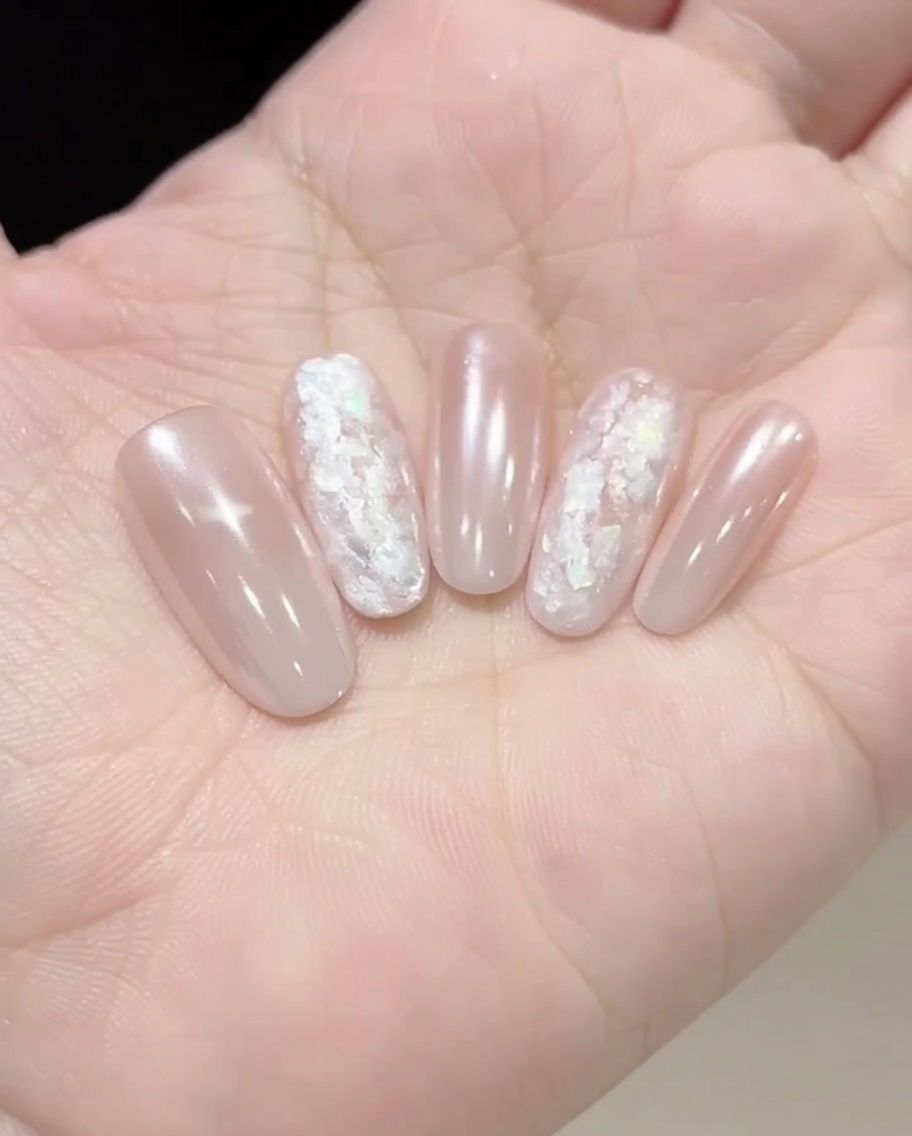
Using a cosmetic sponge, gently dab your chosen color onto the tip of the second nail. Build up the color gradually to create a soft, seamless gradient effect that blends into the base color.
Tip: Use a light, dabbing motion to ensure a smooth transition and prevent harsh lines. - 11Apply Chrome Powder Top Coat
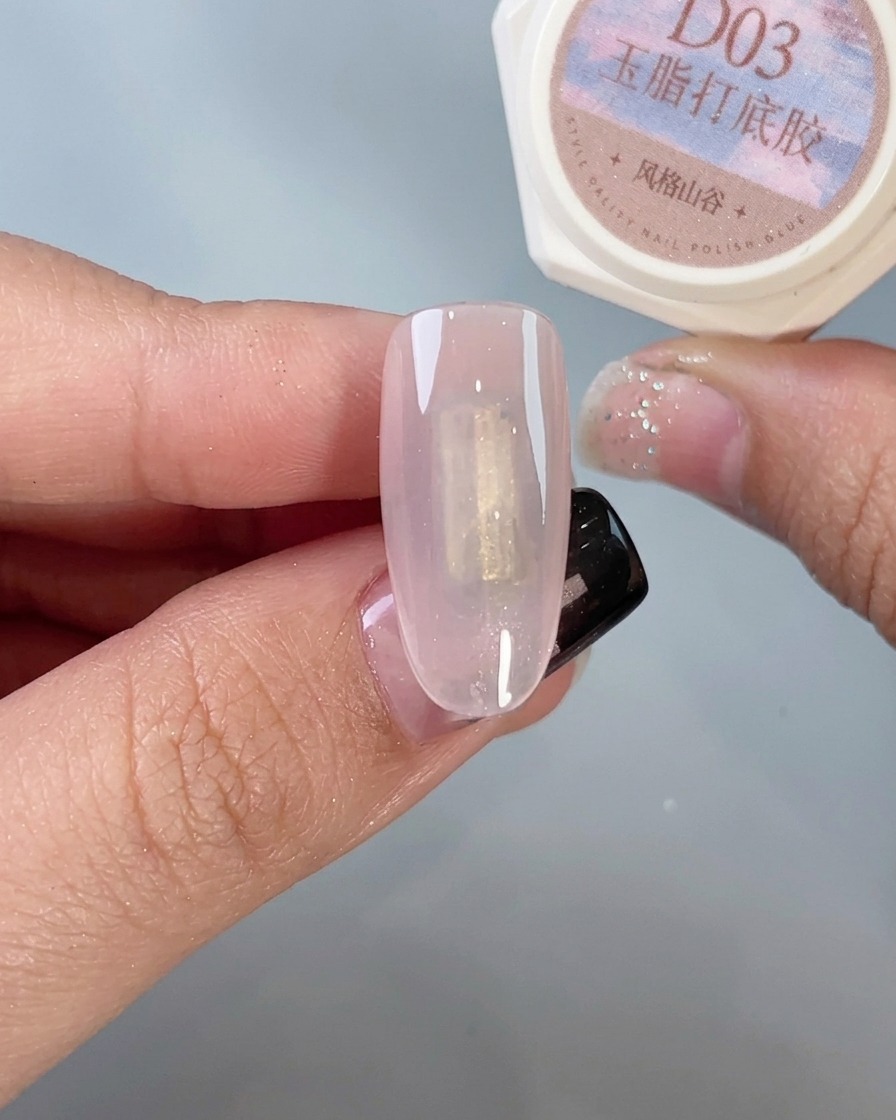
Apply a layer of Chrome Powder Top Coat to the gradient-treated nail. This specific top coat acts as the base for the chrome powder, ensuring it adheres perfectly for a smooth, mirror-like finish. Cure for 30 seconds.
Tip: Apply this layer smoothly to prevent streaks or bubbles under the chrome. - 12Apply chrome powder
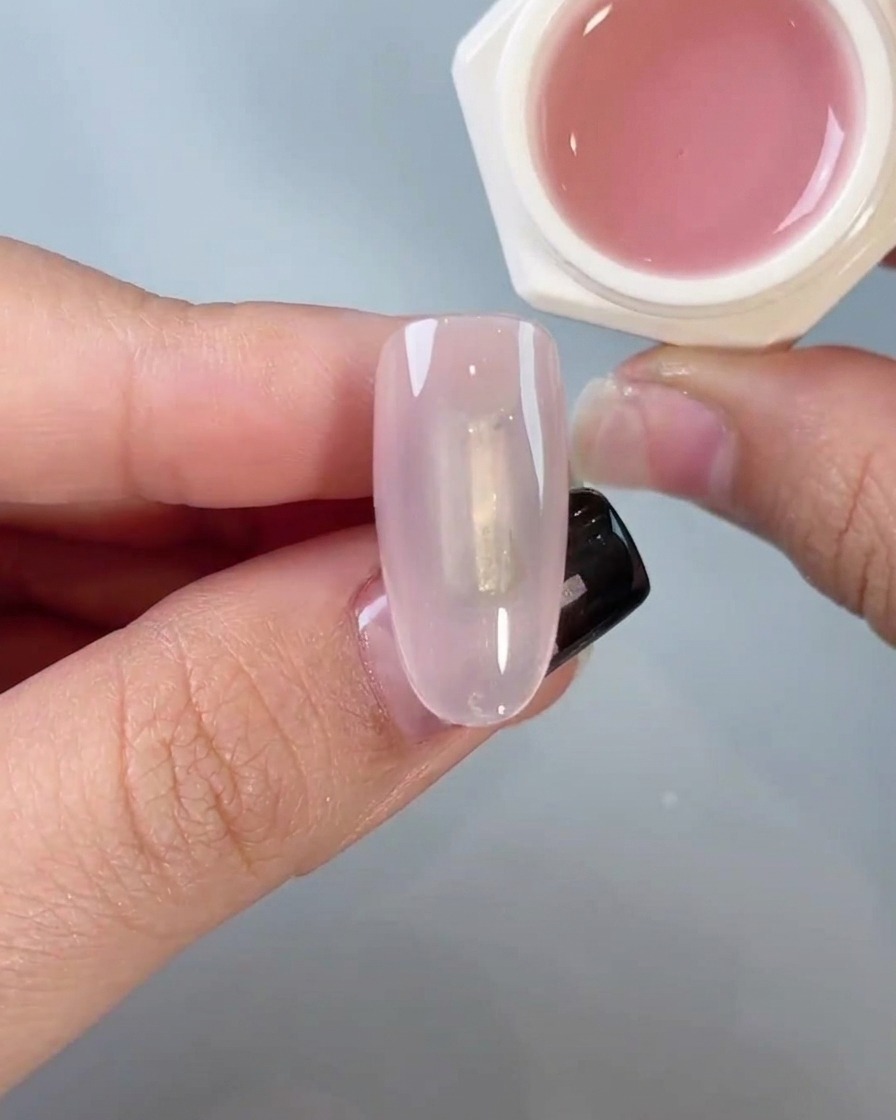
Using a sponge applicator, pick up a small amount of chrome powder and rub it onto the cured surface of the nail. Use gentle circular motions until the entire nail surface has an even, mirror-like chrome effect.
Tip: Use a light touch with the brush to produce a better effect. - 13Remove excess chrome powder
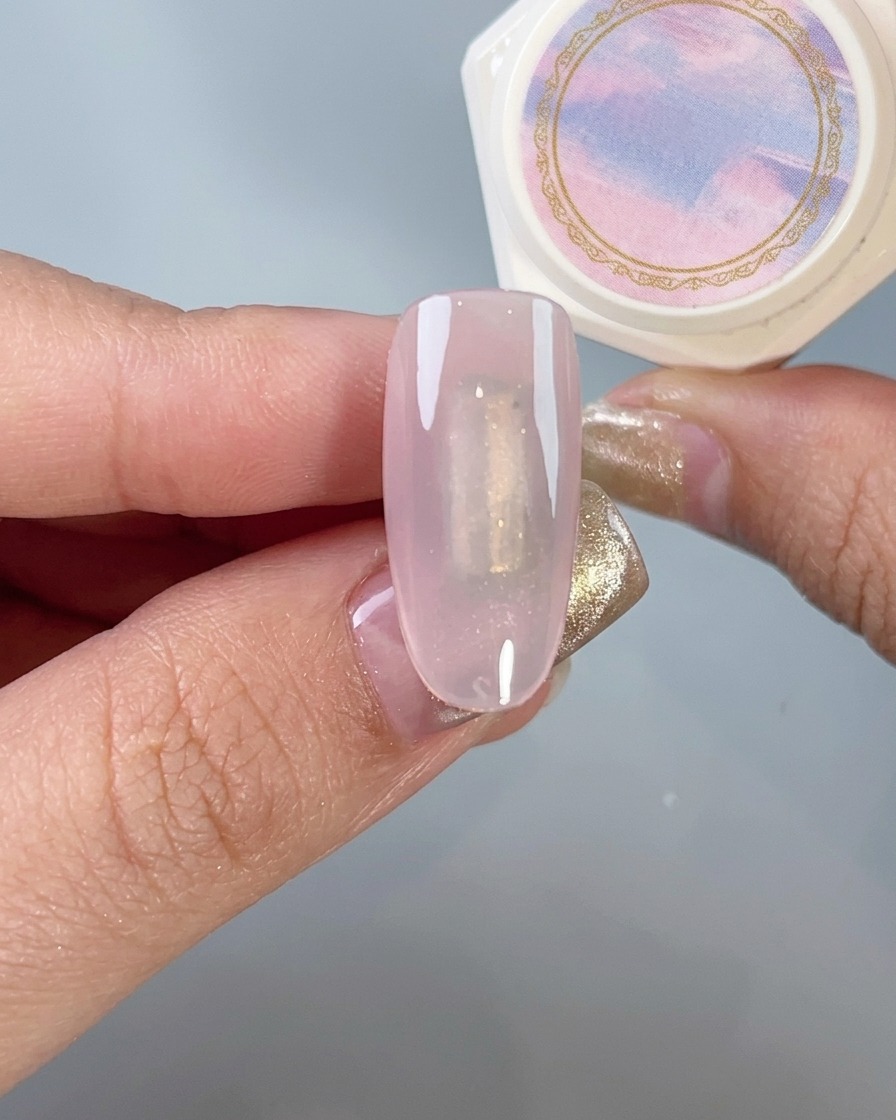
After curing the chrome powder application for 30 seconds, use a soft, fluffy brush to gently dust off any excess powder from the nail surface. This ensures a clean, mirror-like finish and prevents loose particles from being trapped under the final top coat.
Tip: Use a light, sweeping motion to avoid scratching or dulling the chrome mirror effect. - 14Seal the chrome finish
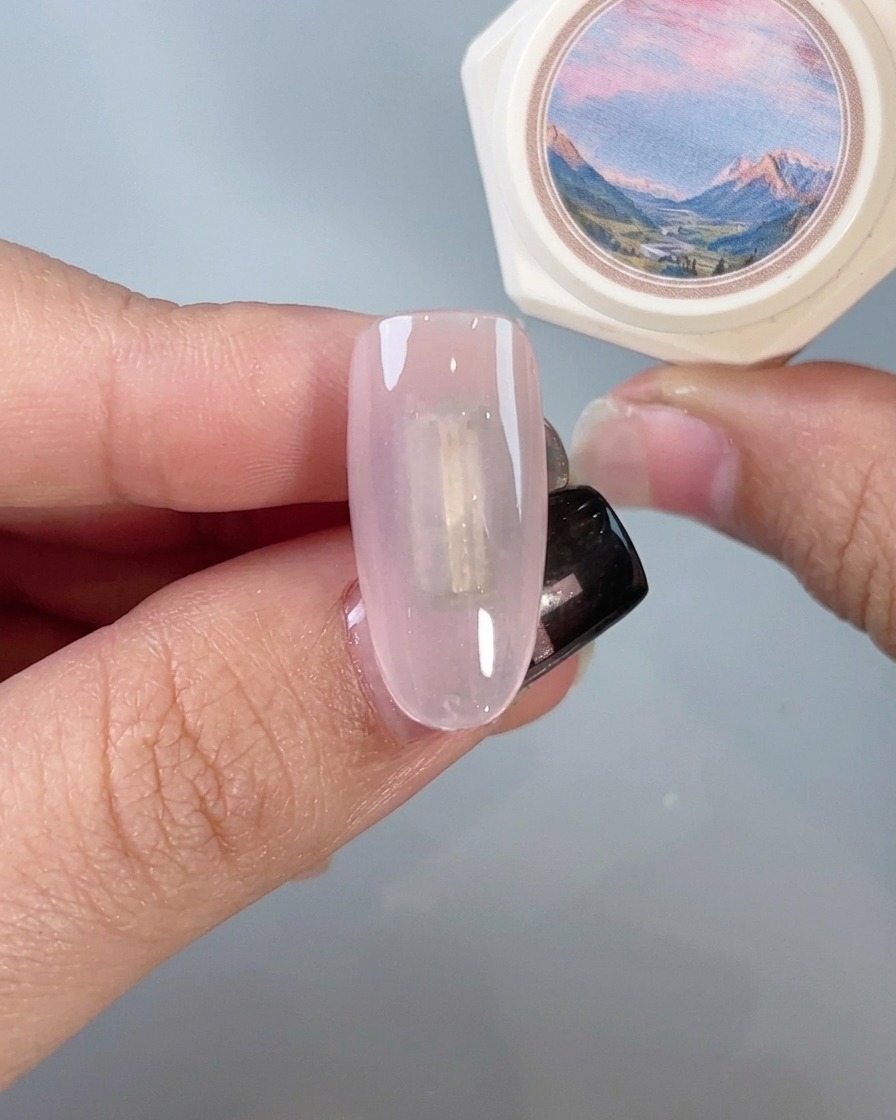
Once the excess powder is removed, apply a layer of Chrome Powder Top Coat over the nail. This step is crucial to lock in the mirror effect and provide a durable foundation for the final top coat, ensuring the powder doesnt wear off or smudge.
Tip: Apply this layer with a light touch using the brush to prevent dragging or streaking the delicate chrome surface. - 15Apply final top coat
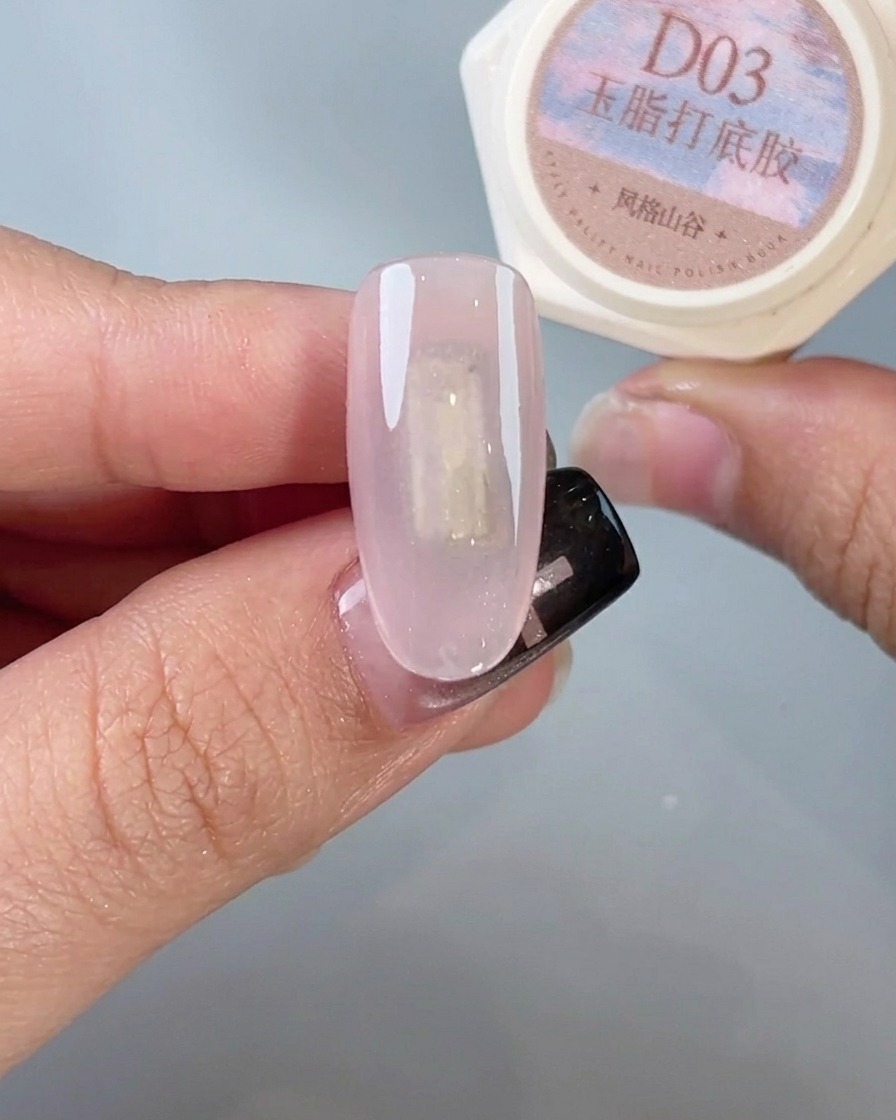
Complete the second nail by applying a final layer of Silk Smooth Top Coat. This provides the ultimate high-gloss shine and long-lasting protection for your glazed donut nail design. Cap the free edge for maximum wear.
Tip: Ensure the top coat is applied evenly to maintain the super bright and sheer look of the pearl chrome finish.