Ice Jelly Glitter Gel Nails — Easy Step-by-Step Tutorial
Create a dreamy, translucent ice jelly manicure with delicate fine glitter. This simple tutorial shows you how to master the perfect sheer, glossy finish.
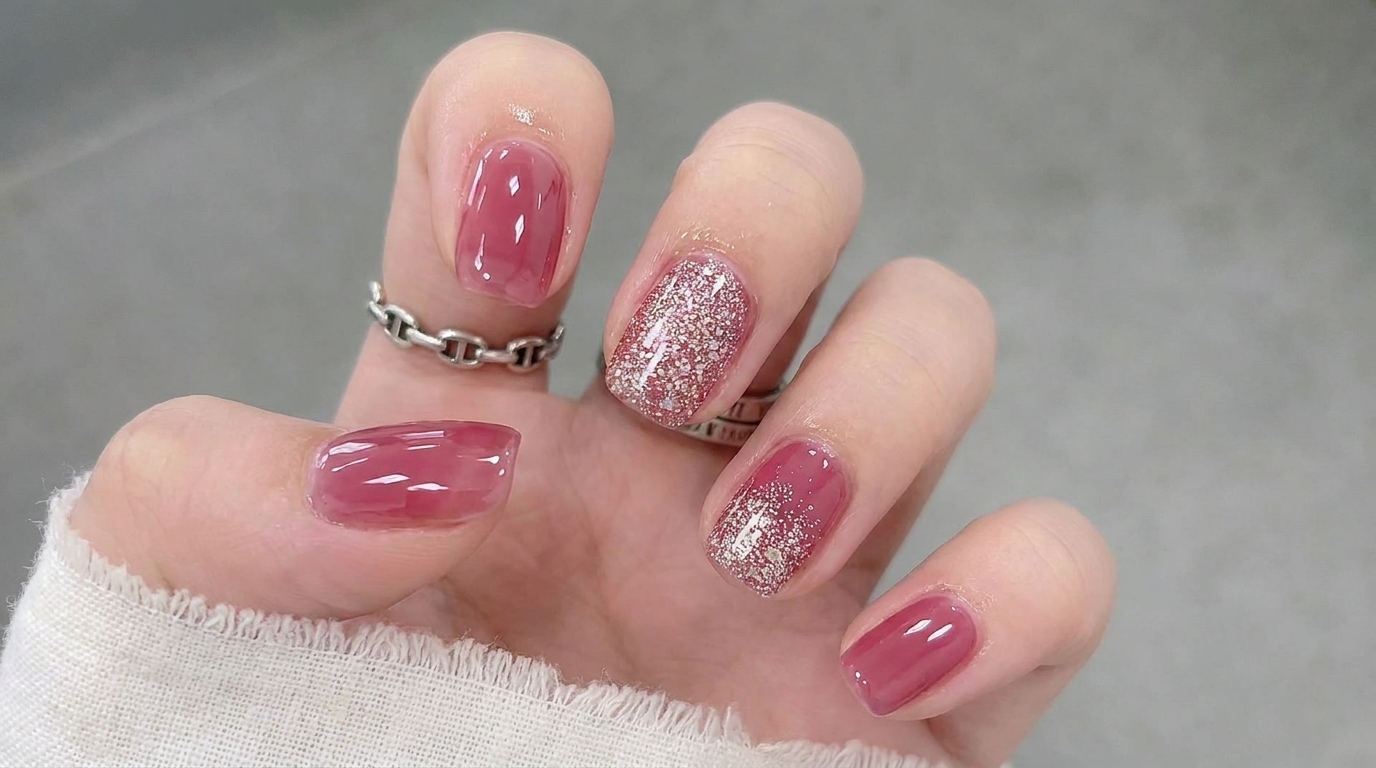
The ice jelly nail trend is all about achieving a soft, glass-like finish that looks both clean and sophisticated. By layering sheer berry-pink gel, you create depth that mimics the look of high-end, squishy jelly polish. Adding a touch of fine glitter elevates the look, offering a subtle, sparkling dimension perfect for any occasion.
Steps
- 1Apply Base Coat
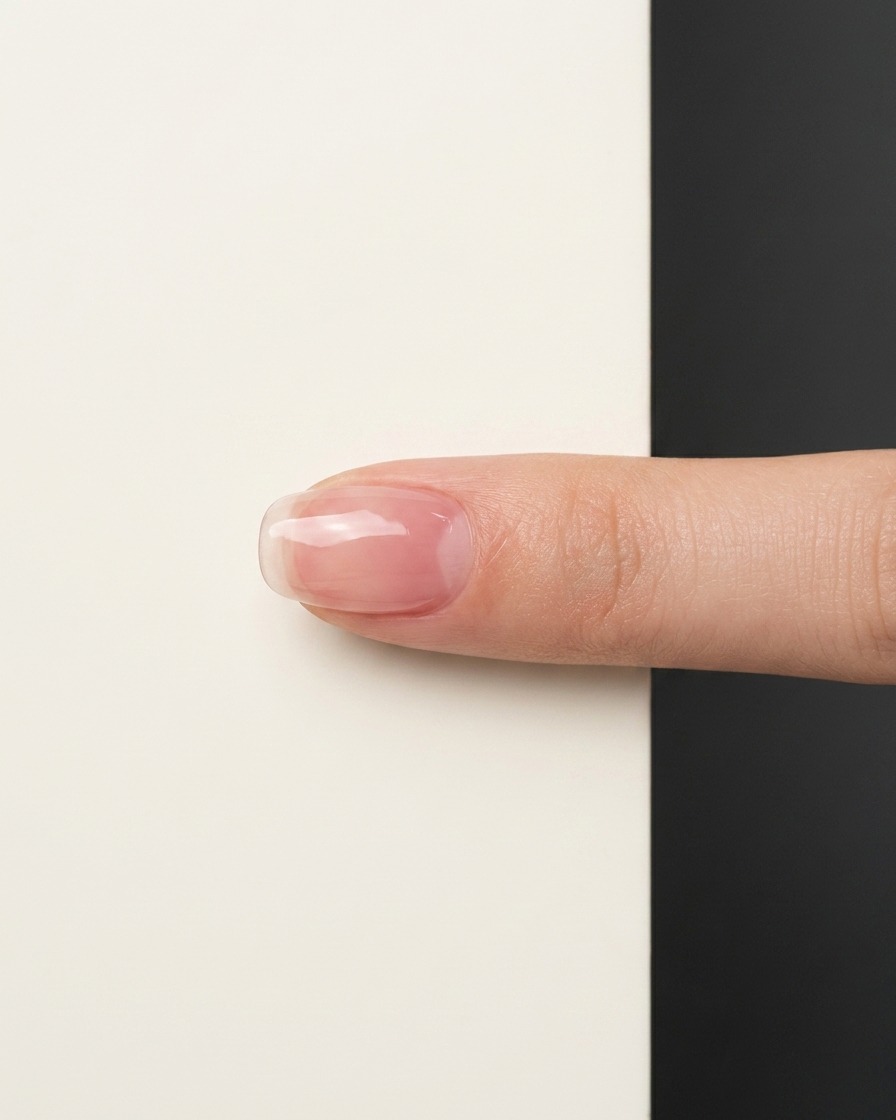
Start with clean, prepped nails. Apply a thin, even layer of base coat to your natural nail to create a smooth, protective foundation. This essential step ensures better adhesion for your jelly gel layers.
Tip: Ensure your nails are completely clean and free of oils before applying the base coat for maximum longevity. - 2Apply First Coat of M55
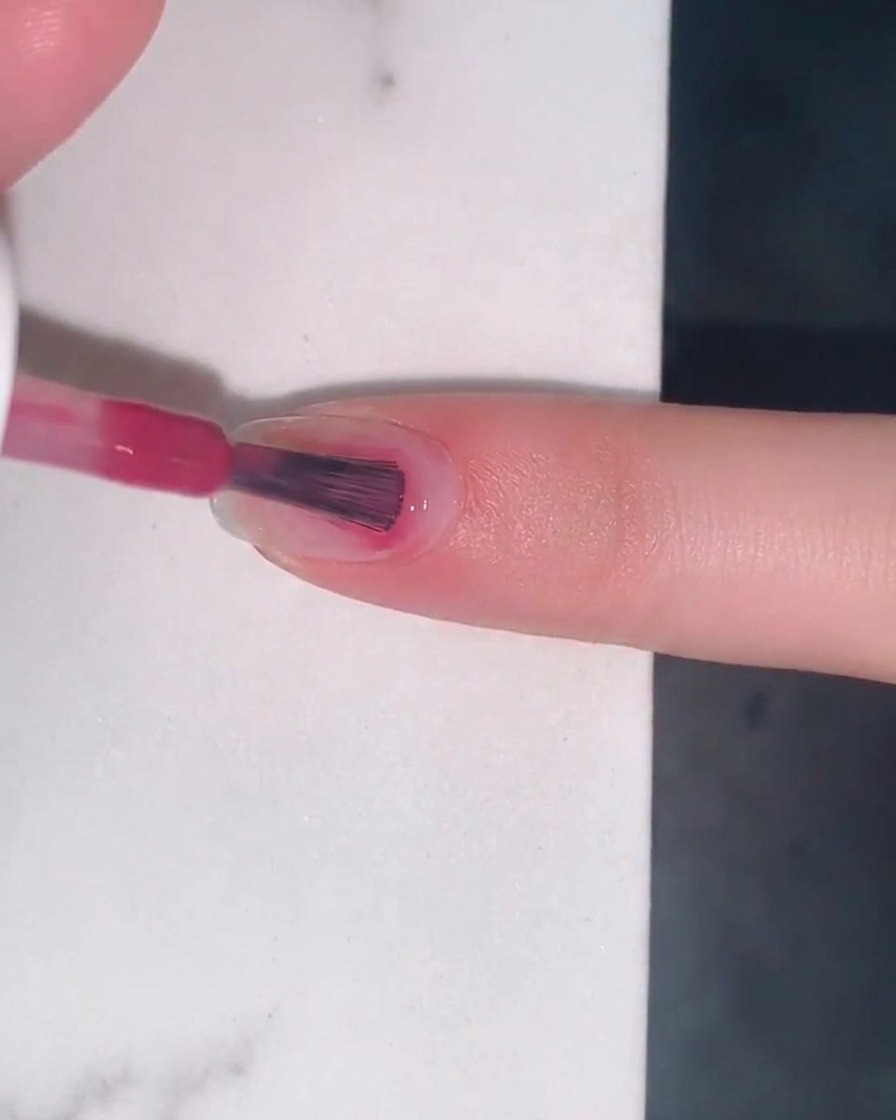
Using the shade M55, apply a first thin coat of the berry-pink jelly gel to the middle finger. Jelly formulas are meant to be sheer, so keep this layer light and even.
Tip: Apply the polish thinly to prevent pooling around the cuticles and to ensure even drying. - 3Coat the Index Finger
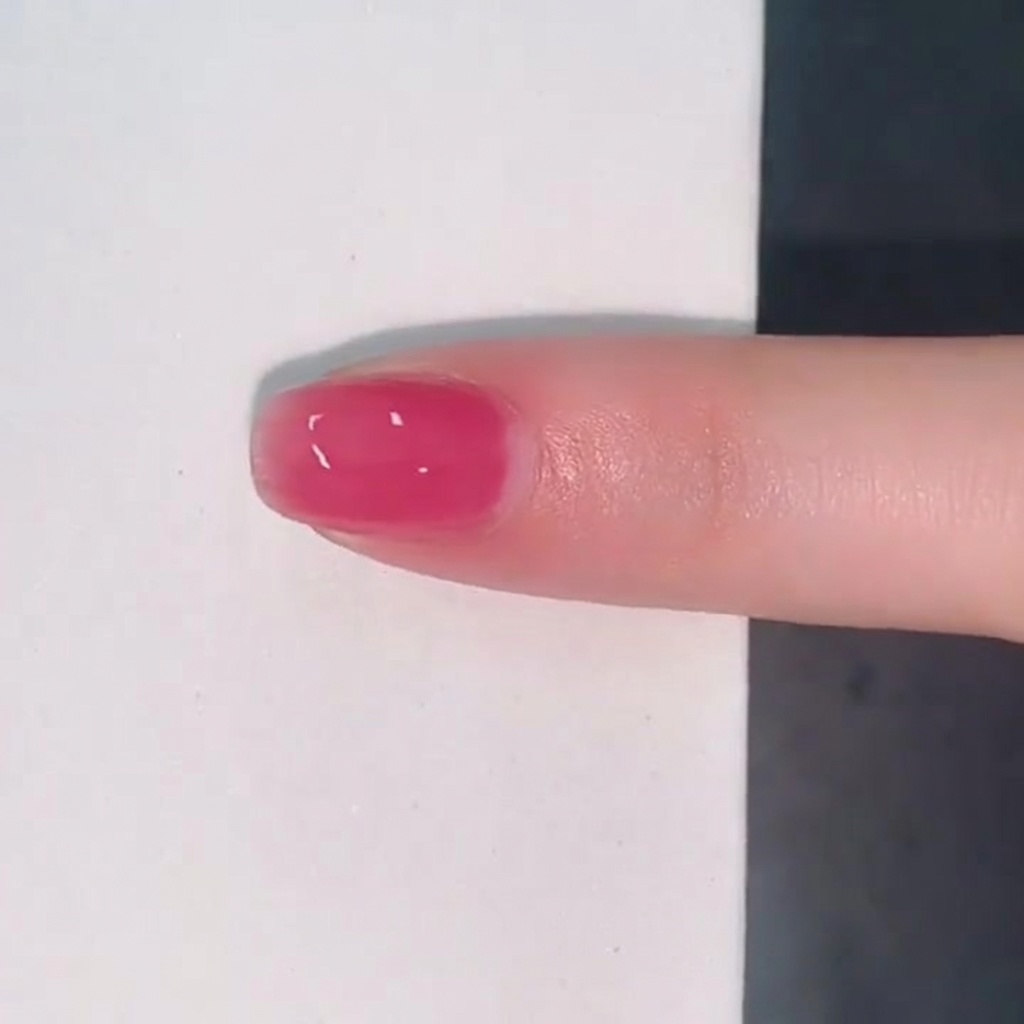
Next apply the first thin layer of the berry pink gel to the index finger. You will also repeat this process for the ring and little fingers to create a uniform base.
Tip: Ensure the first layer is properly cured before proceeding to build the color with a second coat. - 4Apply Second Coat
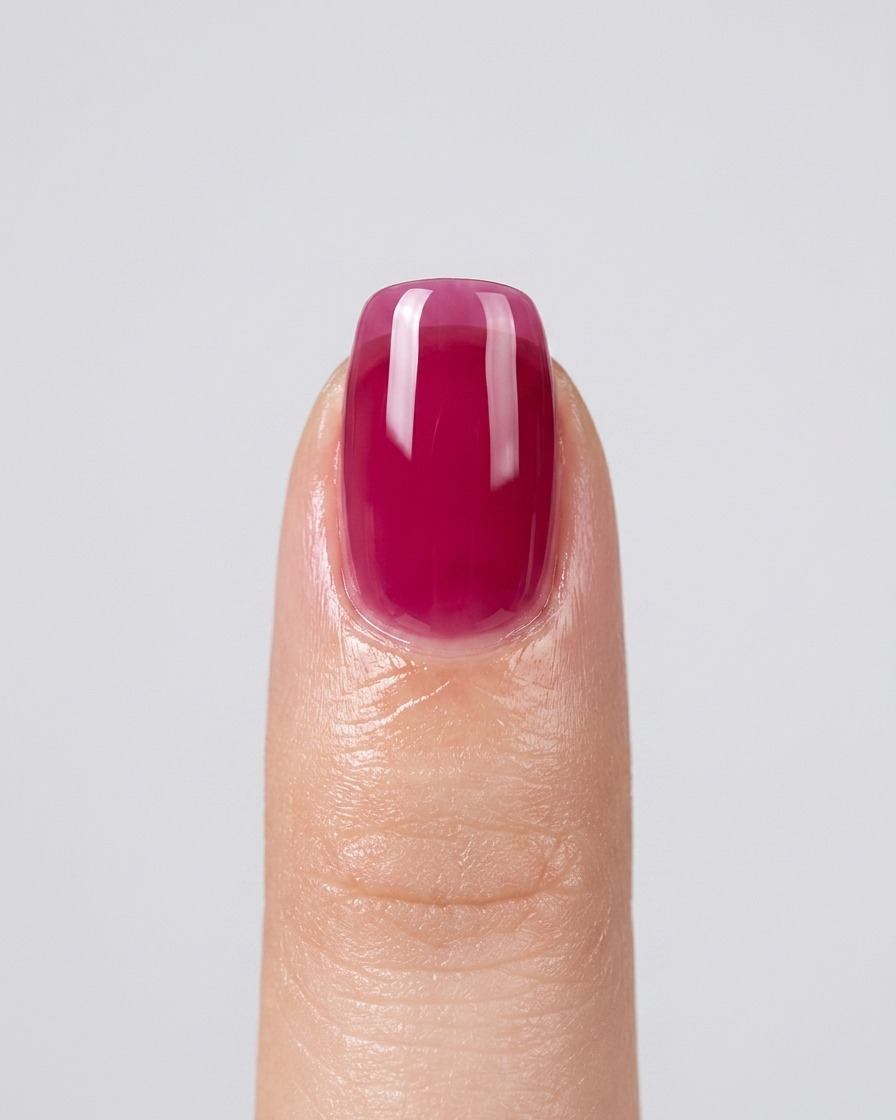
Once the first layer is dry, apply a second coat of M55 to the middle finger. This builds up the intensity of the color while maintaining that beautiful, squishy ice jelly effect.
Tip: Building the color gradually with multiple thin layers creates a much smoother finish than one thick layer. - 5Build Opacity with a Third Coat
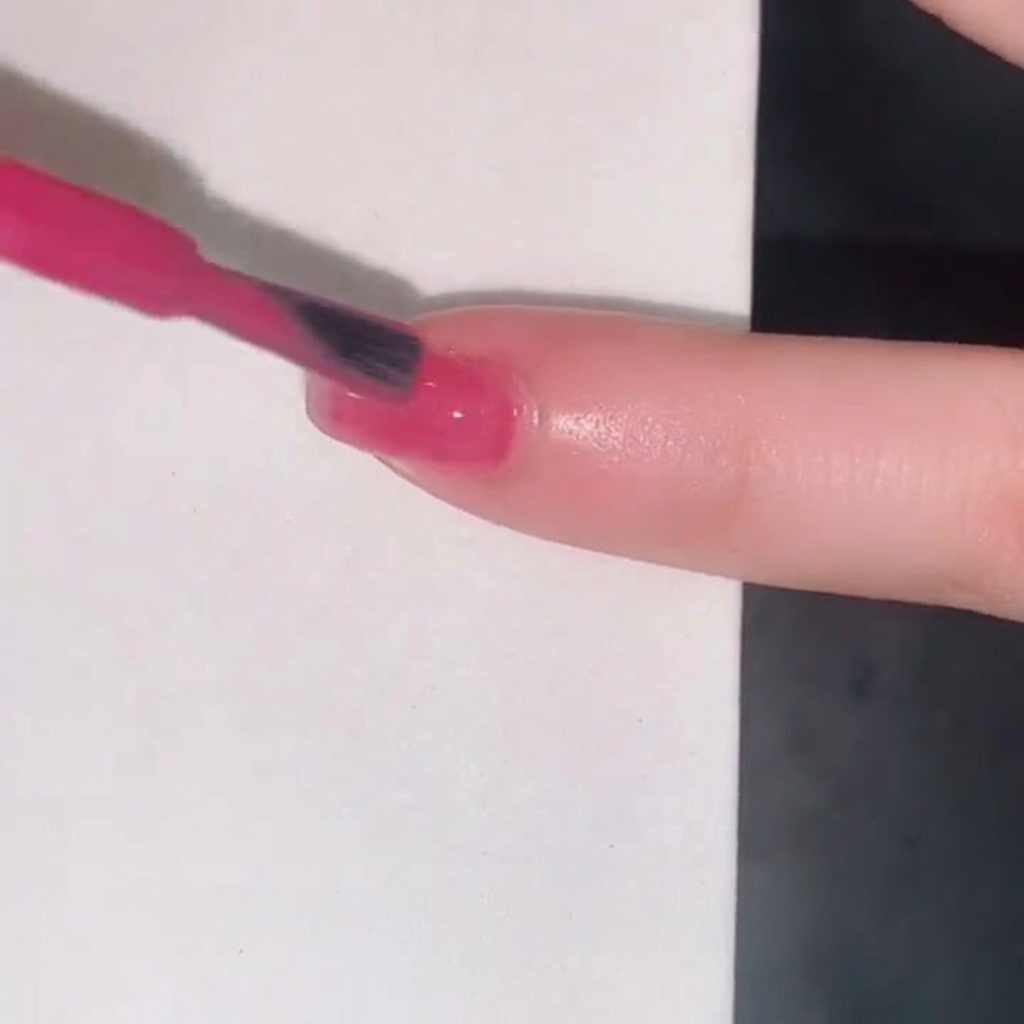
For the best color effect and deeper opacity, apply a third and final coat of M55 to the middle finger. This gives the nail a rich, vibrant berry-pink tone.
Tip: Ensure your brush strokes are light and parallel to the nail to avoid streaks in sheer jelly polishes. - 6Apply M55 Jelly Base
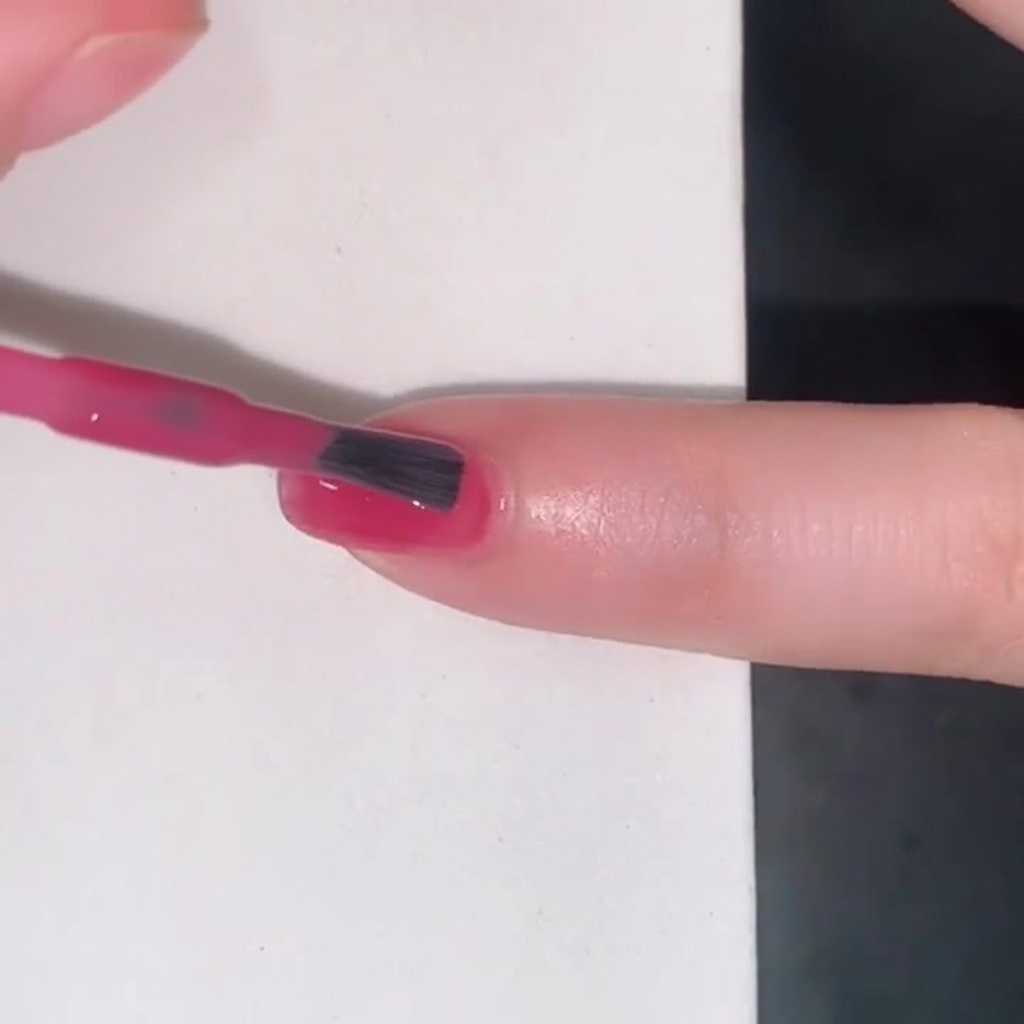
Apply an even, thin layer of M55 berry-pink jelly gel to the index finger. For the best result, build the color gradually over 2 to 3 thin coats, allowing each layer to dry completely before adding the next to maintain that sheer, ice-jelly transparency.
Tip: Applying multiple thin layers rather than one thick layer prevents the polish from pooling at the edges or wrinkling. - 7Layer M120 Fine Glitter
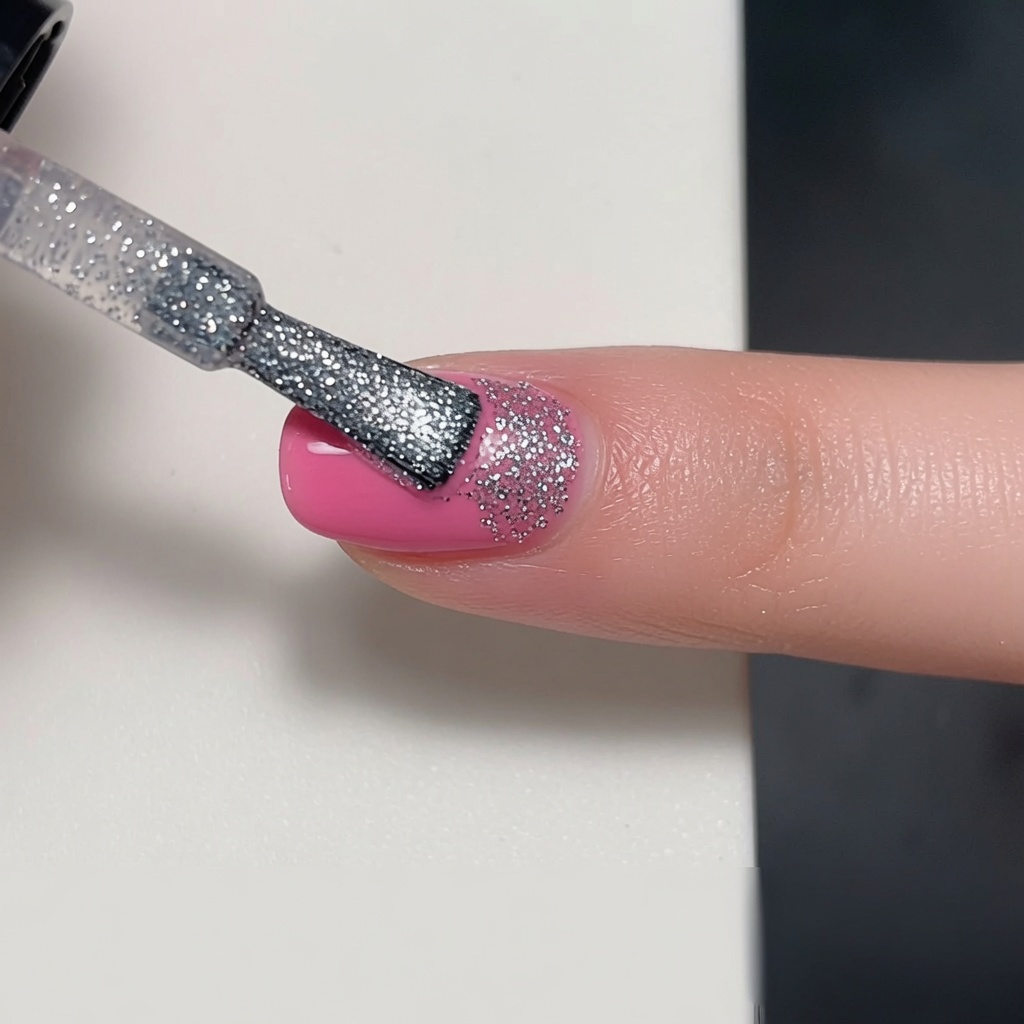
Once the M55 base is fully dry, apply a layer of M120 fine glitter polish over the entire index finger. This adds a sparkling, dimensional layer directly over your berry-pink jelly base.
Tip: Wipe excess glitter polish off the brush on the rim of the bottle before application so you can control the density of the sparkles. - 8Create a Glitter Gradient
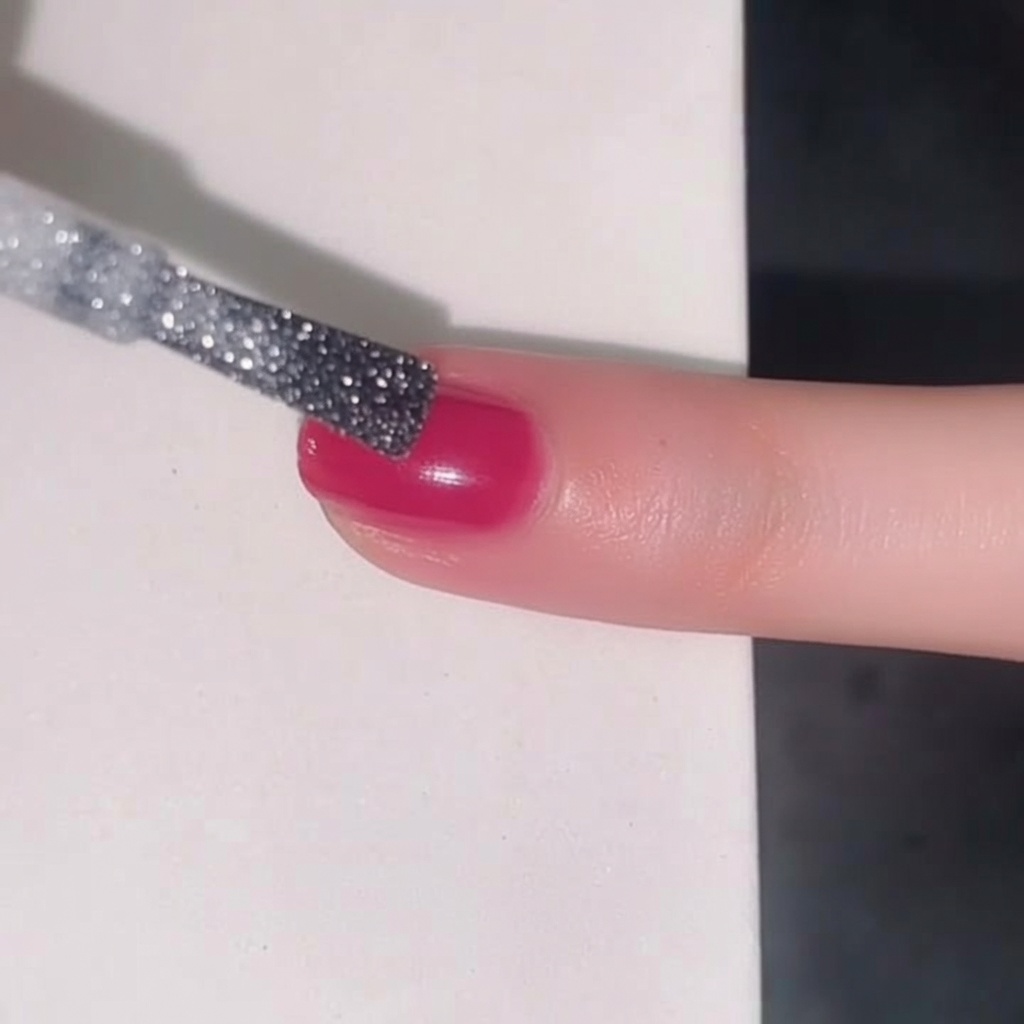
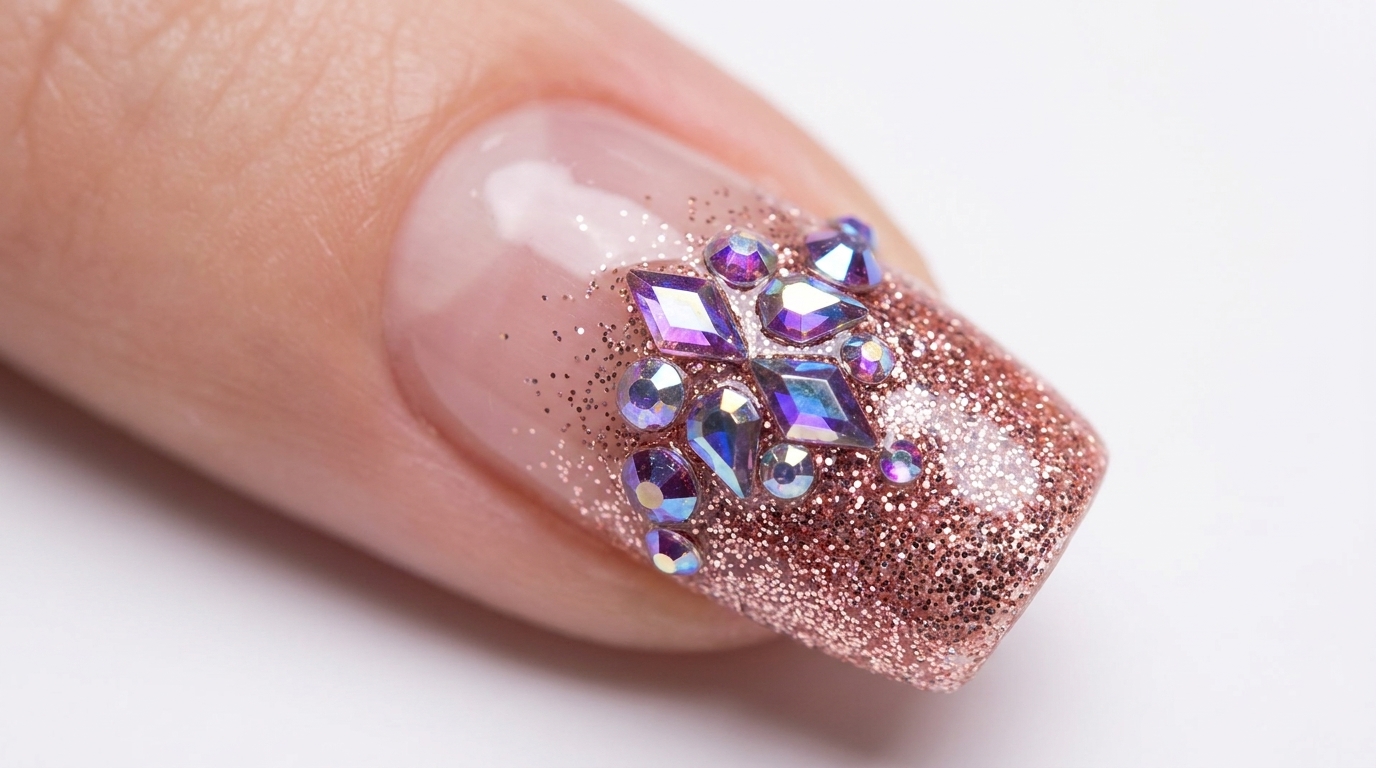
Using the M120 glitter gel, carefully apply polish to the top half of your ring finger. Gently blend the edges downward toward the center of the nail to create a soft, shimmering transition over your pink base color.
Tip: Wiping off excess glitter gel from the brush before application allows for better control and a smoother gradient effect.