Simple Fairy Style Holographic Gradient Nails — DIY Tutorial
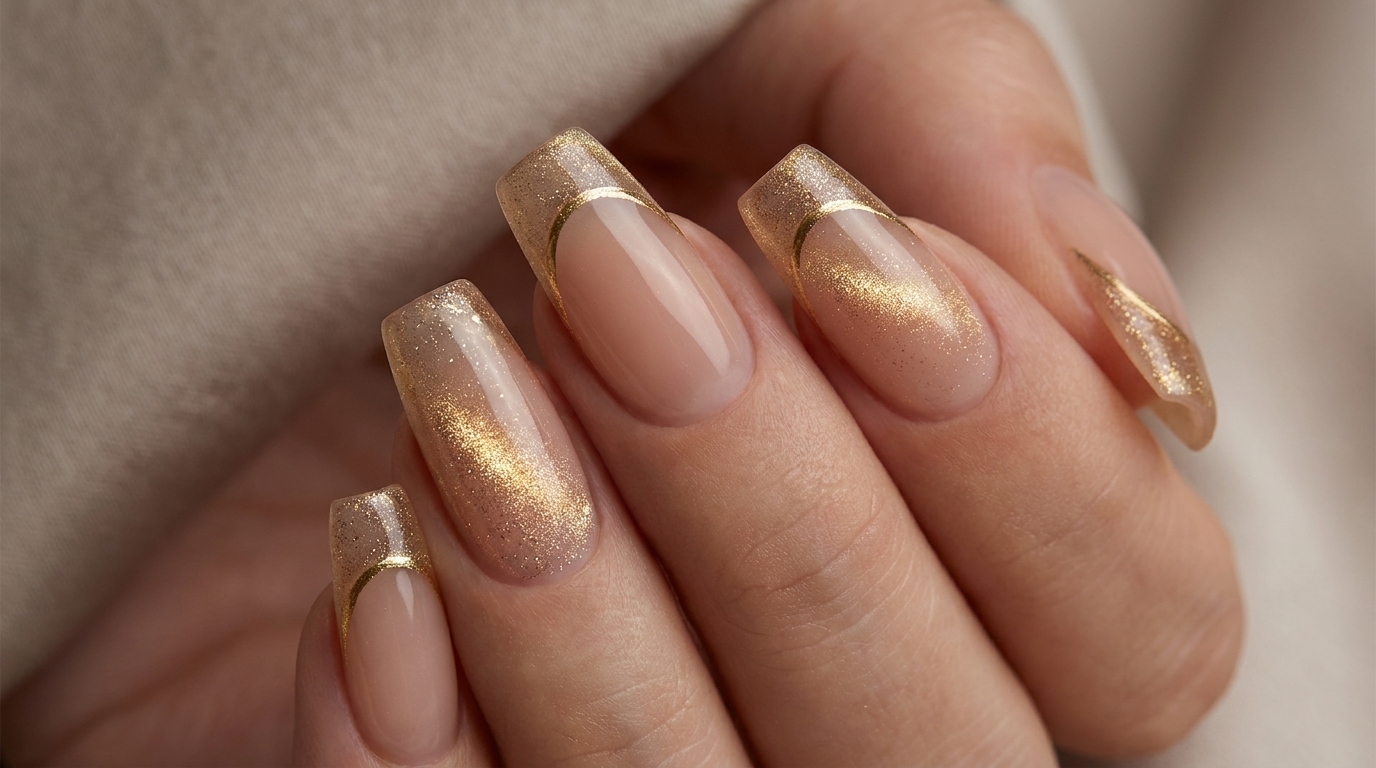
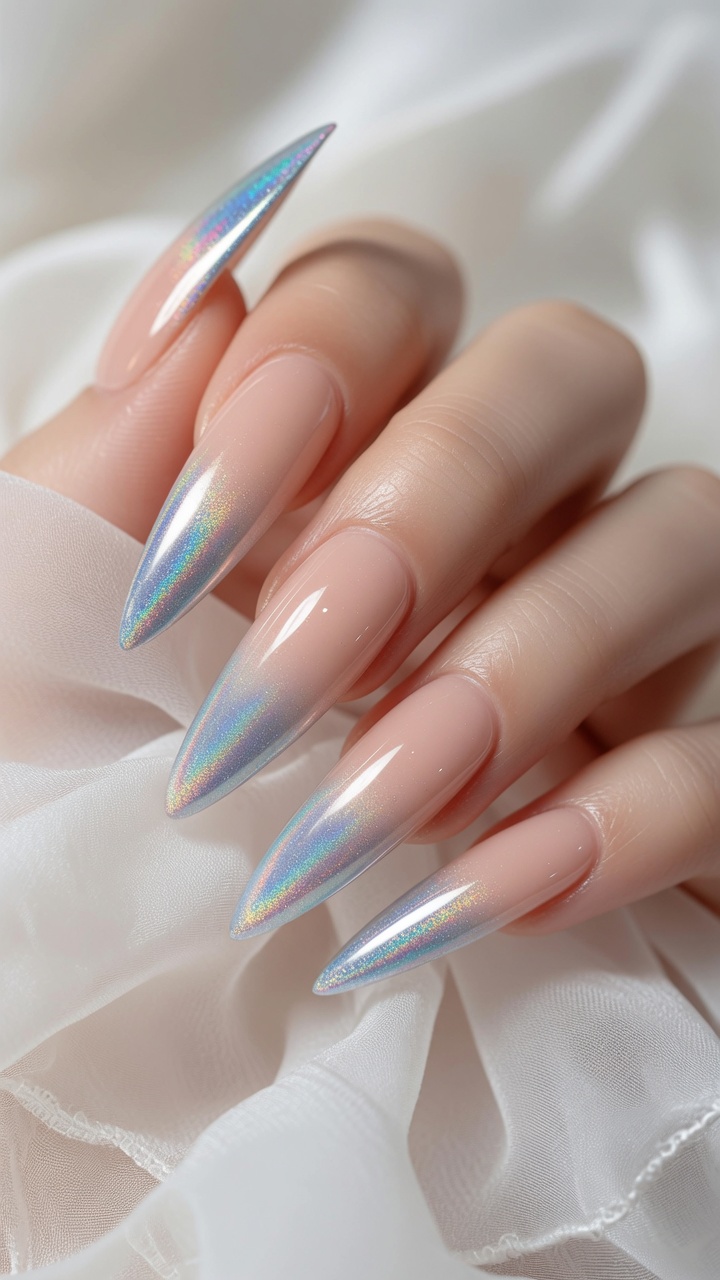
Create a dreamy, ethereal manicure with our holographic gradient nail tutorial. Learn the professional techniques for a seamless, mirror-like chrome finish.
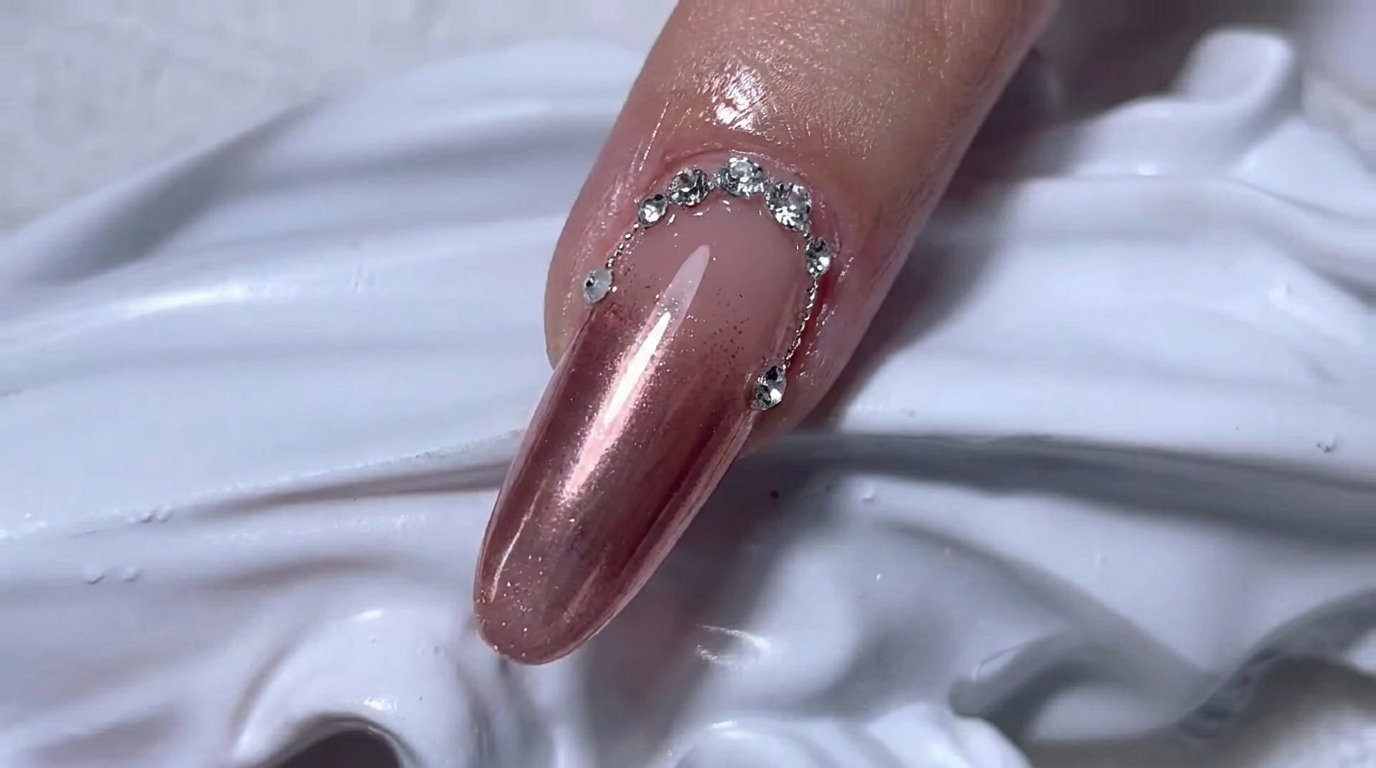
Holographic gradients offer a mesmerizing, ethereal look that catches the light beautifully from every angle. This style perfectly blends the soft, natural base of a nude polish with the high-impact, futuristic shine of chrome powder. By mastering the fingertip dabbing technique, you can achieve a professional-grade ombre transition right at home.
Steps
- 1Apply top coat
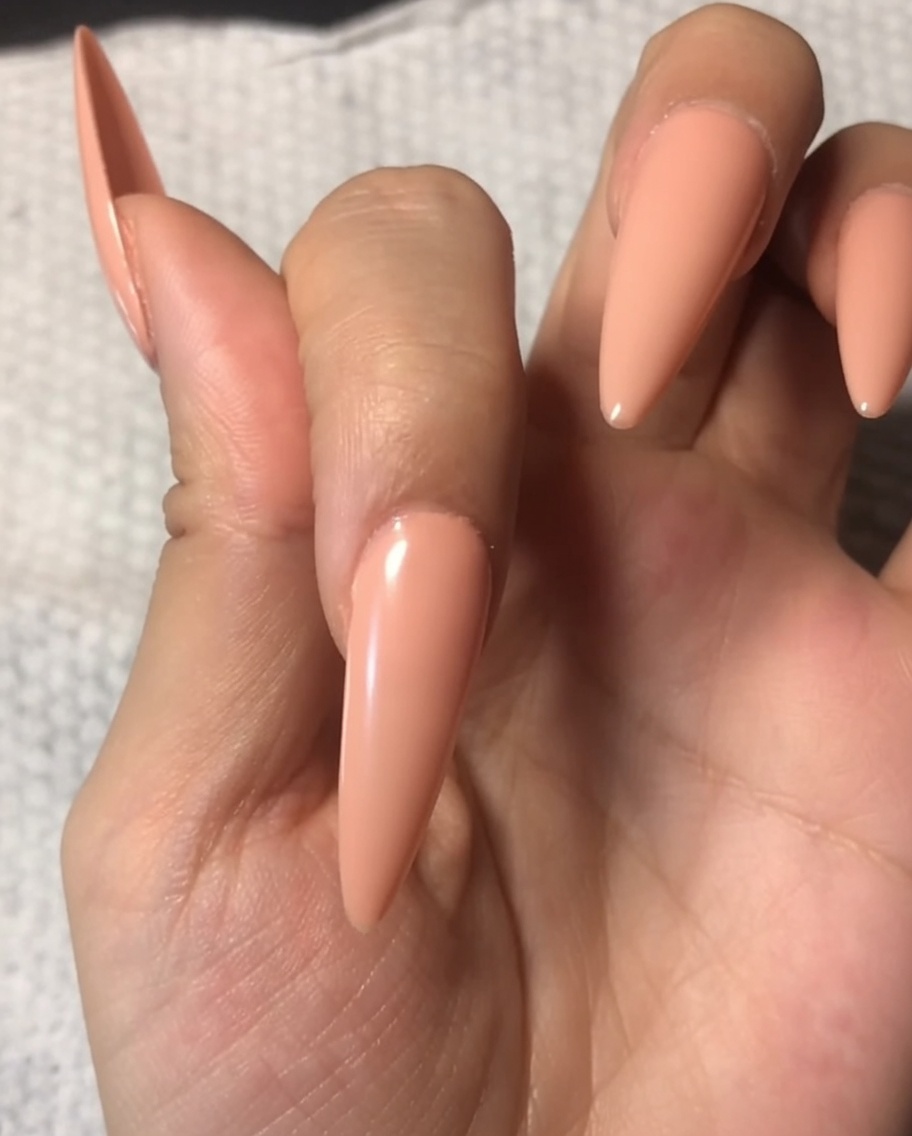
Apply a layer of your glossy top coat over the base color. Ensure you cap the free edges of the nail for extended wear and a finished look. Cure under the UV lamp for the recommended time.
Tip: Applying a thinner, even layer helps prevent the top coat from pooling at the cuticles. - 2Apply tempered top coat
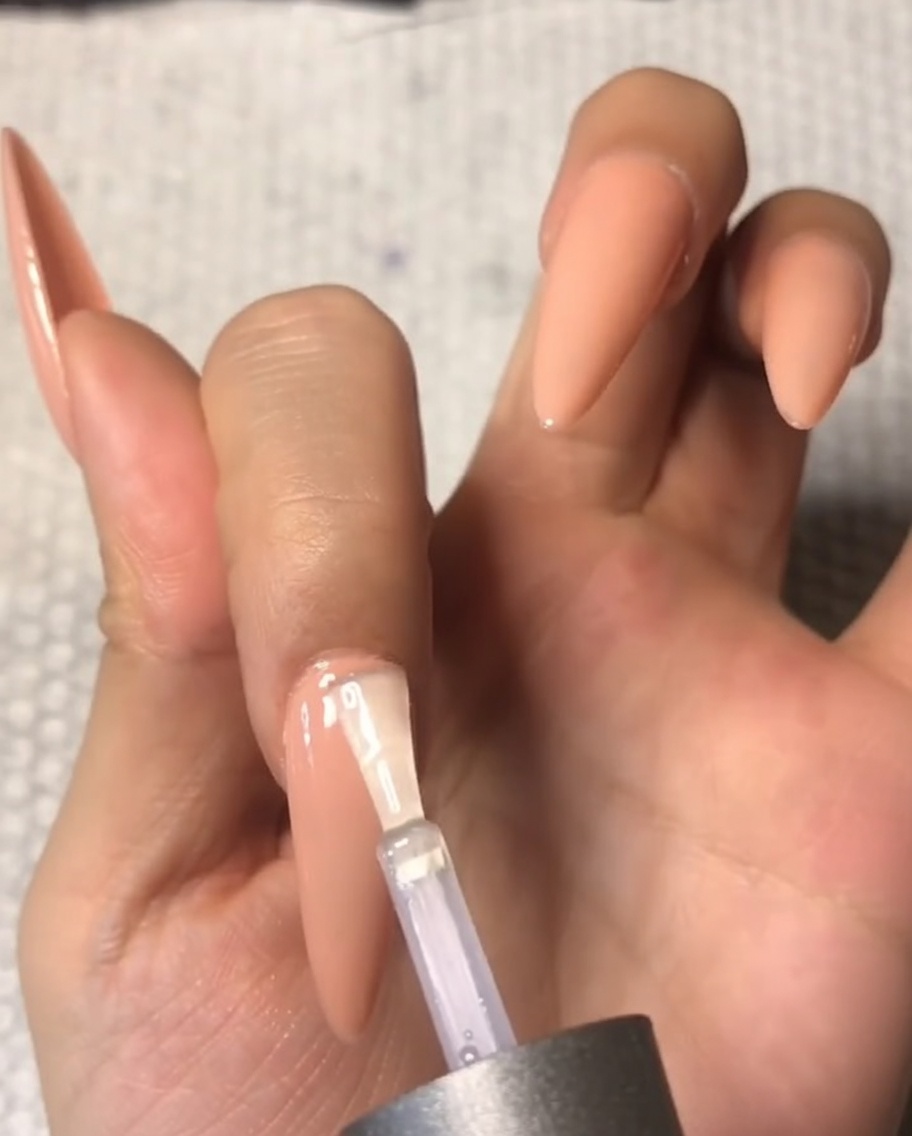
Apply a layer of tempered top coat over your cured nude base color. Work carefully around the cuticle area to ensure an even application. Be careful not to cap the free edges of the nail just yet, and cure under your nail lamp for 30 seconds.
Tip: If you accidentally get the top coat on the free edges, dont worry, as you can clean it up later in the process. - 3Apply top coat to index finger
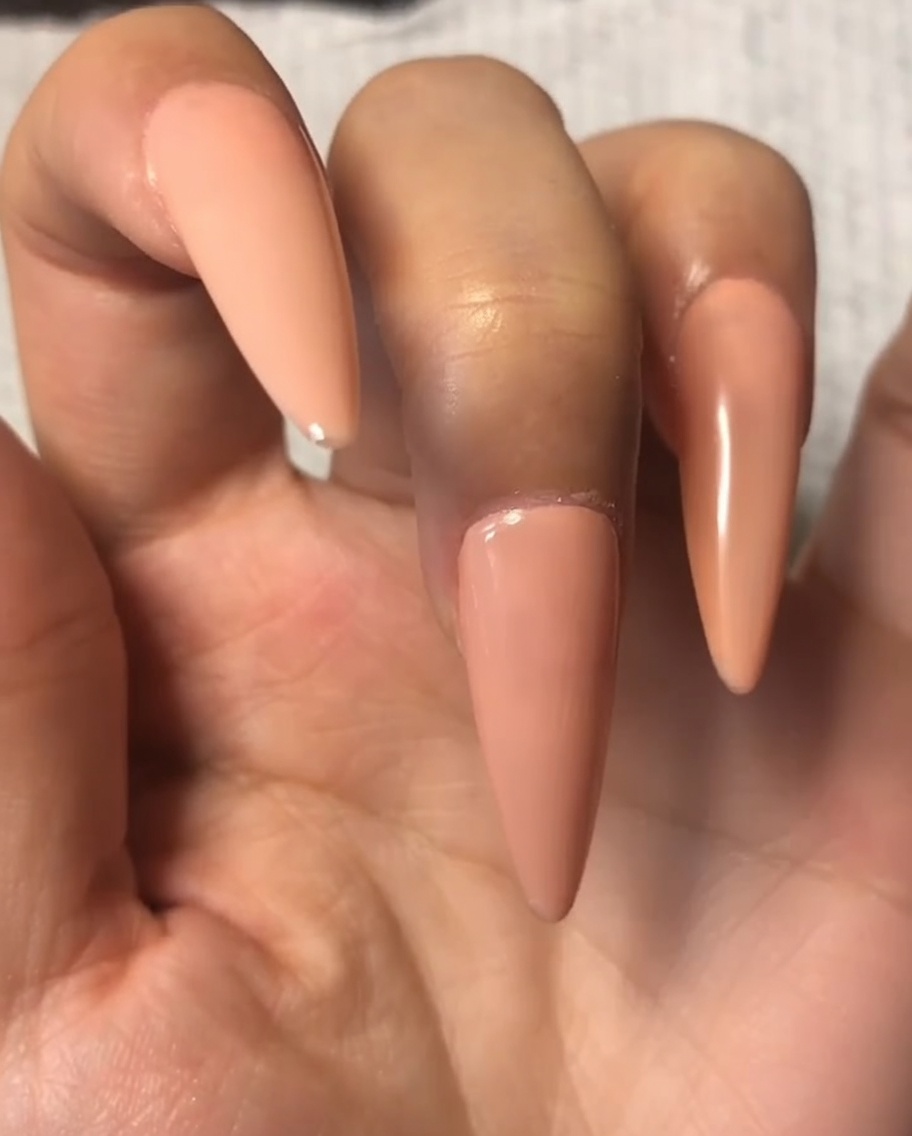
Continue the process by applying the clear top coat to the index finger. Make sure to cover the entire nail surface, starting from the cuticle area and pulling down to the tip.
Tip: Use light pressure with the brush to maintain a smooth, streak-free finish. - 4Continue applying top coat
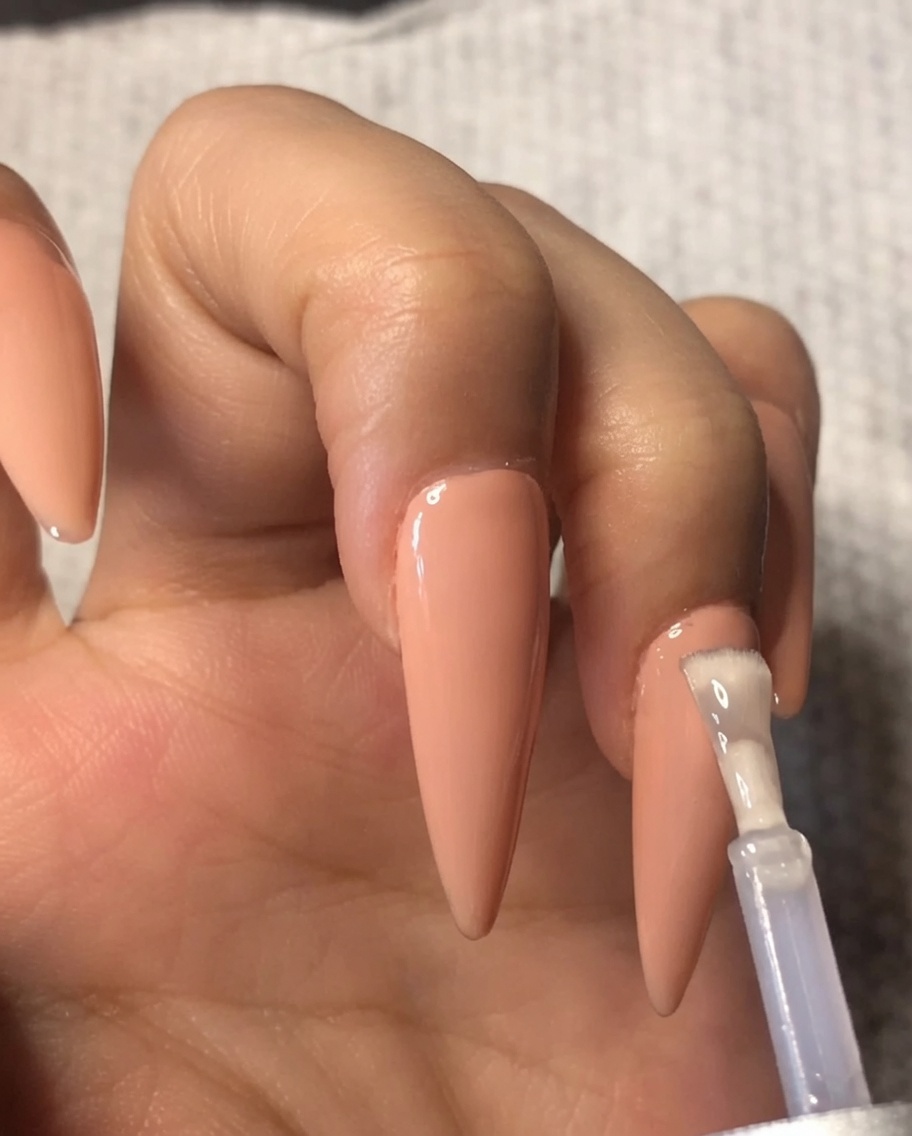
Continue applying the clear tempered top coat onto the rest of your nails. Make sure the layer is smooth and even, as this will act as the base for the holographic powder. Cure for 30 seconds once applied.
Tip: An even top coat application is essential for creating a flawless chrome powder finish without any patches. - 5Dab holographic powder onto the tip
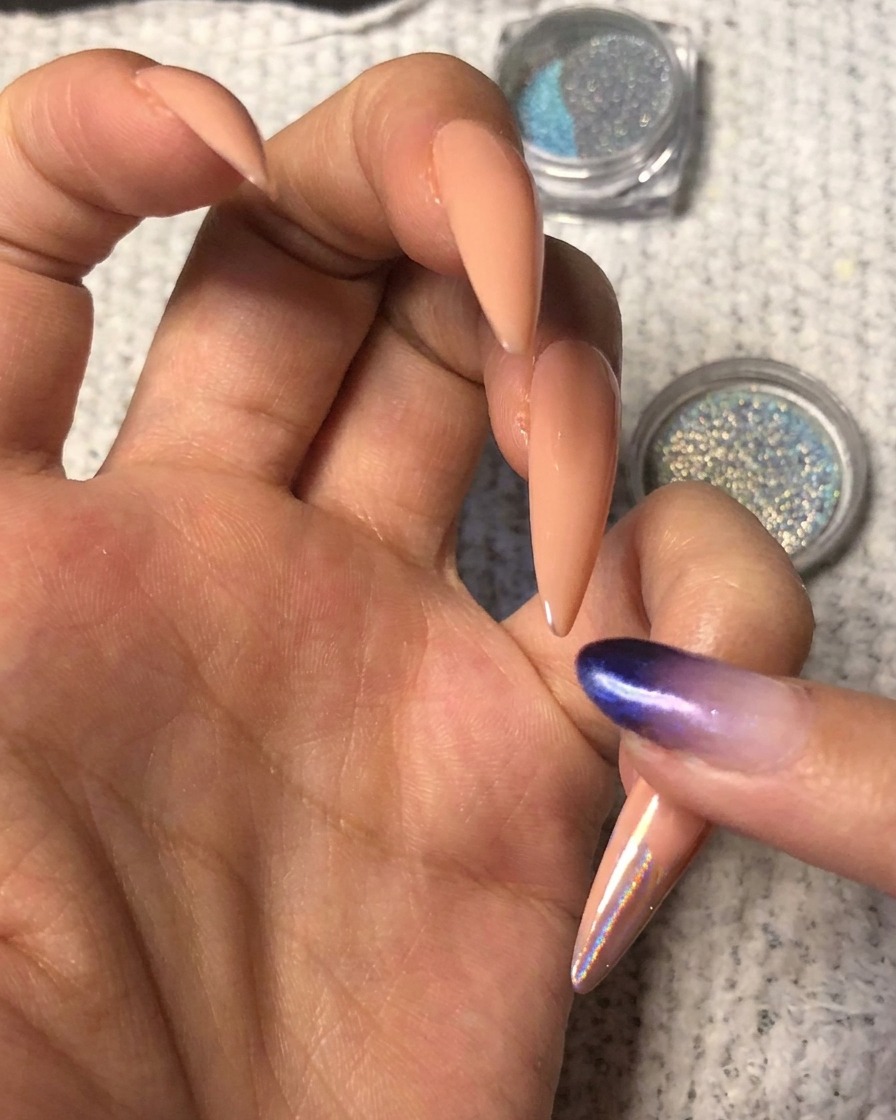
Take your holographic powder and apply it directly to the front one-third of the nail. Using your fingertip, dab the powder onto the tip. Using your fingers allows for excellent control when placing the powder for a gradient transition.
Tip: Dabbing the powder rather than rubbing it initially helps to build color intensity at the very tip. - 6Blend to create an ombre effect
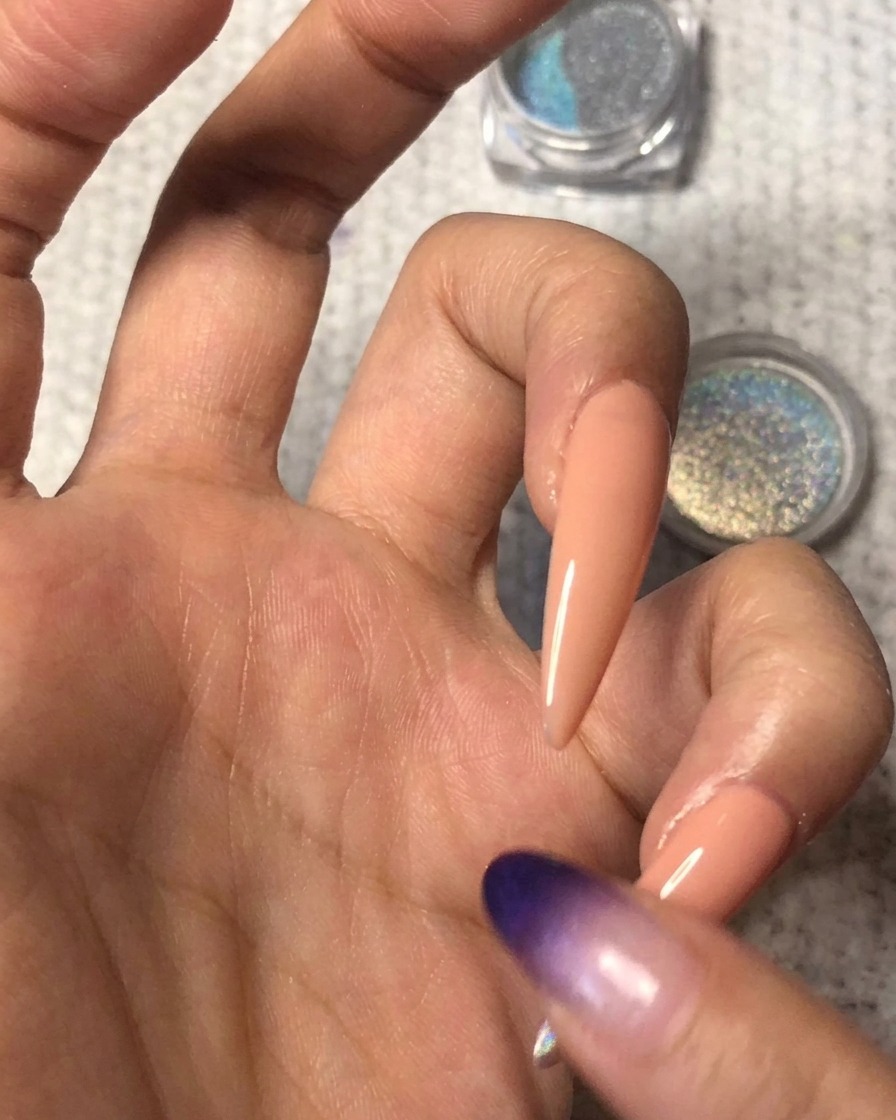
Take a clean finger and use it to gently blend the applied holographic powder upwards. Lightly sweep the powder toward the center of the nail to create a smooth, seamless gradient transition over the nude base color.
Tip: Always use a clean finger for blending so you do not drag dense powder too high up the nail. - 7Apply holographic powder
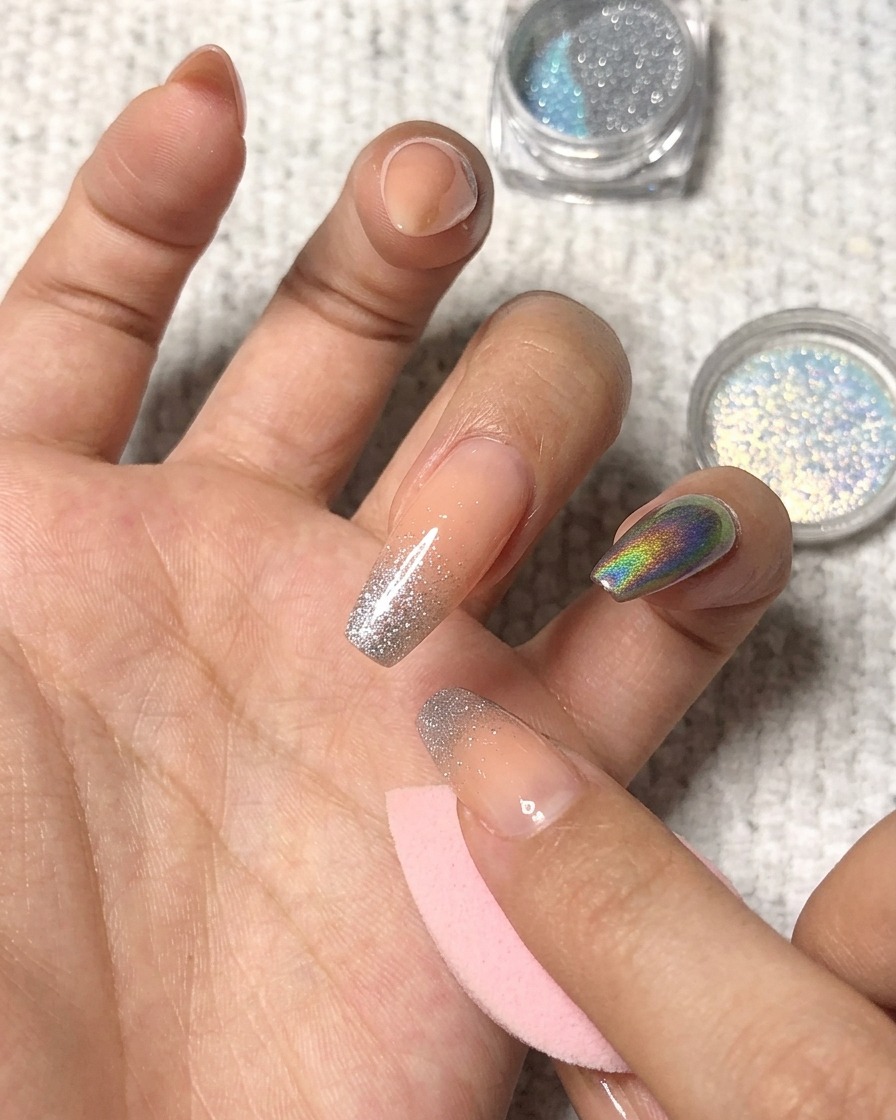
Using your finger or a small applicator, gently dab the holographic powder onto the tip of the ring finger. Focus the application on the outer one-third of the nail to begin creating your gradient effect.
Tip: A little powder goes a long way; start with a small amount and build up the intensity as needed. - 8Blend the holographic gradient
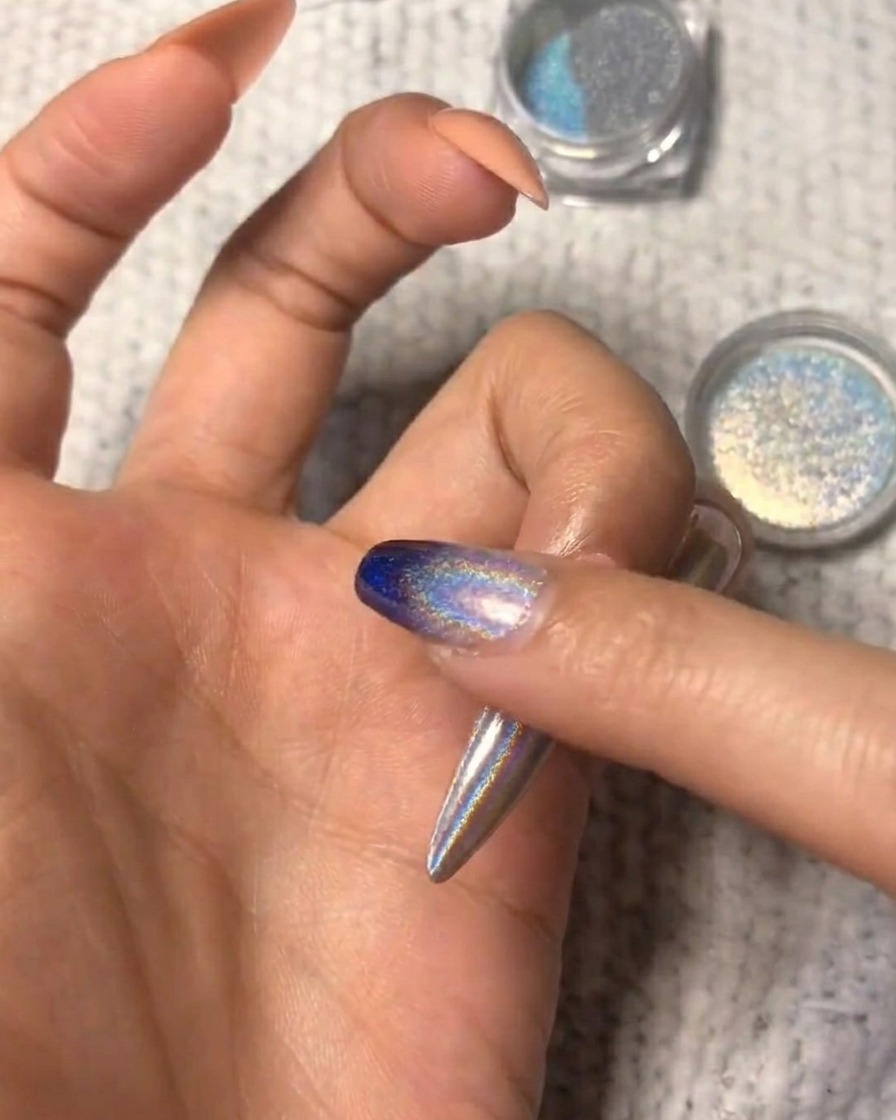
Use a clean finger or brush to gently buff and blend the holographic powder toward the center of the nail. This motion creates a seamless, faded ombre effect from the tip to the middle of the nail.
Tip: Ensure the transition is soft by using light, circular dabbing motions. - 9Apply powder to index finger
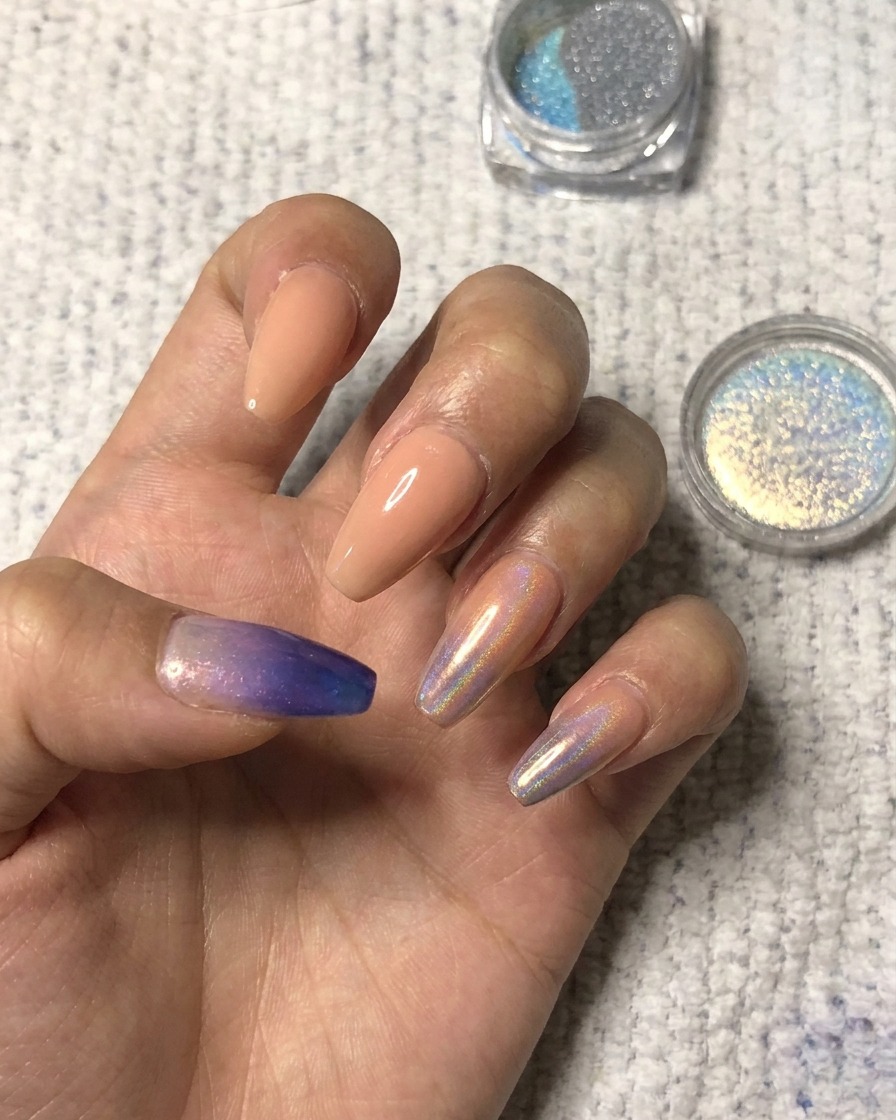
Apply the holographic powder to the tip of the index finger, matching the technique used previously. Concentrate the pigment at the very edge to ensure a high-impact, reflective finish.
Tip: Consistent application across all fingers ensures a uniform look. - 10Perfect the ombre blend
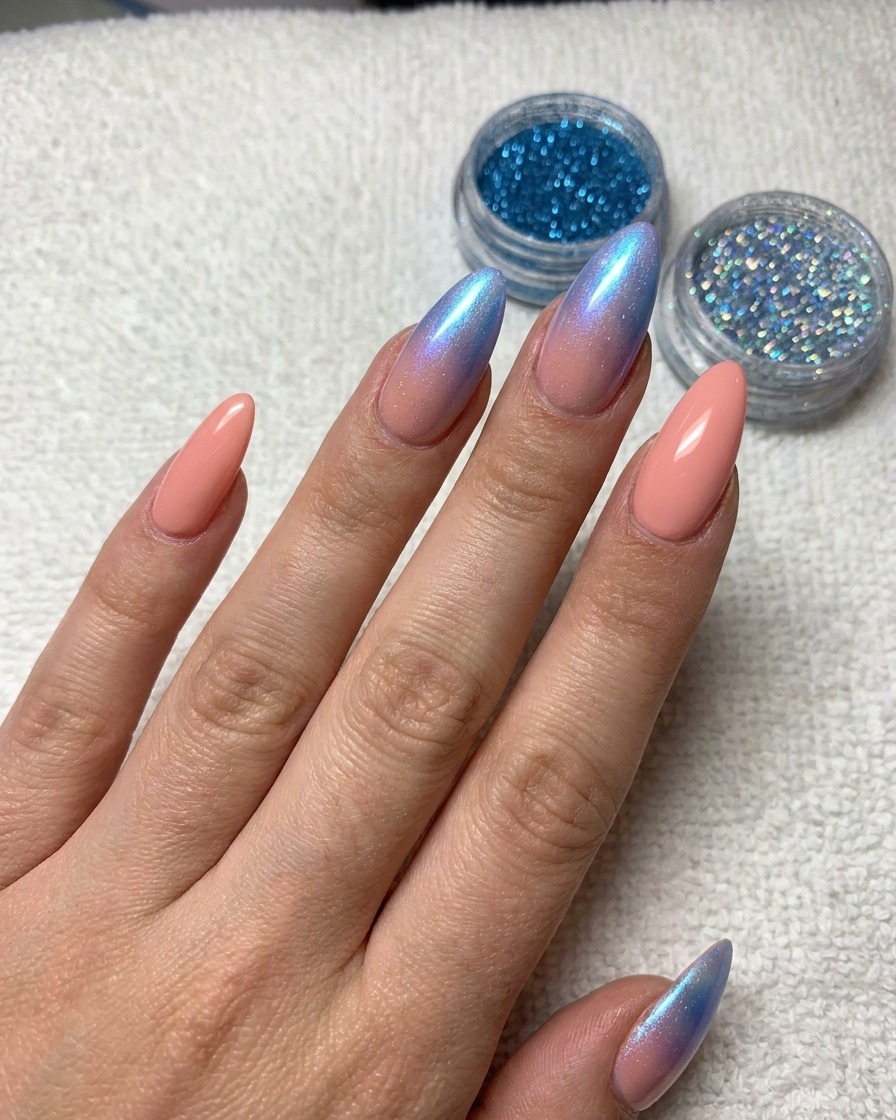
Continue rubbing the powder over the index finger, focusing on the center area to ensure the gradient looks smooth and professional. Blend until no harsh lines remain.
Tip: If the gradient looks patchy, add a tiny bit more powder and blend again. - 11Apply powder to the pinky
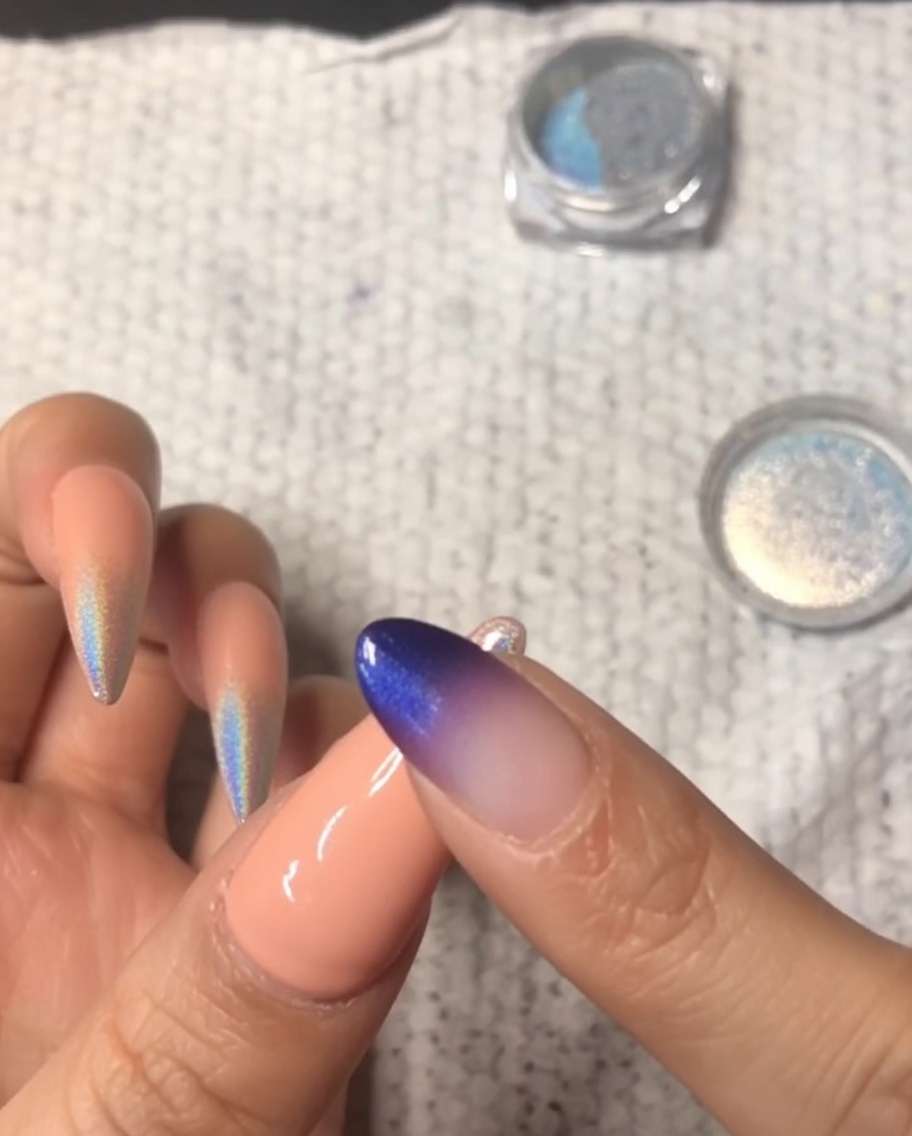
Take your holographic powder and apply it to the front one-third of the pinky nail. Use one finger to dab the powder onto the tip, and then use a clean finger to gently blend it out in the center for a smooth, seamless gradient transition.
Tip: Applying the powder with a fingertip helps press the pigment flat, resulting in a more mirrored and seamless ombre finish. - 12Blend powder onto the thumbnail
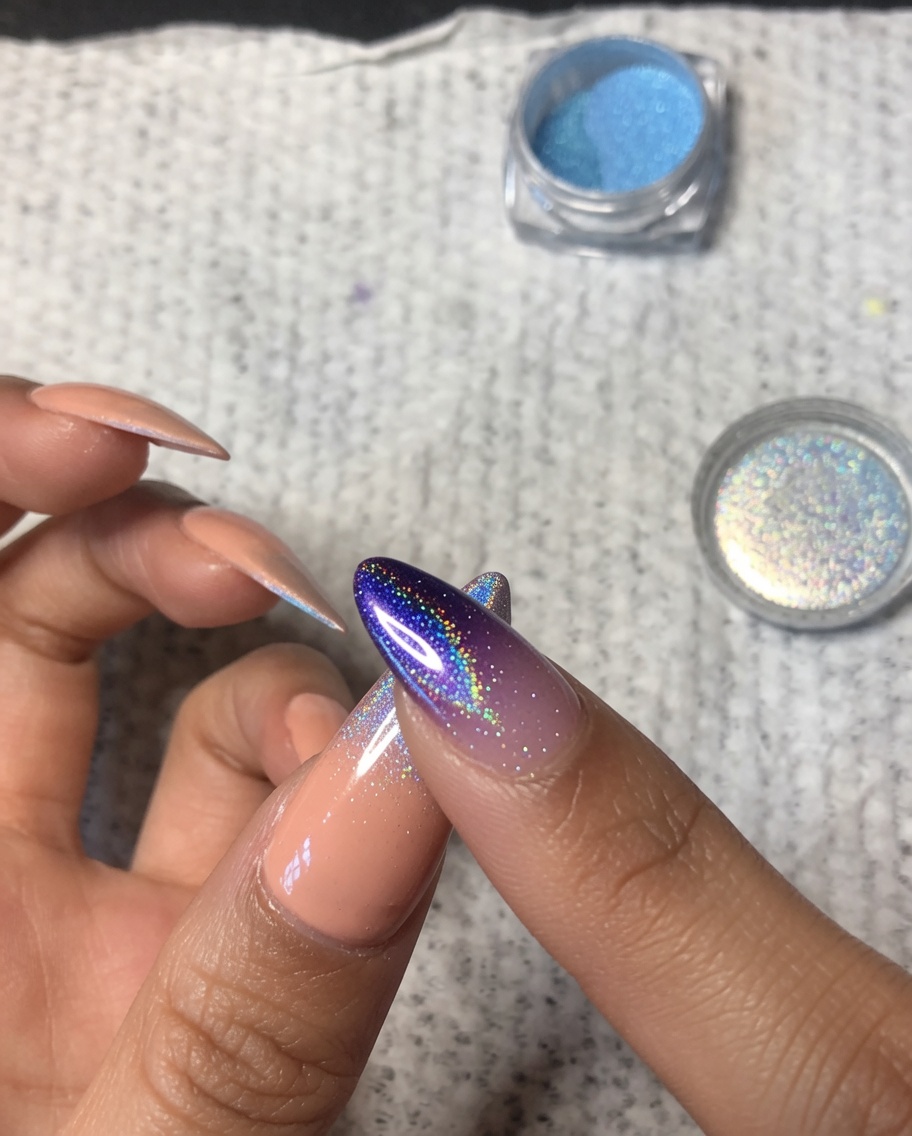
Continue the process on your thumbnail. Dab the holographic powder onto the very tip of the nail, then use a clean finger to gently diffuse the edge of the powder toward the middle of the nail bed to perfect the seamless transition.
Tip: Always use a clean finger to blend the center; using a finger that already has powder on it will deposit too much pigment and ruin the fading effect. - 13Seal the chrome powder
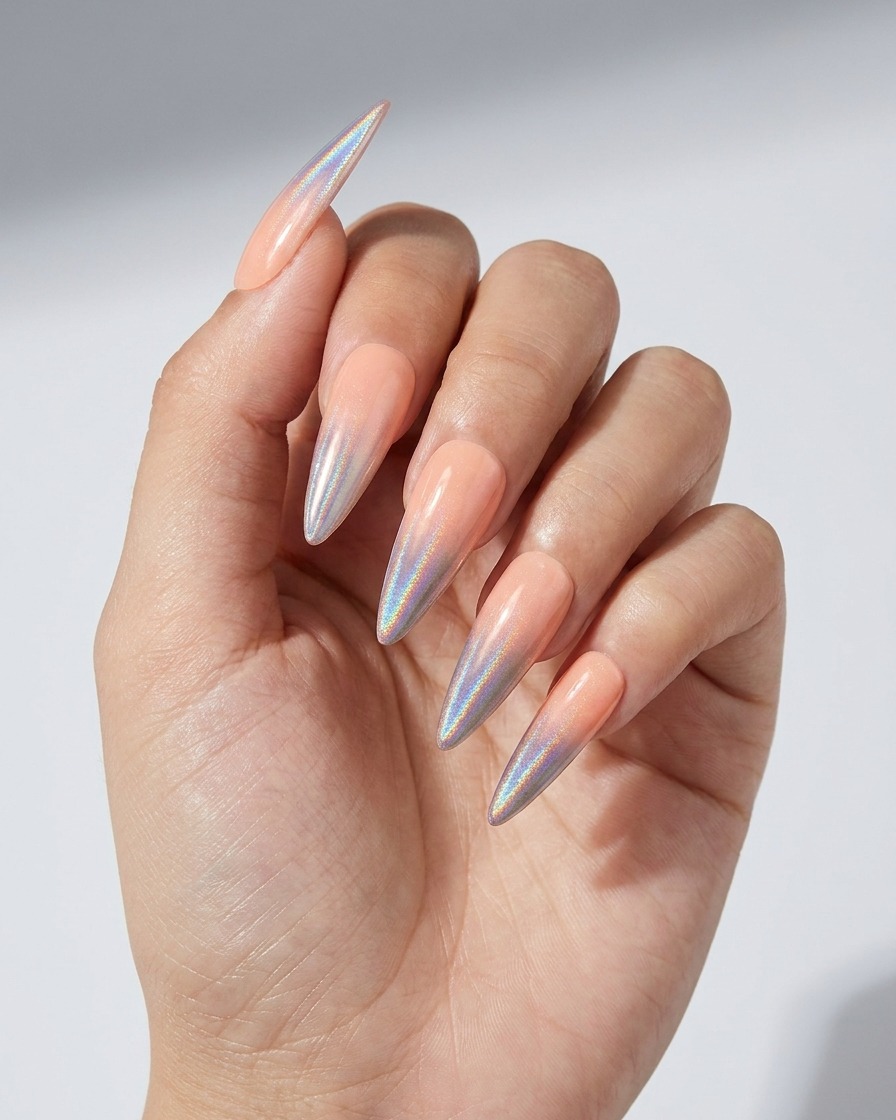
Apply a layer of base gel over the entire nail to seal the blended holographic powder design and provide a smooth surface for the final top coat. Ensure the gel covers the powder completely and cap the free edge carefully. Cure this layer under your UV lamp for one minute.
Tip: Applying a clear base layer over the chrome helps prevent the powder from smudging or lifting when you apply the final top coat. - 14Seal the chrome powder
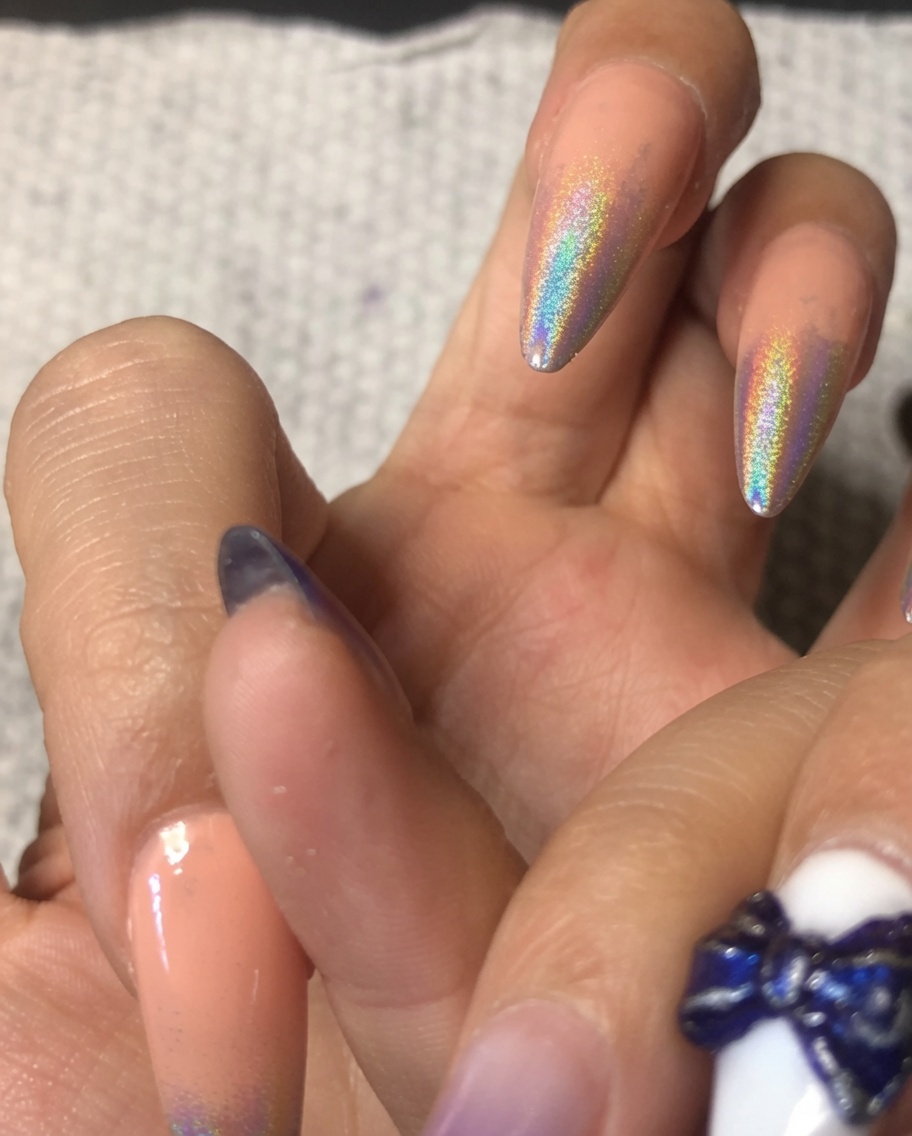
Apply a layer of base gel over the entire nail to seal the blended holographic powder design and provide a smooth surface for the final top coat. Ensure the gel covers the powder completely and cap the free edge carefully. Cure this layer under your UV lamp for one minute.
Tip: Applying a clear base layer over the chrome helps prevent the powder from smudging or lifting when you apply the final top coat. - 15File the free edge
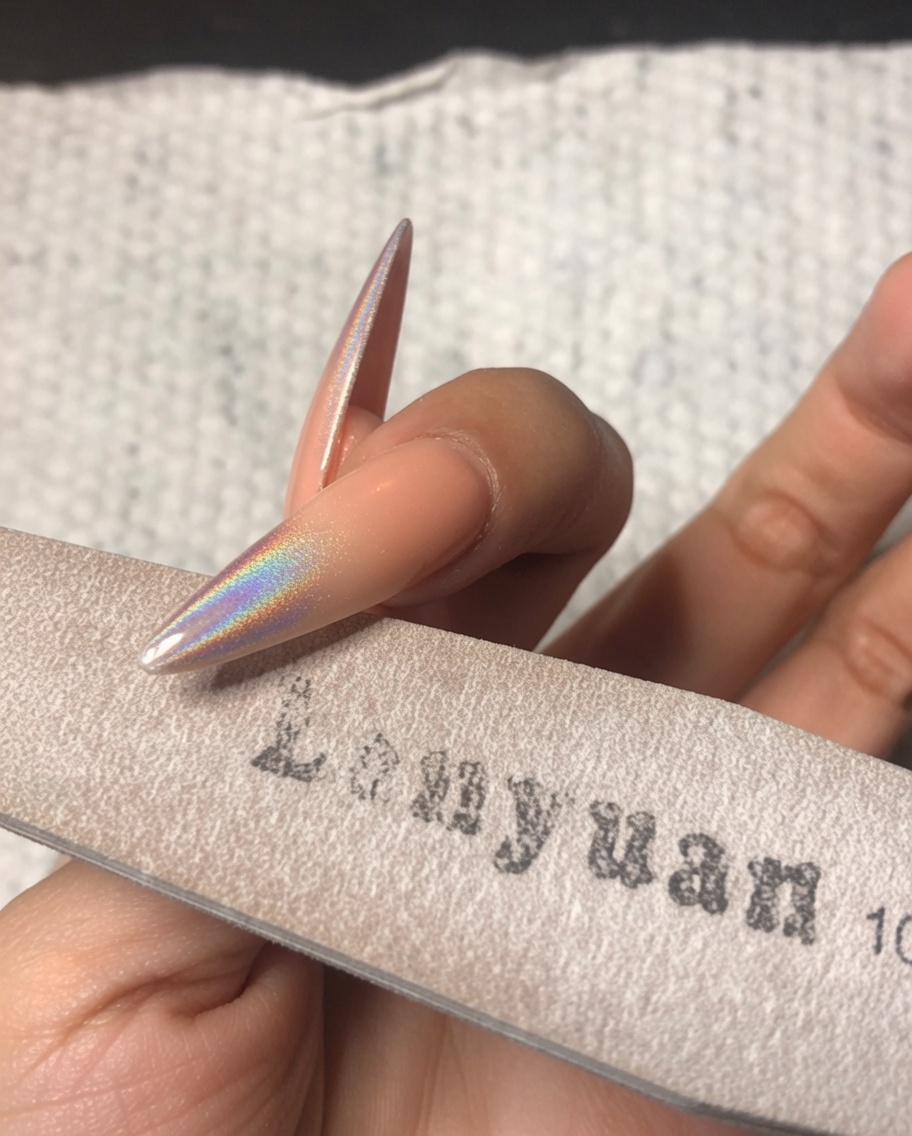
Using the fine side of a sponge buffer, gently file the very front edge of the nail. This step removes any overhanging holographic powder from the tip and creates a perfectly smooth, clean edge before you apply the final top coat.
Tip: Be careful to only file the very edge of the tip so you do not accidentally scratch or remove the blended powder design from the surface of the nail. - 16Refine the free edge
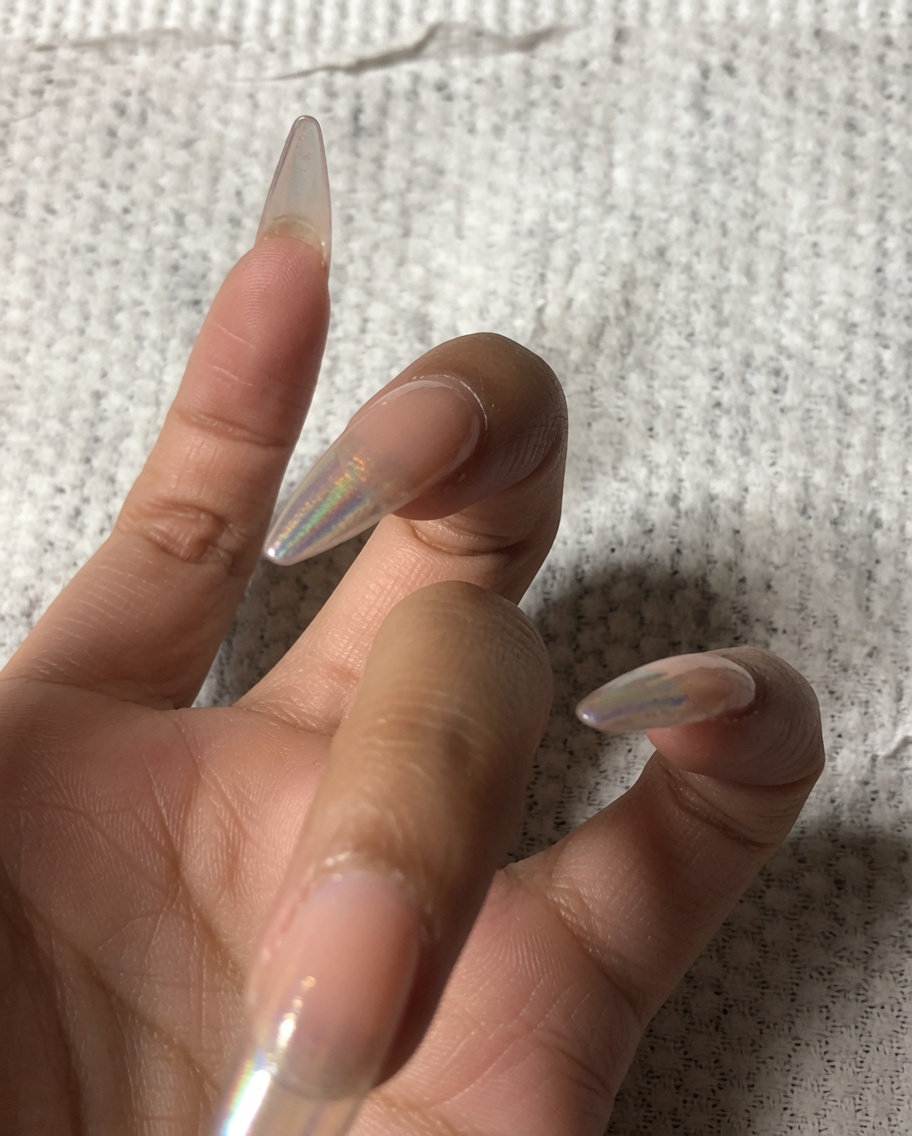
Use the fine side of a sponge buffer to gently file the very front edge of the nail. This removes any excess powder or product that may have built up during the previous steps and creates a clean, crisp edge for the final finish.
Tip: Use a light touch with the buffer to avoid removing too much material or damaging the chrome effect near the tip. - 17Refine the free edge
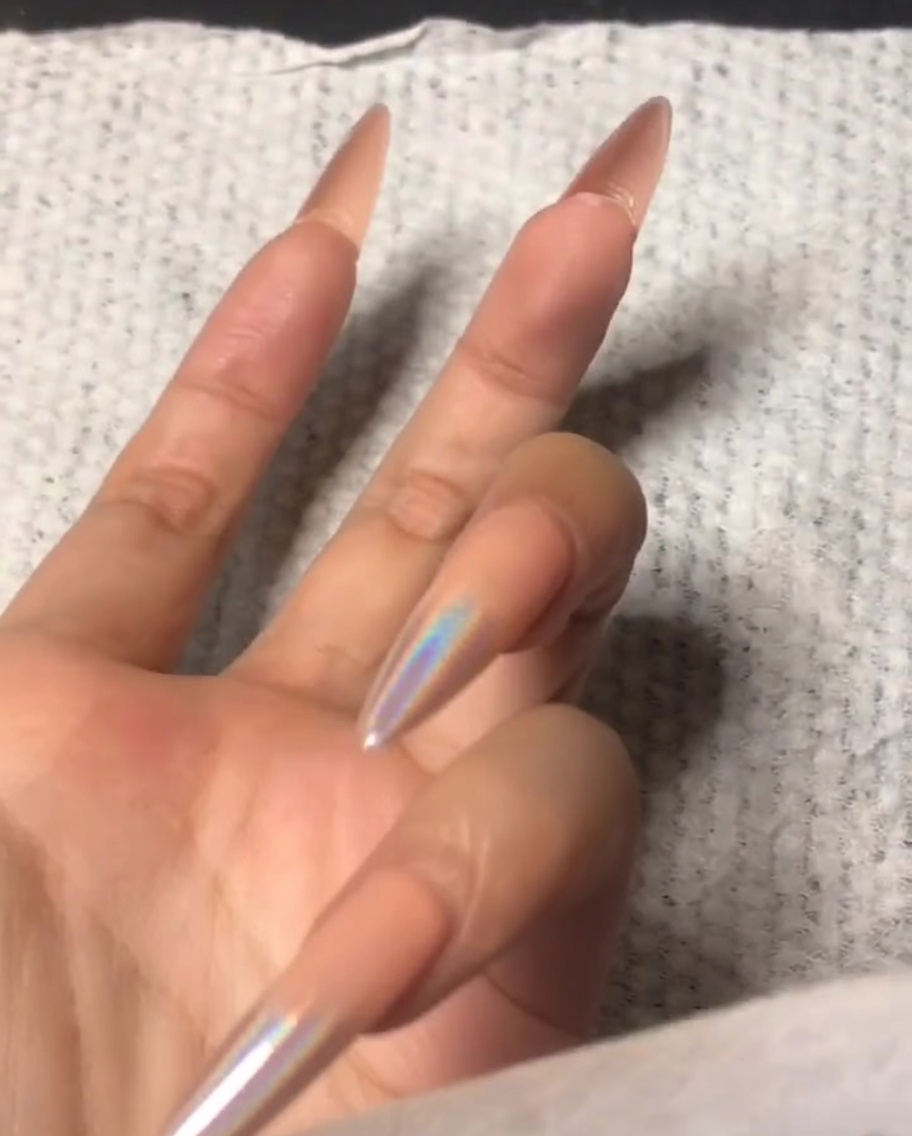
Use the fine side of a sponge buffer to gently file the very front edge of the nail. This removes any excess powder or product that may have built up during the previous steps and creates a clean, crisp edge for the final finish.
Tip: Use a light touch with the buffer to avoid removing too much material or damaging the chrome effect near the tip. - 18Clean the nail surface
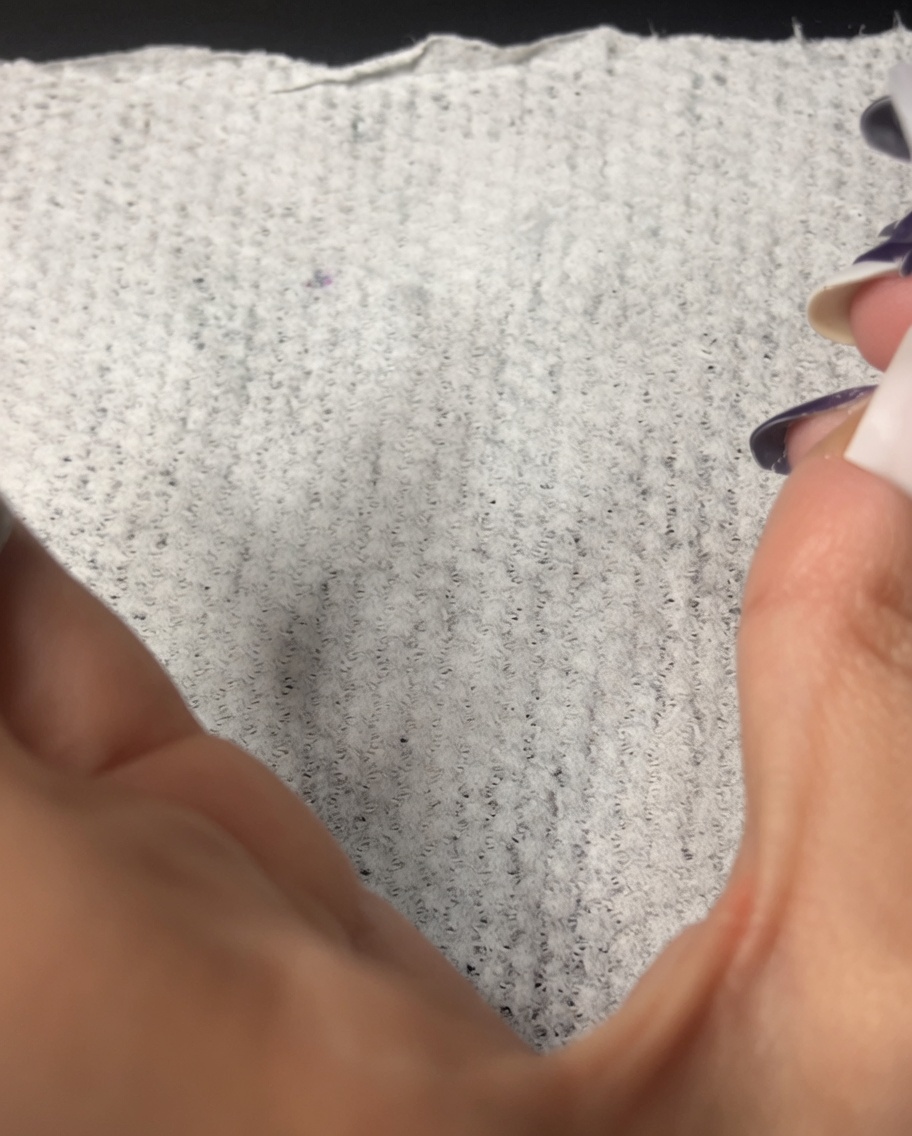
After buffing, wipe the nail completely clean using a lint-free wipe saturated with nail cleanser or alcohol. This ensures all filing dust is removed before applying the final top coat, resulting in a perfectly smooth and glossy finish.
Tip: Make sure the surface is completely free of dust and debris, as even tiny particles can show up under a glossy top coat. - 19Clean the nail surface
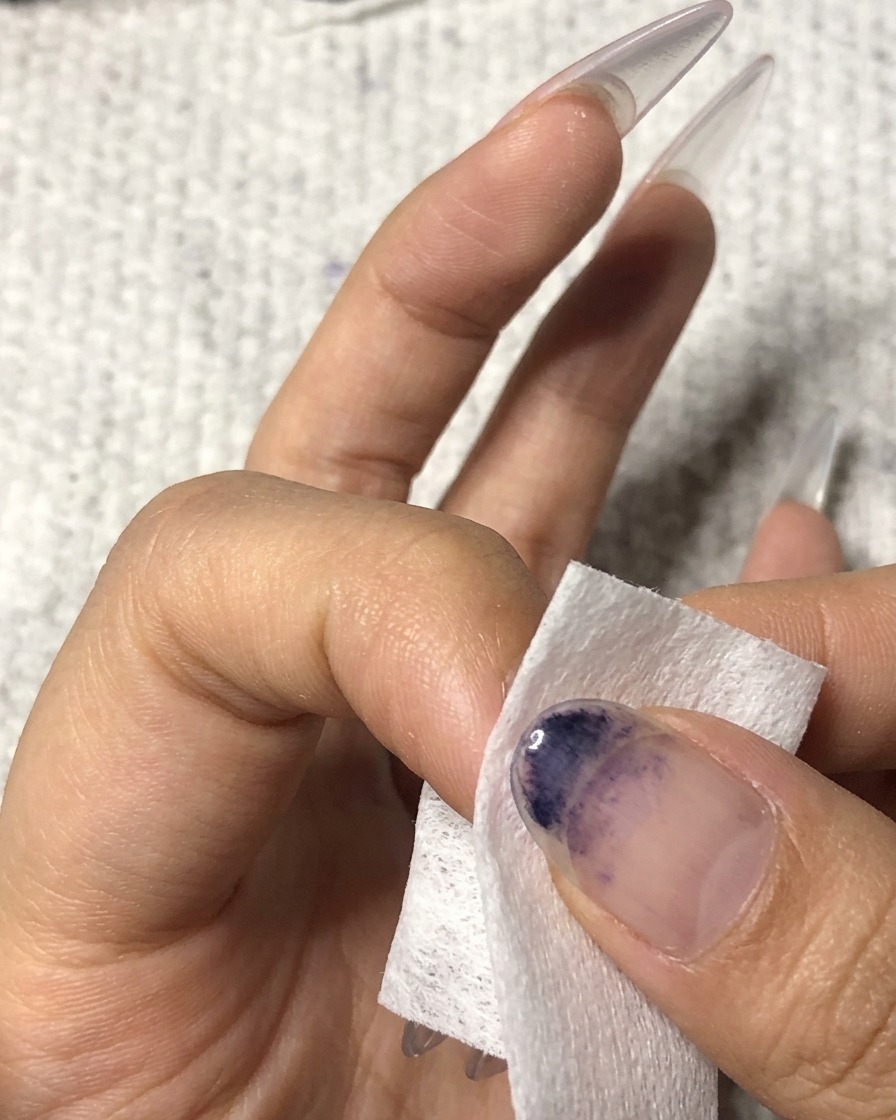
After buffing, wipe the nail completely clean using a lint-free wipe saturated with nail cleanser or alcohol. This ensures all filing dust is removed before applying the final top coat, resulting in a perfectly smooth and glossy finish.
Tip: Make sure the surface is completely free of dust and debris, as even tiny particles can show up under a glossy top coat. - 20Apply final top coat
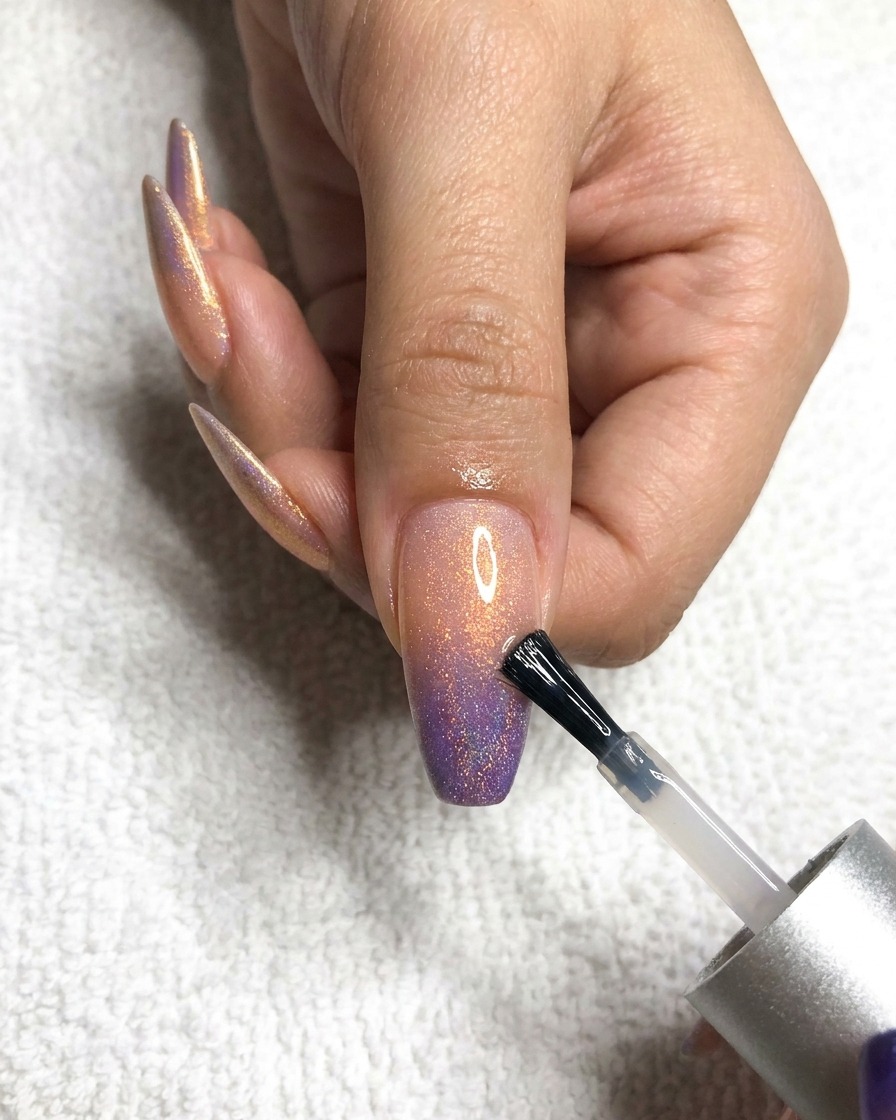
Apply a final, even layer of glossy top coat to the middle finger. Ensure you cover the entire nail surface, sealing the edges to provide a durable, shiny finish. Cure under the lamp for the recommended time to fully set the top coat and achieve a high-gloss look.
Tip: Check for any streaks or bubbles while applying to ensure a perfectly smooth finish. - 21Apply final top coat to index finger
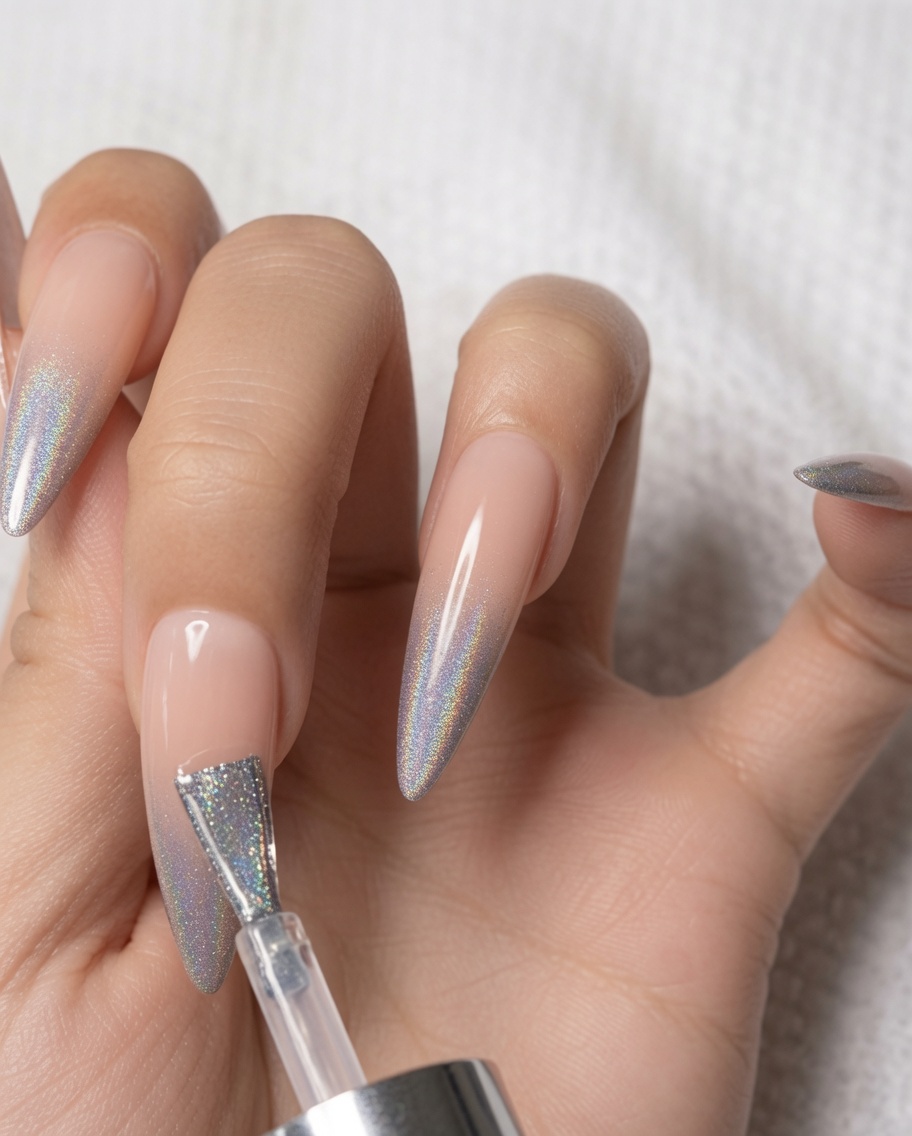
Apply a final, even layer of glossy top coat to the index finger, following the same technique used on the middle finger. Ensure smooth coverage over the holographic ombre gradient and cure thoroughly under the lamp.
Tip: Avoid getting top coat on the surrounding skin to prevent lifting. - 22Apply final top coat to ring finger
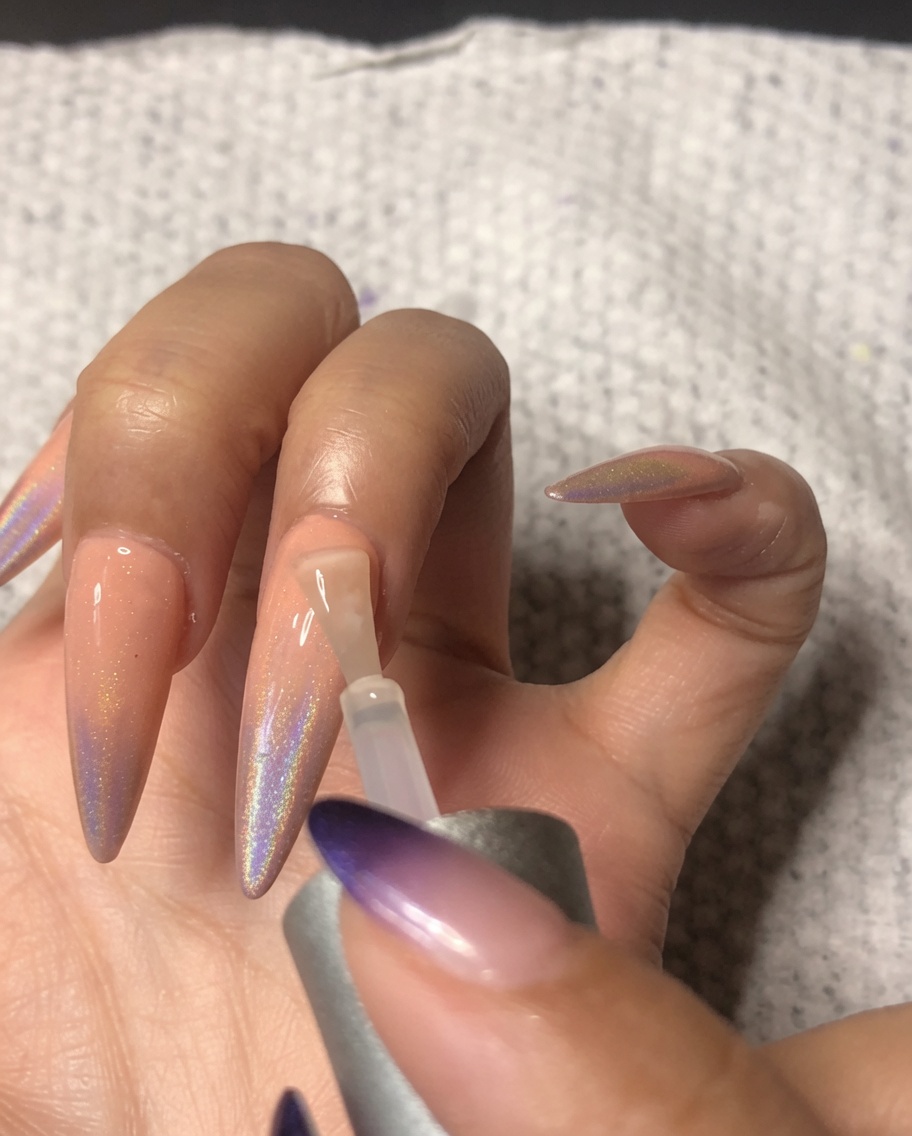
Apply the final layer of glossy top coat to the ring finger to complete the application process. Ensure all holographic ombre details are sealed properly before final curing, resulting in a cohesive and high-shine finished manicure.
Tip: This final step seals your design, ensuring your manicure stays protected and vibrant.