Chrome Hearts Floral Rose Nail Art — Elegant DIY Tutorial
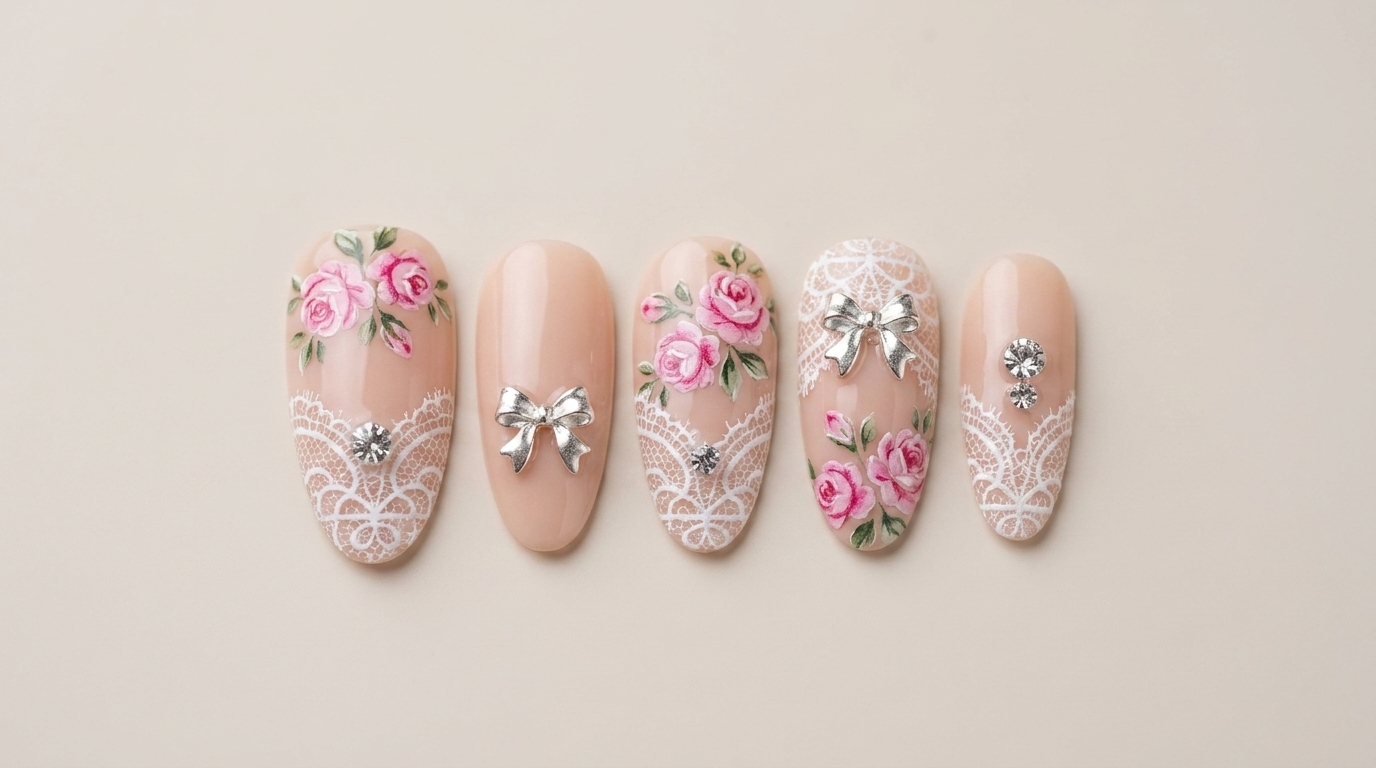
Create an intricate, sophisticated manicure featuring floral rose foil, delicate lace stamping, and 3D bow accents with this easy-to-follow guide.
This Chrome Hearts-inspired nail design perfectly balances edgy metallic elements with classic, romantic floral motifs. By combining professional-looking floral transfer foils with delicate lace stamping and high-shine 3D charms, you can achieve a salon-quality aesthetic right at home. It is a stunning look that feels both feminine and fashion-forward, perfect for anyone who loves detailed, high-fashion nail art.
Steps
- 1Apply first coat of base color
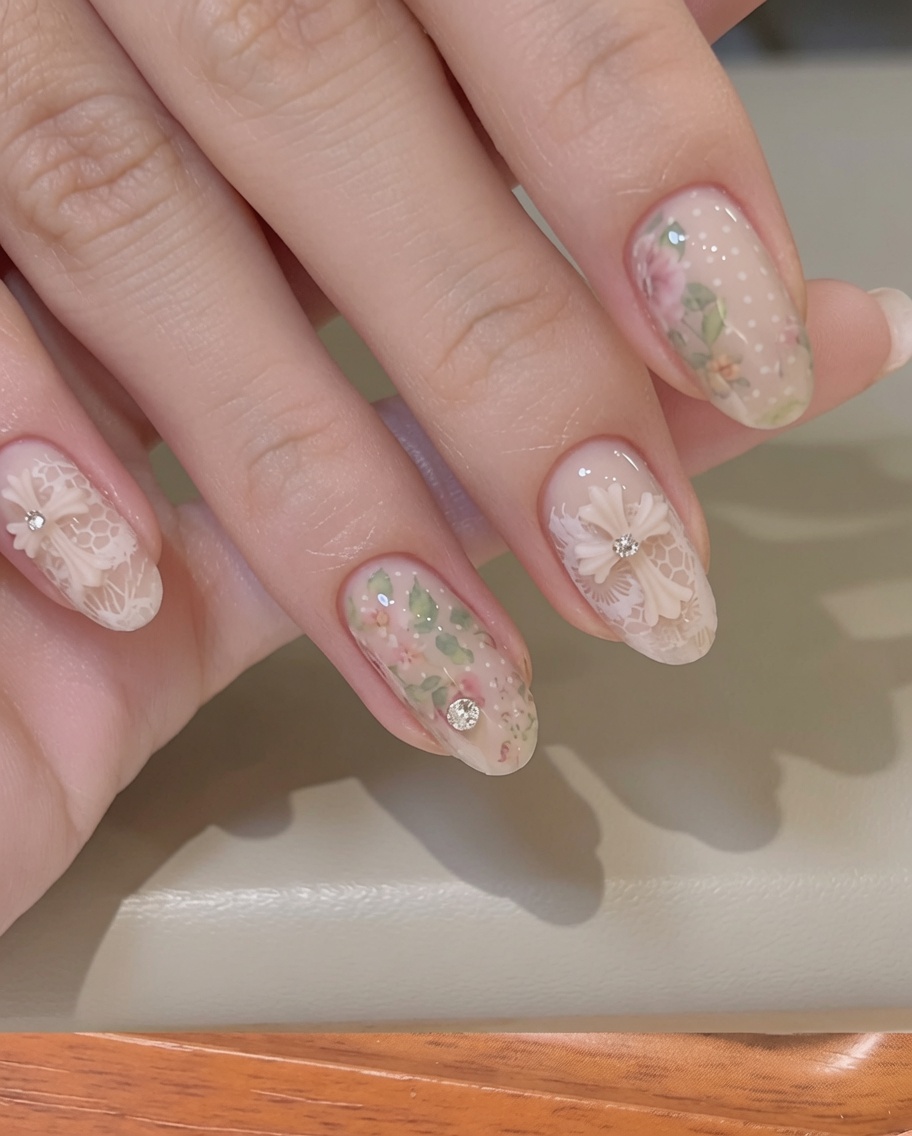
Apply a thin, even coat of the nude base color to the nail tips. Ensure you avoid flooding the cuticles and cap the free edge for better durability. This initial layer provides the foundation for the floral design.
Tip: Applying thin coats is essential for a smooth, streak-free finish. - 2Apply second coat of base color
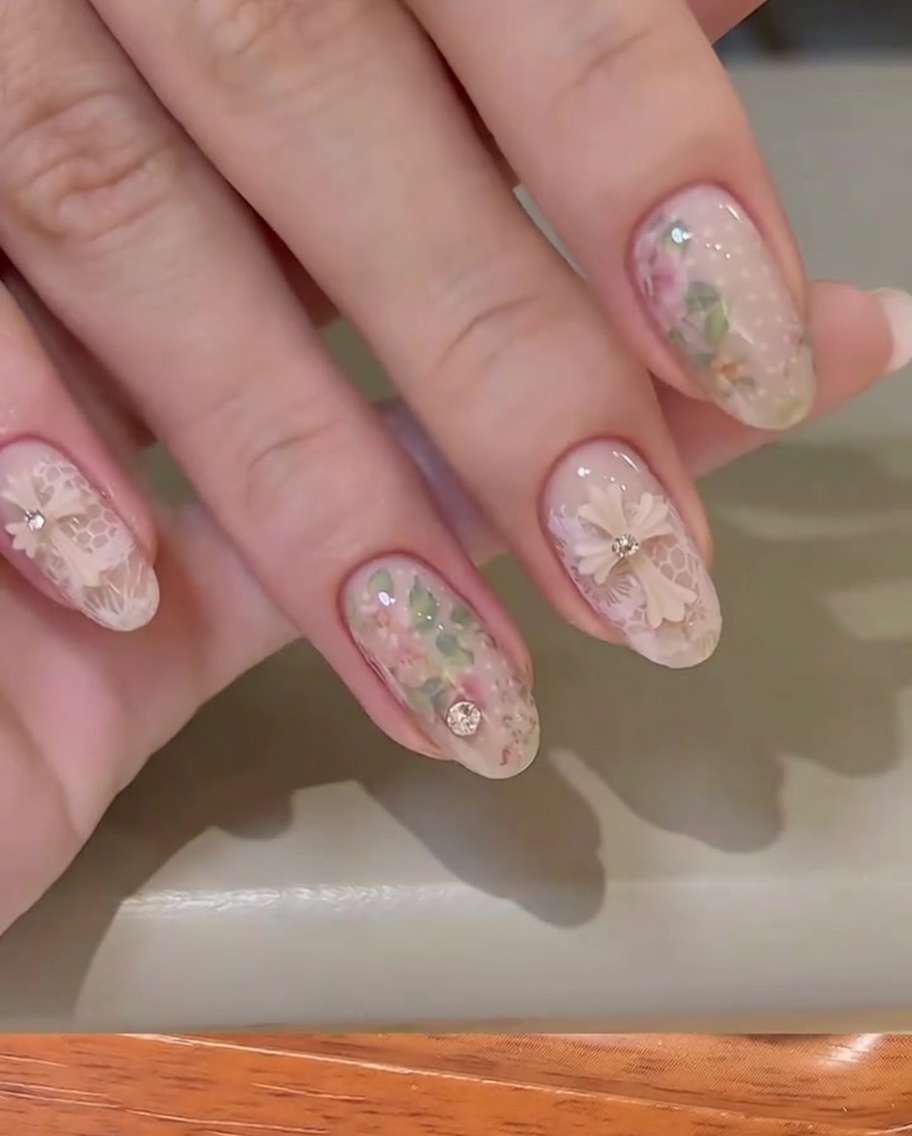
Apply a second, slightly more opaque coat of the nude base color to ensure full and uniform coverage. This builds the necessary opacity for the background.
Tip: Check for any uneven spots or streaks before curing to ensure a professional look. - 3Apply transfer gel
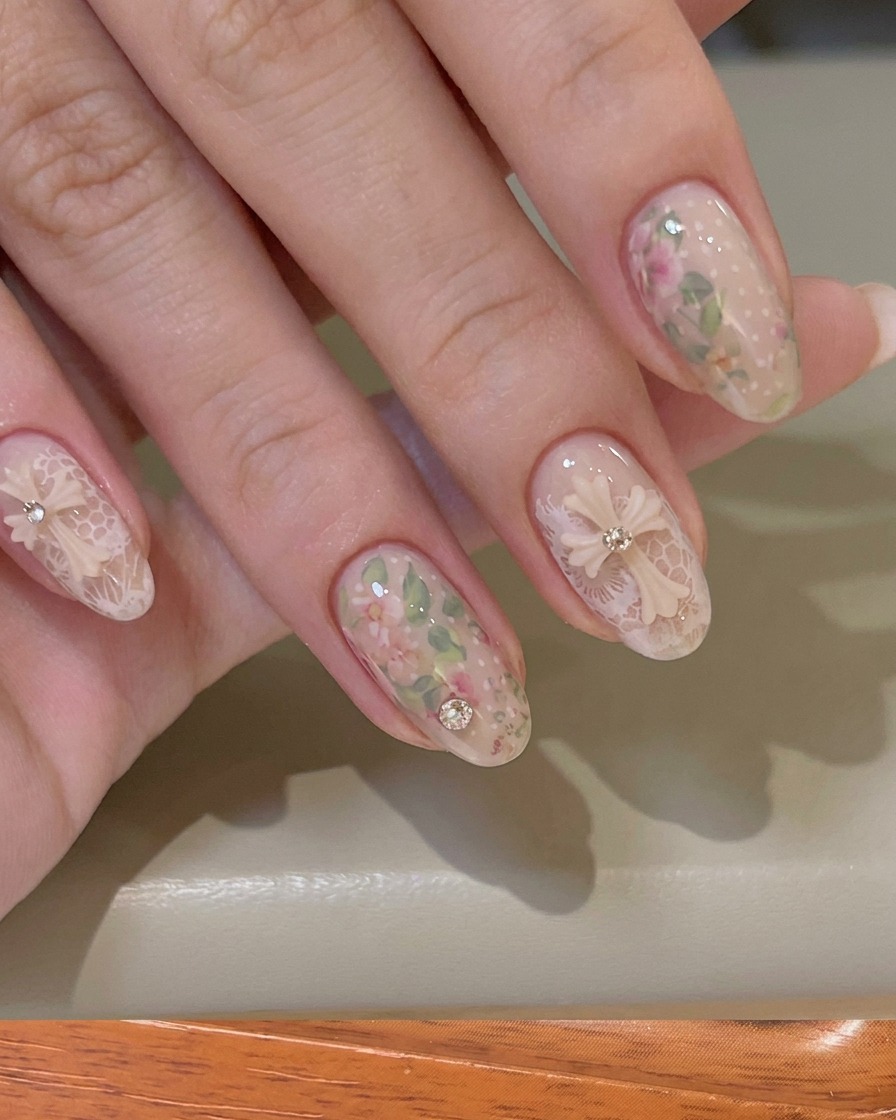
Apply a thin layer of transfer gel specifically where you want the foil pattern to appear. Cure this layer under your UV lamp for exactly 60 seconds to create the ideal tacky surface for the foil.
Tip: Do not over-cure the transfer gel, as it needs to remain tacky to pick up the foil design effectively. - 4Apply floral transfer foil
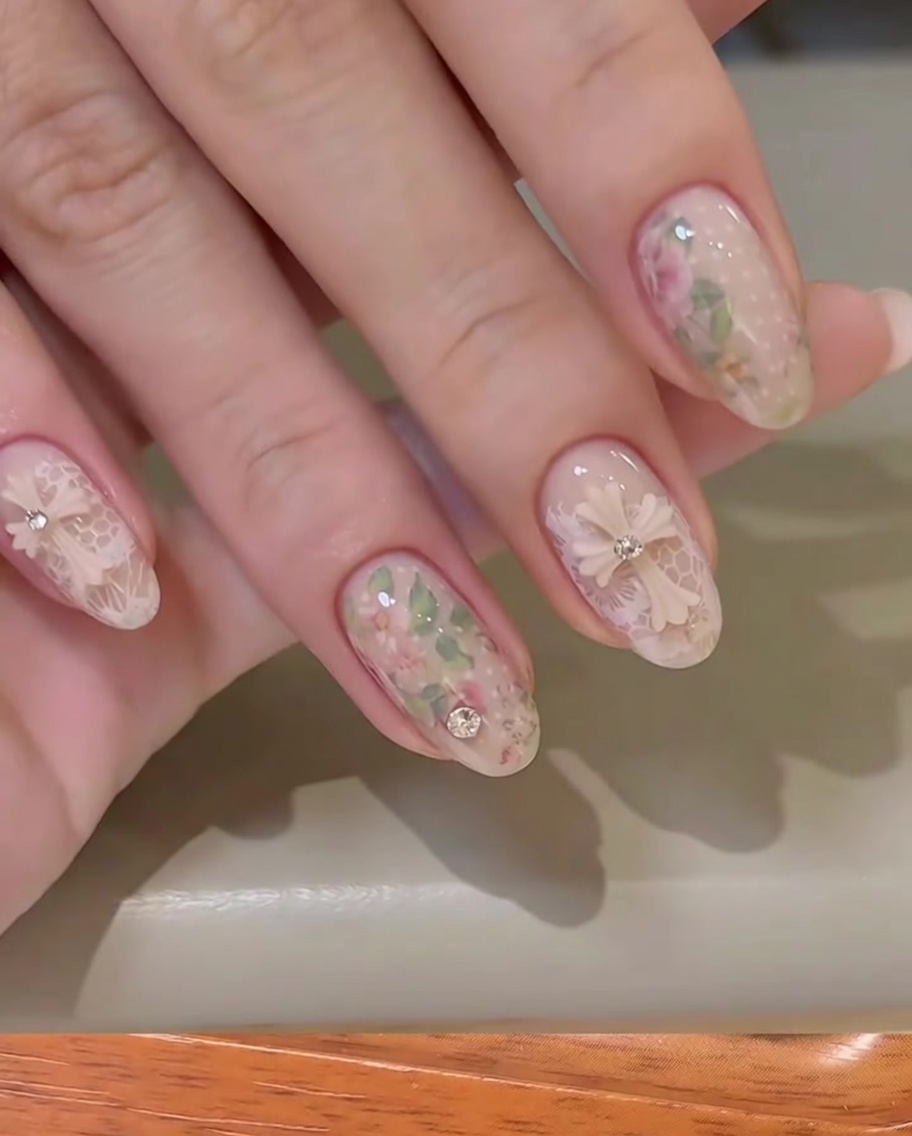
Gently press the floral rose transfer foil onto the nail plate, ensuring it makes full contact with the tacky transfer gel. Press firmly across the entire surface to ensure the pattern transfers cleanly.
Tip: Smooth out the foil with your finger to remove any air bubbles for a crisp transfer. - 5Reveal the rose pattern
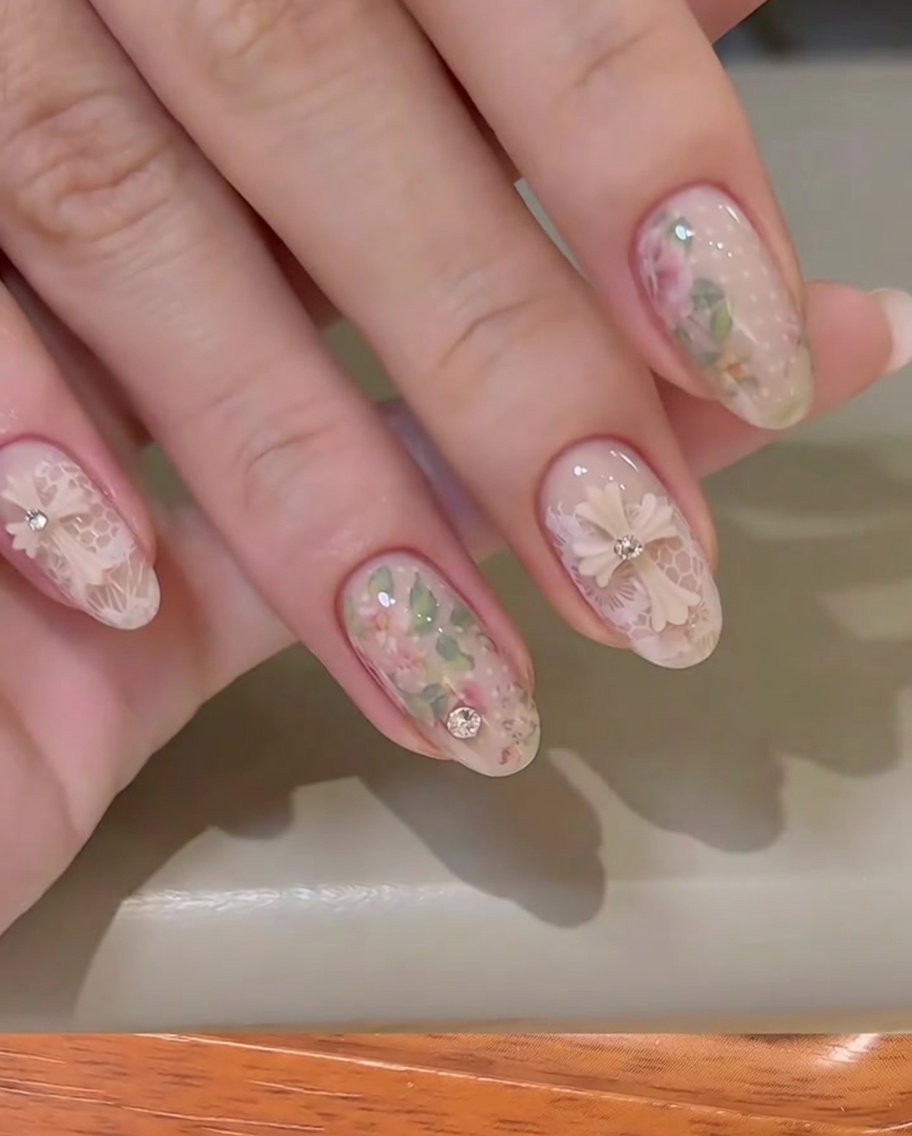
Slowly and carefully peel back the transfer foil sheet to reveal the transferred floral rose pattern on the nail. If any spots were missed, you can gently press the foil back down and lift again.
Tip: Peel back slowly to ensure the pattern has transferred fully. - 6Apply foil to the tip
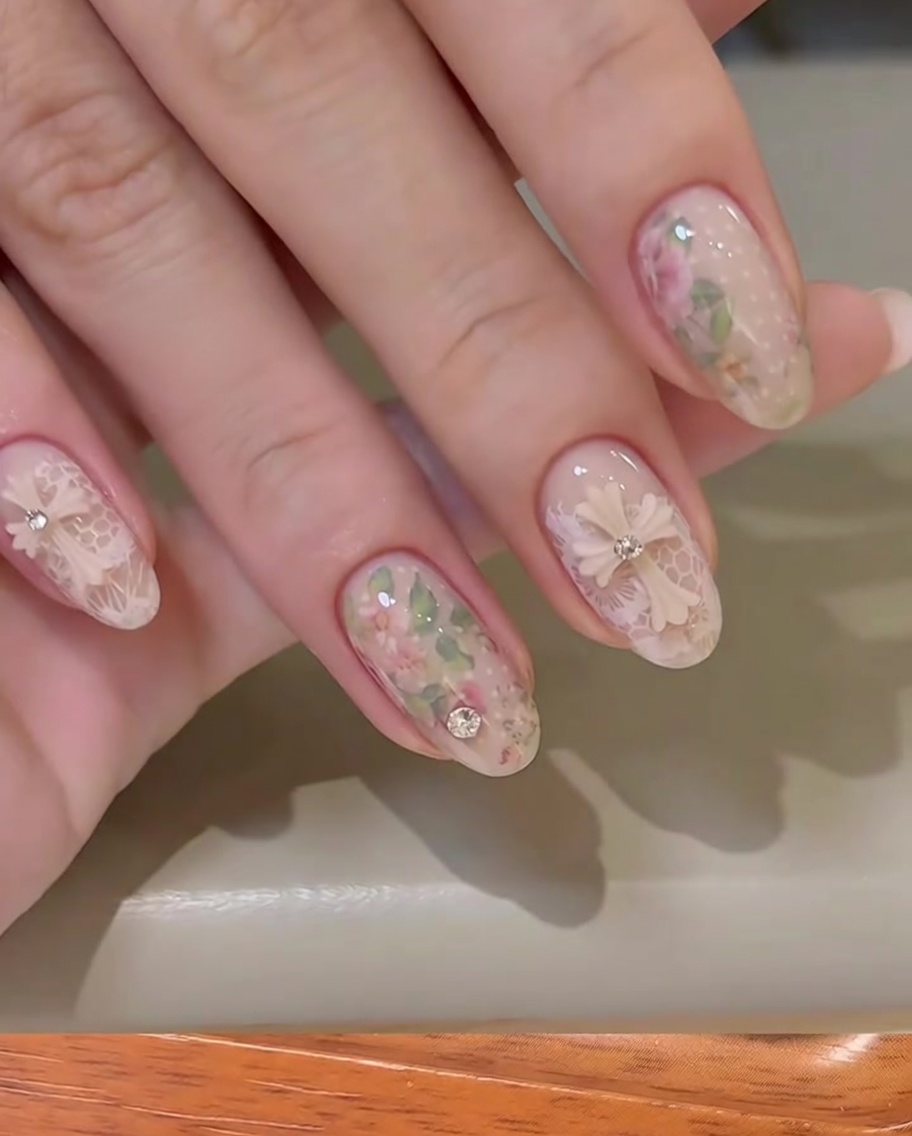
Carefully place a small piece of the floral rose transfer foil onto the tip area of the index finger. Press down firmly to transfer the rose design onto the tip for a detailed accent.
Tip: Use a silicone tool to press into the corners of the nail tip for precision. - 7Remove rose transfer foil
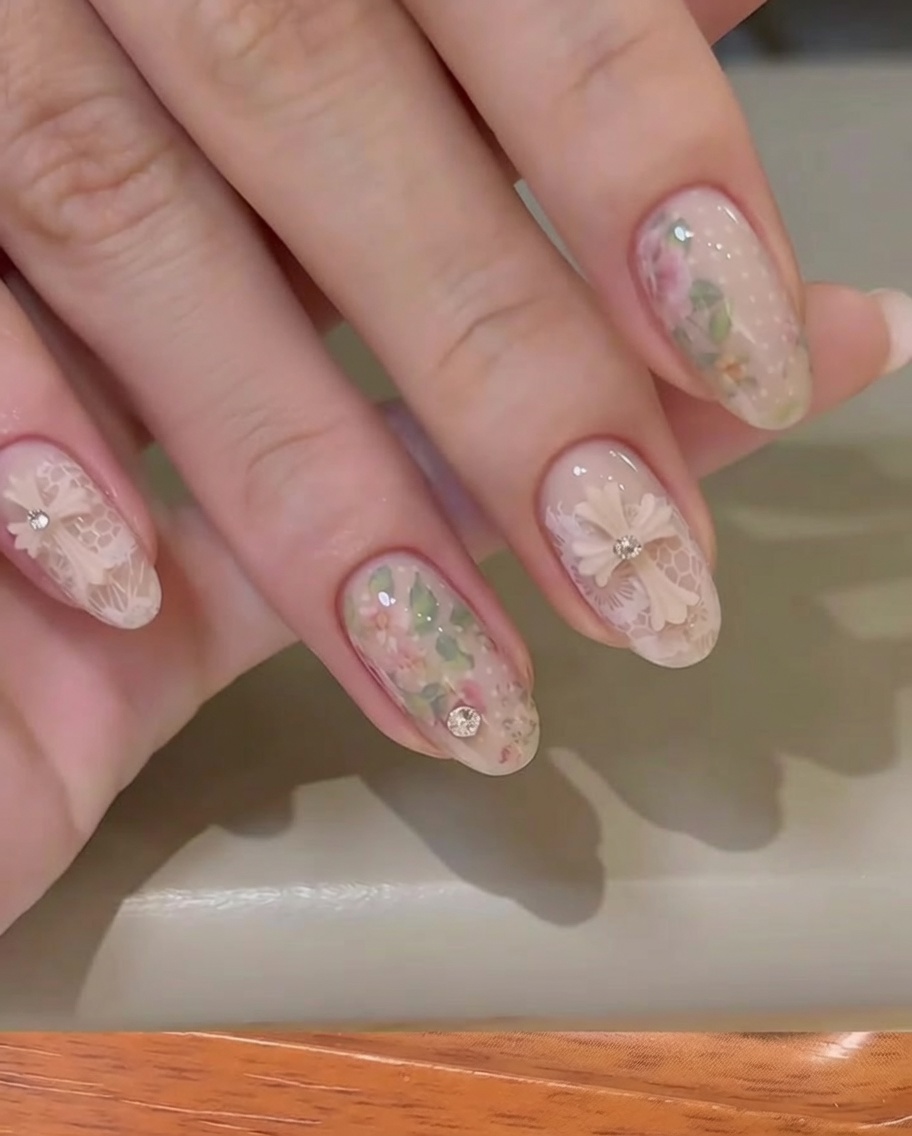
Once the rose transfer foil has been applied to the tacky layer, firmly peel the backing away from the index finger. This will leave the intricate floral design transferred directly onto your nail, revealing the detailed rose pattern.
Tip: Peel the foil backing back in one smooth, quick motion to ensure the entire design transfers cleanly without skipping. - 8Seal the foil design
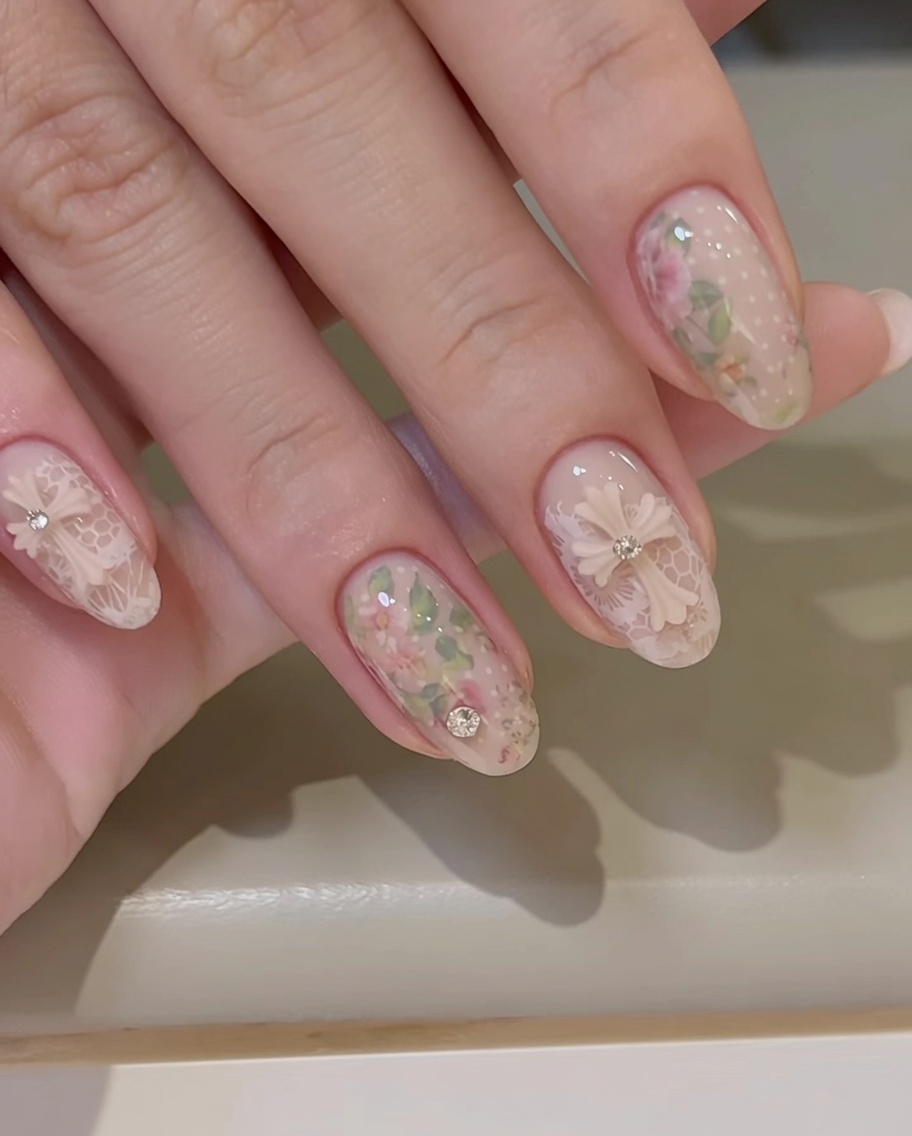
Apply a thin layer of clear base or builder gel over the transferred floral patterns to lock the design in place. Ensure you cap the free edge, then cure the nail in your UV or LED lamp according to the product instructions.
Tip: Using a clear gel layer acts as a protective barrier, preventing the delicate foil design from smudging or peeling prematurely. - 9Prepare lace stamp
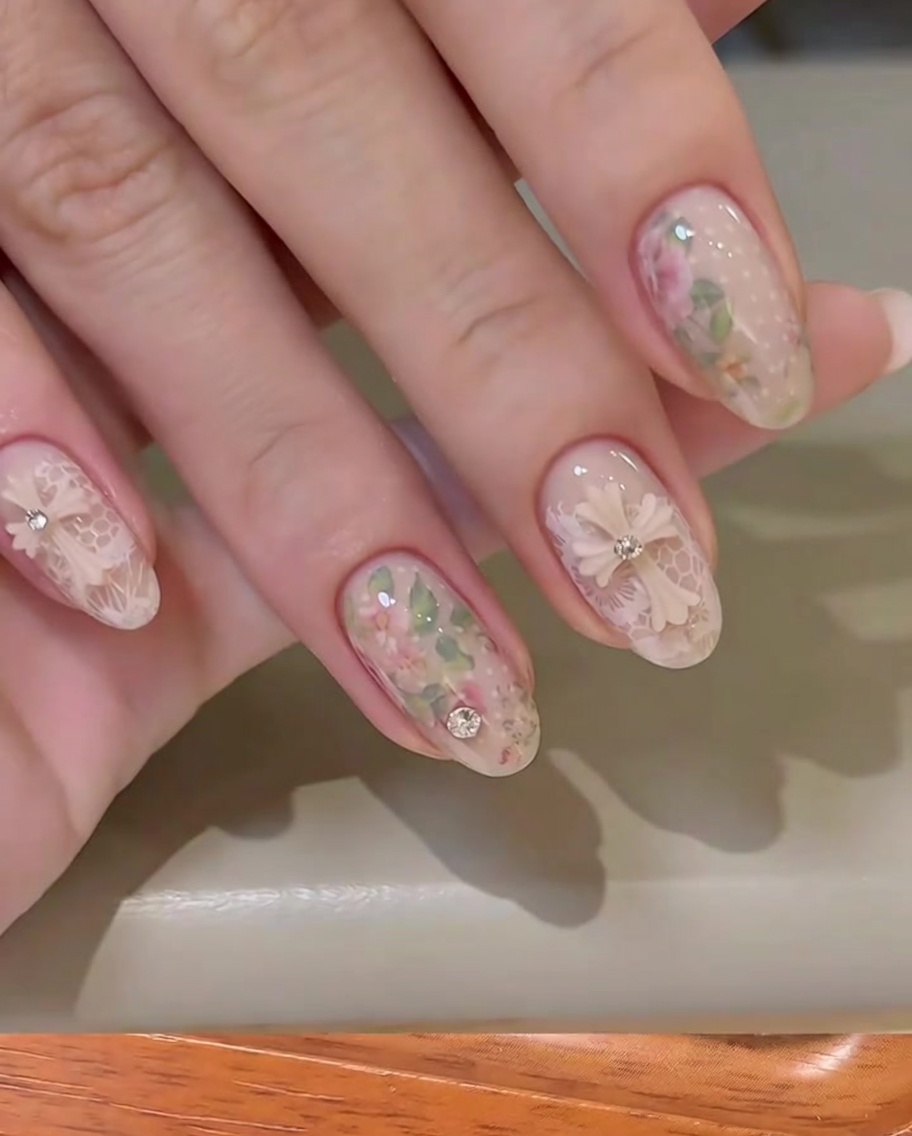
Apply white stamping polish over the desired lace pattern on your nail art plate. Use a scraper to remove excess polish, then firmly press a clear jelly stamper onto the plate to pick up the full lace design.
Tip: Working quickly is key with stamping polish so it doesnt dry on the plate before you pick it up. - 10Apply lace pattern
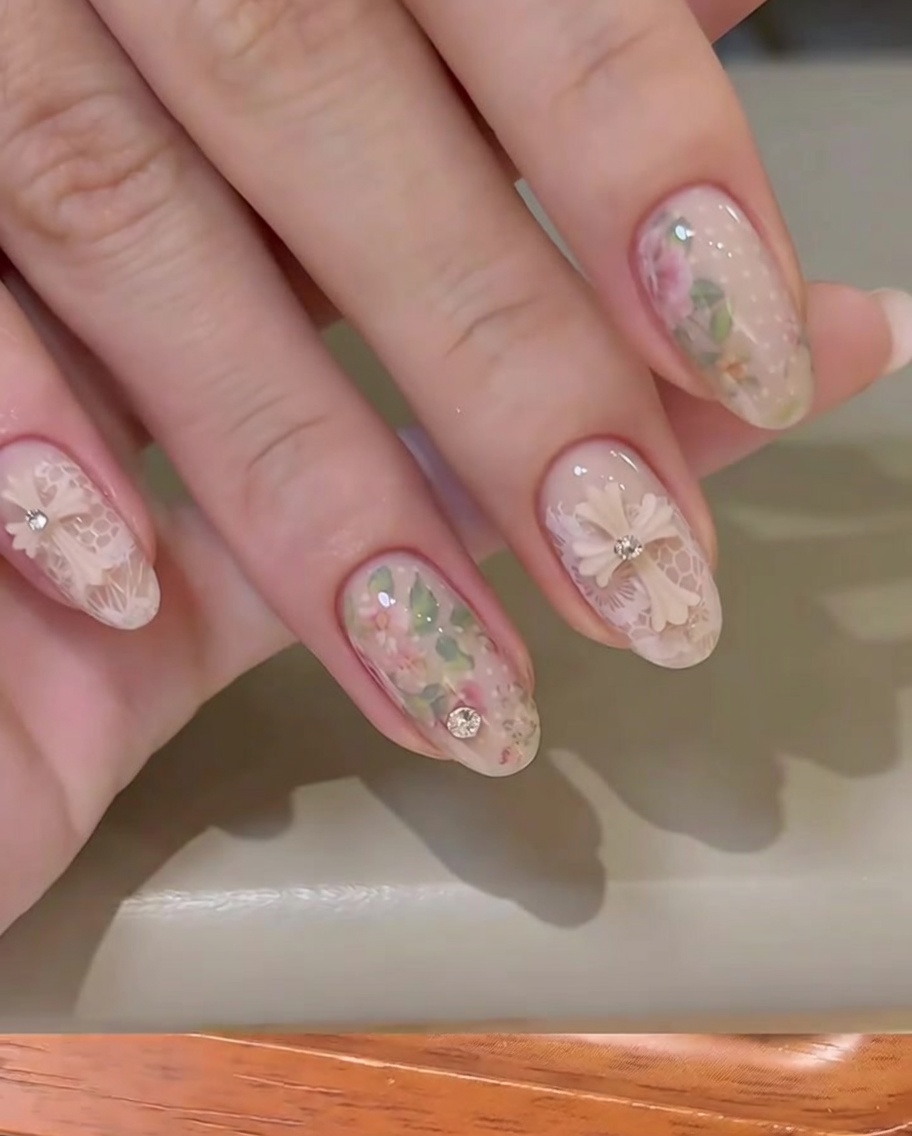
Align the clear stamper over your nail and press down firmly to transfer the white lace design onto the nail surface. The clear head allows you to see exactly where the pattern is landing for perfect placement.
Tip: Use a gentle rolling motion when pressing the stamper onto the nail to avoid air bubbles and ensure the lace pattern lays flat. - 11Clean cuticle area
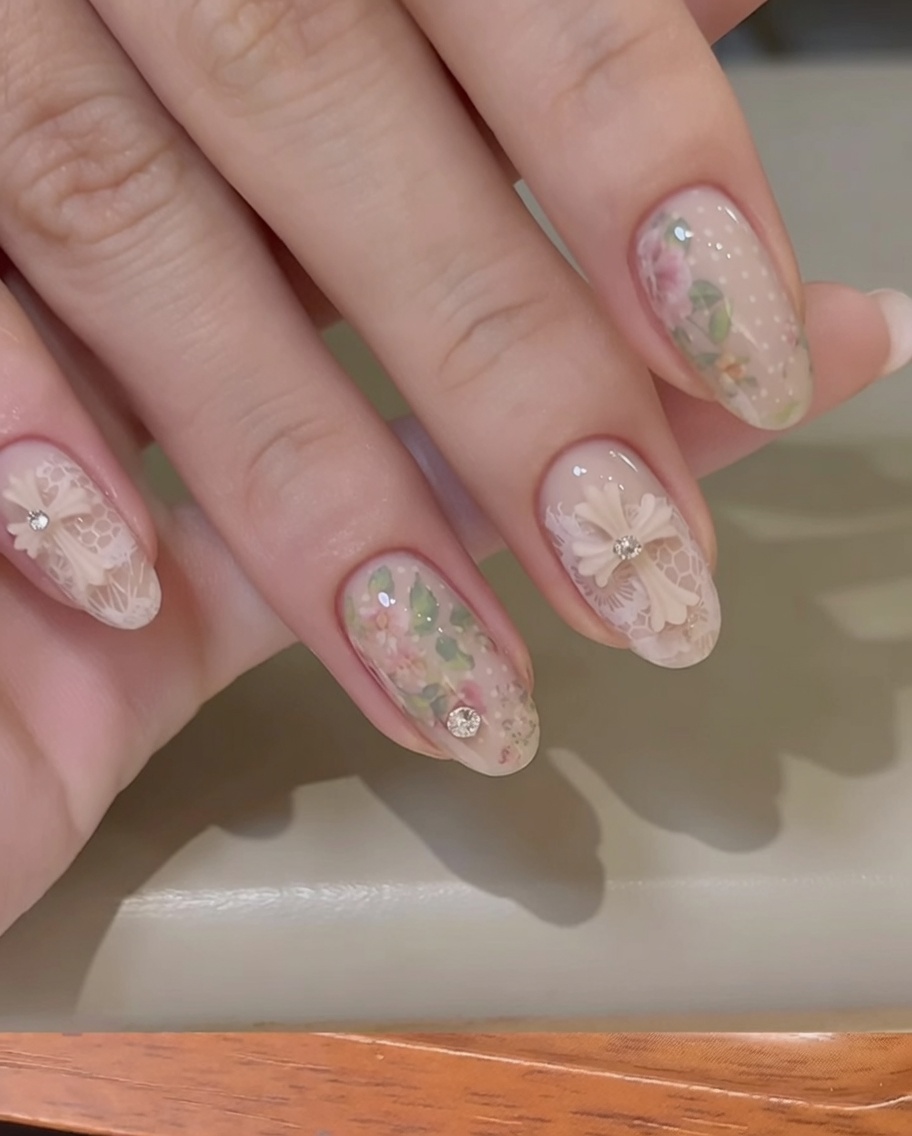
Dip a small cleanup brush into acetone or a specialized nail cleanser. Carefully trace around the cuticle and sidewalls of the nail to remove any excess stamped lace pattern that transferred onto the skin.
Tip: A small, angled brush works best for precision cleaning in tight spaces around the cuticle. - 12Apply 3D charm
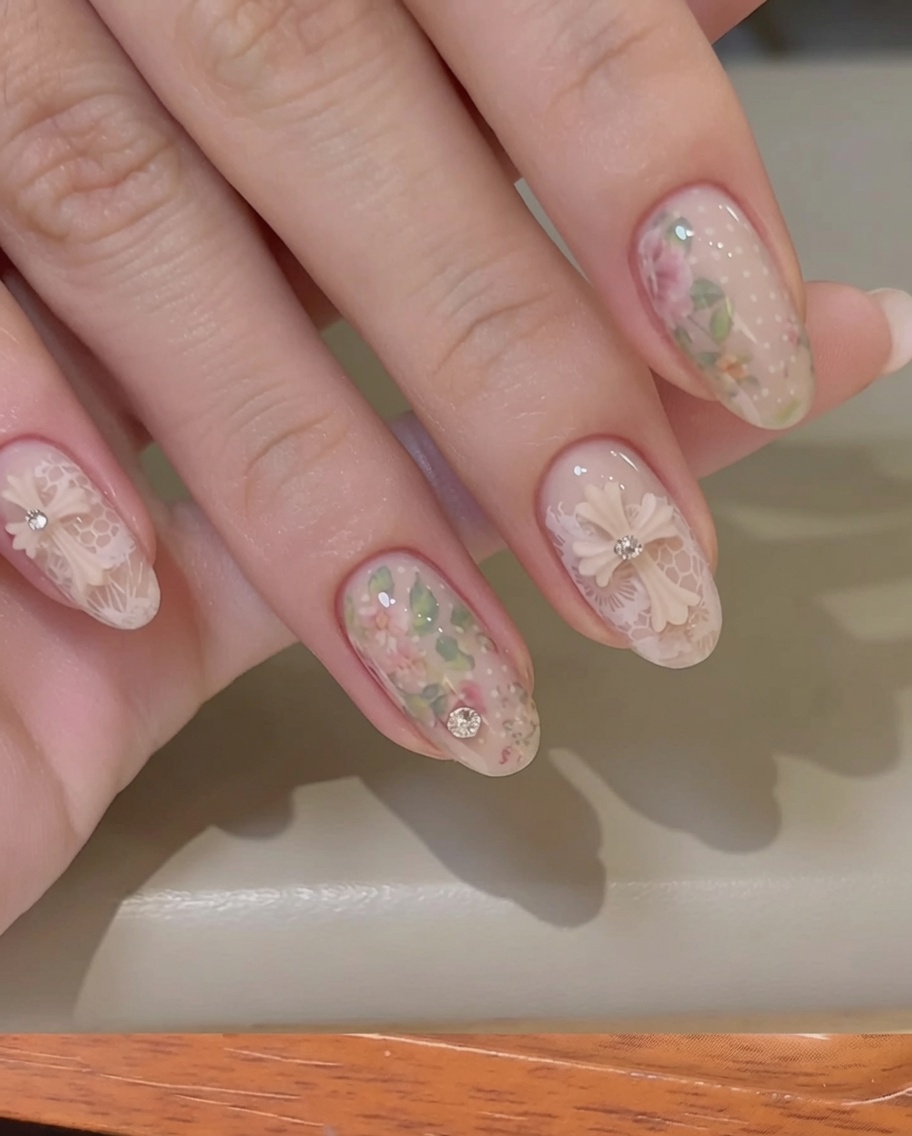
Apply a small bead of strong adhesive gel or nail glue to the center of the rose design. Using tweezers, carefully set your 3D crystal charm into the adhesive and cure the nail to lock the charm securely in place.
Tip: Ensure the adhesive is thick enough to cradle the base of the charm for long-lasting wear without snagging. - 13Position and cure the 3D charm
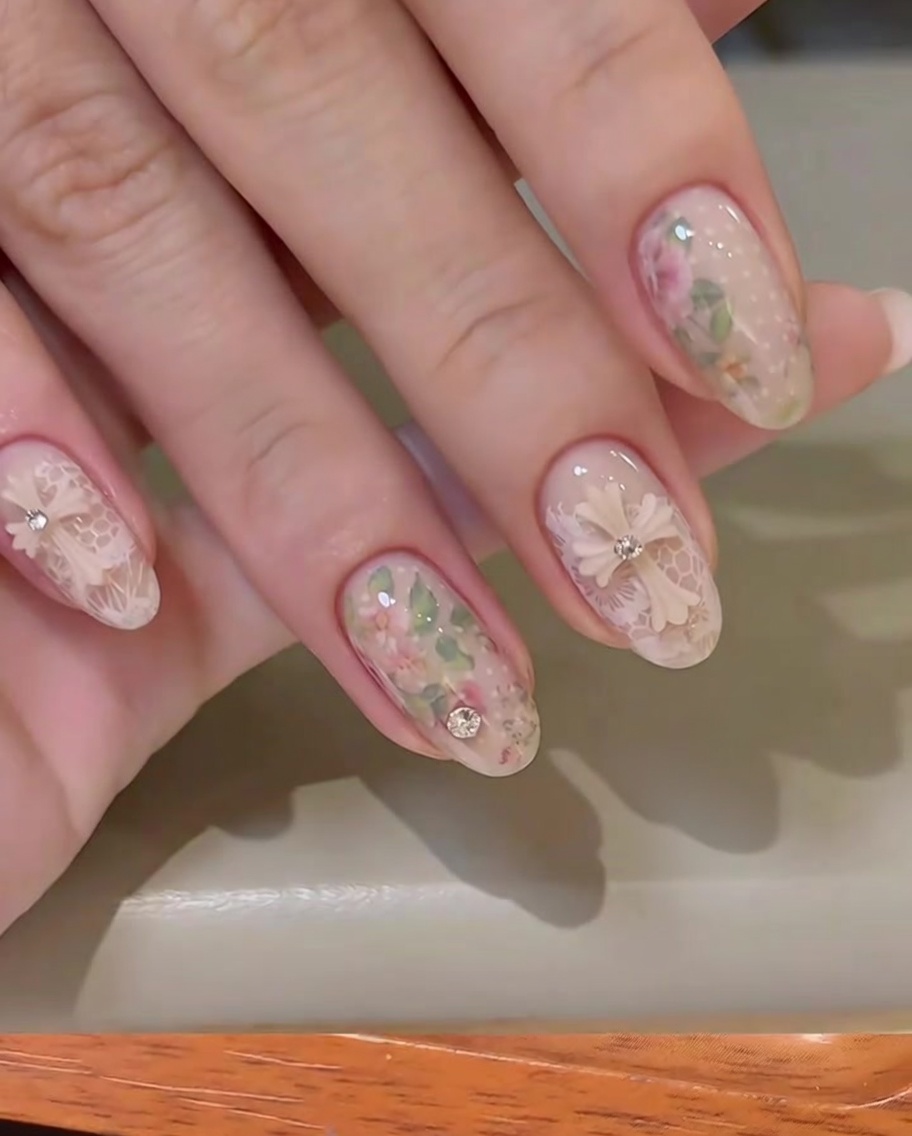
Carefully place your 3D bow charm onto the desired area of the nail plate. Ensure it is centered and sitting flush against the surface before placing the hand into the UV/LED lamp to fully cure and lock the charm in place.
Tip: If the bow charm is large, apply a small bead of hard gel underneath to act as a stronger adhesive before curing. - 14Seal the charm edges
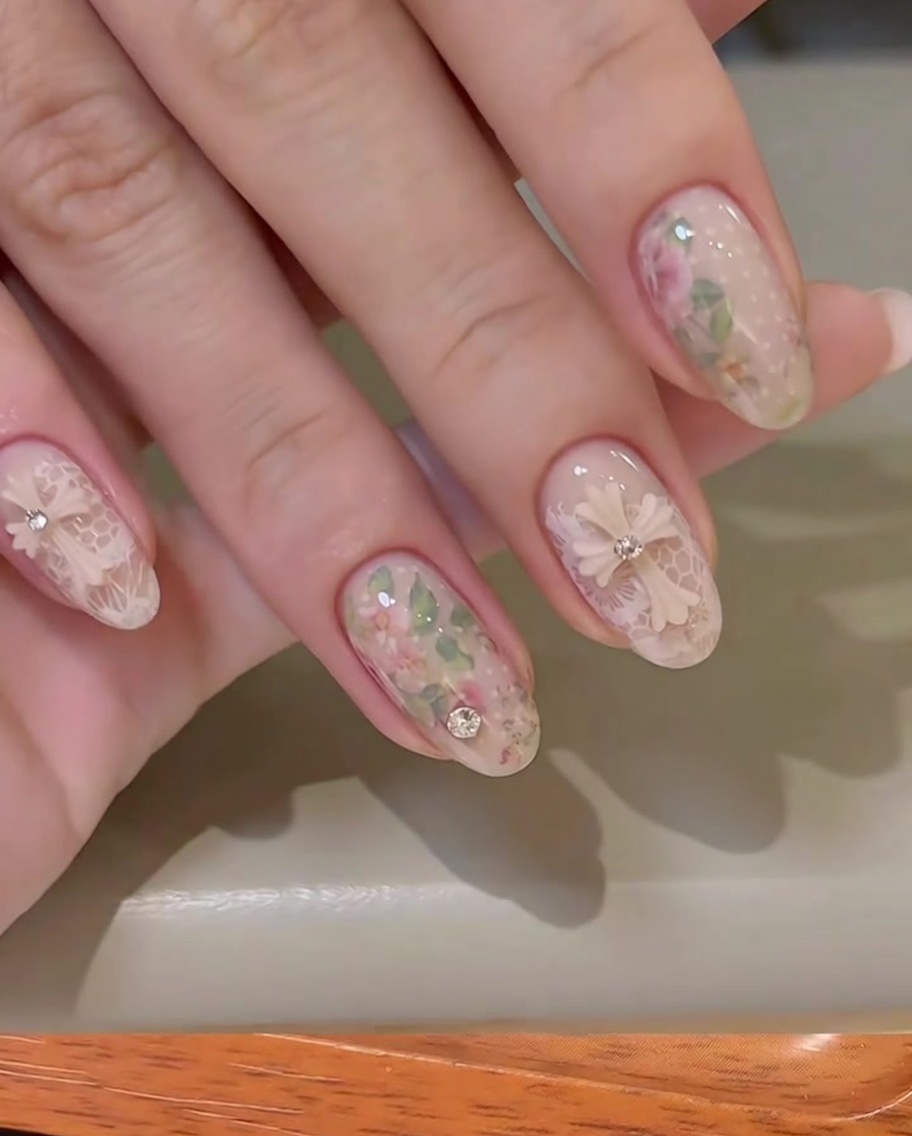
Using a small drop of thick-consistency hard gel or builder gel, carefully trace around the base of the 3D charm. This creates a secure seal that prevents the edges from catching on hair or clothing, ensuring the charm stays firmly attached.
Tip: Use a minimal amount of gel to avoid flooding the base of the charm, which can make it look bulky or messy. - 15Smooth and cure the seal
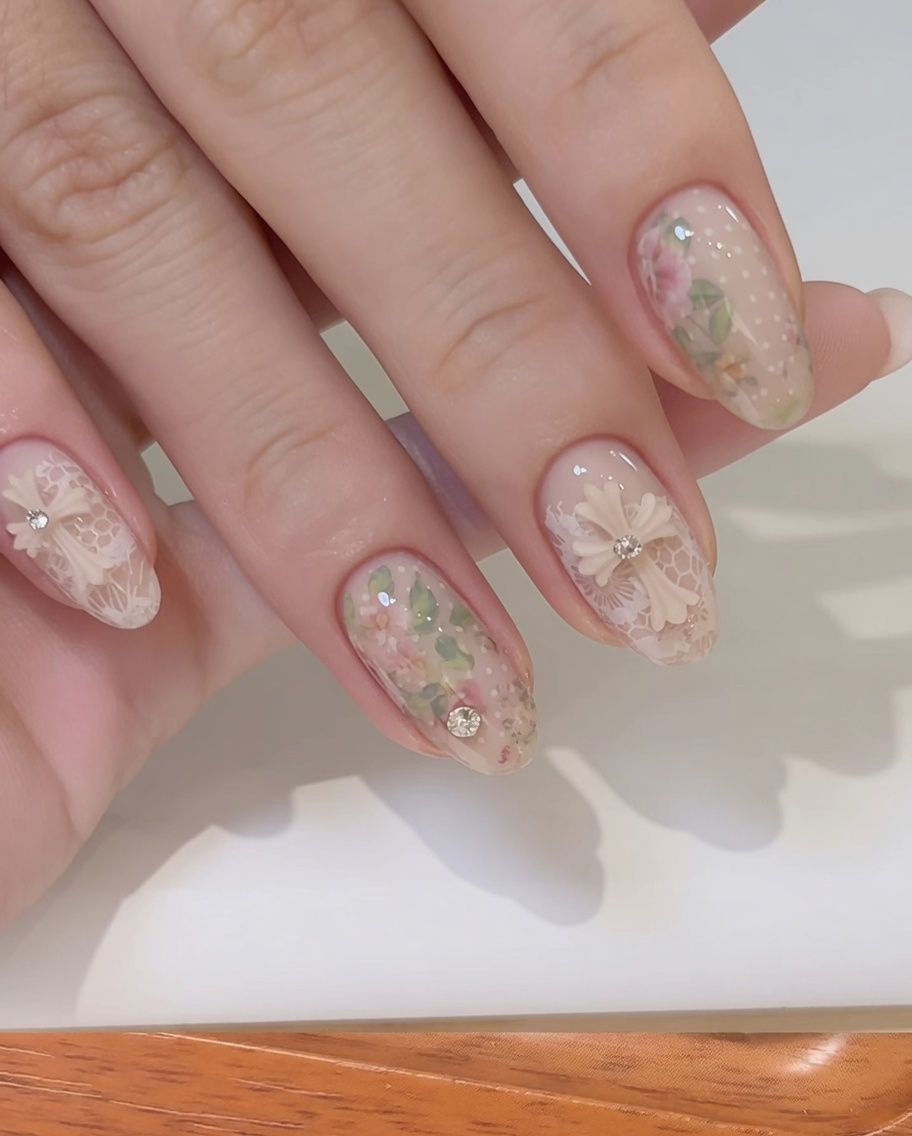
With a fine detail brush, gently smooth the hard gel around the perimeter of the bow embellishment to create a seamless transition. Once the gel is perfectly leveled, place the nail into the lamp to cure, ensuring the seal is hardened and durable.
Tip: If the gel seems to pool, turn the hand upside down for a few seconds before curing to let gravity help level the product. - 16Apply final top coat
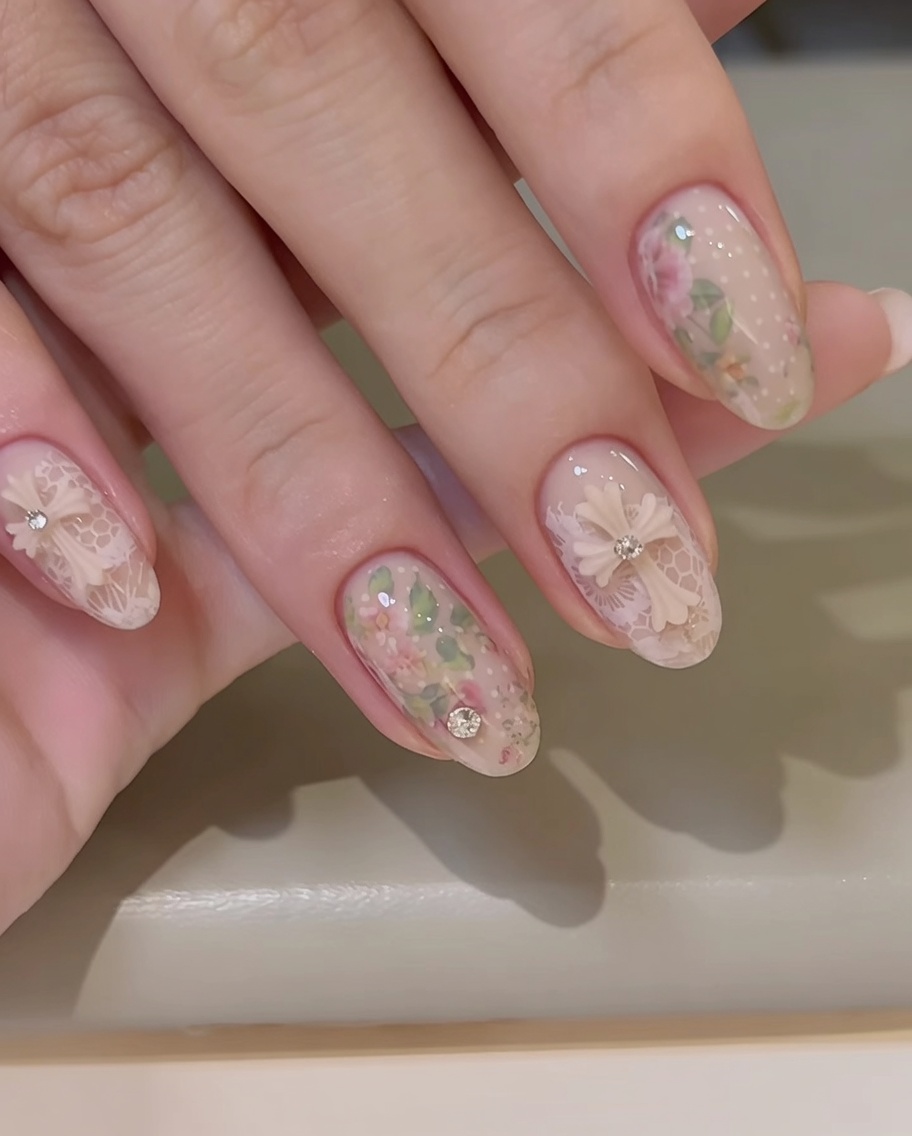
Apply a final layer of glossy top coat to the entire nail surface to unify the look and add protection. Be careful to brush around the 3D charm rather than over it, as coating the charm surface can sometimes dull its finish or cause the top coat to peel.
Tip: Use a smaller detail brush to apply top coat around the base of the charm for more precision without touching the decoration.