Frosted Glass Effect Nail Art — Trendy Rainy Day Manicure
Create a mesmerizing foggy glass effect with this rainy-day inspired nail tutorial. Learn how to combine chrome powder, matte finish, and raised water drops.
Bring the moody, artistic aesthetic of a rainy window to your nails with this creative frosted glass technique. By layering silver chrome with a matte top coat and glossy clear accents, you can achieve a realistic, textured look that mimics water droplets on glass. It is a perfect way to add dimension and personality to your manicure using simple gel layering methods.
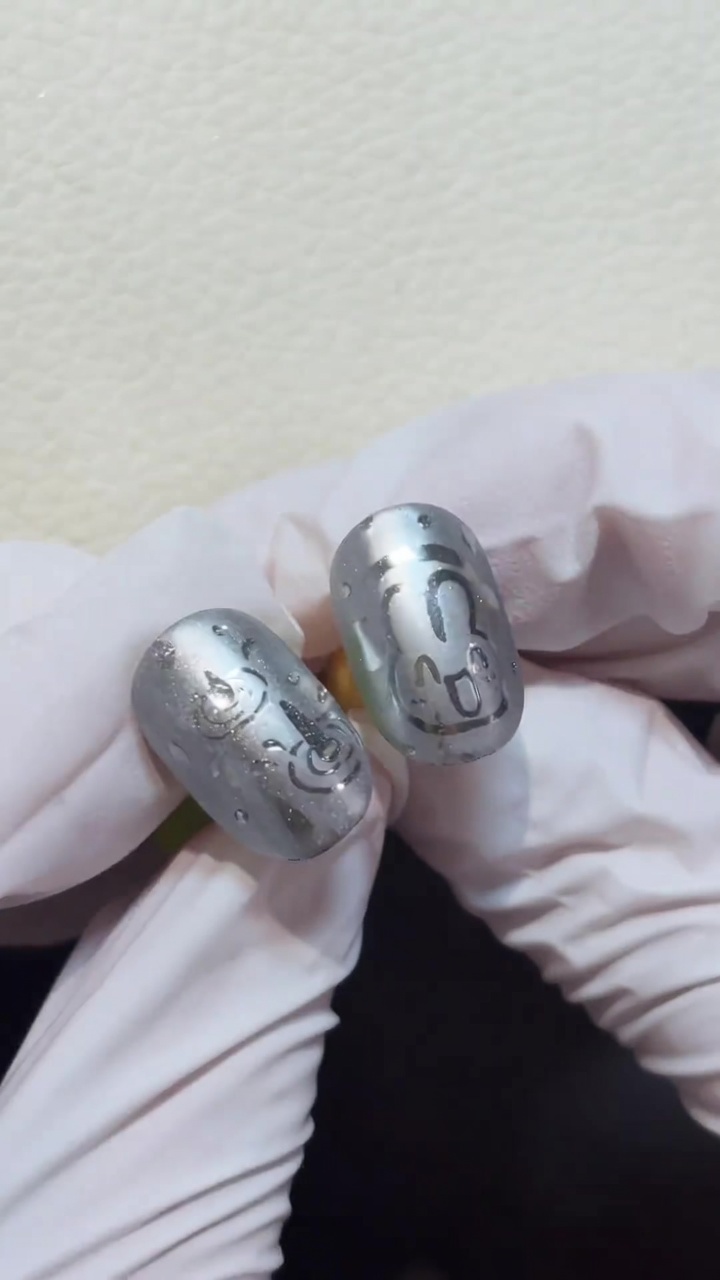
Steps
- 1Apply black base color
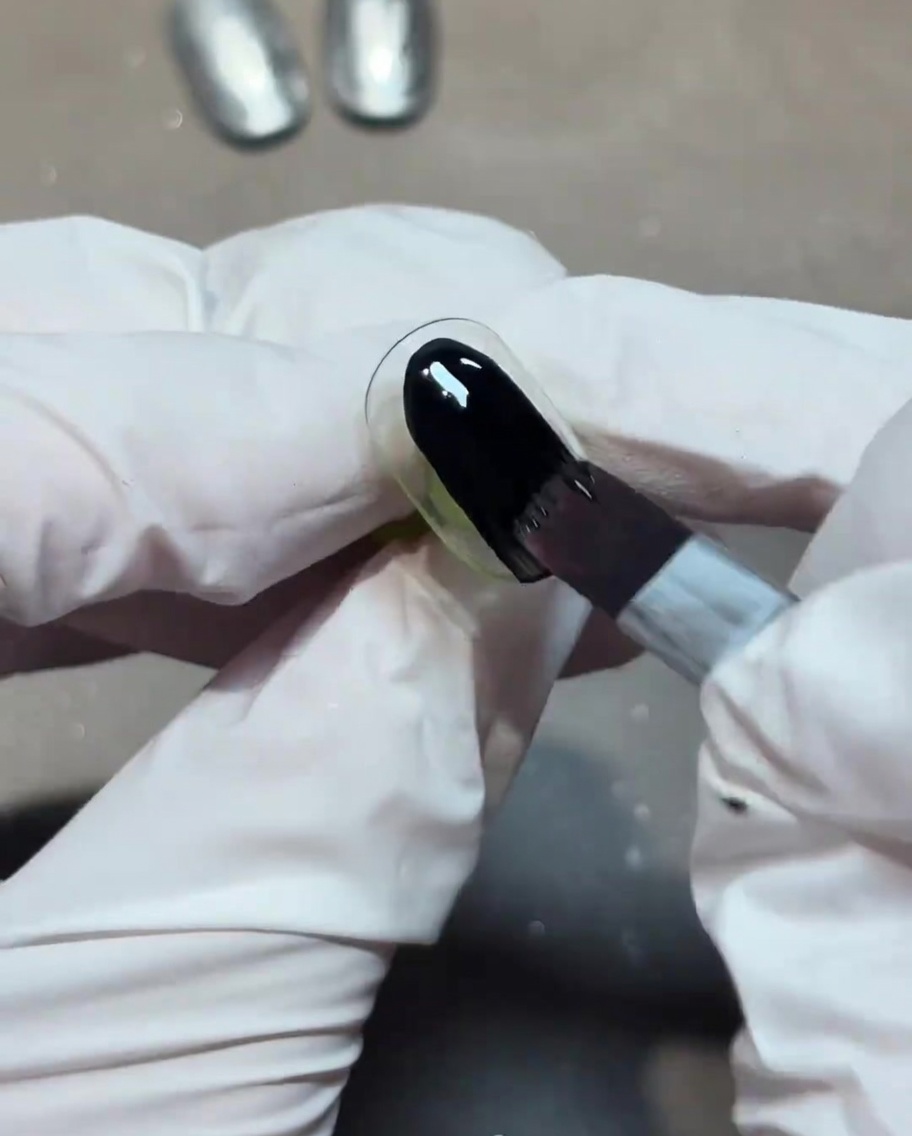
Apply a full, even layer of black gel polish over the entire nail surface. Ensure the coverage is opaque and smooth, then cure it under your UV or LED lamp as directed by the product instructions.
Tip: Apply in thin layers to ensure it cures thoroughly and does not wrinkle. - 2Apply top coat for chrome
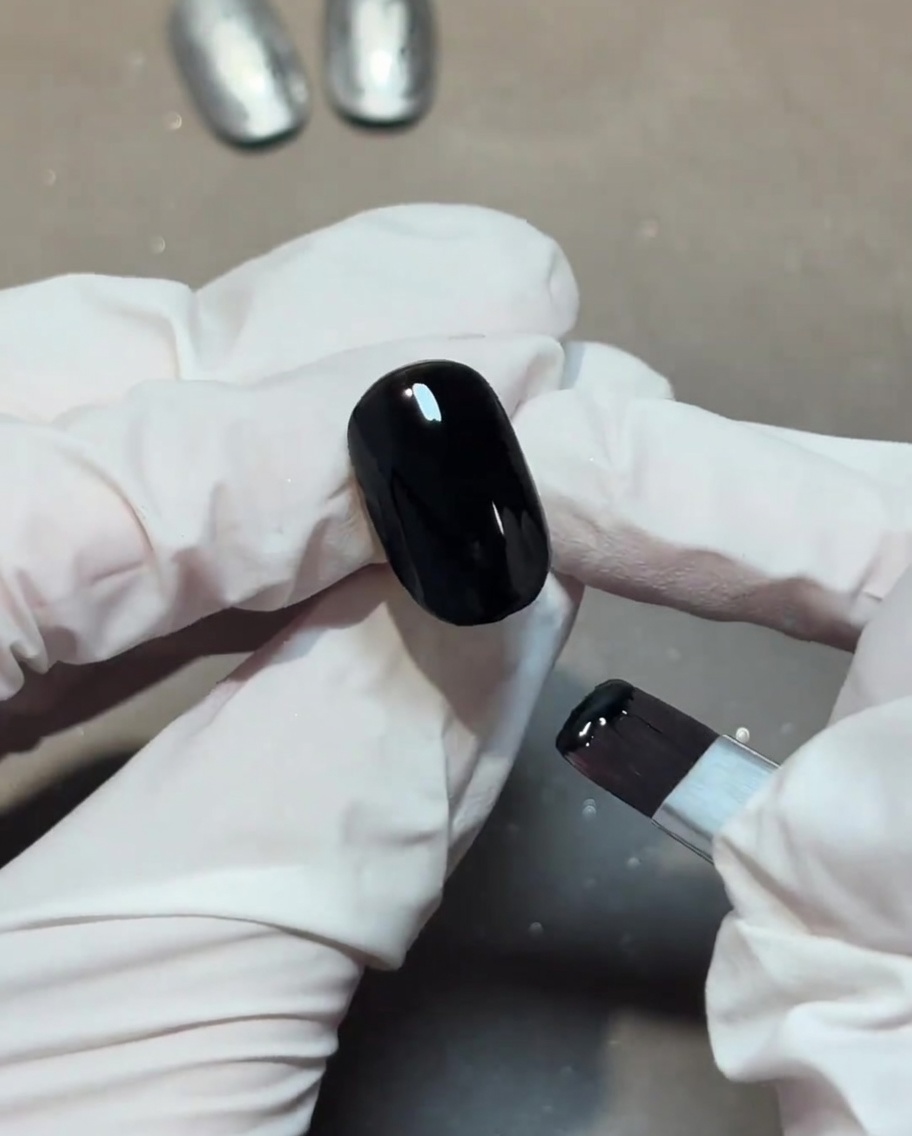
Apply a thin, even layer of shiny top coat over your cured black base. Cure this layer thoroughly under your UV or LED lamp according to the products recommended time. This provides the smooth, non-porous foundation required for the chrome powder to adhere and create a perfect mirror finish.
Tip: Make sure the top coat is fully cured before moving to the chrome application to achieve the best mirror effect. - 3Apply silver chrome powder
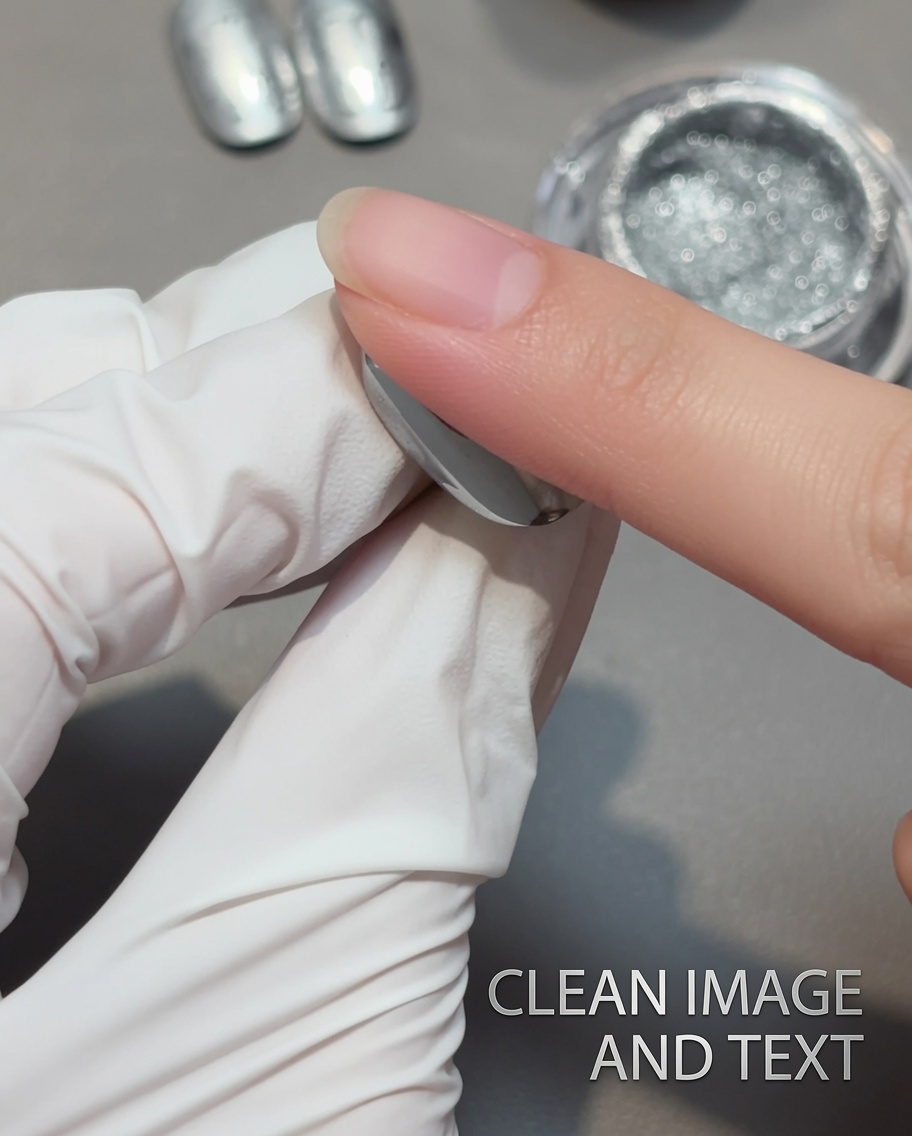
Using your finger or an applicator tool, rub the silver chrome powder directly onto the surface of the cured top coat. Buff the powder until a smooth, mirror-like metallic finish is achieved. Remove any excess powder from the nail and skin.
Tip: Apply the powder while the nail is still warm from the lamp for an even smoother finish. - 4Encapsulate with reinforcement gel
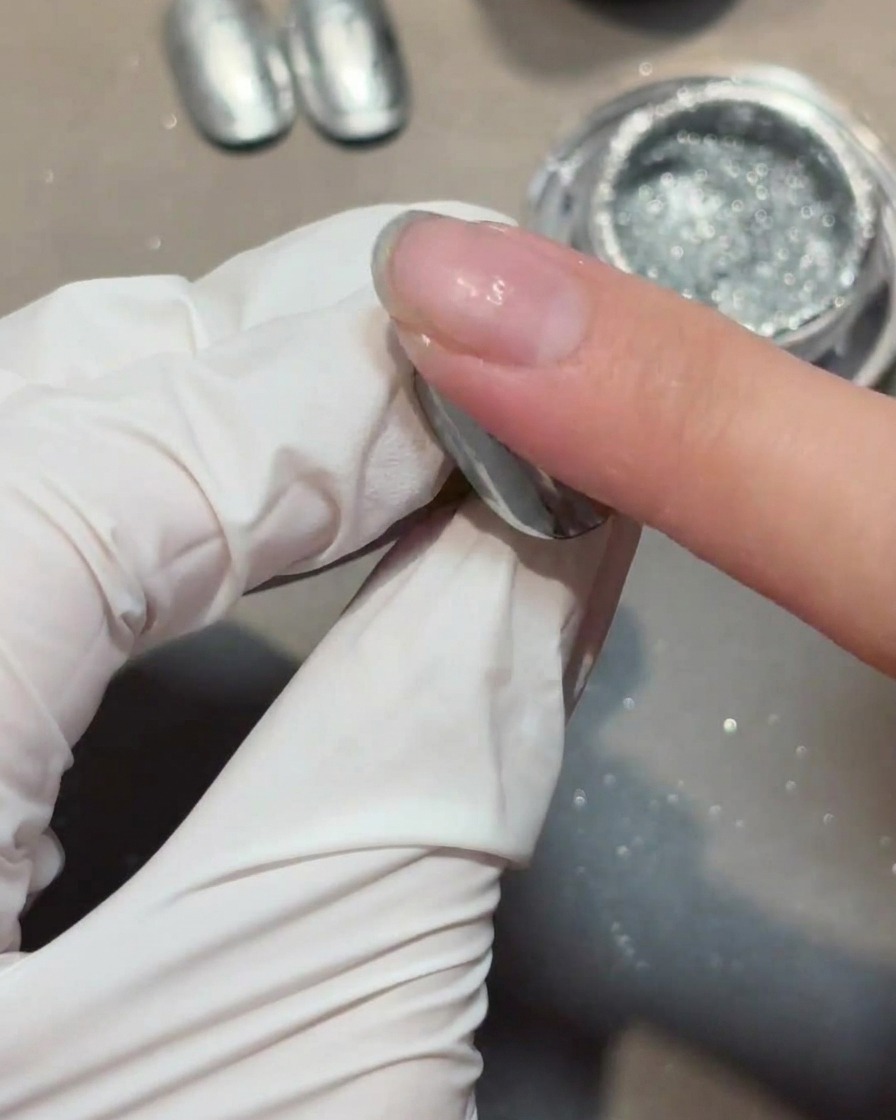
Apply a thin, protective layer of reinforcement gel over the entire chrome-finished nail. This step is essential to seal the chrome powder, preventing it from rubbing off when you apply subsequent layers. Be sure to cap the free edge of the nail to maintain the integrity of the metallic finish, then cure thoroughly.
Tip: Ensure you cap the free edge with the reinforcement gel to maintain the integrity of the chrome finish. - 5Apply matte top coat
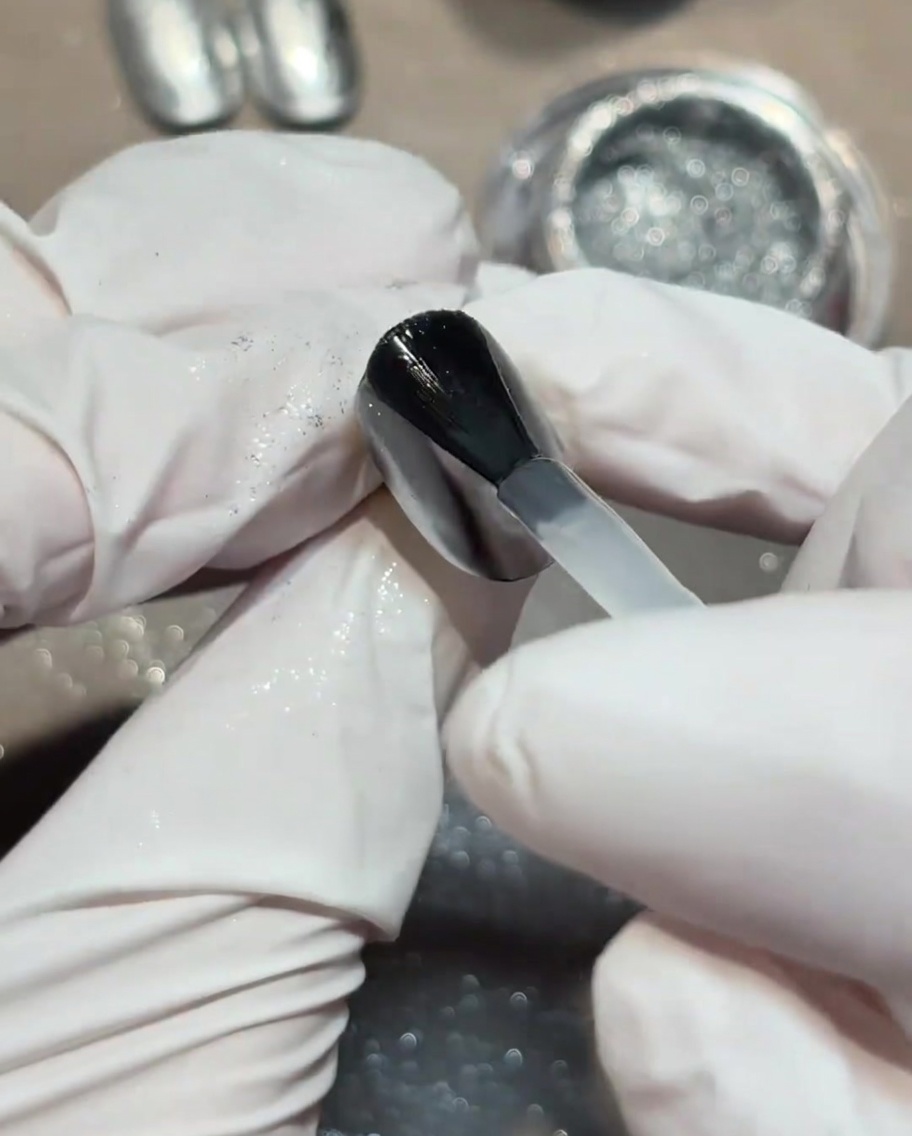
Apply a layer of matte top coat over the entire nail and cure it. This matte surface is the foundation that will create the foggy glass effect in the next step.
Tip: Ensure the matte coat is applied evenly to create a uniform frosted base. - 6Apply matte top coat
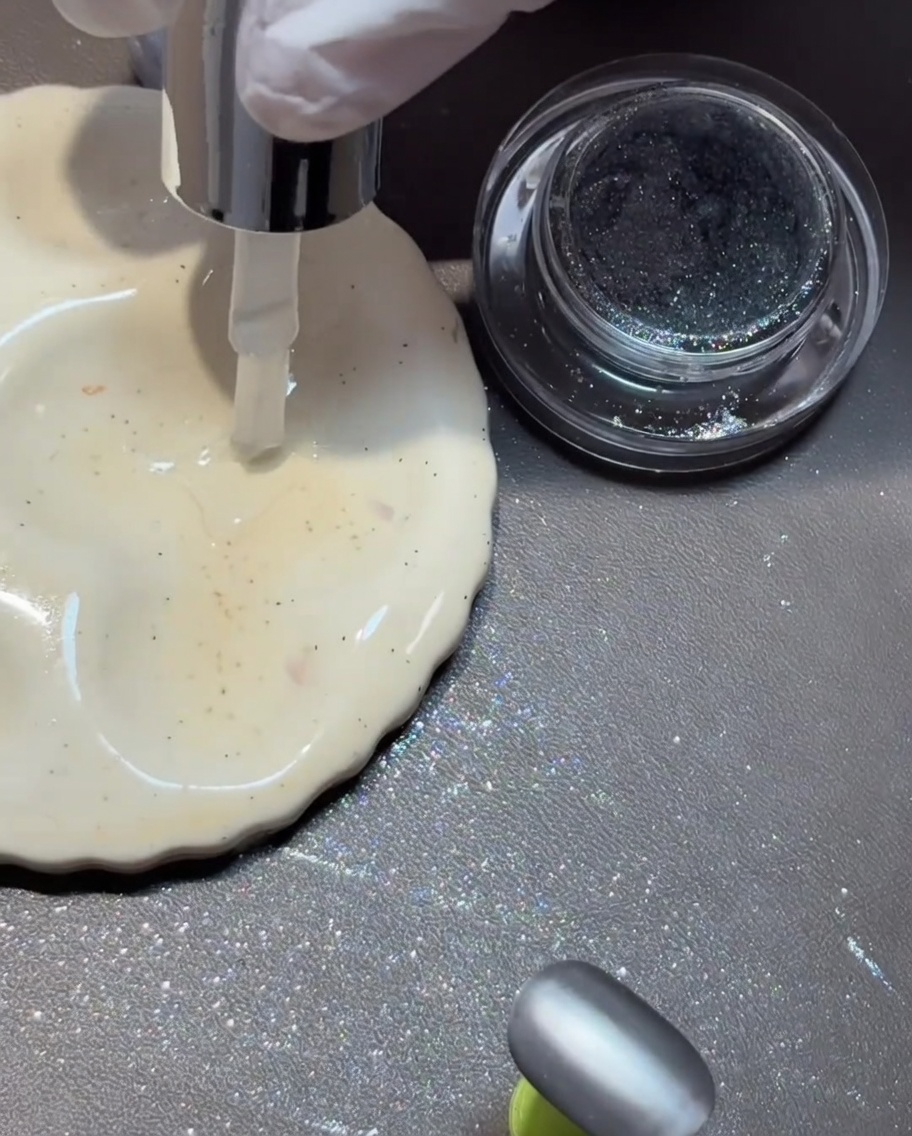
Apply a full layer of matte top coat over the entire encapsulated chrome nail and cure it. This matte surface is the key foundation for achieving the foggy glass aesthetic.
Tip: Keep the lines thin to ensure the design remains crisp and clear. - 7Draw pattern details
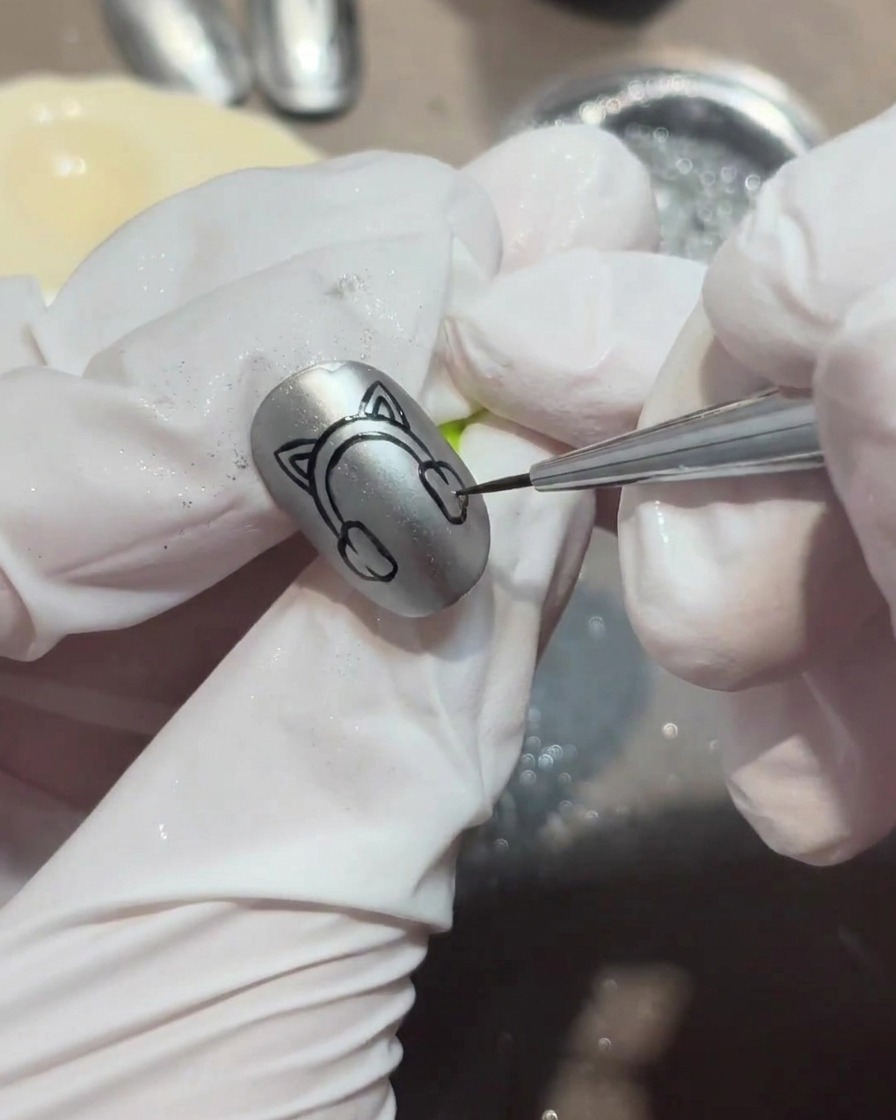
Using a fine liner brush and shiny top coat, draw your desired design, such as character outlines, onto the matte surface. The contrast between the glossy lines and the frosted background creates the signature glass effect.
Tip: Rest your pinky finger on a stable surface while painting delicate outlines to keep your hand steady and precise. - 8Add water droplet details
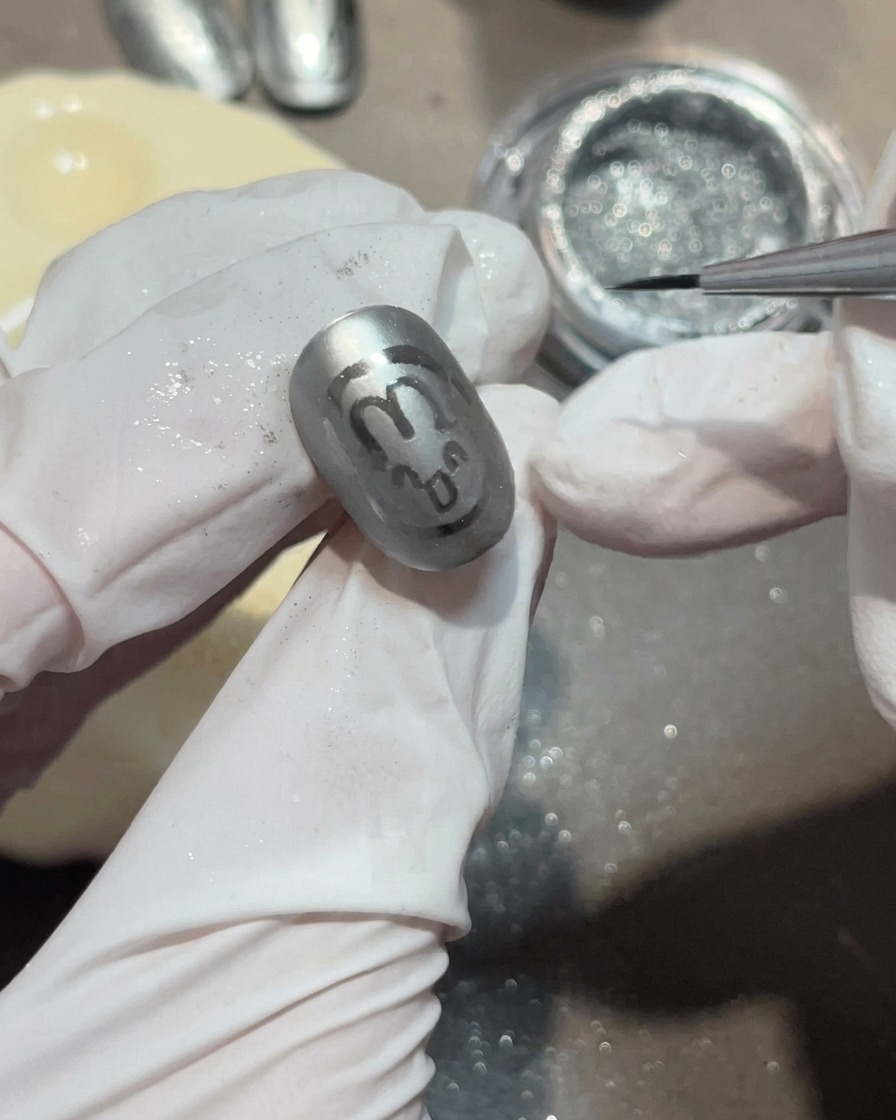
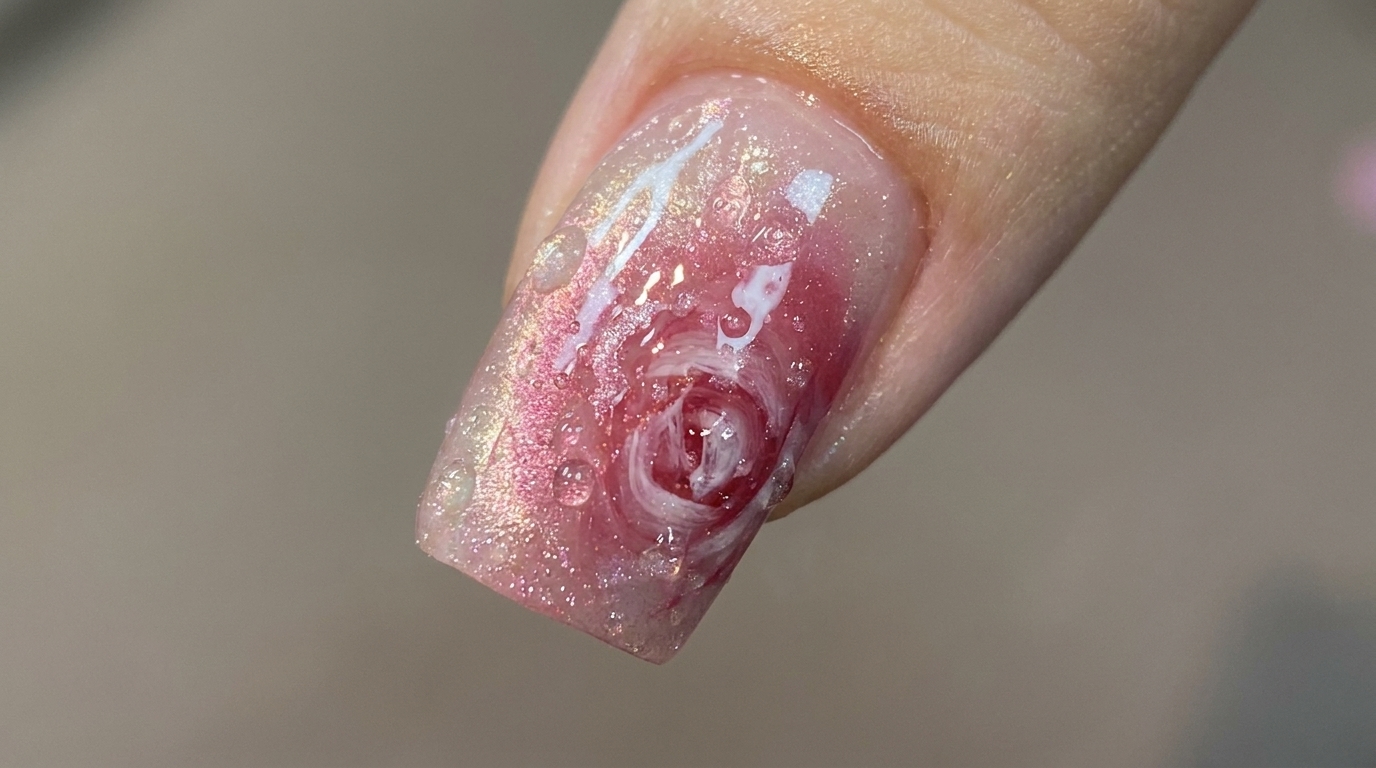
Using a fine liner brush, pick up small, individual beads of clear, high-gloss top coat. Carefully place these beads onto the matte surface to mimic realistic, raised water droplets. Create variety by using different droplet sizes for a natural look. Do not cure until you are satisfied with the placement of all droplets.
Tip: Vary the size of the dots to make the water droplets look more natural and organic. - 9Draw water wave pattern
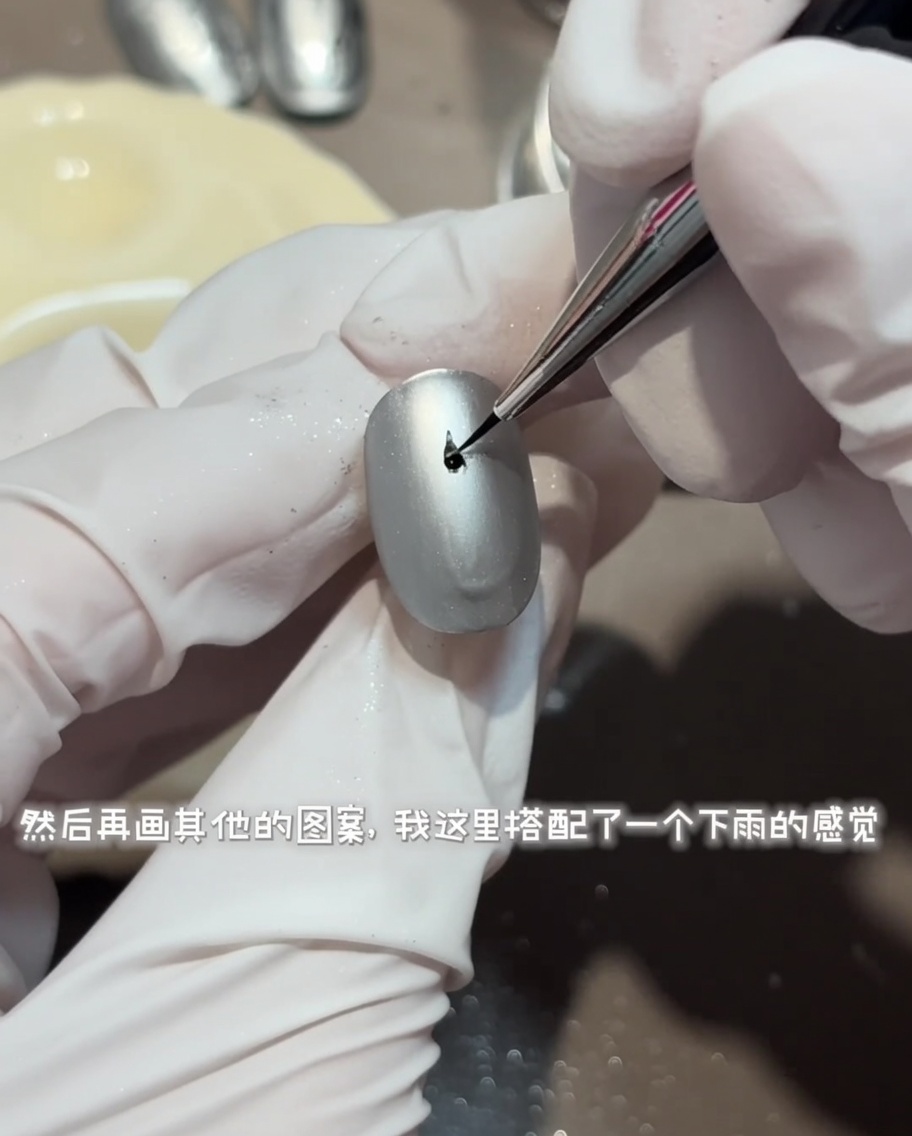
Using a fine liner brush and shiny top coat, draw intricate water wave and ripple patterns onto the matte nail surface. The contrast between the shiny gel lines and the matte background creates a realistic, dimensional effect that mimics light reflecting on water.
Tip: Keep your hand steady and use light pressure to ensure the lines remain thin and precise. - 10Add final water droplets
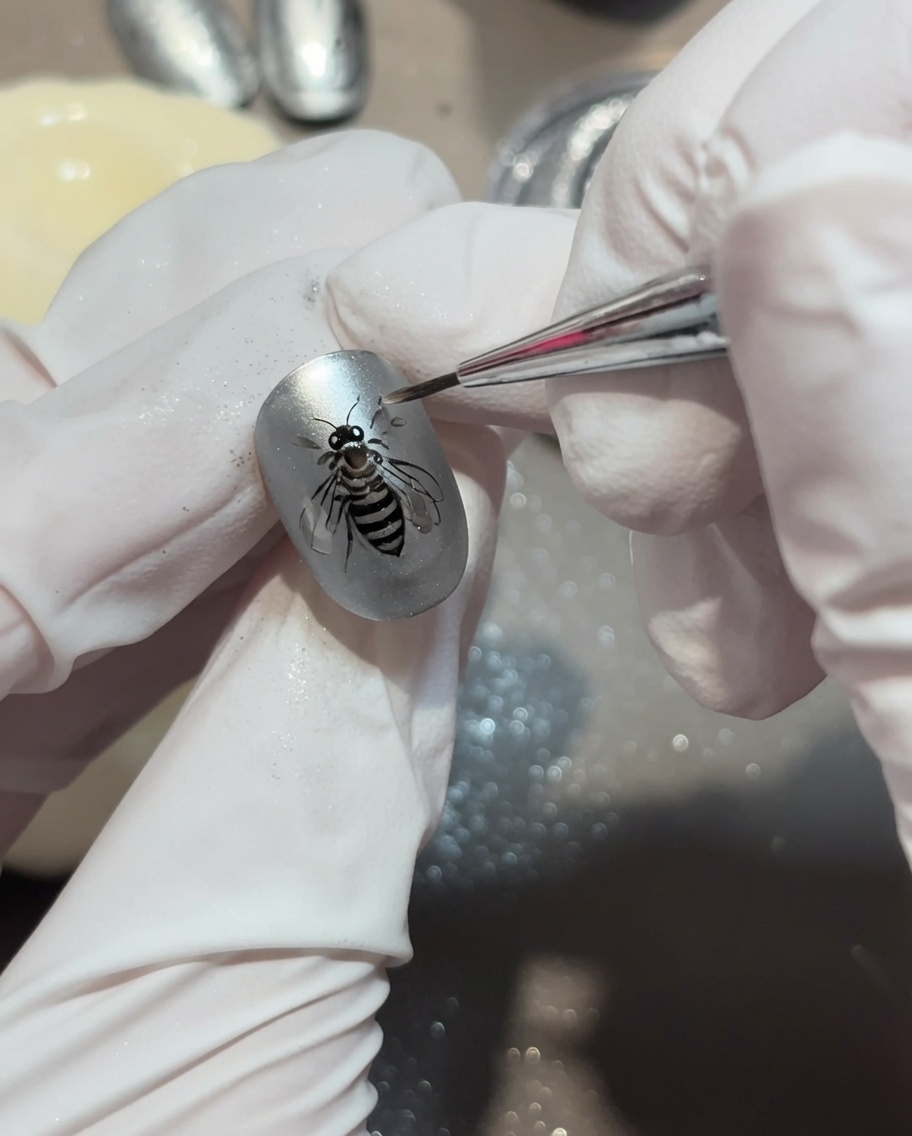
To complete the design, add final small, scattered water droplets around the previously drawn water wave pattern. These accents enhance the atmospheric, rainy look of the nail art. Cure all elements under the UV lamp once the design is finished.
Tip: Focus the placement of these final drops near the edges of the ripple pattern to create depth.