Summer Dreamy Bubble Gel Nail Art Tutorial
Master this dreamy summer look featuring cat-eye gel, colorful blooming bubbles, and sparkling 3D accents with our easy, step-by-step guide.
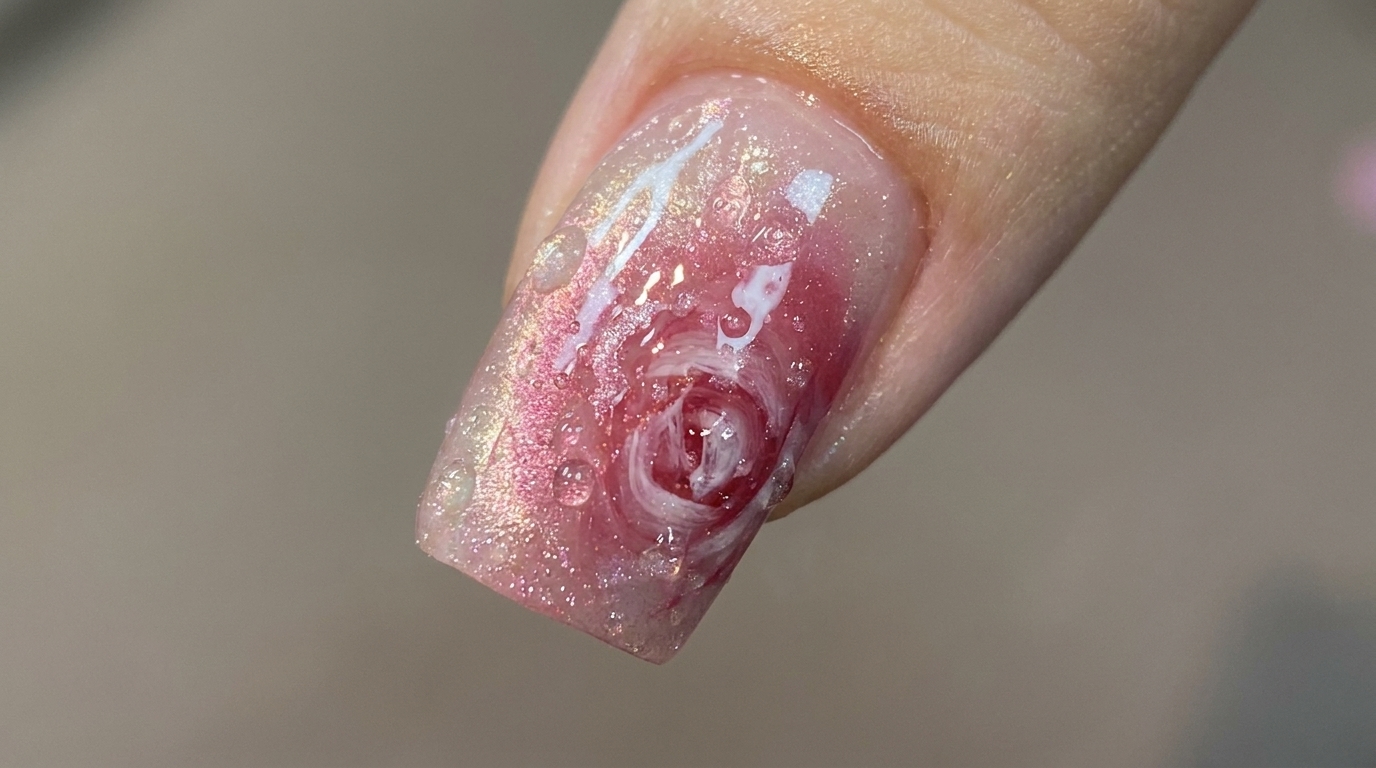
Embrace the playful aesthetic of summer with this stunning bubble-inspired nail art design. By combining the magnetic depth of cat-eye gel with the soft, diffused look of blooming ink and dimensional 3D bubbles, this tutorial helps you achieve a sophisticated yet fun salon-quality manicure. Follow along to learn how to layer these techniques for a truly eye-catching, multi-textured finish.
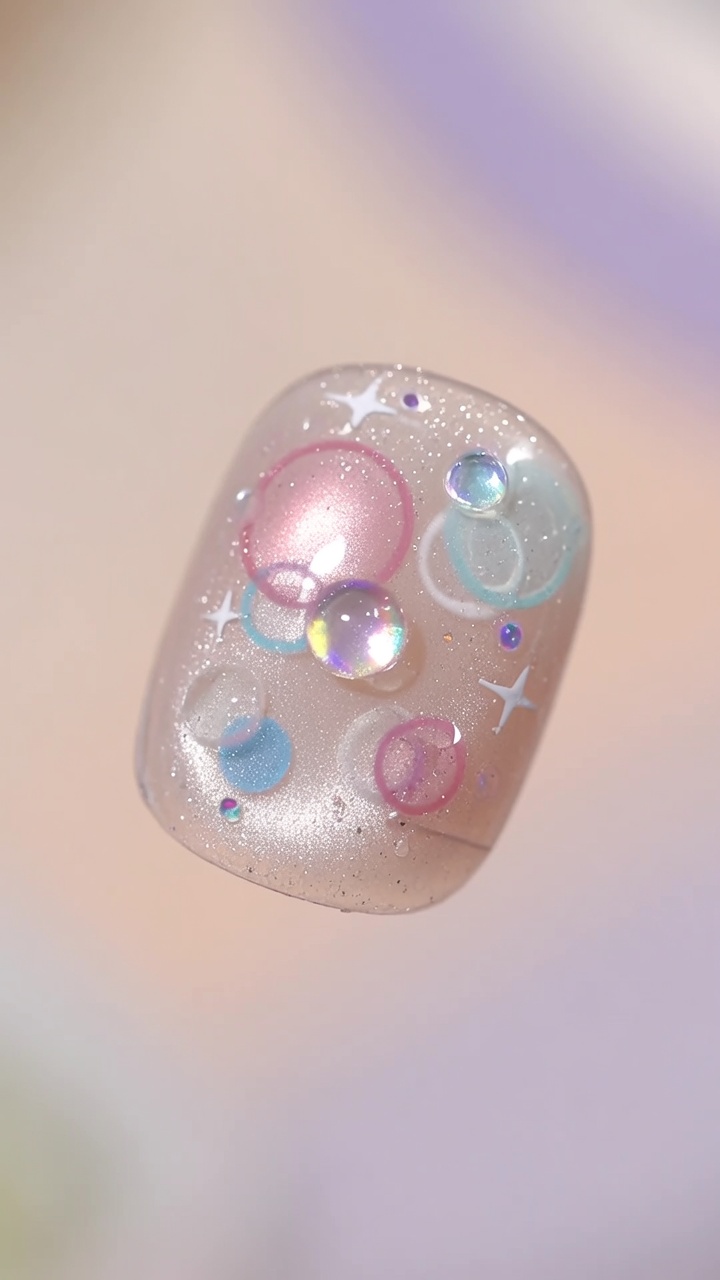
Steps
- 1Apply nude gel base
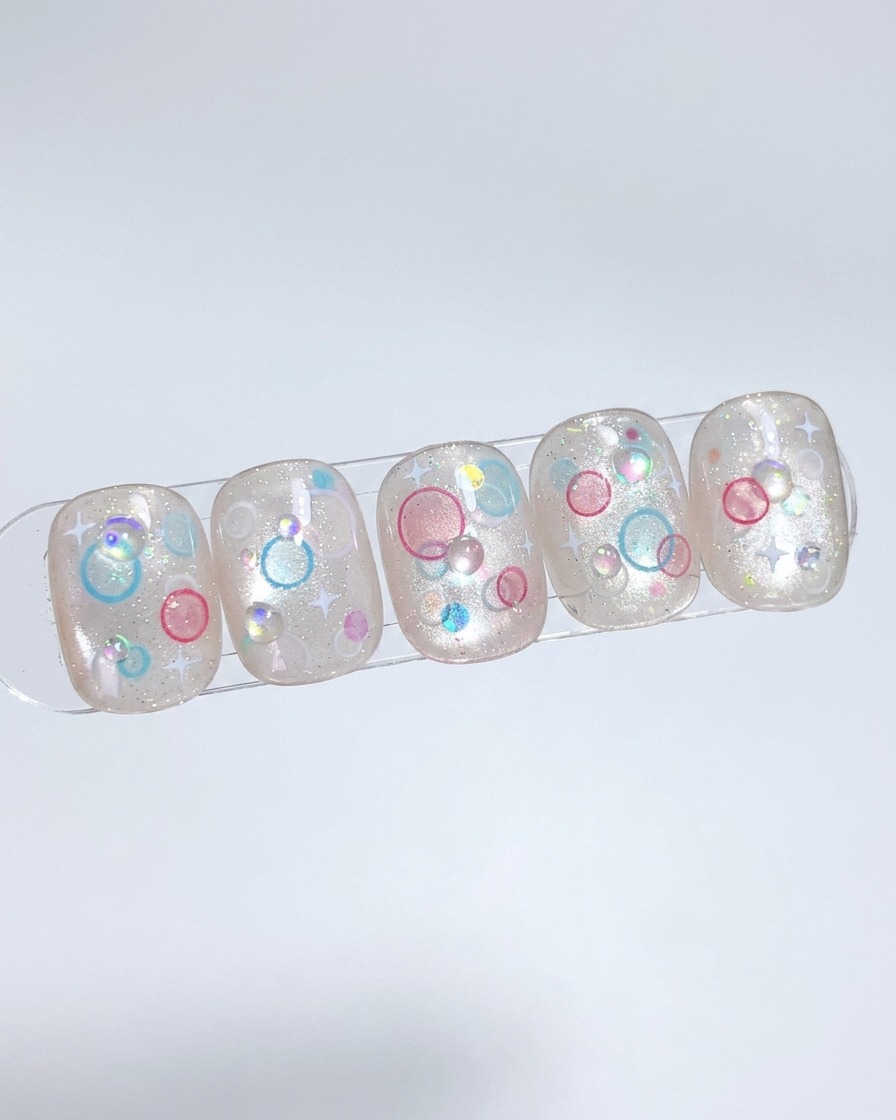
Apply a thin layer of nude gel to the nail surface and gently pat it to create a smooth, even base for the design. Ensure the gel covers the nail evenly before proceeding to cure.
Tip: Patting the gel helps to level the surface and prevents pooling at the edges. - 2Cure the base layer
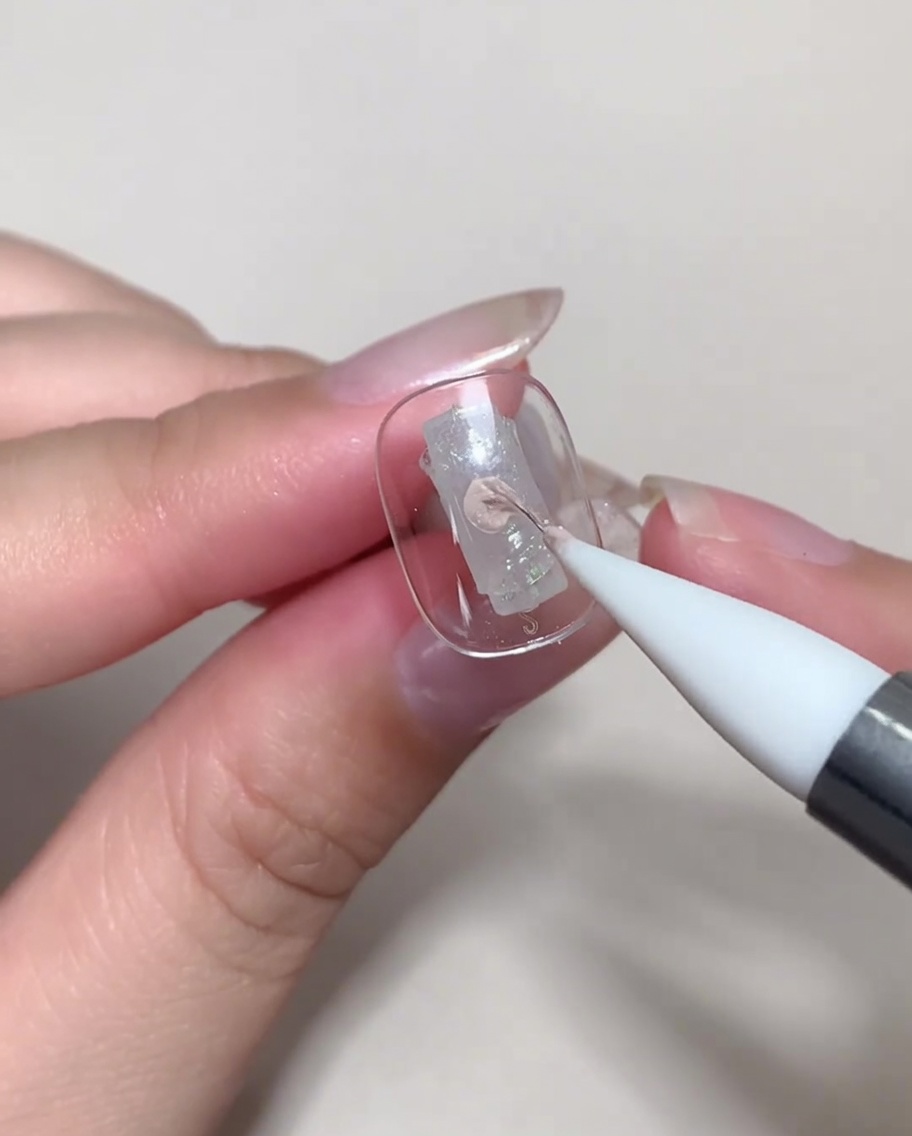
Place the nail under a UV/LED lamp to cure the nude gel base layer. This ensures the base is fully hardened and provides a solid foundation for the subsequent layers of cat eye gel.
Tip: Follow the gel products recommended curing time for the best results. - 3Apply nude cat eye gel
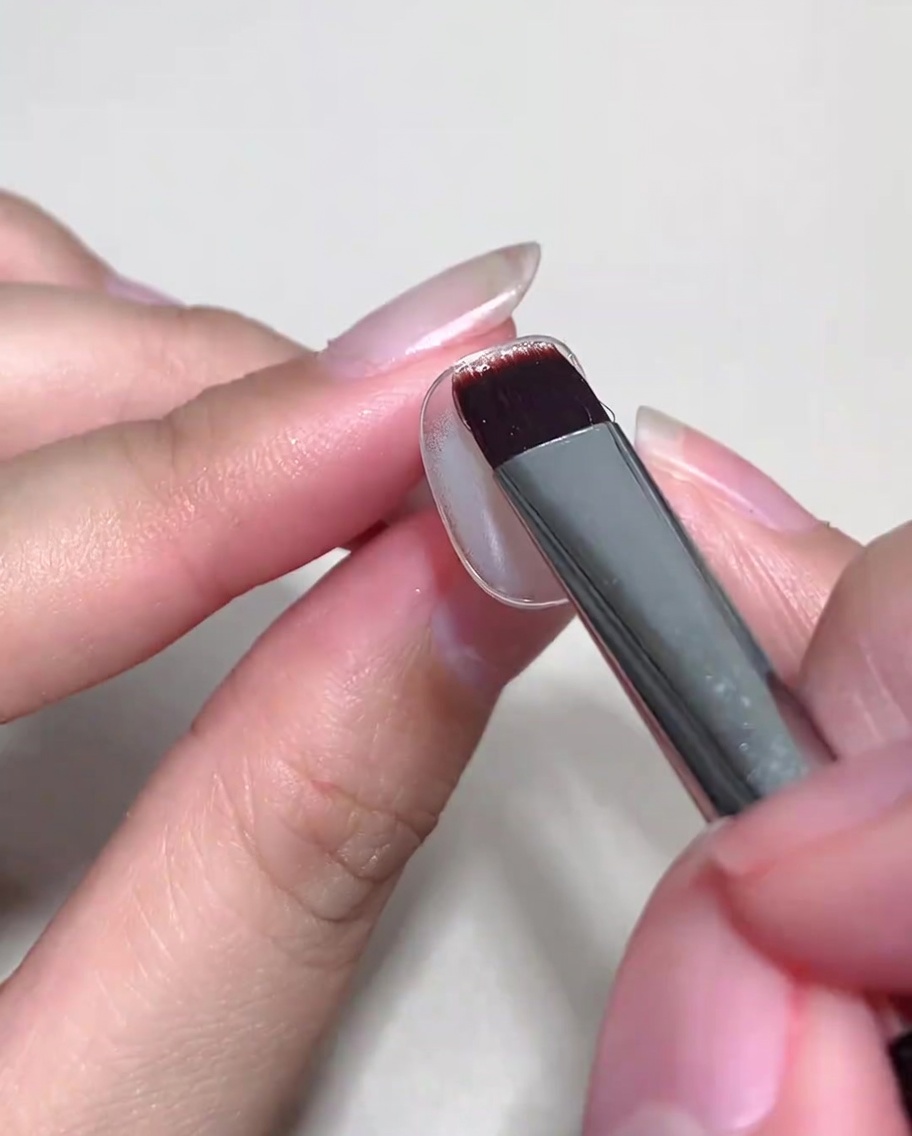
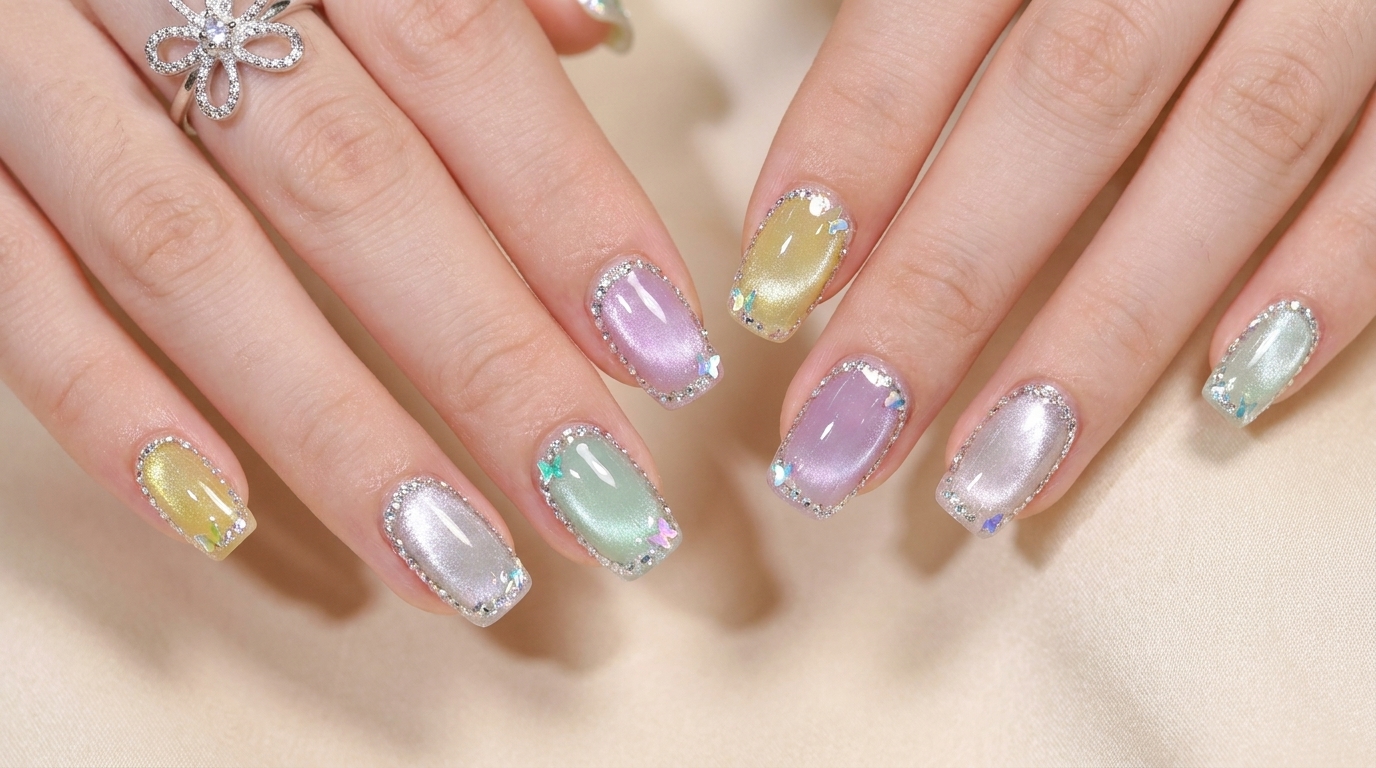
Apply a uniform coat of nude cat eye gel over the previously cured base layer. Do not cure this layer yet, as the magnet needs to be used to shape the cat eye effect.
Tip: Ensure an even application to allow the magnetic particles to move freely when using the magnet. - 4Create the glass cat eye effect
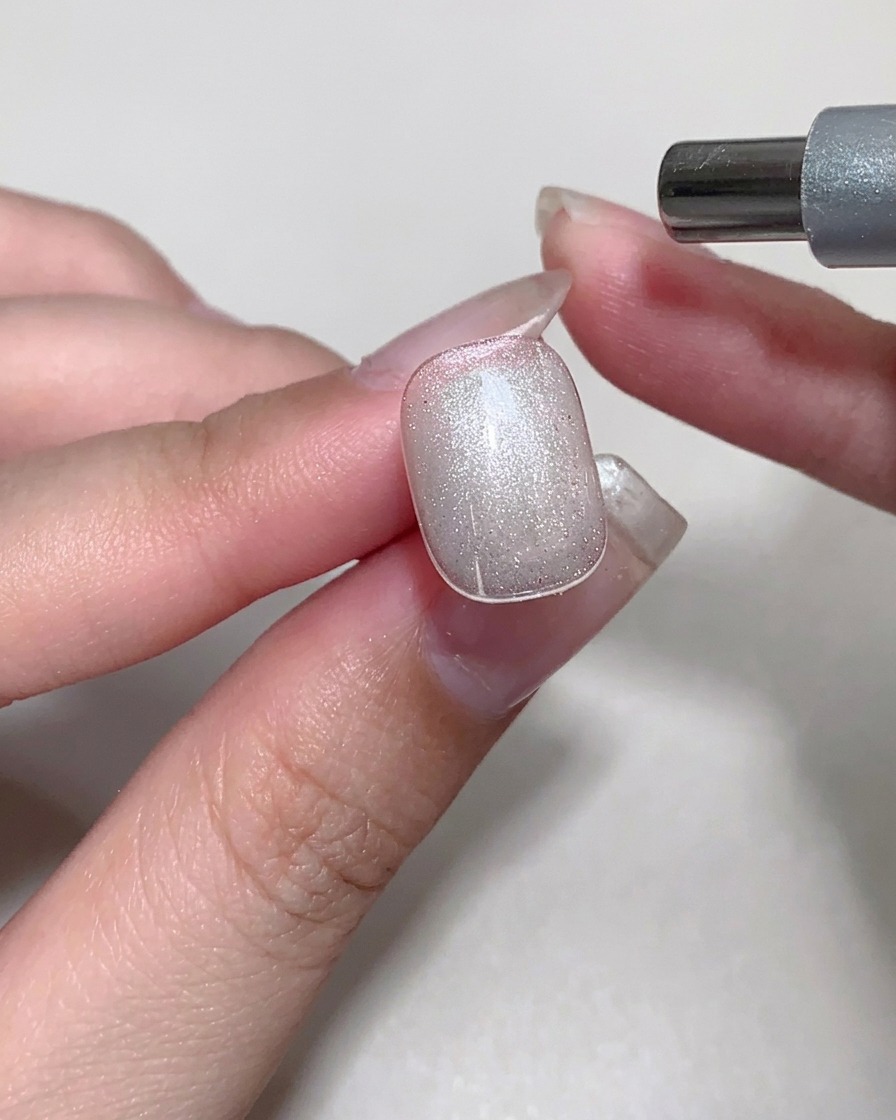
Position the magnet near the nail to glide and create a wide cat eye effect. Then, move the magnet in a circular motion to shift the magnetic particles, achieving a glass cat eye appearance before curing.
Tip: Experiment with the magnets speed and distance to achieve the desired intensity of the cat eye effect. - 5Apply blooming gel
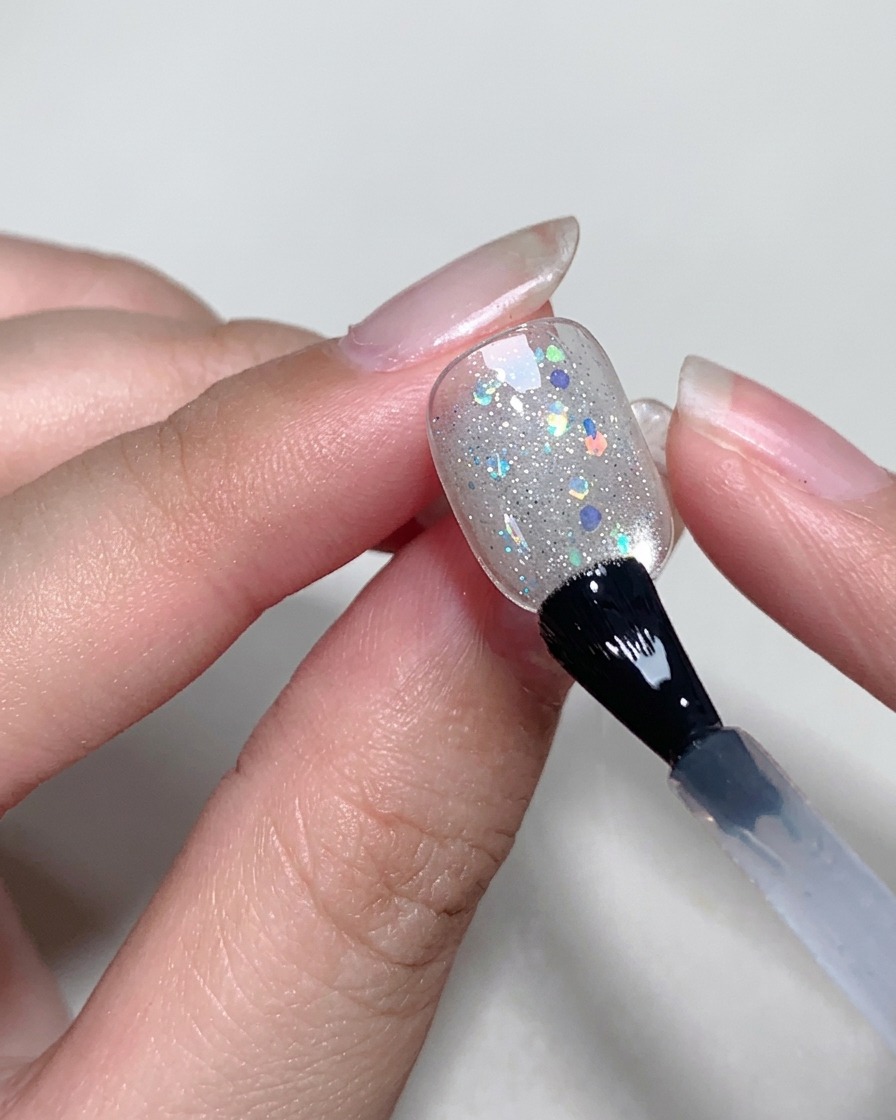
Apply a thin layer of blooming gel over the cured cat eye effect. Do not cure at this stage; keeping it wet is essential for the blooming effect of the colored liquid to follow.
Tip: Apply a very thin layer to prevent the blooming gel from flooding the sides of the nail. - 6Dot colorful blooming liquid
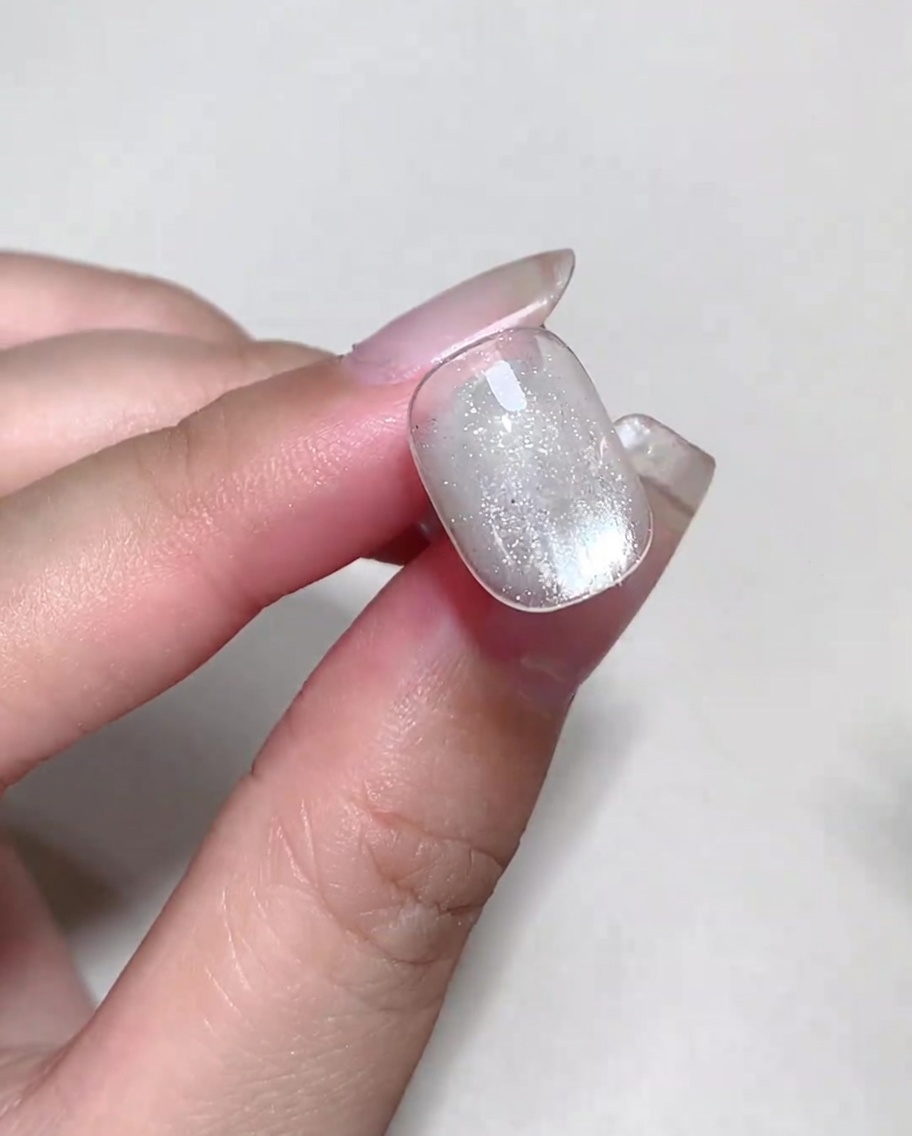
Using a brush, dot colorful blooming liquid onto the surface of the wet blooming gel. The liquid will naturally spread and bloom, creating bubble-like patterns on the nail.
Tip: Vary the amount of liquid used on the brush to create different sizes of bubbles. - 7Cure the design
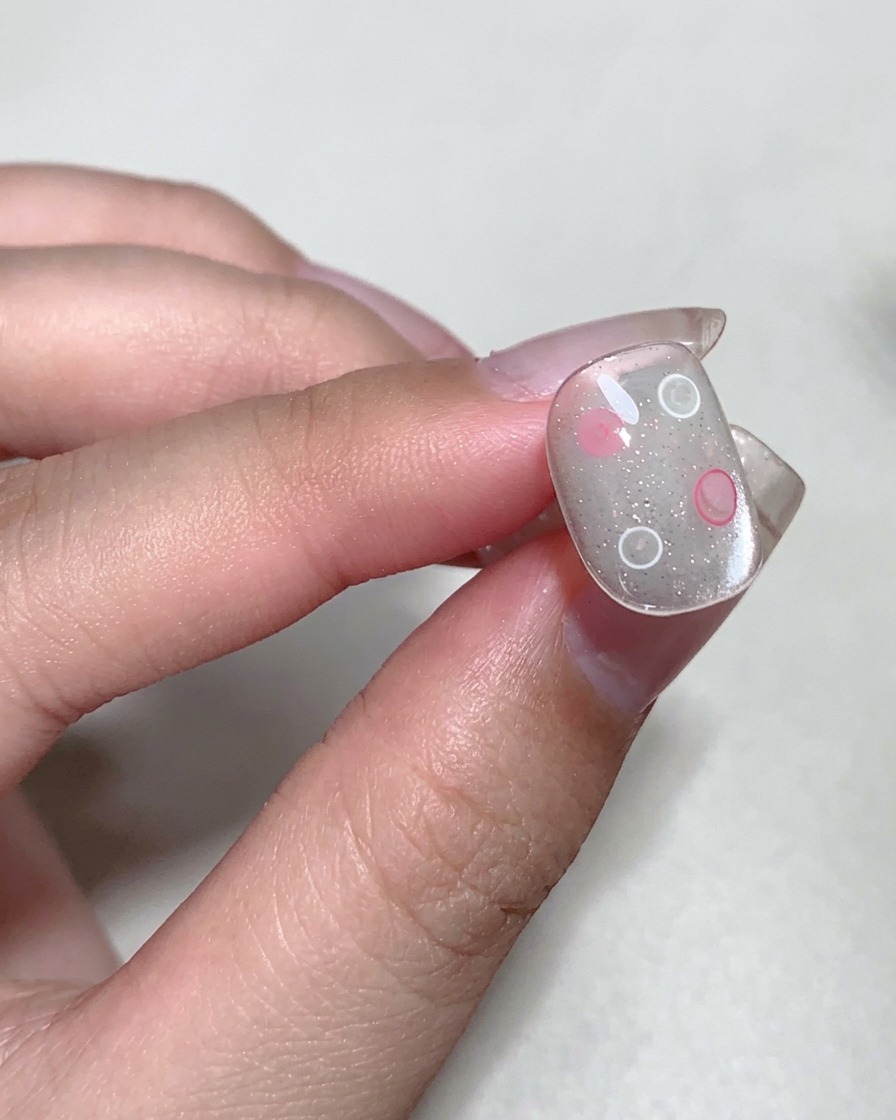
Place your hand under the UV/LED lamp and cure the current layer of blooming gel and bubbles. This sets the design in place and prevents the blooming liquid from spreading further before you move on to the next step.
Tip: Ensure your hand is positioned correctly under the lamp to ensure even curing across the entire nail surface. - 8Apply second blooming gel layer
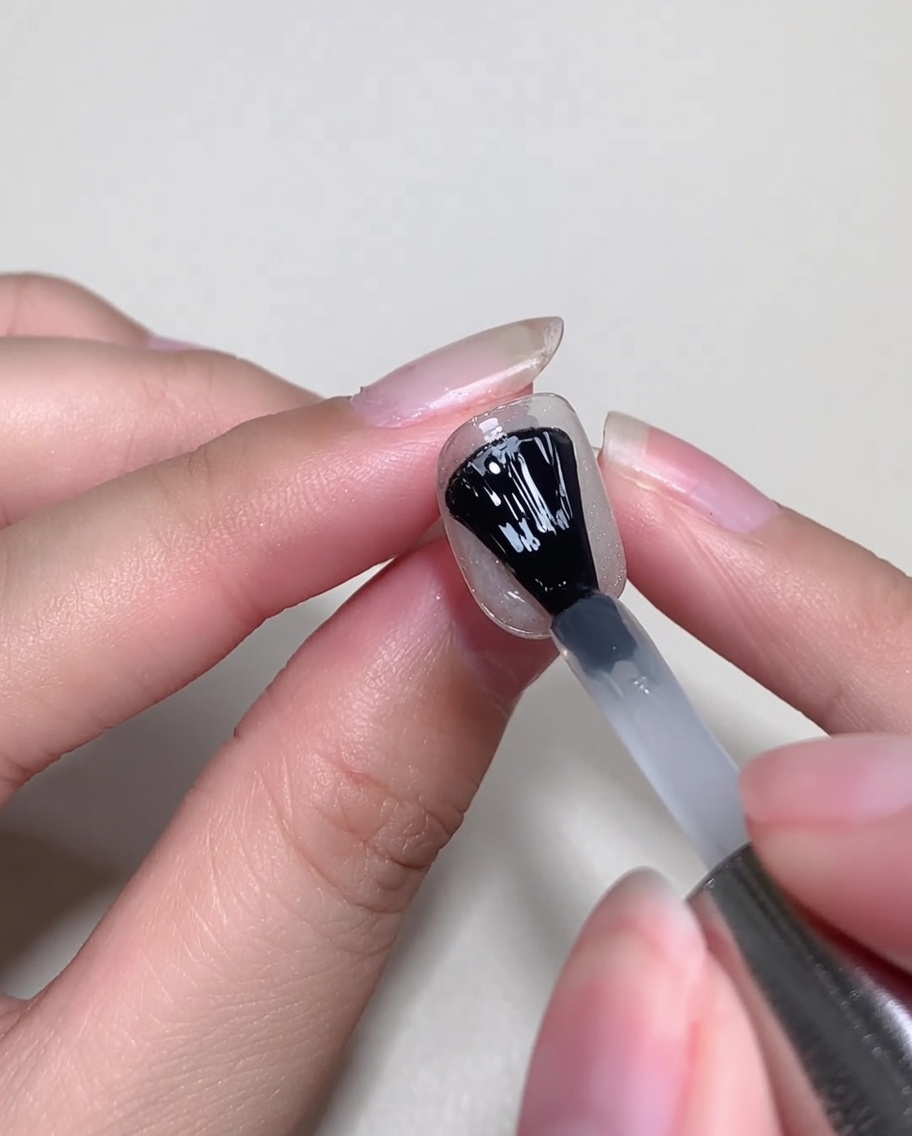
Apply another thin, even layer of blooming gel over the cured surface. Do not cure this layer yet, as it will serve as the base for the next set of bubbles.
Tip: Keep the layer thin to avoid pooling or flooding the cuticle area. - 9Add more blooming bubbles
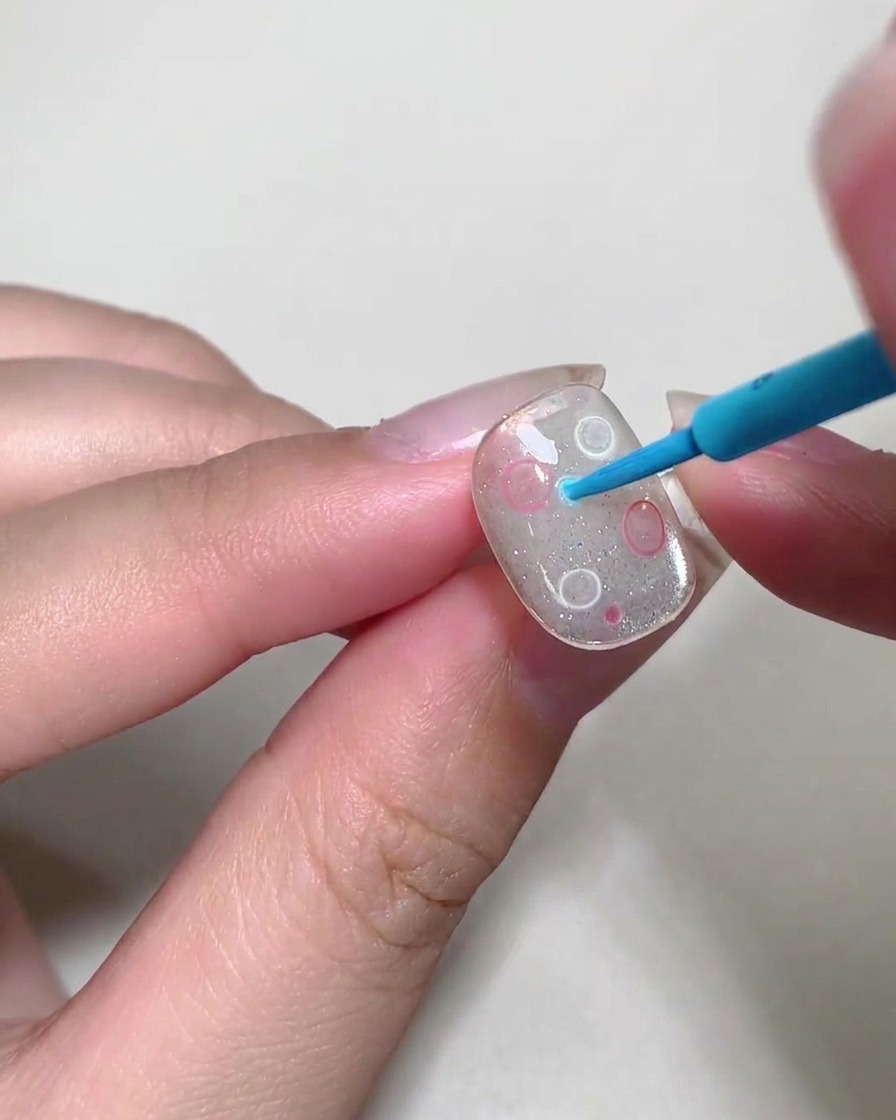
Using a dotting tool or liner brush, apply dots of colorful blooming liquid onto the uncured blooming gel. Vary the size of the dots to create a dynamic bubble effect, then cure the nail to lock the design.
Tip: Allow the colors to bloom for a few seconds to achieve a soft, diffuse edge before curing. - 10Apply builder gel
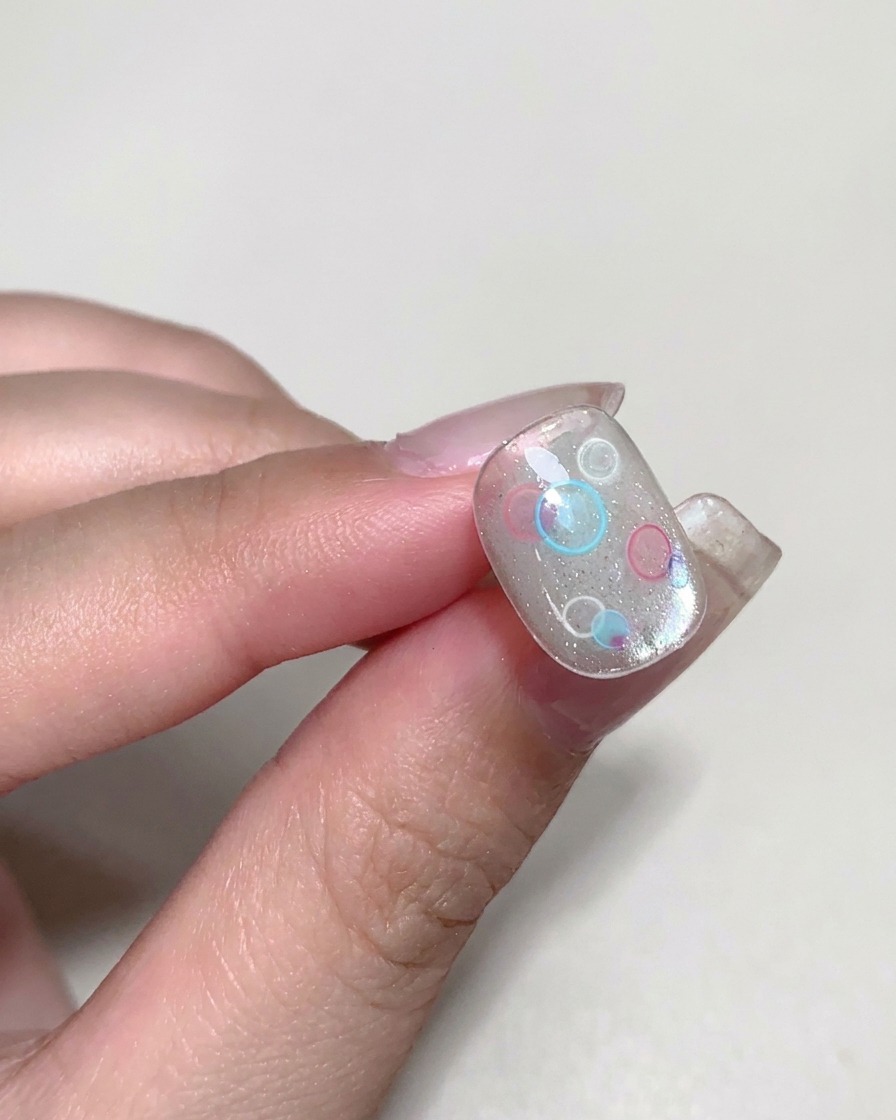
Apply a layer of builder gel over the cured bubble design. This provides a smooth, protected surface for adding subsequent embellishments.
Tip: Ensure the builder gel is self-leveled to create a flat, even surface. - 11Place transparent sequins
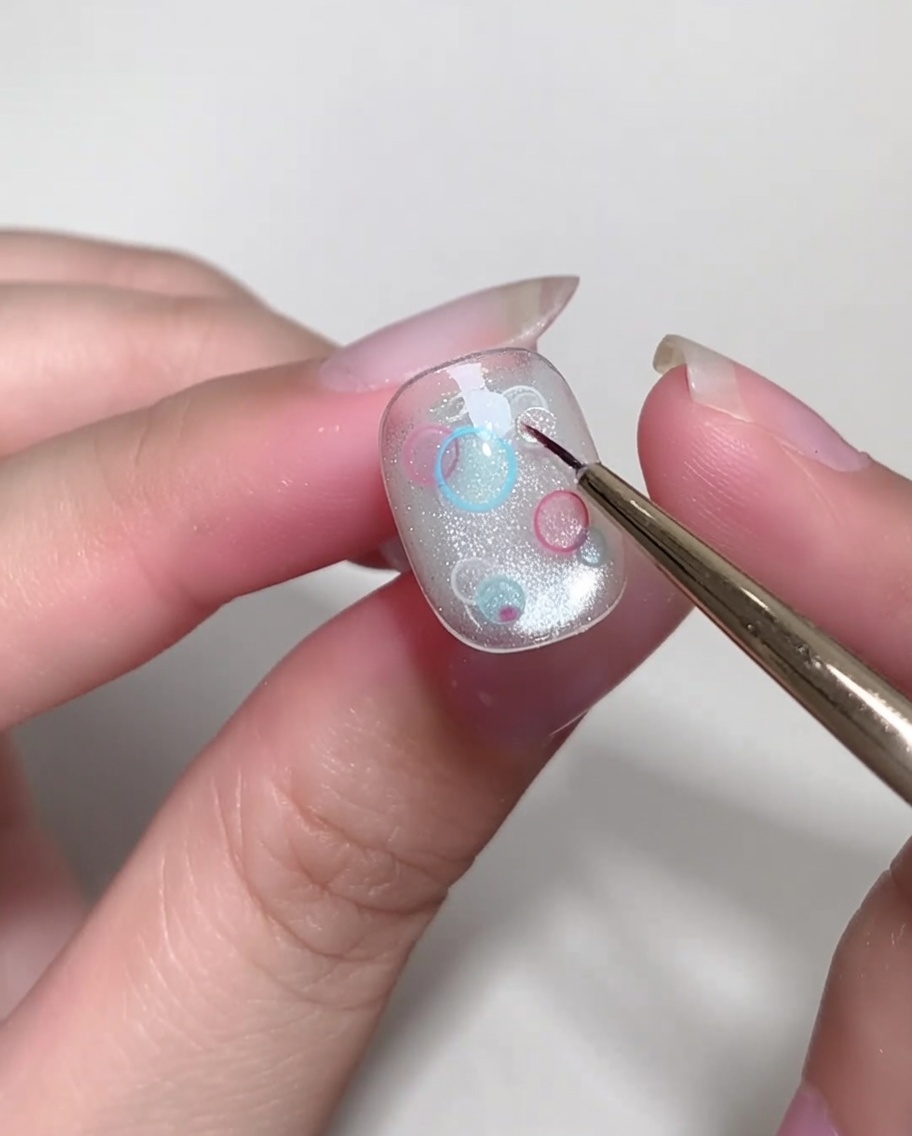
While the builder gel is still uncured or sticky, use a fine-tipped brush or tweezers to place transparent sequins onto the nail. Arrange them to complement the existing bubble design.
Tip: Pick up the sequins carefully to avoid dragging the underlying uncured gel. - 12Draw cross star accent
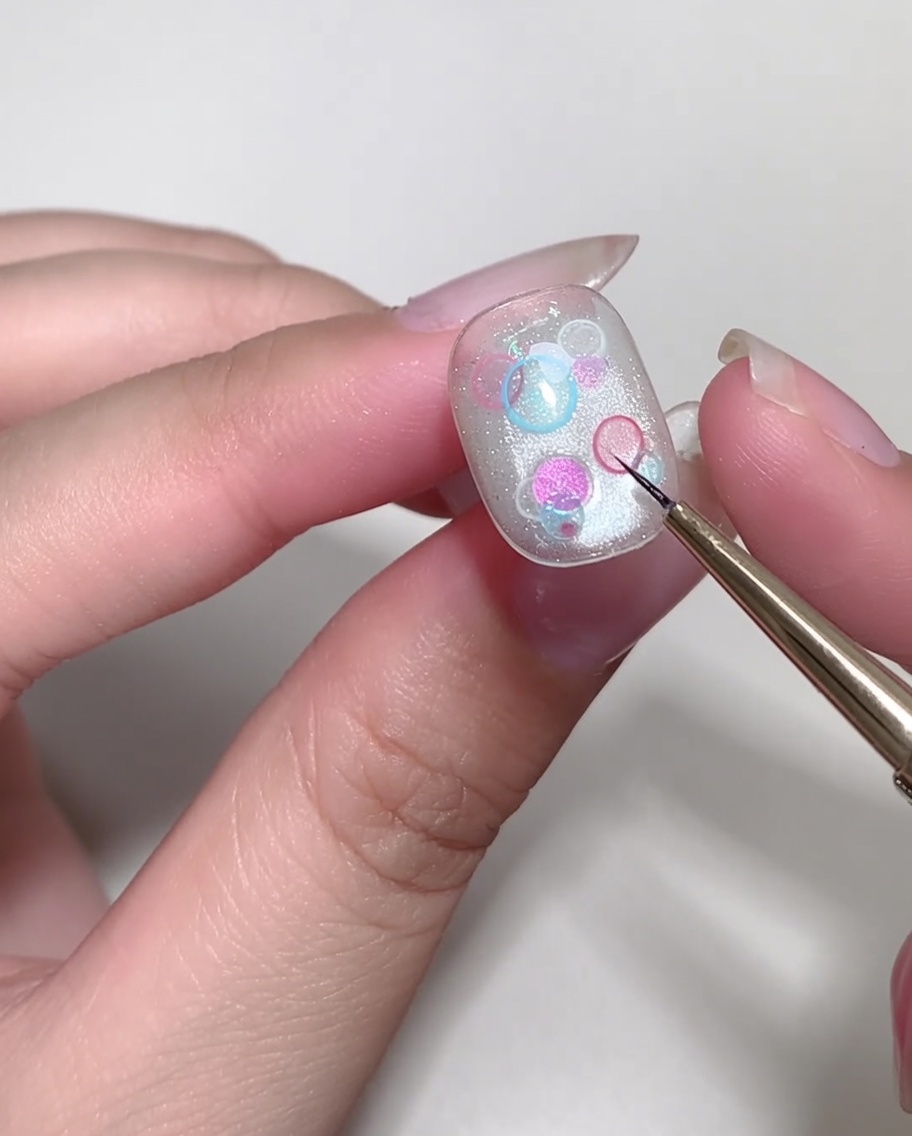
Using a liner brush and a contrasting color, draw a delicate cross star on the nail surface. This adds a playful, trendy accent to the summer bubble look.
Tip: Use a steady hand and very light pressure to get thin, crisp lines for the star. - 13Level the nail surface
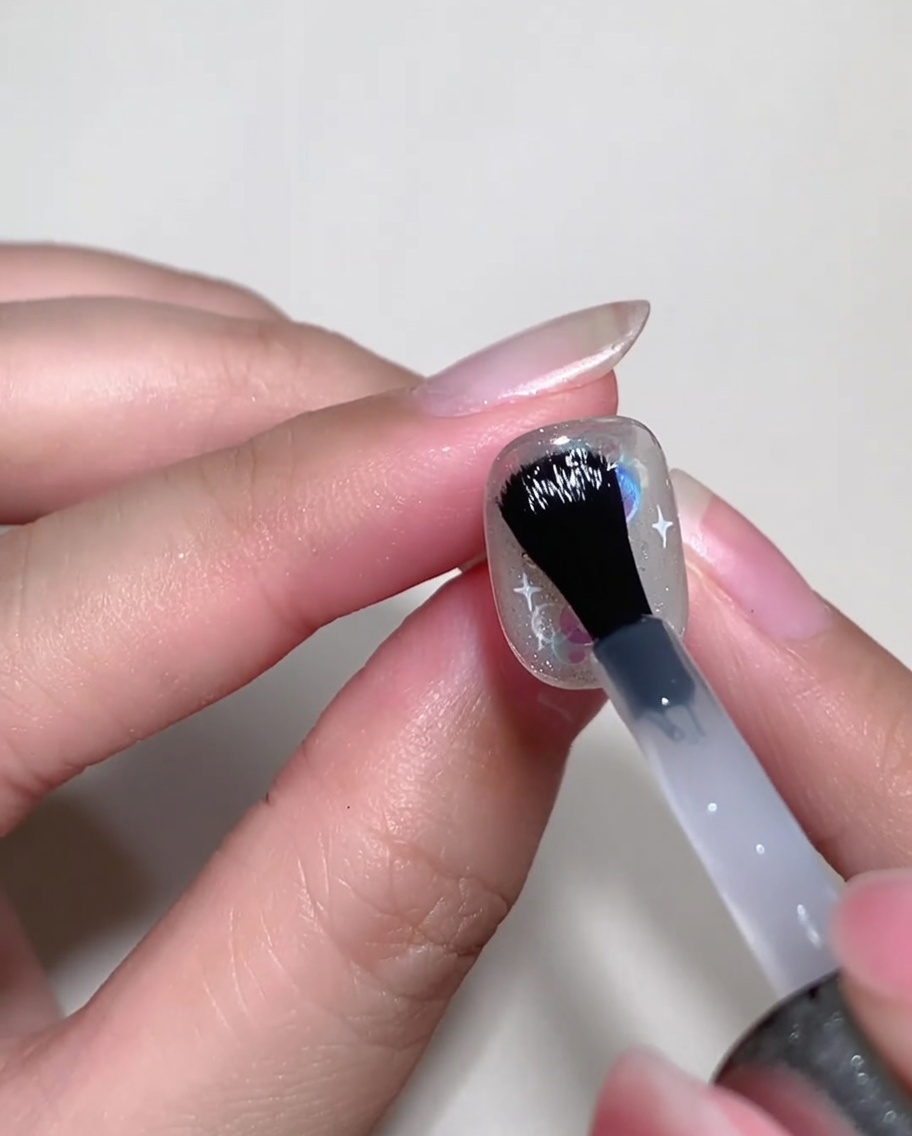
Apply a layer of builder gel over the existing nail art to smooth out the surface and encapsulate the design. This ensures the nail has a uniform, even shape before adding final embellishments or the top coat. Cure under the lamp according to the product instructions.
Tip: Use a light hand to float the gel over the surface to avoid creating bubbles or uneven ridges. - 14Apply top coat
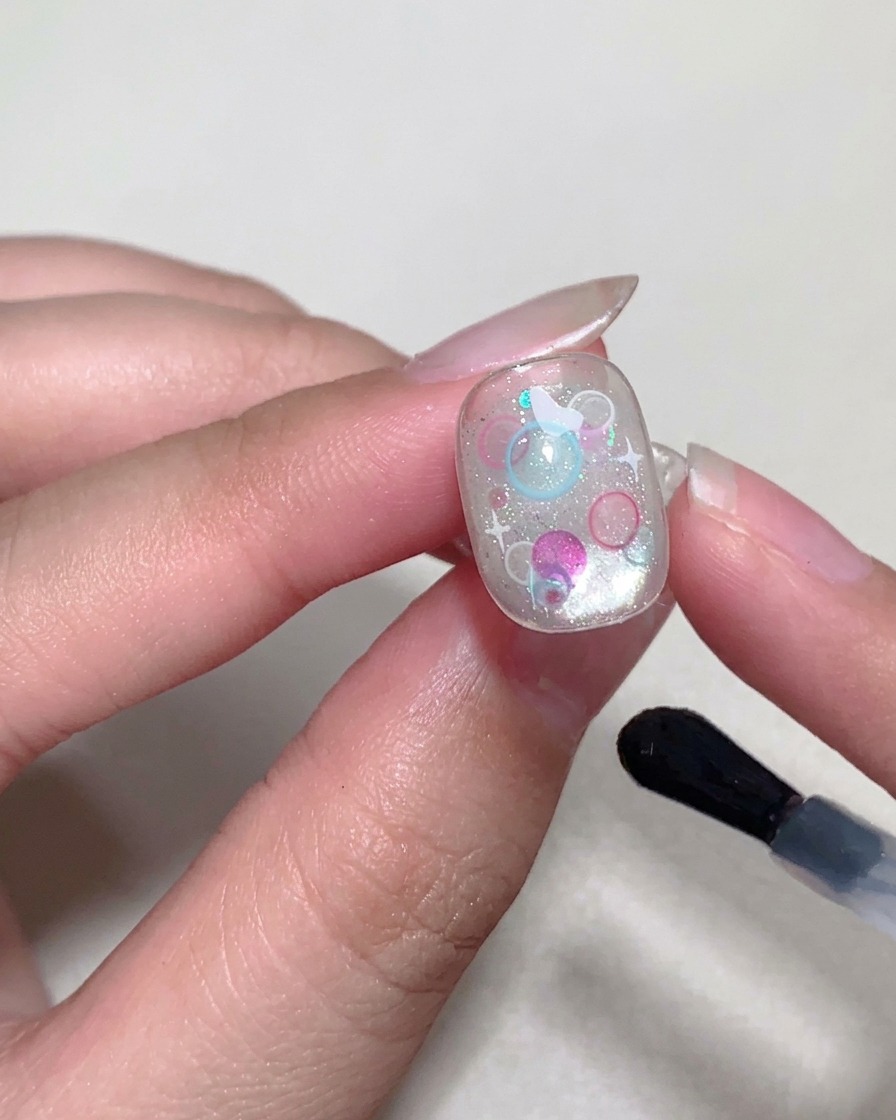
Apply a final layer of top coat over the entire nail to protect the design and provide a glossy finish. Cure the nail under your lamp for ten seconds to set the layer.
Tip: Ensure the top coat is applied smoothly, covering the entire surface without flooding the edges. - 15Create 3D bubbles
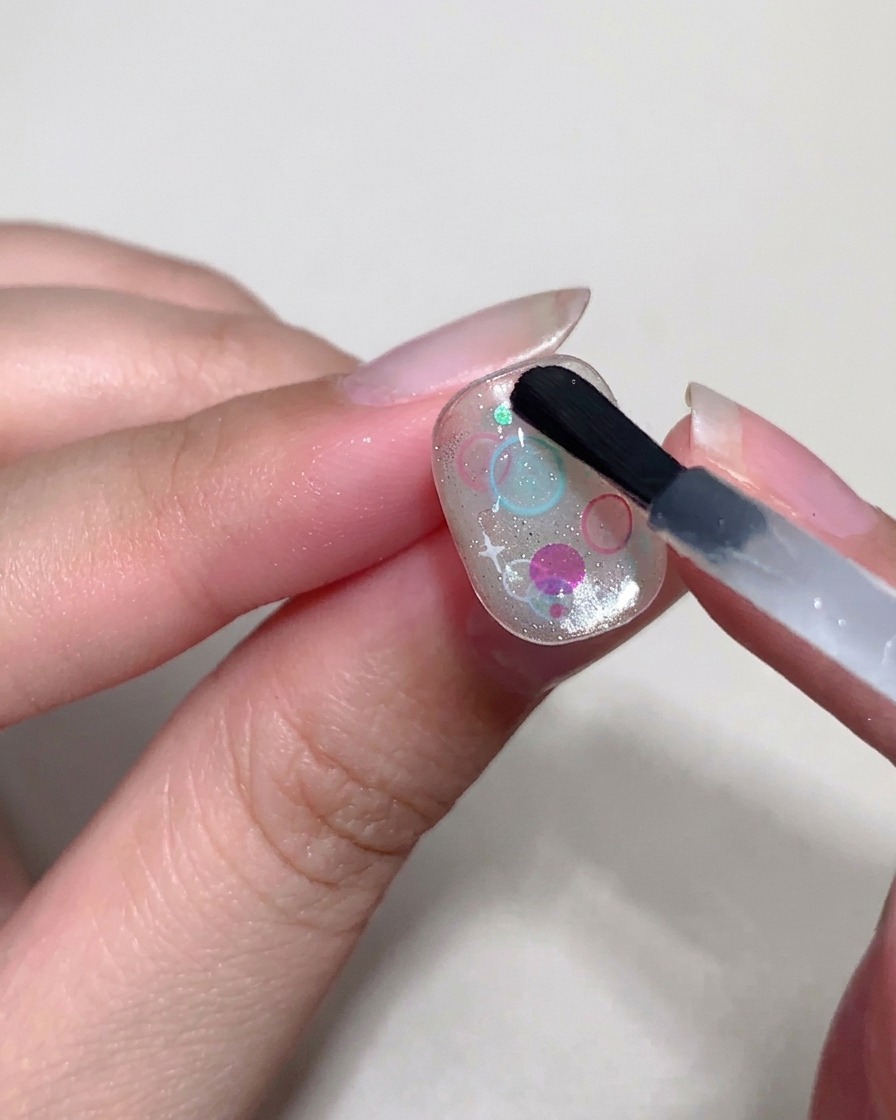
Using a hard top coat, carefully build small, raised three-dimensional bubbles directly on top of the transparent sequins. This creates a tactile, depth-filled effect and ensures the sequins remain securely in place.
Tip: Work one bubble at a time and cure briefly if needed to keep the shape from spreading. - 16Final cure
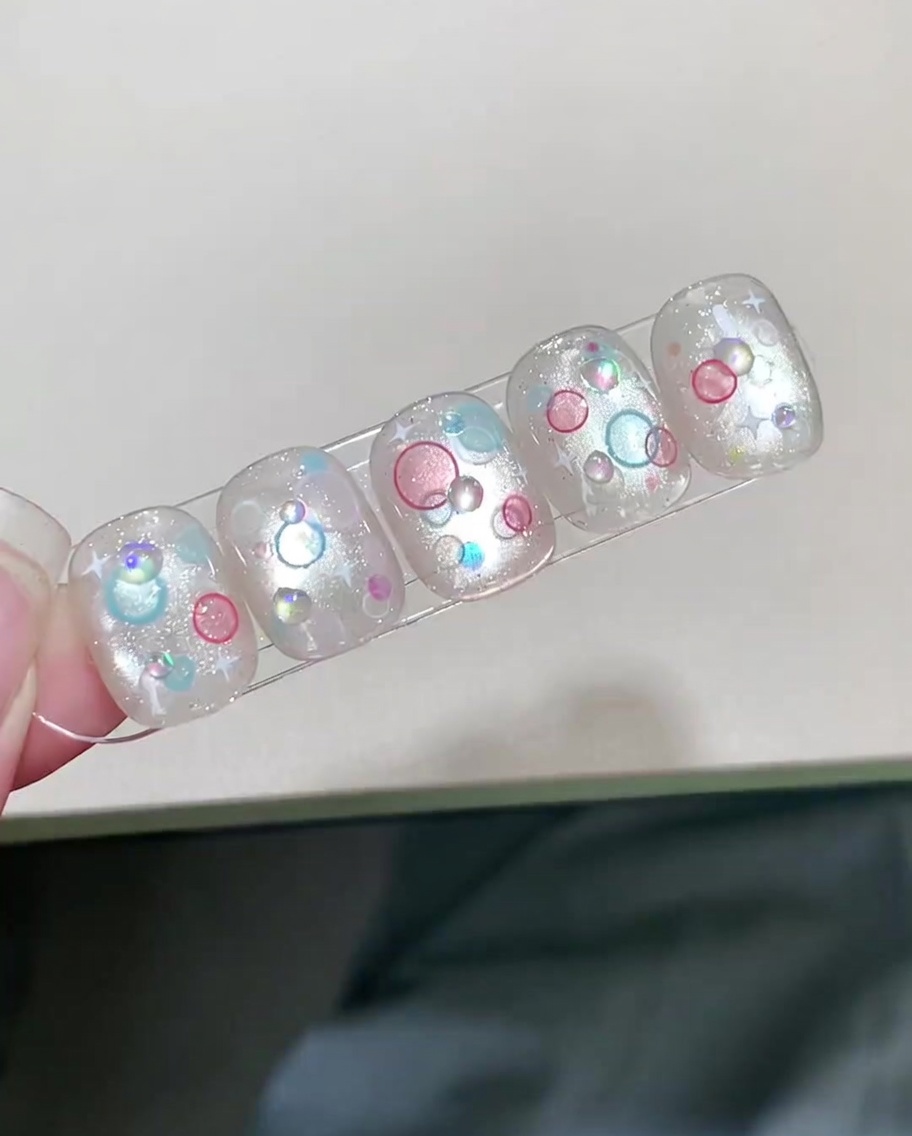
Place your hand under the UV or LED lamp and cure the entire nail thoroughly to ensure all layers, including the 3D details, are completely hardened and set.
Tip: A full cure at the end is essential for the durability of 3D nail art.