Long Aurora Bubble Nails
Blush and Cat-Eye Effect — Step-by-Step Tutorial
Create stunning long aurora bubble nails featuring a soft pink blush gradient, crystal cat-eye shimmer, and a multi-shifting chrome finish.
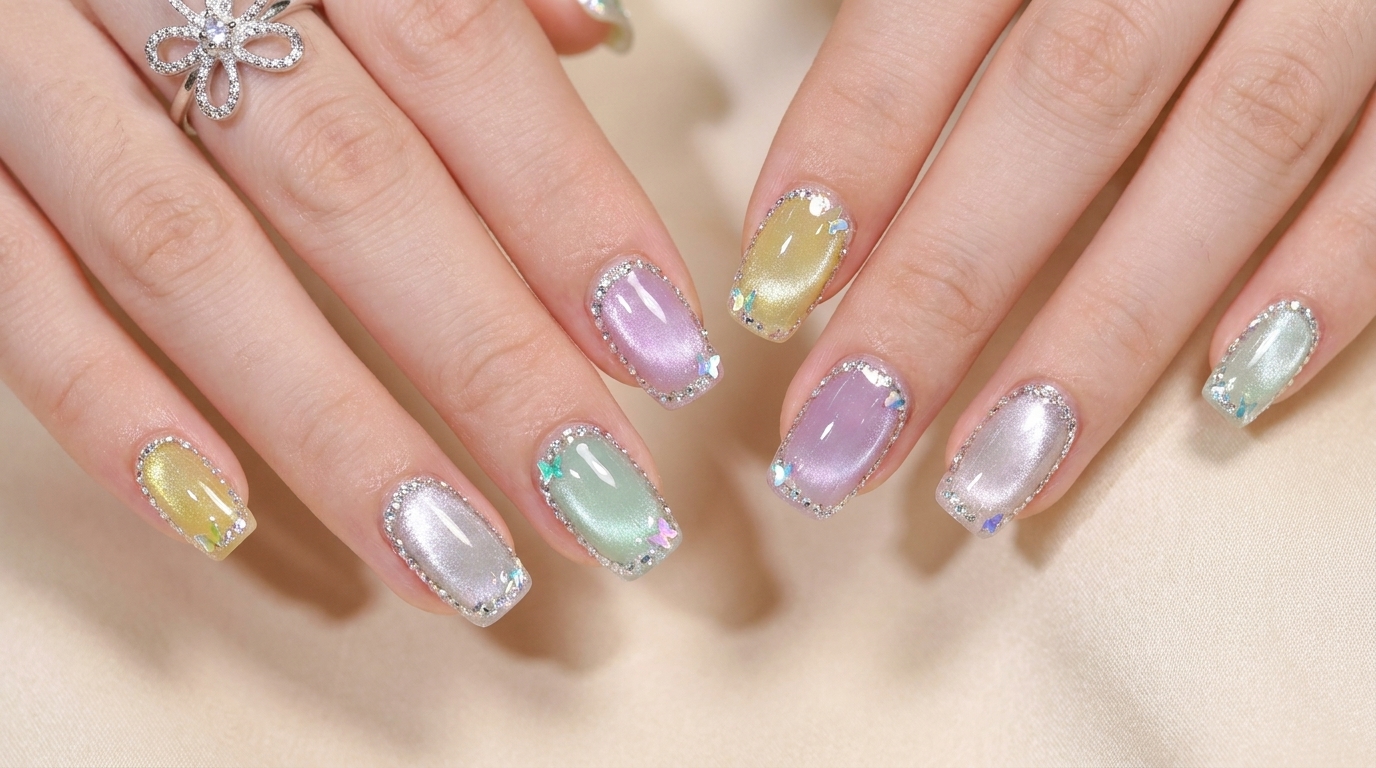
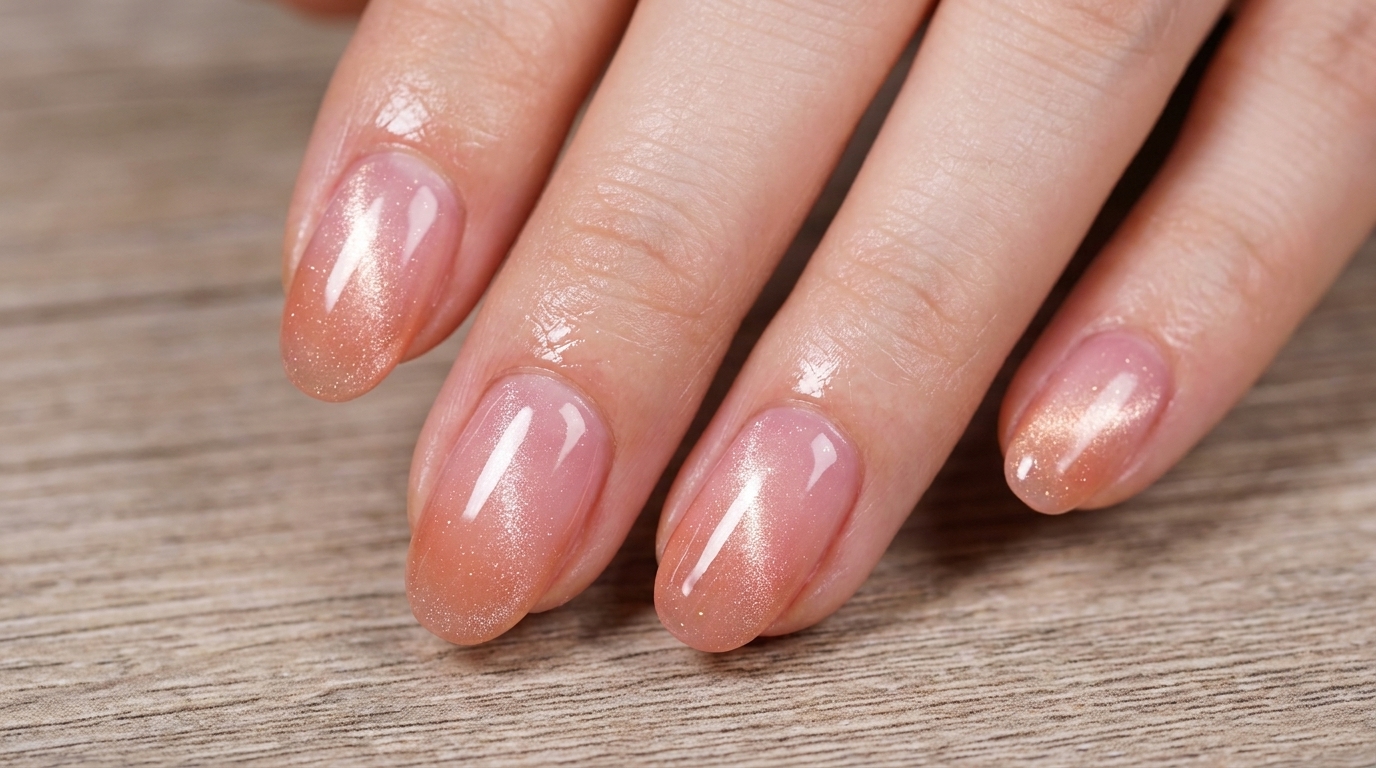
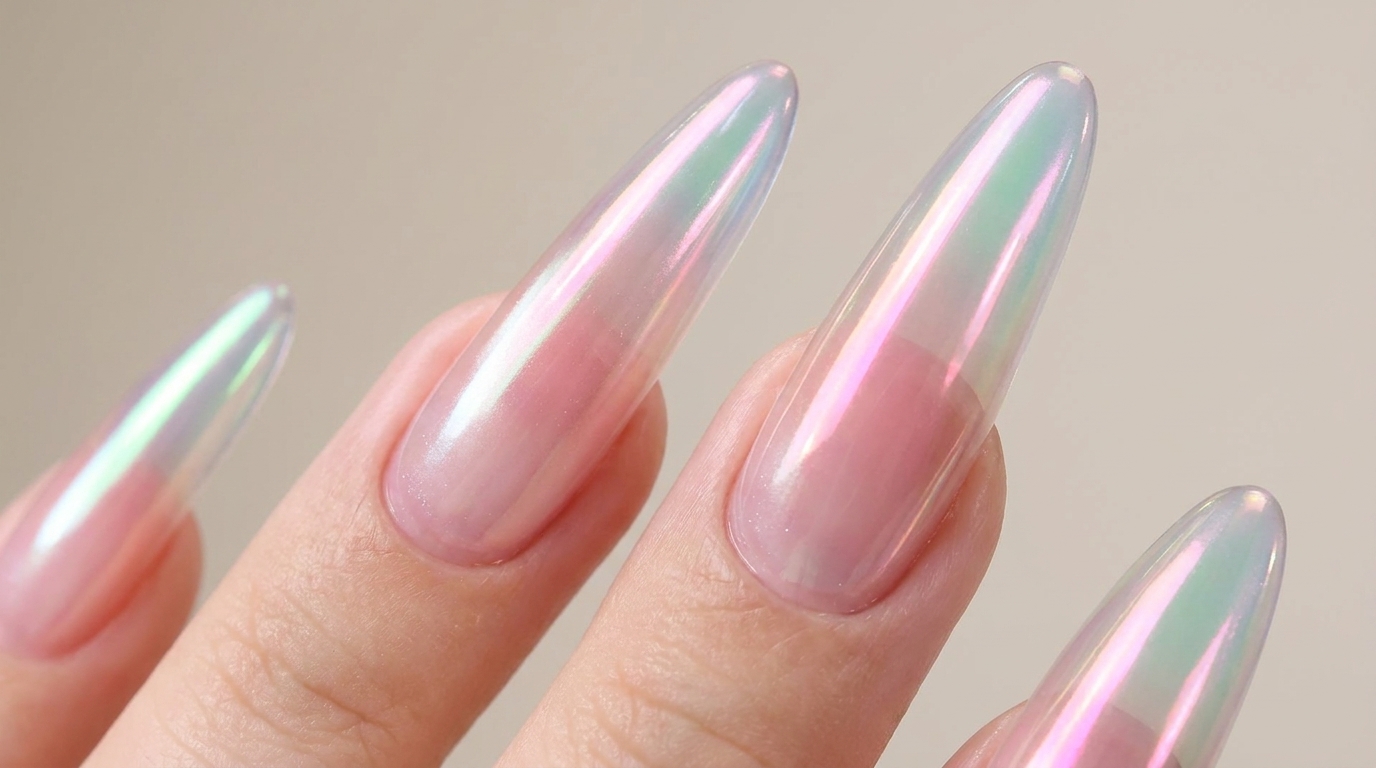
Bubble nail art continues to captivate nail enthusiasts with its mesmerizing glass-like dimensions and luminous depth. This trendy design combines a delicate blush pink gradient with magnetic cat-eye light effects and an enchanting aurora chrome powder finish. Perfect for those looking to master multidimensional gel artistry at home.
Steps
- 1Apply clear water-gloss top coat
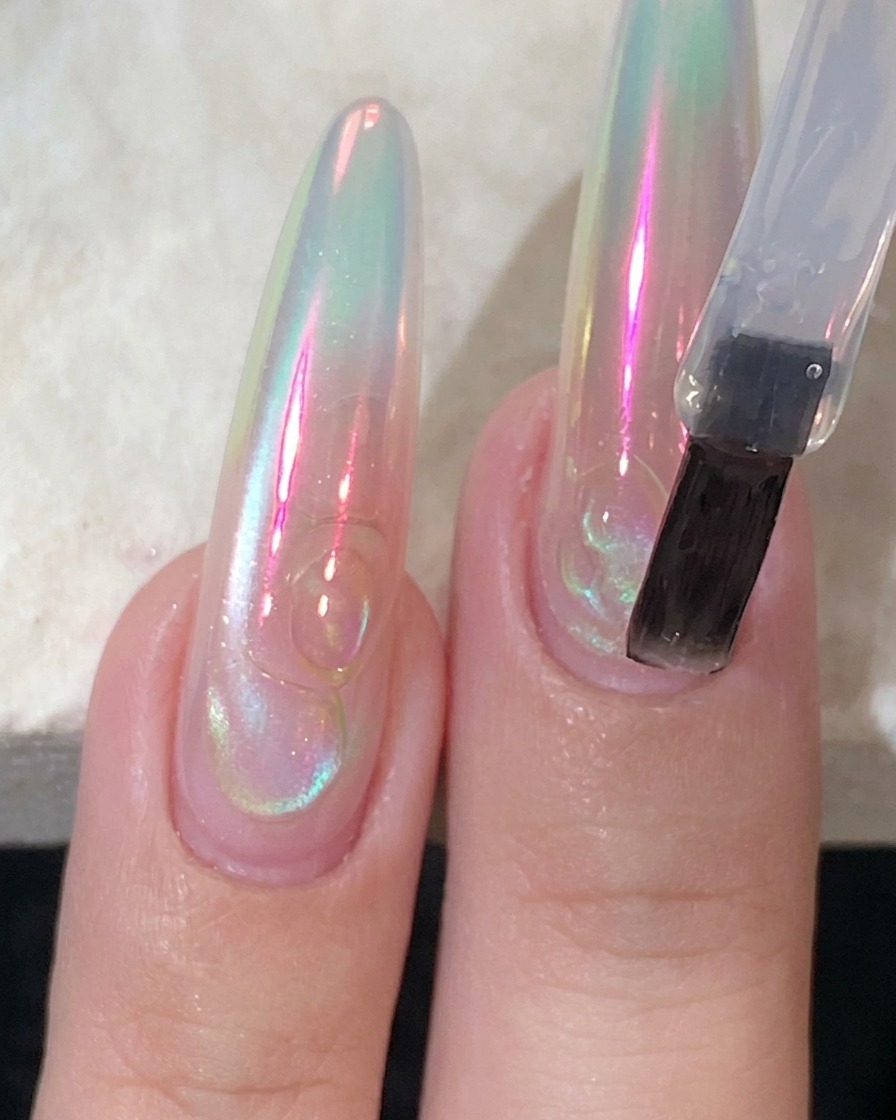
Take a clear water-gloss top coat and apply a smooth layer onto the natural long nail extension using a flat brush. The brush should easily glide into the pocket area with good resilience, providing a smooth finish and stable gel consistency.
Tip: A resilient flat bristle brush helps achieve a smooth, even application with moderate fluidity. - 2Apply white gel polish to the tip
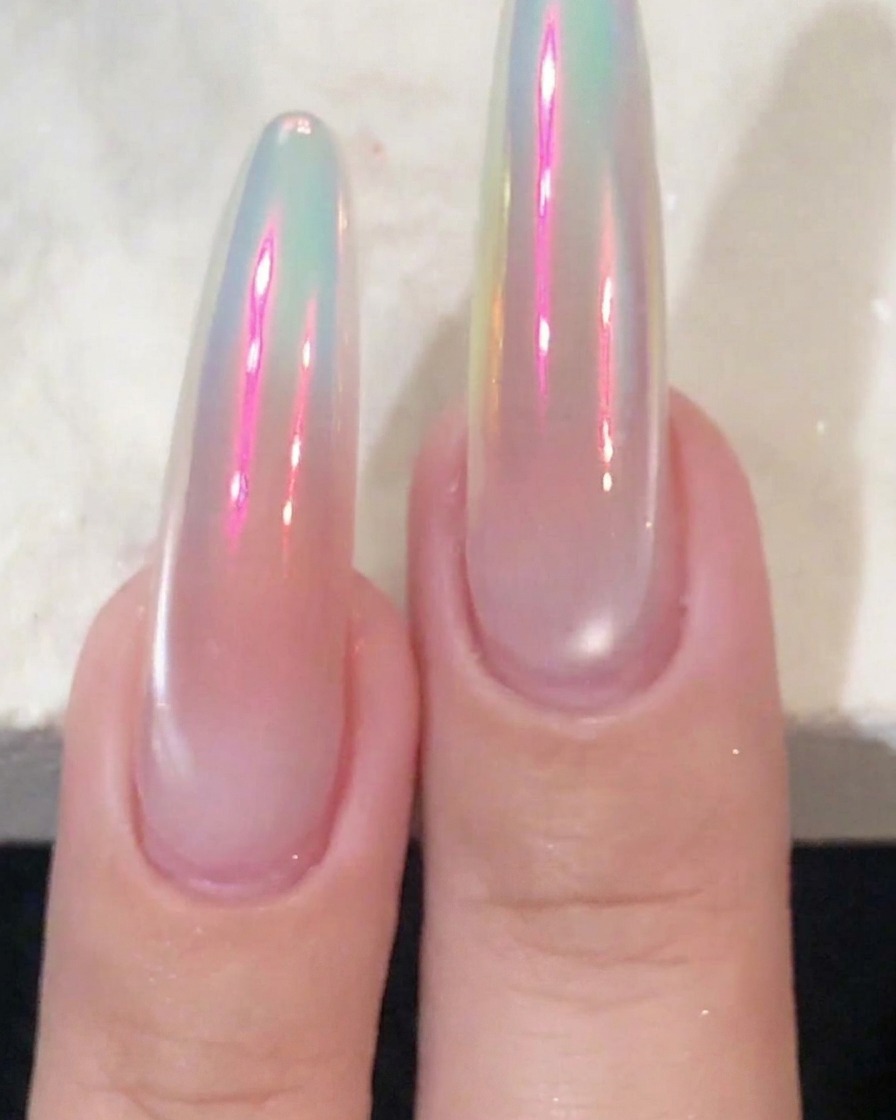
Select a white gel polish and carefully apply it to the free edge and tip of the nail. This serves as the foundation for the gradient effect, starting from the tip before blending inward.
Tip: Concentrate the product heavily on the extreme tip so it naturally fades toward the cuticle area. - 3Pat white gel into a gradient
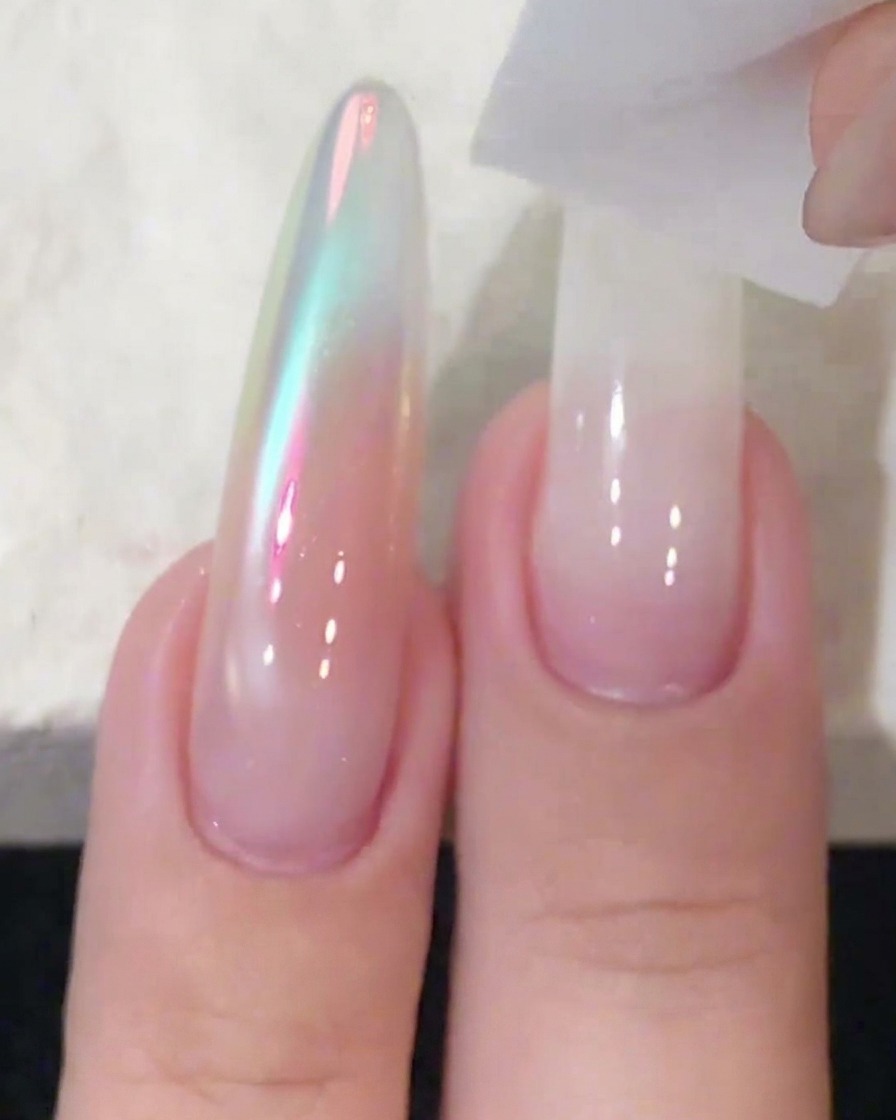
Take a sponge block and gently pat the white gel starting from the very tip and working inward. This creates a natural gradient effect, ensuring the tip is the whitest part and fades out softly toward the cuticle.
Tip: Pat evenly and lightly to prevent harsh lines and achieve a seamless fade. - 4Cure the white gradient layer
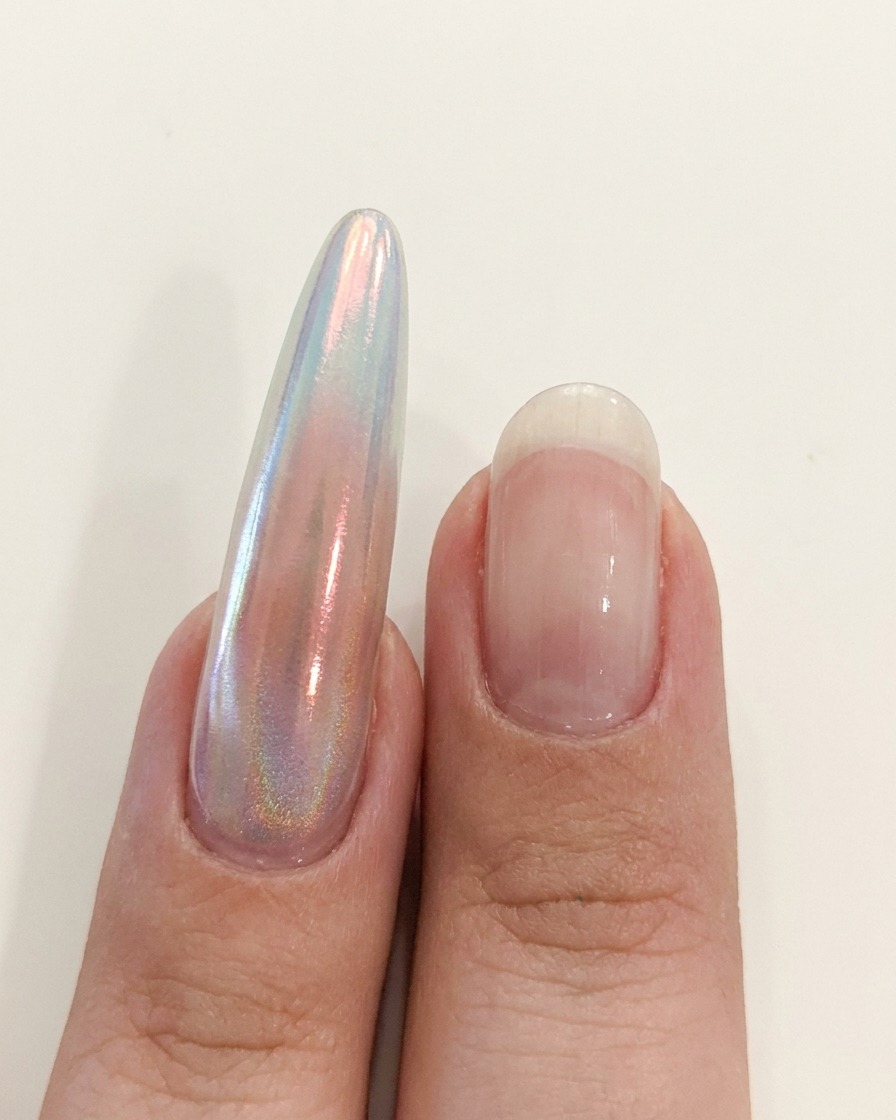
Place the hand under the purple UV/LED lamp to fully cure the newly patted white gradient layer. Ensure the gel is completely set before moving on to the next color application.
Tip: Proper curing prevents shifting or mixing when applying subsequent layers of gel. - 5Apply blush pink gel to the center
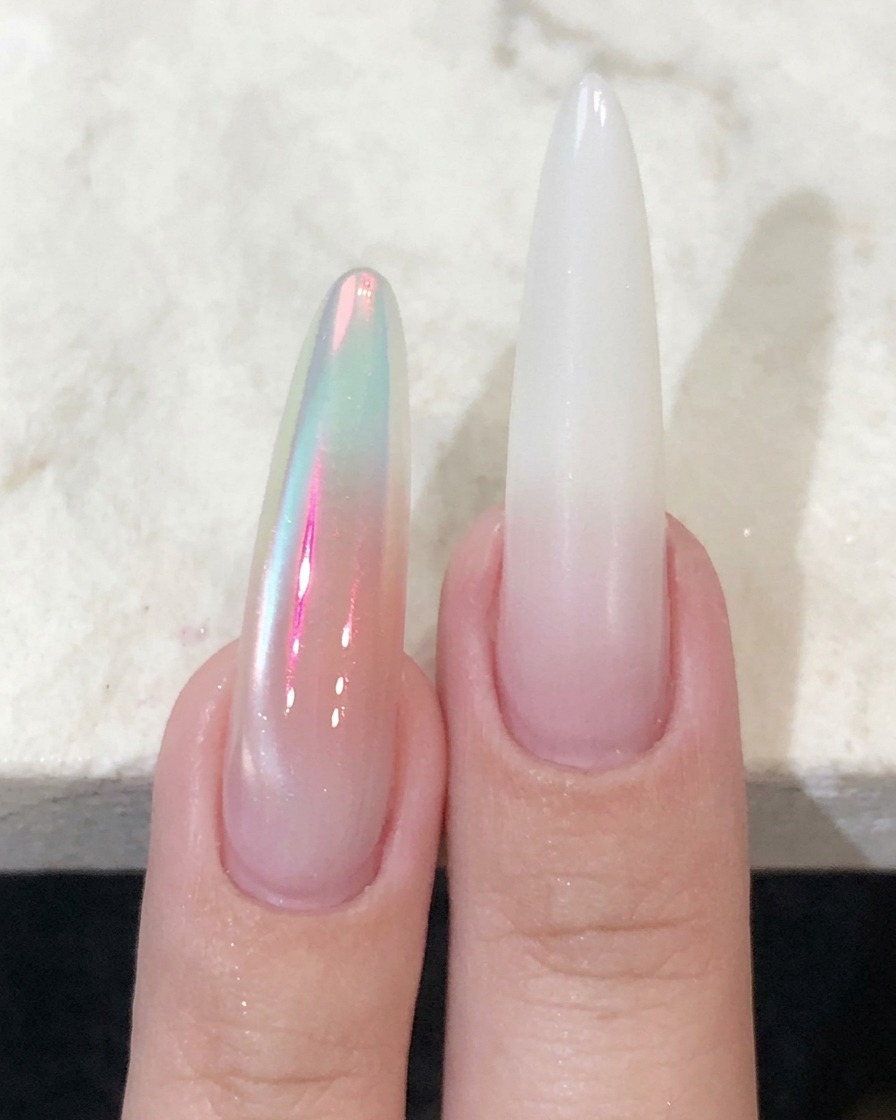
Choose a blush pink gel, which contrasts with the white tip, and directly apply it to the middle of the nail plate using a pointed applicator brush.
Tip: Targeting the center allows you to build a soft, focused blush effect. - 6Blend the blush pink gradient
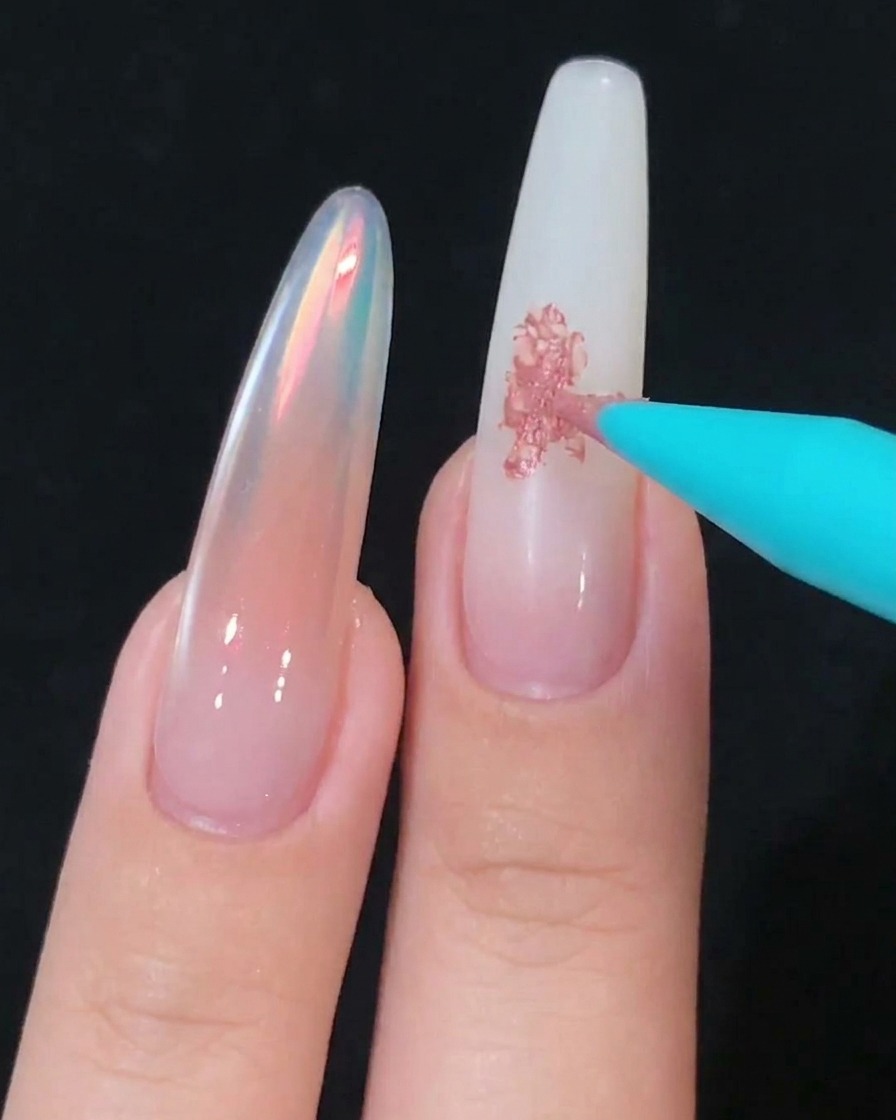
Use a foam sponge to pat the pink blush gel evenly across the center of the nail, blending it into a smooth gradient. Repeat the process to deepen the color intensity in the middle part if desired.
Tip: Patting twice helps build up the ideal blush color saturation. - 7Apply a second layer of pink blush gel
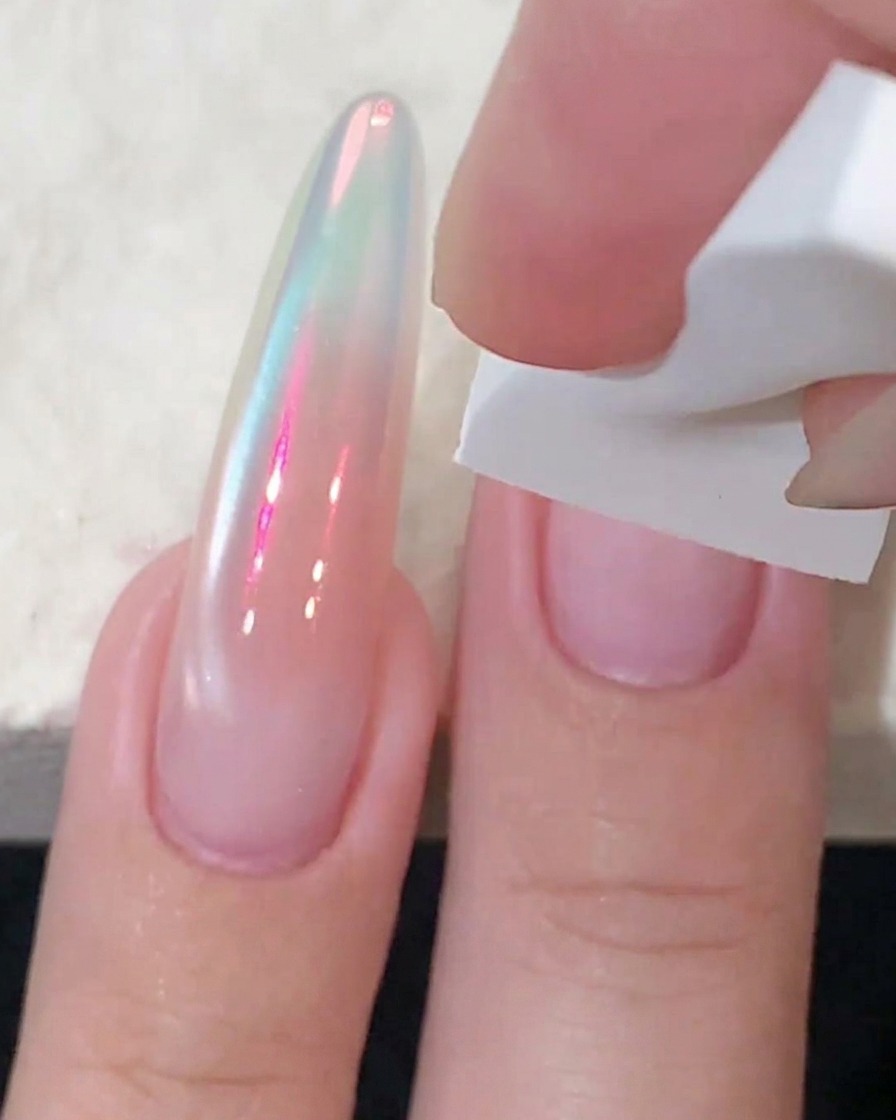
After curing the initial coat, apply a second layer of pink blush gel directly to the middle of the nail. Use a sponge to gently pat it evenly to deepen the color intensity and achieve a rich, vibrant gradient effect.
Tip: Patting gently with the sponge prevents patchiness and builds smooth opacity without leaving harsh lines. - 8Apply clear crystal cat-eye gel
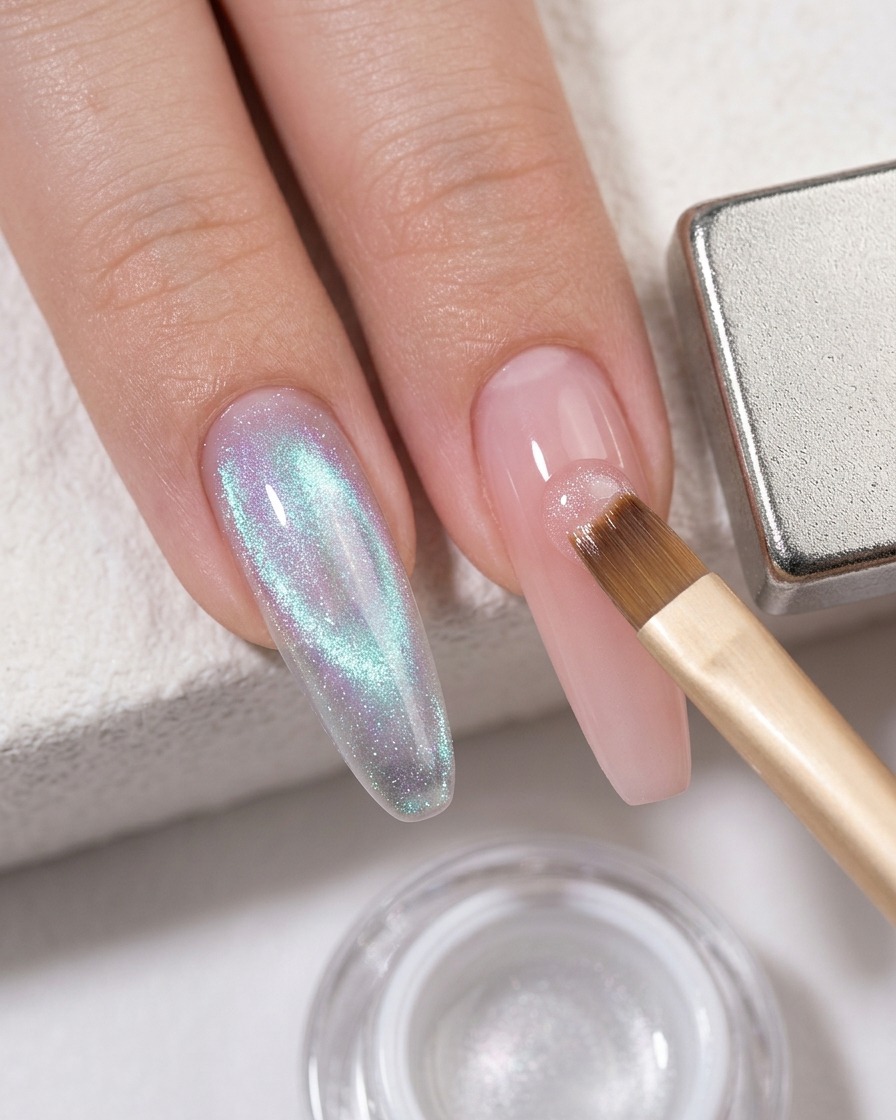
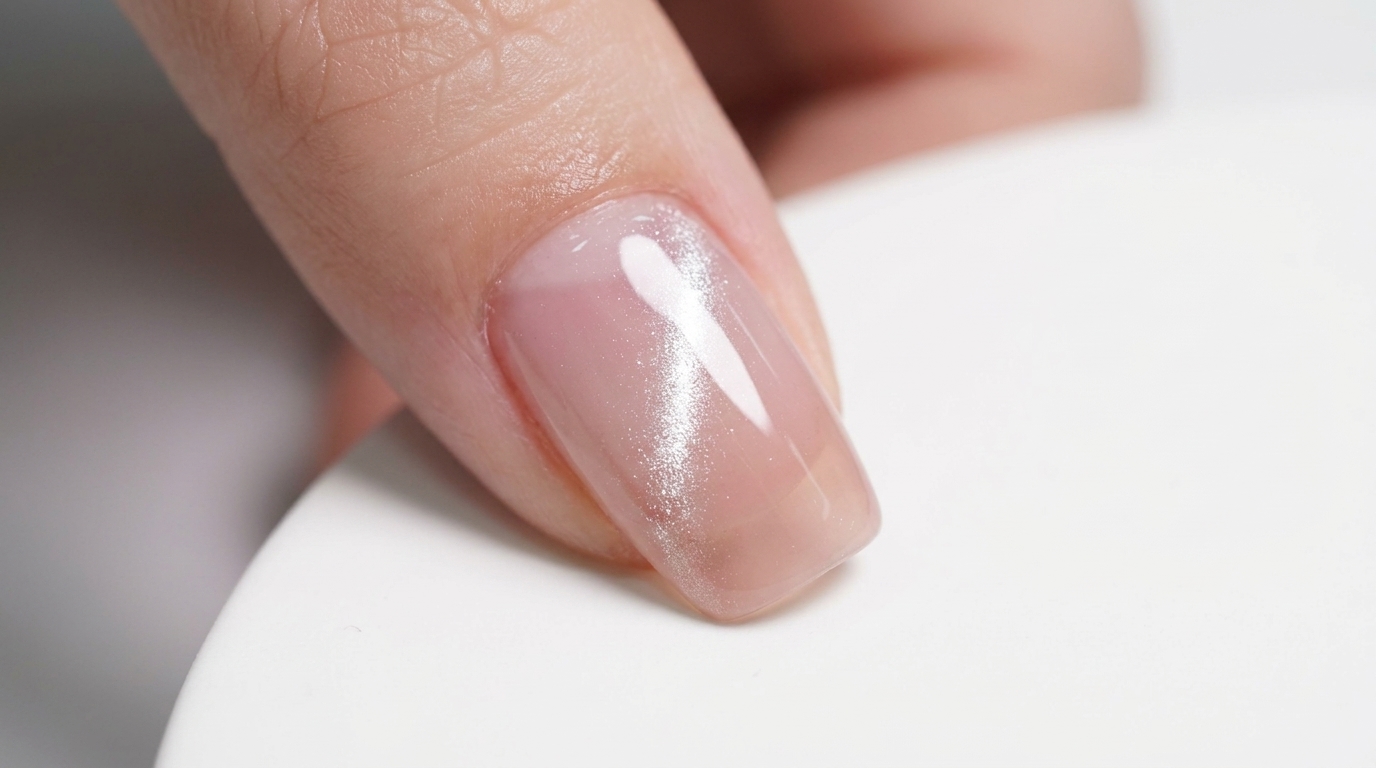
Apply a thin layer of clear crystal cat-eye gel evenly over the entire nail. Because the gel has no base color, it protects and showcases the underlying blush pink design without altering its tone.
Tip: Keep this layer thin and uniform so the magnetic particles can move freely when styled. - 9Create the side light effect with a magnet
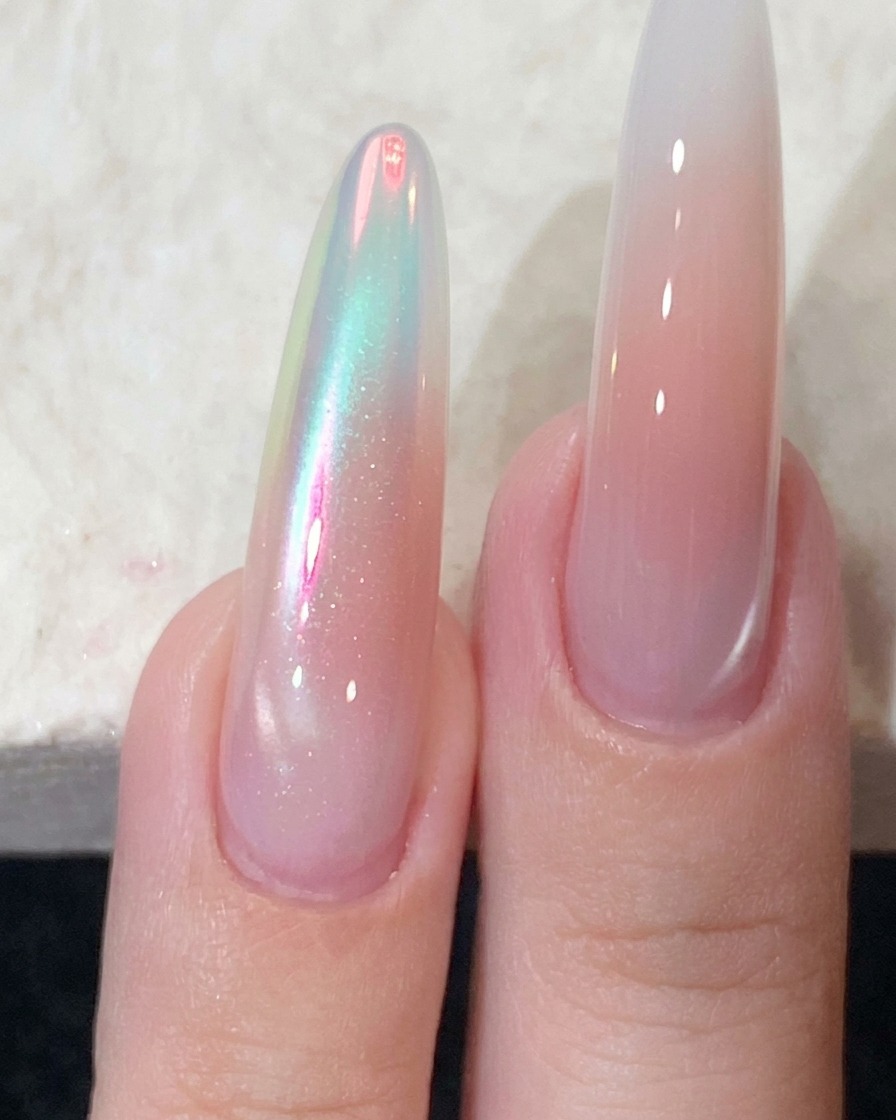
Hold a magnet close to the side of the nail to attract the magnetic particles, drawing and shaping them into a distinct side light effect. Check the reflection to ensure the glowing line is smooth and properly positioned.
Tip: Hold the magnet steady for a few seconds until the particles lock firmly into place before curing. - 10Cure the cat-eye gel layer
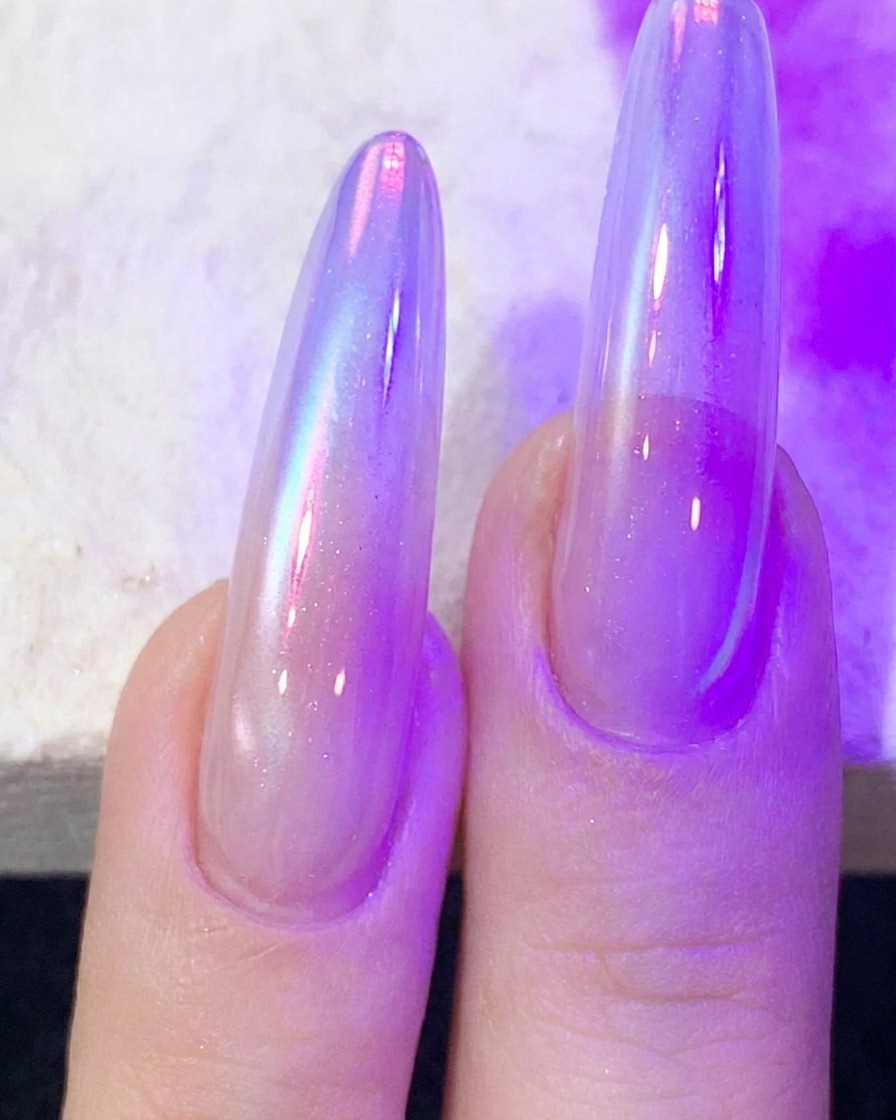
Place the hand under the UV or LED lamp to fully cure the cat-eye gel layer, locking the magnetic side light effect securely in place.
Tip: Ensure your hand is centered under the lamp light source to cure the edges and sides evenly. - 11Apply water-gloss top coat
Apply a generous layer of resilient water-gloss top coat over the entire nail surface using the flat brush. The self-leveling formula flows smoothly to create a high-shine, durable base for the chrome powder application, ensuring an even and professional finish.
Tip: Make sure the top coat is applied evenly across the entire surface to provide a flawless base for the chrome powder to buff onto. - 12Cure the top coat
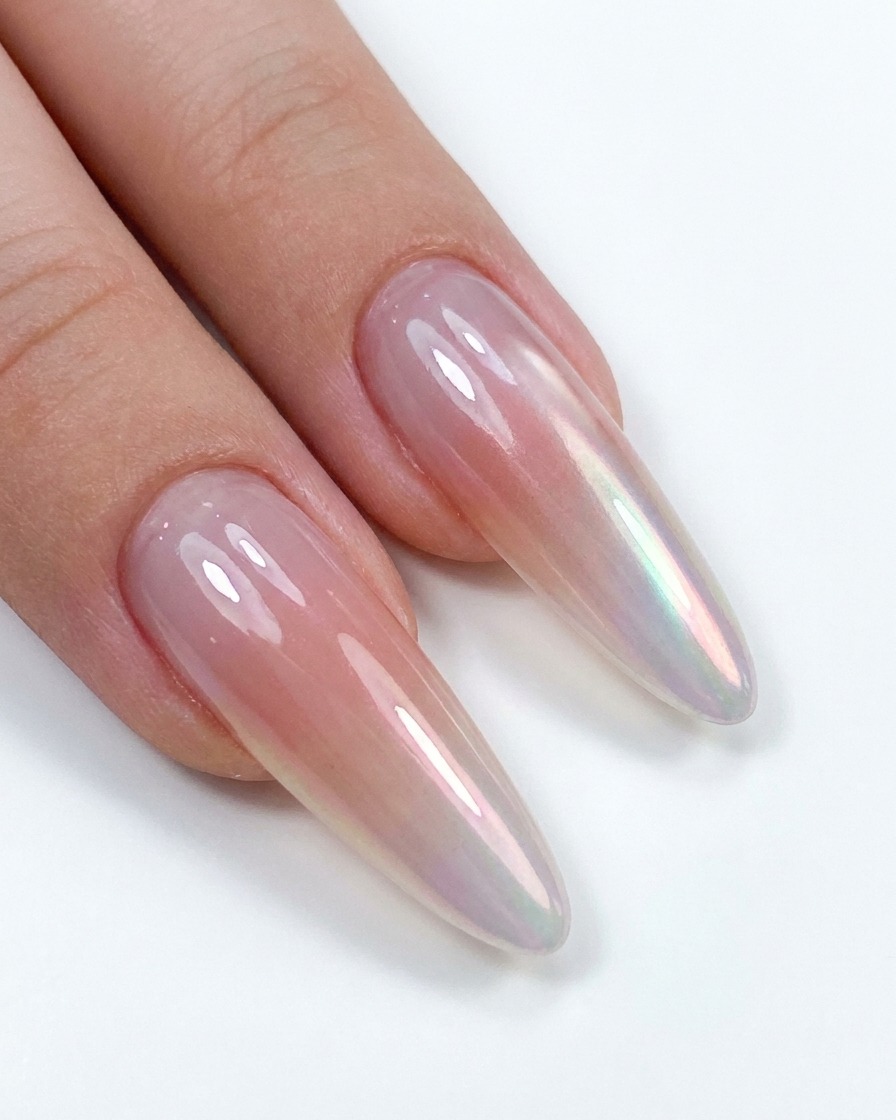
Place the hand under the purple UV/LED nail lamp and cure the water-gloss top coat layer completely. This hardens the surface and sets it perfectly for the subsequent chrome powder buffing step.
Tip: Follow the recommended cure time for your specific top coat to ensure it provides a tacky or optimal surface for powder adherence. - 13Pick up chrome powder
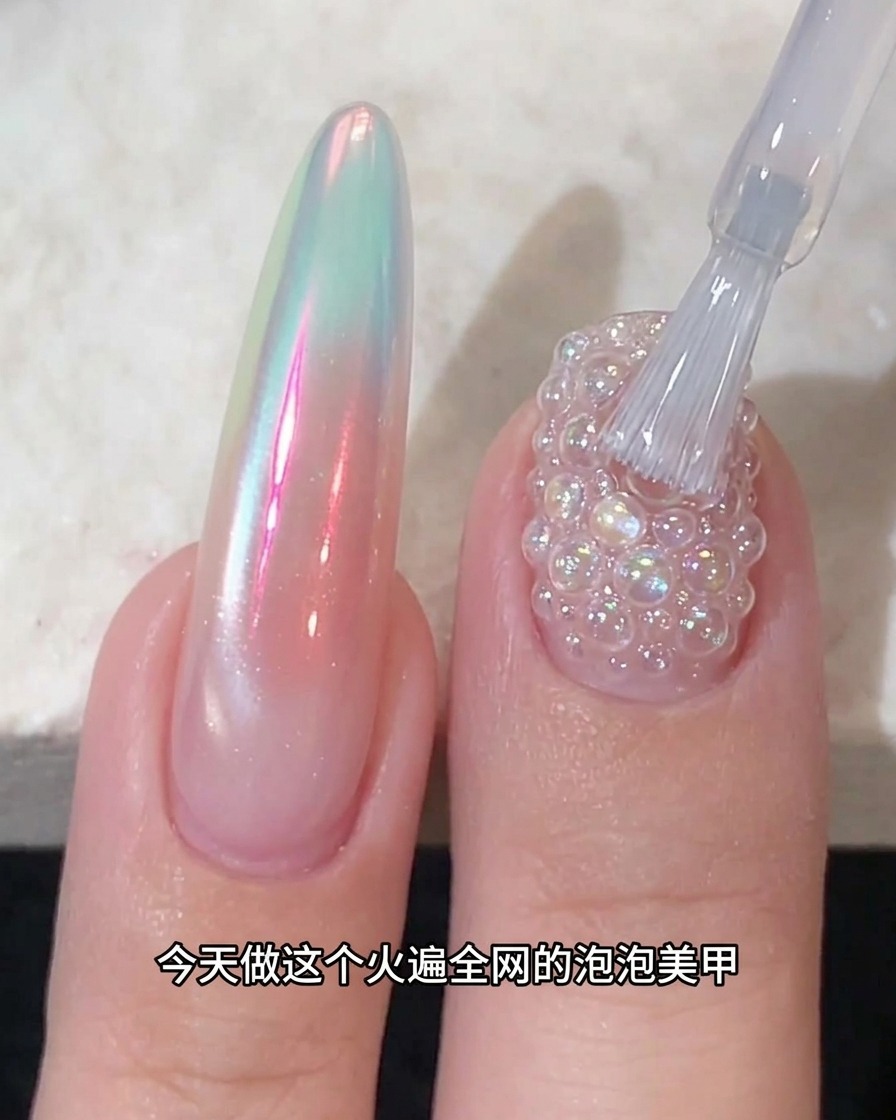
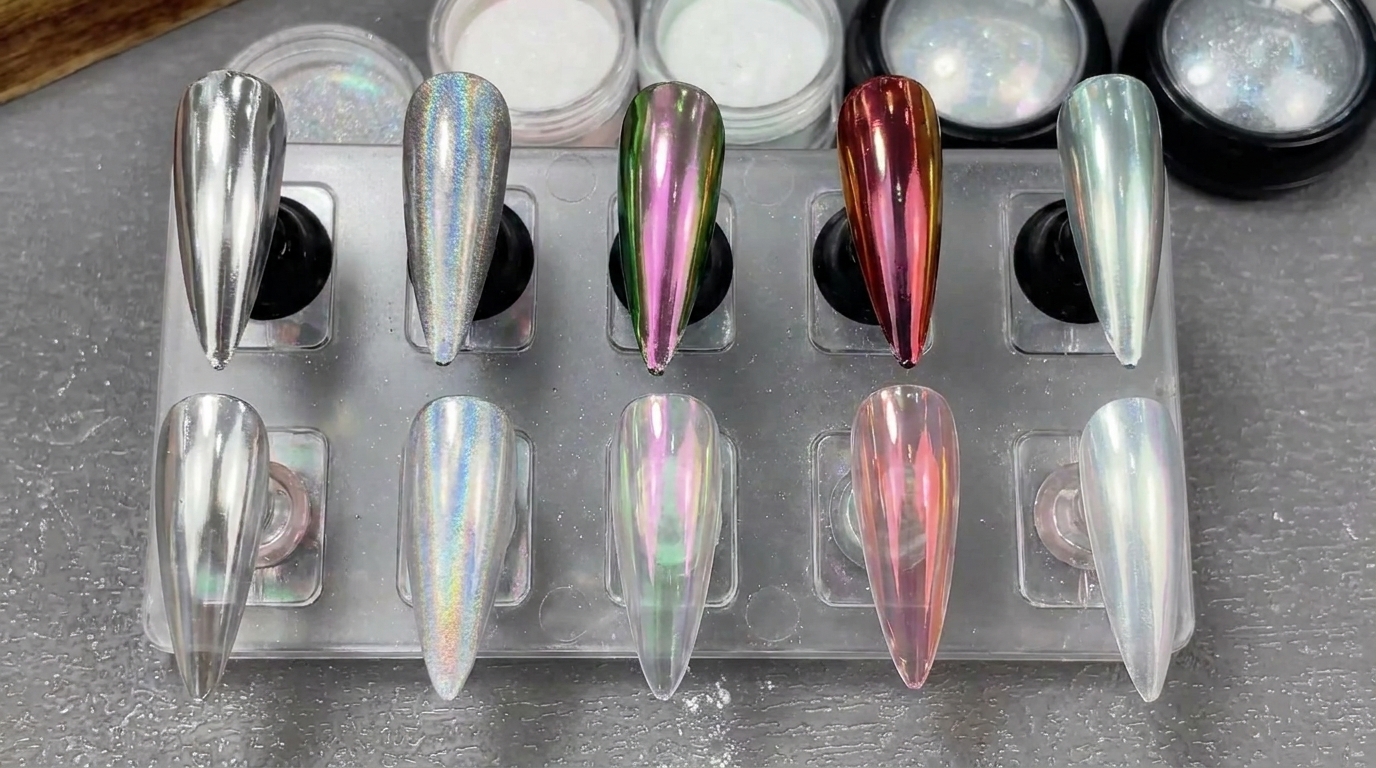
Using a sponge applicator tool, pick up a small amount of the multi-shifting chrome powder with blue-pink and green-orange highlights. A sponge applicator ensures an even and controlled distribution of pigment particles.
Tip: Tap off any excess powder from the applicator tool before applying it to the nail to prevent clumping. - 14Buff chrome powder onto the nail
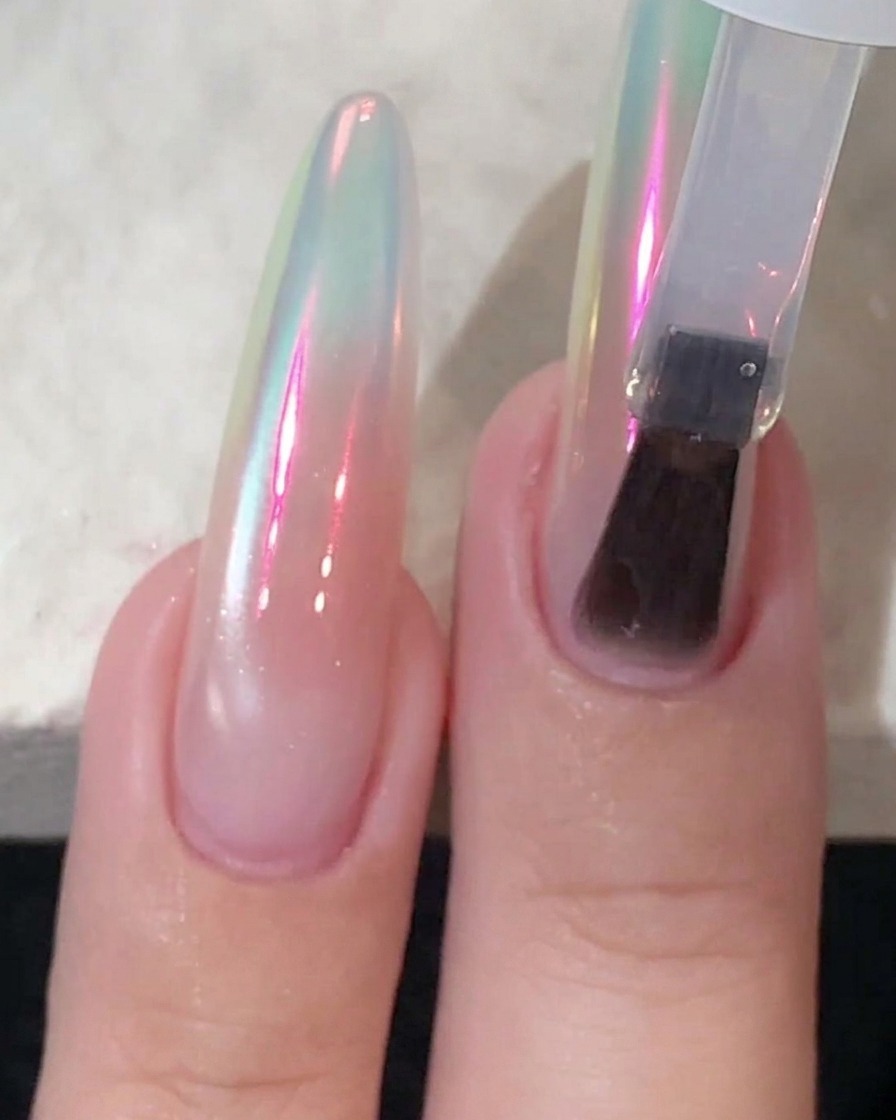
Gently rub and buff the chrome powder across the cured top coat surface using the sponge applicator. Continue buffing until the powder transforms into a smooth, reflective mirror aurora sheen.
Tip: Buffing with light, circular motions yields the most seamless and mirror-like chrome finish. - 15Seal with top coat
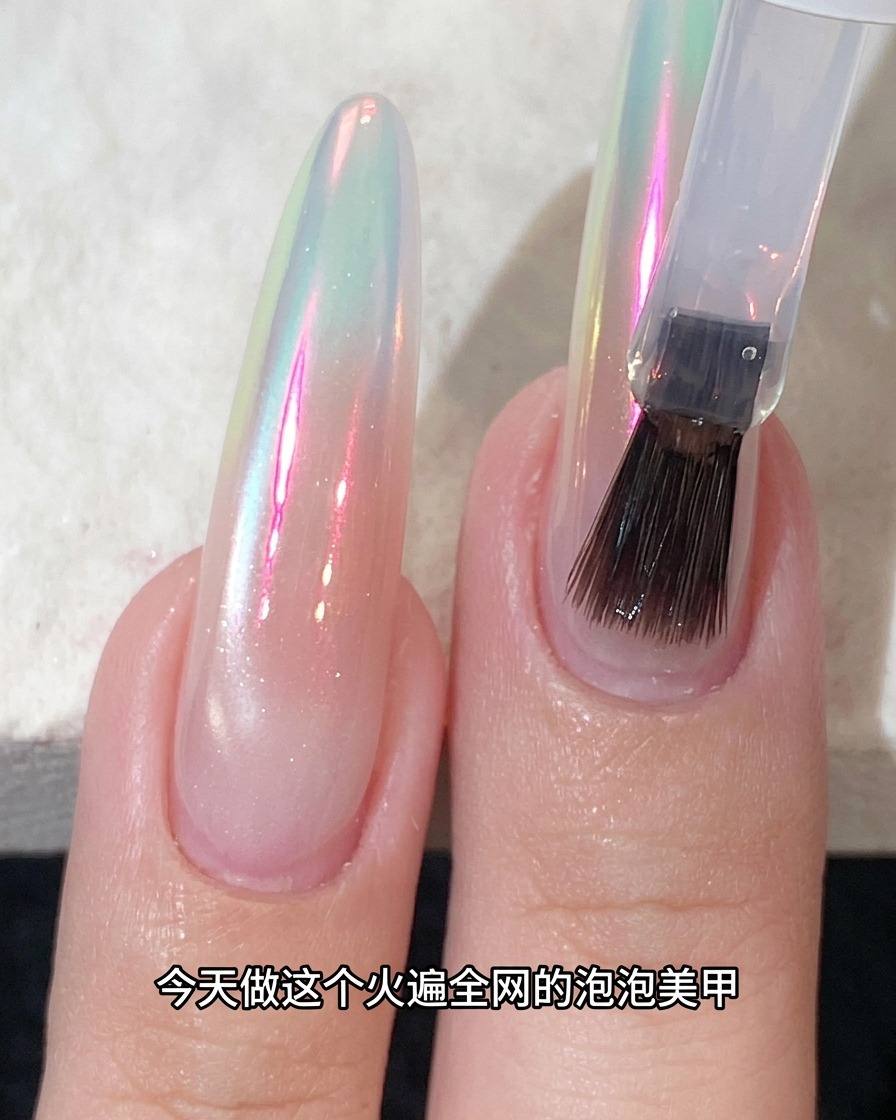
Apply the water-gloss top coat directly over the chrome-buffed nail surface to seal and protect the delicate powder layer. This locks in the aurora effect and provides long-lasting, scratch-resistant durability.
Tip: Cap the free edge carefully with the top coat to prevent chipping and wear at the tips.