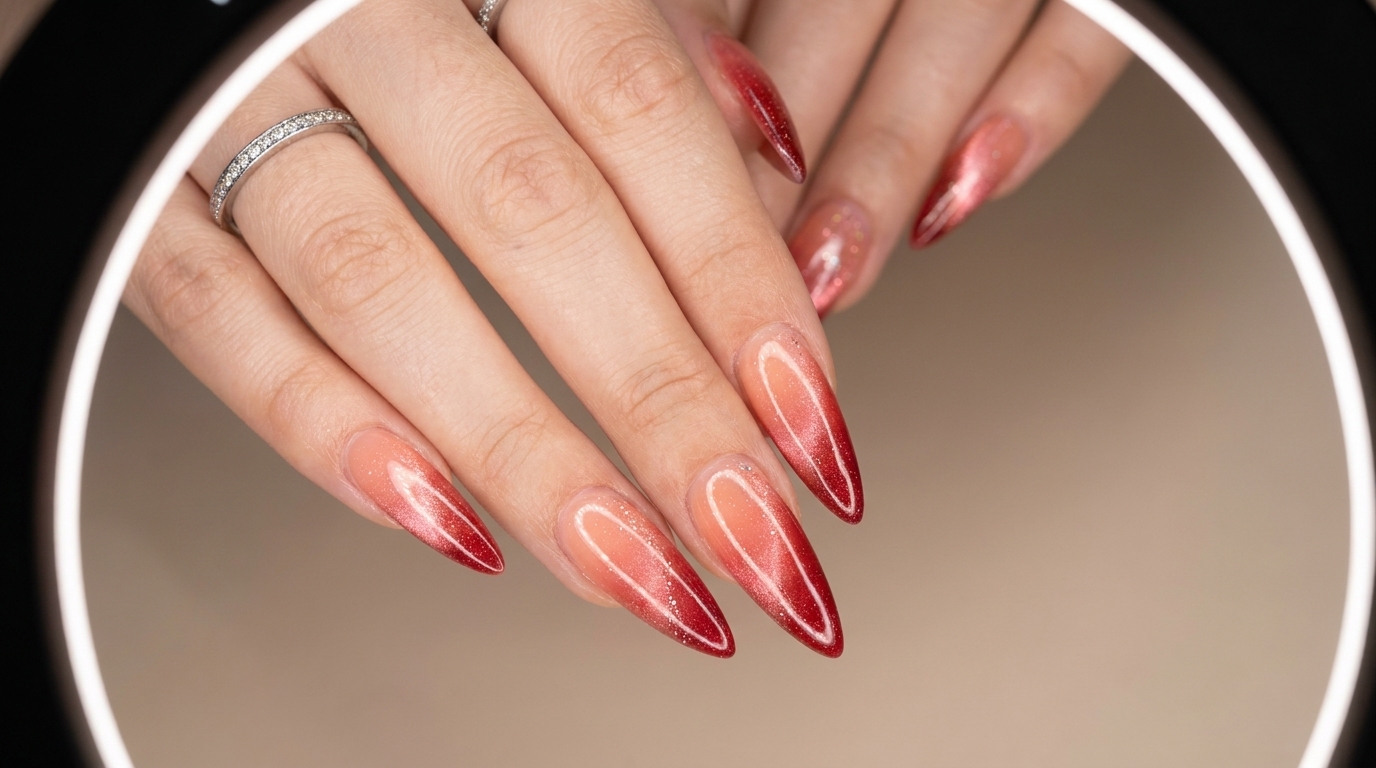
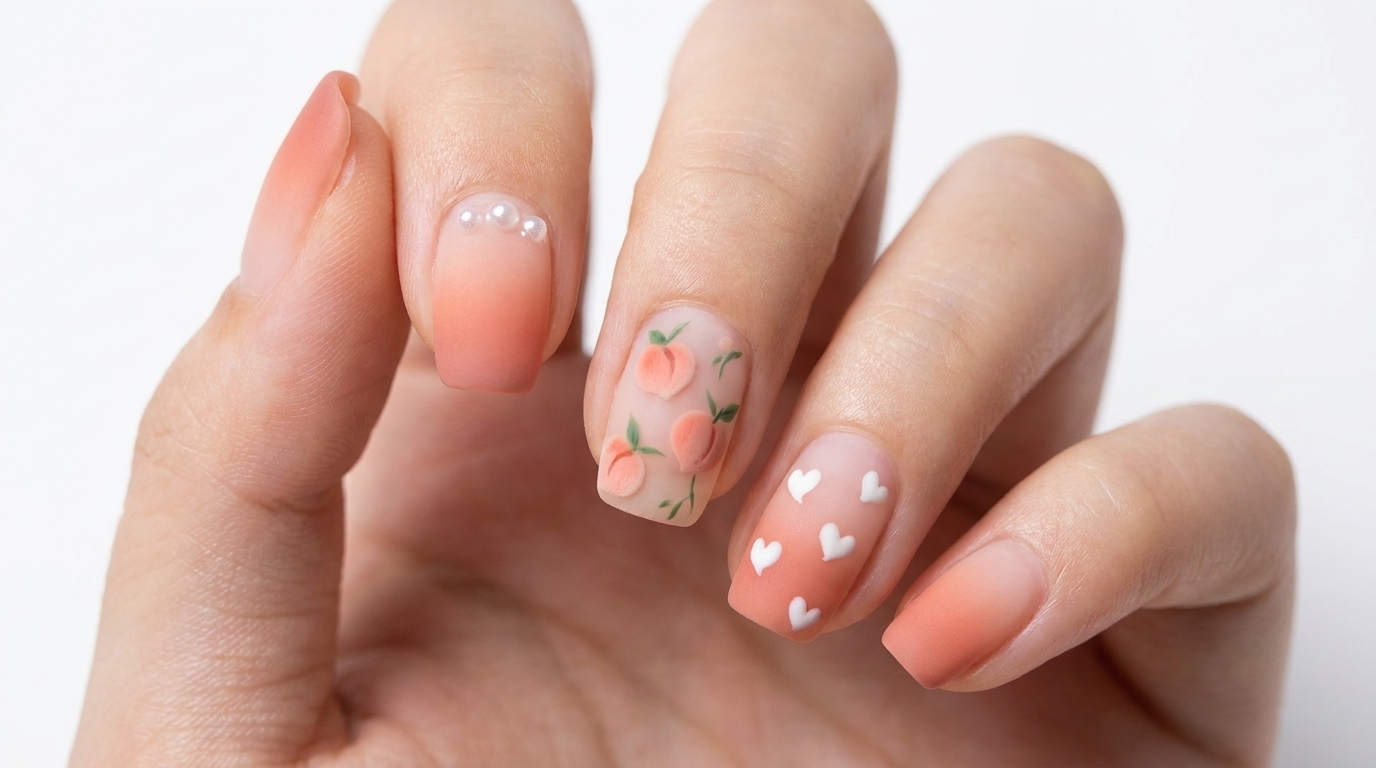
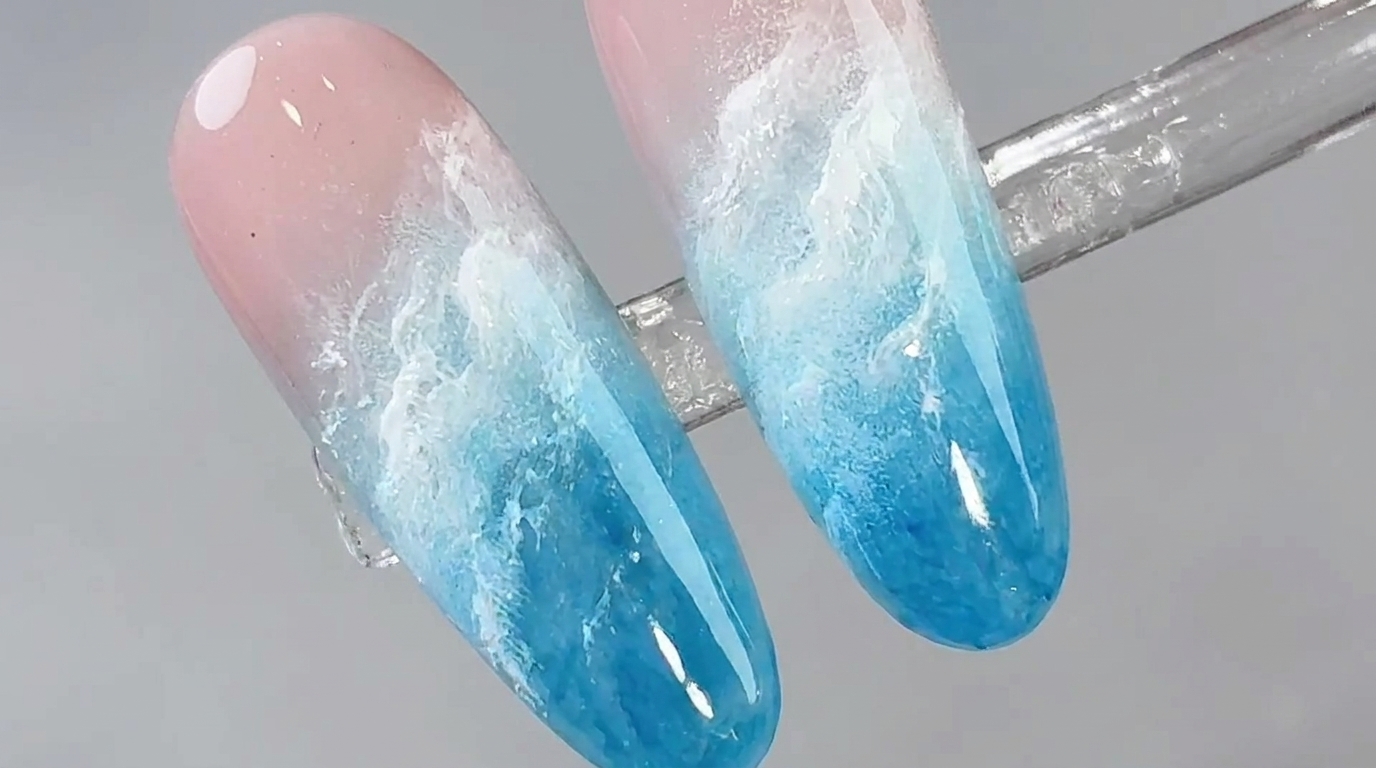
Peach Gradient Nails
Gold Accents — Step-by-Step Tutorial
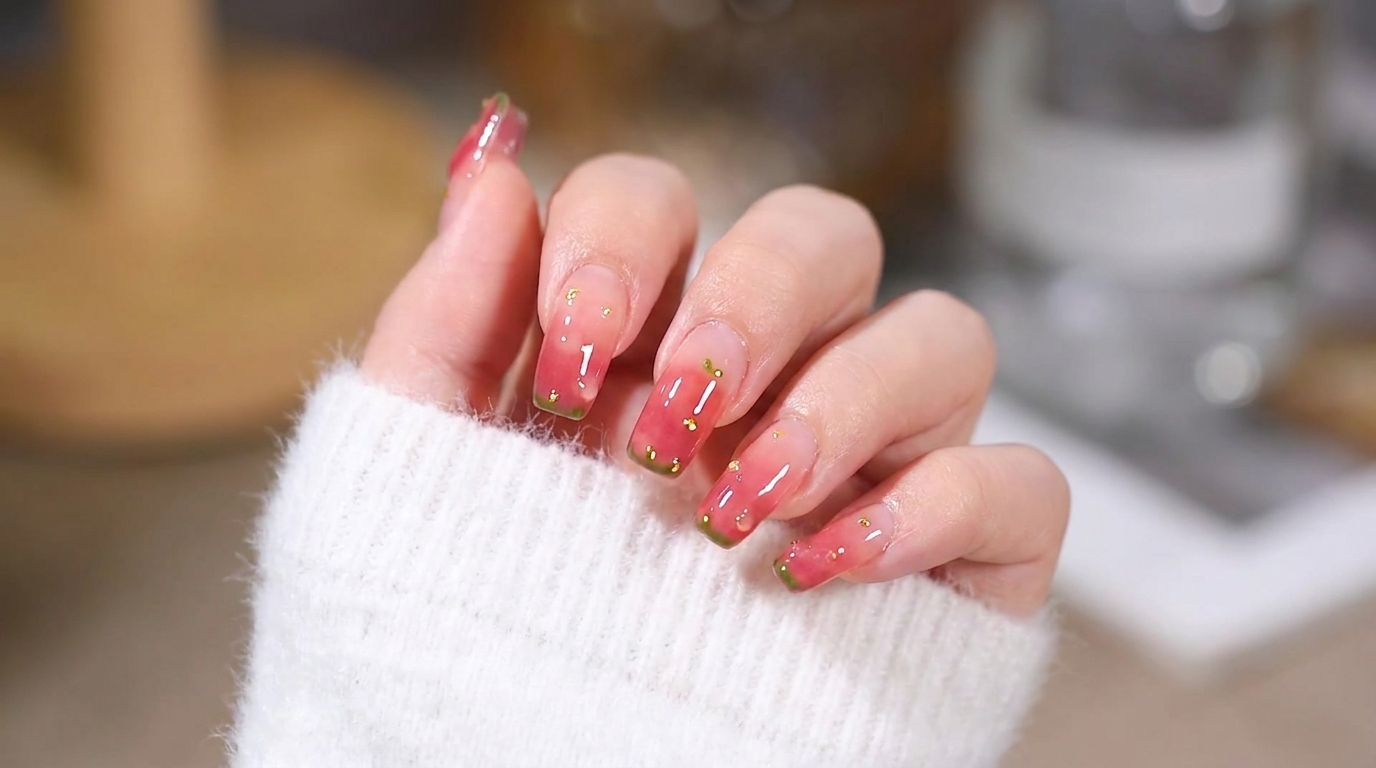
Create dreamy fairy-core nails featuring a soft peach-to-pink blush gradient and delicate gold accents near the cuticles with this easy guide.
Fairy-core and blush nail trends have captured the hearts of nail enthusiasts everywhere, combining ethereal gradients with subtle, elegant detailing. This look features a translucent peach-to-deep-pink fade complemented by tiny gold stud embellishments for a whimsical yet sophisticated finish. Whether you are prepping for a special occasion or looking to elevate your everyday manicure, this step-by-step technique brings salon-quality artistry right to your fingertips.
Steps
- 1Apply clear base coat
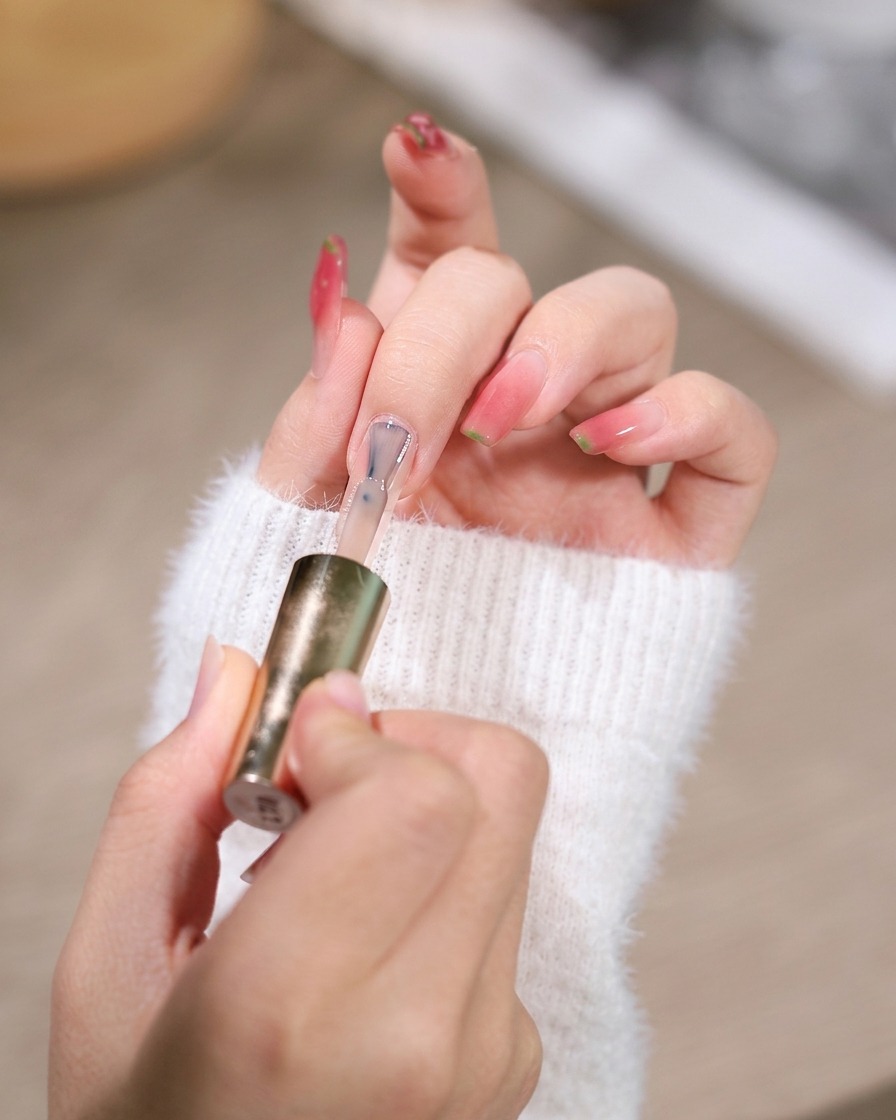
Brush a clear nude or milky base coat smoothly over the entire natural nail plate, ensuring complete and even coverage. This initial layer creates a smooth foundation for the gradient application and helps protect the natural nail.
Tip: Apply in thin, even strokes to prevent pooling near the cuticles. - 2Apply deep pink gel spots
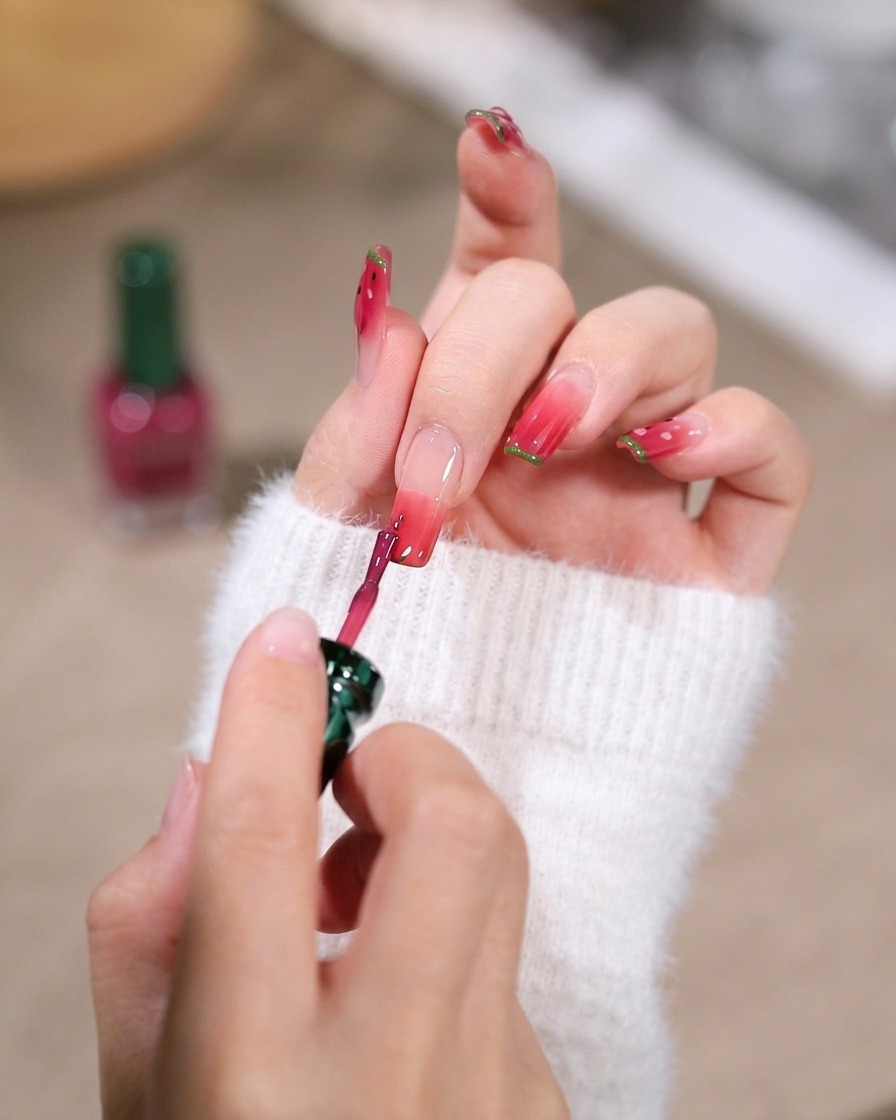
Apply a concentrated drop of deep pink gel polish directly at the cuticle line and nail tip to set up the placement for the peach gradient effect. Keep the application controlled to avoid excess product buildup.
Tip: A small, precise dot of color makes it much easier to control the blend. - 3Begin gradient blending
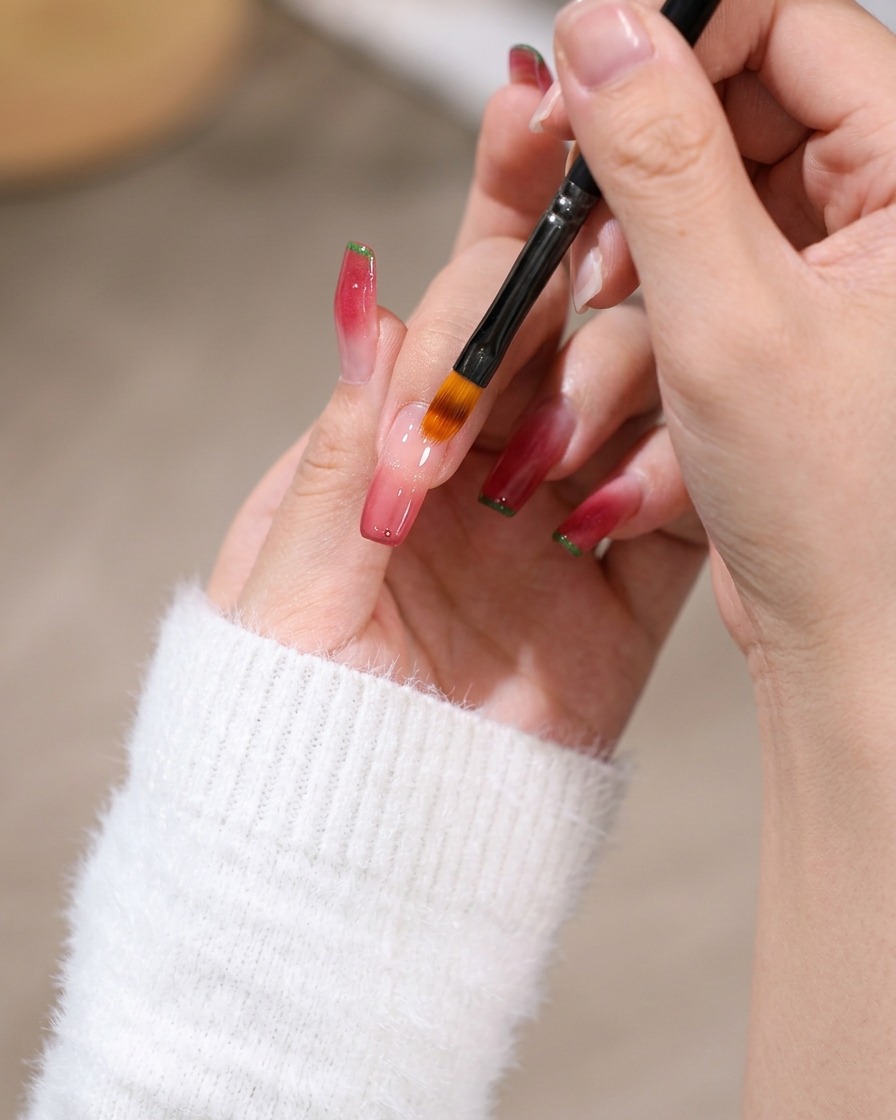
Use a flat ombre brush to carefully pull and blend the dark pink gel downwards, starting the gradient effect across the nail surface. Lightly tap and feather the bristles to merge the color smoothly.
Tip: Keep a light hand to avoid wiping away too much pigment. - 4Feather color toward center
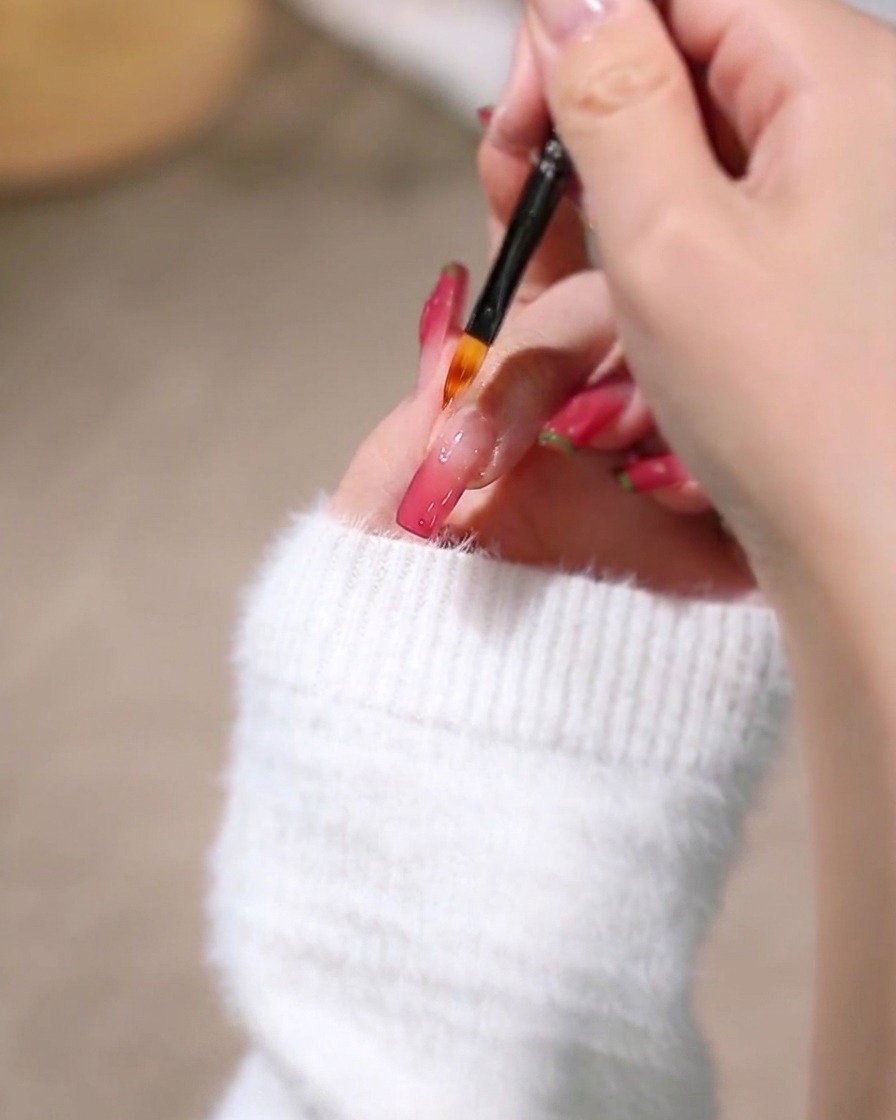
Continue feathering the pink color towards the center of the nail with the flat brush to ensure a seamless fade. Soft strokes help eliminate any harsh lines between the bare nail and the pigmented areas.
Tip: Wipe the brush clean on a lint-free pad if it picks up too much excess gel. - 5Define and blend the cuticle edge
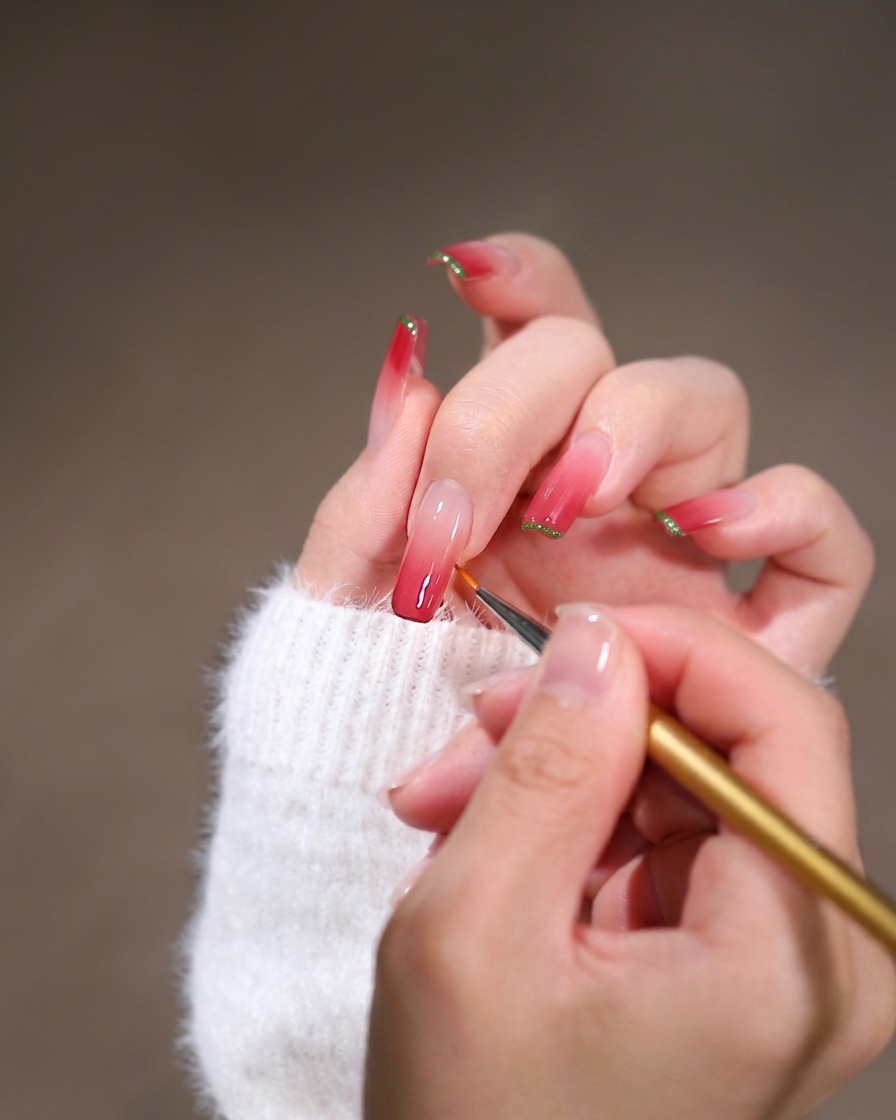
Switch to a very fine liner brush to carefully deposit and blend the pink color along the delicate cuticle edge. Work with a light hand to achieve a smooth gradient without harsh lines, ensuring the product stays neat near the skin.
Tip: Keep your brush strokes light and feathery when blending near the cuticle to avoid creating a thick ridge of product. - 6Smooth out gradient streaks
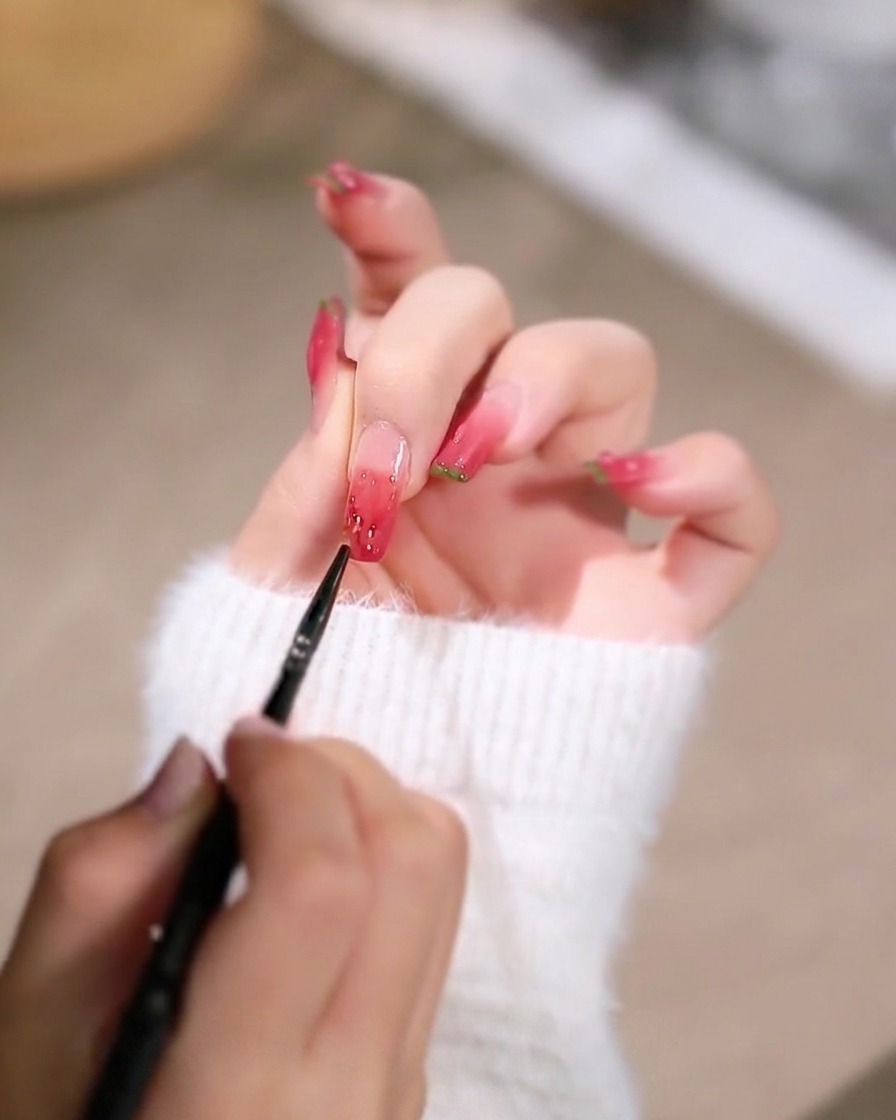
Continue using the fine liner brush to adjust the overall gradient intensity across the nail surface. Softly feather out any uneven color streaks to create a seamless, flawless transition of color.
Tip: If streaks persist, wipe your brush clean on a lint-free pad before gently smoothing the surface again. - 7Apply gold stud decoration
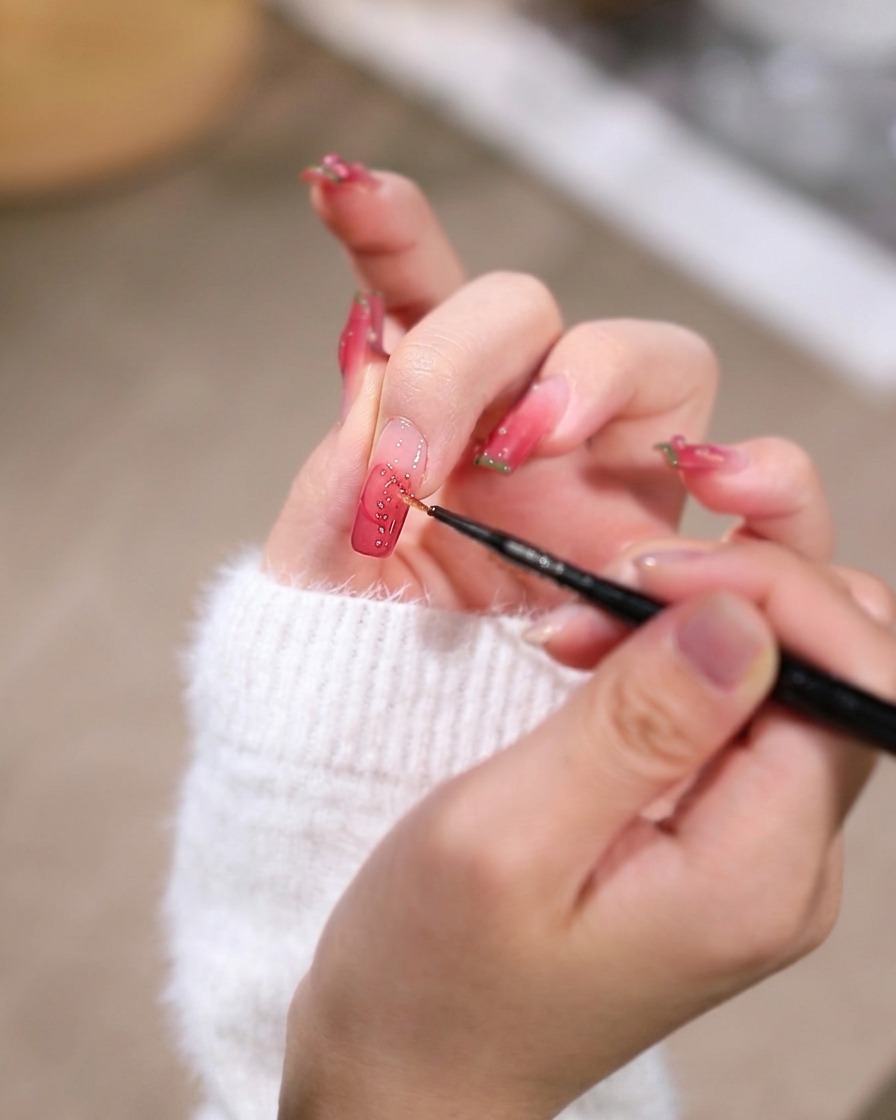
Use a fine placement tool or liner brush to pick up a tiny gold stud decoration. Carefully place it onto the wet gel surface near the cuticle area as specified by the design layout.
Tip: Lightly dab a bit of base gel or top coat where you want the stud placed to ensure it stays anchored before curing. - 8Adjust and center the embellishment
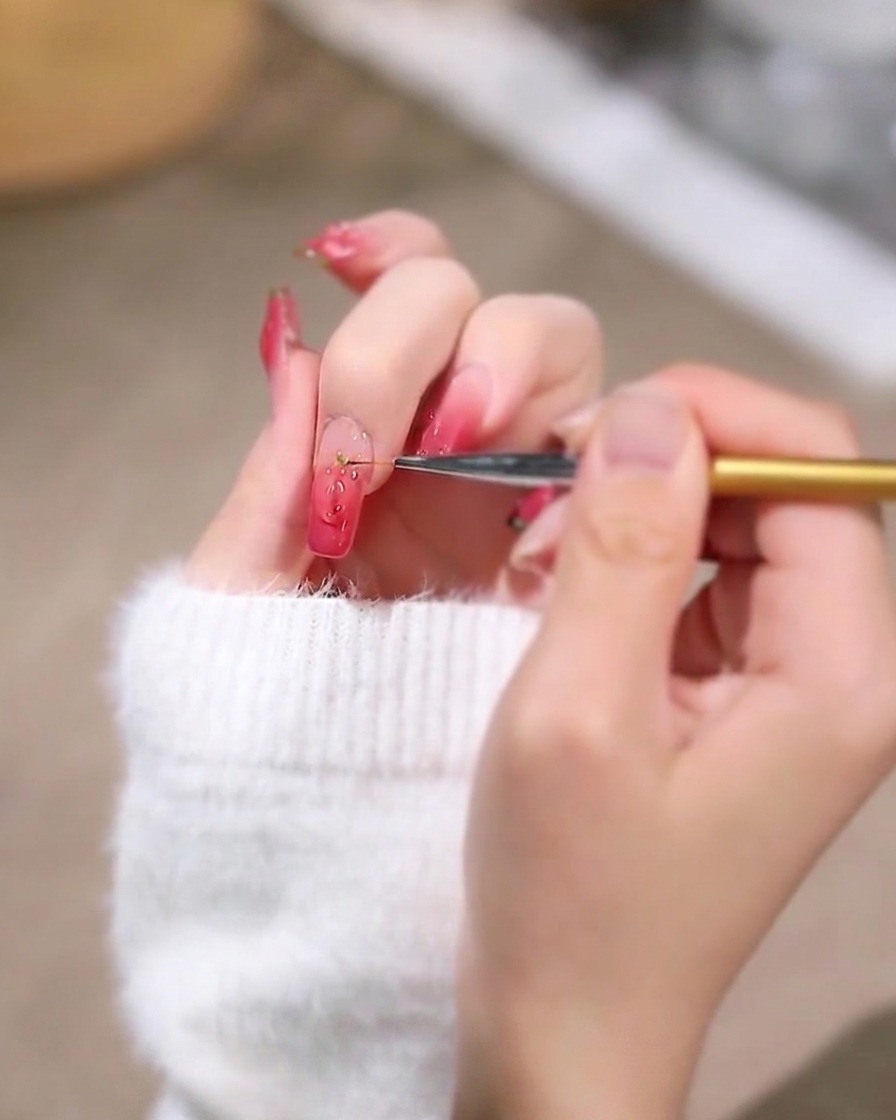
Gently nudge and adjust the gold embellishment using the tip of your brush or tool to ensure it is precisely centered at the base of the nail. Check the alignment from multiple angles before curing.
Tip: Make sure the embellishment is pressed flat into the wet gel layer so it doesnt catch or pop off after top coat application. - 9Apply clear glossy top coat
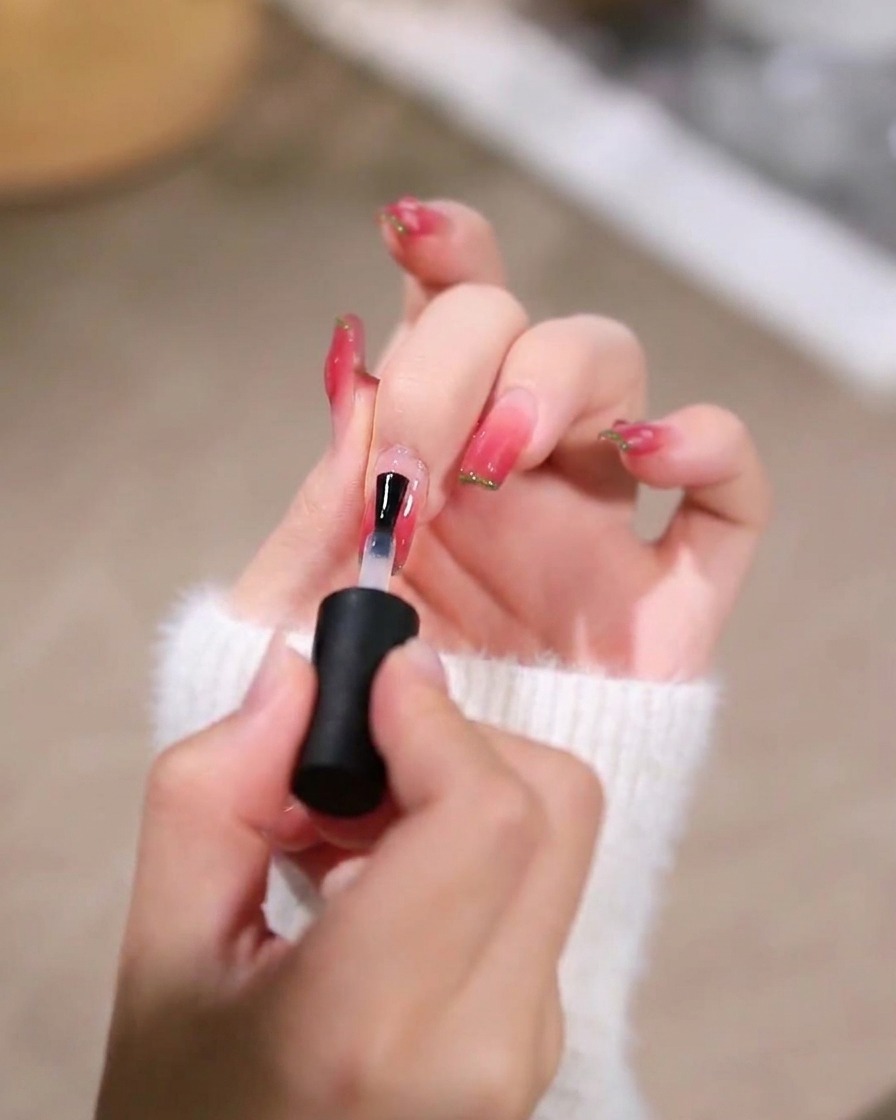
Apply a thick, even layer of clear glossy top coat over the entire nail surface. This step encapsulates the gradient design, seals the gold studs securely in place, and provides a brilliant mirror-like shine.
Tip: Ensure the top coat fully covers and seals around the edges of the studs to prevent them from snagging or wearing off over time.