Gold Chrome Flame Nail Art — Step-by-Step Tutorial
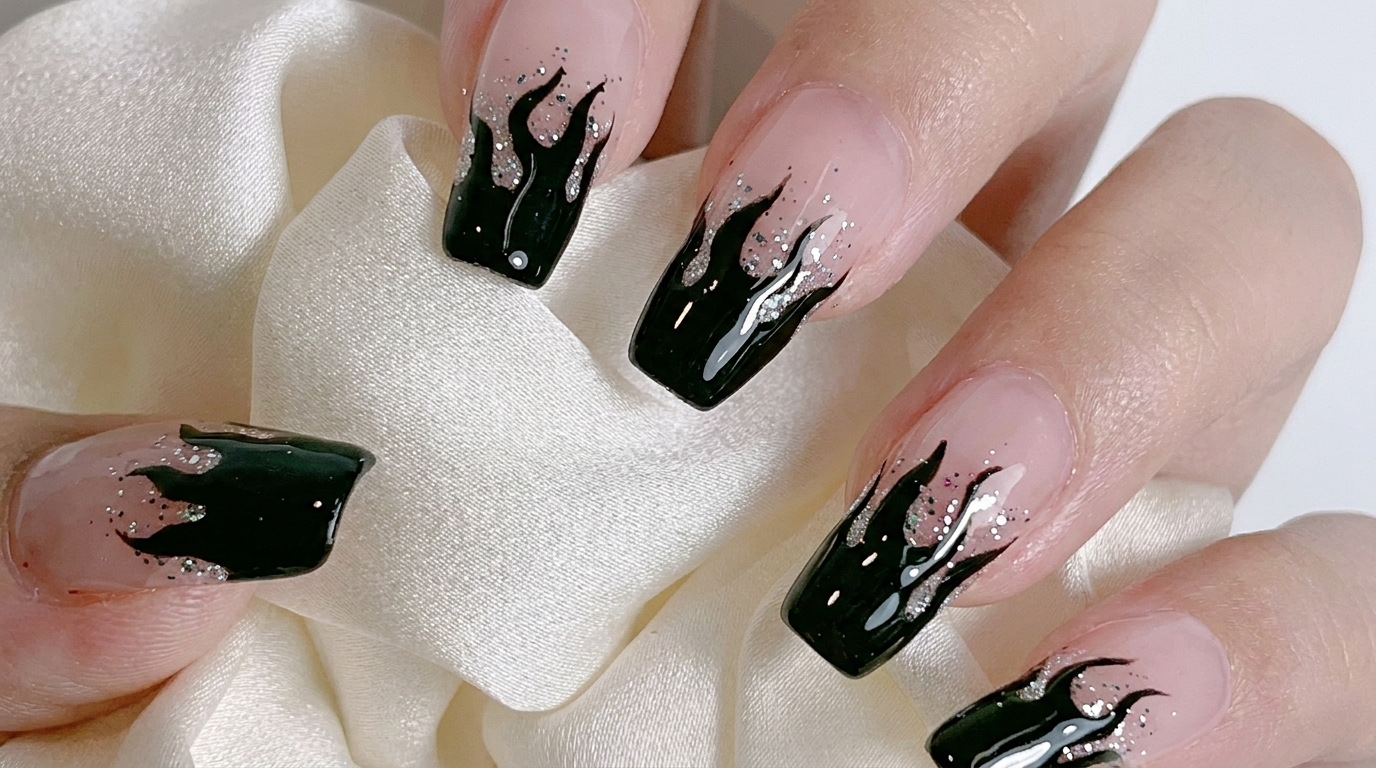
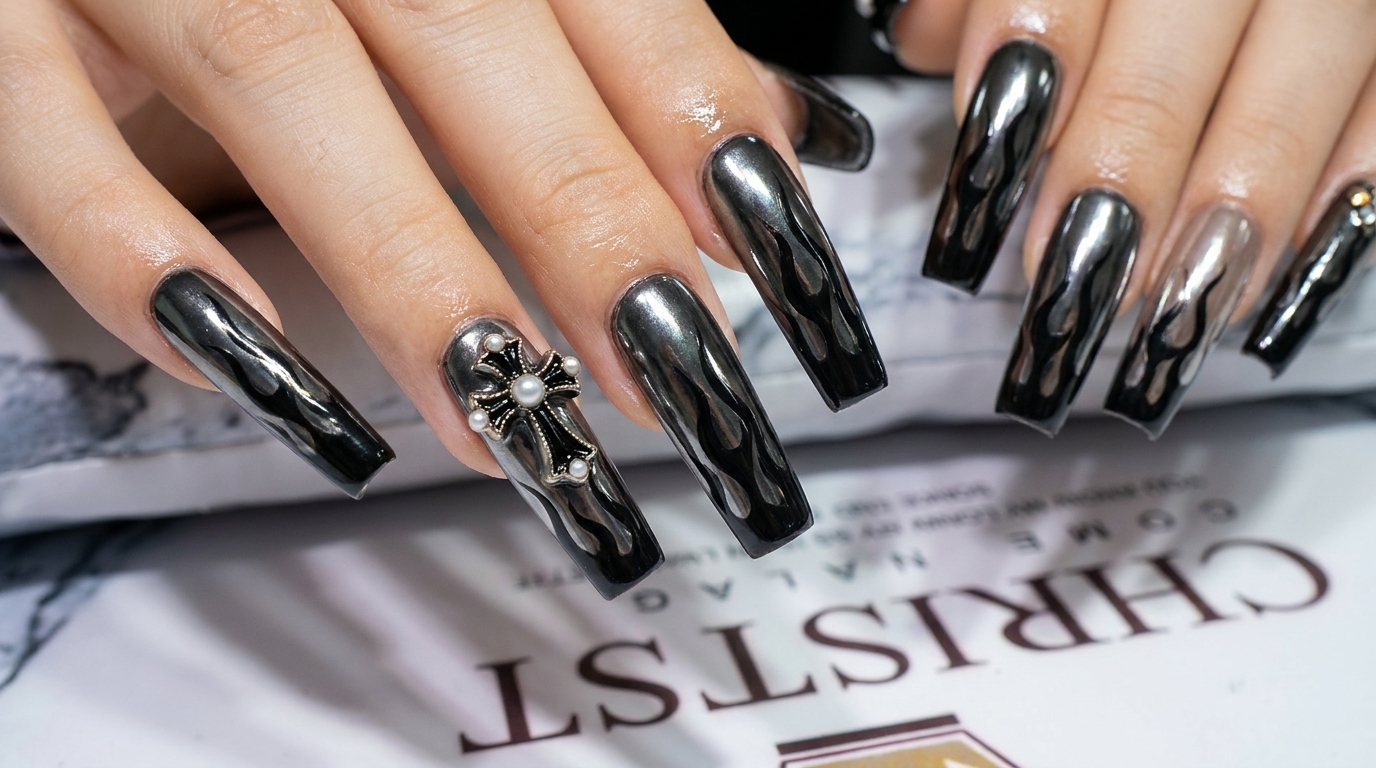
Create an edgy and luxurious look with 3D gold chrome flames over a sheer pink base. Learn how to combine mirror powder and hard gel for a standout metallic manicure.
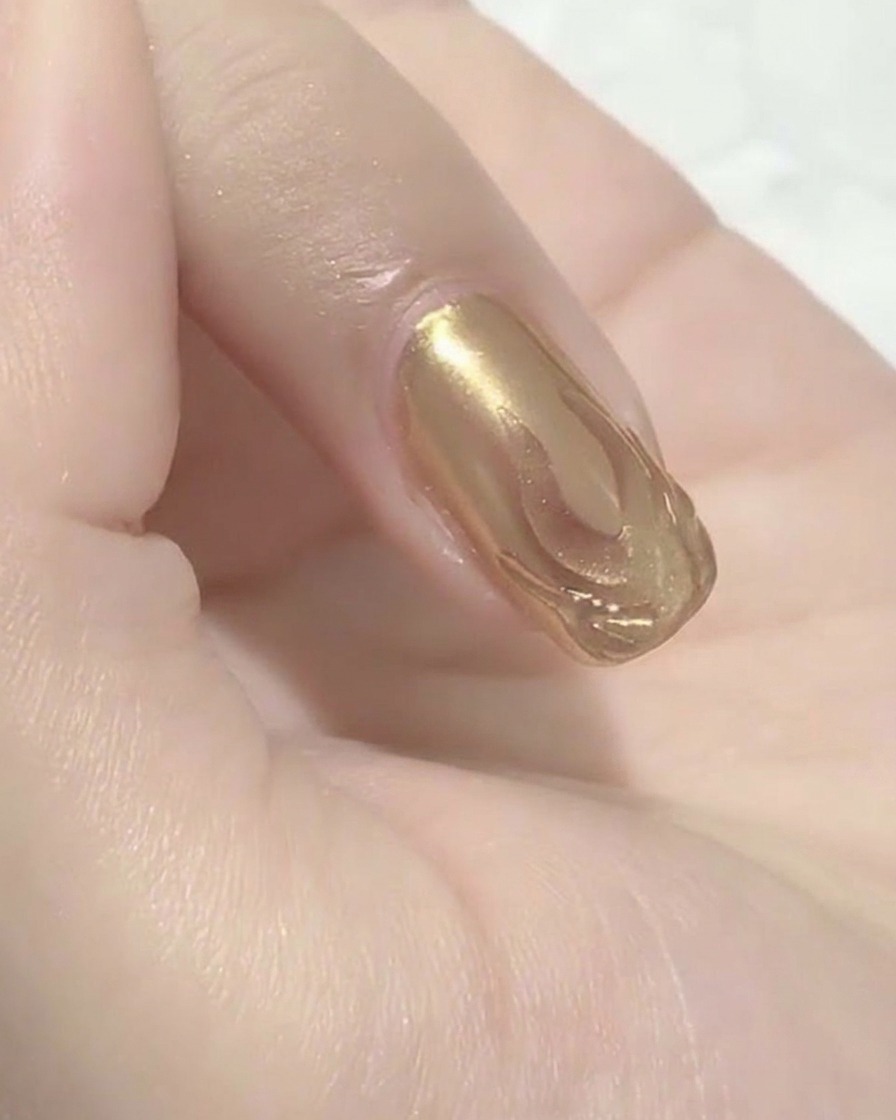
Flame nail art is a timeless trend that brings a bold, high-fashion edge to any manicure. This specific look elevates the classic design by using gold mirror powder and clear hard gel to create a beautiful 3D, raised metallic finish that pops against a soft, sheer pink background.

Steps
- 1Apply top coat
Apply a smooth, even layer of top coat over your cured base color. This creates the necessary tacky surface for the mirror powder to adhere to properly.
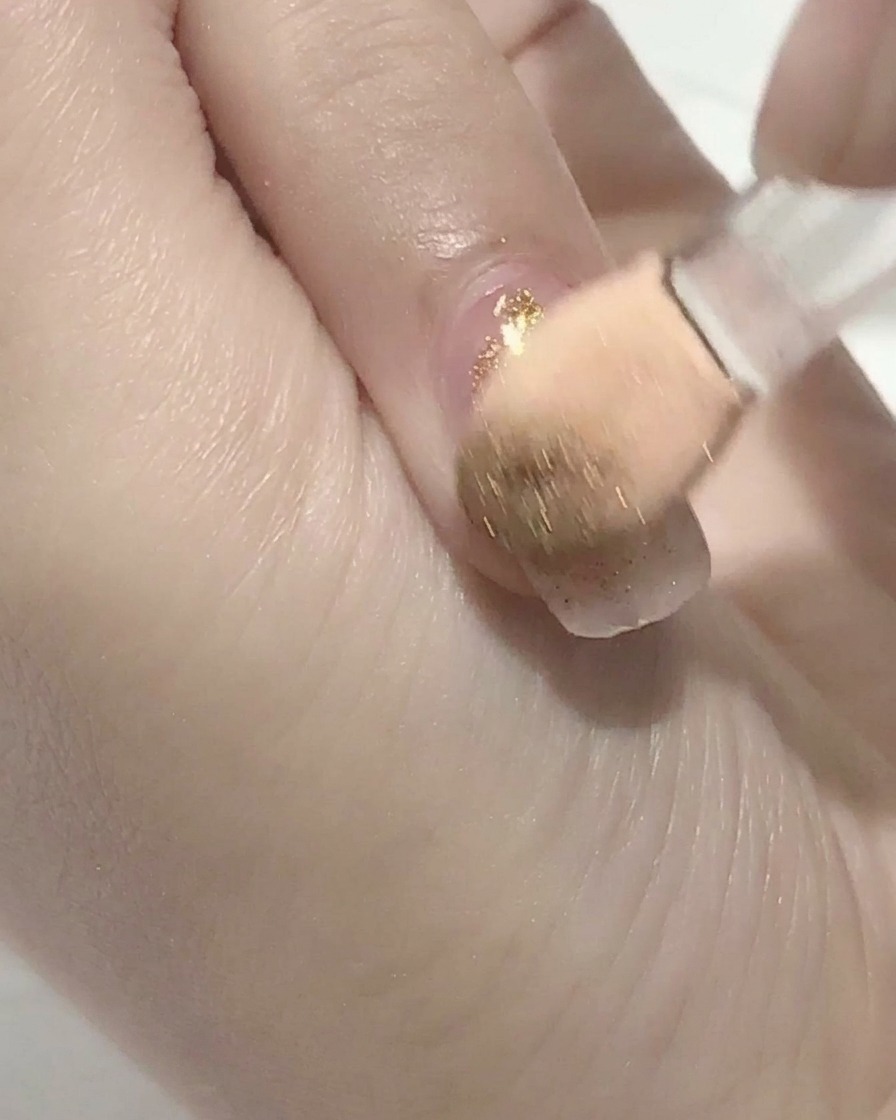
Tip: Ensure the top coat is applied evenly to avoid streaks in the chrome finish. - 2Apply mirror powder
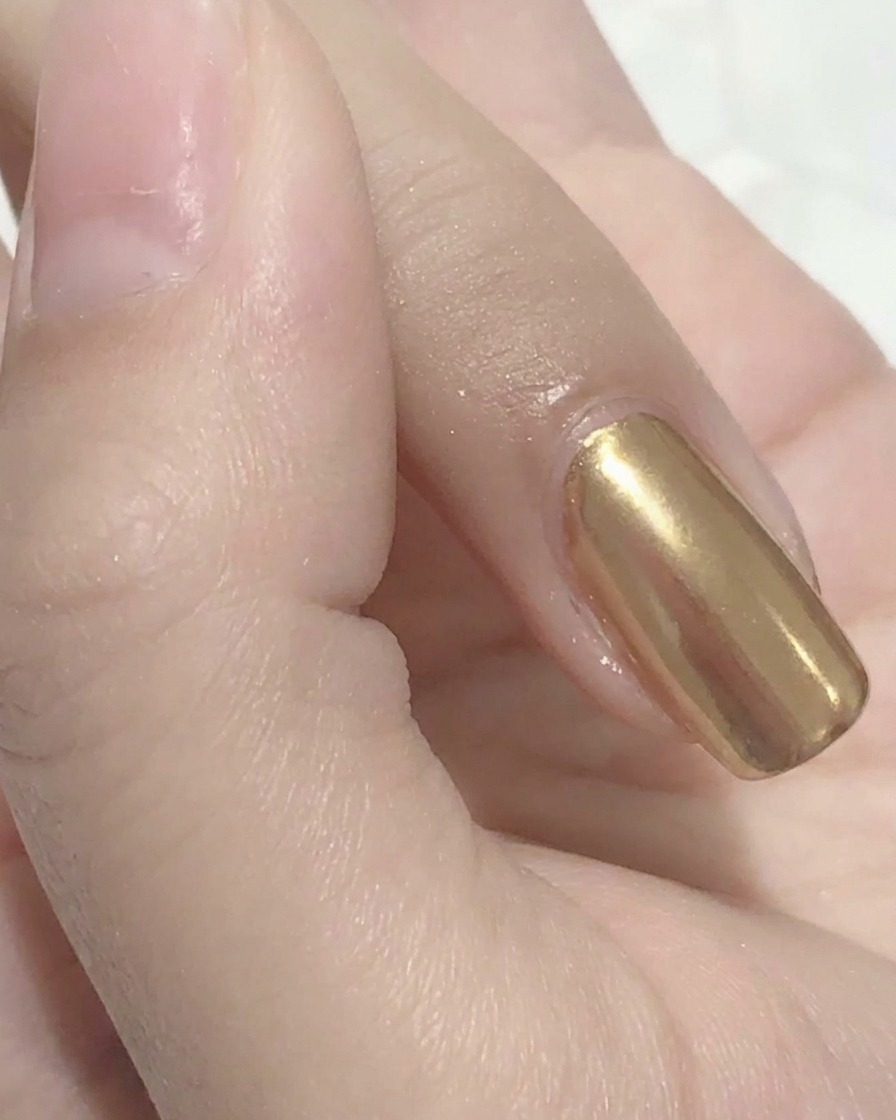
Using a sponge applicator, gently but firmly buff the gold mirror powder onto the cured top coat. Continue rubbing until the surface is completely covered and reflects a smooth, metallic mirror finish.
Tip: A little powder goes a long way; start with a small amount and add more as needed. - 3Outline the flame

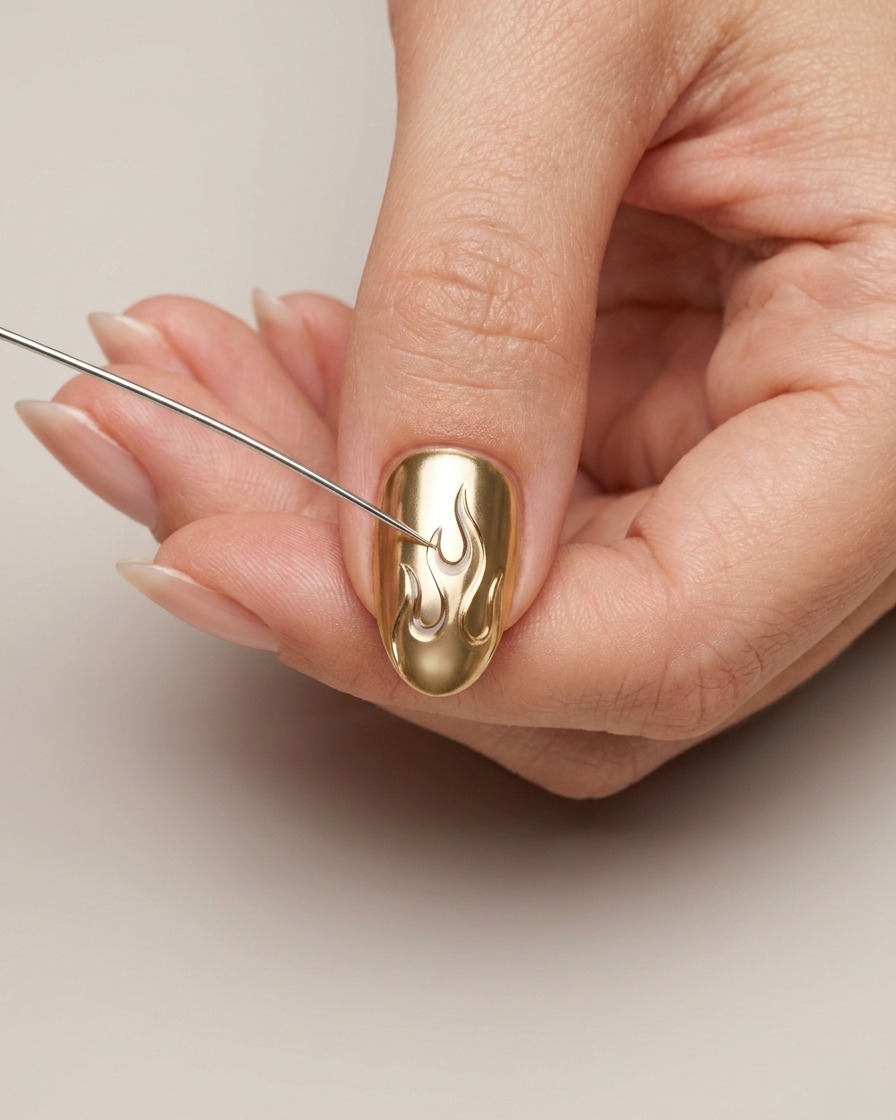
Dip a fine liner brush into clear hard gel and carefully draw the left wavy outline of the flame design onto the chrome-covered nail.
Tip: Use light pressure to create a thin, precise line for the outline. - 4Complete flame outline
Continue using the fine liner brush to draw the corresponding right-side curves of the flame, ensuring the shape is symmetrical and fluid.
Tip: Maintain a steady hand to keep the curves smooth. - 5Connect the flame

Use the liner brush to connect the bottom edges of the drawn flame shape, closing the design near the free edge of the nail.
Tip: Ensure the lines are fully connected to keep the flame shape intact when filling. - 6Fill the flame
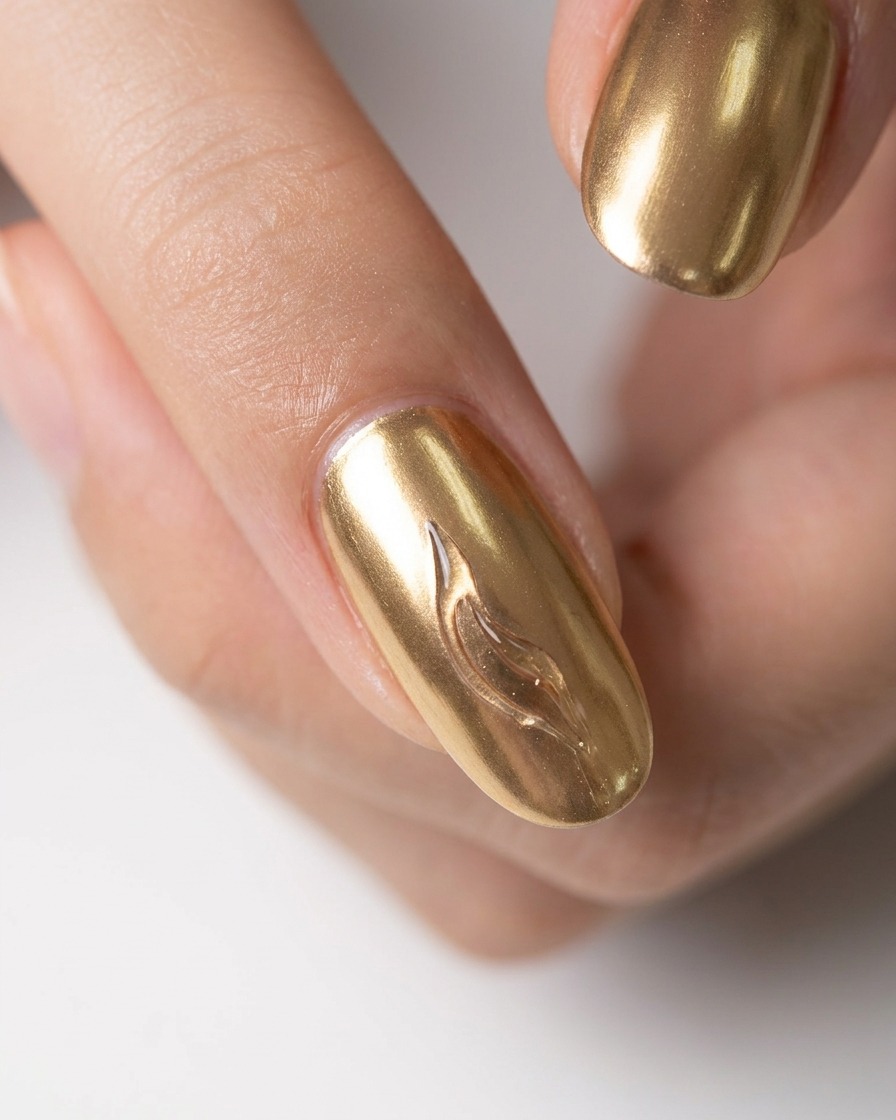
Carefully fill the inside of the flame outline with a small amount of clear hard gel. This will create a 3D effect once cured.
Tip: Apply the gel carefully to avoid it spreading outside the defined outline. - 7Fill the flame shape with gel
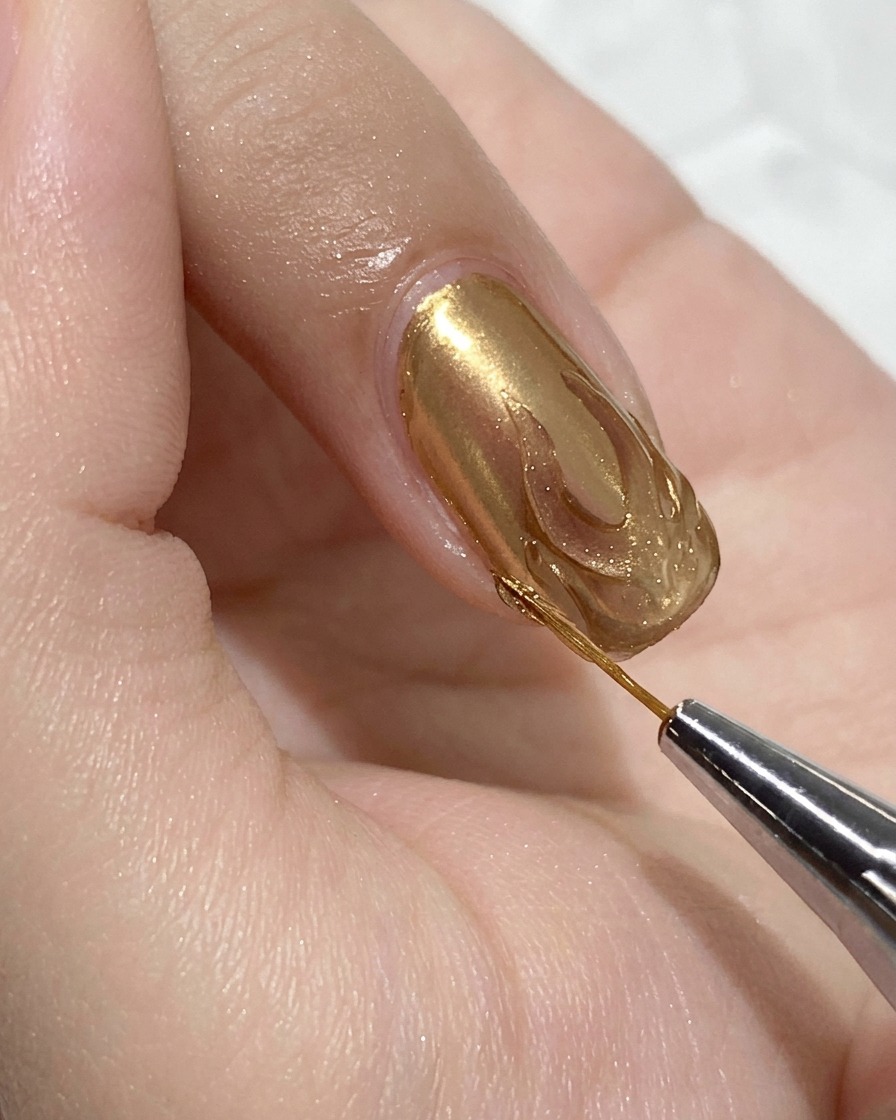
Using your detail brush, carefully apply the hard gel top coat to fill in the empty spaces inside your flame outline. Ensure the entire flame shape is smoothly and evenly filled, and that the gold mirror powder underneath is completely sealed by the gel to protect the design before curing.
Tip: Keep your gel application within the bounds of your outline to maintain the crisp, clean edges of your flame design. - 8Clean and Reveal
Using a wet cotton pad, gently wipe the surface of the nail. This removes the loose, unsealed mirror powder from the sheer pink base, revealing the sharp, metallic gold flame pattern protected beneath the cured hard gel.
Tip: Ensure the cotton pad is damp but not dripping wet to avoid dragging excess powder onto the cured flame areas.