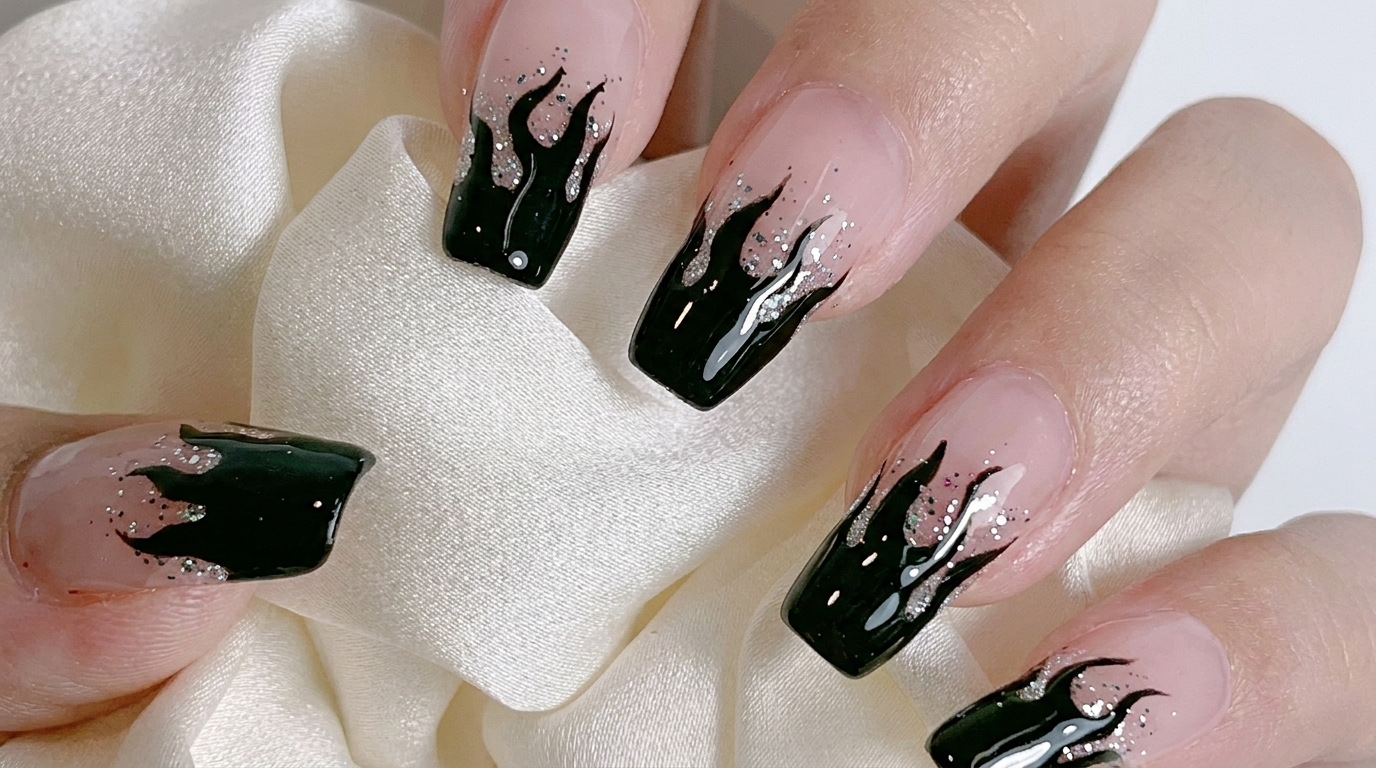
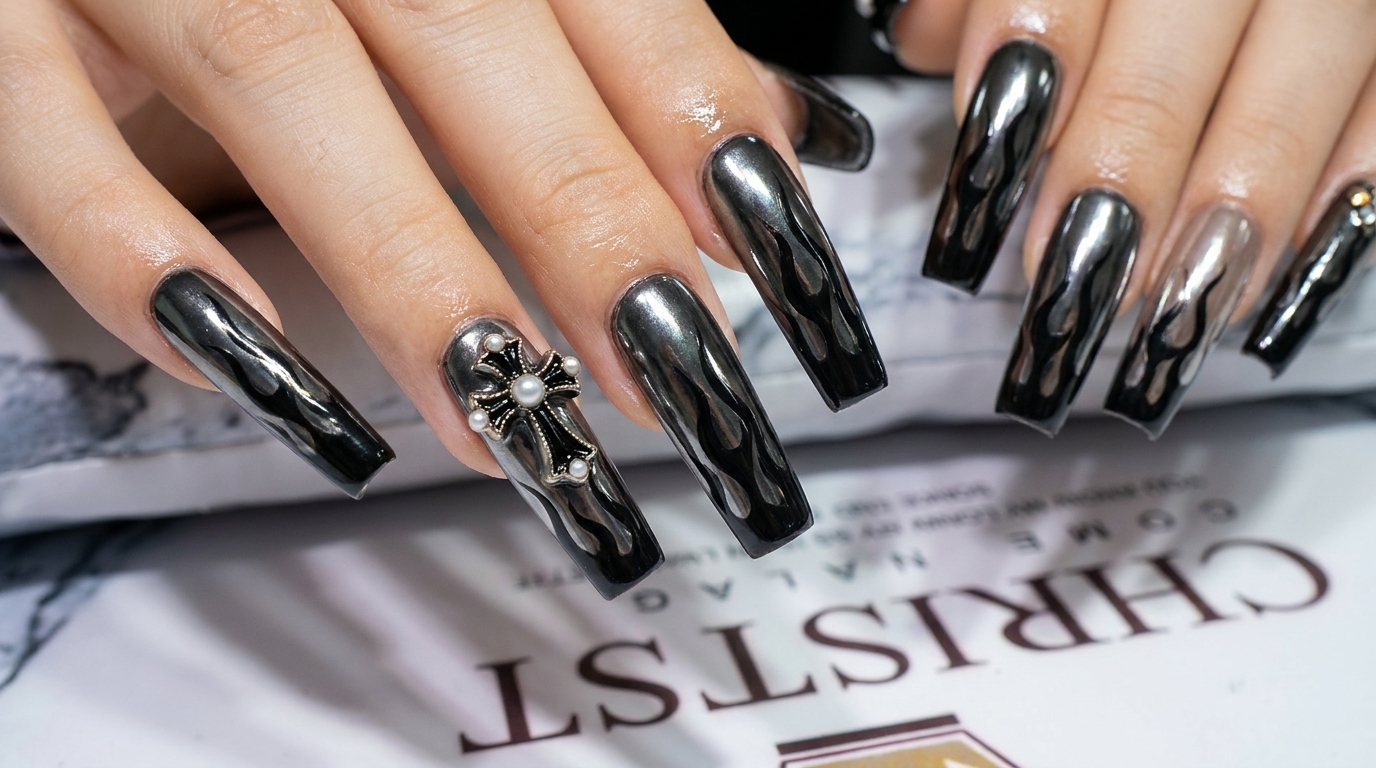
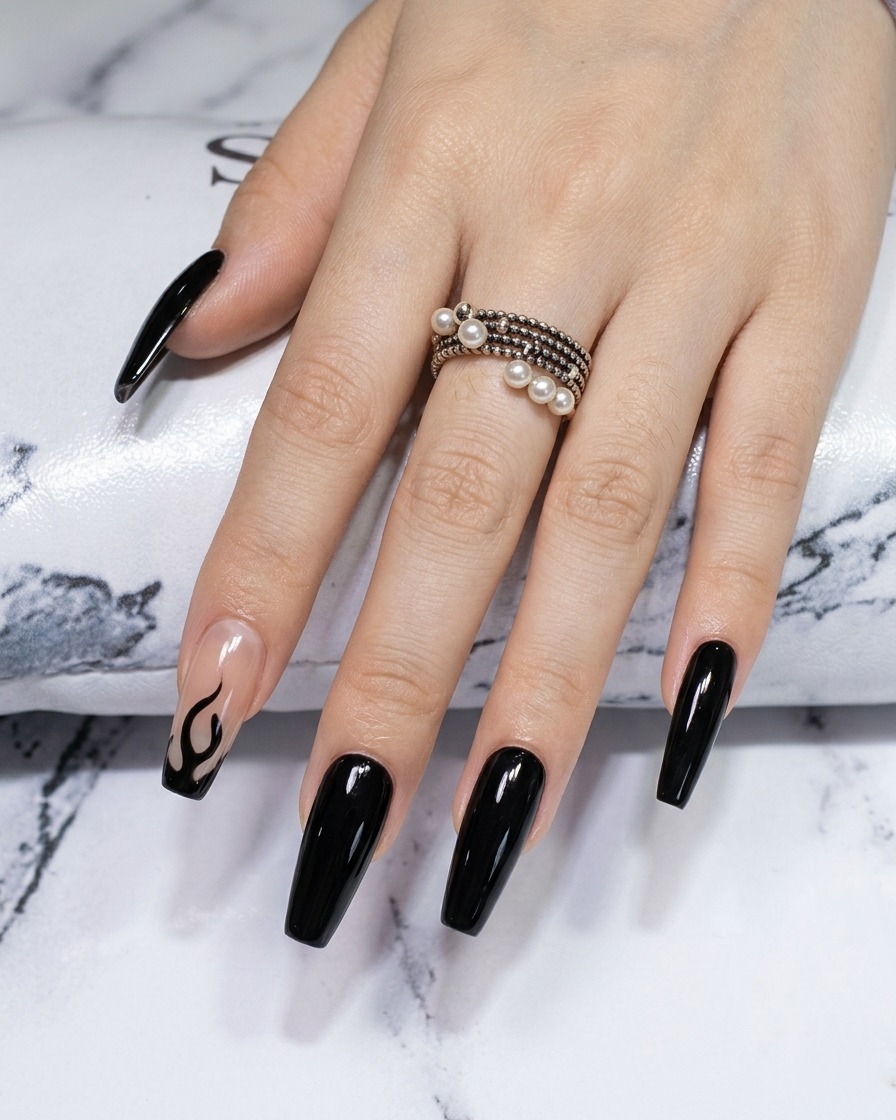
Black Chrome Flame Nails — Edgy Grunge Manicure Tutorial
Master the ultimate edgy manicure with this black chrome flame nail tutorial. Learn to create high-shine metallic nails with intricate hand-painted detailing.
Step into the world of dark, high-gloss aesthetics with this striking chrome flame design. This look combines the trendsetting appeal of metallic mirror powder with classic grunge flame art, creating a bold style that commands attention. Whether you are prepping for a night out or just love a rocker-chic vibe, this tutorial breaks down the process into easy-to-follow steps.
Steps
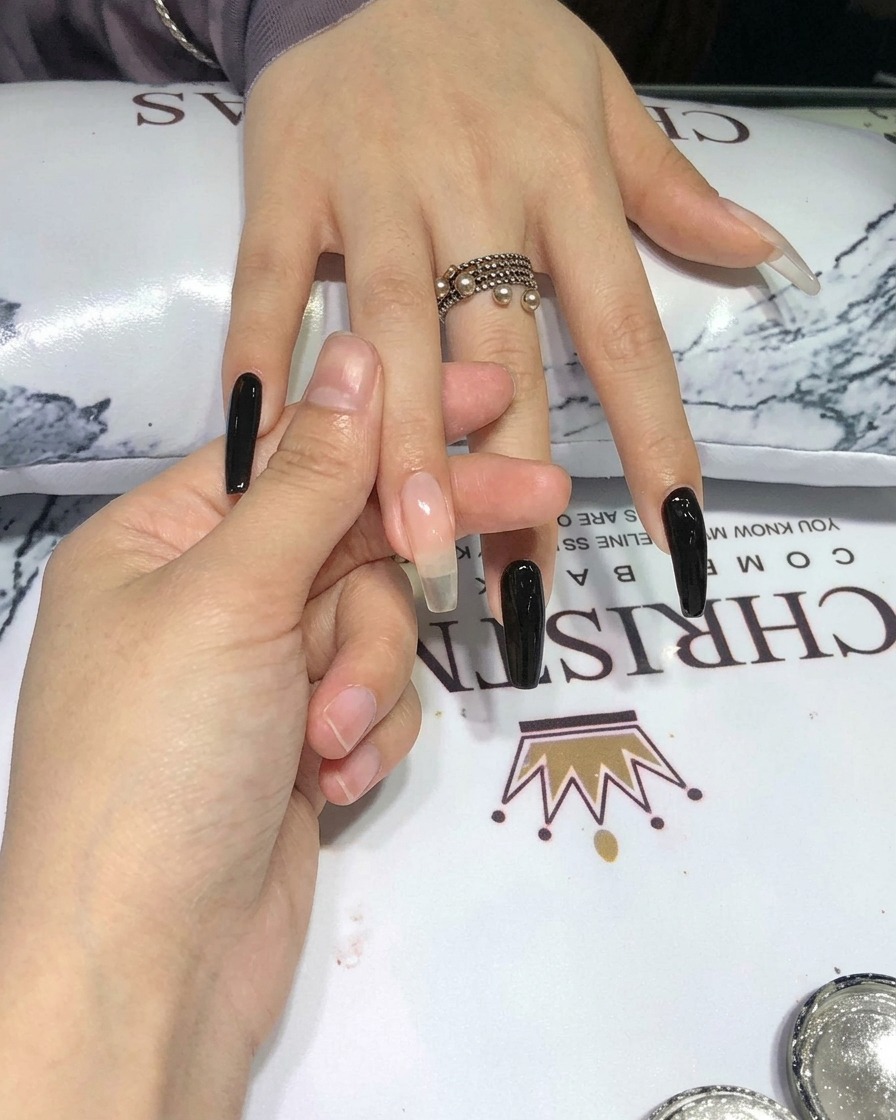
- 1Apply first black gel coat
Apply a thin, even coat of black gel polish to the entire nail plate, starting from the cuticle and moving toward the free edge. Cap the free edge to ensure long-lasting wear. Avoid getting polish on the surrounding skin, and use a cleanup brush if necessary before curing.
Tip: Apply in thin layers to ensure the black pigment cures fully through without wrinkling. - 2Apply second black gel coat
Apply a second thin layer of black gel polish to achieve complete opacity and a rich, solid color. Ensure smooth application to prevent streaks or bumps. This layer will provide the perfect base for the chrome mirror powder effect.
Tip: Check for any bald spots or uneven areas and gently smooth them out with the brush before curing. - 3Cure the black base
Place your hand into the UV or LED lamp to cure the black gel polish. Follow the specific curing time recommended by the manufacturer of your gel polish to ensure the product is fully set and ready for the next application step.
Tip: Make sure your fingers are positioned flat in the lamp to ensure even light exposure on all nails. - 4Apply top coat
Apply a layer of no-wipe top coat over the cured black gel polish. This layer creates the necessary smooth surface for the chrome powder to adhere to correctly. Cure it according to your top coats instructions.
Tip: Ensure the top coat is applied smoothly, as any texture here will show through the metallic chrome finish. - 5Apply chrome powder
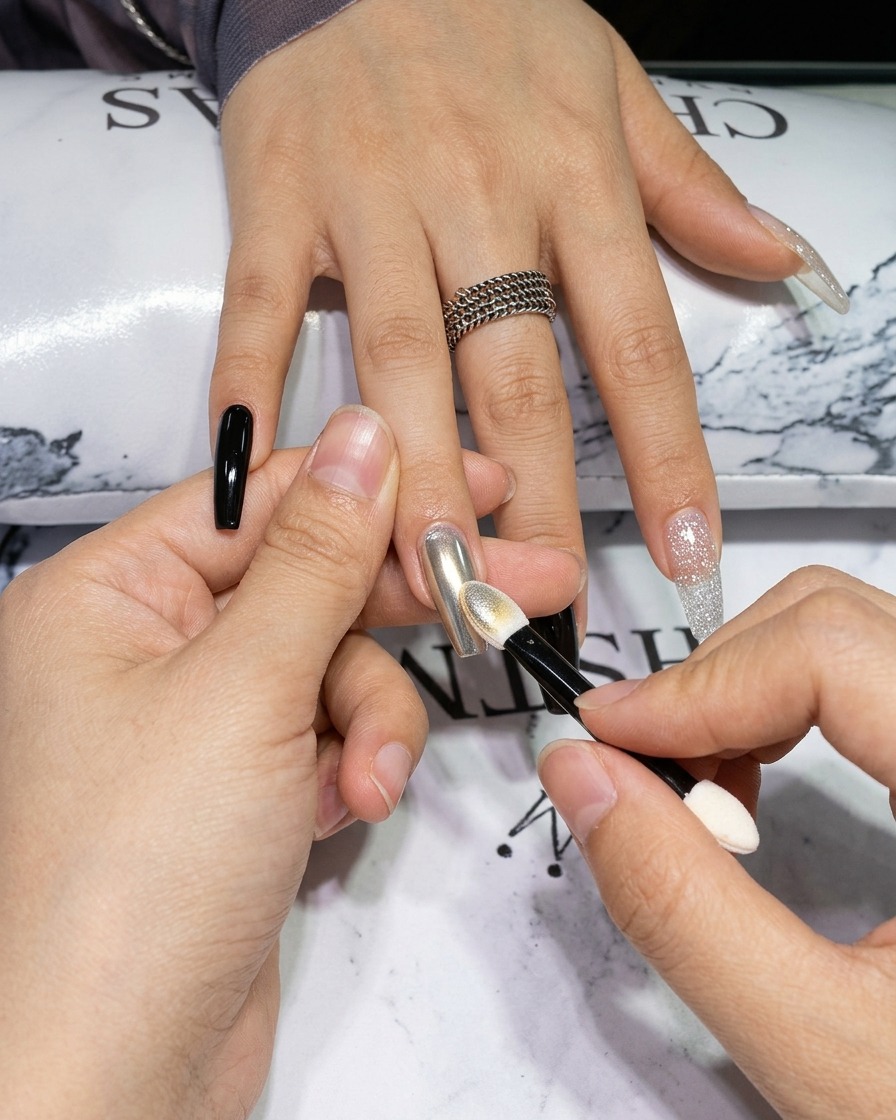
Using a silicone-tipped applicator or sponge eyeshadow brush, gently pat the chrome mirror powder onto the cured top coat surface. Ensure even coverage over the entire nail to prepare it for the buffing stage.
Tip: A little powder goes a long way; start with a small amount and add more as needed to achieve full coverage. - 6Buff to mirror finish

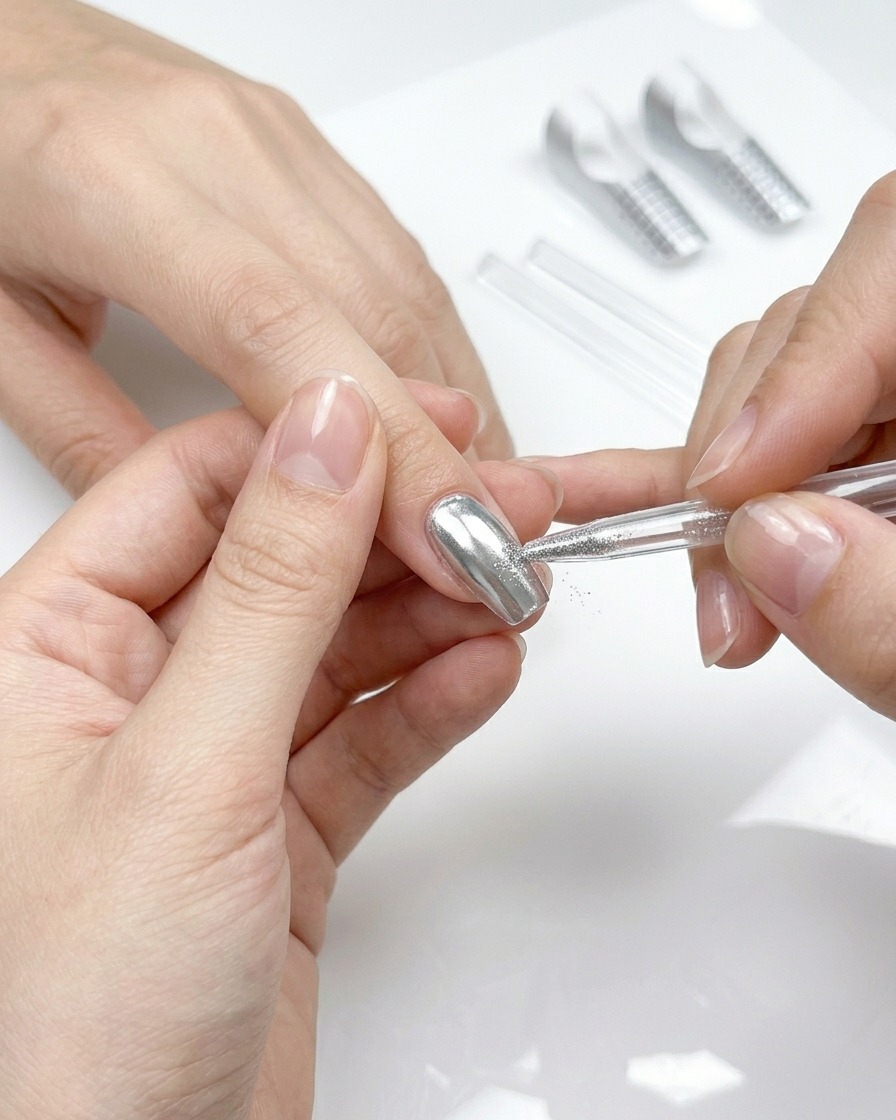
Firmly buff the chrome powder into the nail surface using the applicator or your finger. Continue rubbing in circular motions until the powder transforms into a smooth, reflective, metallic mirror finish. Dust off any excess powder before sealing.
Tip: Buffing with more pressure usually results in a more intense, high-shine mirror effect. - 7Dust off excess powder
After rubbing the chrome powder onto the cured gel surface, use a soft, dry brush to gently remove any loose particles from the nail surface and surrounding skin. Ensuring the area is clean prevents cross-contamination and ensures the subsequent top coat applies smoothly without trapping debris.
Tip: Be thorough but gentle; flicking the brush too hard can dull the mirror finish if the powder isnt fully set. - 8Seal the chrome finish
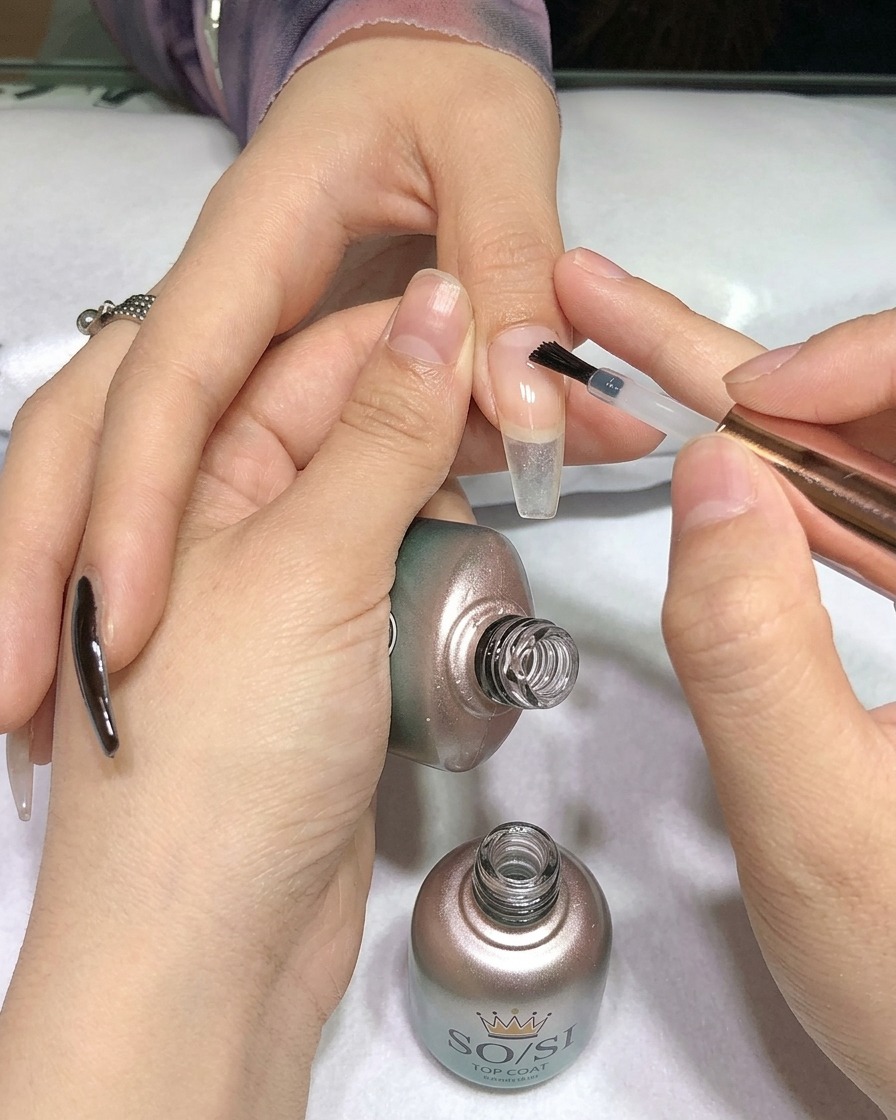
Apply a thin, even layer of top coat over the chrome-effect nail to seal the powder and protect the metallic finish. Carefully cap the free edge to prevent the chrome from rubbing off or chipping at the tip. Cure under your UV or LED lamp as required.
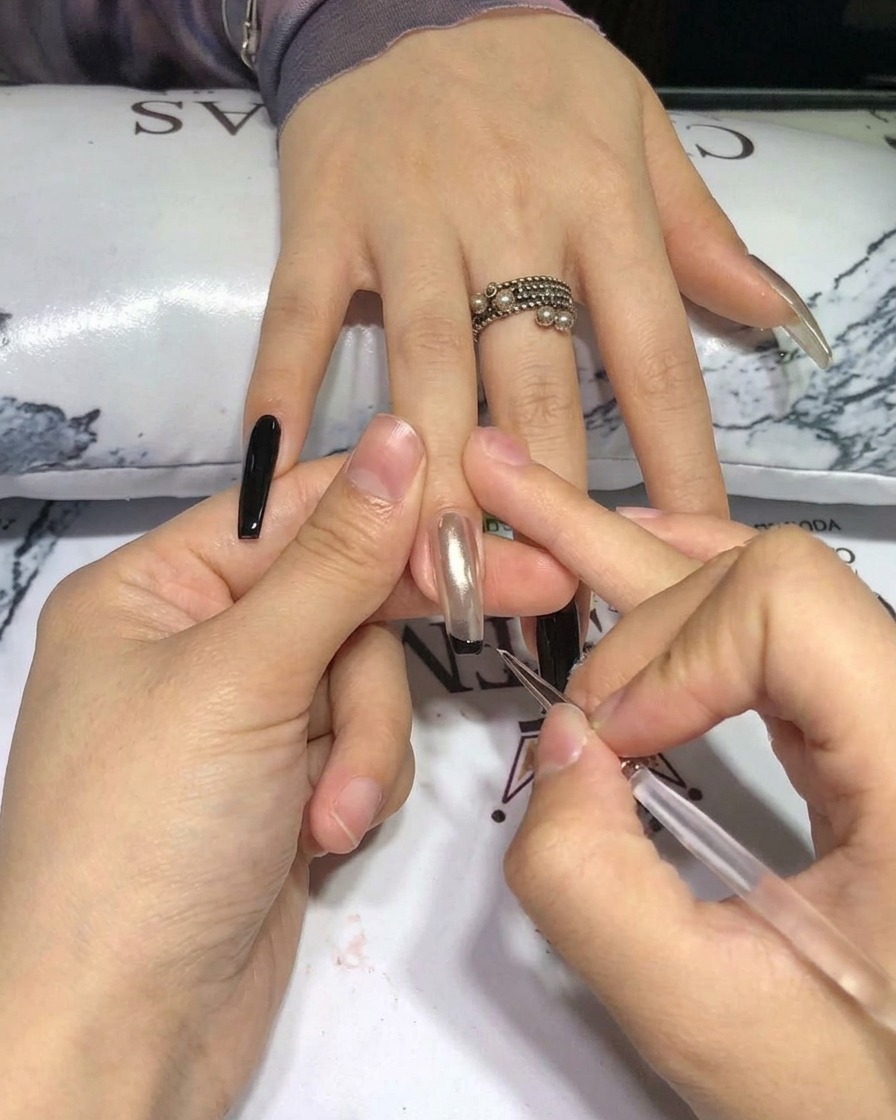
Tip: Floating the top coat brush slightly above the nail surface avoids dragging the chrome pigment, which can cause streaks or loss of mirror shine. - 9Prepare for nail art
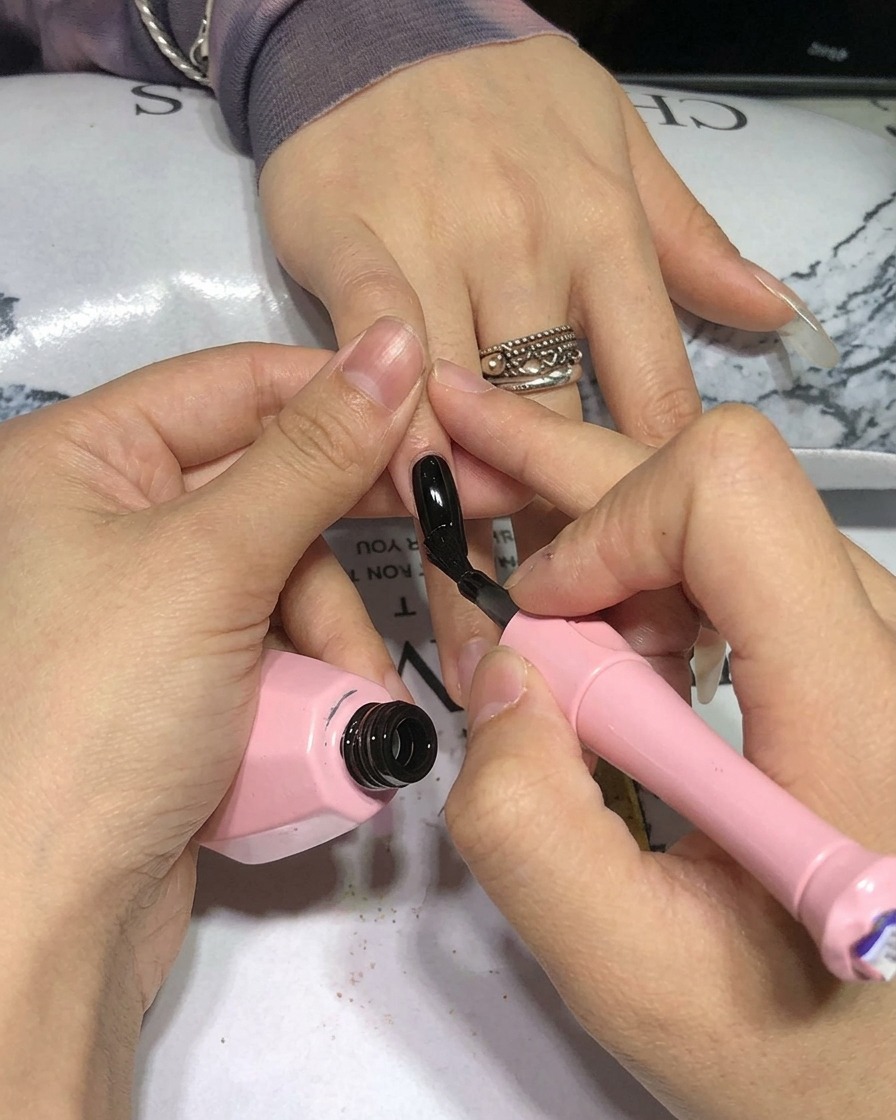
Dip a fine-tipped liner brush into a small amount of black gel polish. Ensure the brush is evenly coated but not overloaded to maintain maximum control for detailed linework.
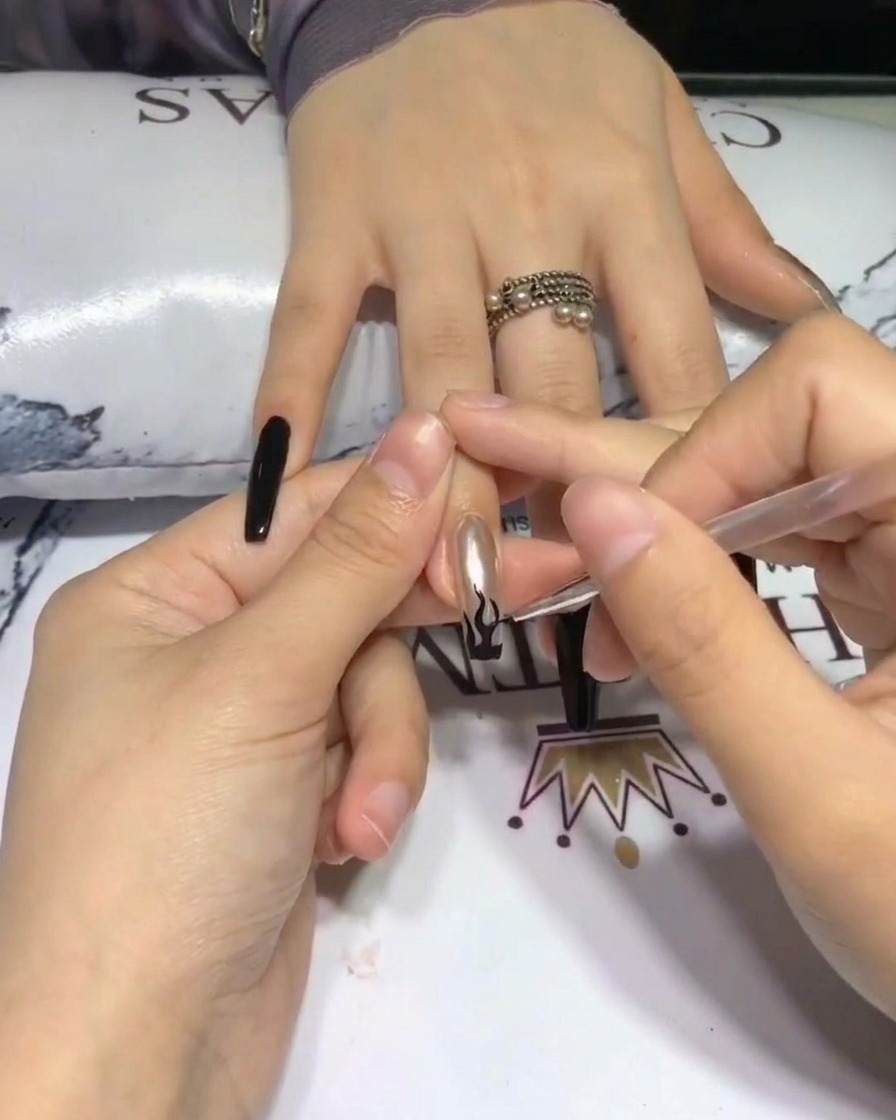
Tip: If the brush has too much polish, gently wipe the excess on the edge of the gel bottle or a palette to prevent blobs of gel on your design. - 10Paint flame outline
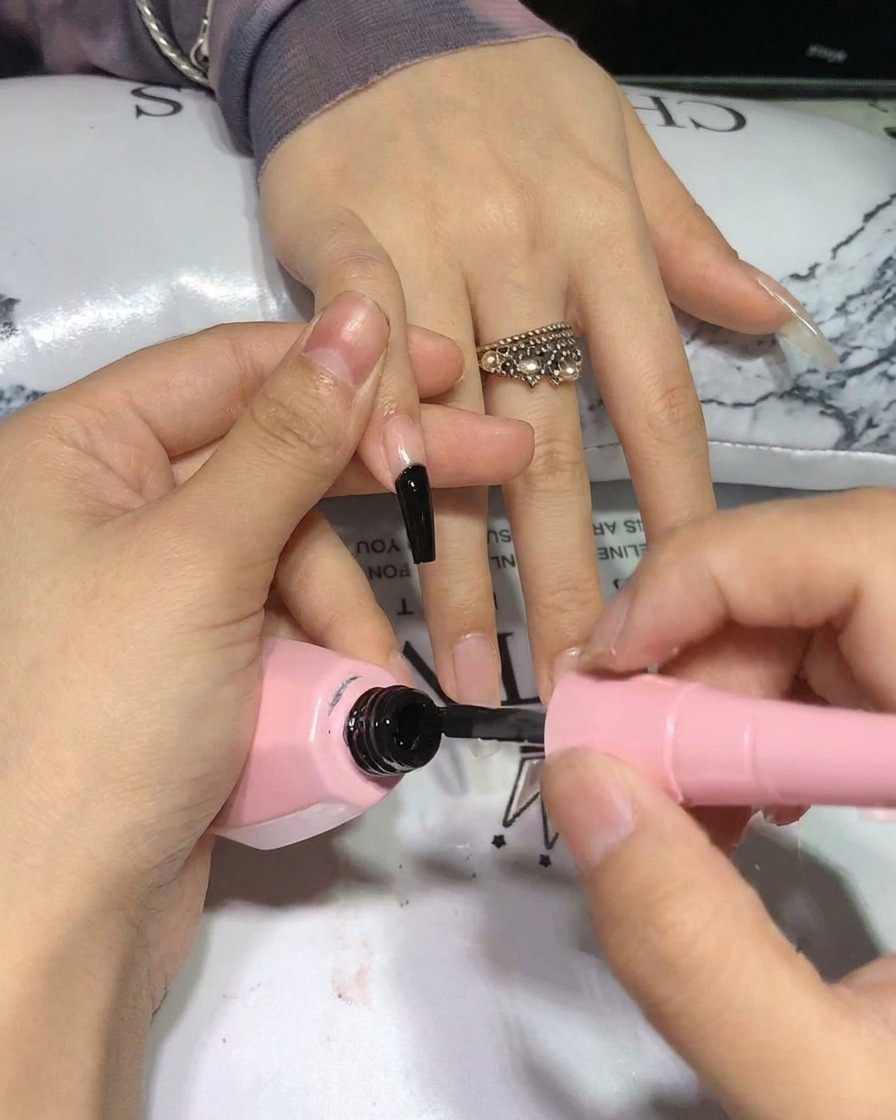
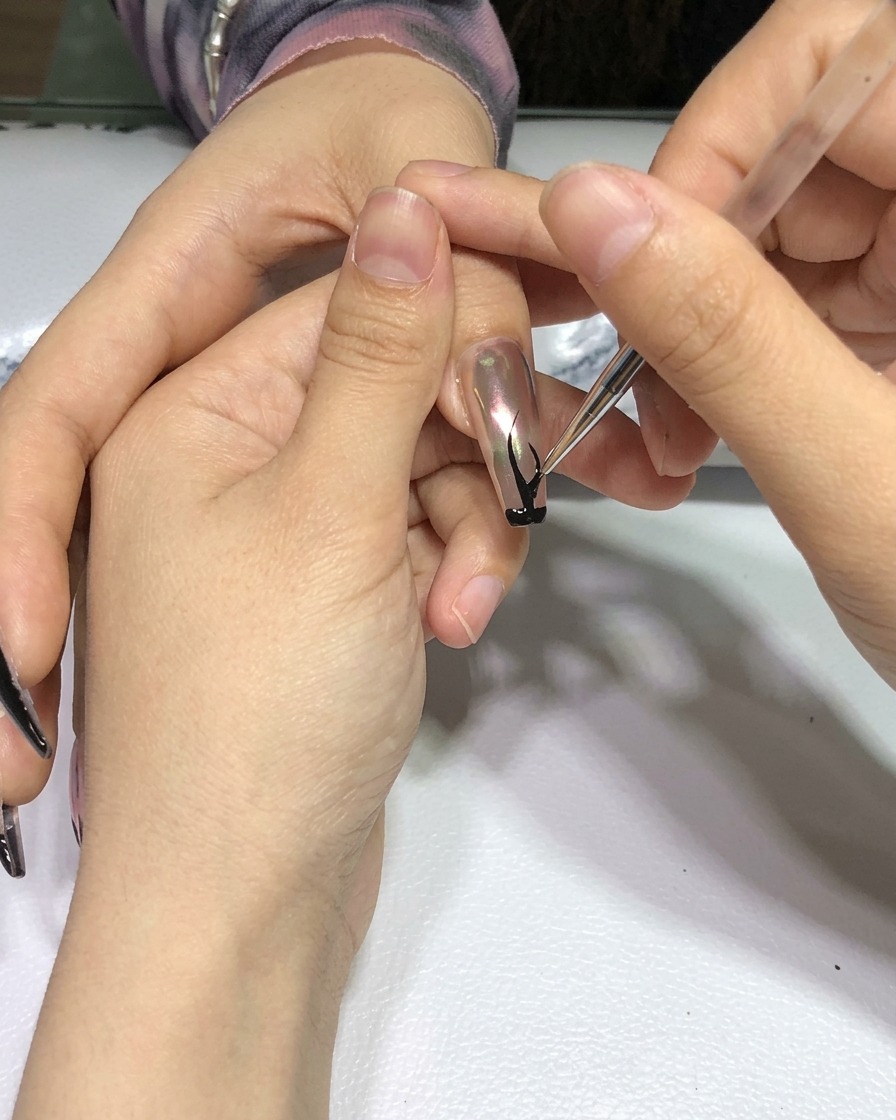
Using the fine liner brush, carefully begin drawing the outline of a flame design starting from the base or side of the nail. Use light, fluid strokes to create a tapered, pointed look for the flames.
Tip: Keep your hand steady by resting your pinky finger against the clients hand for stability while painting delicate details. - 11Continue flame design
Continue the flame pattern by mirroring or extending the design along the opposite side of the nail. Maintain consistent thickness for the lines to ensure the flames look balanced and sharp.
Tip: Work in small sections and cure partially if needed to prevent the design from smudging while you work. - 12Refine design details
Use the tip of the liner brush to crisp up the points of the flame design and fill in any gaps for a solid, opaque look. Check for symmetry and smooth out any uneven lines before moving on to the final cure.
Tip: If a line isnt quite right, use a tiny amount of cleanser on a clean brush to gently erase mistakes before curing. - 13Add flame design details
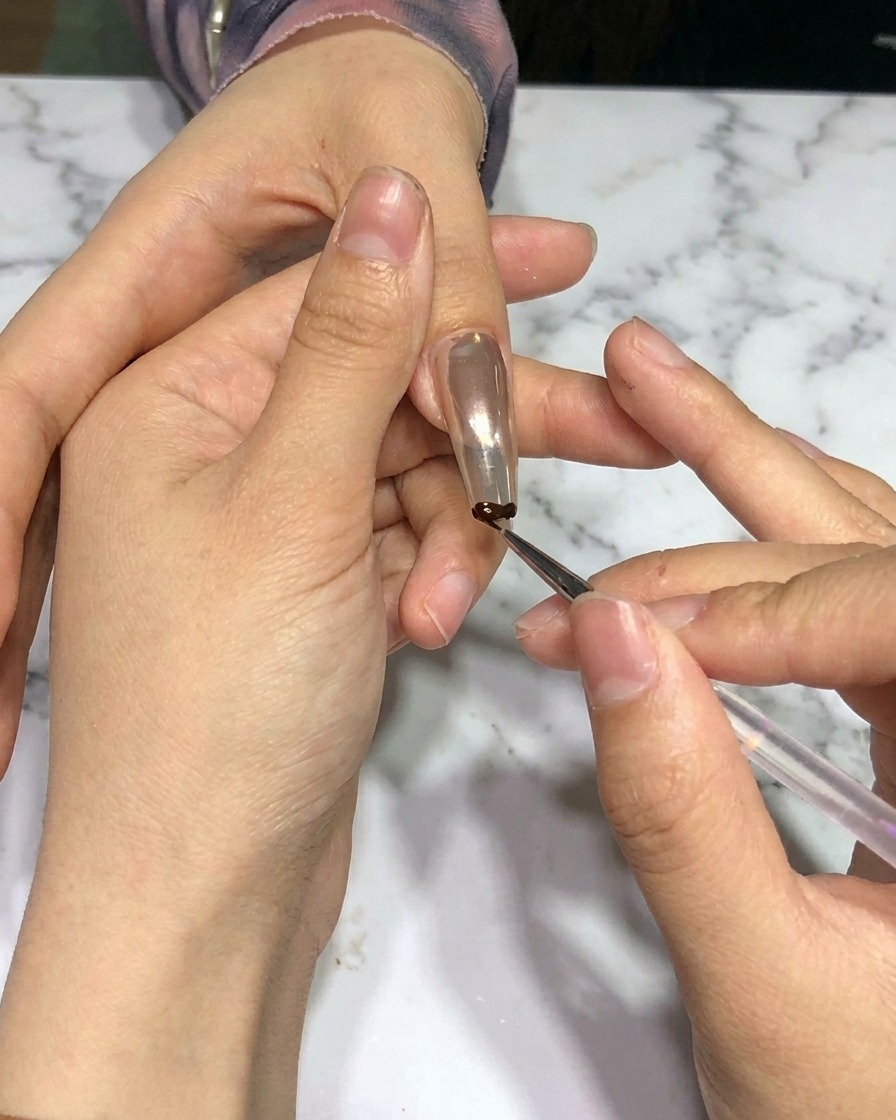
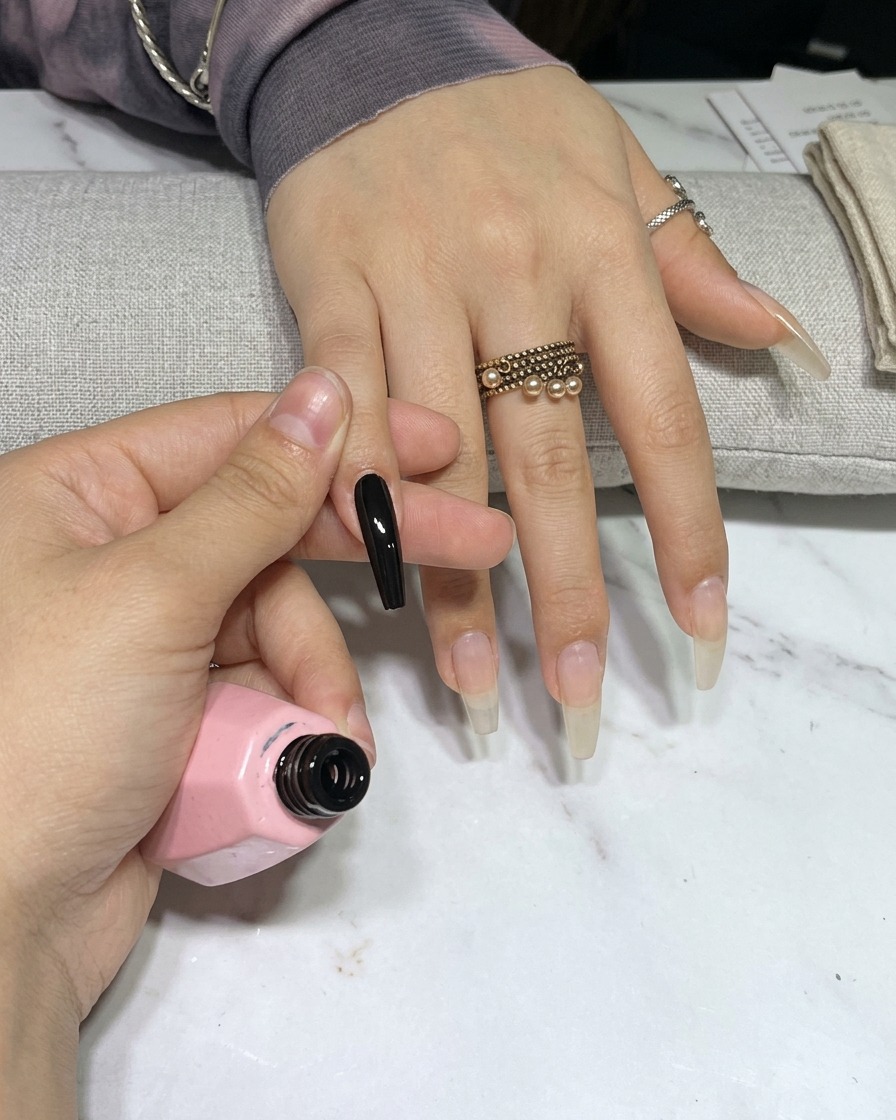
Using a fine liner brush and black gel polish, carefully add internal curves and details to the existing flame outline. This creates depth and a more dynamic, intricate look to the flame design on the nail.
Tip: Keep your pressure light and use only the very tip of the liner brush to ensure fine, clean lines. - 14Cure the nail art
Once the flame design is finalized, place the nail under a UV or LED lamp to cure the black gel polish. Ensure the hand is positioned correctly to allow the gel to harden completely, locking in the intricate flame details.
Tip: Ensure the entire nail surface is exposed to the light to prevent any uncured spots in the design.