Sweet and Cool Chrome Heart Nail Art — Step-by-Step Tutorial
Master the sweet and cool aesthetic with this trendy nail tutorial. Learn to combine cat-eye shimmer, 3D cross charms, and star decals for a unique look.
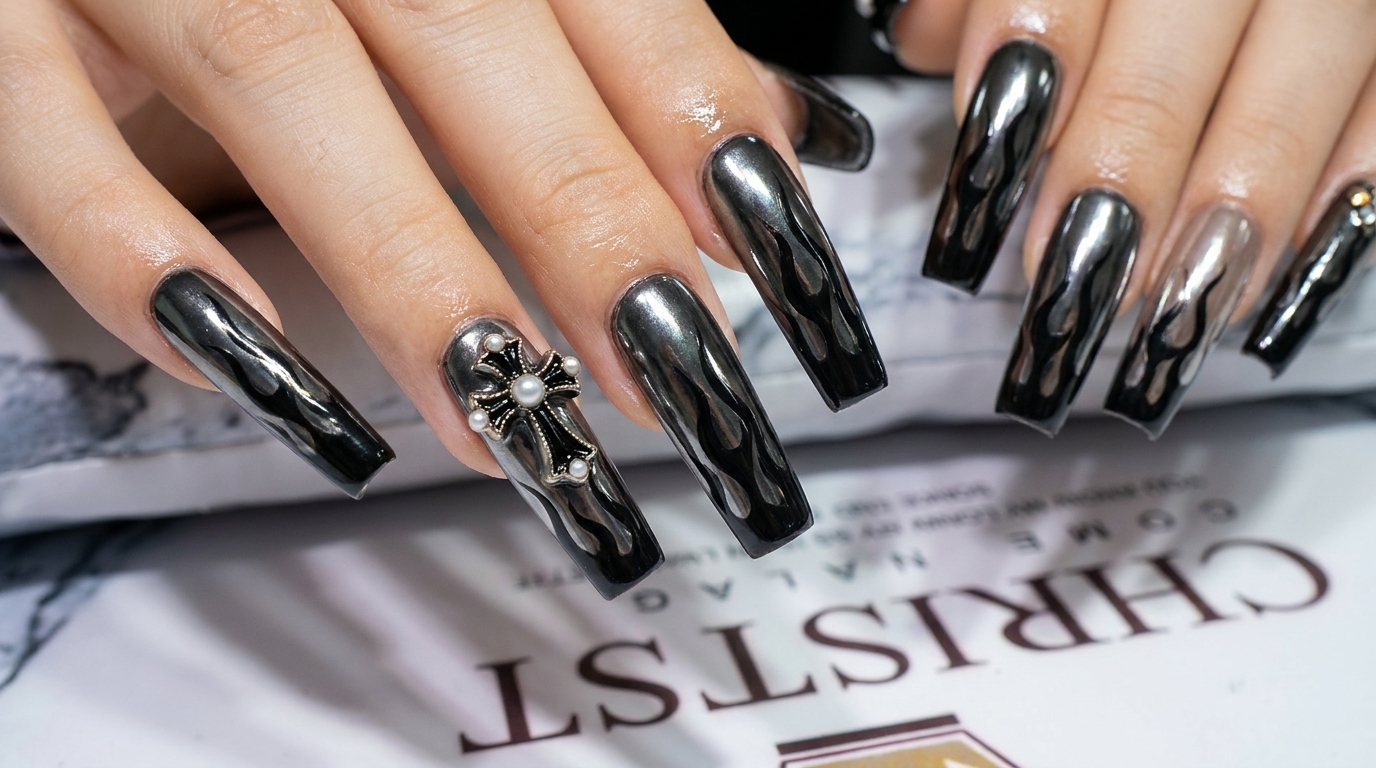
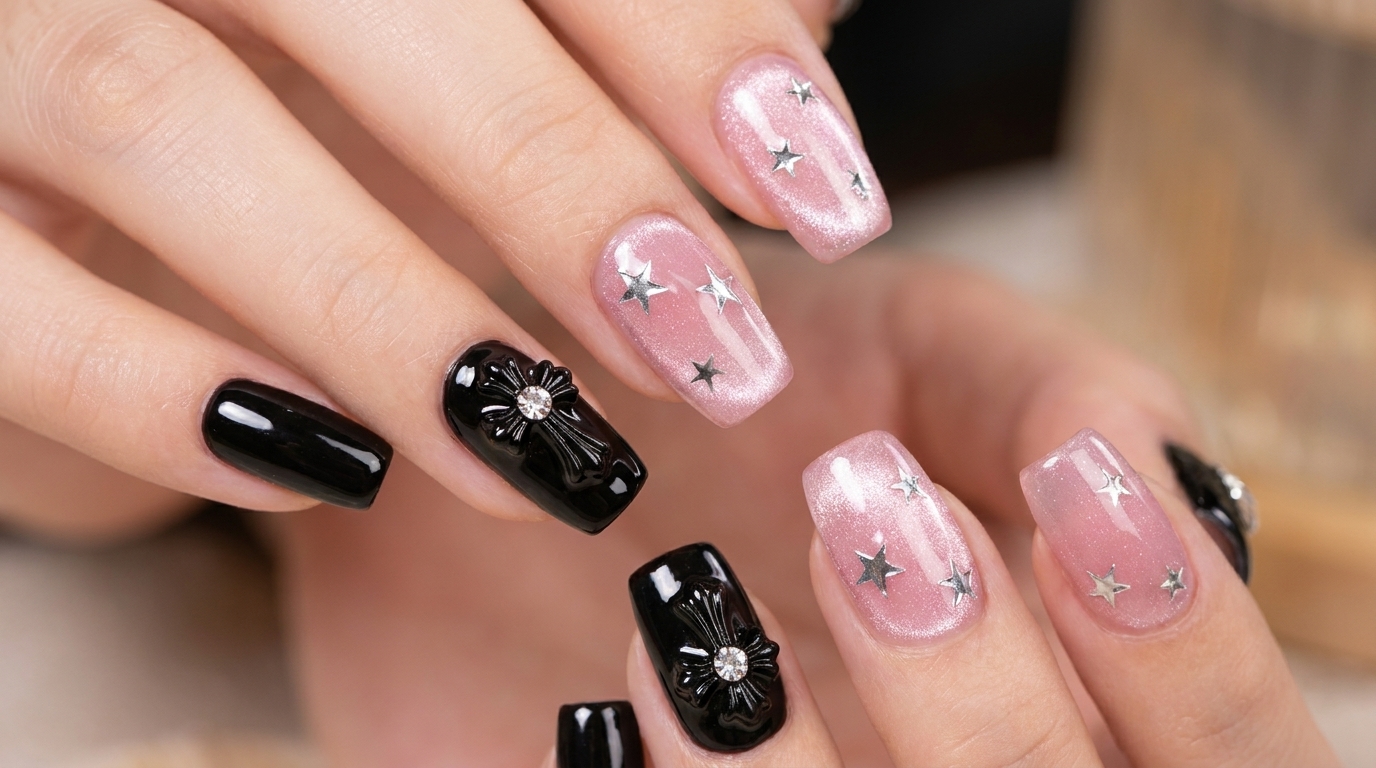
The sweet and cool aesthetic is a must-try for anyone who loves balancing delicate details with edgy elements. This tutorial combines shimmering cat-eye polish with bold 3D cross charms and celestial star accents for a high-impact, dimensional manicure that stands out.
Steps
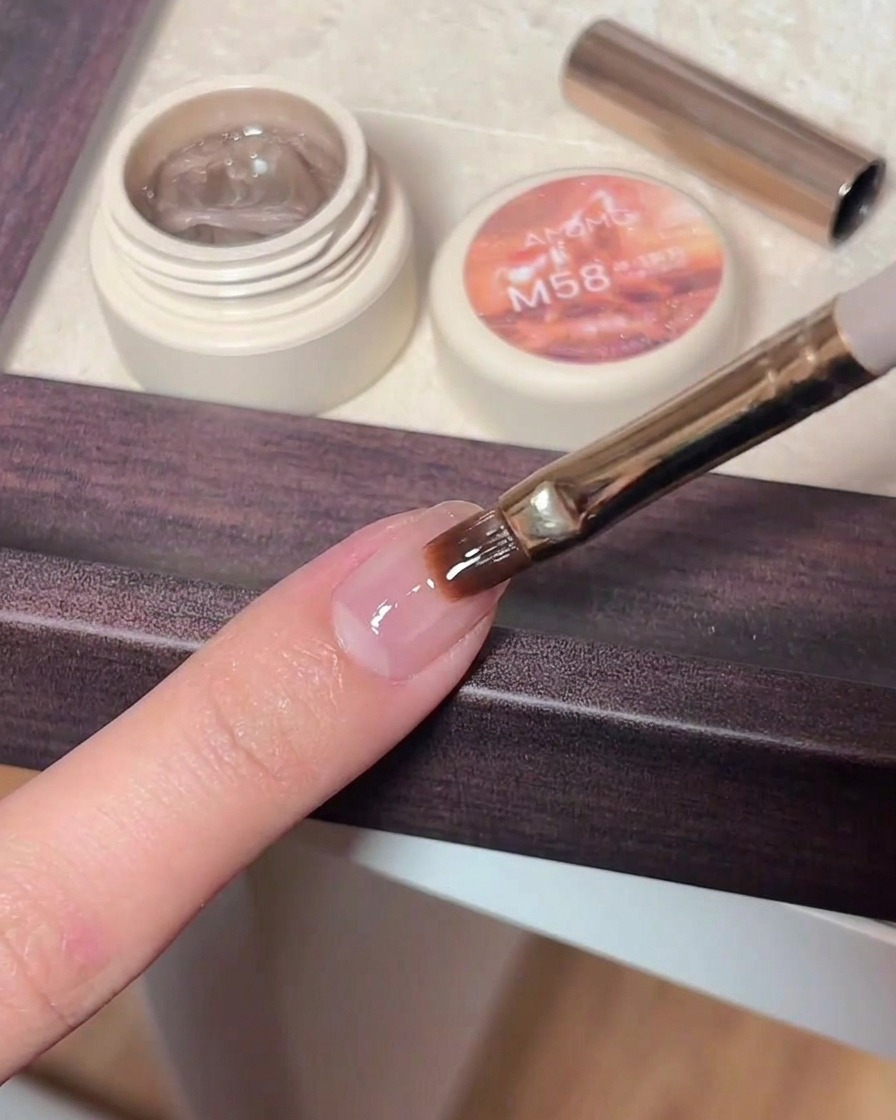
- 1Apply M58 Cat Eye Gel
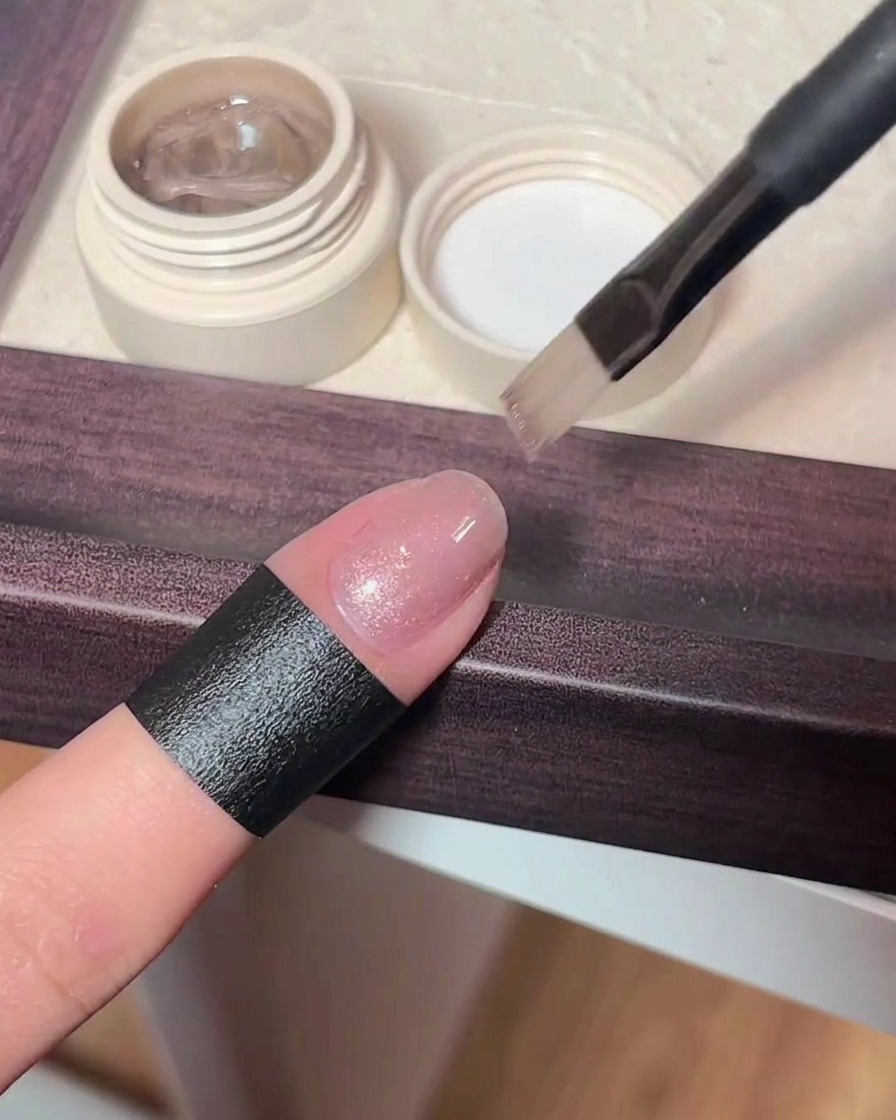
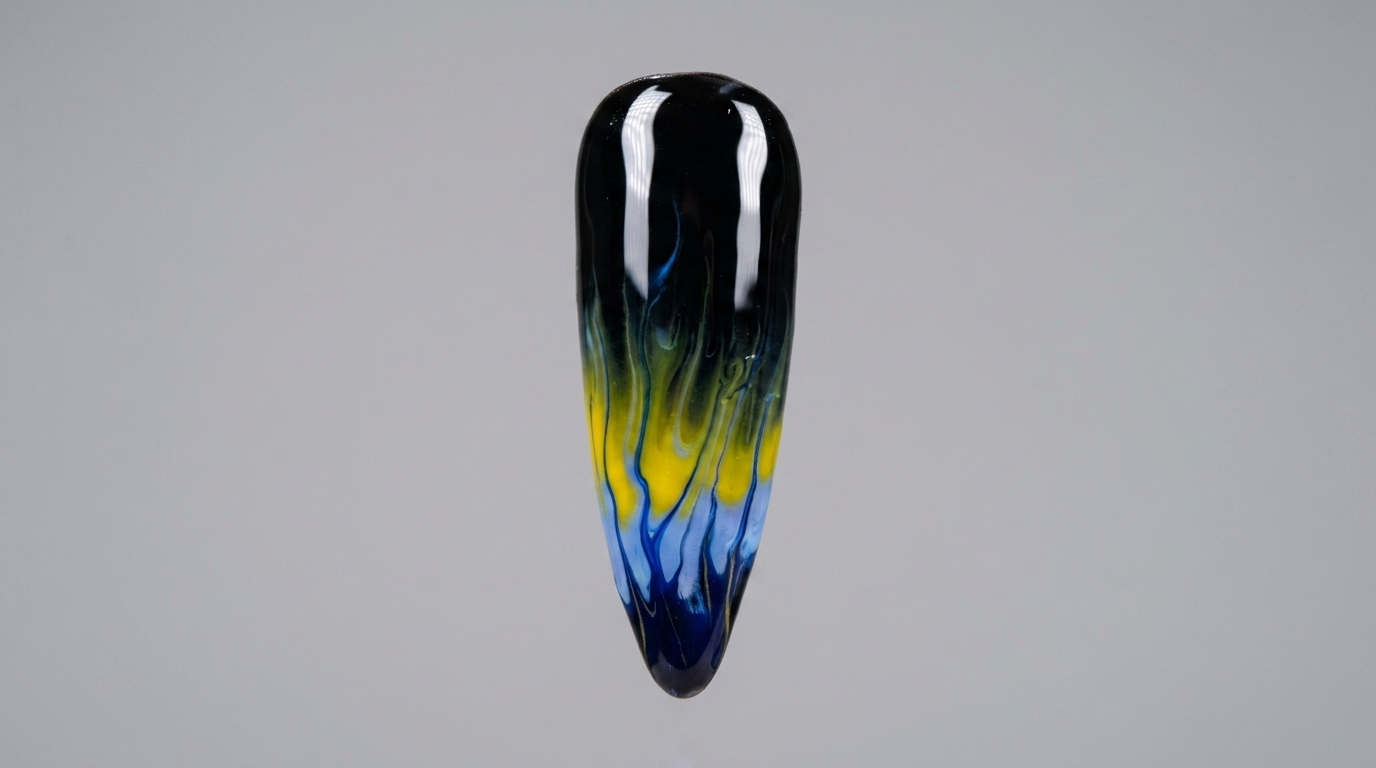
Apply a thin, even layer of the M58 cat eye gel polish to the index finger. Ensure the polish is spread smoothly across the nail surface, covering from cuticle to free edge without touching the surrounding skin. Do not cure yet.
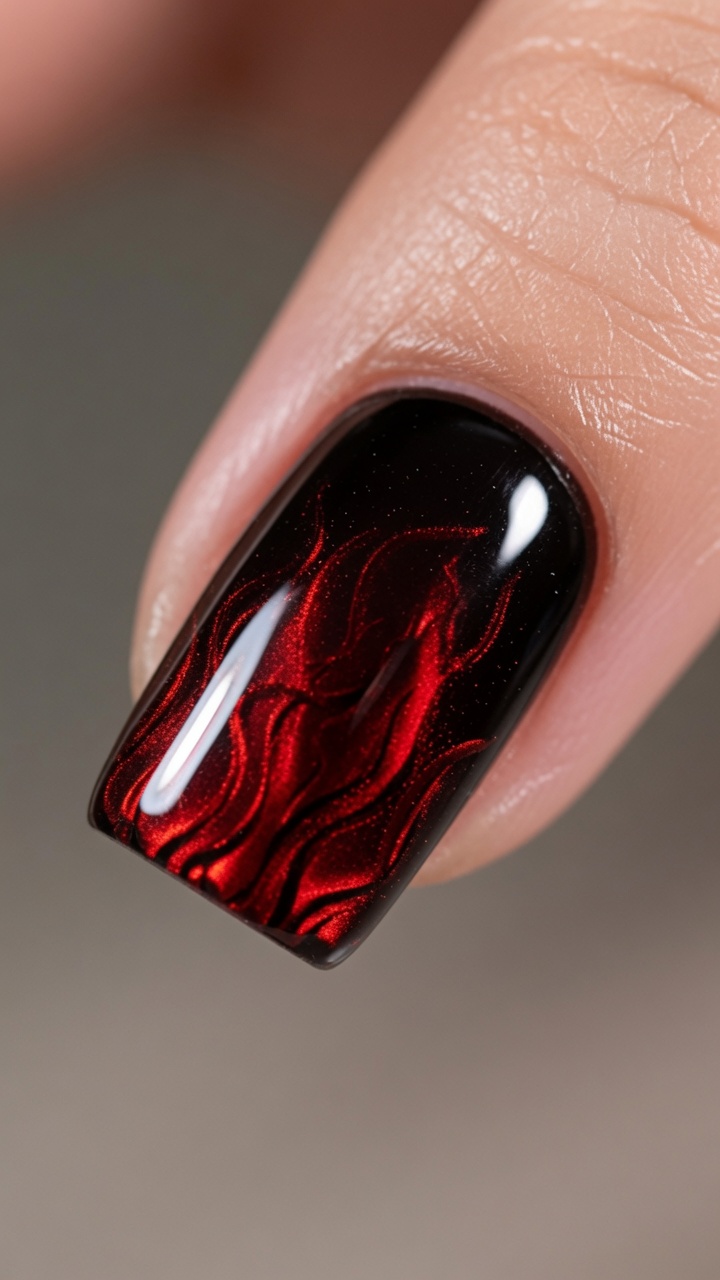
Tip: Keep the layer thin to ensure the magnetic particles can move freely for the best cat eye effect. - 2Create Cat Eye Effect
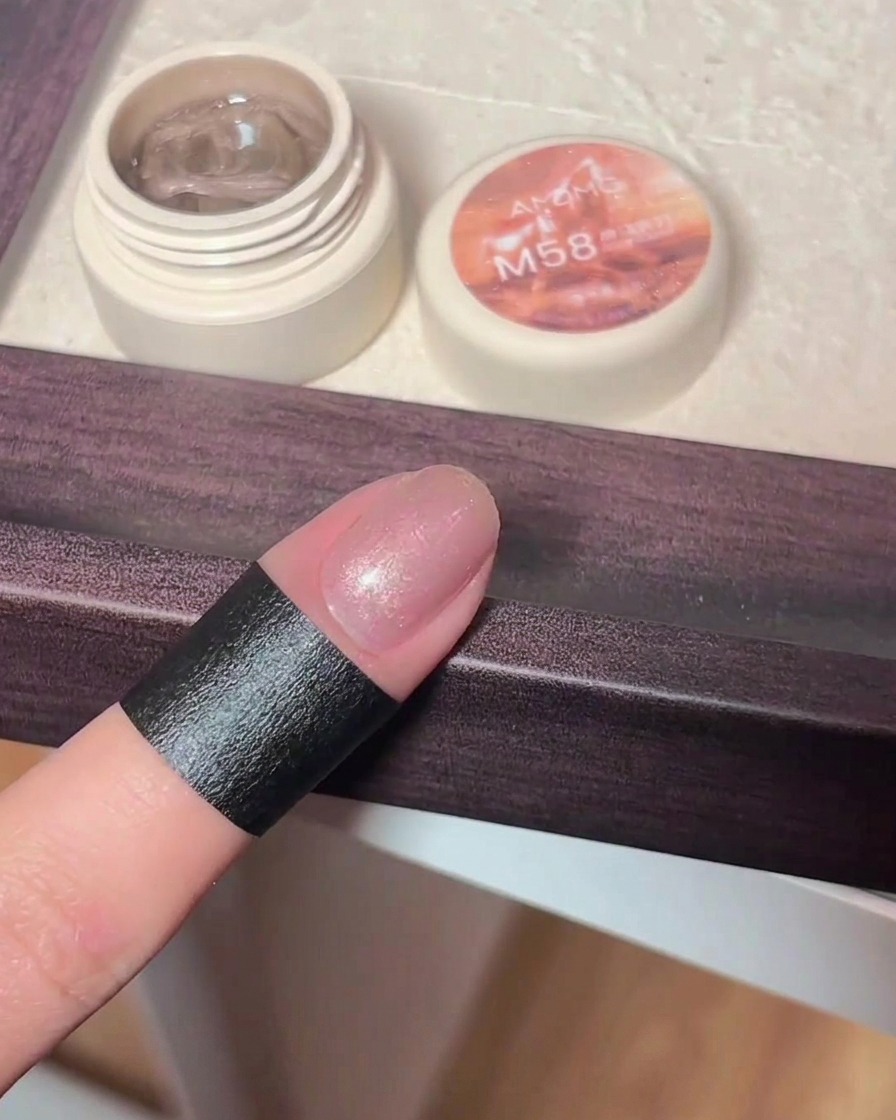
Before curing, hold a nail magnet close to the surface of the wet M58 gel. Move the magnet around the nail to manipulate the magnetic particles, creating your desired cat eye shimmer pattern. Keep the magnet steady for a few seconds to set the look.
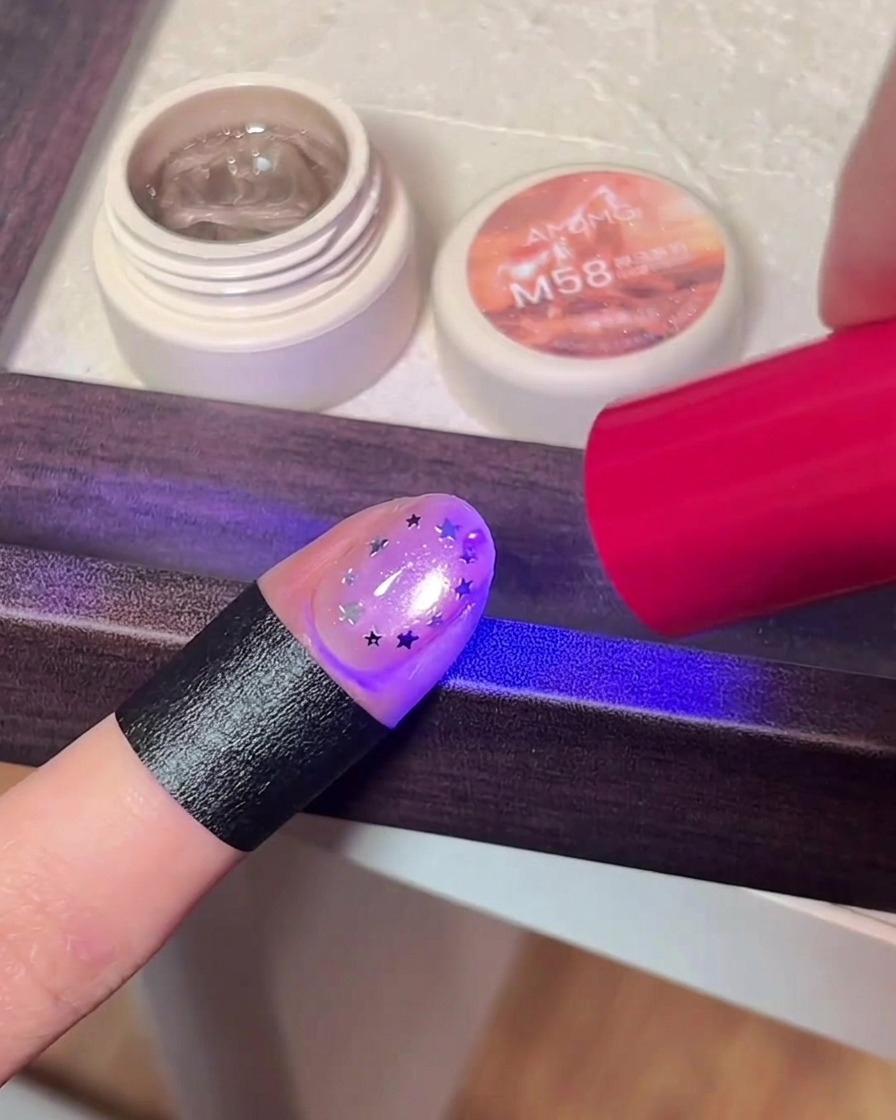
Tip: Experiment with different angles of the magnet to get various shapes, such as a sharp line or a soft diagonal shimmer. - 3Cure the Gel
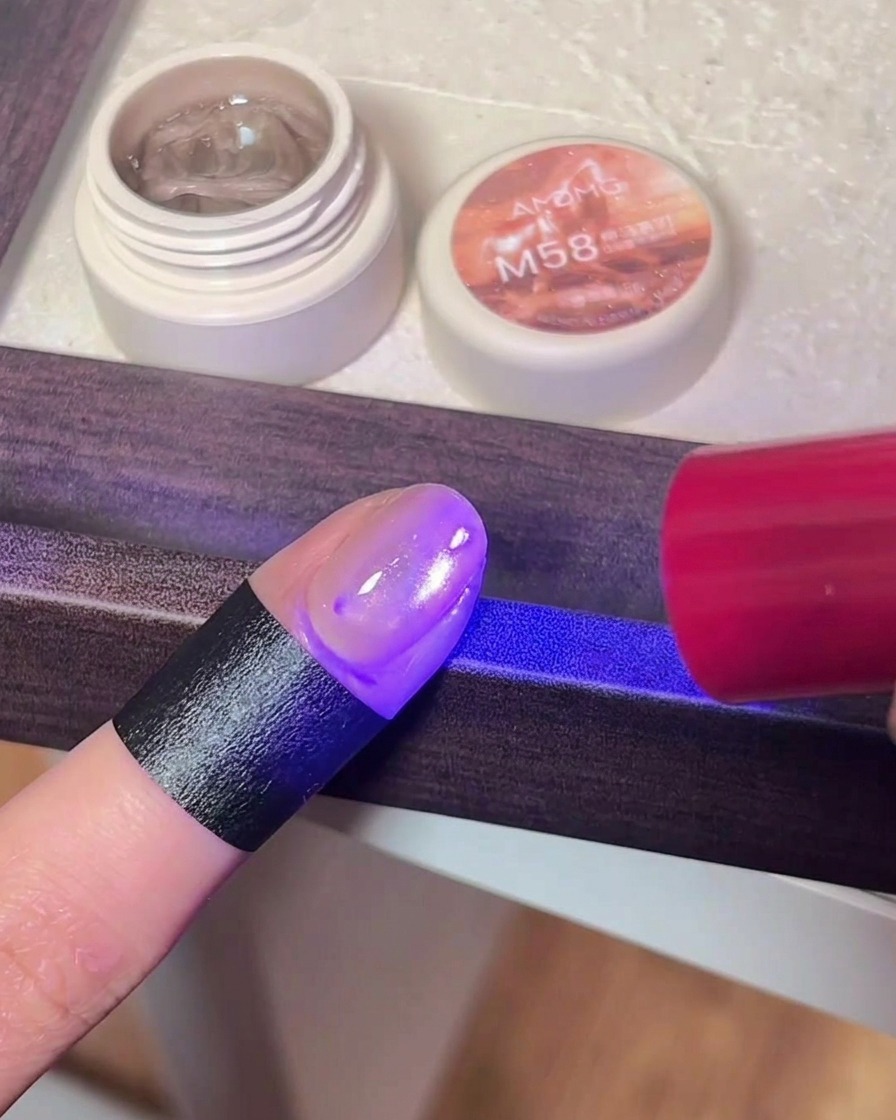
Place the index finger into your UV or LED nail lamp. Cure for the full duration recommended by the gel polish manufacturer to ensure the cat eye effect is locked in place and the product is fully hardened.
Tip: Ensure the nail is centered in the lamp to get even light exposure across the entire nail plate. - 4Apply Top Coat Adhesive
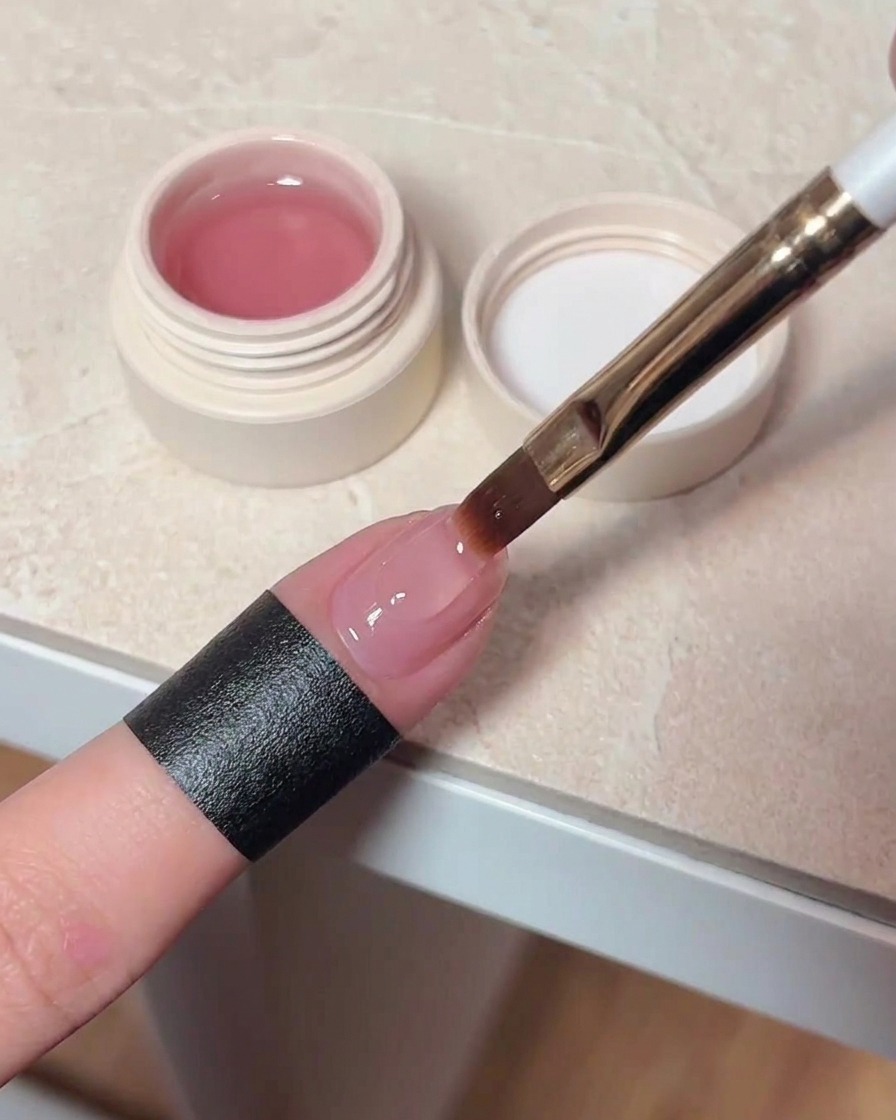
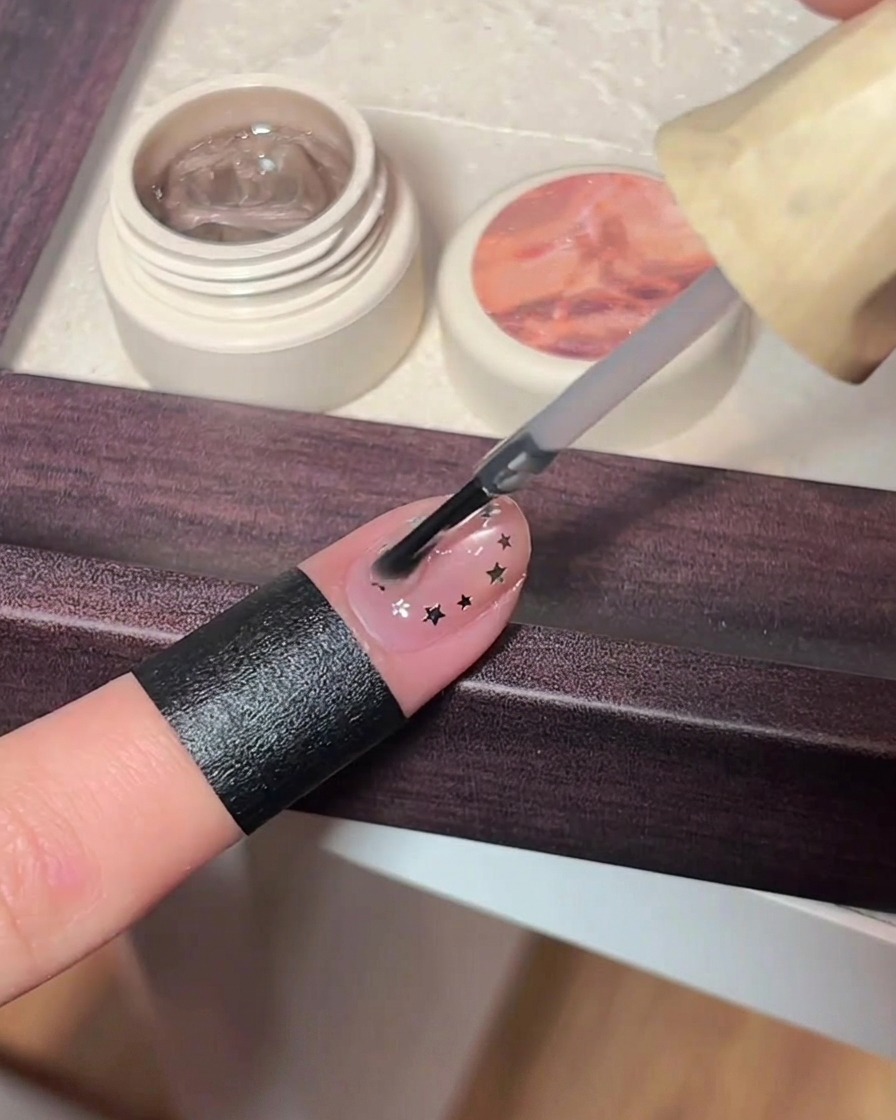
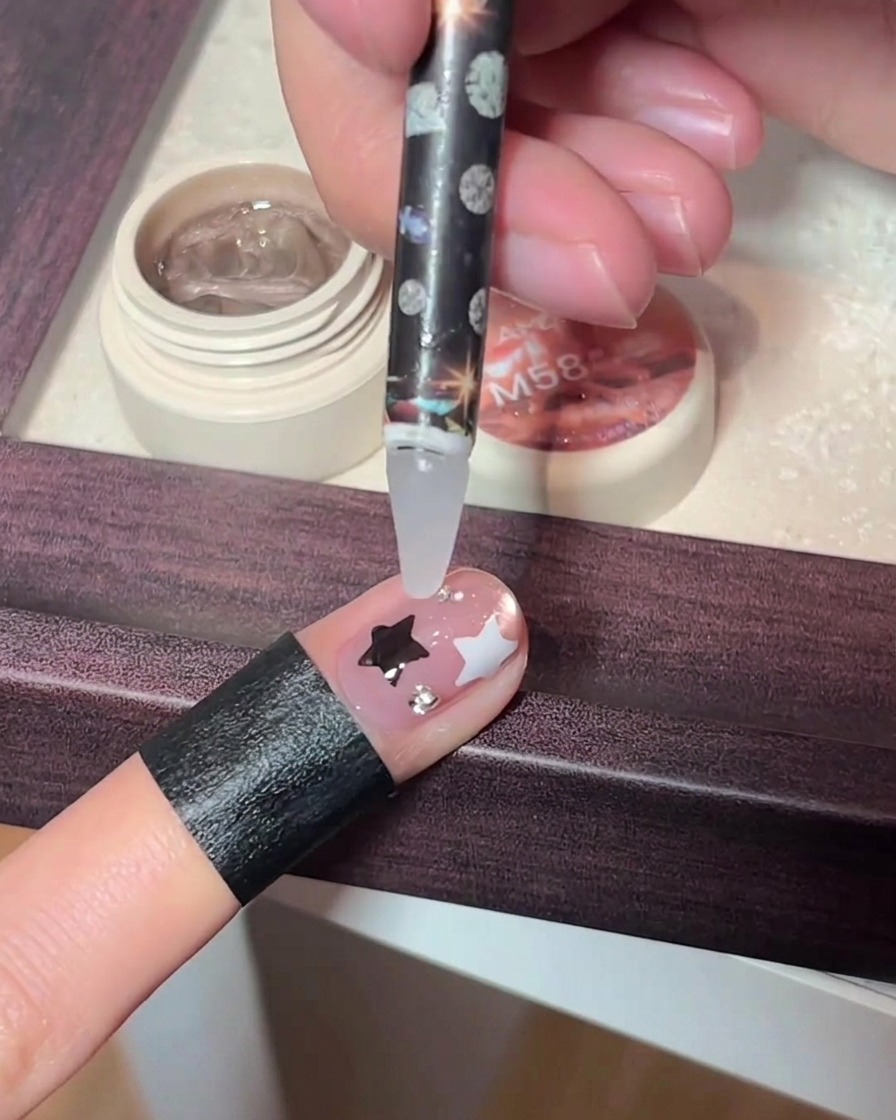
Apply a layer of clear top coat to the cured nail. Do not cure this layer yet; it will act as a sticky base to hold the star glitter decorations in place.
Tip: A medium layer of top coat works best as an adhesive for flat glitters like stars. - 5Apply Star Decals
Using tweezers or a precision tool, pick up individual star-shaped glitter decals and place them onto the uncured top coat layer. Arrange the stars in your desired pattern, mixing different sizes for variety.
Tip: Press the stars down gently with your tool to ensure they lay flat against the nail surface so they dont snag or lift. - 6Cure Star Decoration
Once all star decals are arranged, place the index finger under the UV or LED lamp. Cure thoroughly to secure the stars in the top coat layer.
Tip: Curing ensures the stars are fully encapsulated and will not peel off during daily activities. - 7Apply a leveling top coat
Apply a generous leveling layer of clear top coat over the entire nail to encapsulate the star decals. This step smooths out any bumps or unevenness from the stickers, creating a perfectly sleek and uniform surface. Ensure you cap the free edge for a long-lasting finish.
Tip: Let the leveling gel self-level for a few seconds before curing to achieve an ultra-smooth finish. - 8Final leveling coat
Apply a final thin layer of leveling top coat to ensure the surface is perfectly smooth, especially over the star embellishments. This prevents unevenness and provides a durable glossy finish. Cure the nail thoroughly under your lamp as per the product instructions.
Tip: If you notice any bumps, use a slightly thicker layer of leveling top coat to fill the gaps around the charms. - 9Place the cross charm
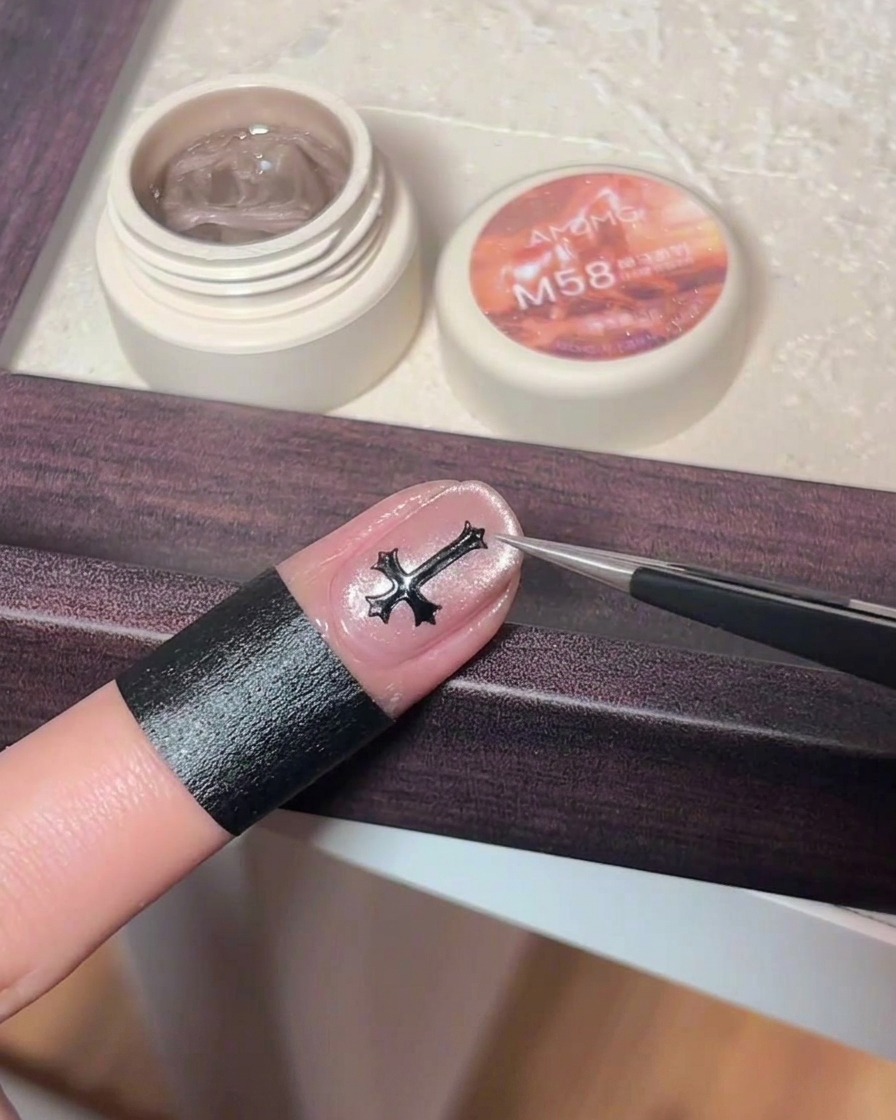
After applying your cat eye gel base, gently place a decorative cross charm onto the center of the middle finger. Use tweezers to carefully position the charm exactly where you want it. Press it down lightly so it adheres securely to the nail before continuing.
Tip: Ensure the charm sits flush against the natural curve of the nail to prevent it from catching on things later. - 10Paint the cross charm
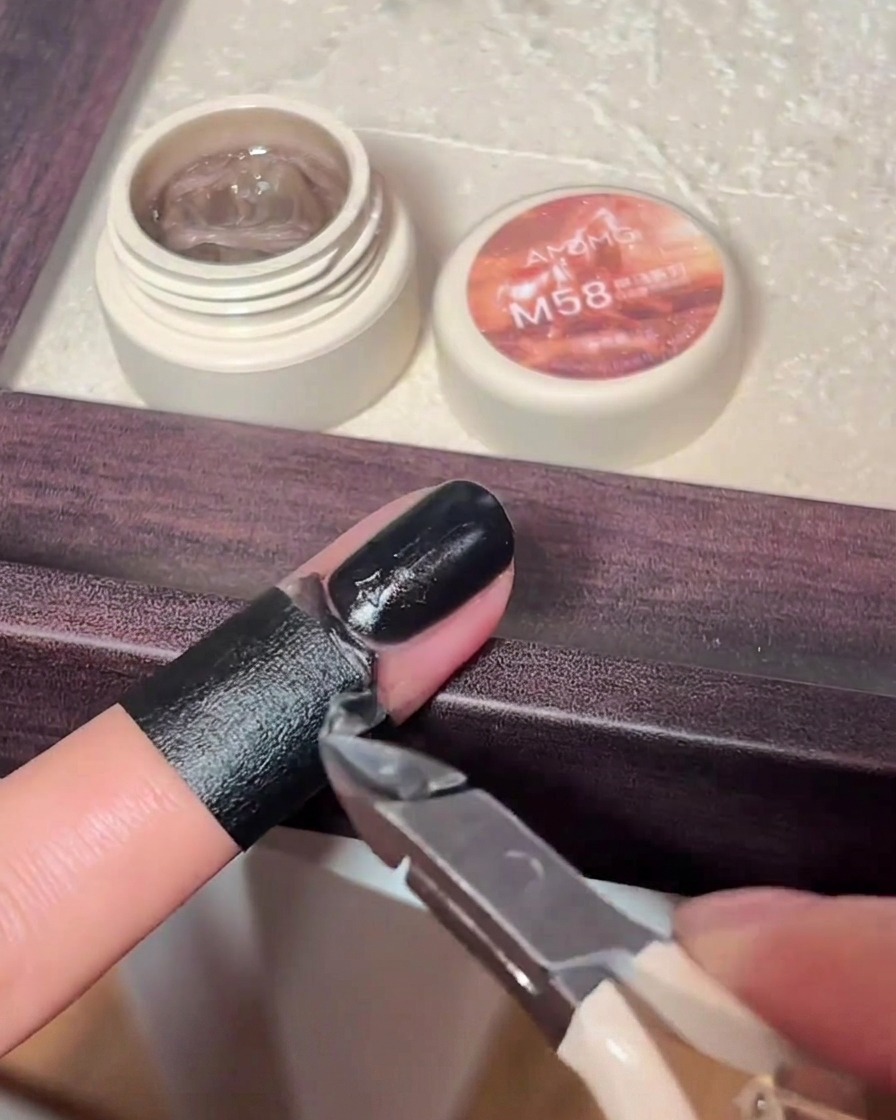
Using a small nail brush, carefully apply black gel polish over the cross charm on the middle finger. Make sure to cover the entire charm evenly while maintaining its raised 3D shape, taking care not to flood the surrounding nail area.
Tip: Apply the gel in thin layers over the charm to prevent the product from pooling and losing the crisp definition of the cross. - 11Cure the middle finger
Place the middle finger with the applied charm and gel under the UV or LED lamp. Ensure the finger is positioned directly under the light source to guarantee that the gel fully cures and seals the embellishment securely to the nail bed.
Tip: Keep your hand steady inside the lamp to avoid any shifting or shadowing during the curing process. - 12Seal with top coat
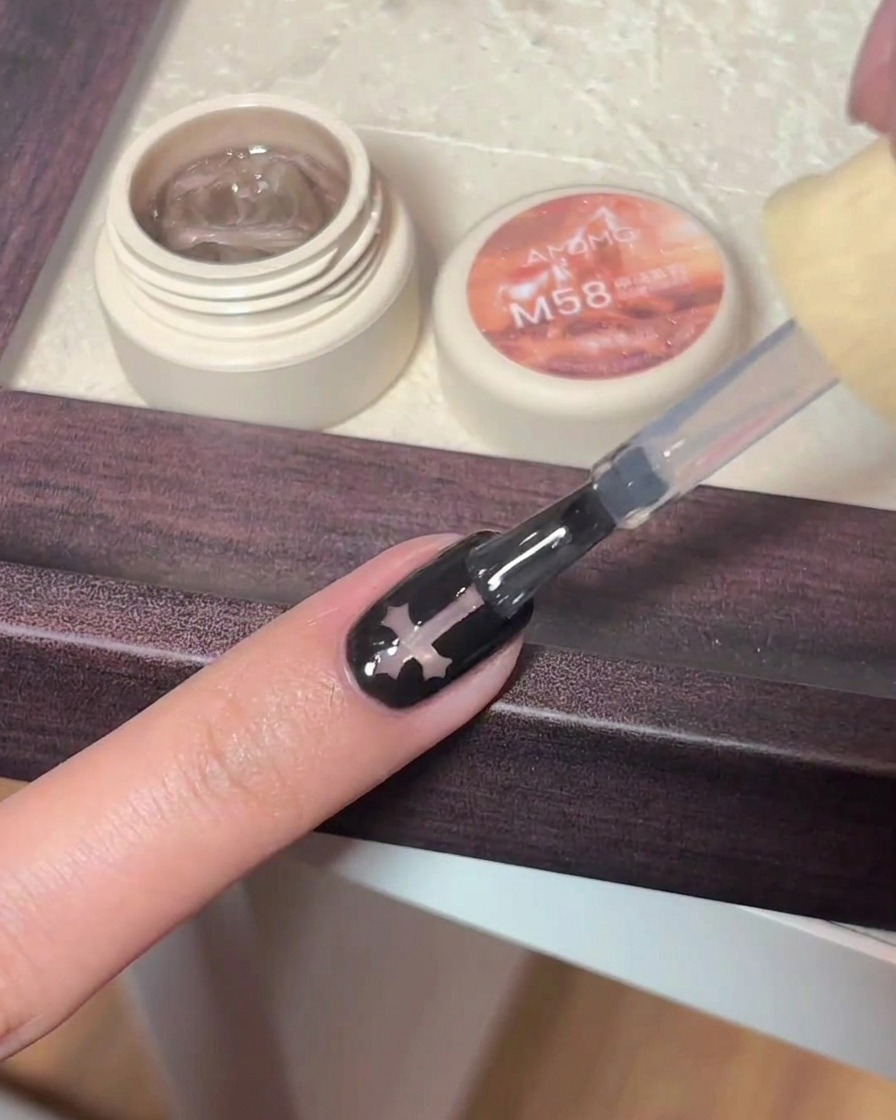
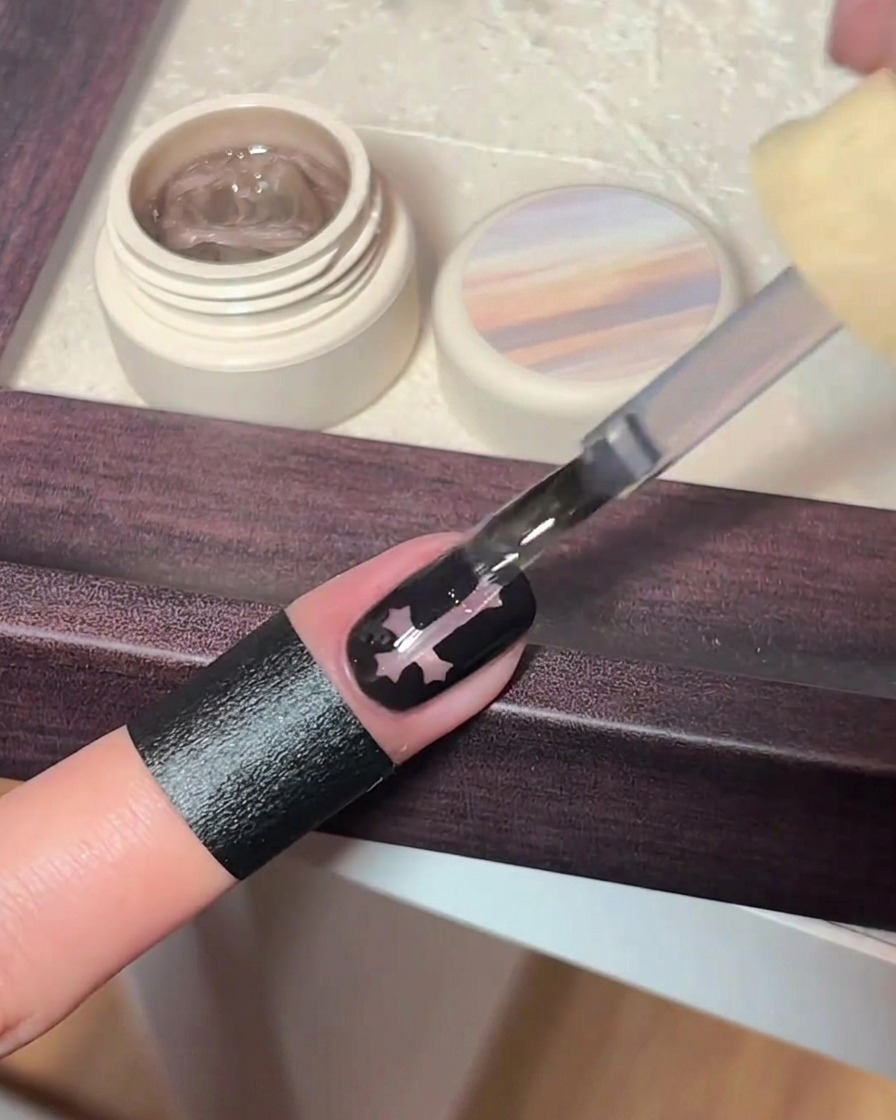
Apply a generous layer of clear glossy top coat over the entire middle finger to seal in your design. Make sure to carefully brush over and around the cross charm design, fully encapsulating the black gel and ensuring a smooth, snag-free finish. Cap the free edge to prevent peeling.
Tip: Use a thin liner brush to work the top coat into the tight crevices around any 3D elements for a secure seal. - 13Place rhinestone cluster
Using a precision tool or wax pencil, carefully pick up three tiny rhinestones and place them in a cluster on the ring finger. This small detail adds dimension and a final touch of sparkle to your nail design before the last cure.
Tip: Apply a tiny dot of top coat or gel glue where you want the rhinestones to sit to act as an adhesive base. - 14Final cure
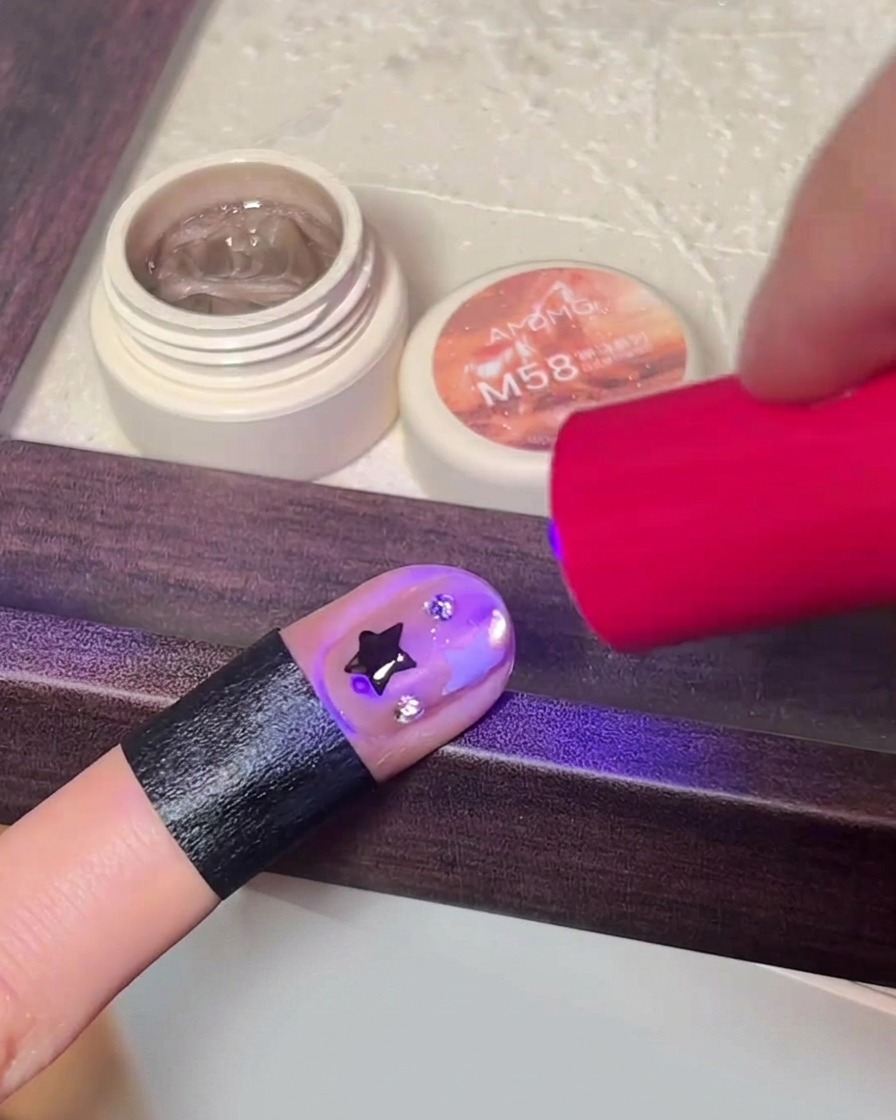
Perform the final cure for the completed ring finger design under the UV or LED lamp. Ensure the rhinestones and top coat are fully set and the entire nail surface is hardened to lock in the art and provide a lasting shine.
Tip: A full, uninterrupted cure time is essential to ensure your rhinestones stay attached and the top coat doesnt remain tacky.