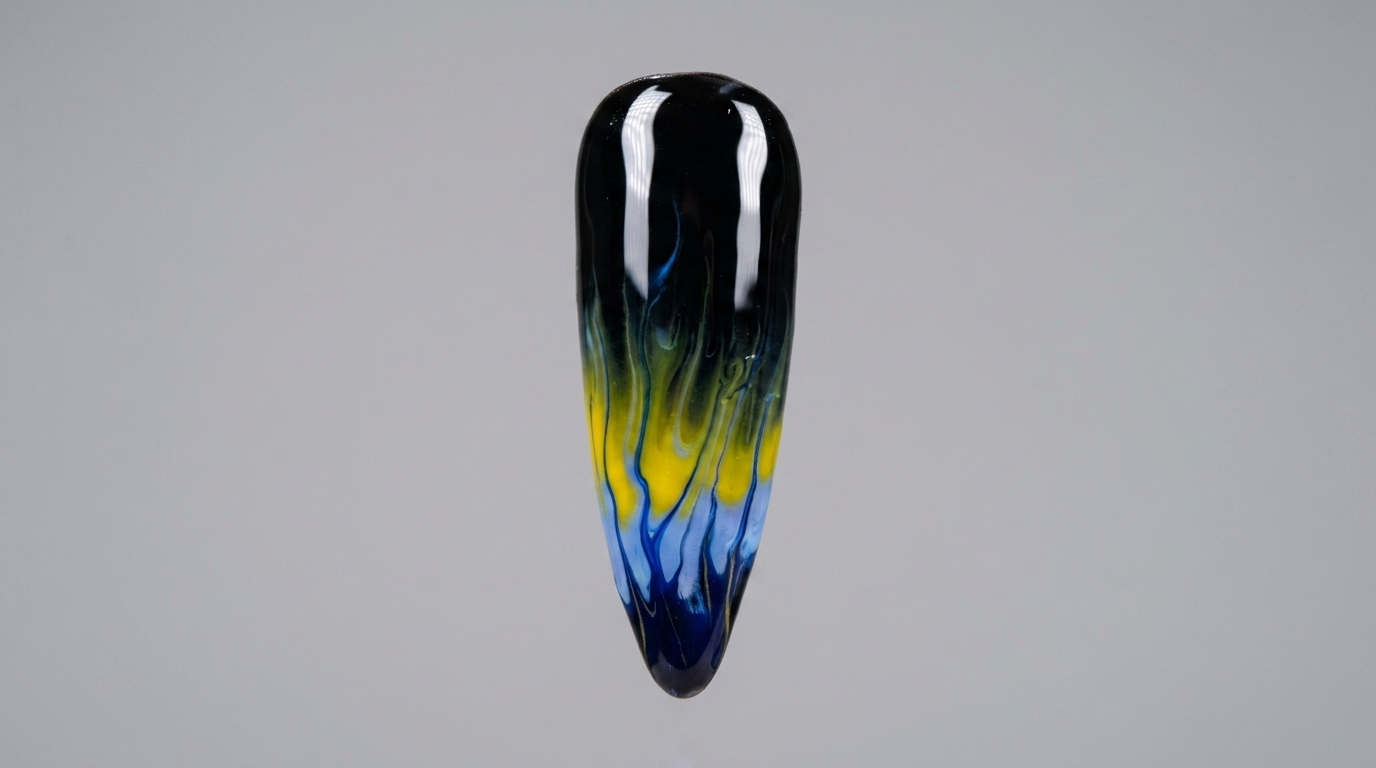
Vibrant Flame Nail Art — Beginner Step-by-Step Tutorial
Master stunning flame nail art with this easy beginner guide. Learn how to blend blue and yellow gel polish over a black base for a bold, artistic finish.
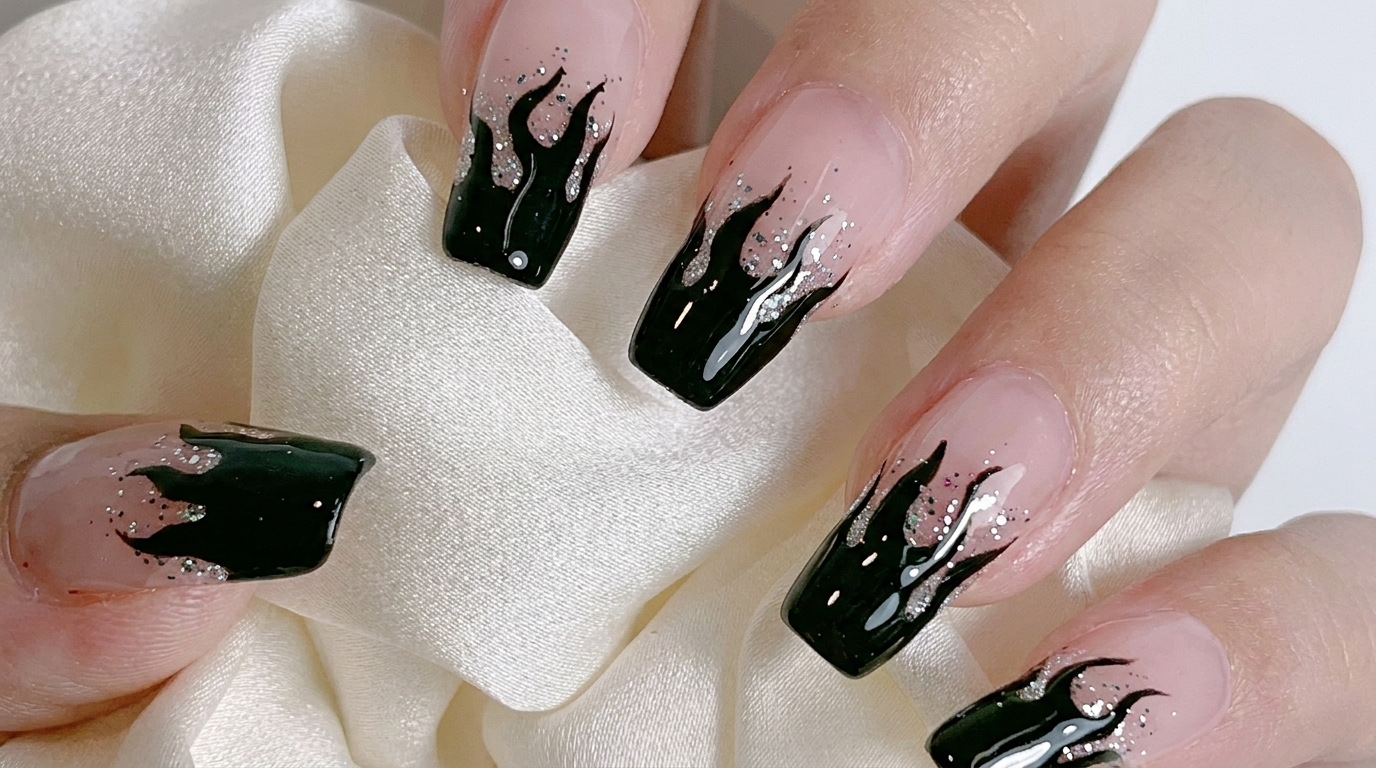
Flame nail art is a timeless trend that brings a bold, edgy vibe to any manicure. This tutorial breaks down the technique into simple, manageable steps, showing you how to create sharp, flickering flame patterns using just a liner brush and your favorite gel colors.
Steps
- 1Apply black base coat
Apply a thin, even layer of black gel polish to the entire nail surface, ensuring you cover the sides and cap the free edge. This creates a bold, opaque canvas for the flame nail art. Cure according to your gel polish manufacturers instructions.
Tip: Black gel can sometimes be highly pigmented; apply two thin coats if necessary for full opacity rather than one thick coat, which may not cure properly. - 2Cure the base coat
Place your nails inside the UV/LED lamp and cure for the full duration recommended by the polish brand. Ensure your hand is positioned flat to allow light to reach all areas of the nail surface evenly.
Tip: Do not rush the curing process, as an under-cured base will cause your subsequent nail art layers to lift or smudge. - 3Apply blue color at the tip
Apply a band of blue gel polish horizontally across the very tip of the nail. You do not need to worry about perfect blending at this stage, as you will be pulling these colors upward in the next steps.
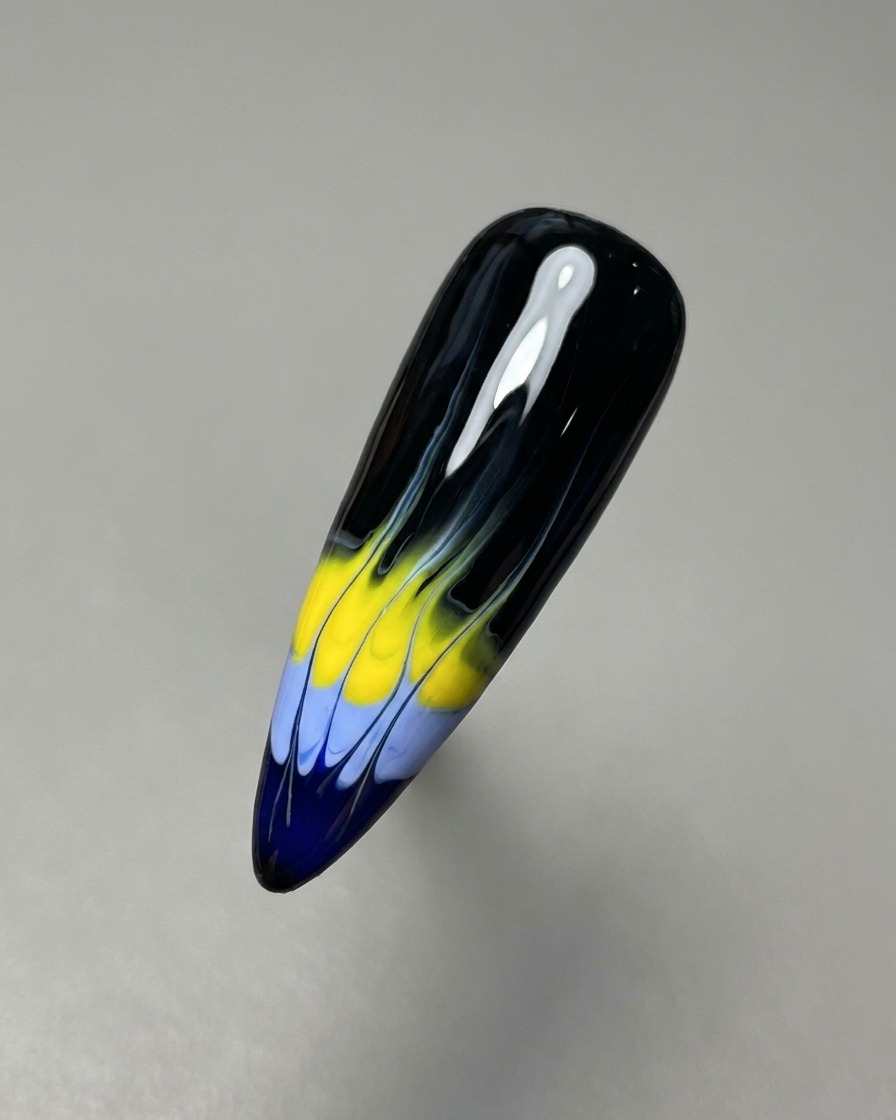
Tip: Keep the layer of colored gel relatively thin to make it easier to manipulate with the liner brush later. - 4Apply yellow color band

Apply a band of yellow gel polish directly above the blue band. The two colors should be side-by-side on the nail surface, preparing them to be blended into the flame design.
Tip: Try to keep the color bands uniform in width to ensure the resulting flames have a balanced appearance. - 5Begin pulling flame shapes
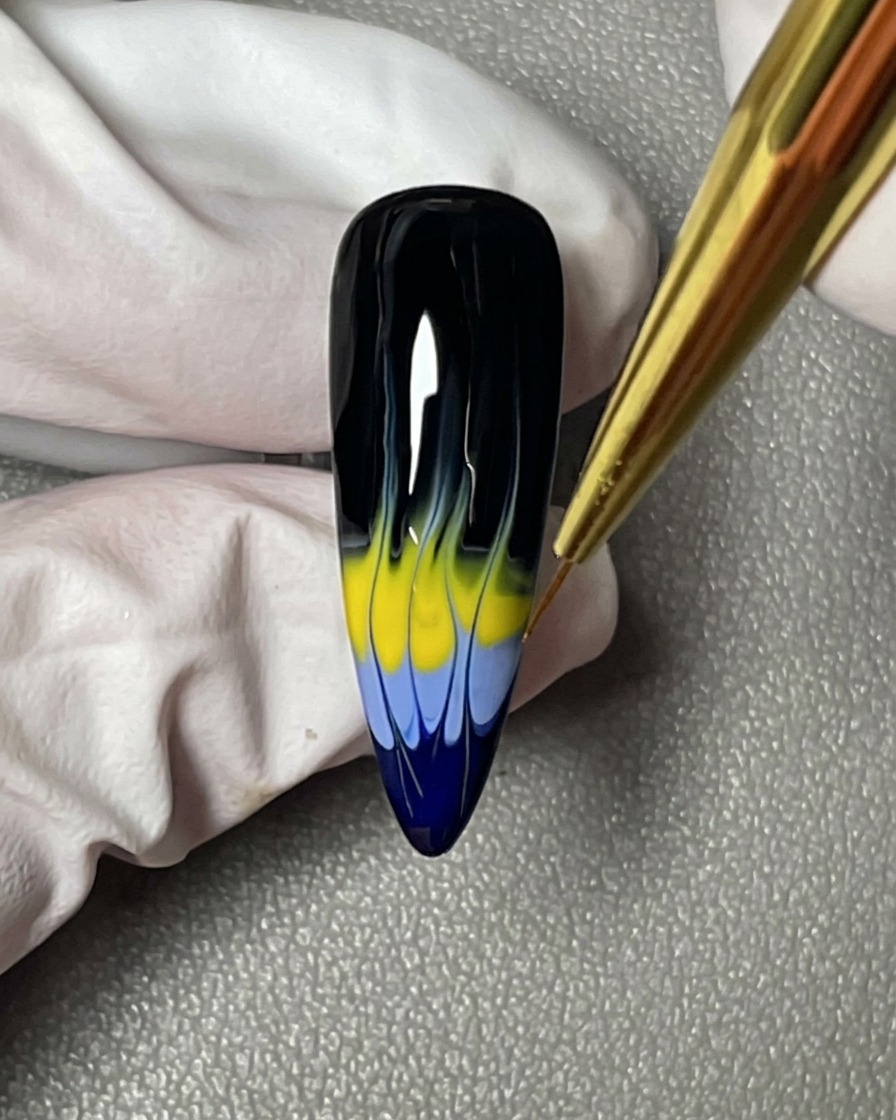
Using a thin liner brush, gently drag the wet blue and yellow gels upward toward the cuticle area. Start by pulling thin lines through both colors to begin creating the vertical, flickering appearance of flames.
Tip: Use a light touch with the liner brush to avoid dragging too much product at once, which can muddy the colors. - 6Refine the flame pattern
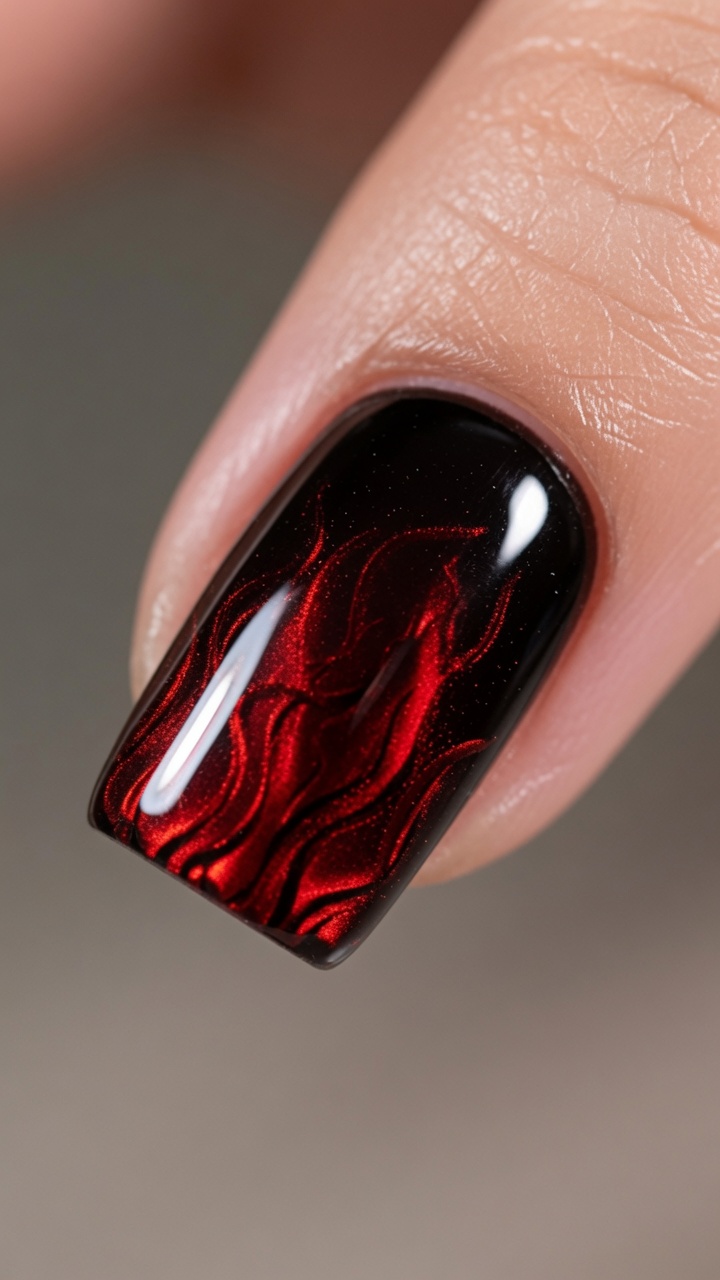
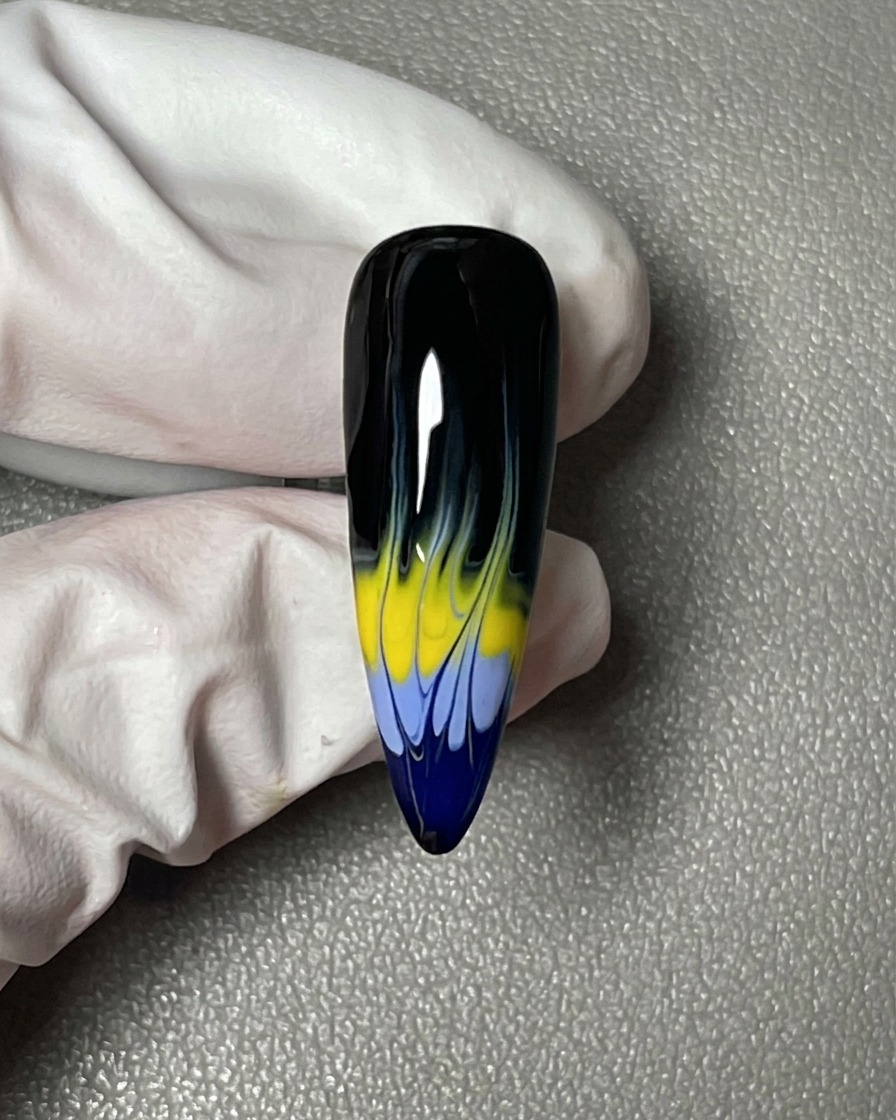
Continue using your liner brush to refine the vertical streaks, pulling them into sharp, elongated points that mimic the look of flames. Make sure the transition between the blue, yellow, and black base is smooth and intentional.
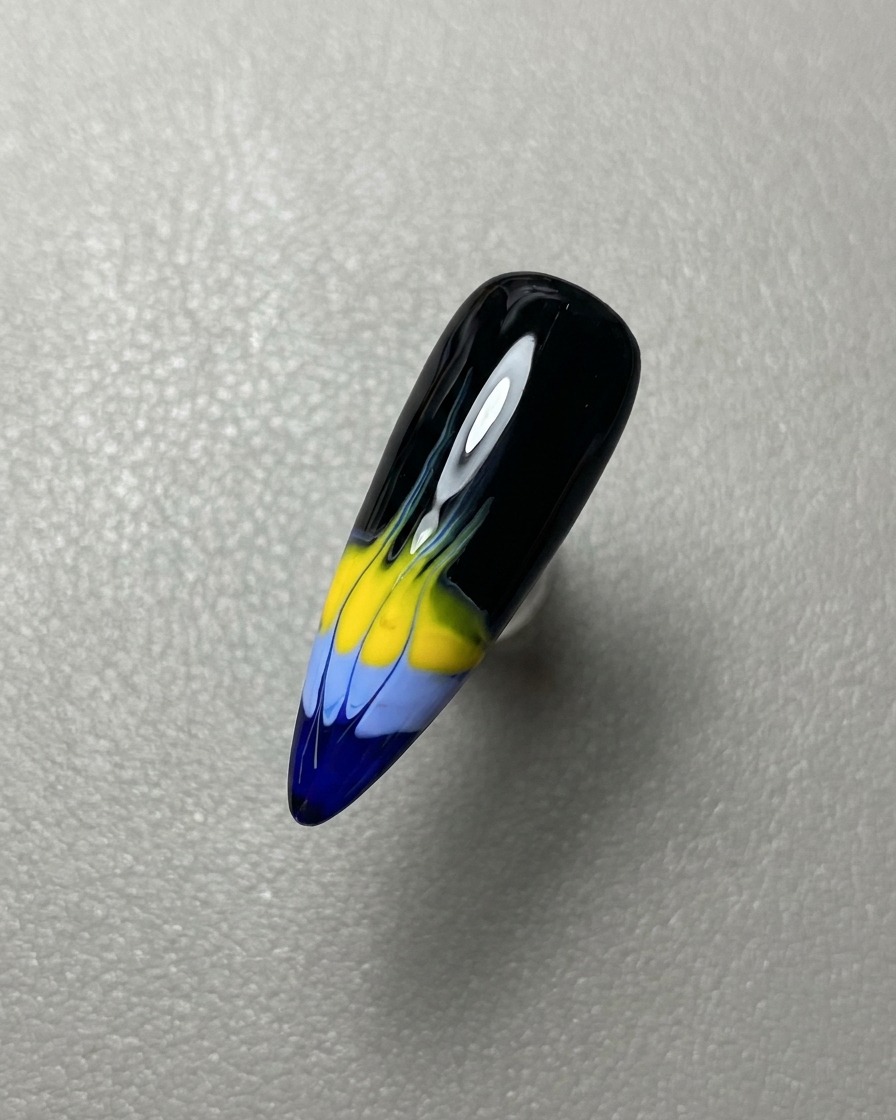
Tip: Wipe your liner brush on a lint-free wipe frequently as you work to keep the tips of your flames sharp and clean. - 7Refine flame edges
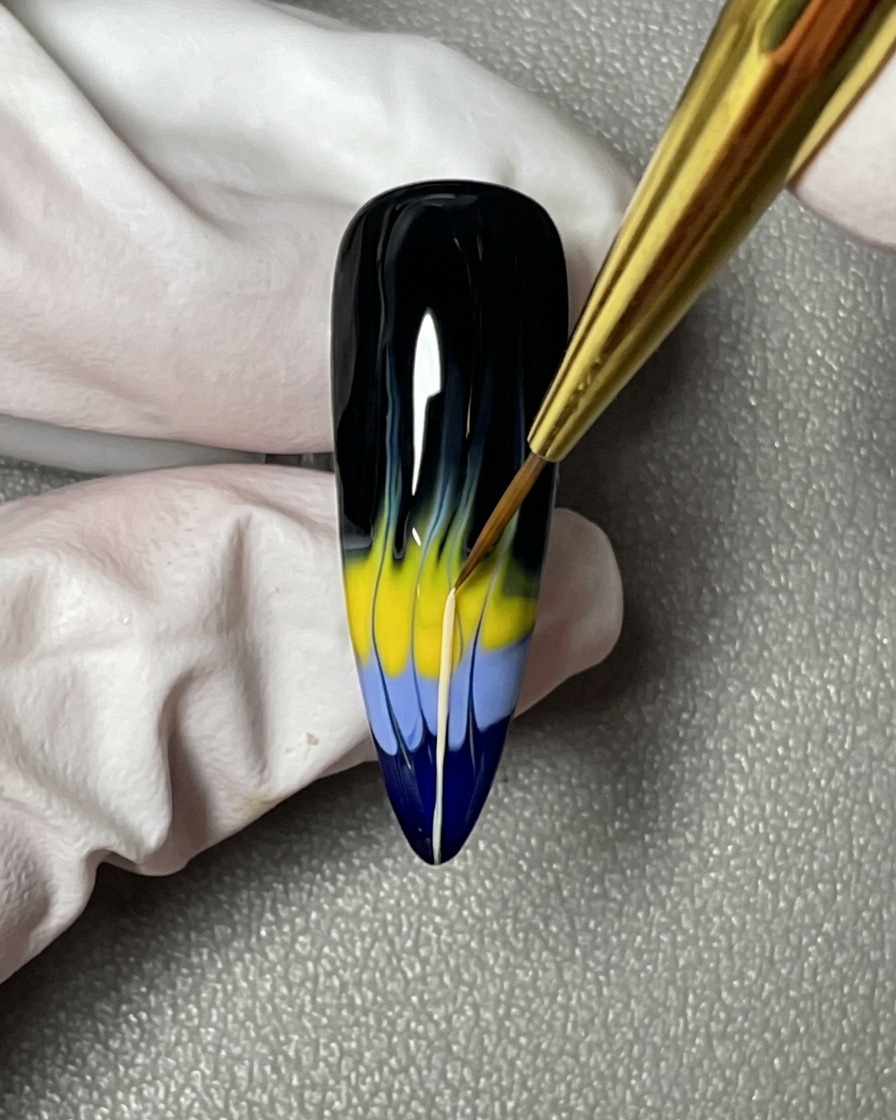
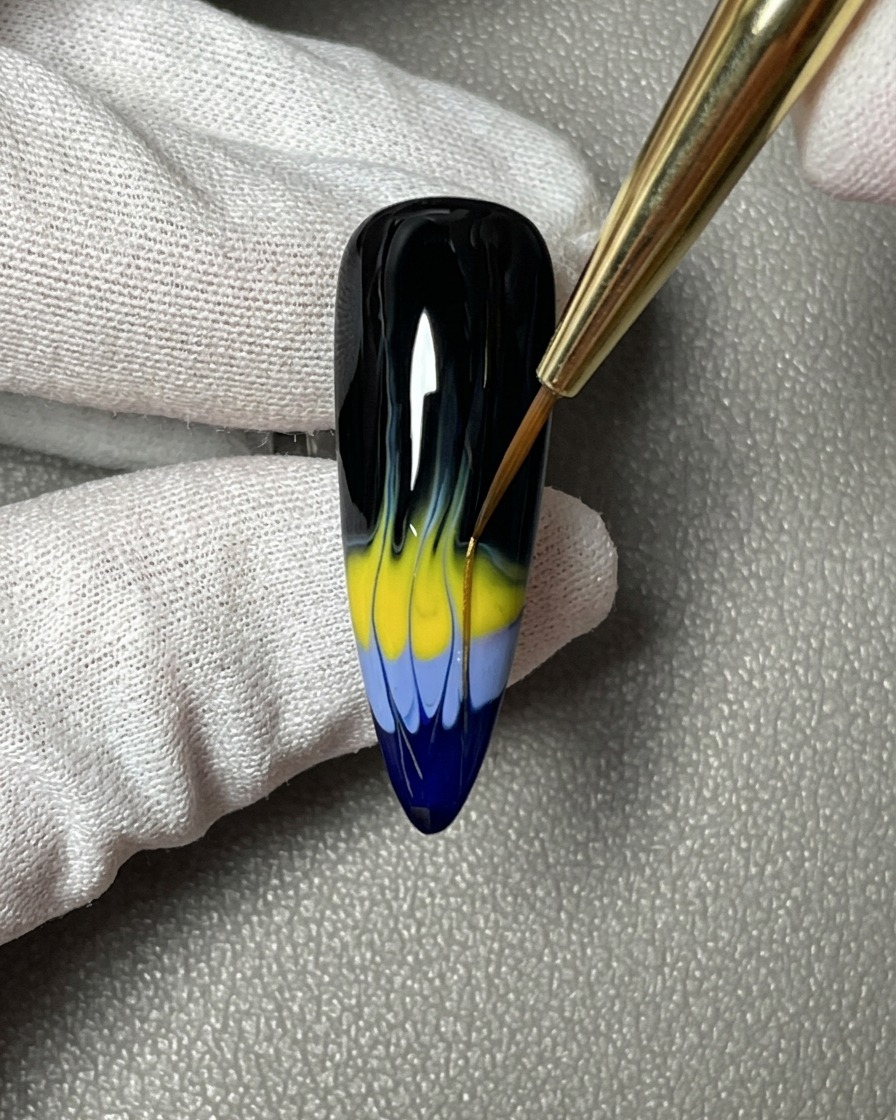
Using a fine liner brush, carefully drag and pull the edges of the flame design to sharpen the tips and create a natural, fluid appearance. Take your time to clean up any uneven lines and ensure the flames look symmetrical and intentional.
Tip: Keep a small amount of base coat on your brush to help the gel move smoothly without dragging or streaking the existing design. - 8Finalize nail art details
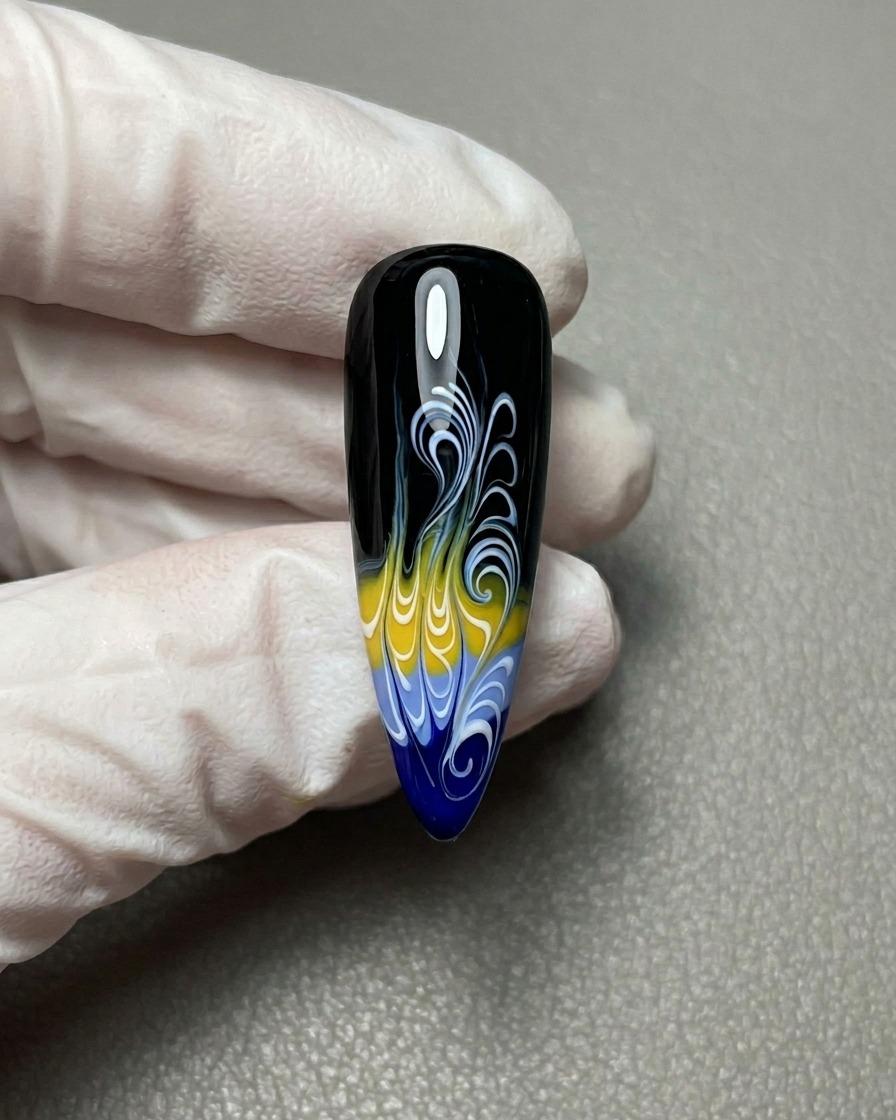
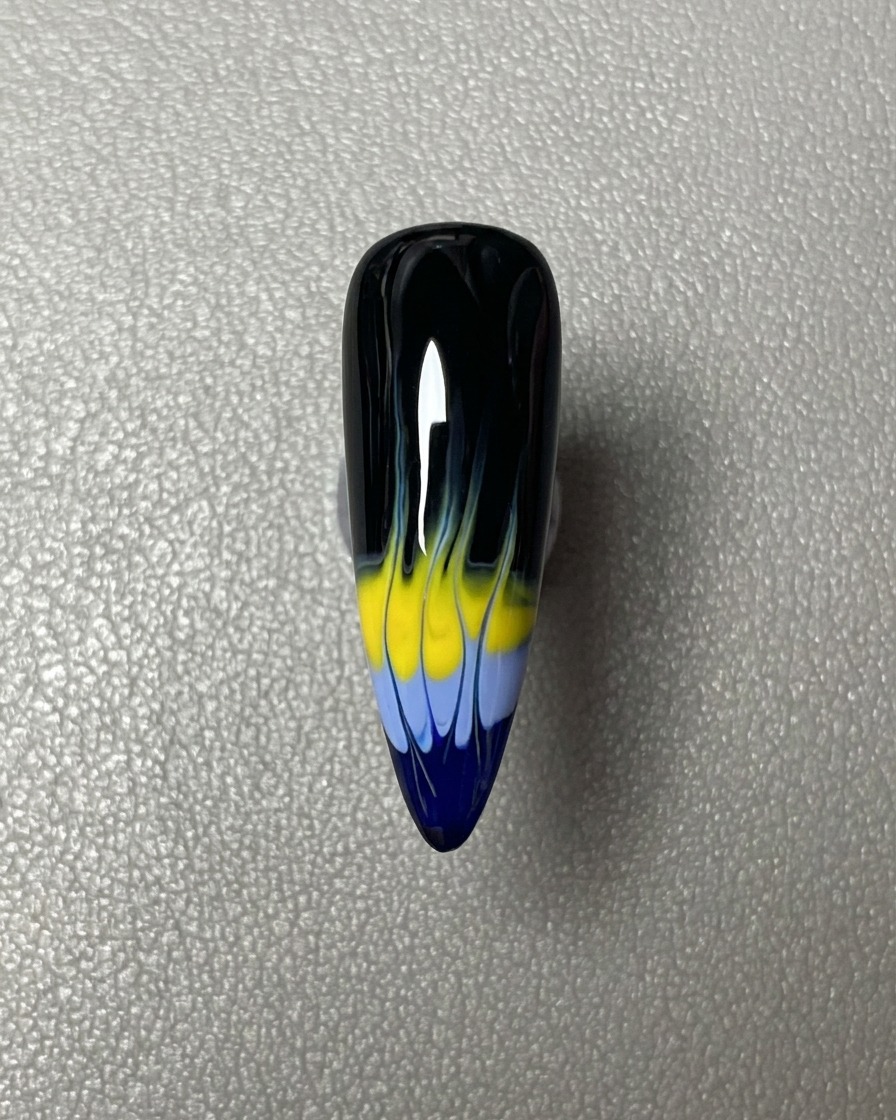
Add any final delicate swirls or accent strokes to complete the flame effect. Ensure all lines are crisp and well-defined before preparing to cure the design.
Tip: Use a light hand when adding these final details to avoid overwhelming the design and maintain the balance of the flames. - 9Apply top coat
Apply a thin layer of high-shine gel top coat over the entire nail to seal the design and provide a durable finish. Ensure you cap the free edge to prevent chipping.
Tip: Apply the top coat gently to avoid pulling or smudging the intricate art you just finished.