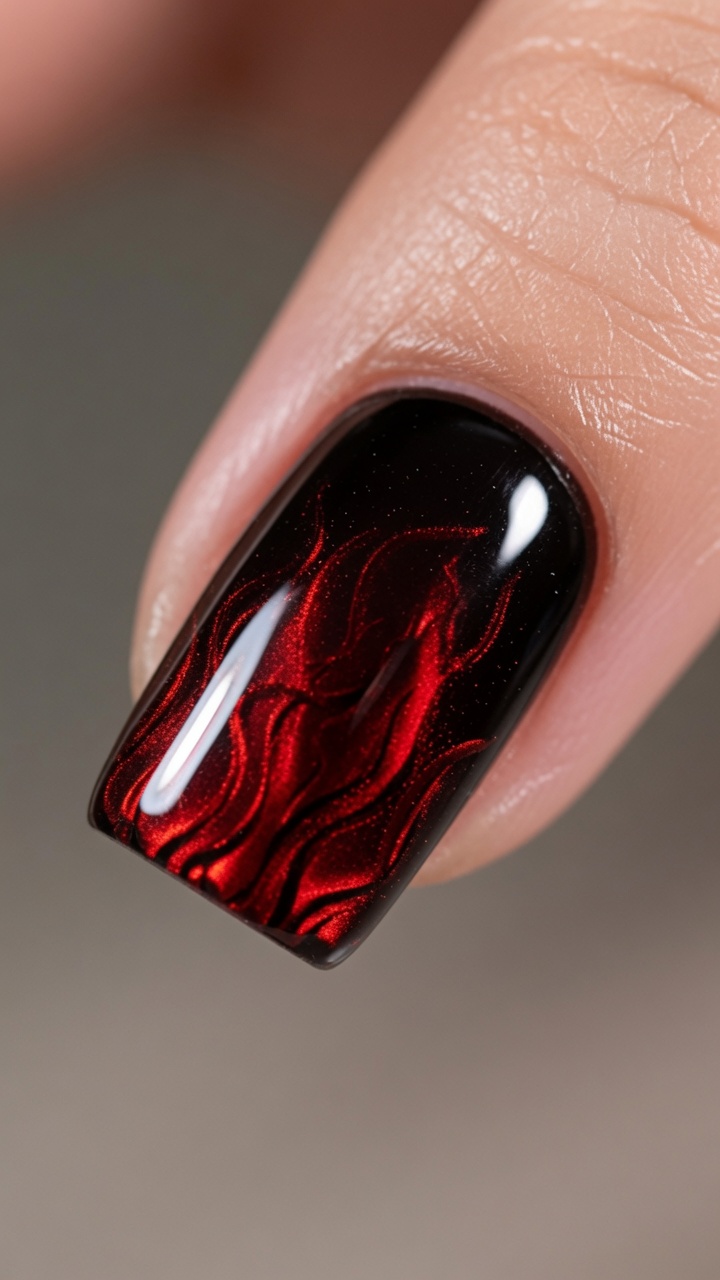
Red Flame Cat-Eye Nails — Step-by-Step Gel Tutorial
Create a smoldering 3D effect with these deep red flame cat-eye nails. This step-by-step tutorial uses magnetic gel and a red jelly overlay for a fiery finish.
Flame nail art is a timeless trend, but utilizing magnetic cat-eye gel elevates the design to a whole new dimension. Layering hand-drawn magnetic flames under a translucent red jelly polish creates a glowing optical illusion of moving fire. This dimensional technique is perfect for an edgy, show-stopping manicure.
Steps
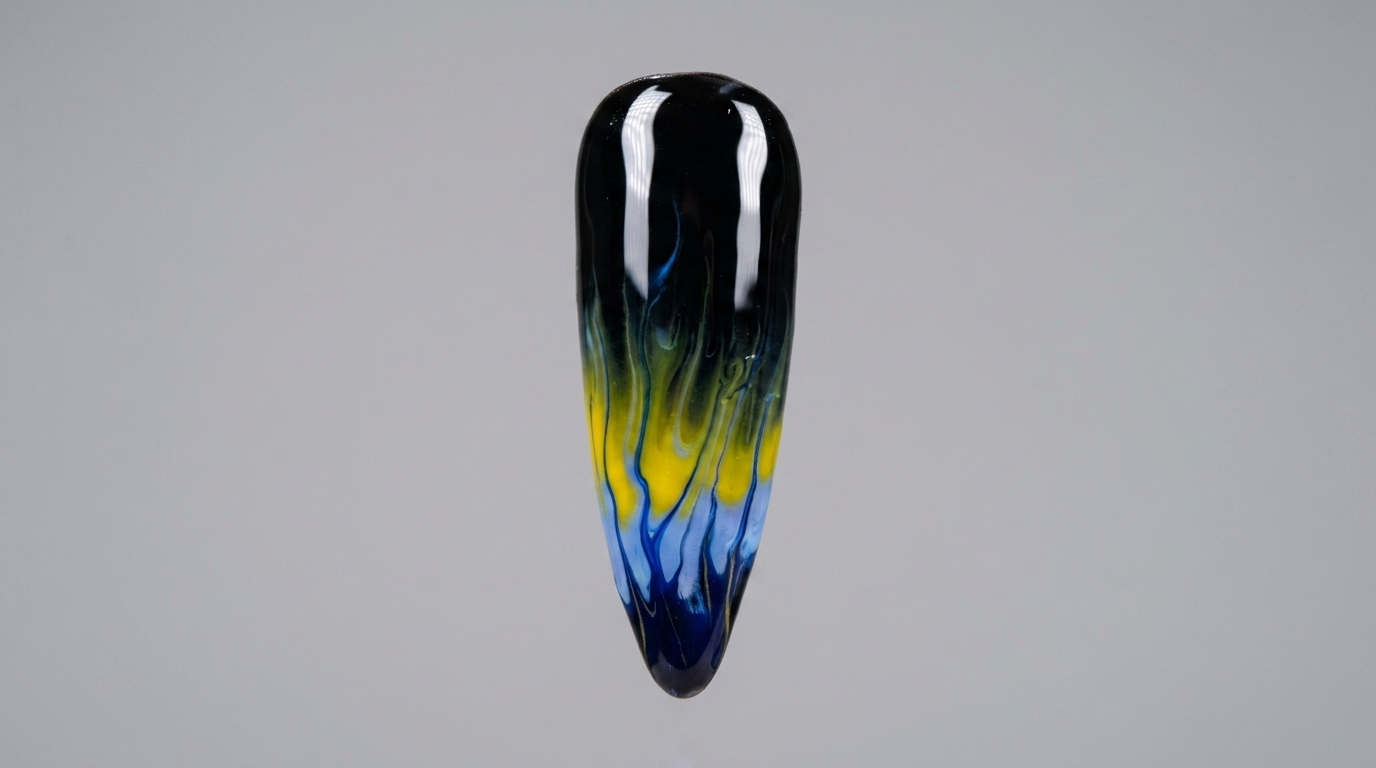
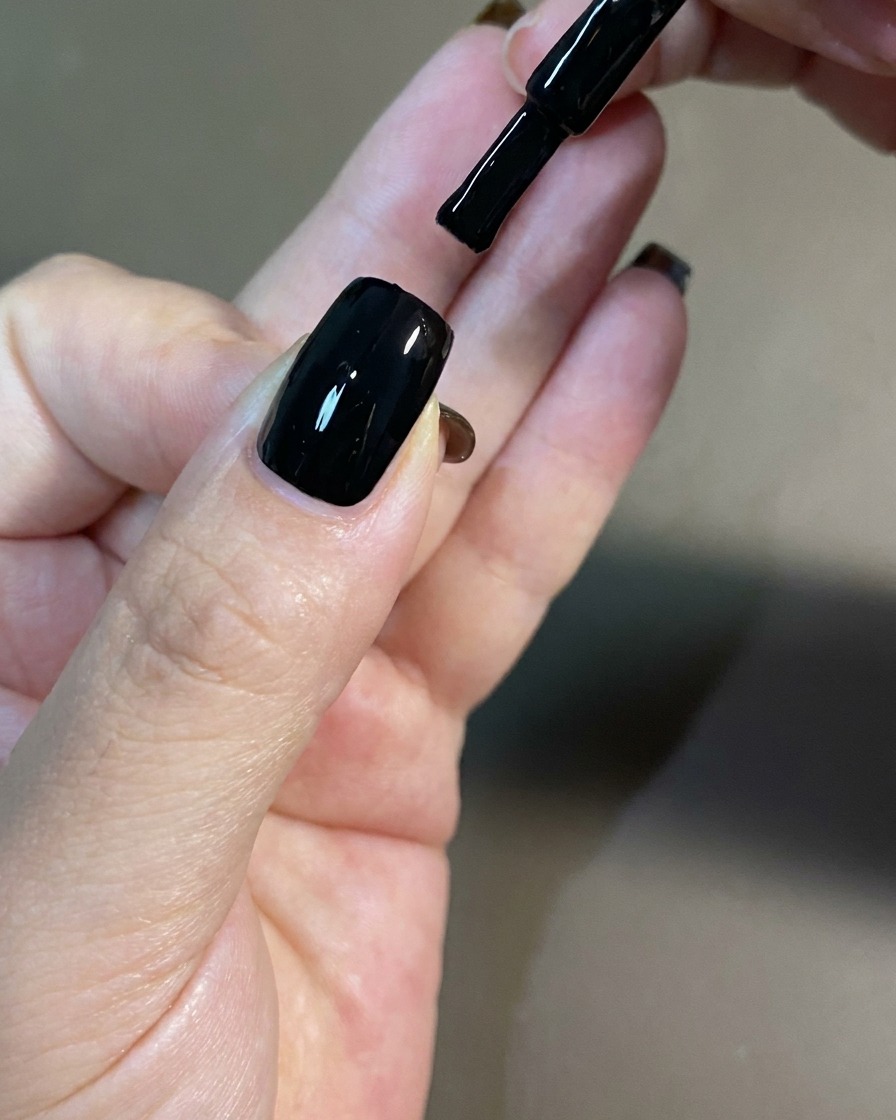
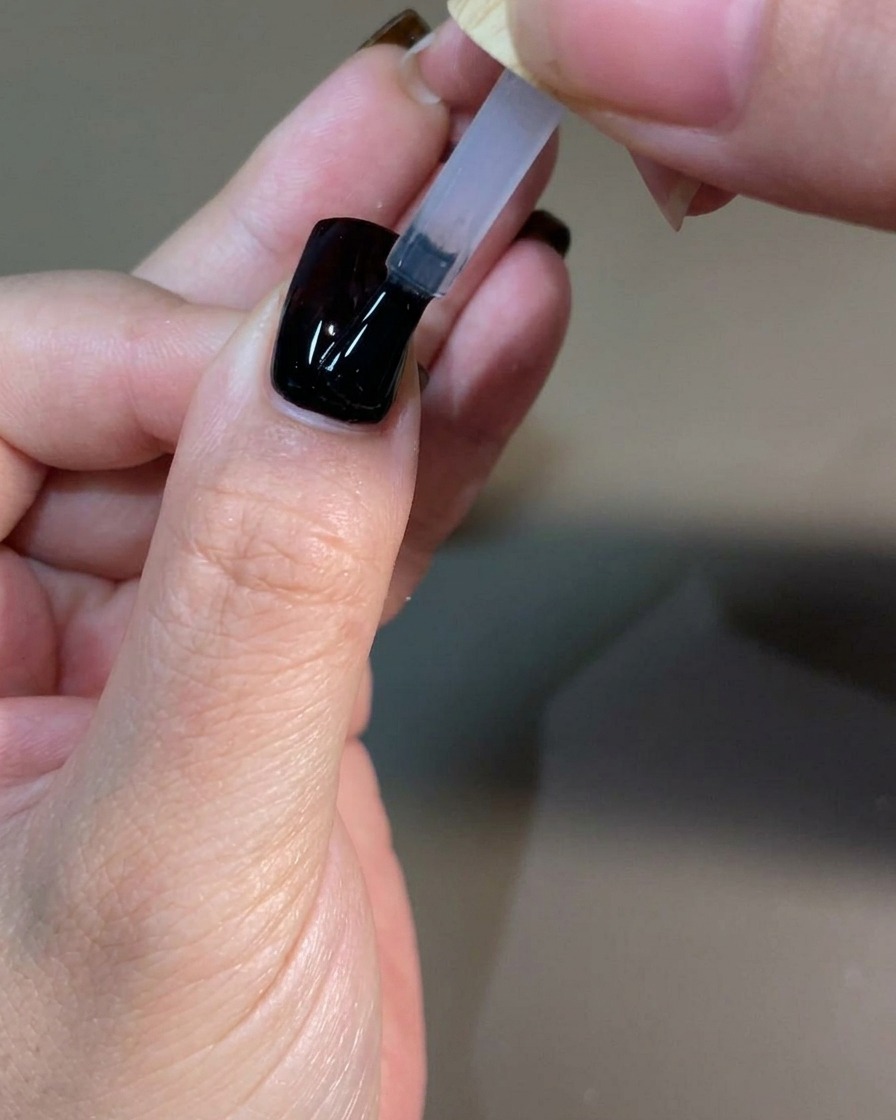
- 1Apply black gel base
Apply a thin, even layer of solid black gel polish over the prepped nail plate. Ensure smooth coverage from cuticle to free edge, and cap the free edge to prevent chipping. This dark base provides the necessary contrast for the cat-eye effect to stand out.
Tip: Apply in thin layers to ensure it cures thoroughly and does not wrinkle under the lamp. - 2Cure the base coat
Place your hand under a UV or LED lamp to cure the black gel polish. Follow the manufacturers instructions for the specific curing time, typically 30 to 60 seconds, to ensure the base is completely set before moving on to the magnetic gel.
Tip: Avoid touching the wet gel before curing, as this can create lint or surface imperfections. - 3Apply white cat-eye gel
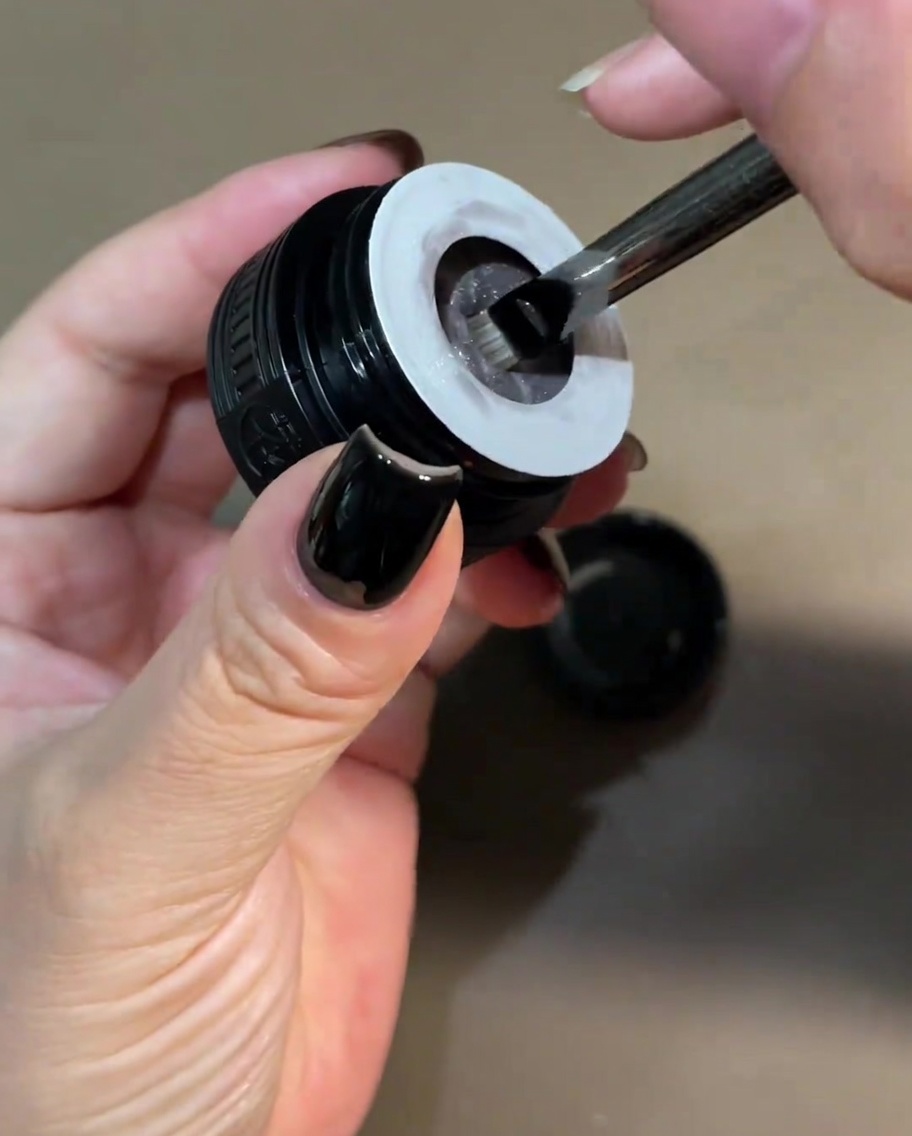
Apply a coat of white cat-eye gel over the cured black base. Do not cure this layer yet, as you will need the gel to remain wet to manipulate the magnetic particles with a magnet.
Tip: Work on one nail at a time so the cat-eye gel remains wet while you shape the magnetic particles. - 4Create magnetic frame

Hold a bar magnet on both sides of the nail simultaneously. This action attracts the magnetic particles within the gel towards the edges, pulling them into a distinct frame effect around the perimeter of the nail.
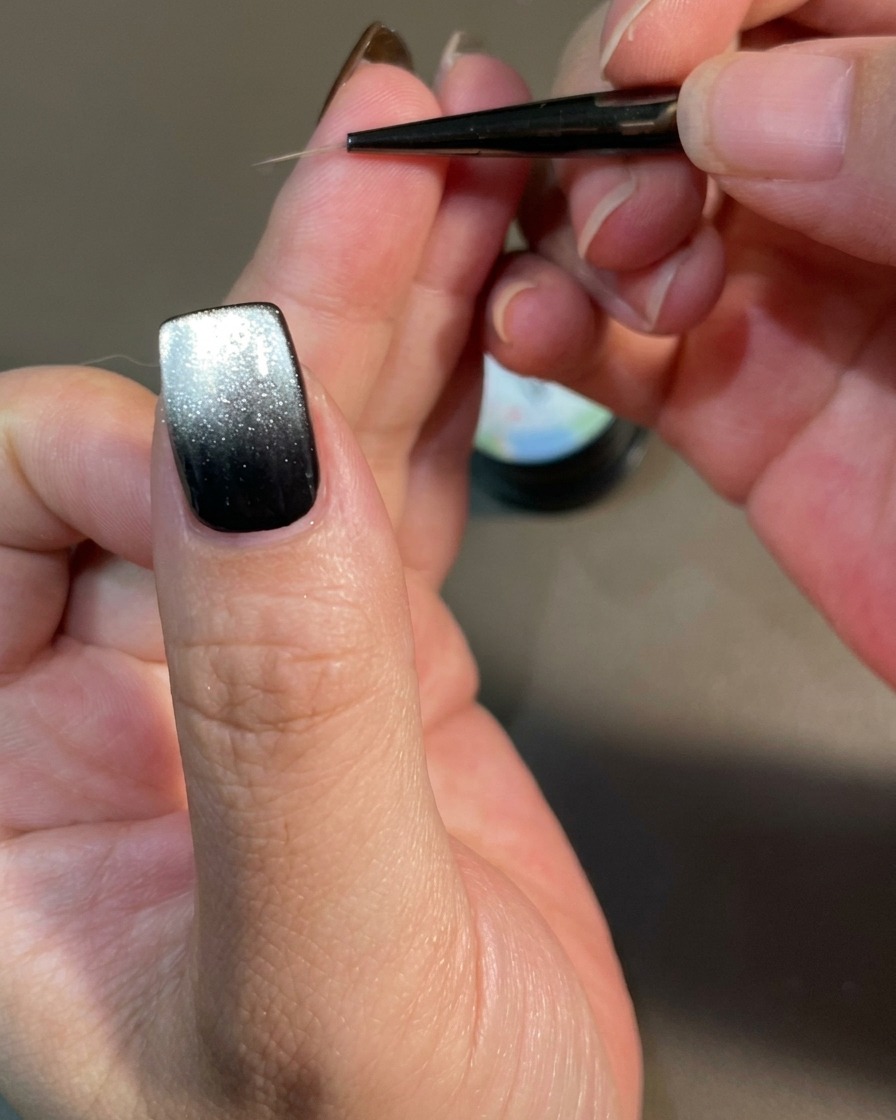
Tip: Hold the magnets steady for a few seconds to allow the particles to fully react and form a crisp line. - 5Form the gradient
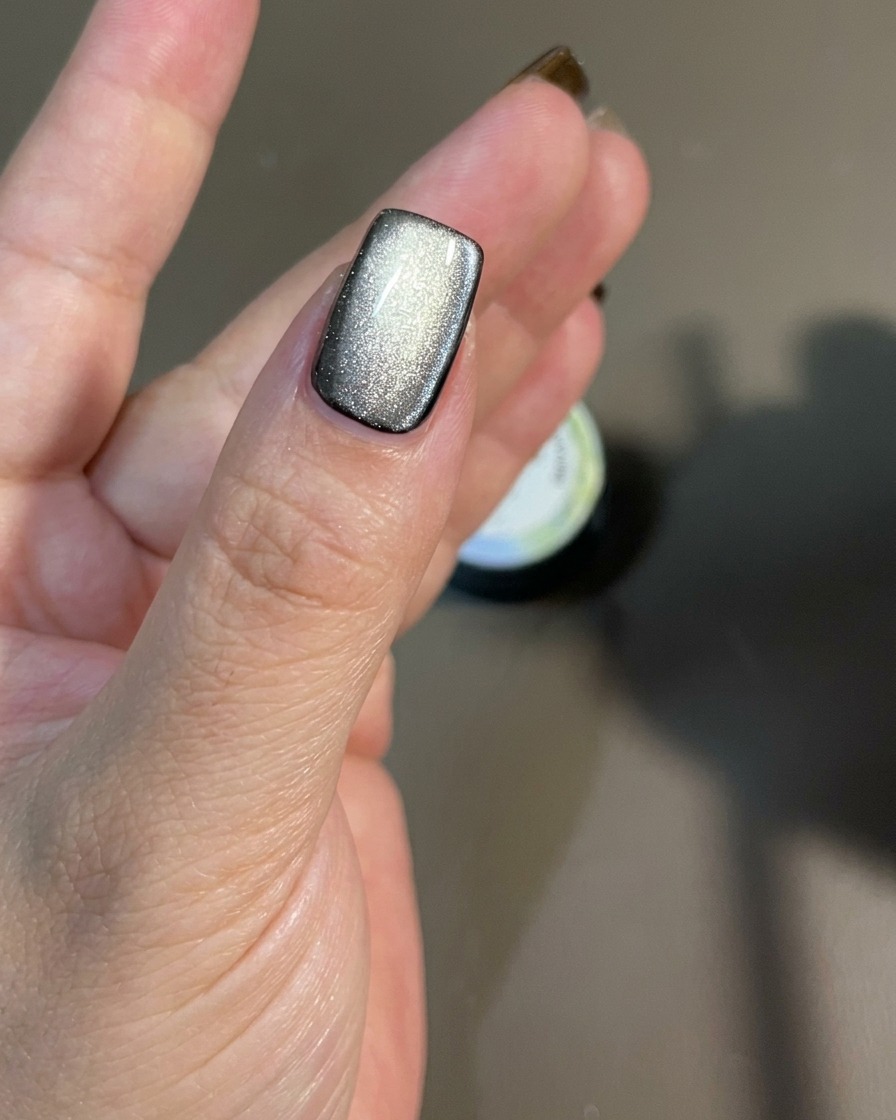
Using the magnet, gently push the magnetic particles from the back of the nail toward the front. This movement concentrates the light reflection at the tip, creating a smooth, glowing gradient effect over the black base.
Tip: Move the magnet slowly and consistently to achieve a soft, seamless transition of light. - 6Cure the gradient design
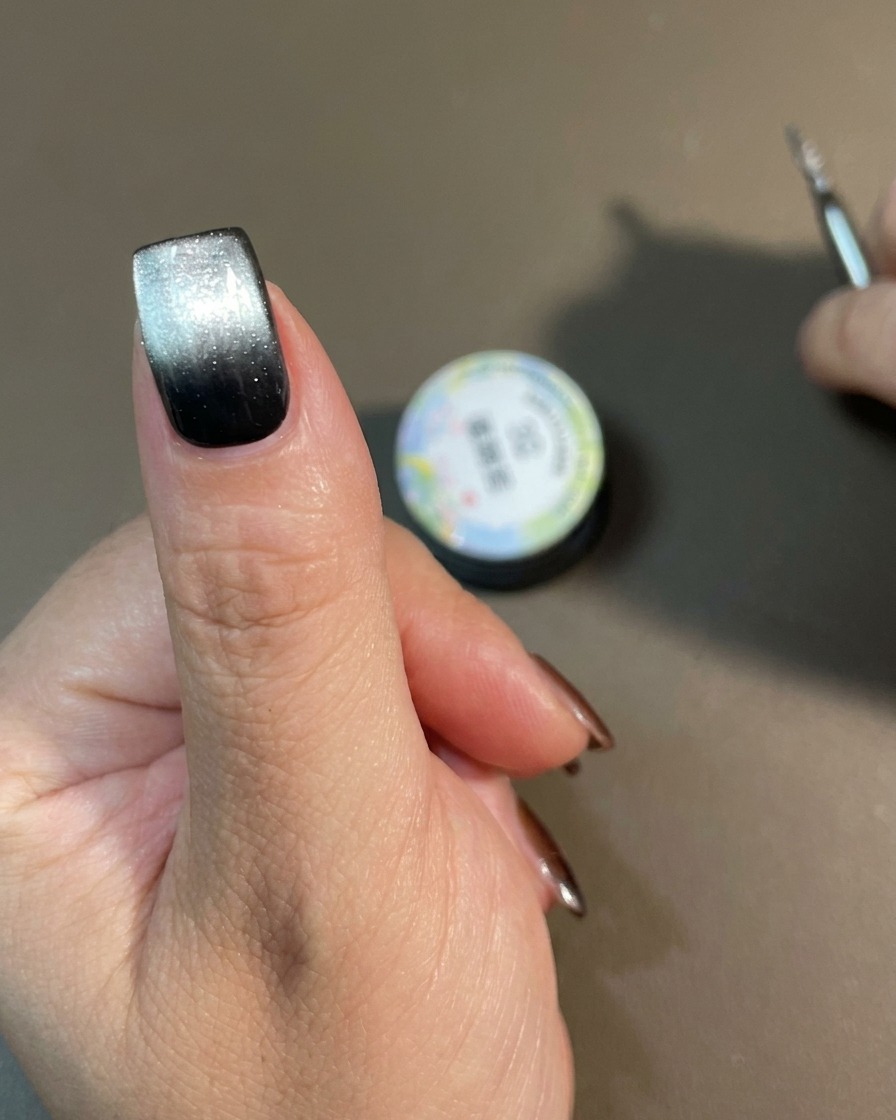
Once you are satisfied with the magnetic gradient, place the nail under the UV or LED lamp to cure. Curing at this stage locks the magnetic particles in place, ensuring the gradient remains sharp and does not shift.
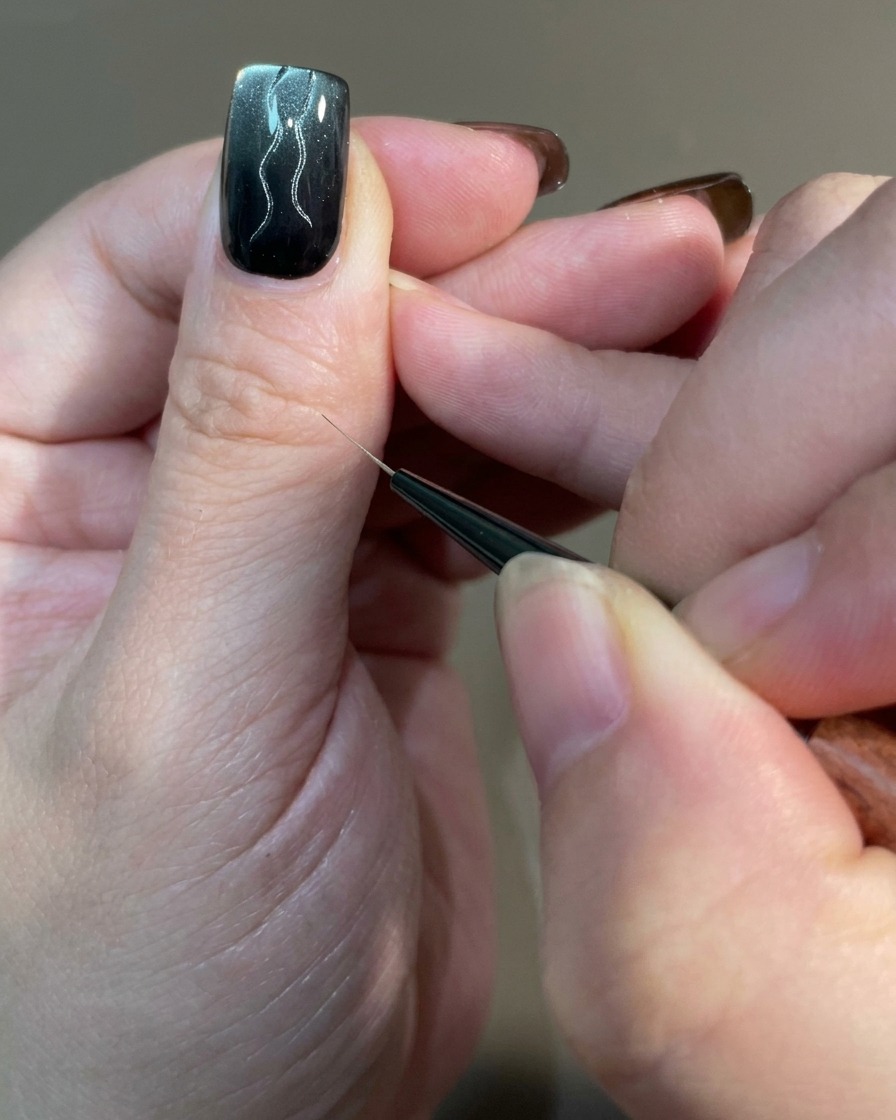
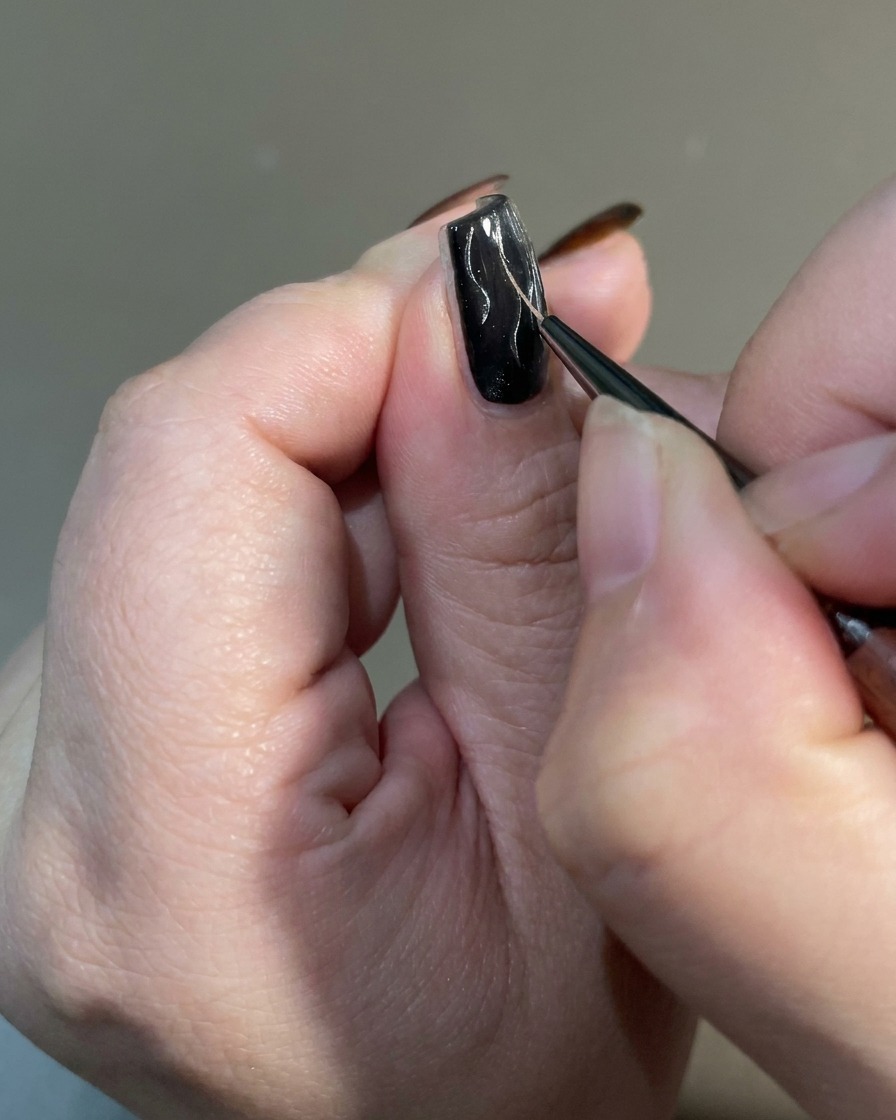
Tip: Ensure the hand is placed directly under the light source for an even cure across the entire nail surface. - 7Draw the primary flames
Pick up white magnetic gel with a fine liner brush and draw long, sweeping curves from the base toward the tip. These elongated strokes establish the main structure and direction of your fire design.
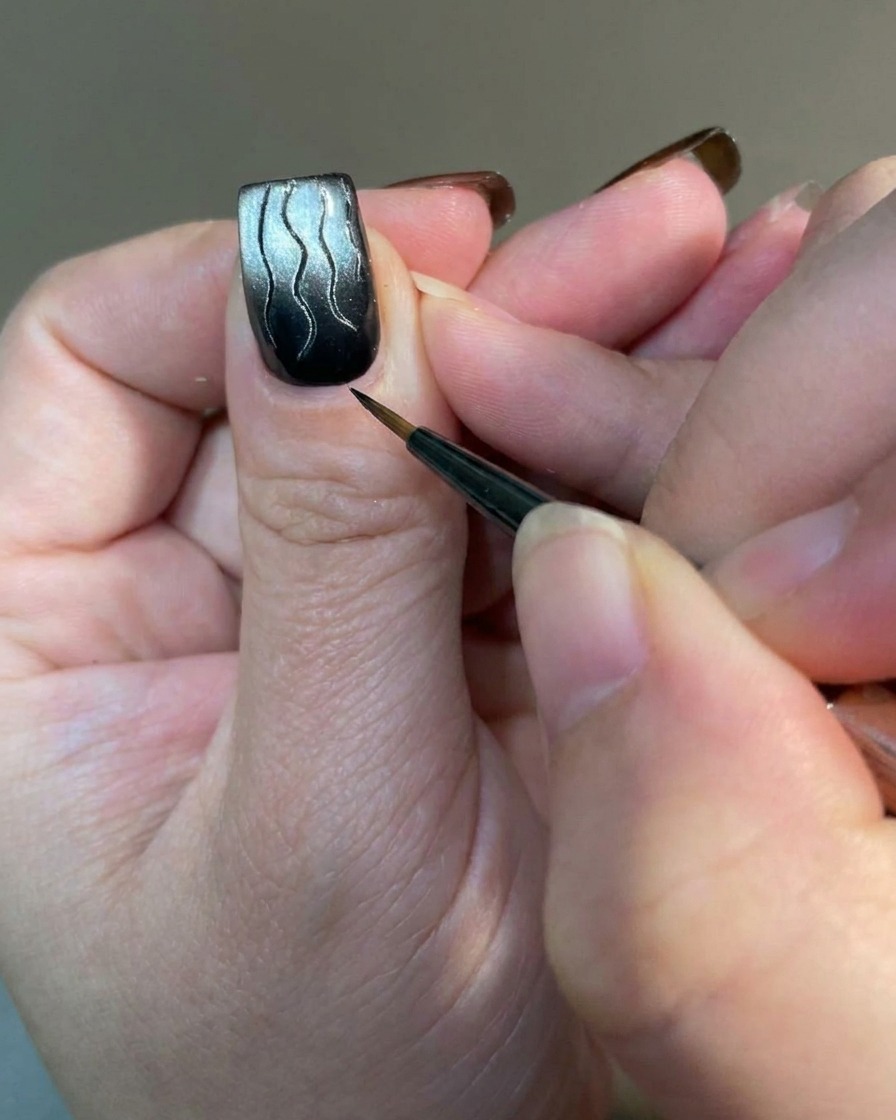
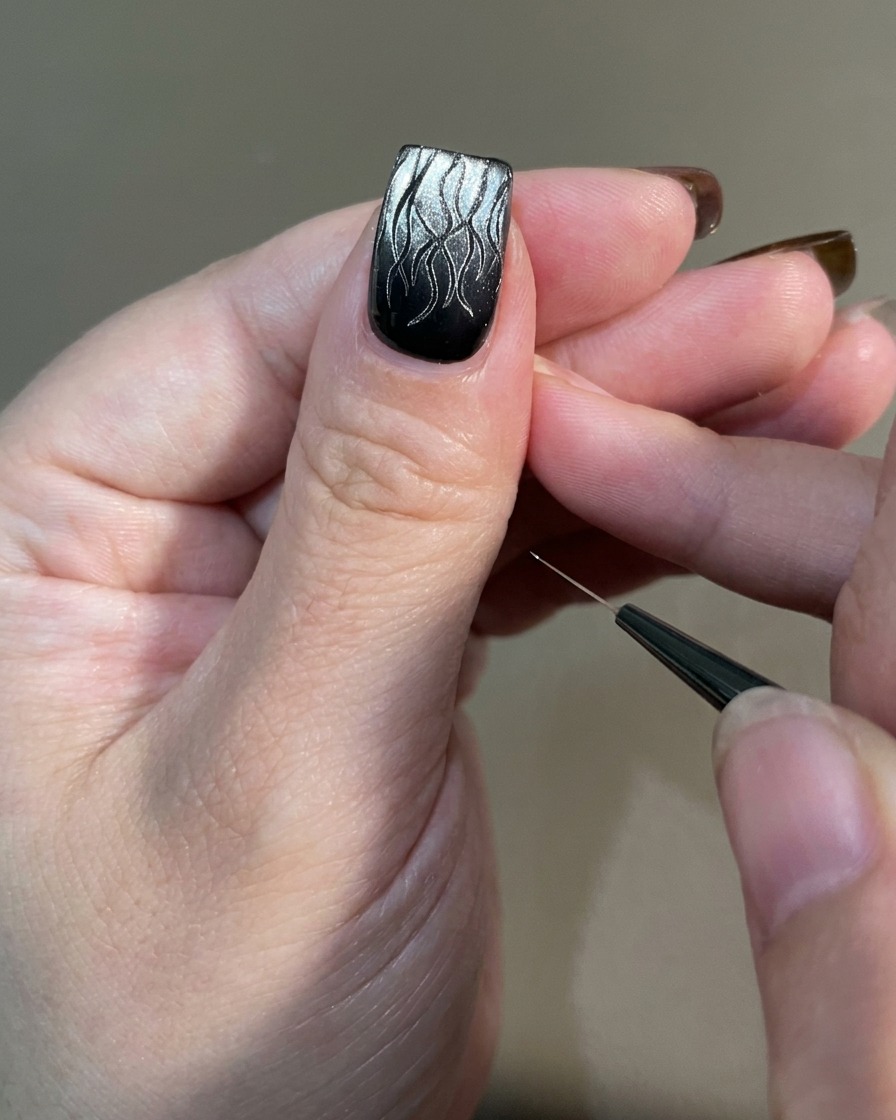
Tip: Keep a light touch with the liner brush to create crisp, thin lines that wont spread before curing. - 8Add secondary flames
Draw slightly shorter, curved strokes nestled alongside your primary lines. Varying the height and wave of these secondary lines adds necessary dimension and mimics the unpredictable flicker of real flames.
Tip: Varying the length of the lines is key to creating a realistic, flickering flame effect. - 9Add base accents
Fill in any sparse areas near the cuticle with tiny, wispy strokes. Concentrating these smaller accents at the bottom builds density, giving the illusion of a robust, glowing ember base.
Tip: Focus these smaller strokes near the cuticle area to create a seamless transition from the base of the nail. - 10Connect the fire
Lightly cross-hatch the bottom of the strokes with very thin connecting lines. This grounds the artwork, ensuring the individual flames blend into a single, unified fire at the base of the nail.
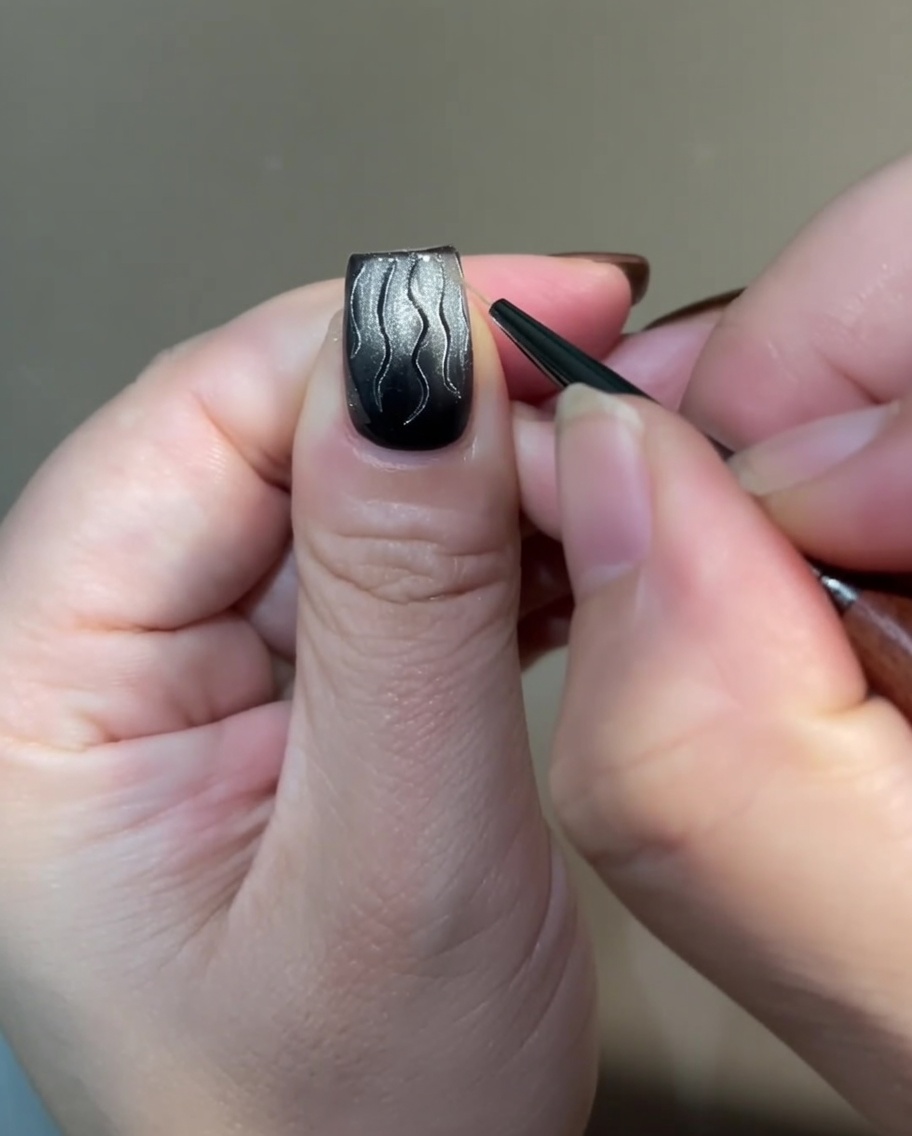
Tip: Use a minimal amount of gel on your brush for these connectors to avoid creating bulky spots at the base. - 11Sharpen the tips
Use the very tip of your liner brush to drag and taper the ends of your flames. Creating crisp, irregular points that fade beautifully into the black background is crucial for a realistic, professional-looking fire effect.
Tip: Twist your brush slightly as you lift it away from the nail to create a tapered, sharp point. - 12Cure the flame design
Once you are satisfied with the flame pattern, place the hand under your UV or LED lamp to cure the design. Curing at this stage ensures the thin, detailed lines remain in place and prevents them from smudging before you apply subsequent layers.
Tip: Ensure the entire surface of the nail is placed evenly under the light for a complete and uniform cure. - 13Apply translucent red overlay
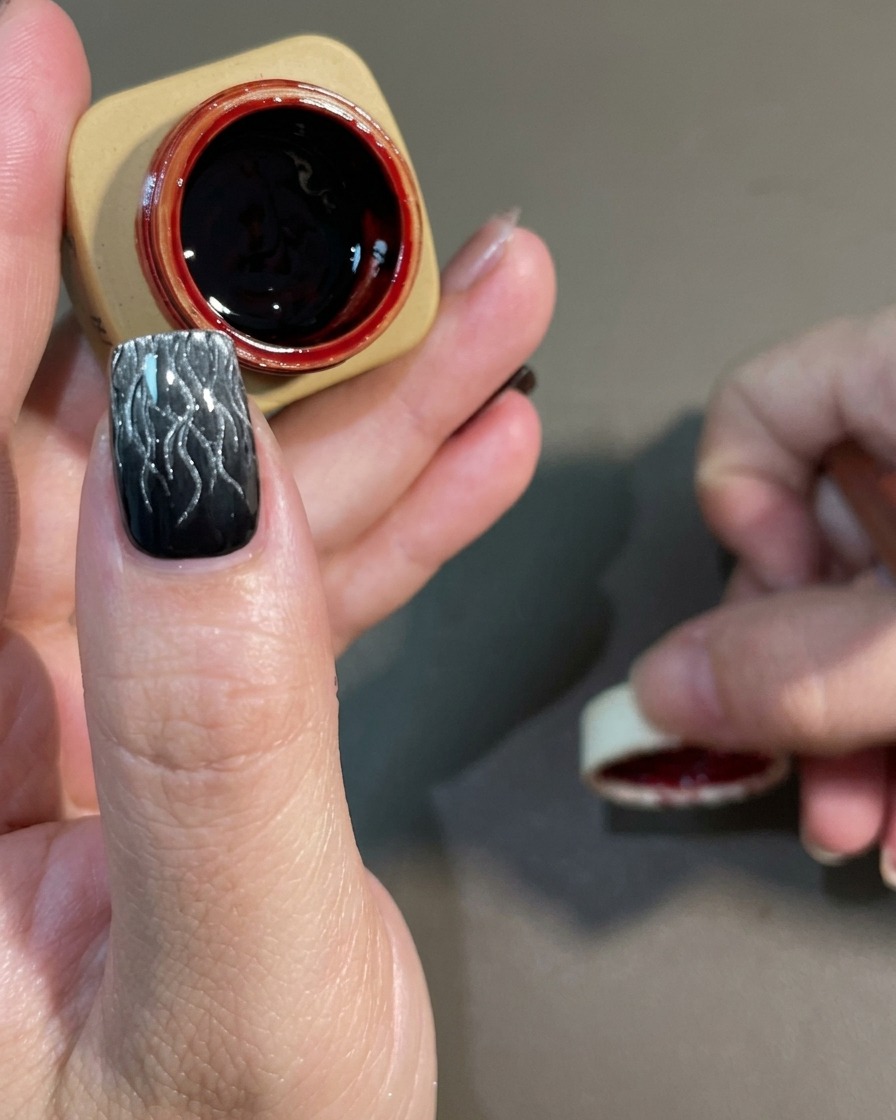
Apply a thin, even layer of translucent red gel polish over your cured flame design. This step tints the underlying artwork, creating a deep, dimensional jelly effect that enhances the fiery look. Ensure you cover the entire nail surface evenly and cap the free edge for longevity.
Tip: Work with a light touch to keep the red layer translucent, allowing the intricate flame details beneath to remain visible. - 14Cure the red layer

Place your nails under the UV or LED lamp to cure the translucent red gel layer. Follow the manufacturers recommended curing time to ensure the product sets completely and retains its glossy, jelly-like finish.
Tip: Ensure your fingers are positioned flat inside the lamp to guarantee even light distribution across the entire nail surface. - 15Apply glossy top coat
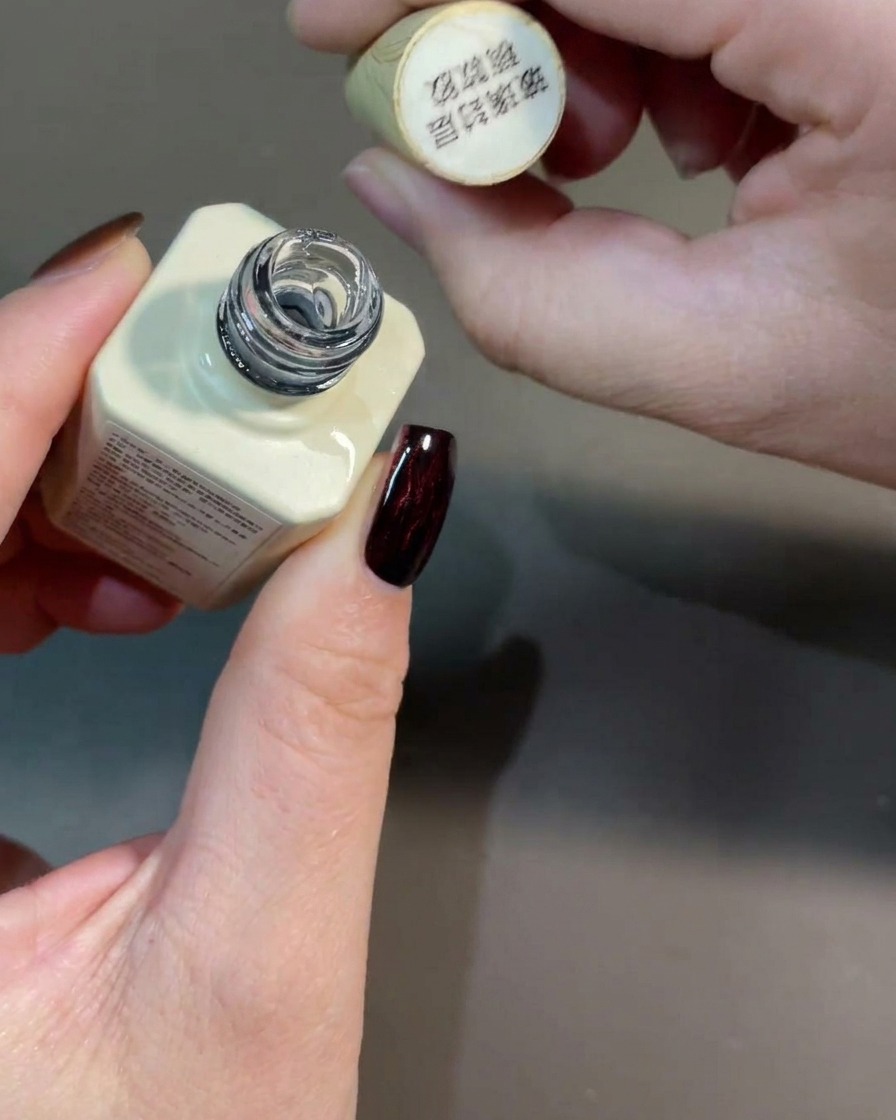
Apply a final layer of high-shine glossy top coat over the entire nail. This step seals the design, protects the nail art, and provides a smooth, glass-like finish that enhances the depth of the red tint and the flame details.
Tip: Cap the free edge with the top coat to prevent chipping and ensure the design stays protected at the tips. - 16Final cure
Perform a final cure of the top coat under your UV or LED lamp according to the product instructions. This step fully hardens the top layer, leaving you with a durable, scratch-resistant, and high-gloss finished manicure.
Tip: Give the nails a few seconds to cool down after removing them from the lamp before touching them to check for dryness.