Green Glass Cat Eye Gel Nails — Professional Magnetic Art Tutorial
Master the art of the cat eye look with this magnetic gel tutorial. Learn how to shape glowing, deep-set shimmer lines for a mesmerizing, professional finish.
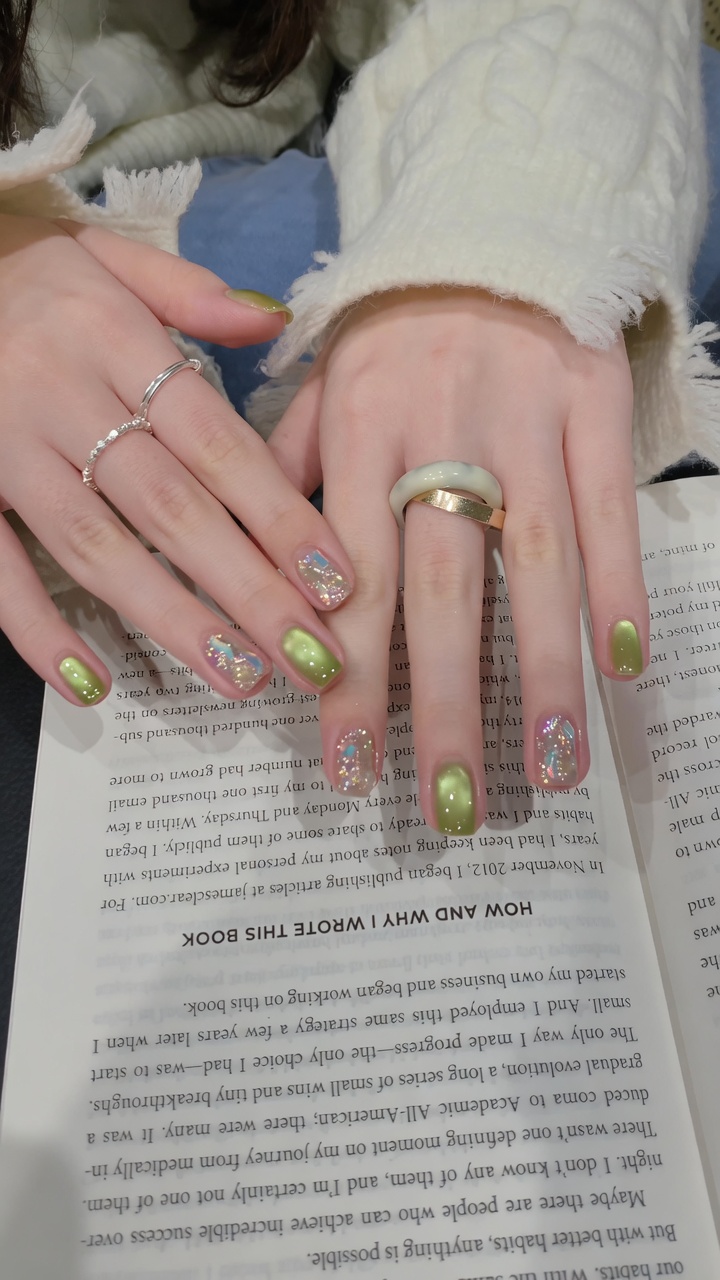
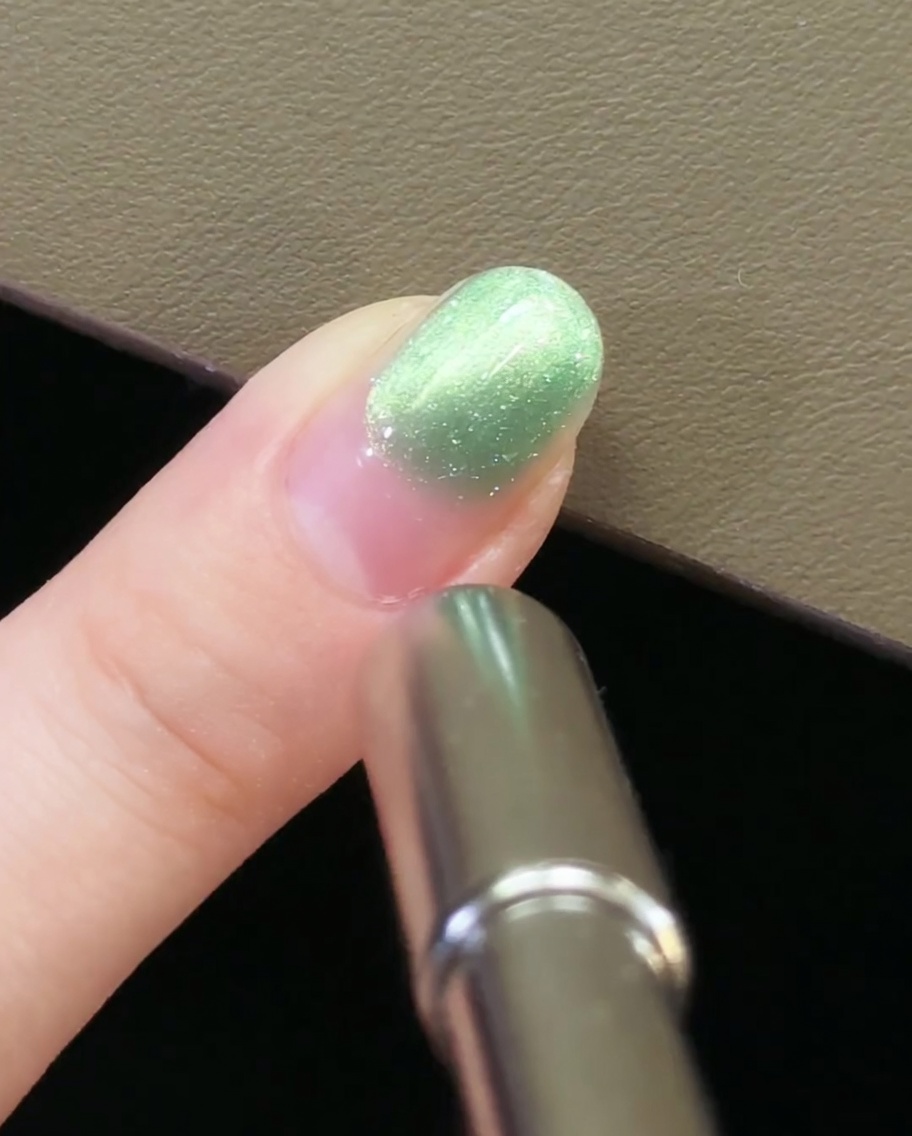
Cat eye gel polish offers a unique, multidimensional look that mimics the gemstone chrysoberyl. By using magnetic tools to manipulate metal particles within the wet gel, you can create ethereal, glowing patterns that shift with light. This technique is perfect for adding a touch of modern, high-fashion glamour to your manicure.
Steps
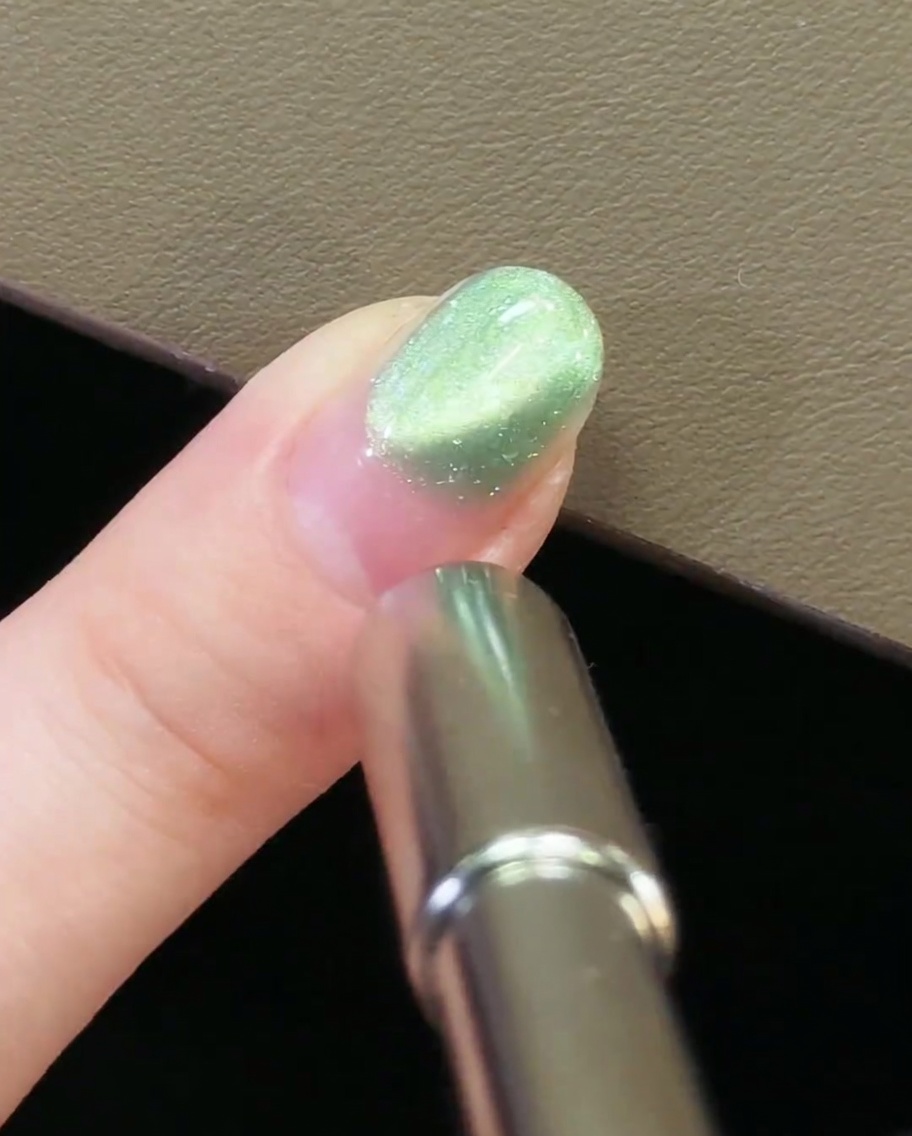
- 1Position the magnet
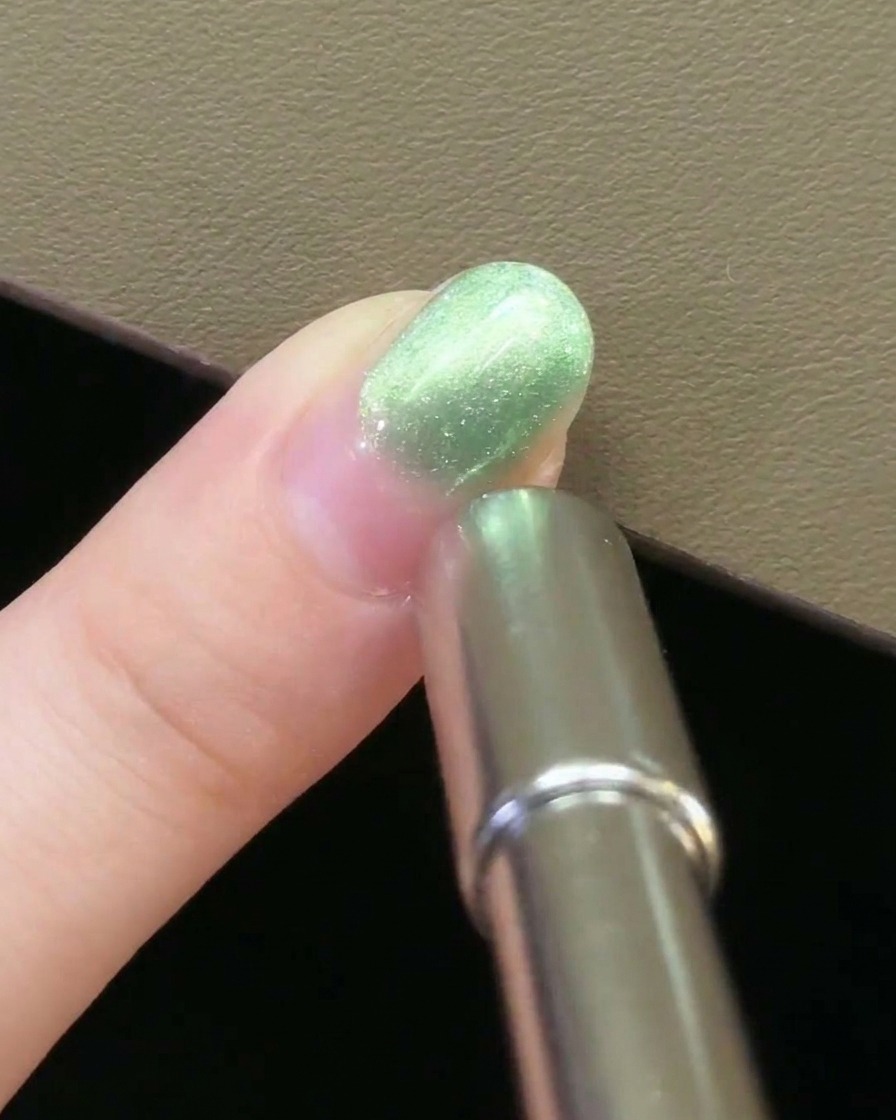
Place the magnet parallel to the side of the nail plate. Hold it steady close to the nail without touching the wet gel polish to begin shifting the magnetic particles into your desired pattern.
Tip: Keep the magnet close for a stronger effect, but be careful not to smudge the uncured gel. - 2Create an arched effect
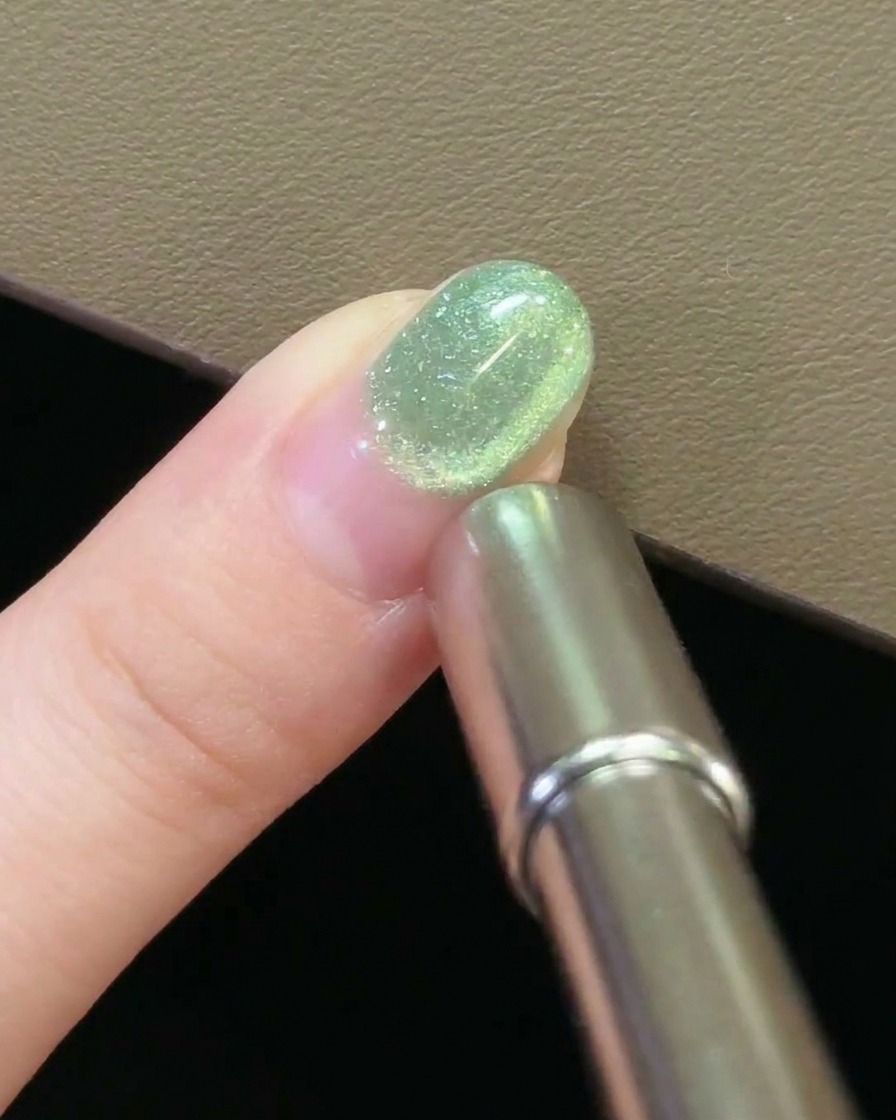
Shift the magnet to the posterior (cuticle) edge of the nail. This positioning helps pull the magnetic particles into a soft, curved arch across the nail surface.
Tip: Angle the magnet slightly to get a more defined arch. - 3Shape the magnetic pigment
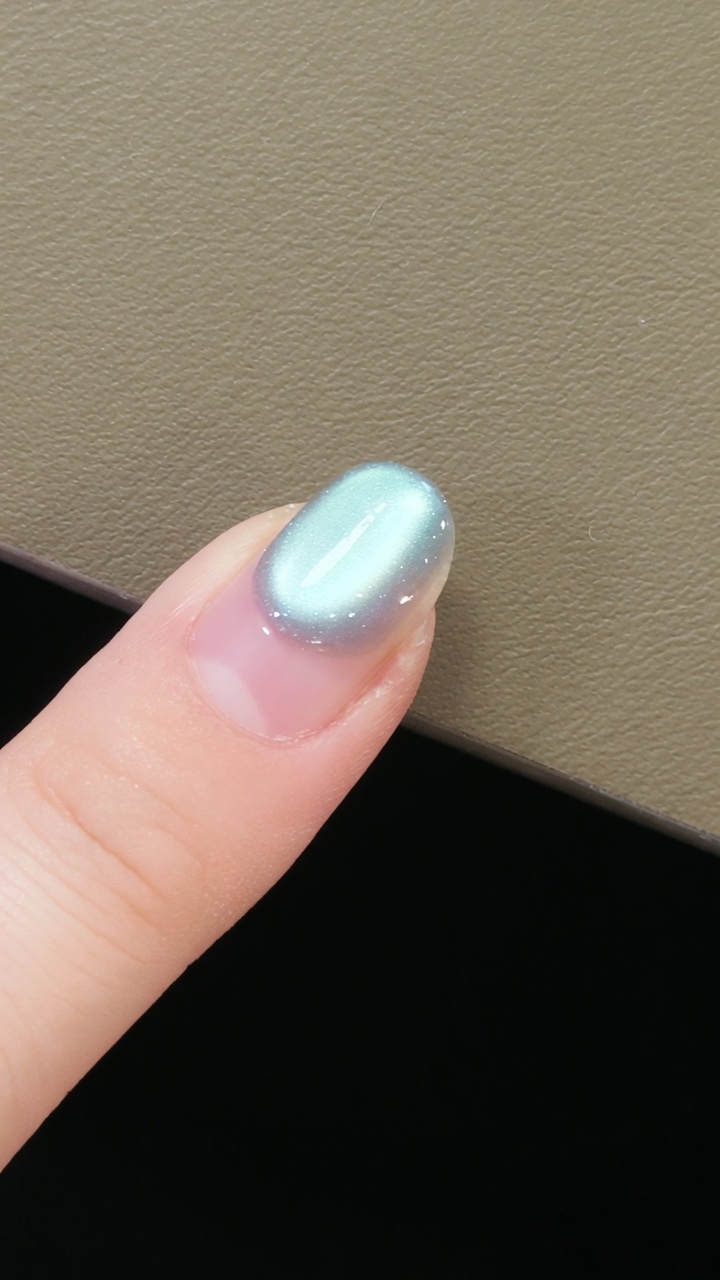
Trace slow, controlled circular motions with the magnet over the nail surface. This movement gently redistributes the magnetic pigment to create depth and dimension.
Tip: Keep your hand steady to ensure smooth, flowing transitions in the magnetic design. - 4Refine the cat-eye pattern
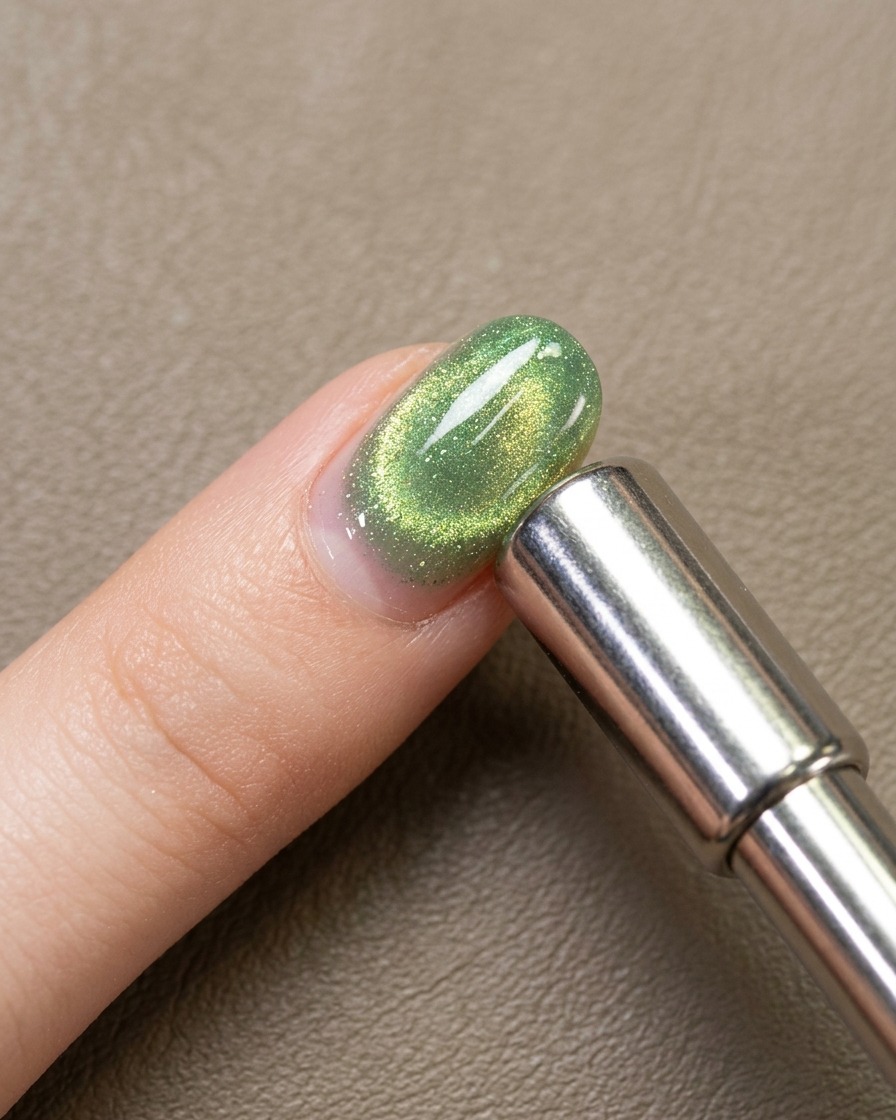
Continue using slow, consistent circular movements to refine the cat-eye pattern. This step allows you to build the intensity and placement of the magnetic glow until you are satisfied with the design.
Tip: Take your time here; the more patience you have, the more detailed the design will be. - 5Finalize the magnetic design
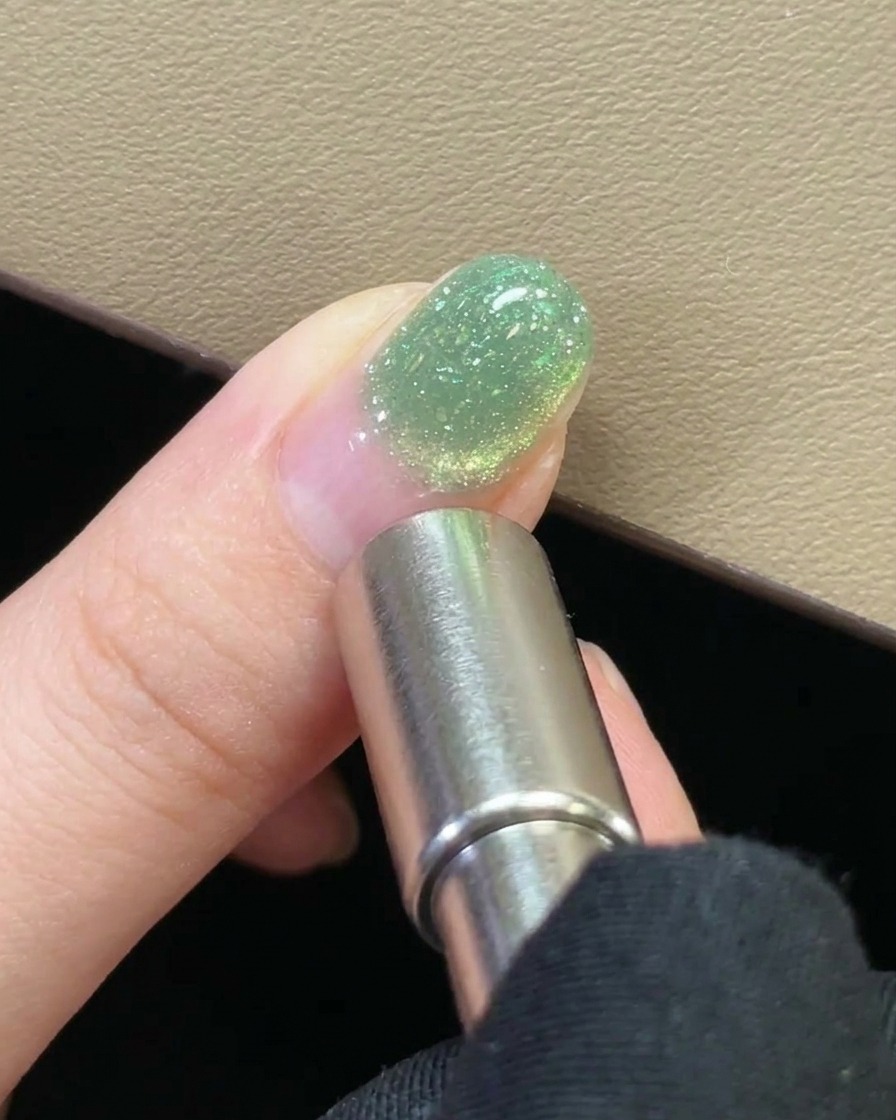
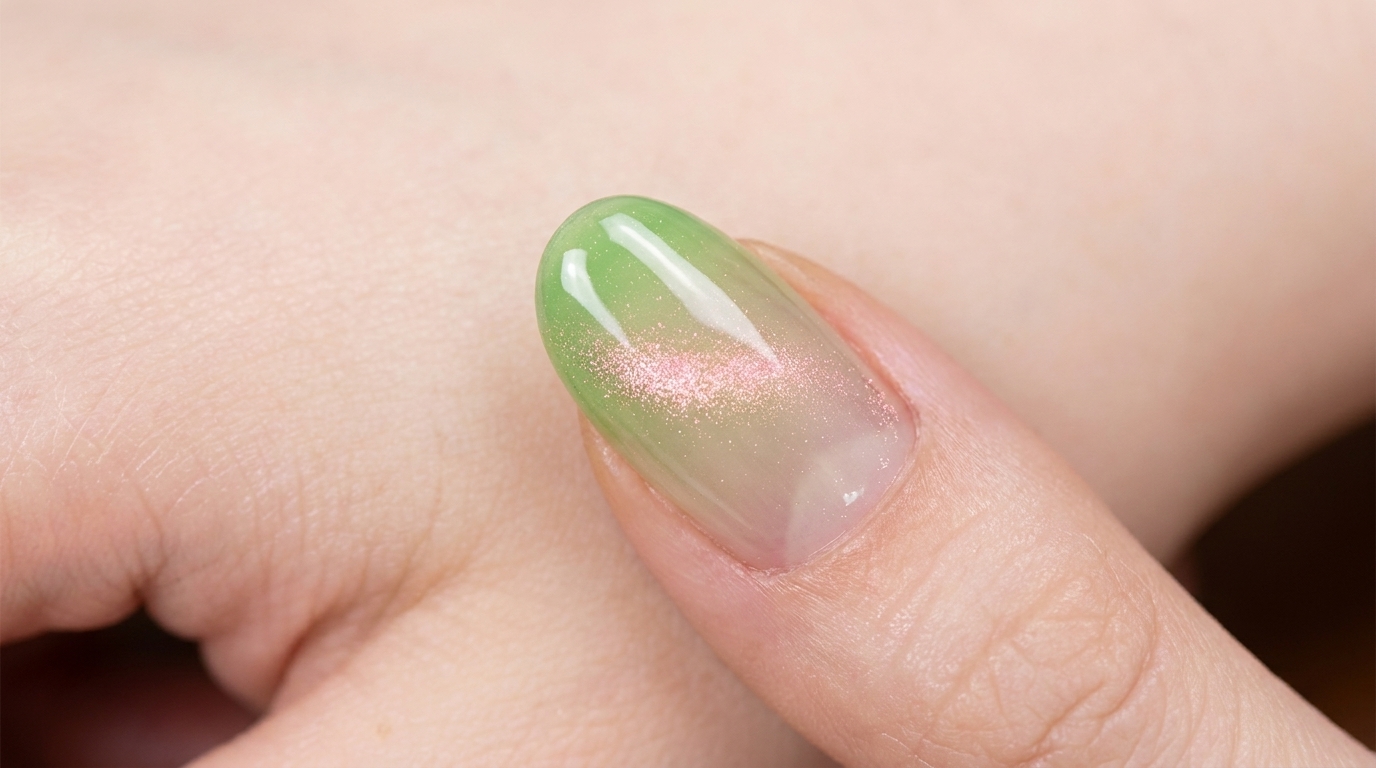
Examine the nail and perform any final adjustments to the magnetic glow. Ensure the pigment is shaped exactly how you want it before you proceed to set the design.
Tip: Check the design from different angles to ensure the shimmer looks even. - 6Set the magnetic effect
Once you are happy with the design, quickly pull the magnet directly away from the nail. This swift motion helps freeze the magnetic pigment in place before it has a chance to drift.
Tip: Move the magnet away decisively to prevent dragging or blurring the finished effect.