Spring Honeydew Green Cat-Eye Gradient Nails — Step-by-Step Tutorial
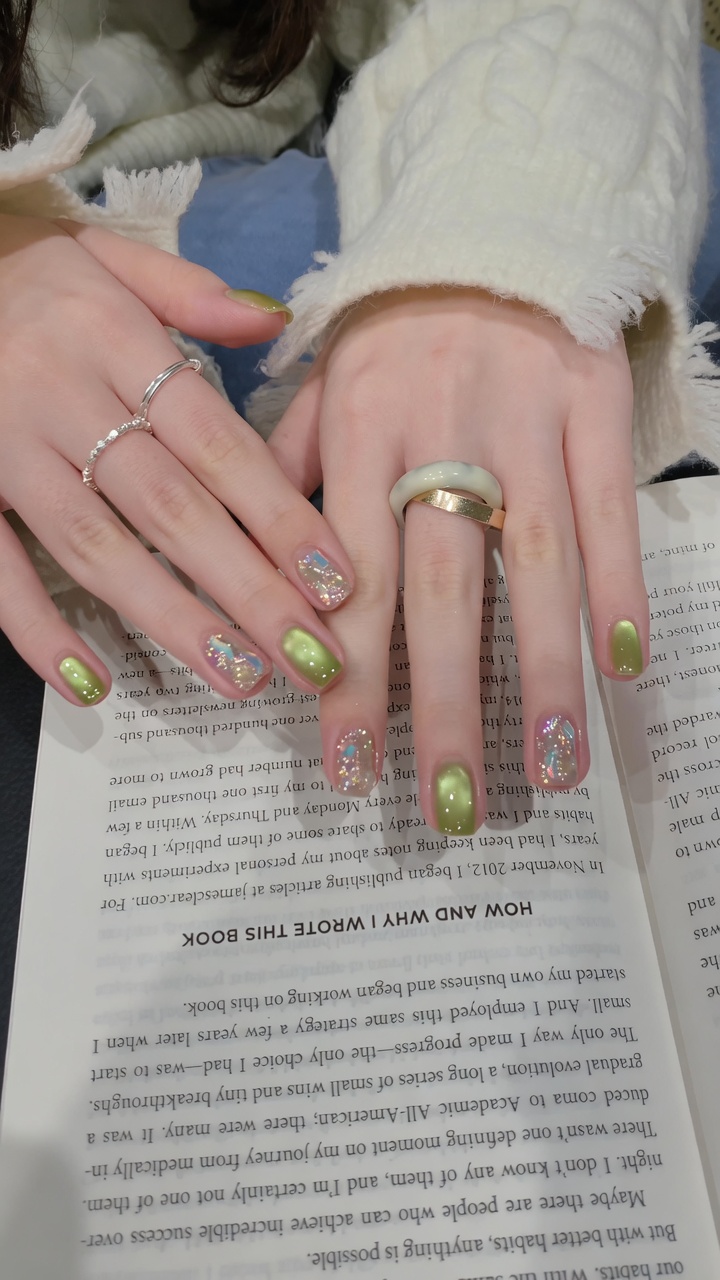
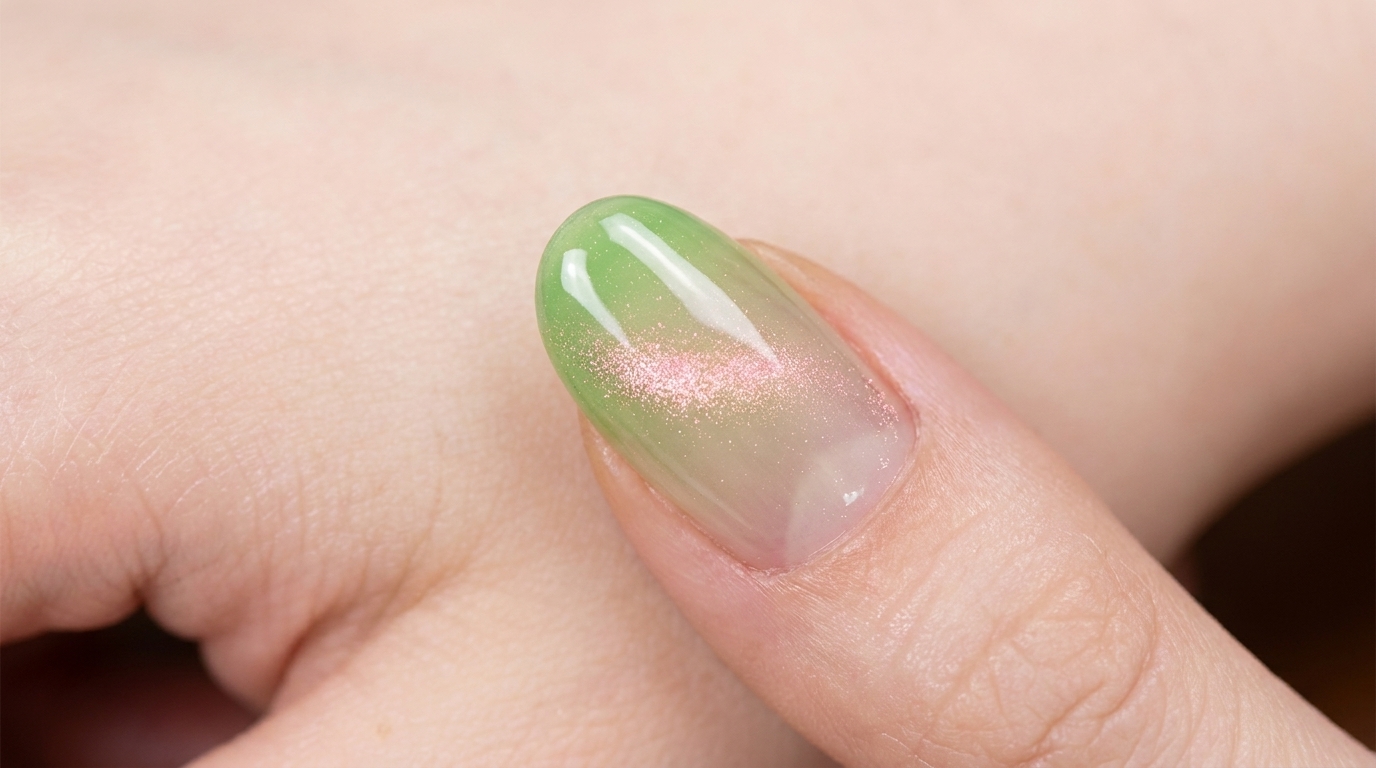
Elevate your manicure with this fresh honeydew green ombre look featuring a luminous pink-gold cat-eye shimmer. Perfect for a vibrant, modern spring aesthetic.
This unique gradient look combines the airy, fresh feel of spring greens with the mesmerizing depth of magnetic cat-eye polish. By layering a subtle green ombre with a pink-gold shimmer, you achieve a multidimensional effect that catches the light beautifully. Follow this tutorial to learn how to master the sponge-blending technique and magnetic gel placement for a flawless, salon-quality finish at home.
Steps
- 1Apply green gradient base
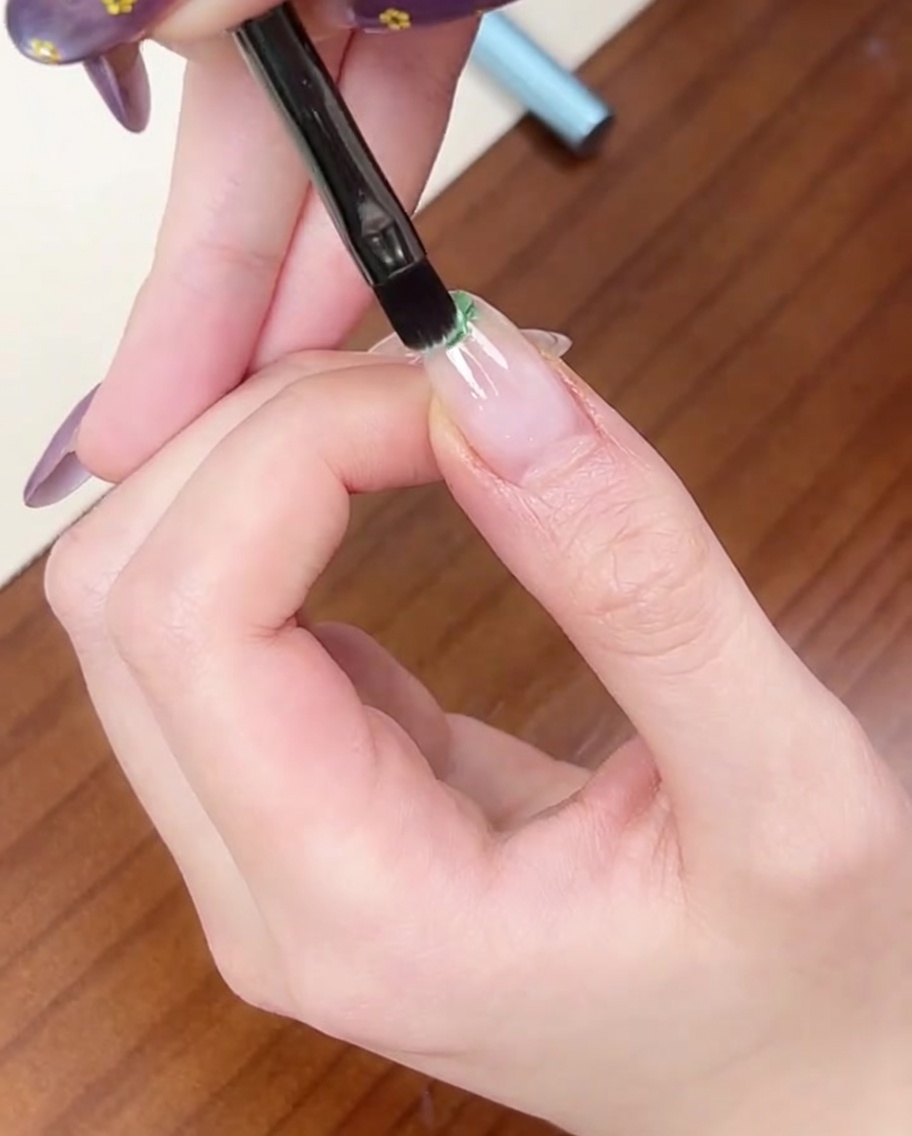
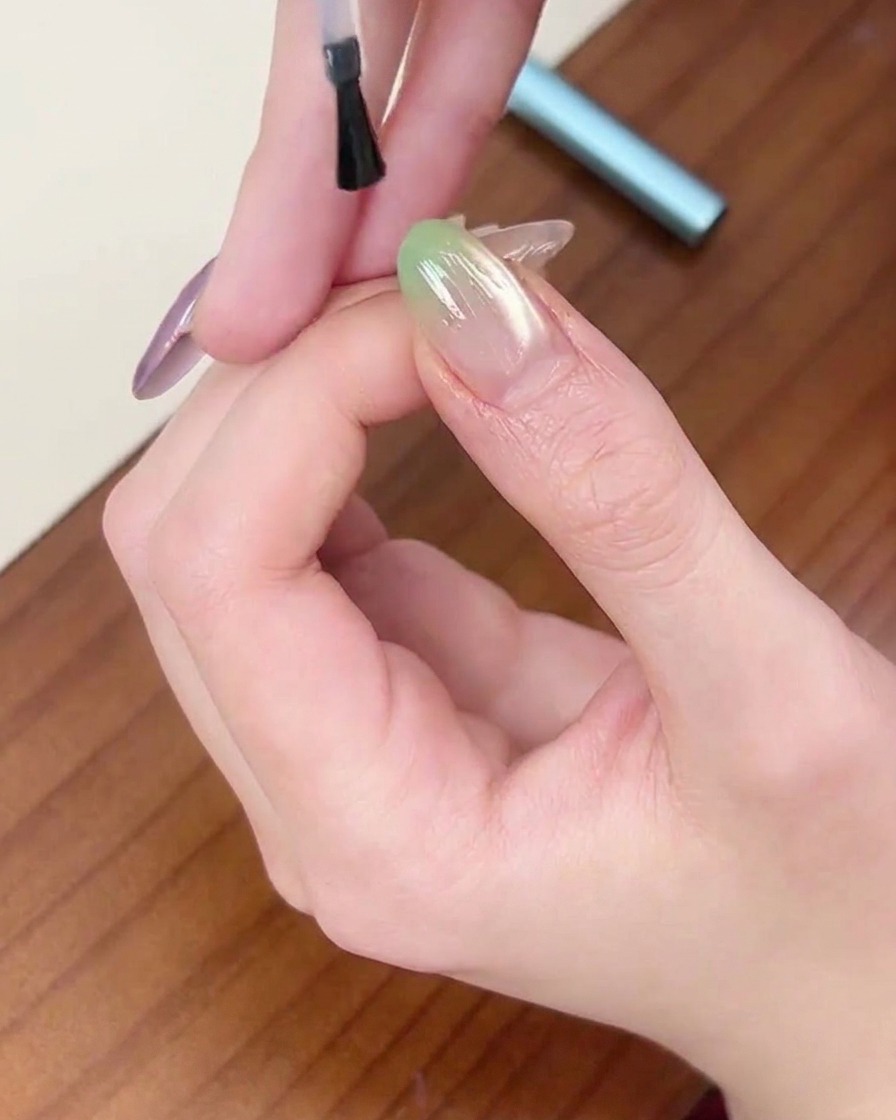
Apply a small amount of light green gel polish to the free edge of your nail using a flat gel brush. Keep the layer thin to ensure it can be easily blended into a smooth gradient.
Tip: Focus the color primarily on the tip; you will blend it toward the cuticle in the next step. - 2Create gradient effect
Using a small, clean sponge, gently dab over the wet green gel on your nail. Continue patting the sponge to diffuse the color toward the cuticle, softening the line until you achieve a smooth gradient.
Tip: Use light, quick tapping motions to prevent lifting the product off the nail. - 3Cure the gradient
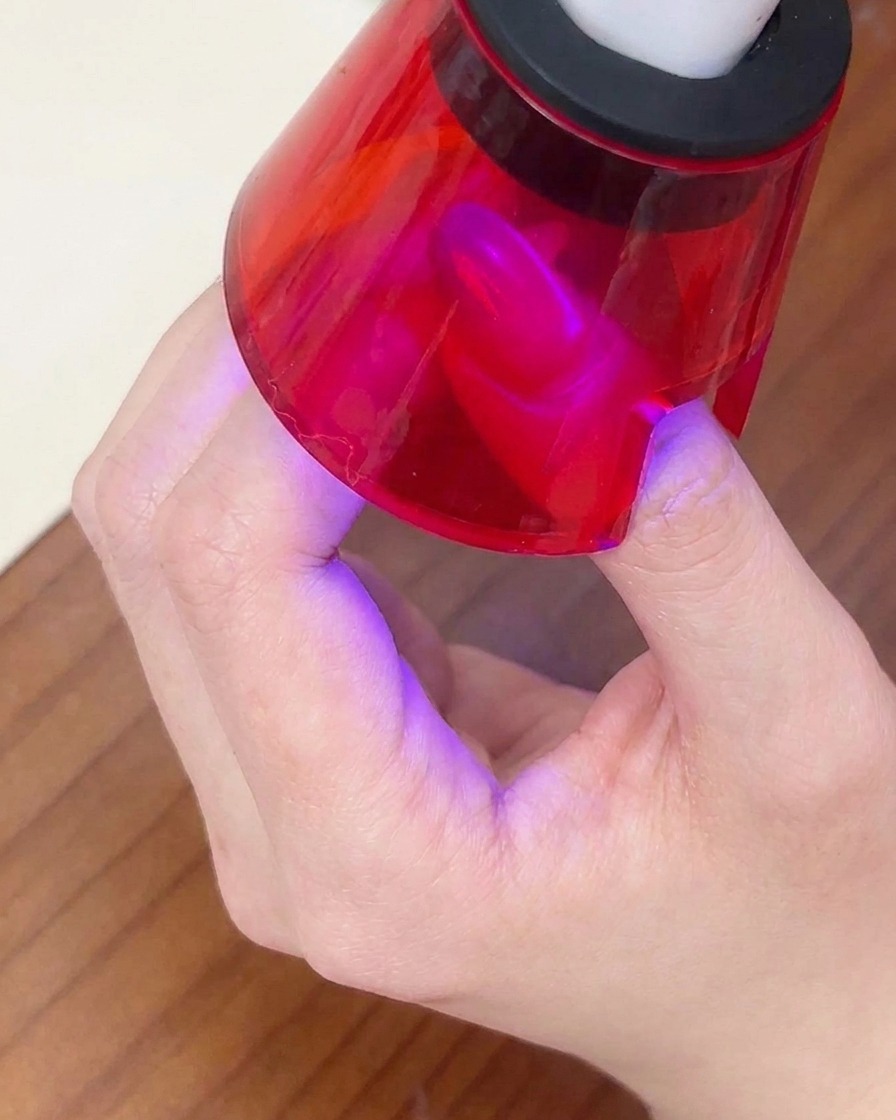
Place your finger under your UV or LED lamp and cure the gradient layer for the manufacturer-recommended time. Ensure the nail is positioned correctly to allow for even curing.
Tip: Make sure your finger is centered under the light for a complete cure. - 4Apply magnetic gel
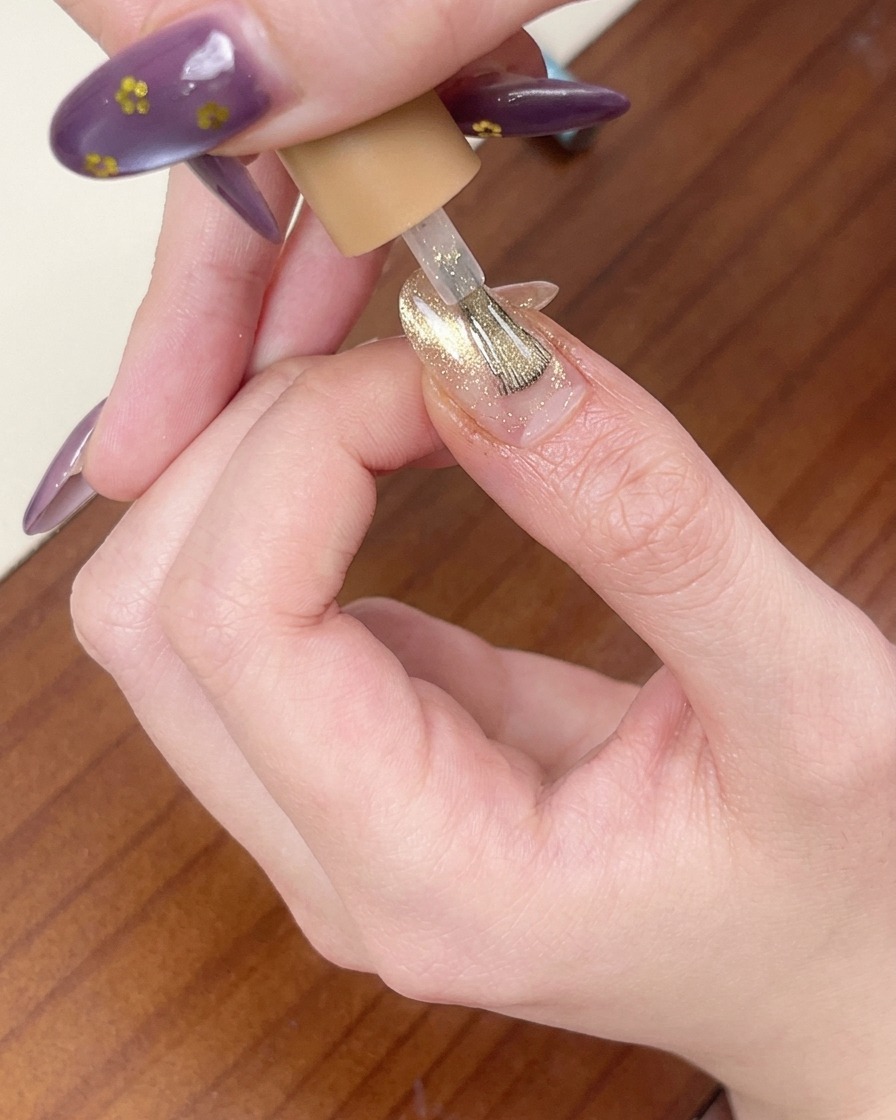
Apply a layer of translucent pink-gold magnetic cat-eye gel polish over the entire surface of the nail. This layer provides the base for the shimmering magnetic effect.
Tip: Apply an even coat to ensure the magnetic particles have a consistent surface to move across. - 5Form magnetic shimmer
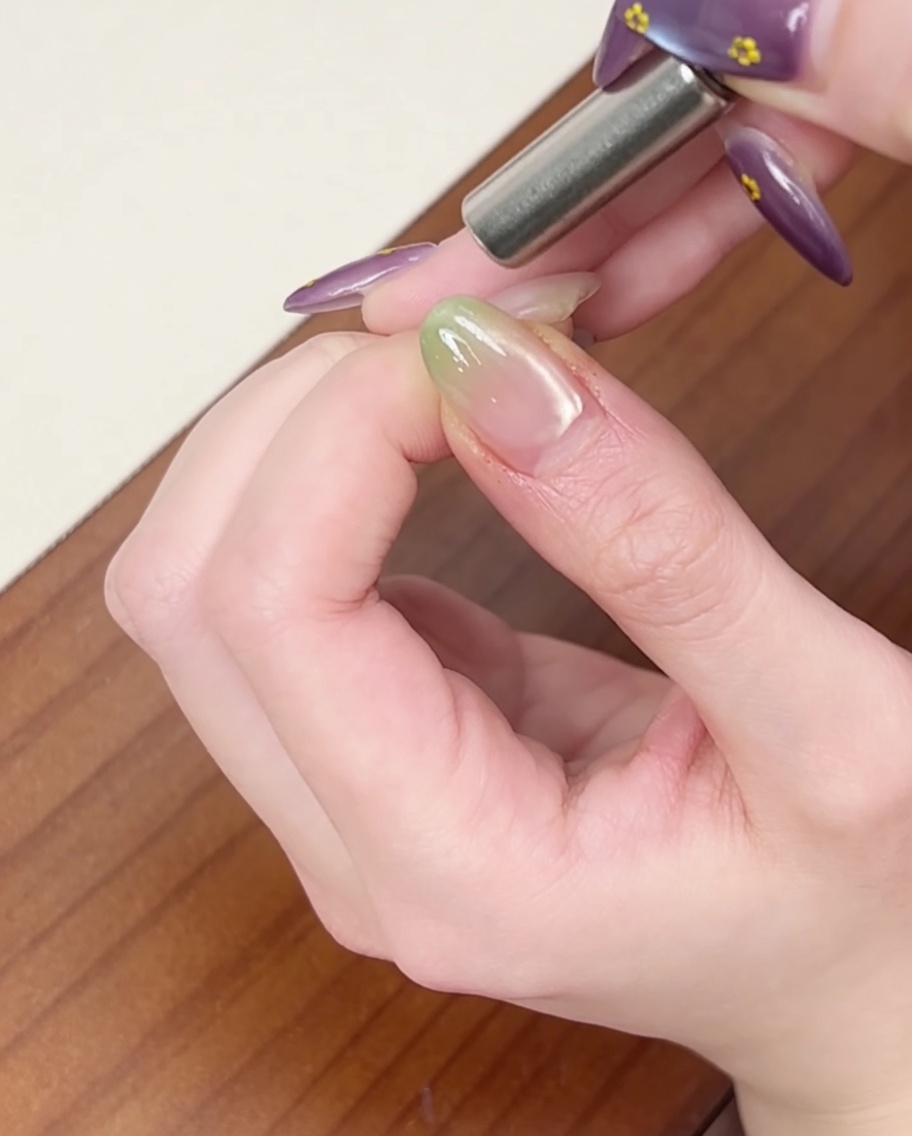
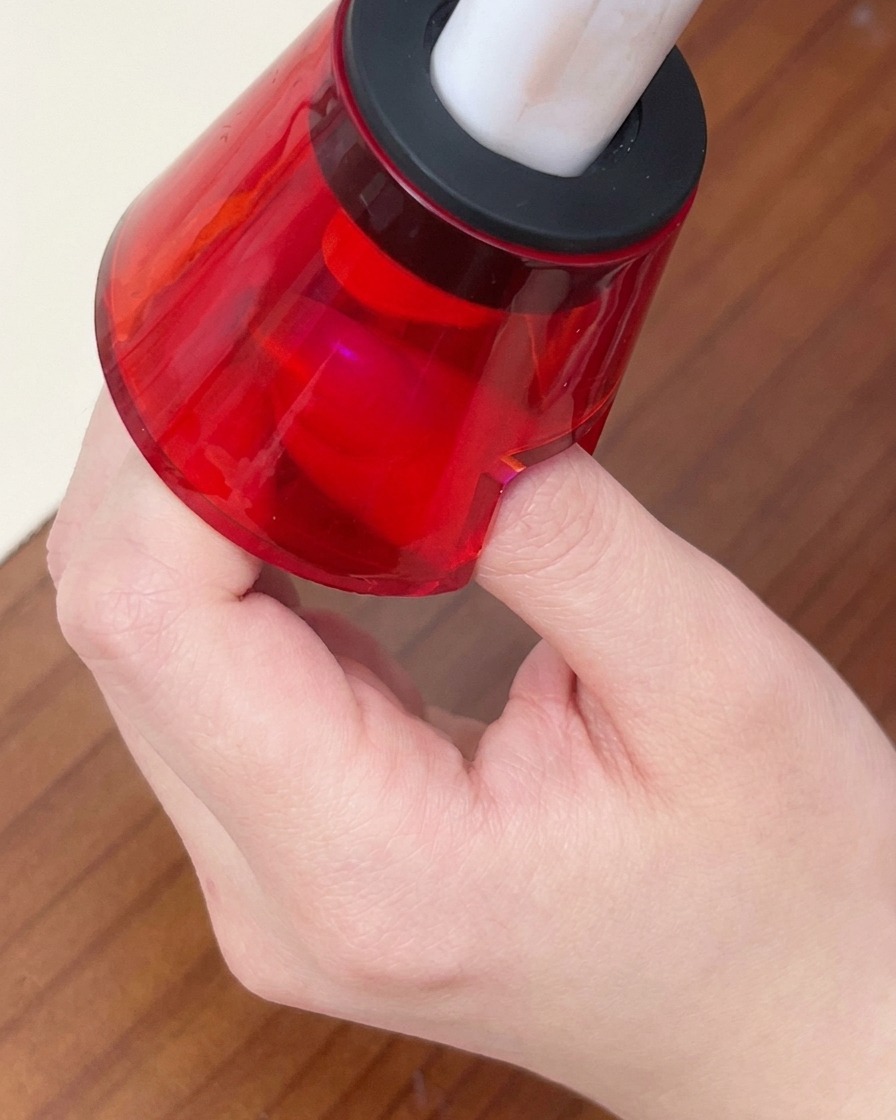
While the cat-eye gel is still wet, hover a cylindrical magnet closely along the side of the nail. The magnetic particles will migrate toward the magnet, creating a concentrated, shimmering line of light.
Tip: Keep the magnet steady and close to the nail without touching it to get the sharpest shimmer line. - 6Cure magnetic design
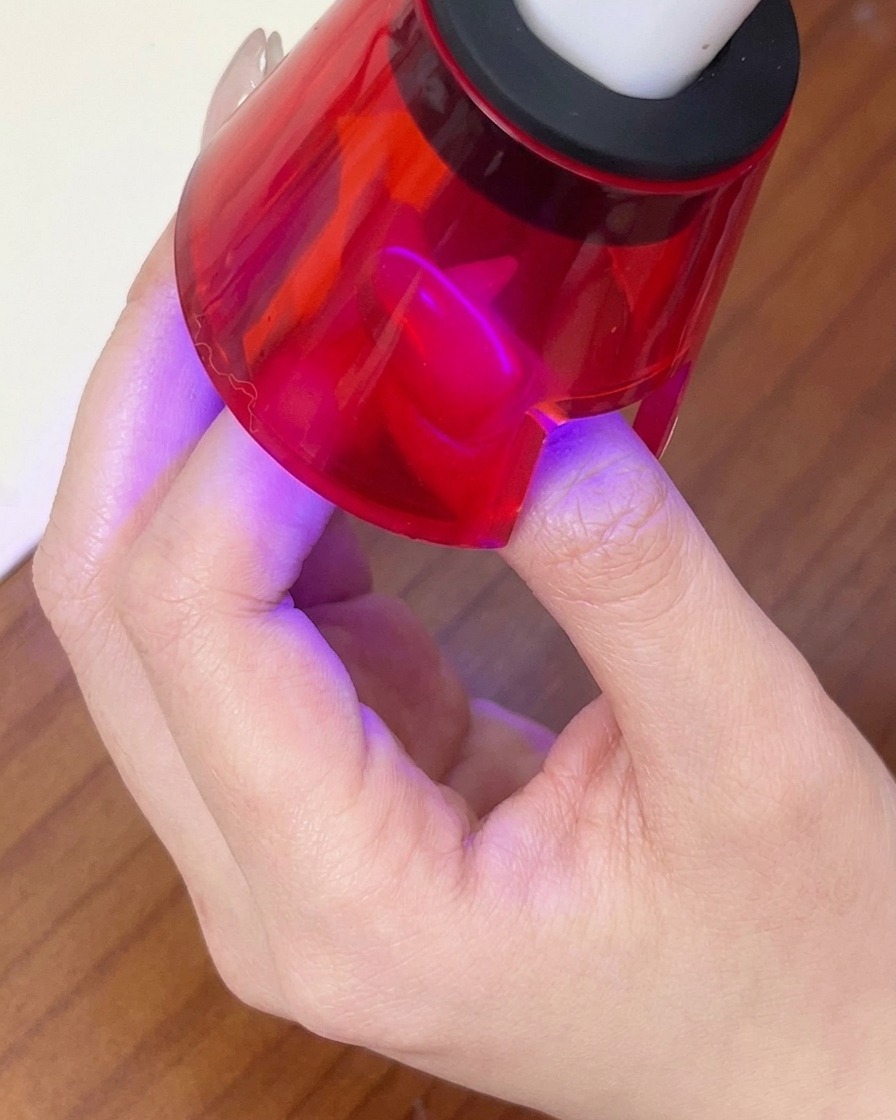
Immediately place your nail back under the UV or LED lamp to cure and set the magnetic design in place. This prevents the particles from shifting once you remove the magnet.
Tip: Cure immediately after achieving the desired magnetic pattern to lock it in. - 7Deepen the gradient tip
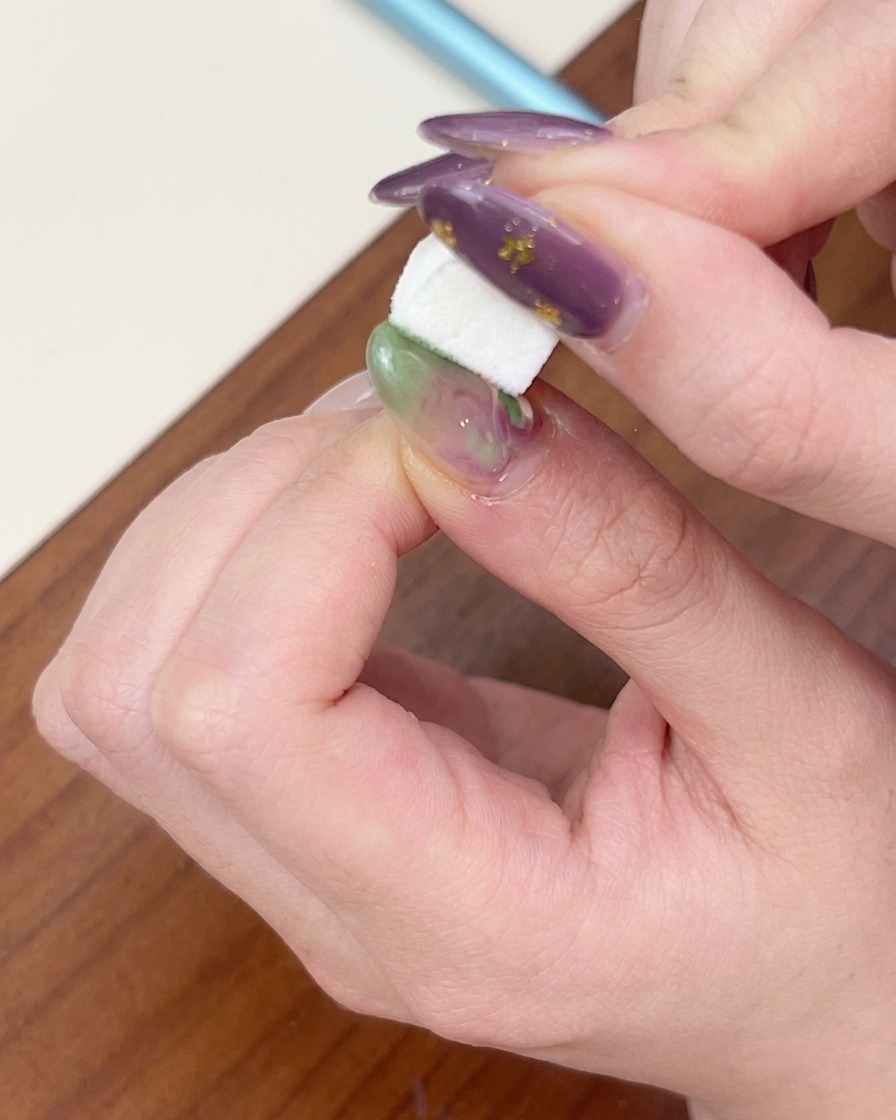
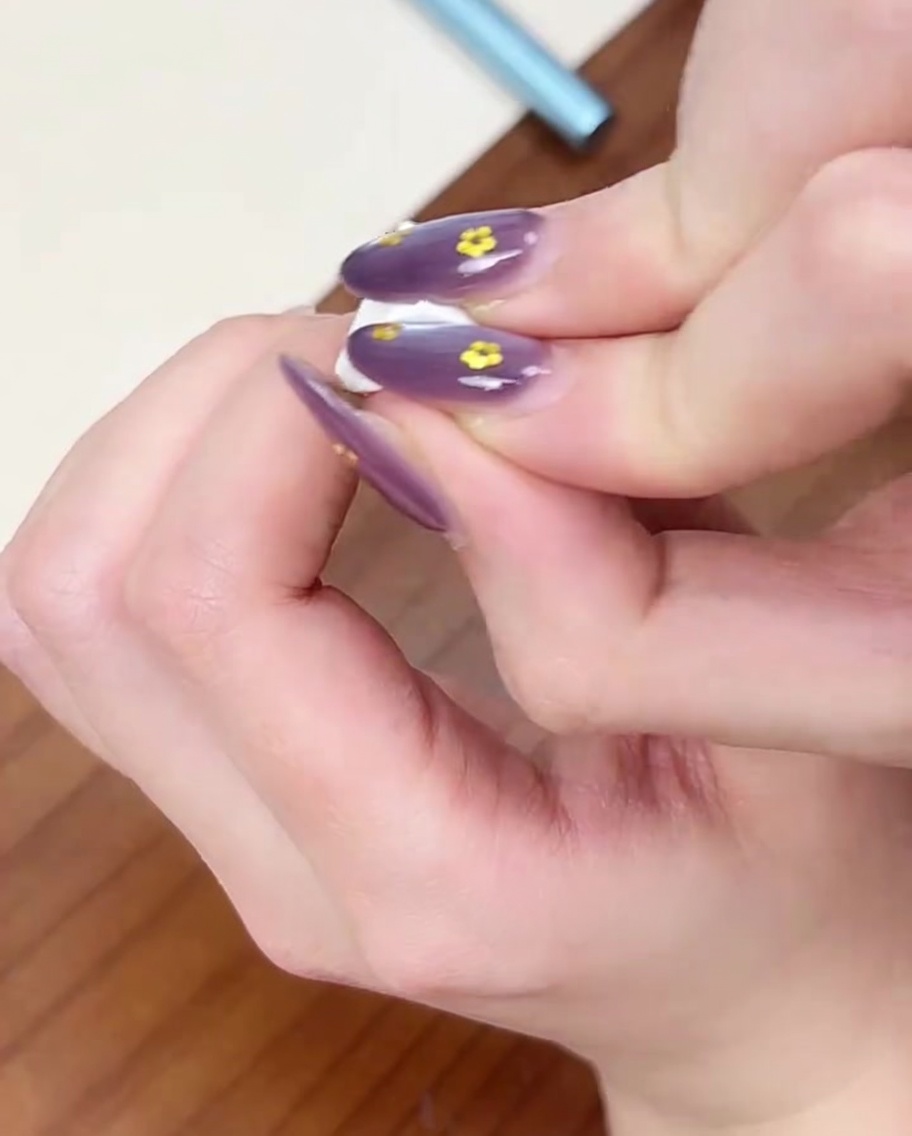
Using a small makeup sponge, pick up a small amount of dark green gel polish. Gently pat the sponge onto the very tip of the nail, overlapping slightly with the previous gradient to intensify the color and create a smoother transition. Ensure the pigment is focused on the free edge to deepen the overall ombre look.
Tip: Use a light, dabbing motion to avoid creating air bubbles or removing the underlying gel layer. - 8Cure the deepened gradient
Place the nail under your LED or UV lamp to cure the dark green gel tip. Ensure the finger is positioned correctly to allow the light to penetrate the product evenly, curing for the full time recommended by your gel polish manufacturer.
Tip: Check that the lamp is positioned directly over the tip of the nail for consistent curing. - 9Apply glossy top coat
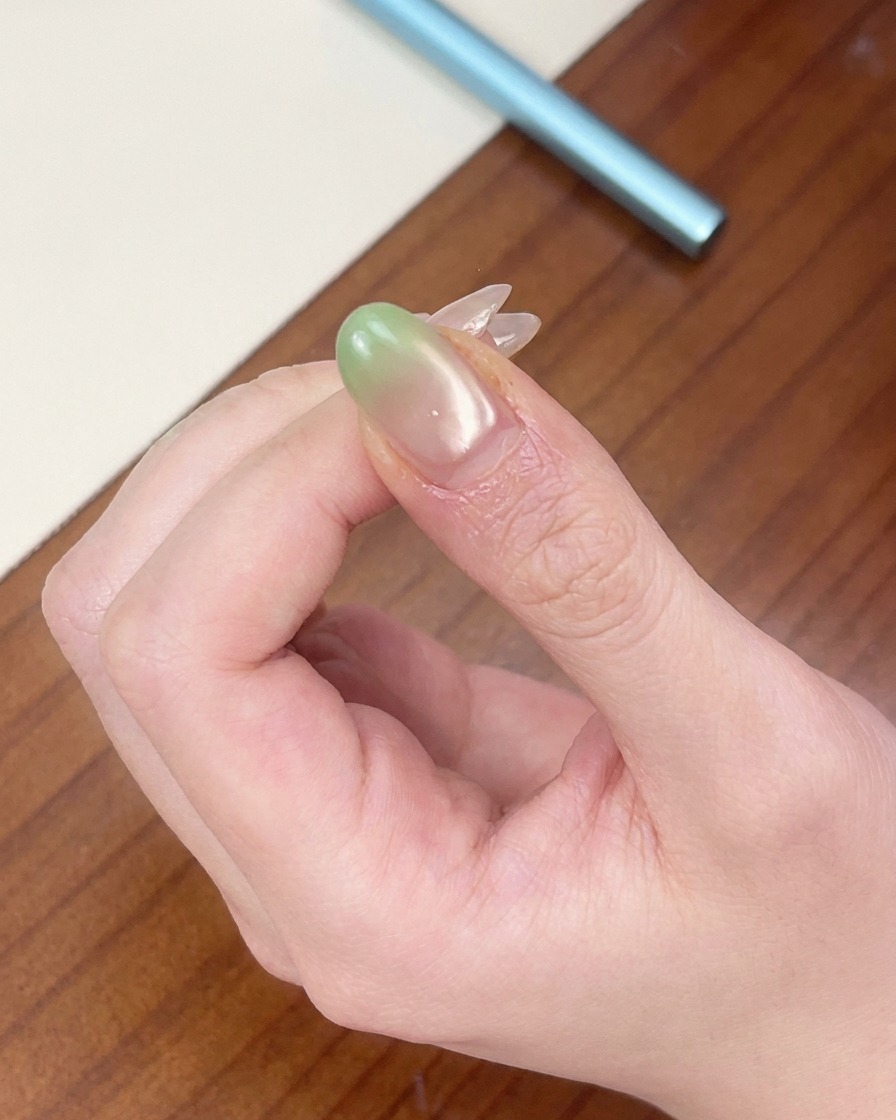
Apply an even, glossy no-wipe top coat over the entire nail surface. Ensure you cap the free edge completely to protect the design and prevent chipping. The top coat will lock in the gradient and cat-eye effects while providing a high-shine finish.
Tip: Ensure the top coat is applied smoothly, as this is the final layer that will determine the final texture and gloss. - 10Final cure
Cure the nails one final time under the UV or LED lamp to set the top coat completely. This final cure ensures the manicure is durable, hardened, and free of any sticky residue.
Tip: Do not rush this final cure; a thorough cure is essential for a long-lasting, high-gloss finish.