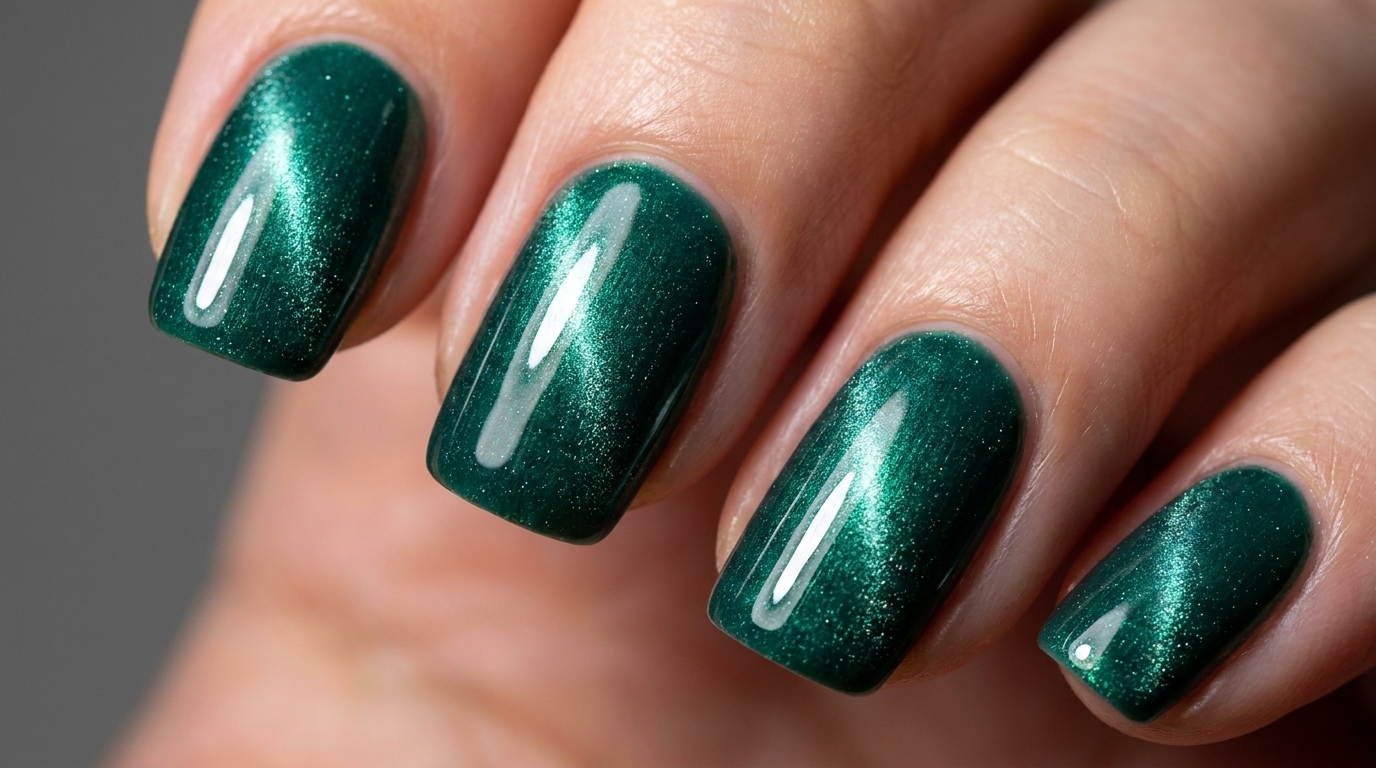
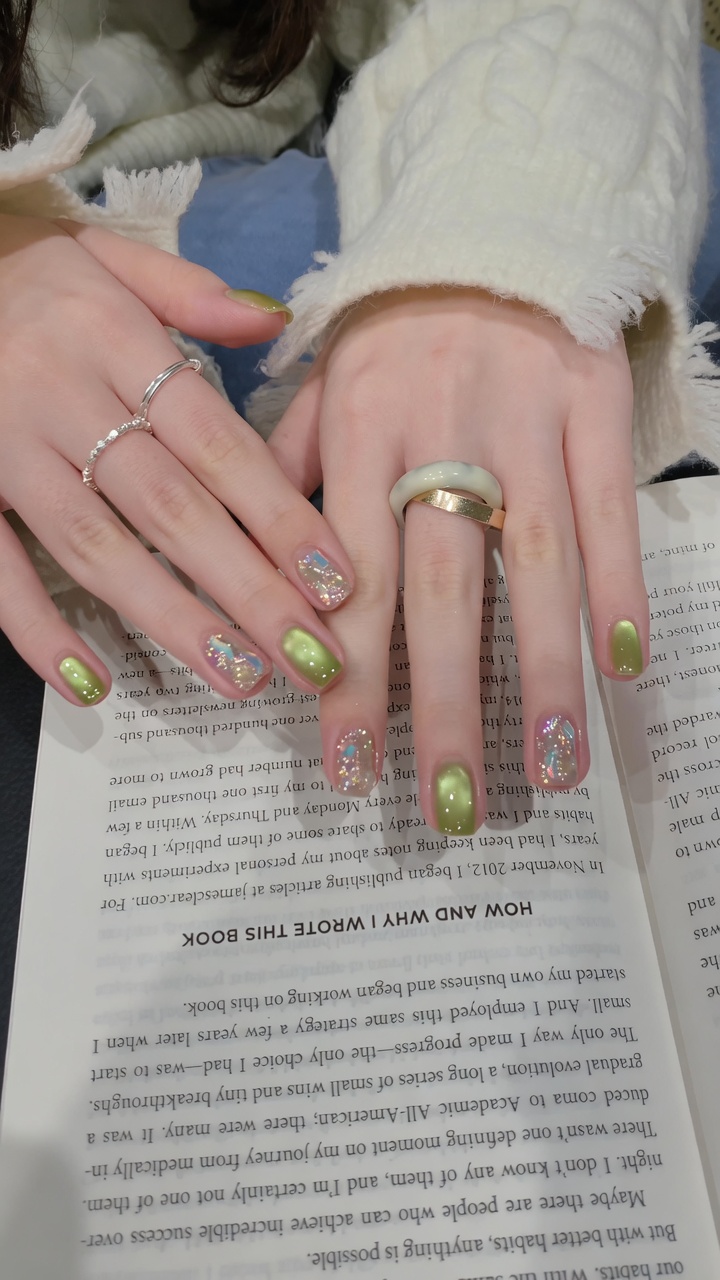
Vibrant Green Cat-Eye Gel Nails
Glitter Accent — Step-by-Step Tutorial
Achieve a mesmerizing green cat-eye effect at home. This step-by-step tutorial pairs vibrant magnetic polish with a sparkling rhinestone accent nail for a stunning finish.
Cat-eye gel polish continues to dominate nail trends with its captivating, velvety illusion. This look pairs a vibrant, light-catching green magnetic gel with a densely packed silver glitter accent nail, creating a beautiful balance of textures. Whether you are new to magnetic tools or a seasoned DIYer, this straightforward technique uses an all-in-one structured gel formula that streamlines the process while adding durability to your natural nails.
Steps
- 1Apply green cat-eye gel
Apply a base layer of the green cat-eye gel polish across the entire nail plate. Ensure the application is thin and even to provide a smooth foundation for the magnetic effect, being careful to avoid the skin.
Tip: Applying an even base layer is crucial for the magnetic particles to move uniformly when you use the tool. - 2Cure the gel layer
Place your finger inside the UV/LED lamp to cure the applied gel layer. Follow the manufacturers recommended curing time to ensure the product is fully set and ready for the next application.
Tip: Ensure your finger is centered under the light for the most even cure. - 3Apply second coat of cat-eye gel
Apply a second, slightly thicker coat of the green cat-eye gel. This layer is necessary for the magnetic particles to have enough depth to be manipulated into the desired cat-eye effect.
Tip: Keep this layer wet until you are ready to use the magnetic tool to ensure the particles move easily. - 4Create the cat-eye effect
While the second coat is still wet, hover the magnetic nail tool over the nail. Hold it steady without touching the surface to attract the shimmer particles and create the distinct cat-eye line.
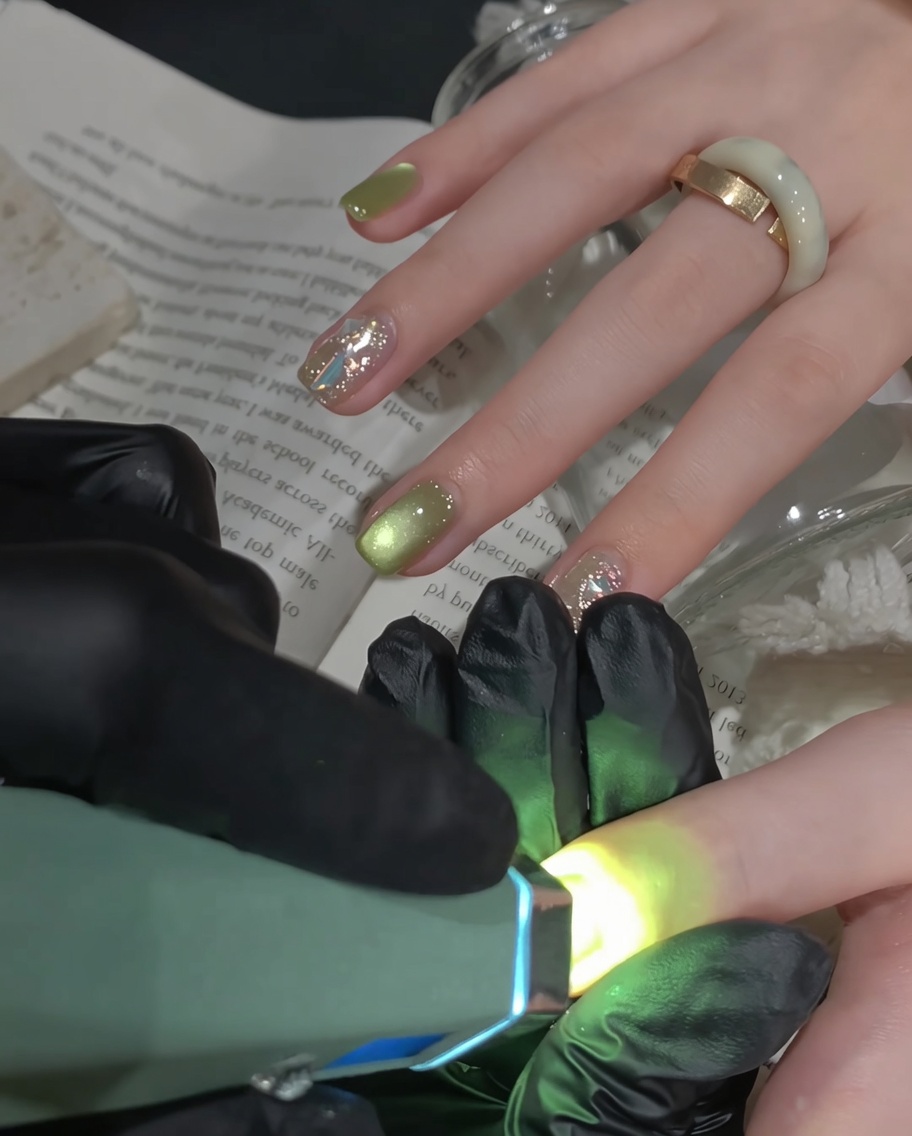
Tip: Experiment with the angle of the magnet to change the position or width of the cat-eye shimmer line. - 5Cure the magnetic design
Immediately after achieving your desired cat-eye pattern, place the nail back into the UV/LED lamp to cure. This locks the magnetic particles in place, preventing the design from shifting.
Tip: Do not wait too long after creating the effect to cure, or the particles may begin to settle or lose the defined line. - 6Apply accent glitter
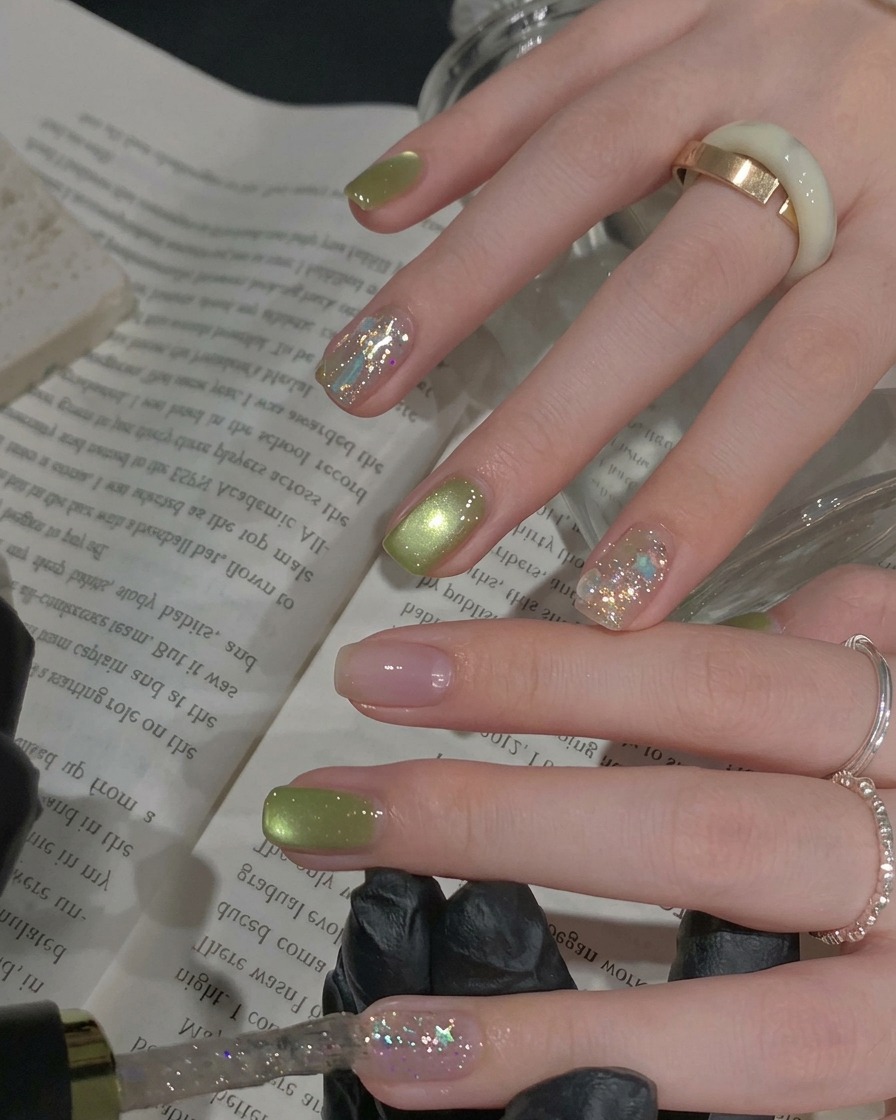
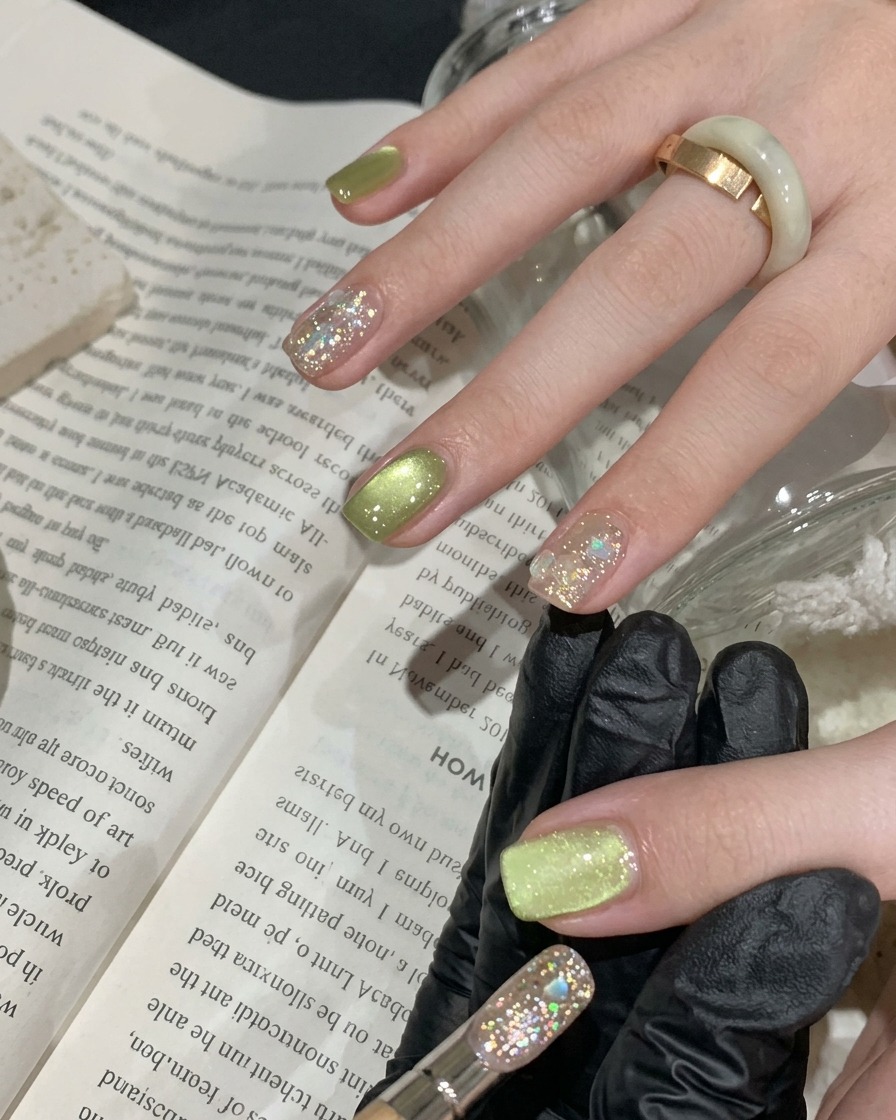
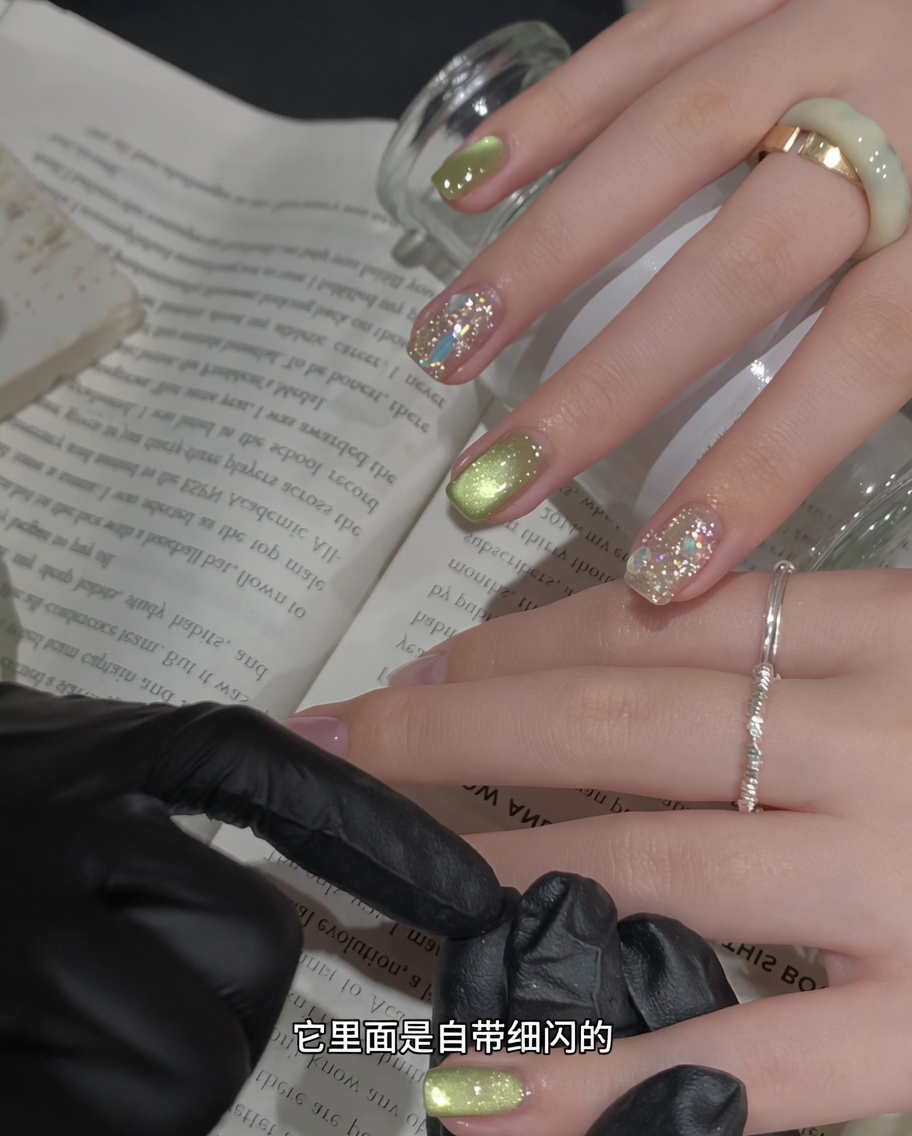
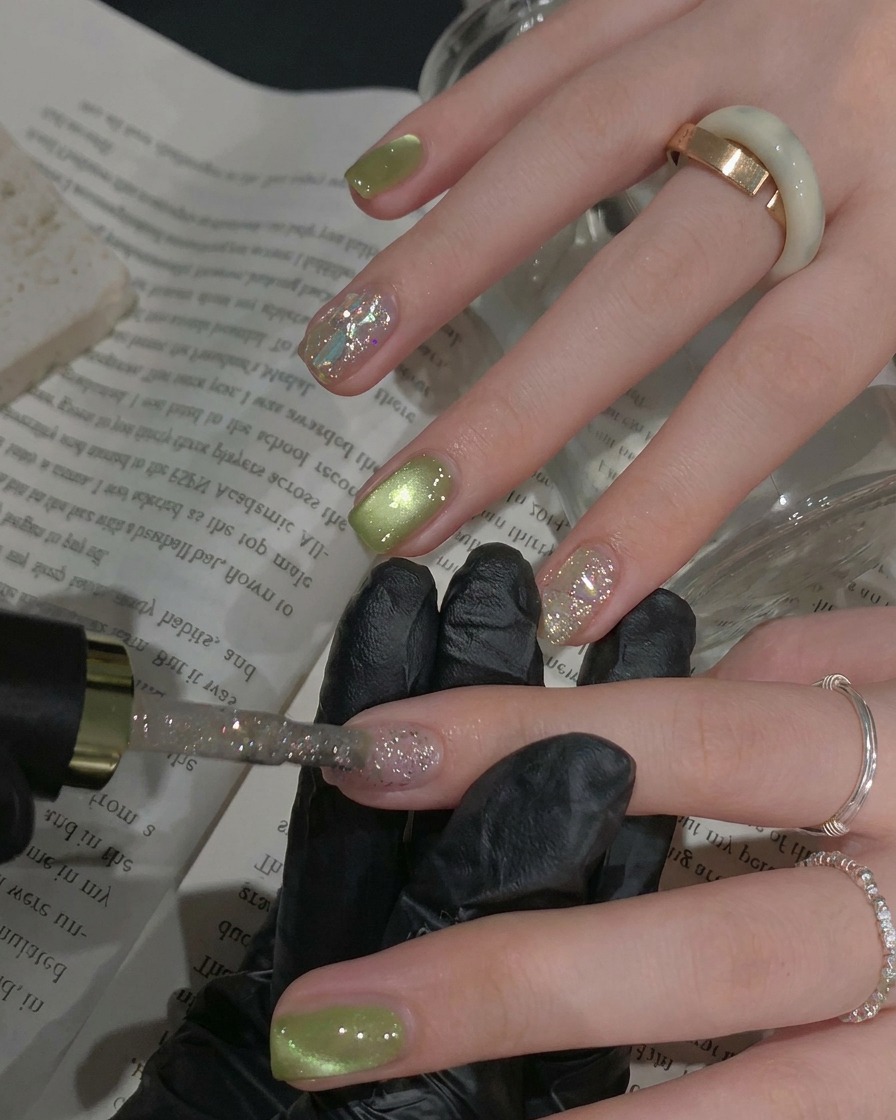
On your designated accent nail, apply the sparkling silver glitter gel polish. Use gentle, sweeping motions to ensure the glitter pieces are distributed evenly across the nail bed for a high-shine finish.
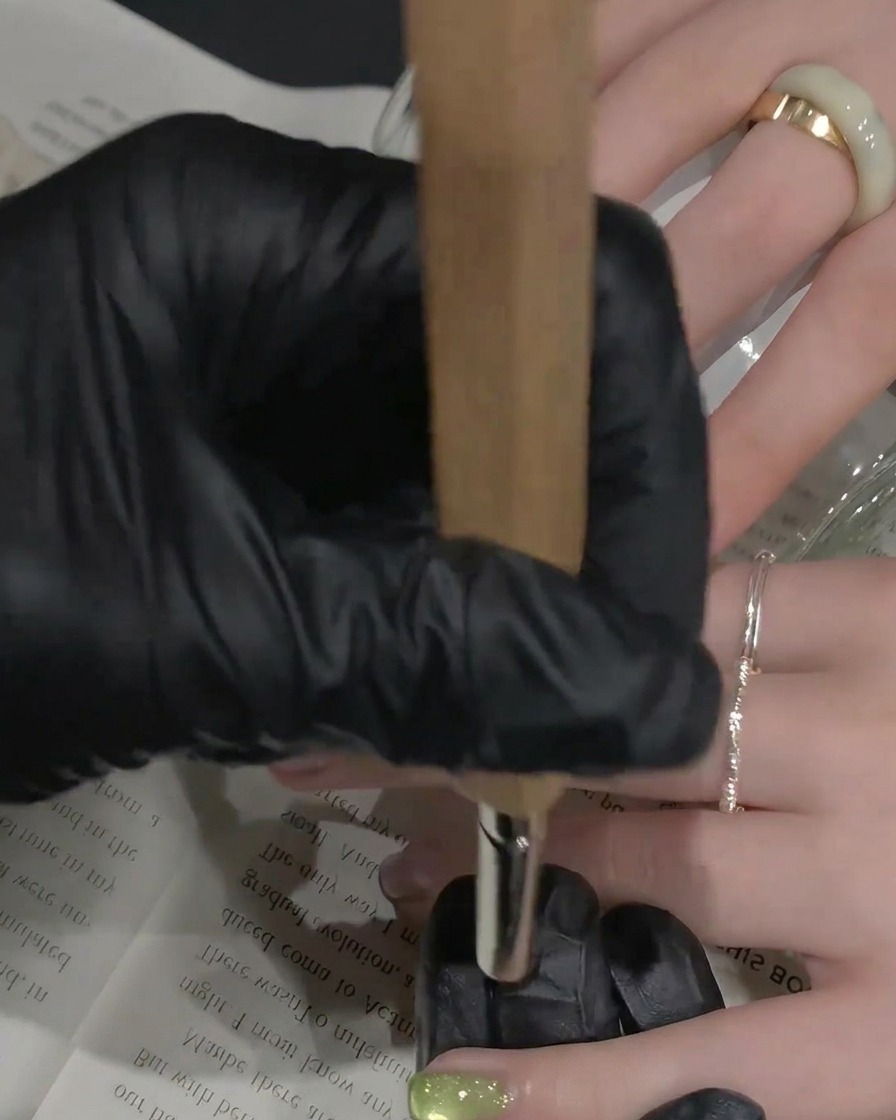
Tip: If the glitter is sparse, you can dab the brush to build up coverage without dragging the polish. - 7Apply rhinestone accents
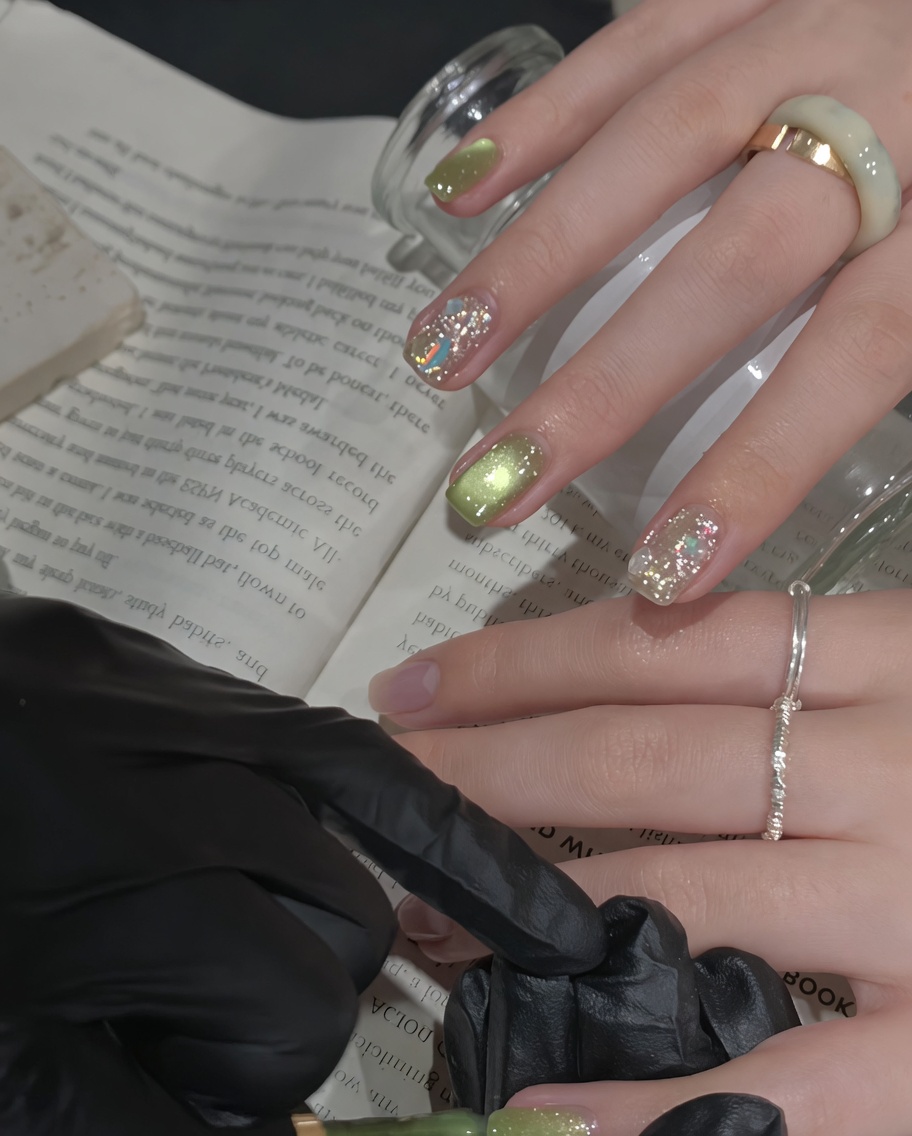
Using a precision detail tool or wax pencil, carefully pick up and place small rhinestones onto the glitter accent nail while the surface is still slightly tacky or set into a small bead of clear gel. Arrange them to create your desired pattern for added sparkle and texture. Once placed, gently press them down to ensure they are secure.
Tip: Work in small sections to keep the rhinestones from moving before they are secured with top coat. - 8Apply final top coat

Apply a final, generous layer of clear gel top coat over all nails, ensuring you fully encapsulate the rhinestones on the accent nail to lock them in place. Cap the free edges thoroughly to prevent chipping and ensure a long-lasting, high-shine finish. Cure under your UV or LED lamp for the full recommended time to seal the design.
Tip: When applying top coat over rhinestones, use a slightly thicker layer to level out the surface and prevent the edges of the stones from catching.