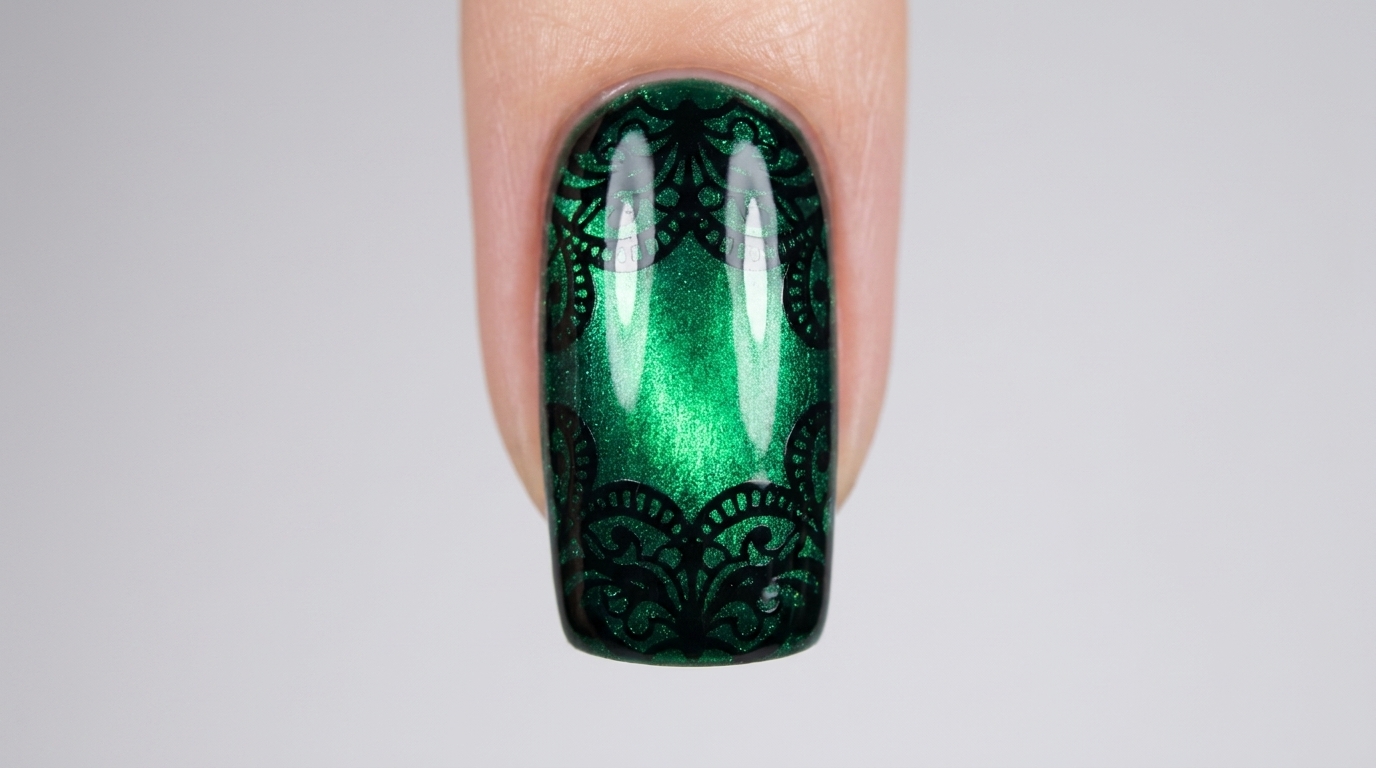
Emerald Gemstone Window Grille Cat Eye Nails — Step-by-Step Tutorial
Create a high-end, multidimensional look with this emerald green cat-eye and black window grille stamping tutorial. A stunning gemstone effect made simple.
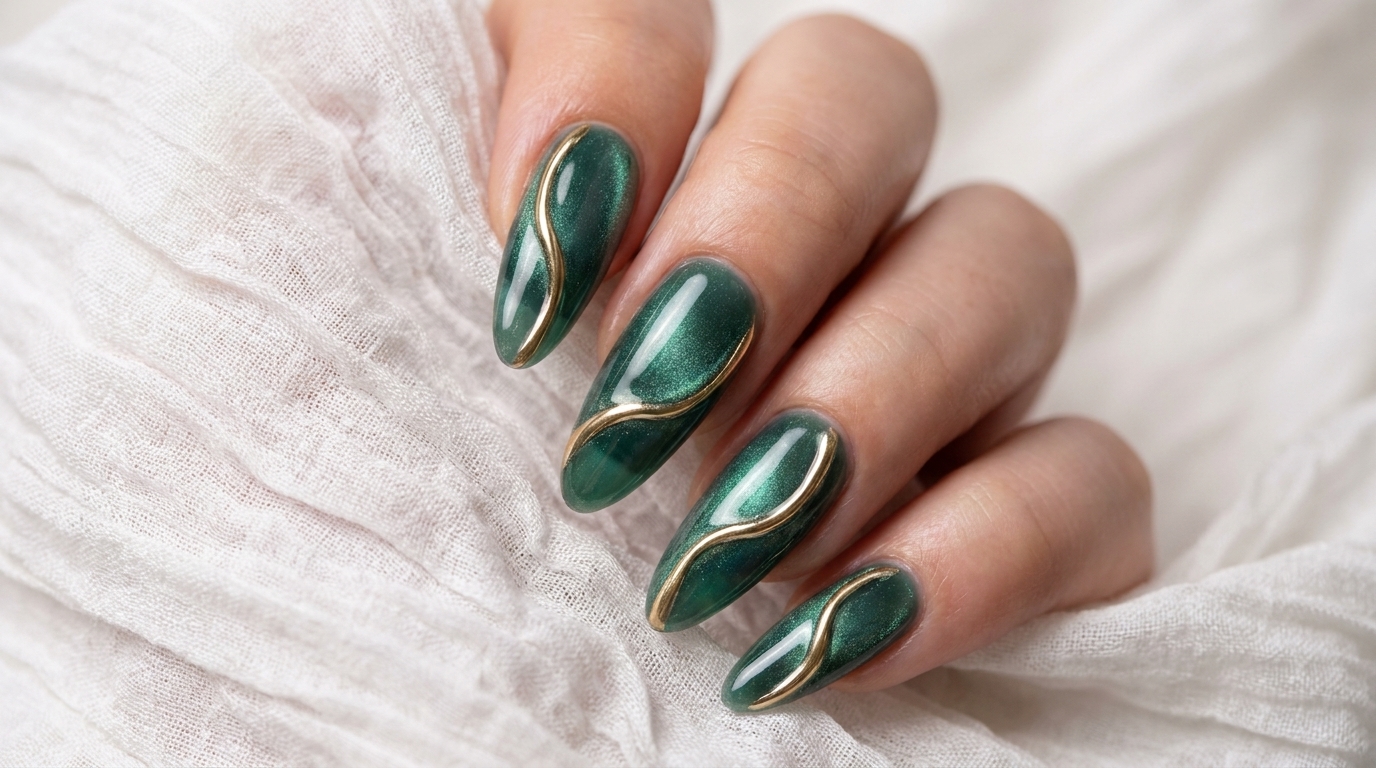
Capture the allure of a precious gemstone right on your fingertips. This look combines the depth and magnetism of emerald cat-eye gel with the sophisticated, dark contrast of intricate window grille stamping. It is a perfect design for when you want a manicure that feels both luxurious and artistically detailed.
Steps
- 1Apply black base coat
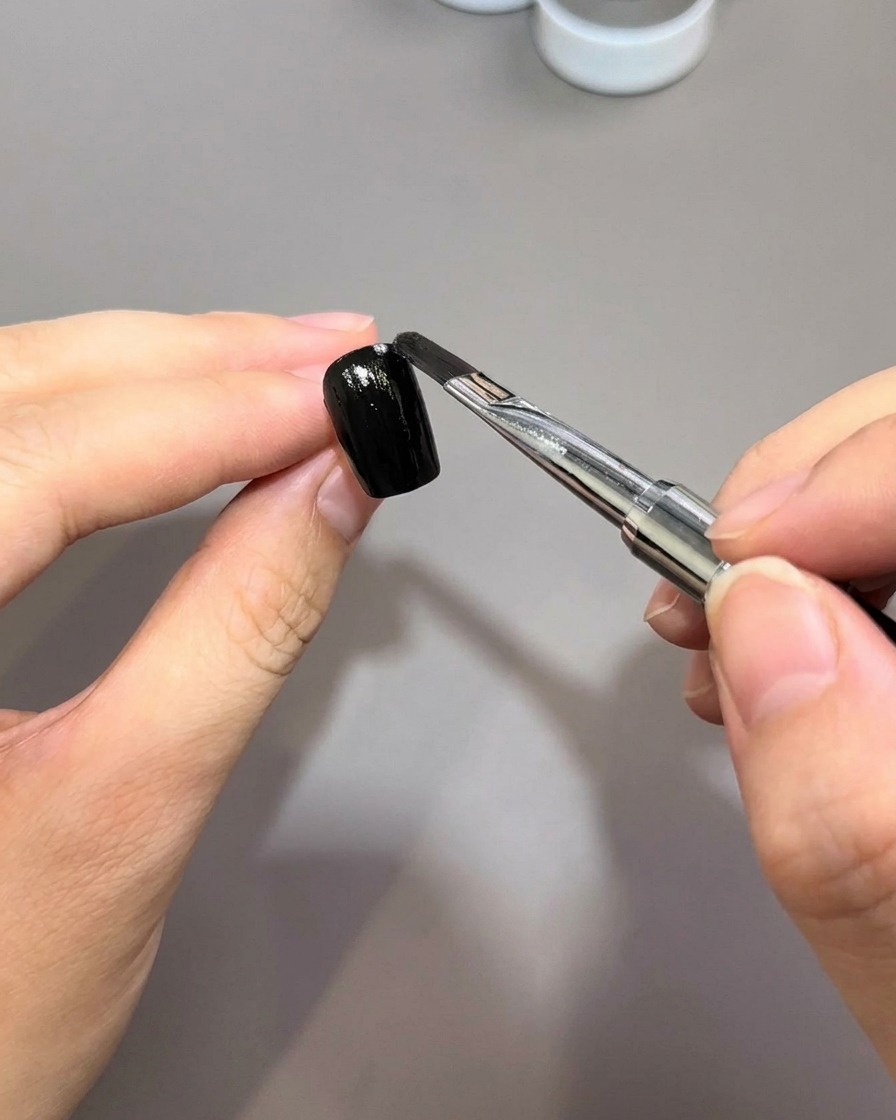
Apply a thin, even layer of opaque black gel polish over the entire nail plate. Ensure full coverage, reaching close to the cuticles and side walls, then cure under your UV or LED lamp as required.
Tip: Black polish acts as the perfect dark backdrop to make the magnetic cat-eye particles stand out vividly. - 2Apply emerald green magnetic gel
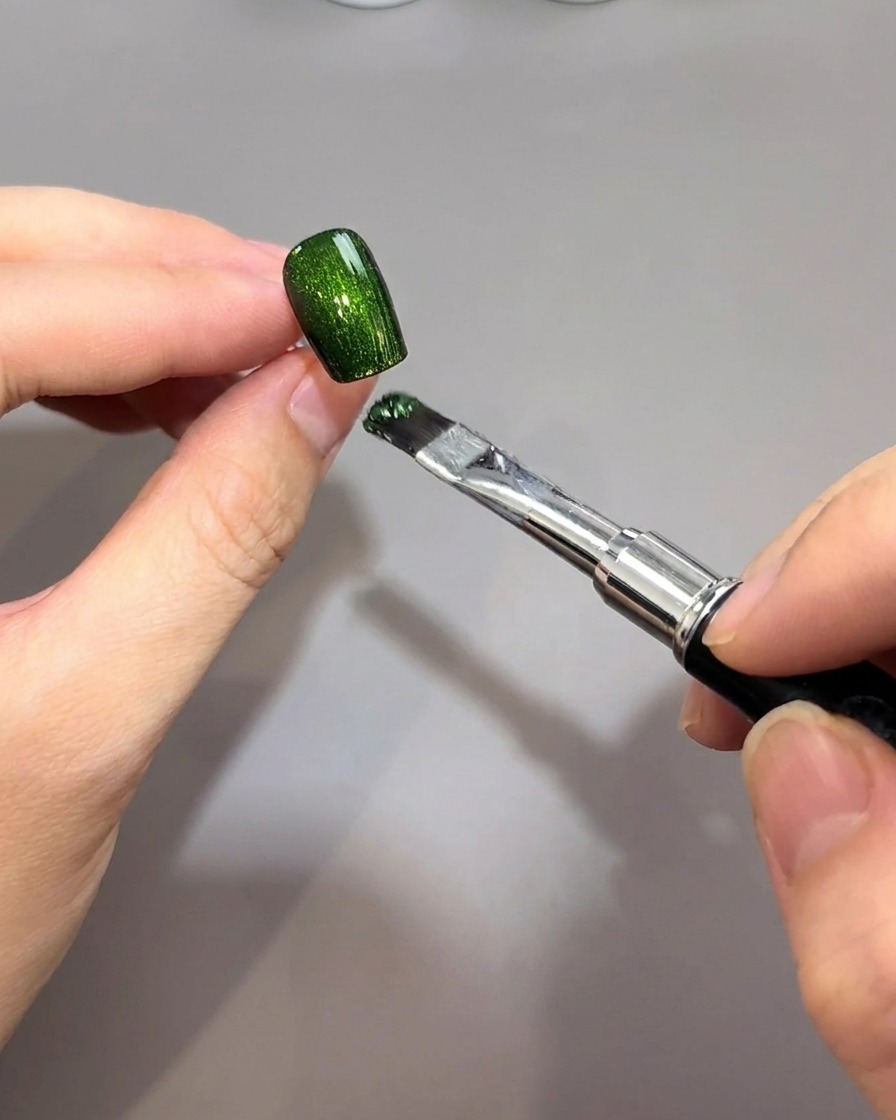
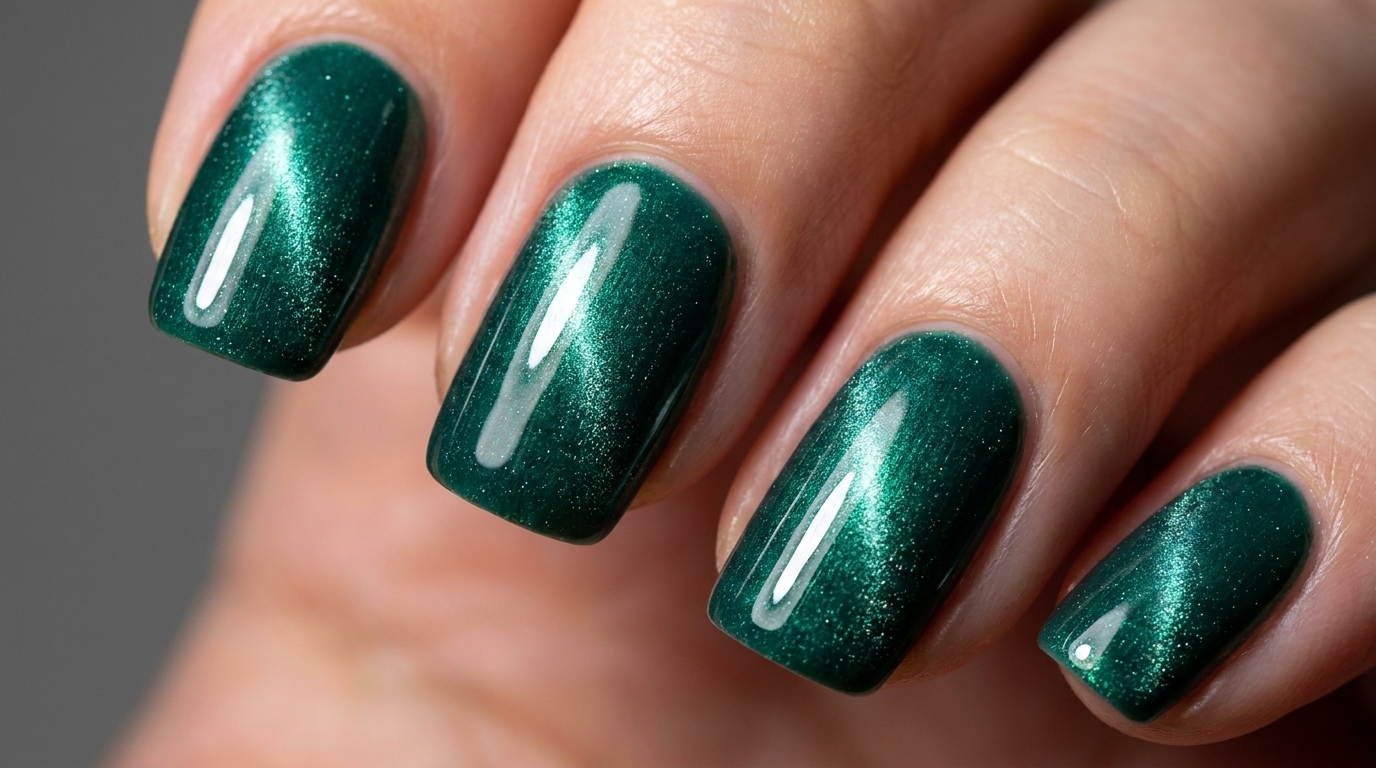
Apply an even layer of emerald green magnetic cat-eye gel polish over the cured black base. Do not cure this layer yet, as the magnetic particles need to remain mobile to create the desired effect.
Tip: Keep the layer of magnetic gel thin and uniform so the magnetic particles can move freely across the surface. - 3Magnetize the left edge
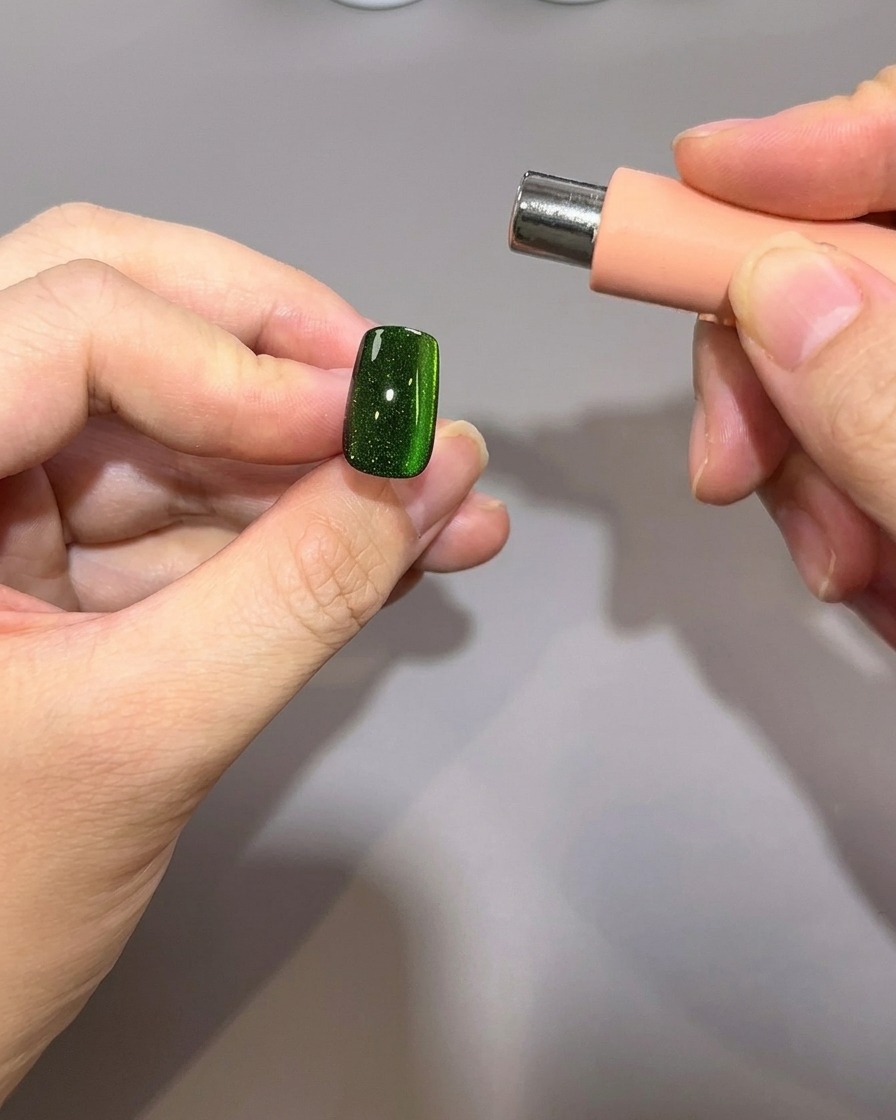
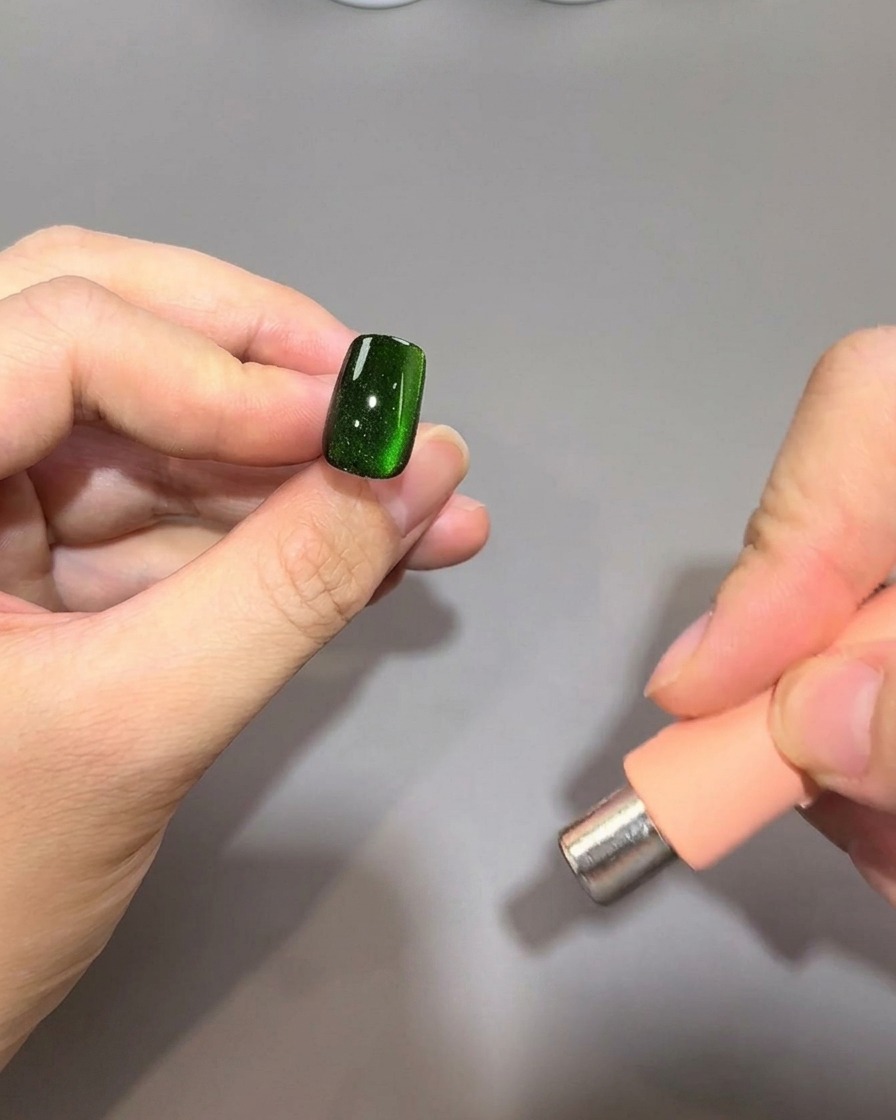
Hold your cylindrical magnet horizontally along the left side of the nail without touching the wet gel. Keep it close to the surface to draw the magnetic particles toward the center-left, creating a glowing line effect.
Tip: Steady your hand while holding the magnet to ensure the line stays crisp and does not become blurry. - 4Magnetize the right edge
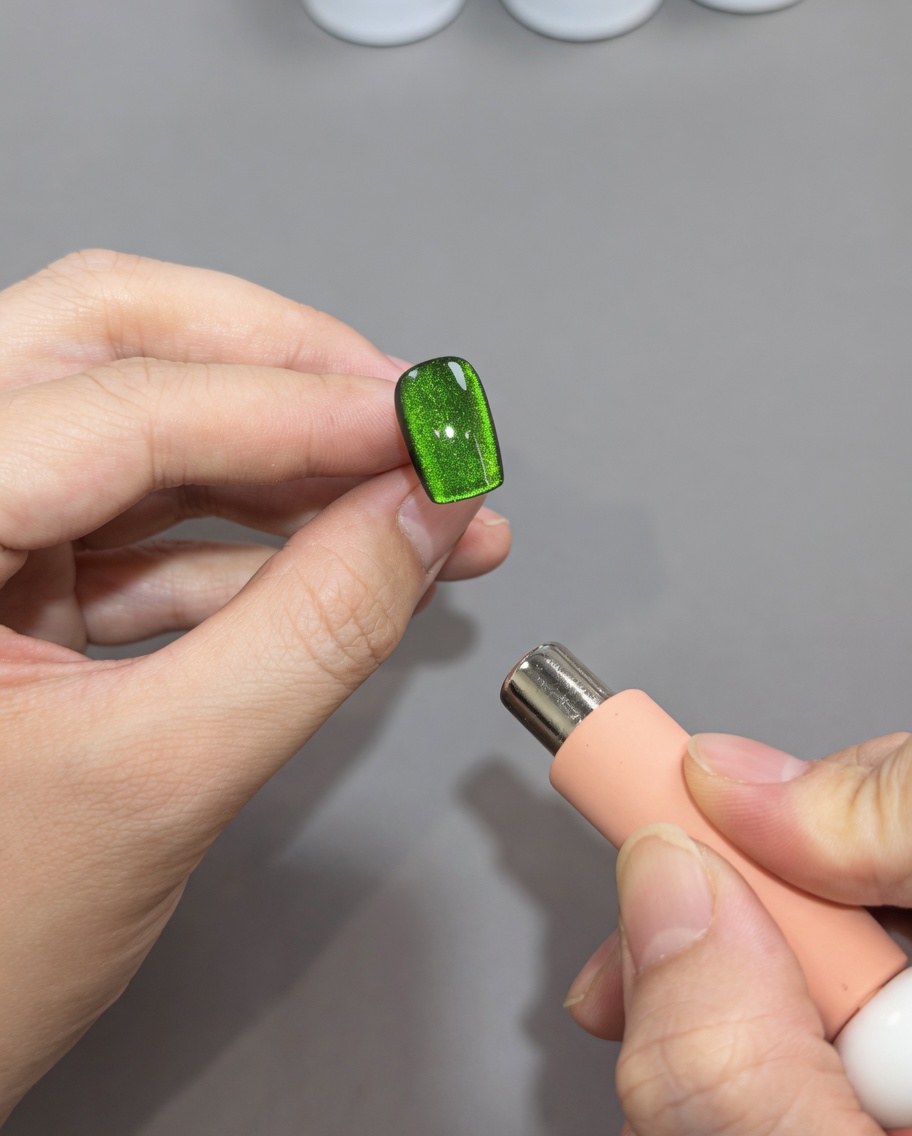
Move the magnet to the right side of the nail. Maintain the same proximity as you did on the left to draw the particles toward the center-right, further defining the concentrated band of emerald light.
Tip: Consistent distance from the nail surface on both sides will result in a perfectly centered and symmetrical light band. - 5Centralize the light reflection
Gently pass the magnet over the free edge and then the cuticle area. This motion helps pull the magnetic particles into a unified, broad, and intense band of green light running down the center of the nail.
Tip: Use slow, controlled movements to avoid disrupting the magnetic pattern you have already created. - 6Create the glass bead effect
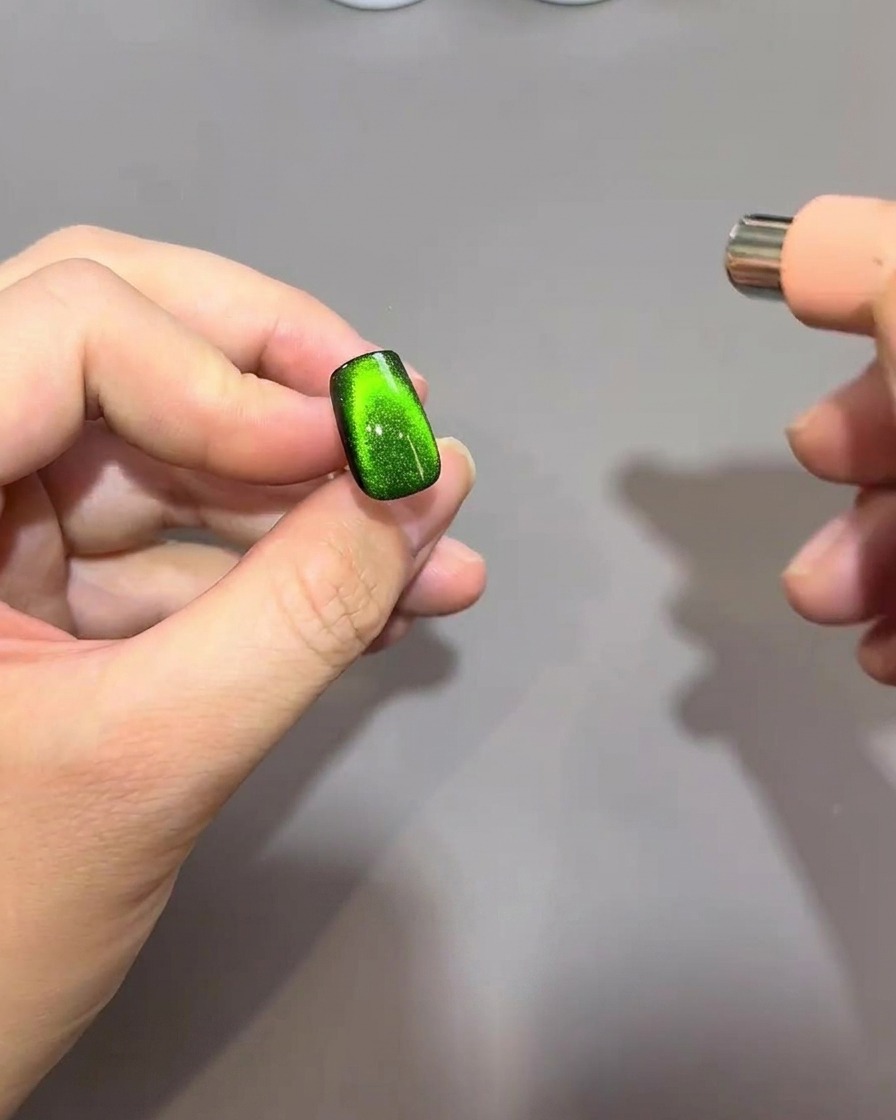
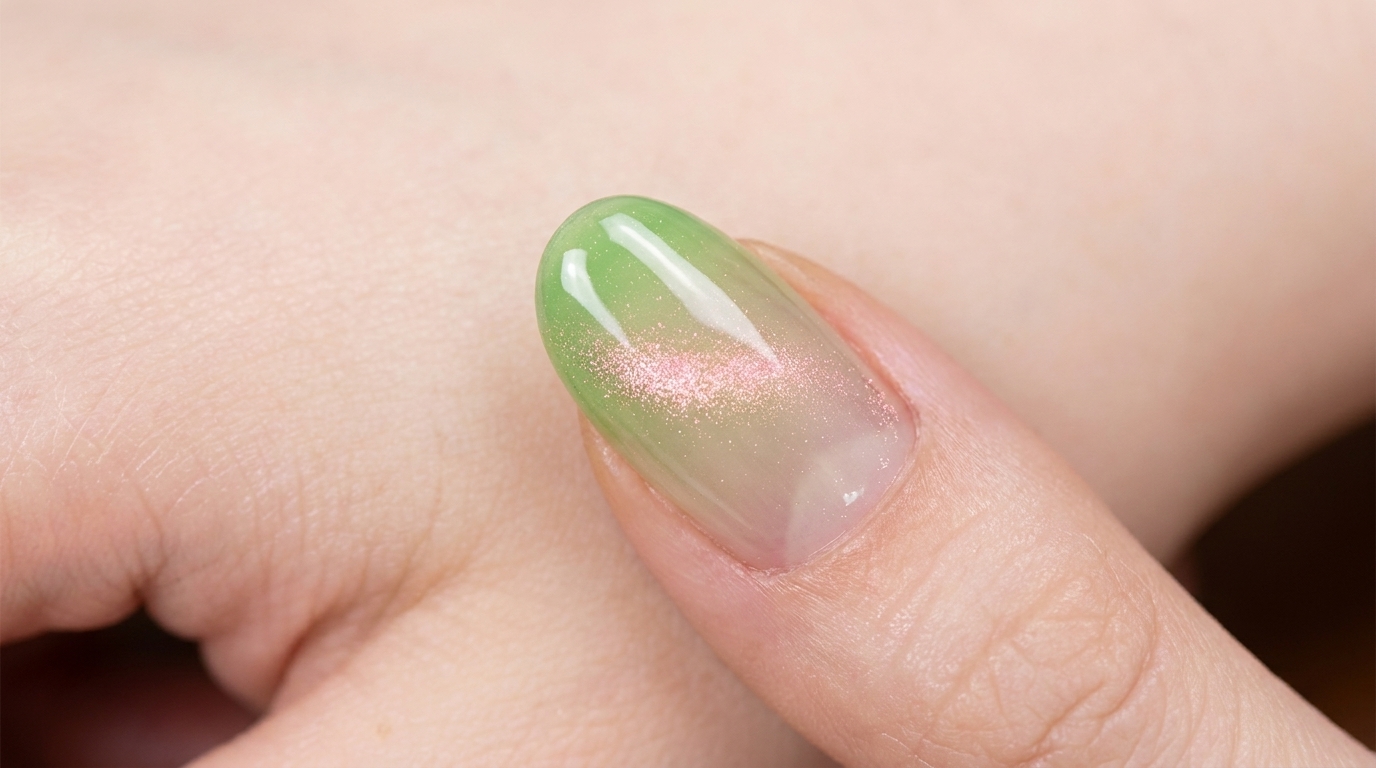
Use the edge of the magnet to trace small, gentle C-curves at both the cuticle area and the free edge. This action gathers the magnetic particles into a dense, rounded, glass-like bead reflection in the center of the nail, then cure immediately.
Tip: This technique gives the nail an incredible 3D gemstone appearance; cure promptly after achieving this look to lock it in place. - 7Apply stamping polish
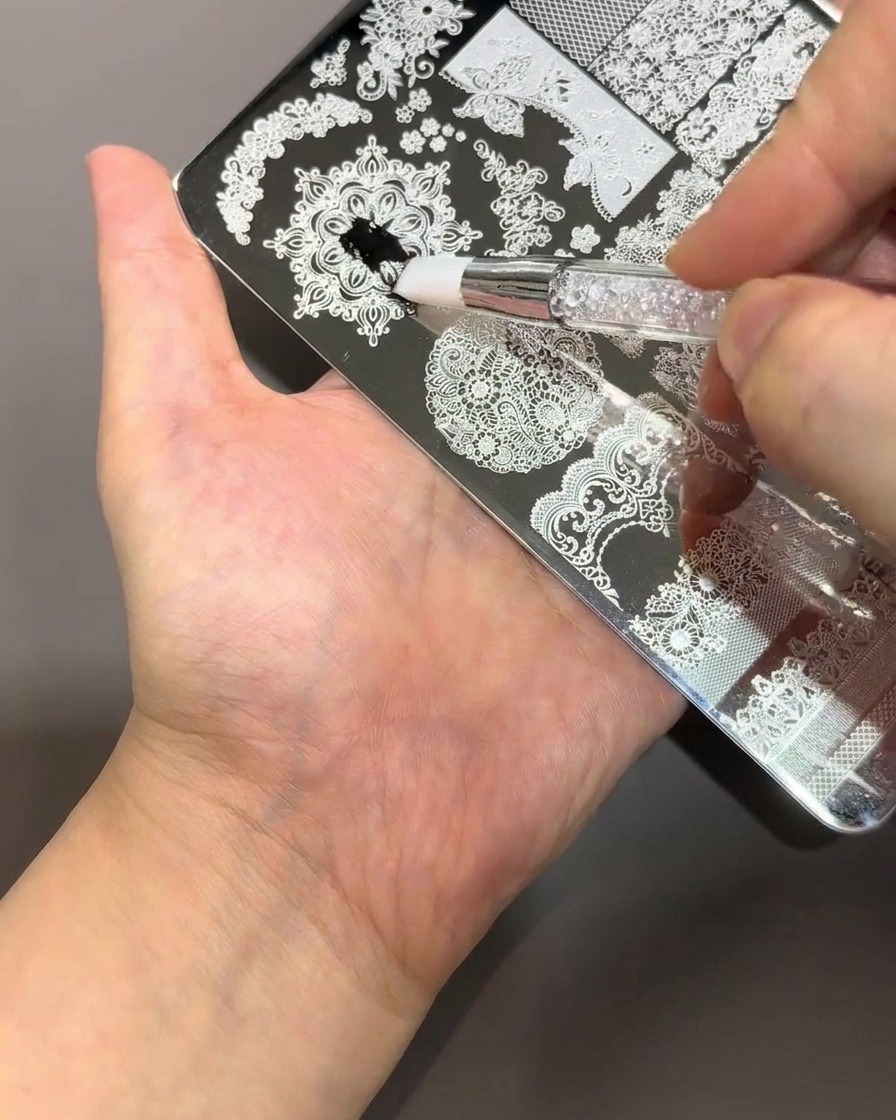
Apply a generous amount of black stamping polish directly onto the desired window grille design on your metal stamping plate. Ensure the polish adequately covers the engraved lines.
Tip: Stamping polish is highly pigmented and dries quickly, so you will need to work fast to prevent it from drying in the grooves. - 8Scrape away excess polish

Hold a clear plastic scraper card at a 45-degree angle against the plate and firmly drag it across the design. This removes all excess polish from the surface, leaving it only sitting inside the engraved lines.
Tip: Apply firm but even pressure. Scraping too lightly leaves a messy background, while scraping too hard can scoop polish out of the design. - 9Pick up the stamped design
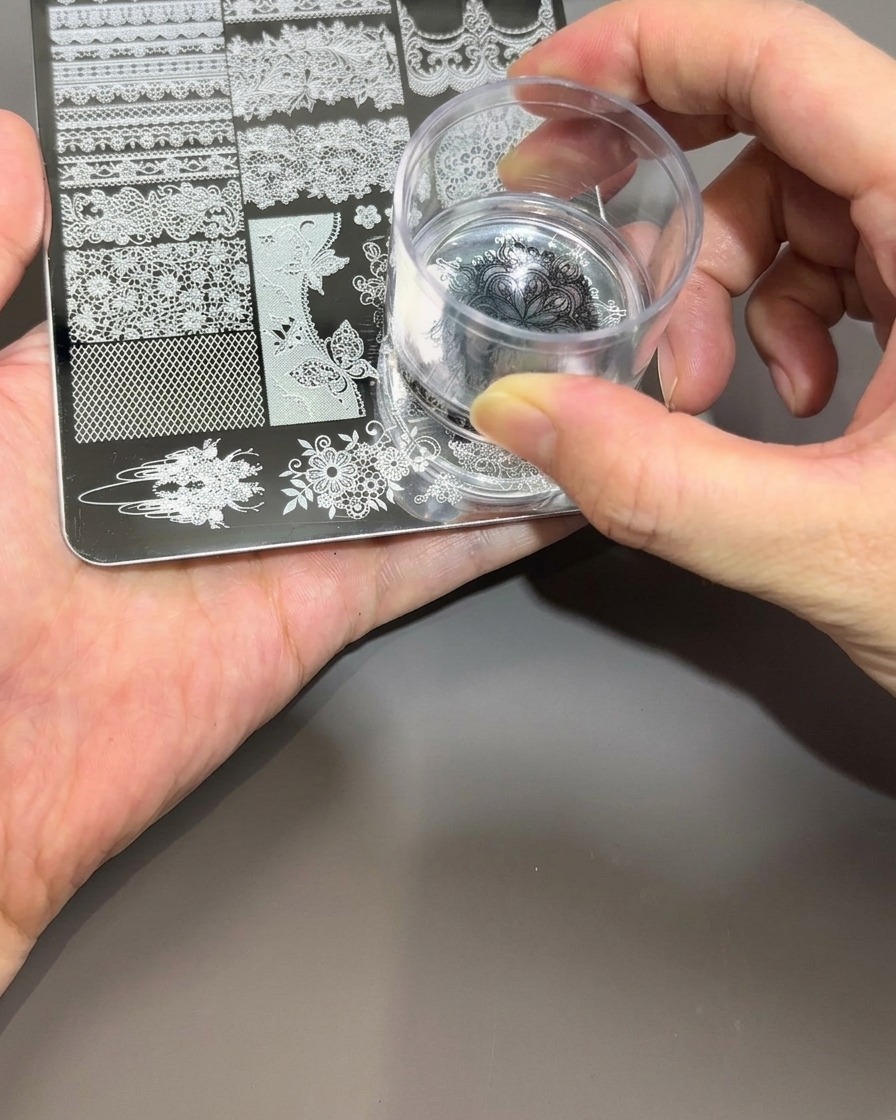
Take a clear silicone jelly stamper and gently roll it over the engraved design on the plate. Use a slow, single rolling motion from one side to the other to lift the polish out of the engraving and onto the stamper head.
Tip: Avoid pressing the stamper straight down with too much force, as this can distort the soft silicone and warp the delicate lines of the pattern. - 10Transfer pattern to nail
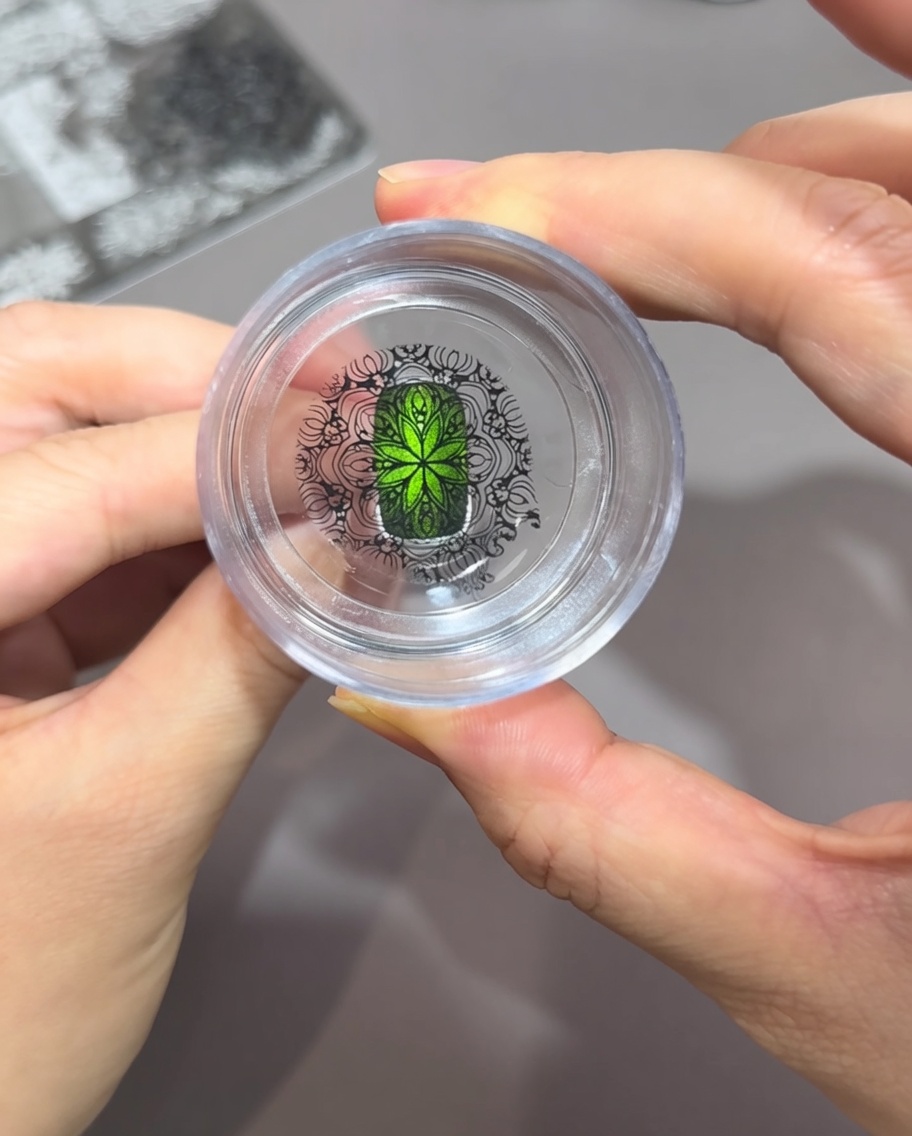
Look directly down through the clear stamper head to perfectly align the black window grille pattern over your prepared emerald green cat-eye nail. Once positioned, press the stamper straight down onto the nail surface to transfer the crisp design.
Tip: Press straight down in a vertical motion instead of rolling. This prevents the intricate lines from smearing or sliding on the curved nail surface. - 11Seal with a glossy top coat
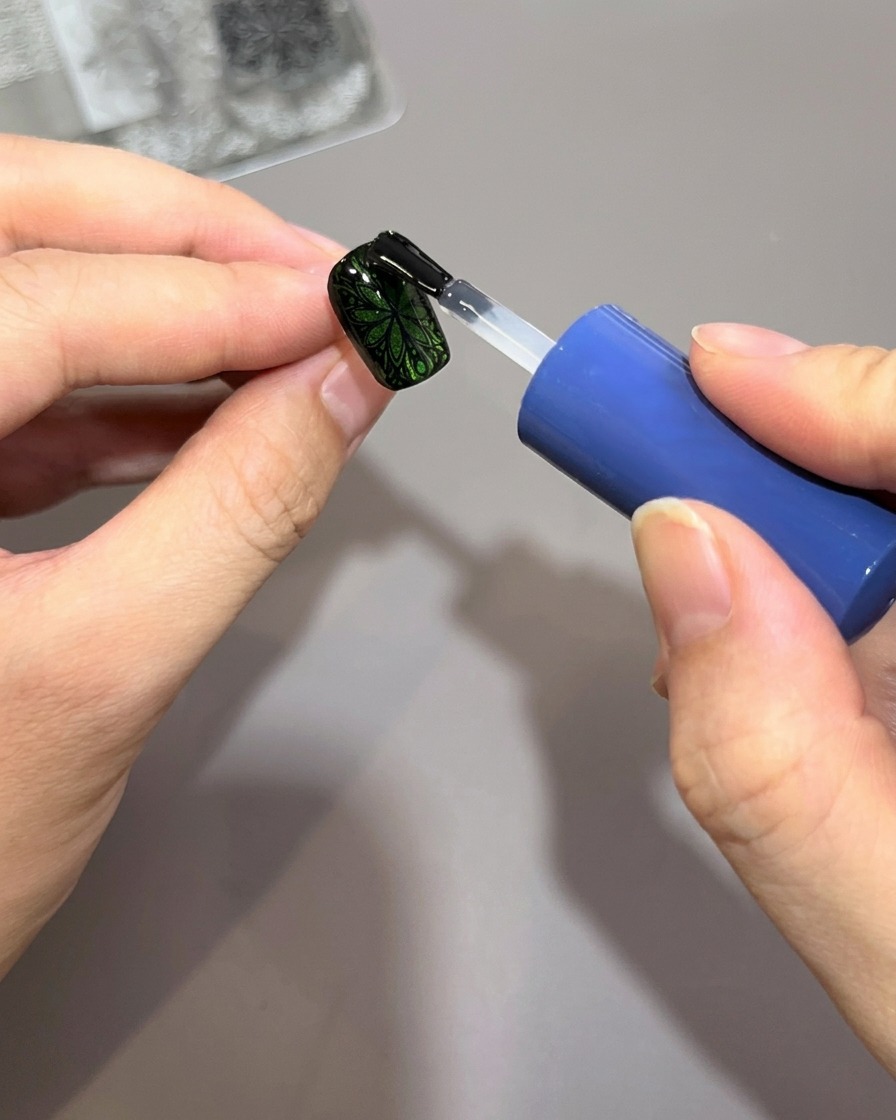
Finish the manicure by applying a layer of clear, glossy top coat over the entire nail. This protects the delicate stamped window grille pattern from chipping and amplifies the deep, gemstone-like shine of the cat-eye gel underneath.
Tip: Float the top coat brush lightly over the nail surface. Pressing down too hard with the bristles can drag and streak the freshly stamped black polish.