Long Nude Gradient Crystal Embellished Nails Tutorial
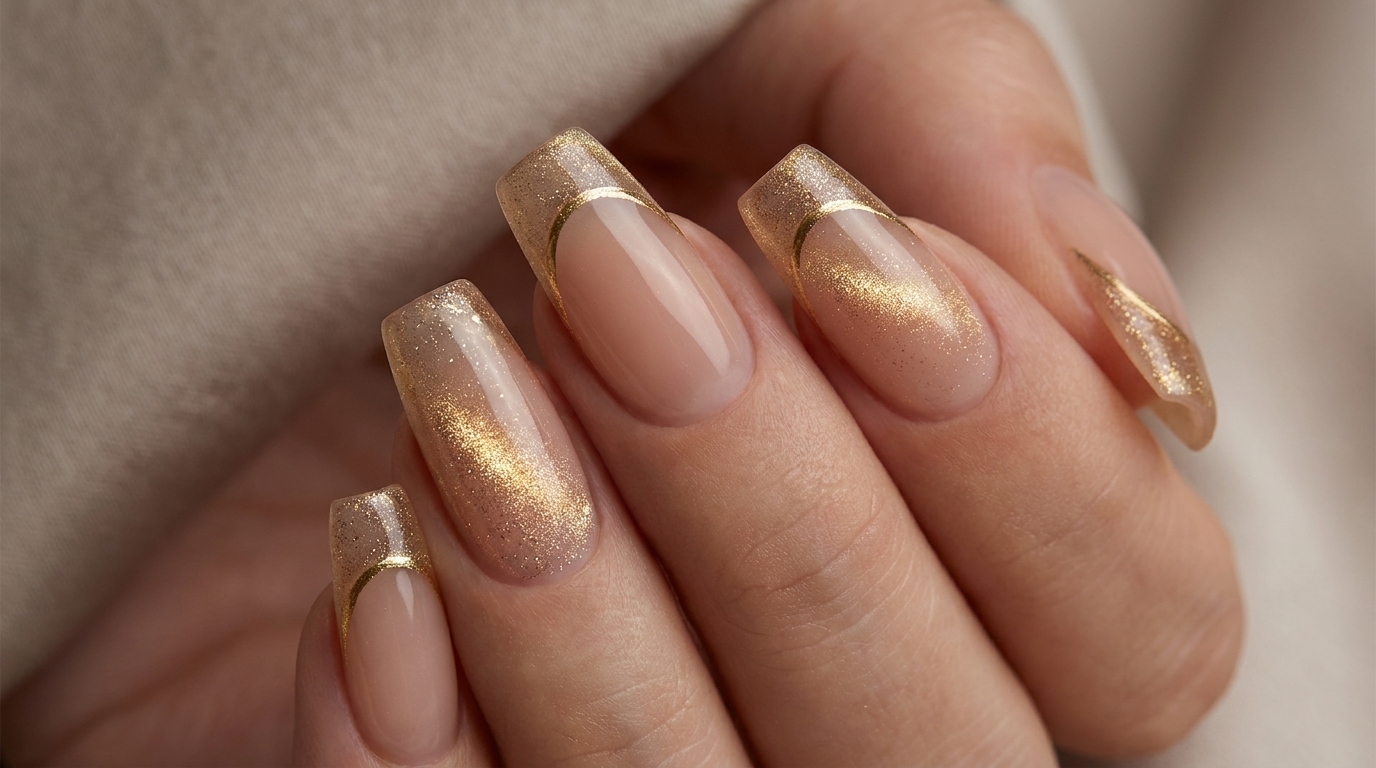
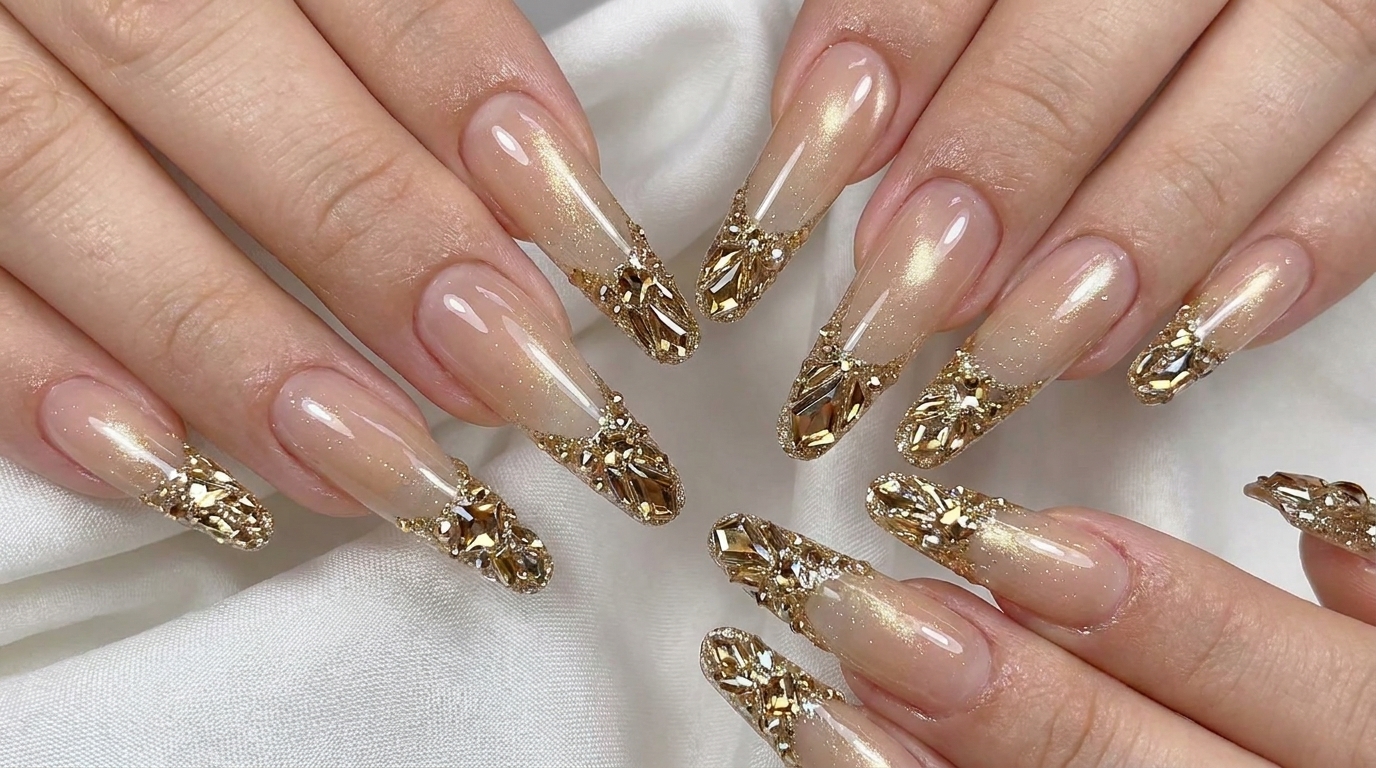
Elevate your manicure with this luxurious nude gradient look. Learn how to blend champagne glitter tips and secure intricate crystal embellishments at home.
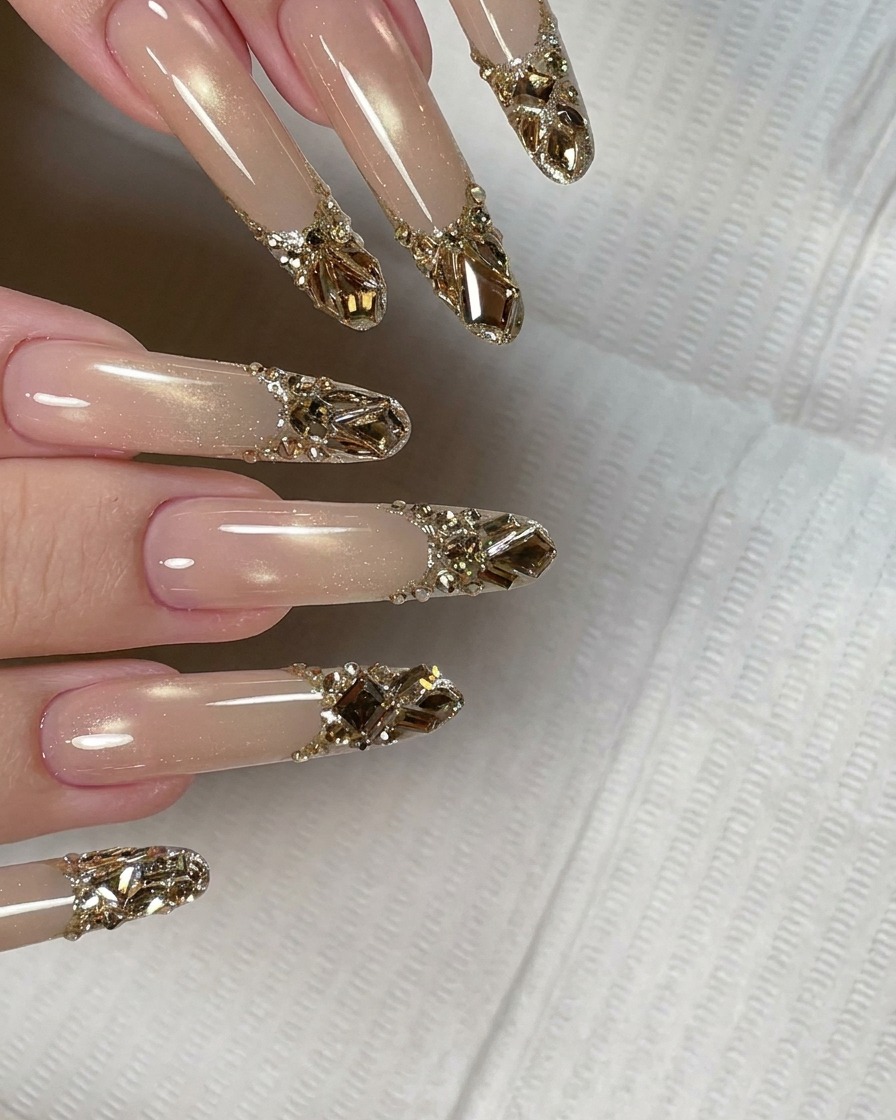
This sophisticated nail look combines the timeless elegance of a nude gradient with the high-shine sparkle of champagne glitter and opulent crystal accents. It is the perfect choice for those who love a glamorous, salon-quality aesthetic. Follow these steps to master the precision placement and blending techniques required to recreate this stunning, eye-catching design.
Steps
- 1Apply clear base gel
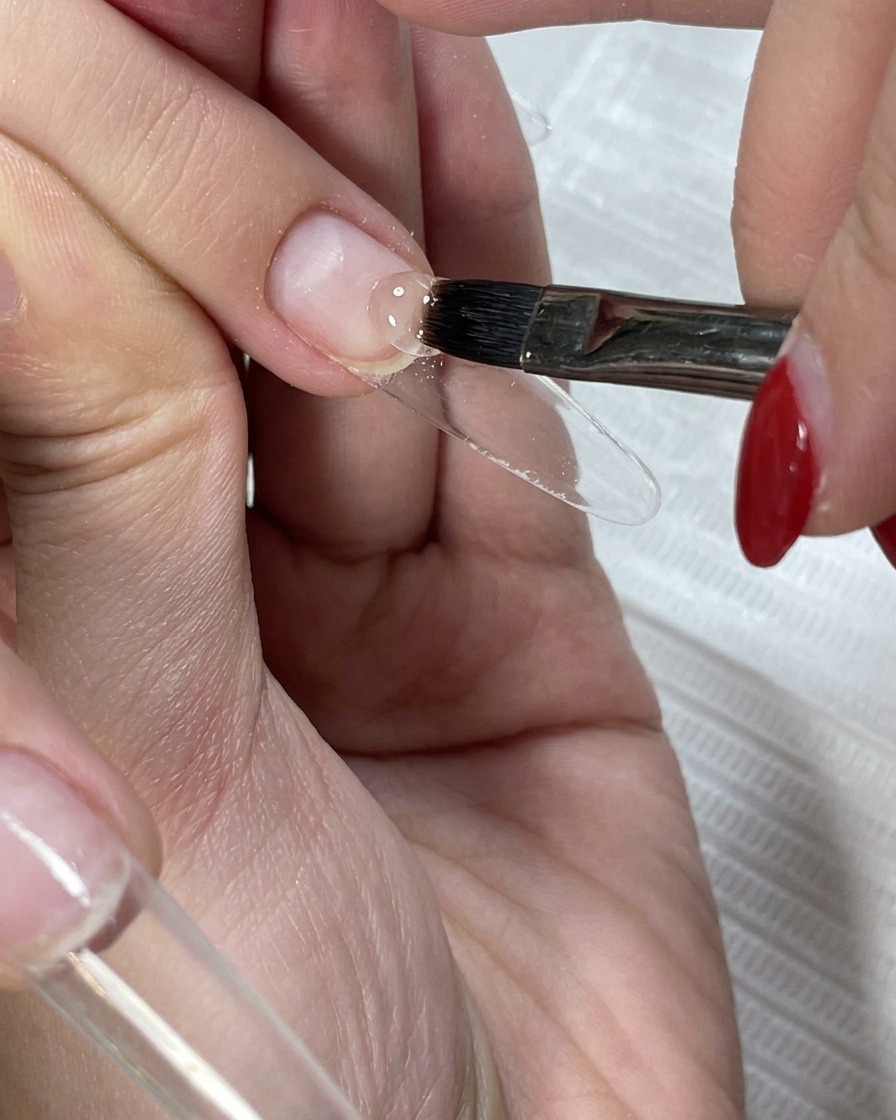
Using a flat gel brush, carefully apply a clear base gel to both the natural nail plate and the extension tip. Ensure even coverage across the entire surface to create a smooth, adhesive foundation for the subsequent layers of gel. Work slowly to maintain a neat, clean application around the cuticle area.
Tip: Applying the base gel in thin, controlled layers helps prevent flooding the cuticle and ensures a long-lasting manicure. - 2Apply nude gel base
Apply a thin, uniform layer of nude-toned gel, beginning at the cuticle line and working the product downwards toward the tip of the nail. This layer serves as the base for the gradient effect, providing a soft, natural-looking background.
Tip: Keep the brush nearly flat to the nail surface for an even, streak-free application of the color. - 3Cure the first layer
Place the hand under an LED lamp to cure the first layer of nude gel. Ensure the nails are positioned properly so that the light reaches all areas evenly, allowing the gel to set firmly before the next step.
Tip: Avoid moving the hand inside the lamp to ensure a consistent and complete cure across all nails. - 4Apply second nude coat
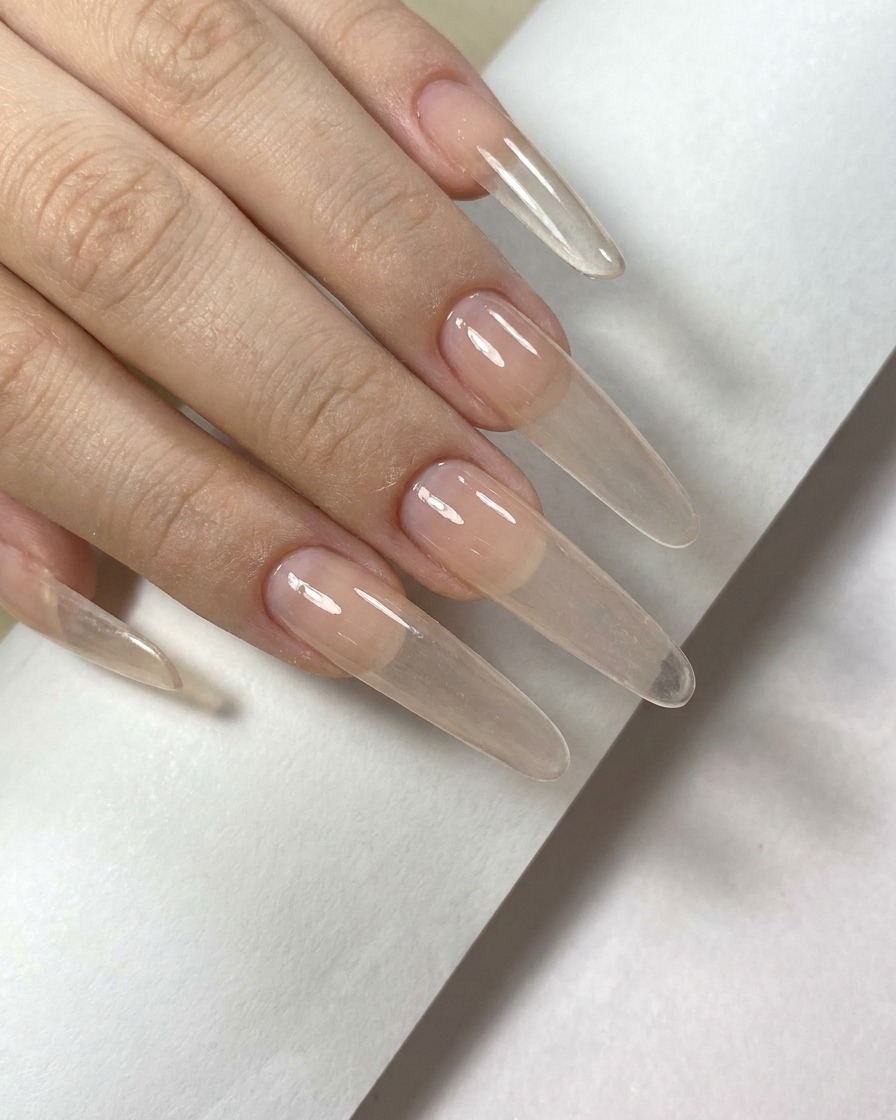
Apply a second coat of the nude gel to enhance the depth of the color and perfect the gradient transition from the base toward the tip. This additional layer helps smooth out the overall appearance and builds the desired opacity.
Tip: Focus on the transition zone during this step to ensure the ombre effect is seamless and balanced. - 5Buff the nail surface
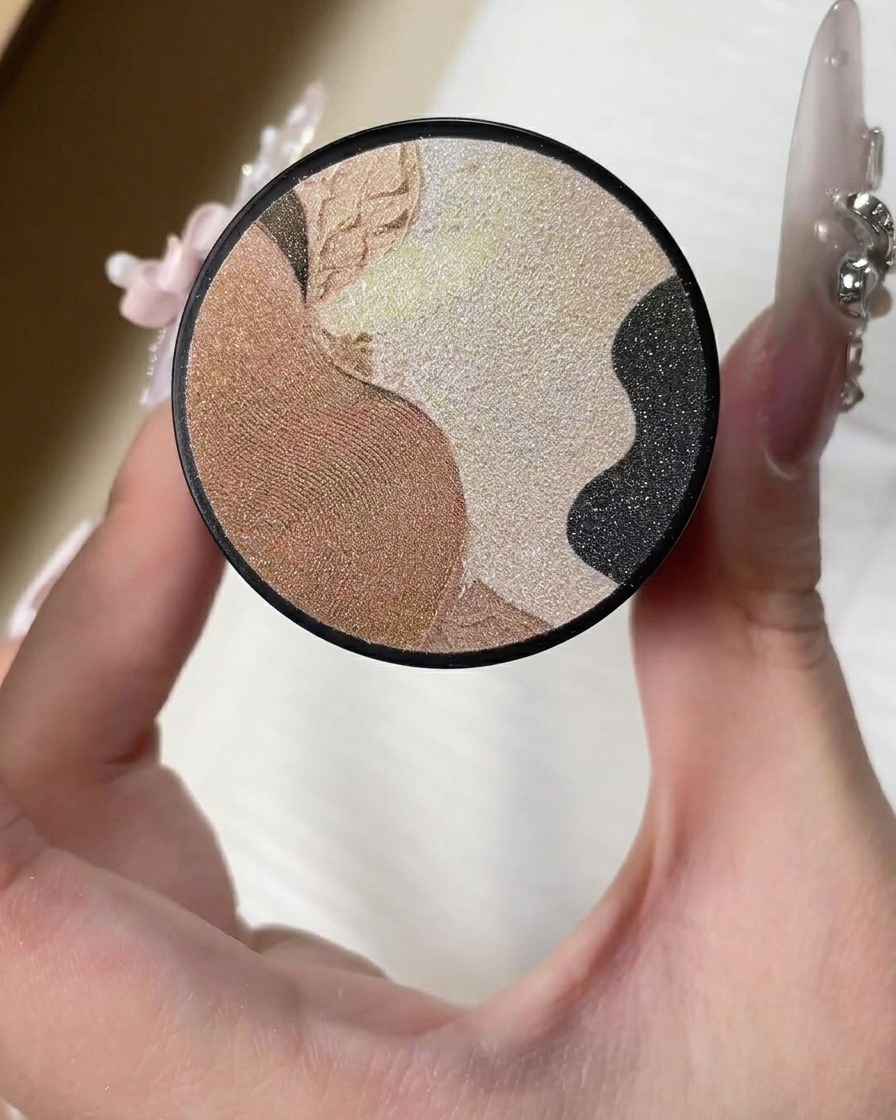
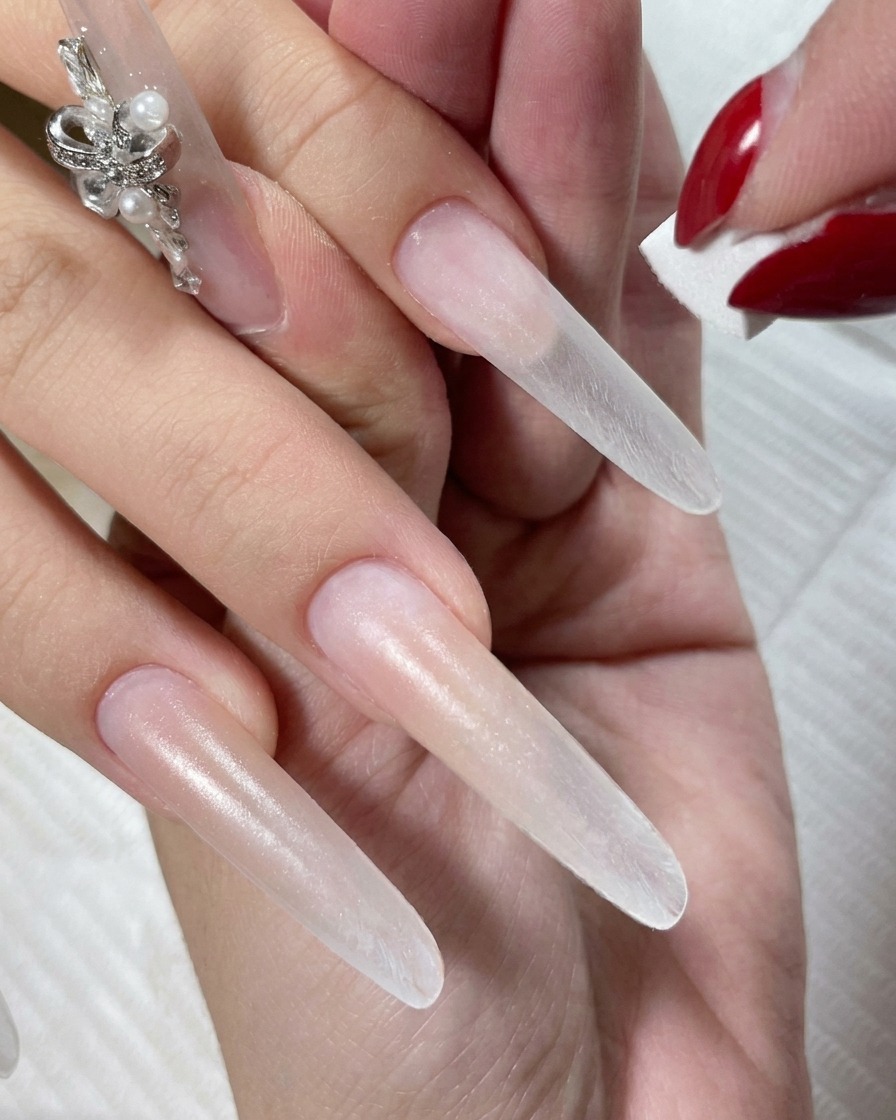
Once the gel is cured, use a specialized buffer tool to gently smooth the surface of the nails. This step removes any minor imperfections or ridges, ensuring the nail surface is perfectly flat and uniform for the upcoming design work.
Tip: Use light, gentle pressure when buffing to avoid thinning the cured gel layer. - 6Refine the surface
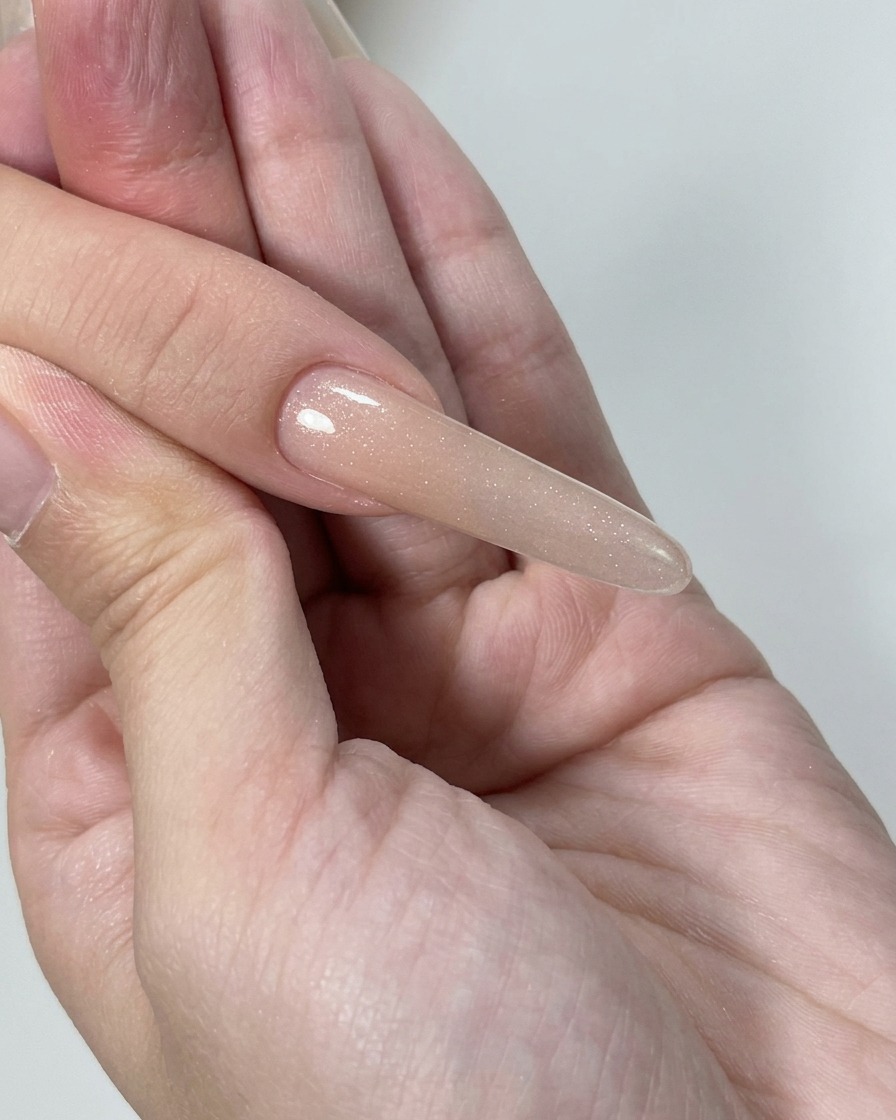
Perform a final light buffing of the nail surface to refine the texture and ensure the gradient appears uniform and smooth. This prepares the nail for the final decorative steps and provides a flawless finish.
Tip: A perfectly smooth surface is essential for achieving the best results with subsequent glitter and crystal placement. - 7Apply champagne glitter tips
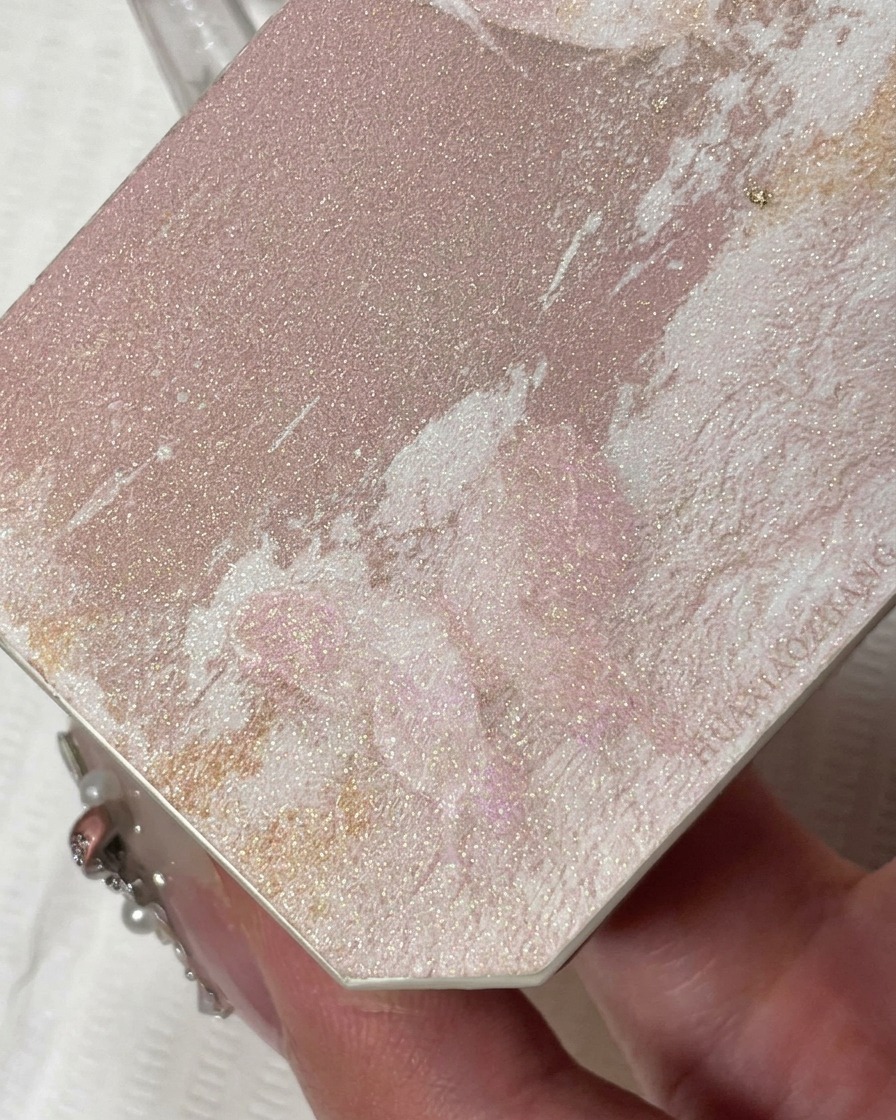
Using a thin liner brush, carefully apply the fine champagne-colored glitter gel to the tips of the nails to create a French-style look. Ensure the glitter is evenly distributed and follows the curve of the nail tip for a clean, professional finish.
Tip: Use a light touch with the liner brush to build the glitter coverage gradually without creating a bulky edge. - 8Cure glitter tips
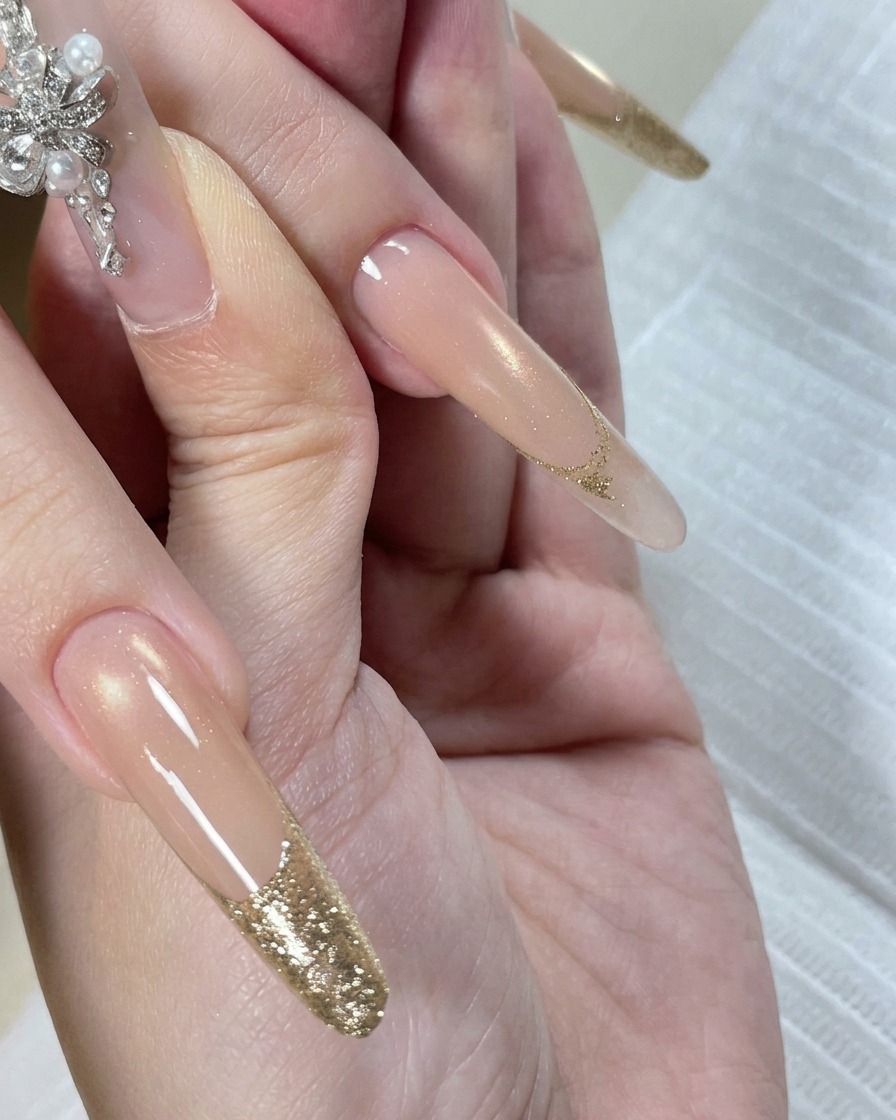
Place your fingers into the LED lamp and cure the glitter gel tips. Follow the curing time specified by the glitter gel product instructions to ensure the glitter is fully set and durable.
Tip: Ensure your hand is placed flat and stable inside the lamp to avoid shifting or uneven curing of the glitter. - 9Apply crystal adhesive
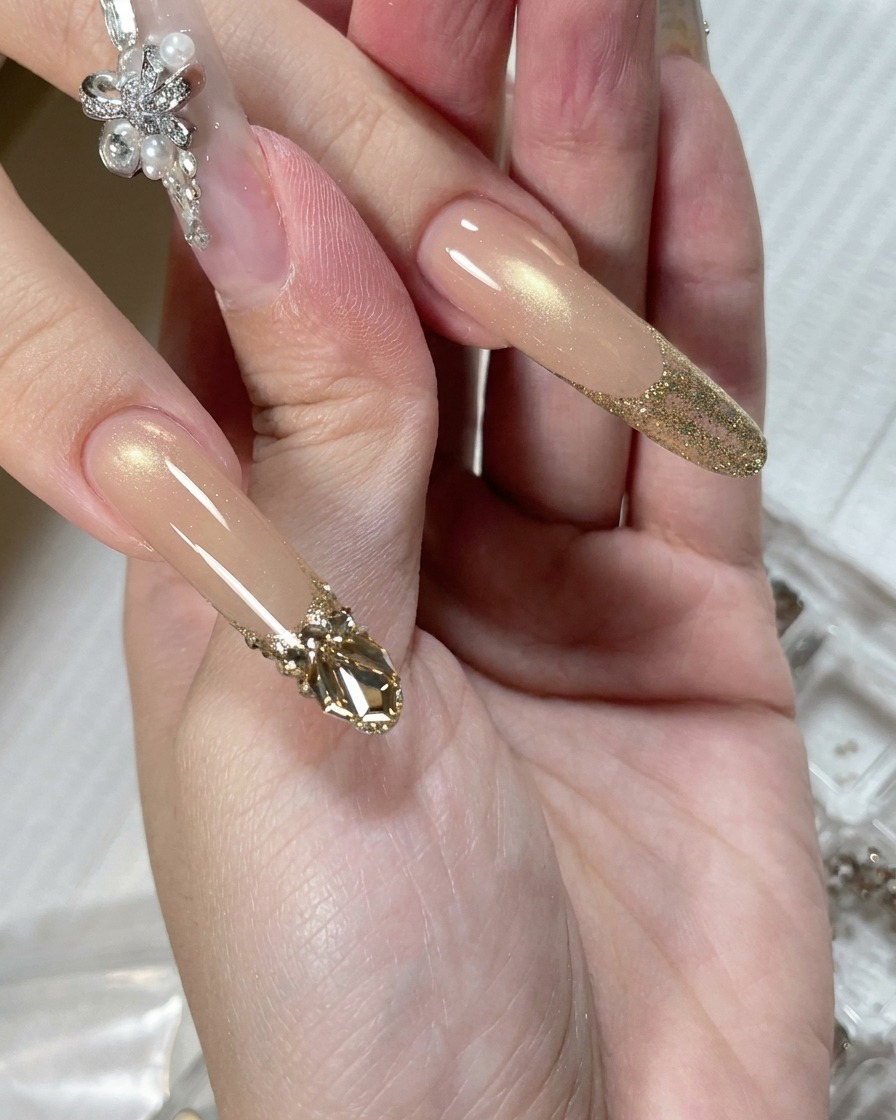
Using a precision tool or brush, apply a small, controlled dot of thick adhesive gel to the area where you intend to place the crystals. This adhesive acts as the base to securely hold the embellishments in place.
Tip: Only apply the amount of adhesive necessary for the crystal size to prevent excess gel from squeezing out from under the stones. - 10Place nail crystals
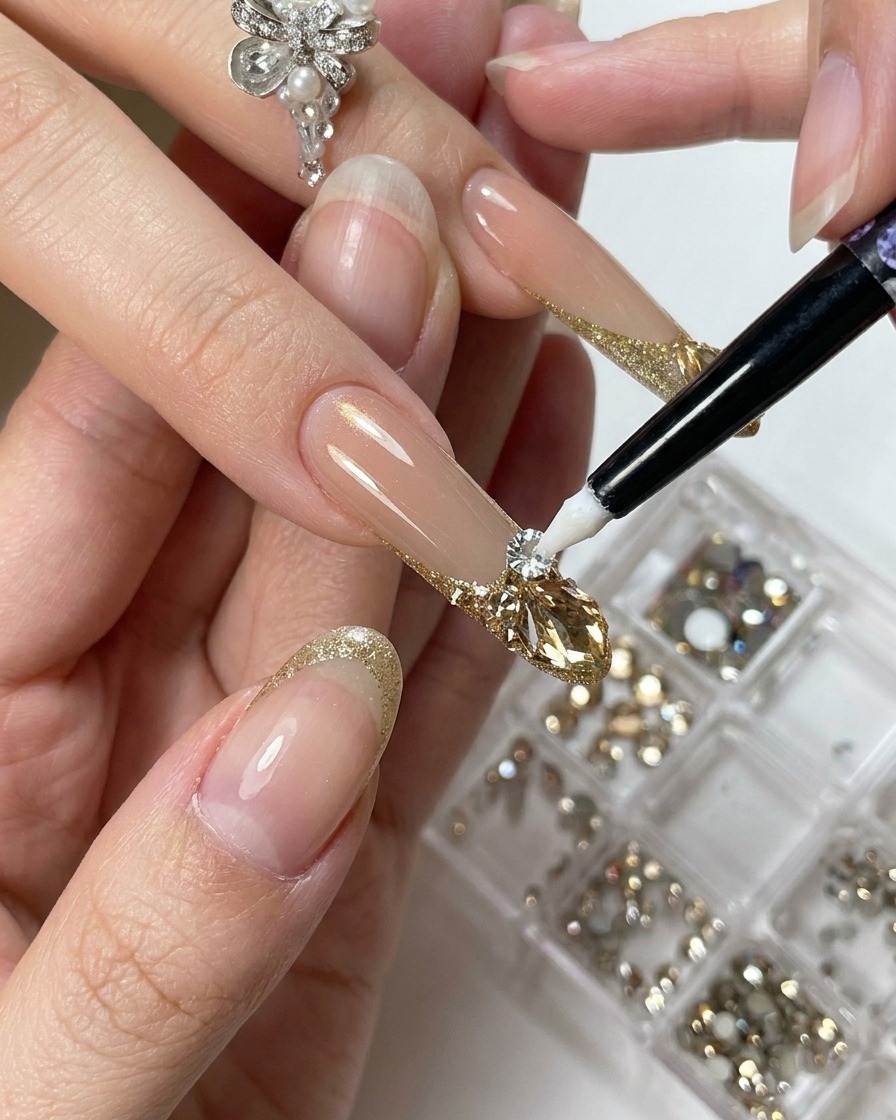
Pick up the crystals using tweezers and carefully set them into the wet adhesive gel. Press down slightly to ensure the crystals are fully embedded and positioned exactly as desired.
Tip: Hold the tweezers at a 45-degree angle for better visibility and control when placing each crystal. - 11Apply top coat
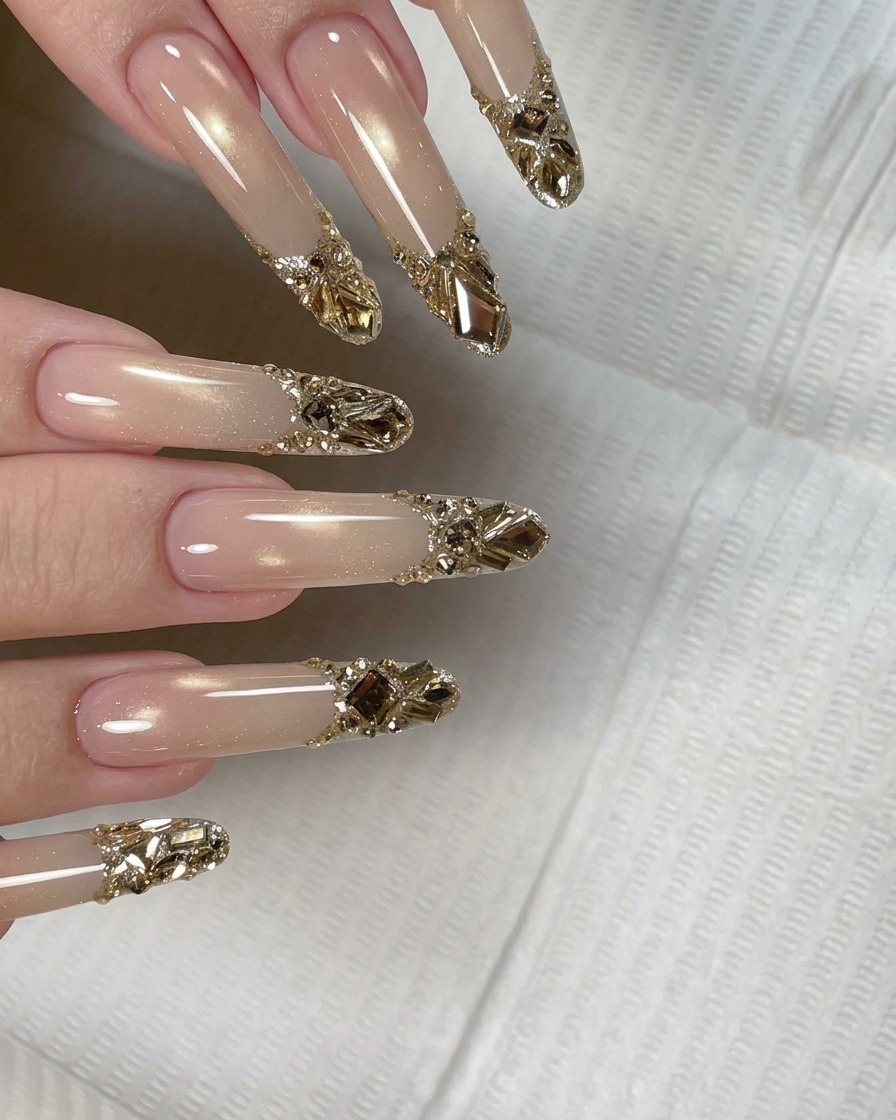
Apply a high-gloss, no-wipe top coat over the entire surface of the nail, carefully working around the crystals to ensure they are sealed at the base. This step provides a protective, shiny finish that keeps the nail art intact.
Tip: Take care not to coat the surface of the crystals themselves, as this can dull their natural sparkle.