Black and Pink Gradient Cat Eye Nails — Sweet
Cool Step-by-Step Tutorial
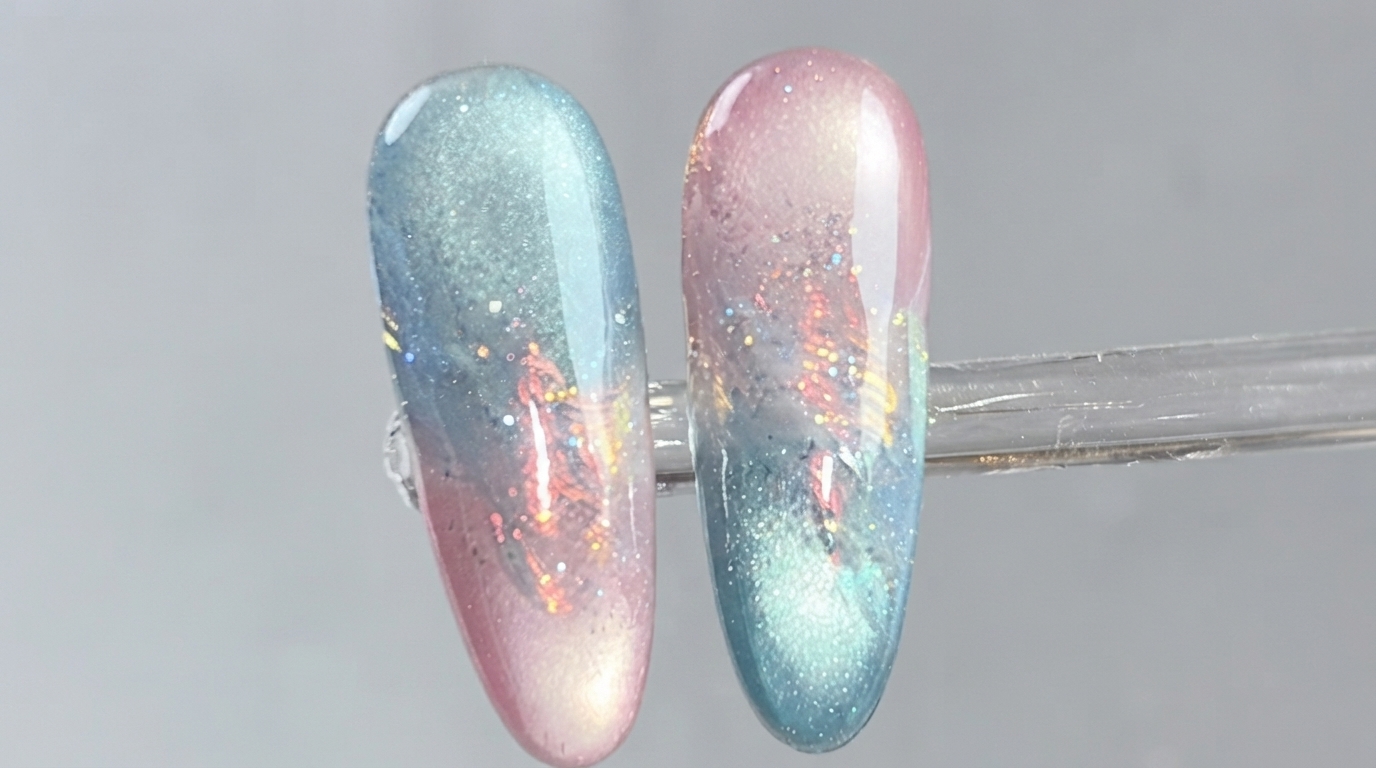
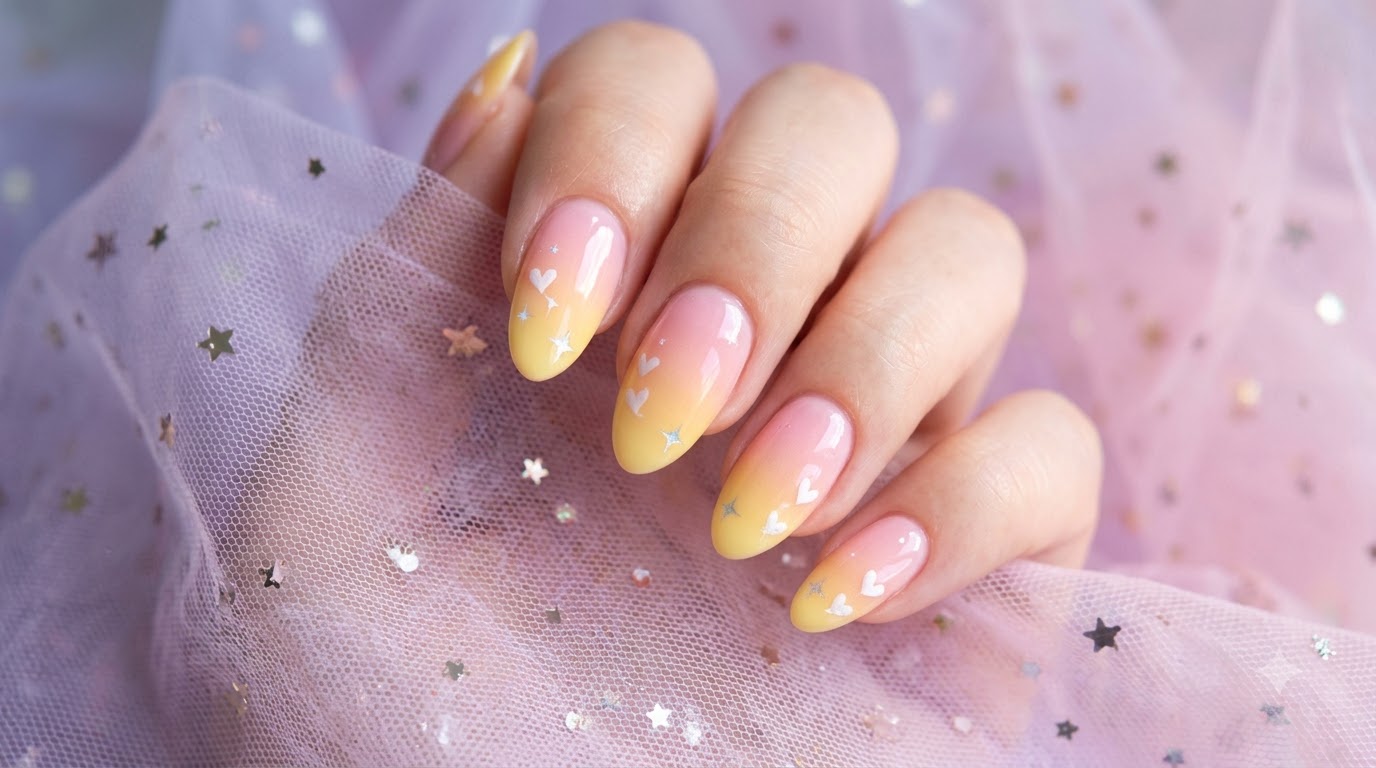
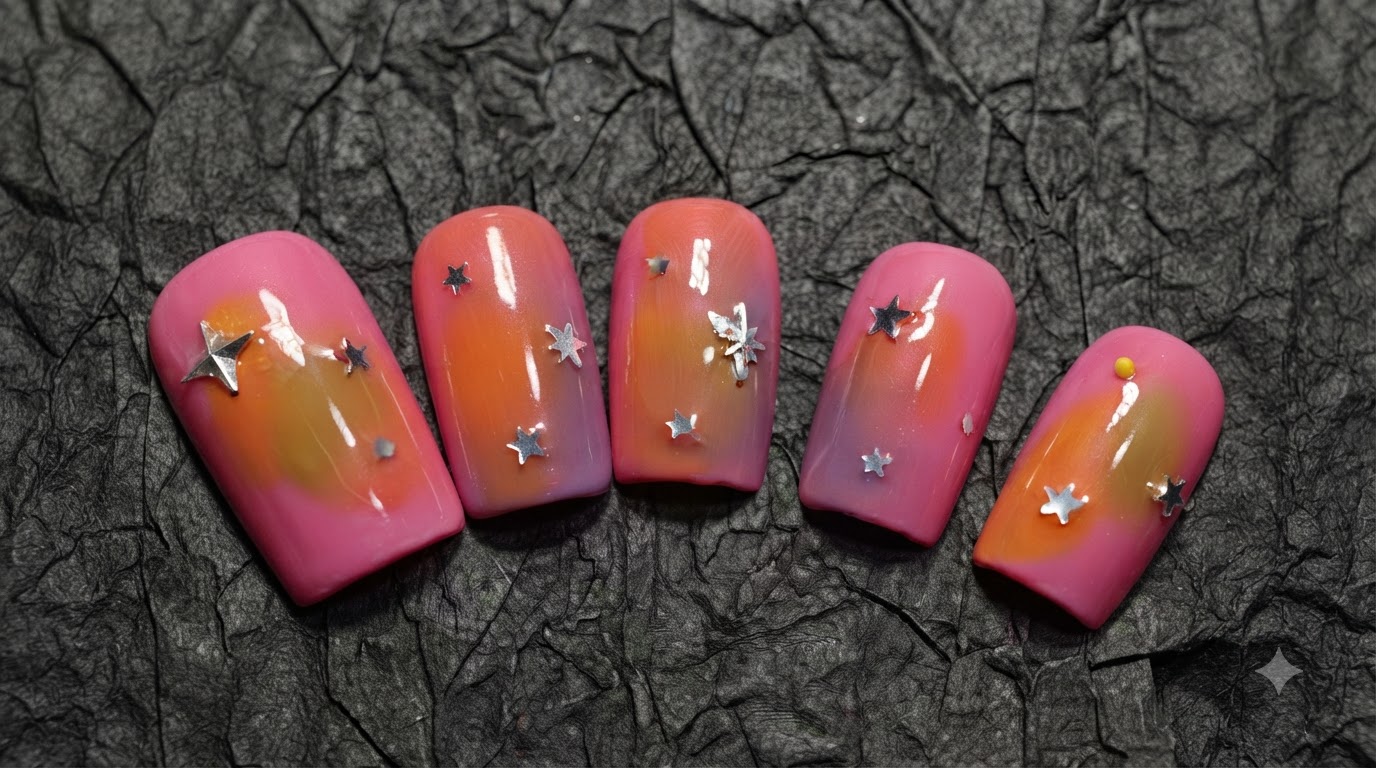
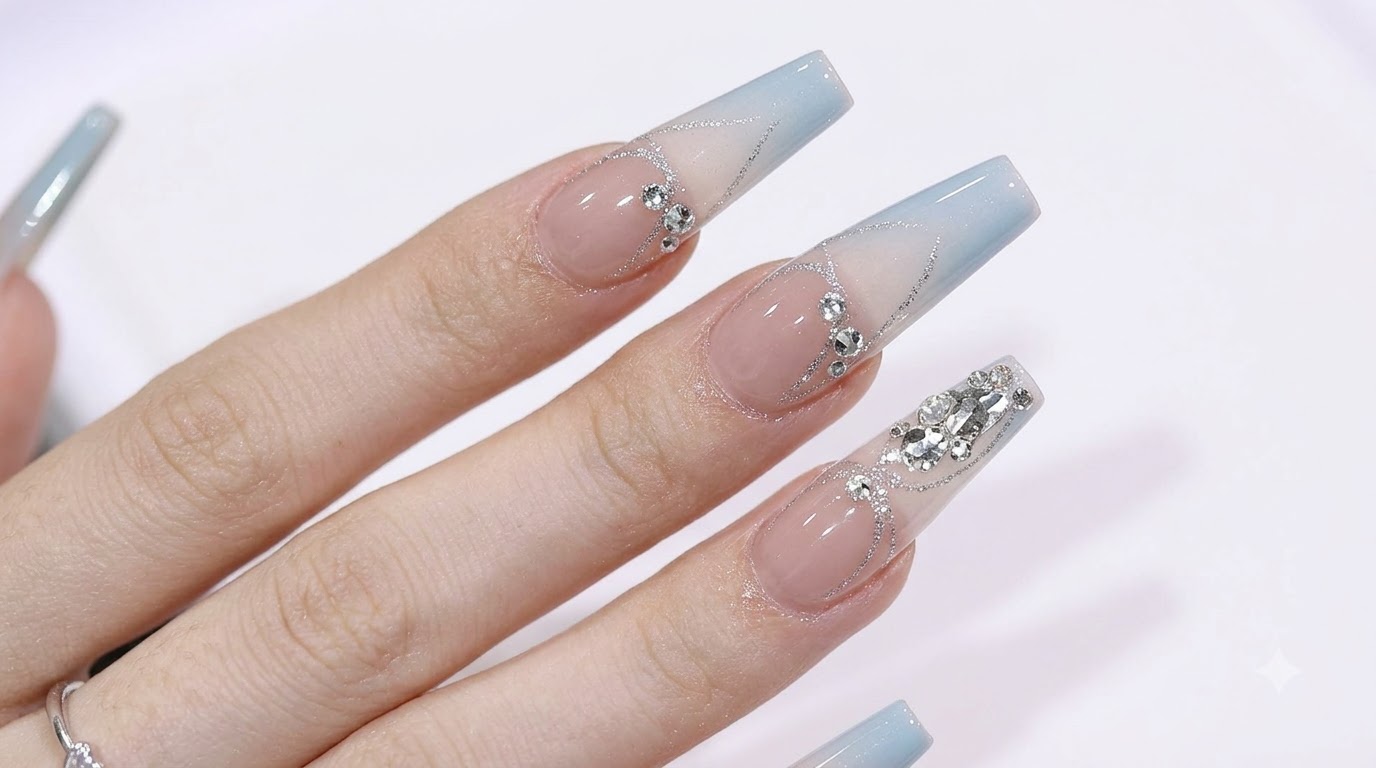
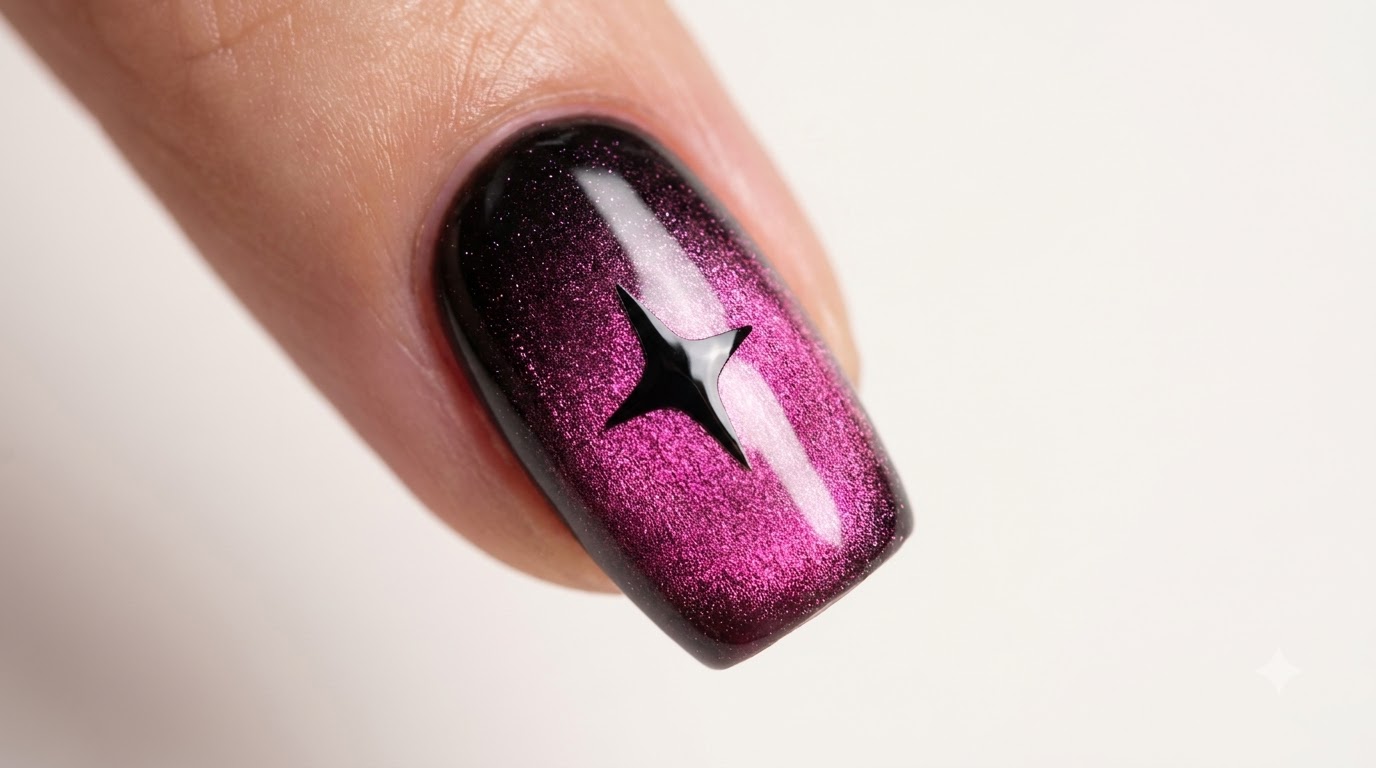
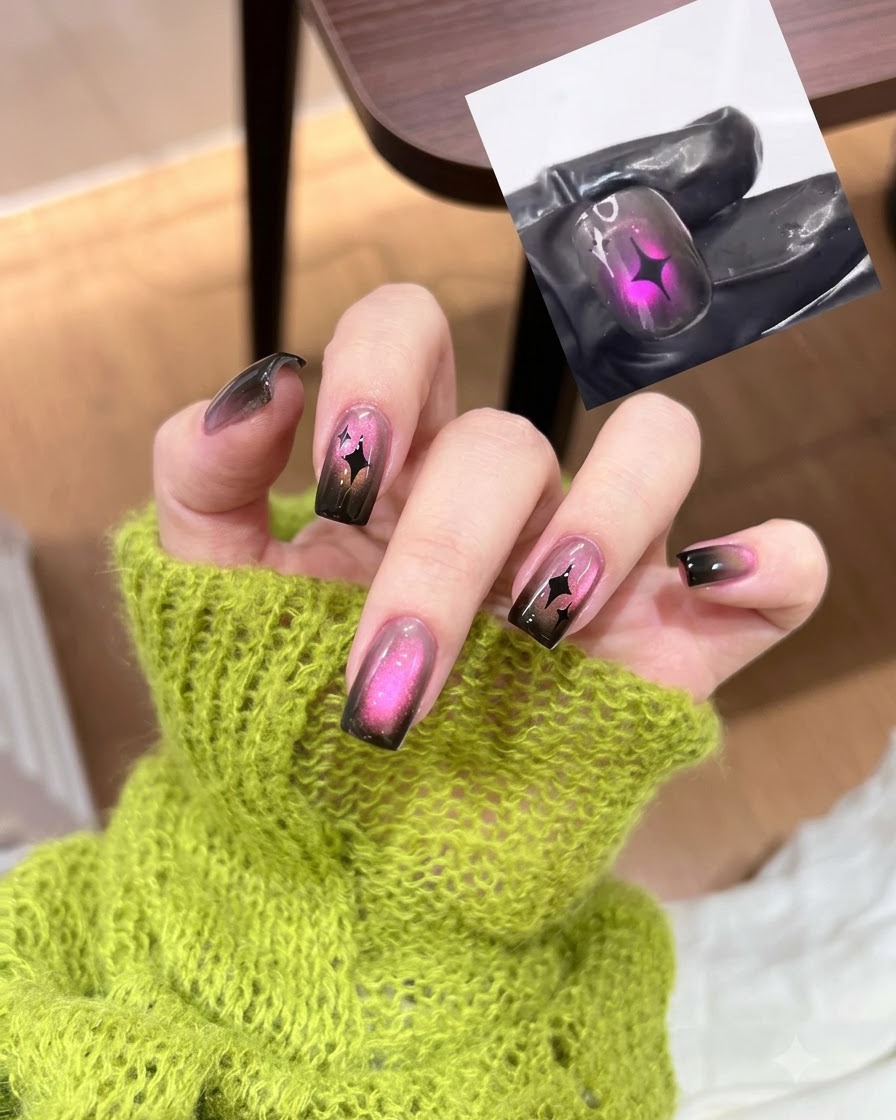
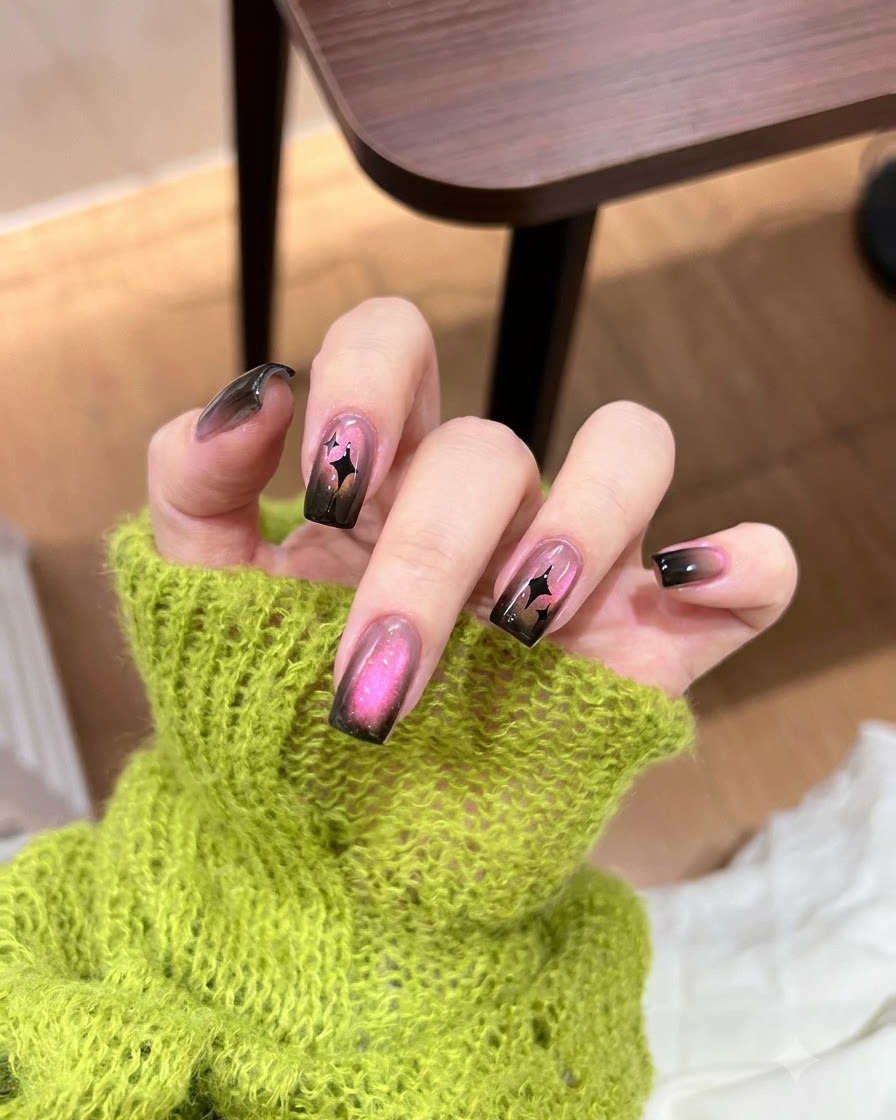
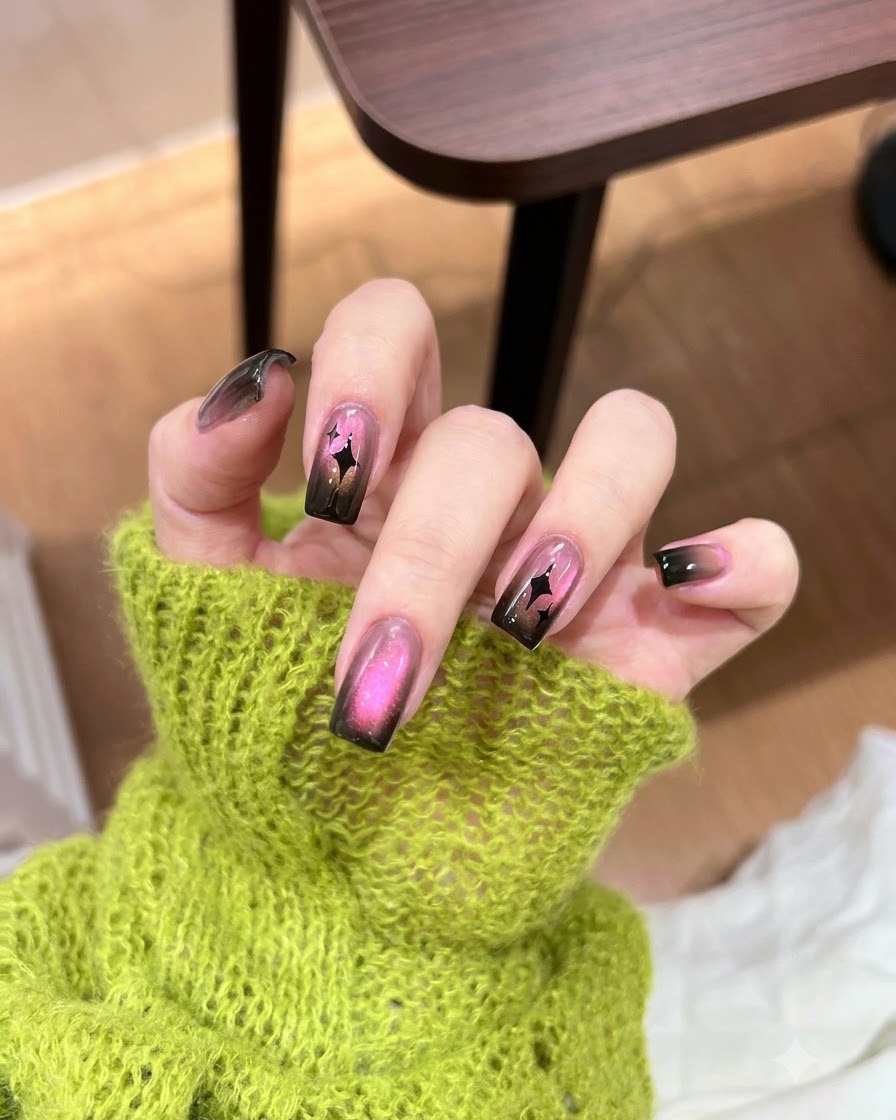
Master a stunning sweet and cool aesthetic with black and pink gradient cat eye nails, featuring metallic shimmer and starry accents.
The blend of edgy black and playful pink creates a uniquely balanced sweet and cool vibe that has taken modern nail art by storm. By combining a sponge gradient technique with magnetic cat eye gel and celestial star stickers, this look offers depth, dimension, and high-shine sophistication.
Steps
- 1Apply Sheer Black Gel Base Coat
Apply an even layer of sheer black gel base coat over the prepared nail surface to establish the translucent dark foundation for the gradient and cat eye effects.
Tip: Keep the layer thin and even to maintain transparency and ensure proper curing. - 2Create Gradient Effect with Sponge
Take a small makeup sponge, dab it into black gel polish, and gently sponge the color onto the nail to build a soft gradient transition.
Tip: Dab lightly and build up the color gradually to avoid harsh lines. - 3Darken the Nail Tip
Concentrate extra black gel polish directly onto the very tip of the nail to deepen the intensity of the gradient effect.
Tip: Focus the pigment tightly on the free edge to create a strong contrast with the sheer base. - 4Apply Pink Cat Eye Gel
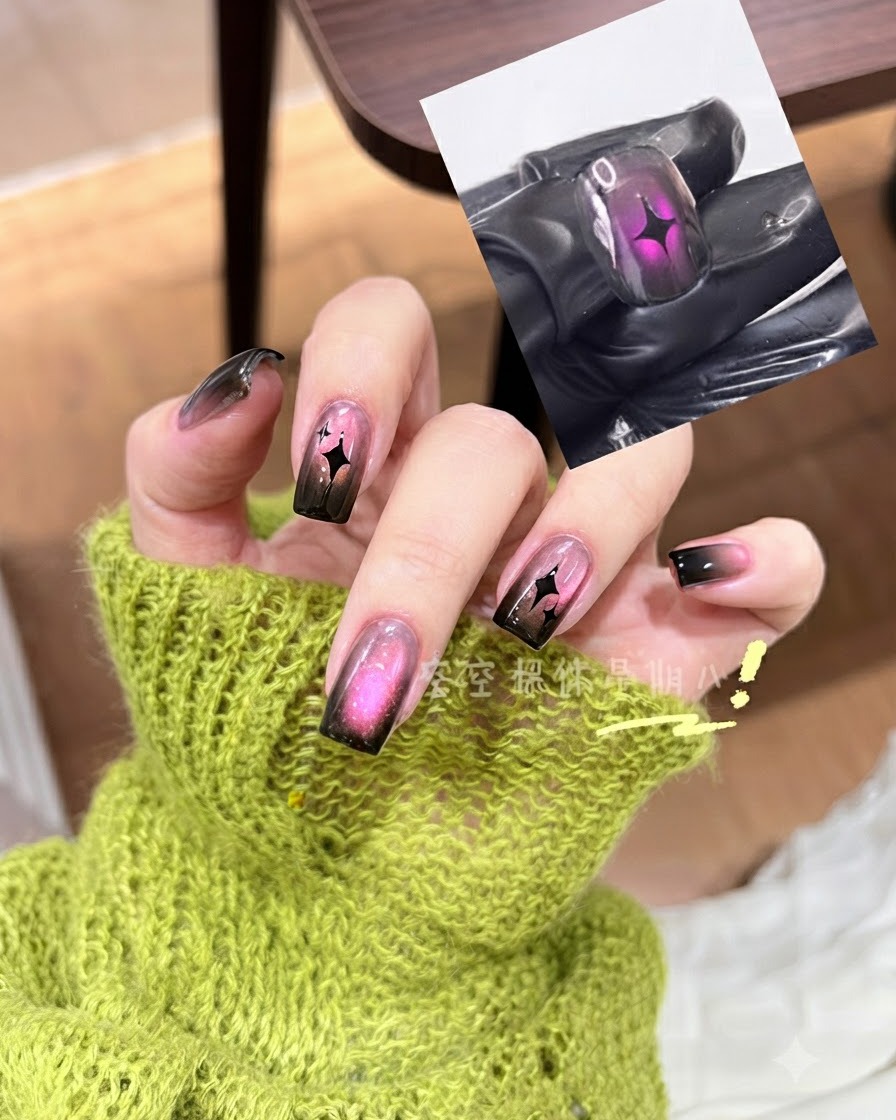
Apply a coat of pink cat eye gel uniformly over the entire nail surface on top of the black gradient base.
Tip: Ensure full coverage so the magnetic particles can catch the light evenly. - 5Activate Cat Eye Effect with Magnet
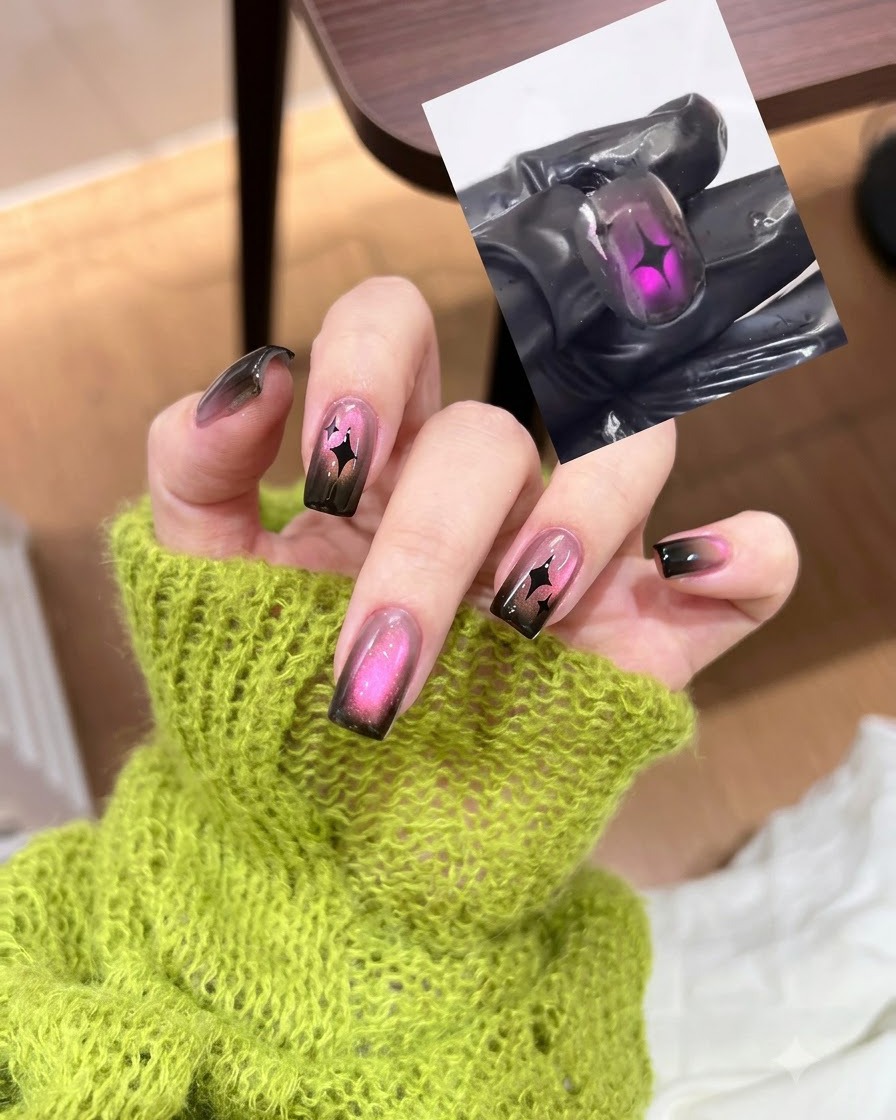
Position a magnet tool close to the wet cat eye gel to move and concentrate the magnetic particles into the desired glowing pattern.
Tip: Hold the magnet steady for a few seconds until the desired reflection line forms before curing. - 6Apply Star Nail Stickers
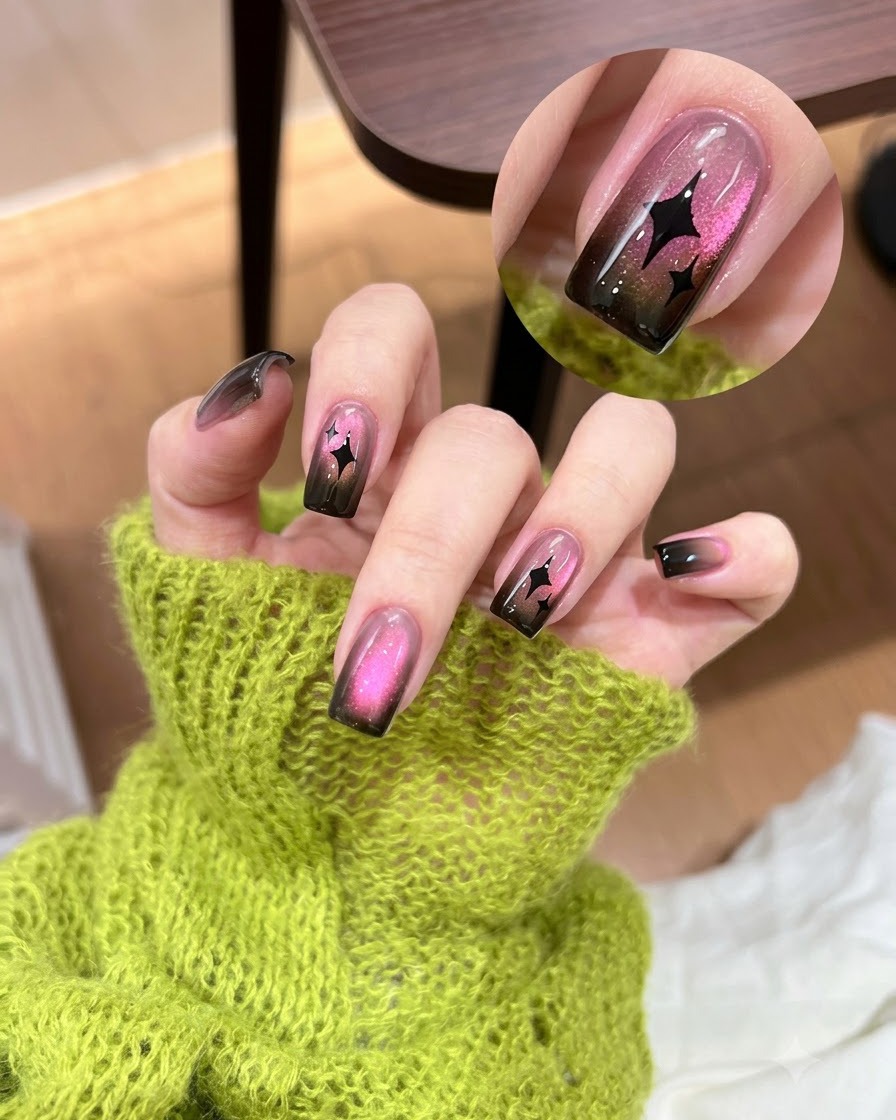
Use precision tweezers to pick up a black four-pointed star sticker and carefully position it onto the cured cat eye nail surface.
Tip: Press down the edges of the sticker firmly to ensure it sits flat before applying the top coat. - 7Press the star sticker down
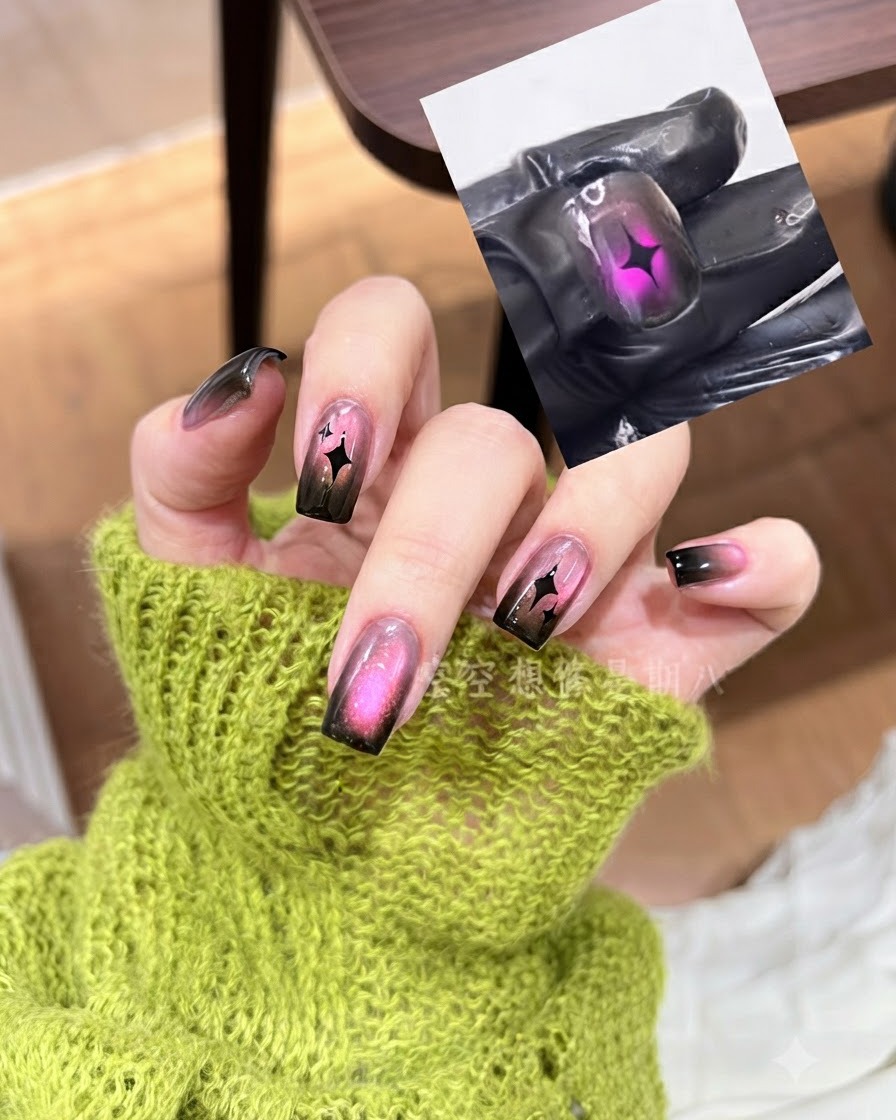
Using a metal tool, gently press down on the black star-shaped nail sticker to ensure it adheres securely to the nail surface without any lifting edges. This helps the sticker lie flat before sealing it with a top coat.
Tip: Press firmly along all the points of the star shape to prevent bubbles or edges from catching. - 8Apply top coat
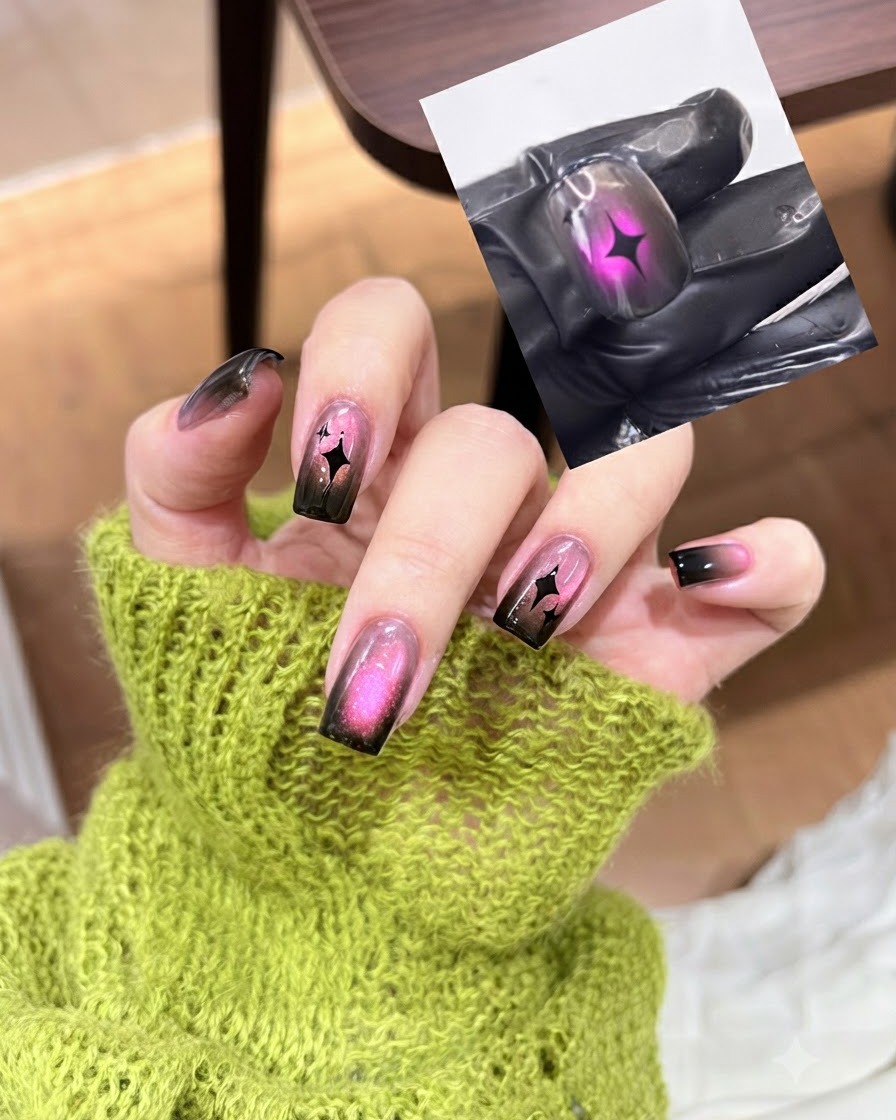
Apply a generous yet even layer of glossy top coat over the entire nail, ensuring the design and star stickers are fully sealed. Cap the free edge to prevent peeling and lock in the black and pink gradient cat eye effect. Cure thoroughly under a UV or LED lamp to achieve a smooth, high-shine finish.
Tip: Make sure to fully seal around the edges of any embedded nail stickers with top coat to prevent them from lifting or catching on clothes.