Pink and Blue Cloud Gradient Cat-Eye Nail Art — Step-by-Step Tutorial
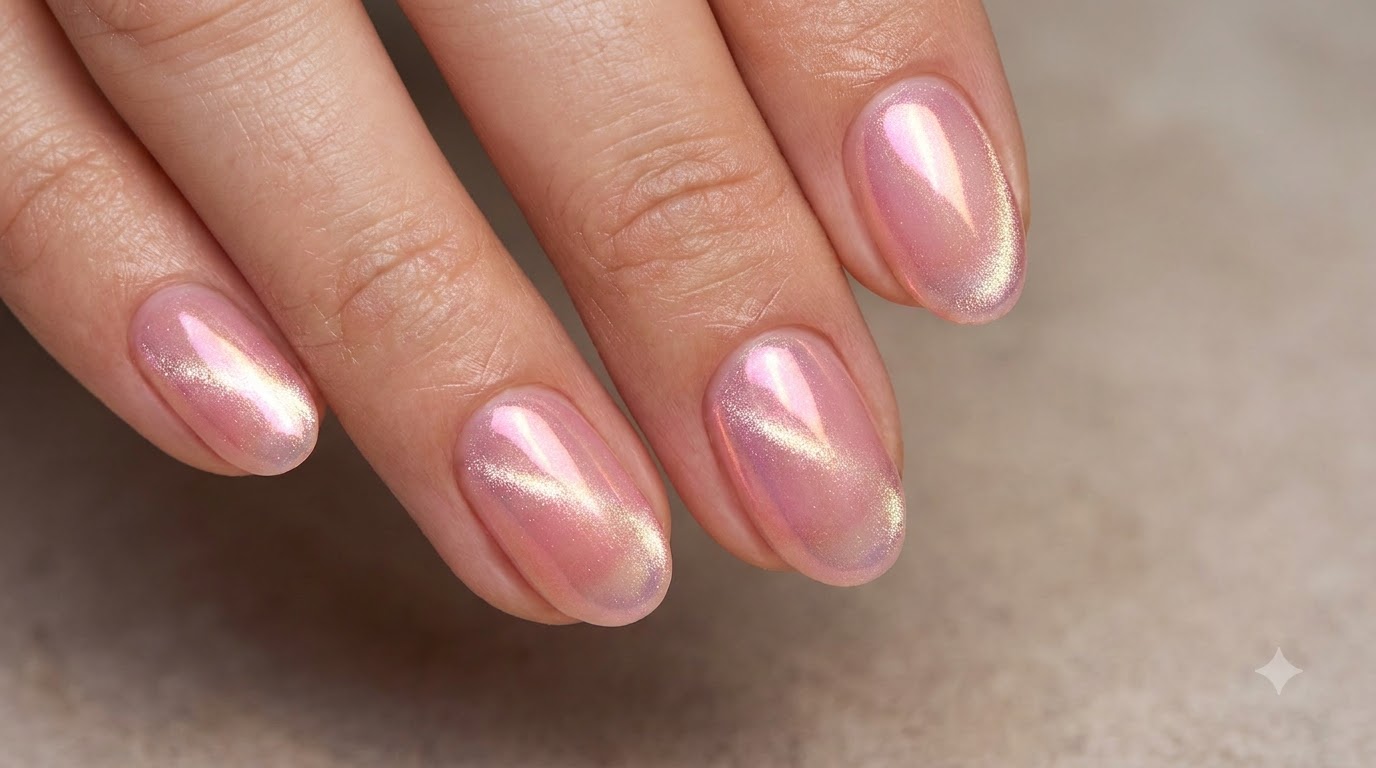
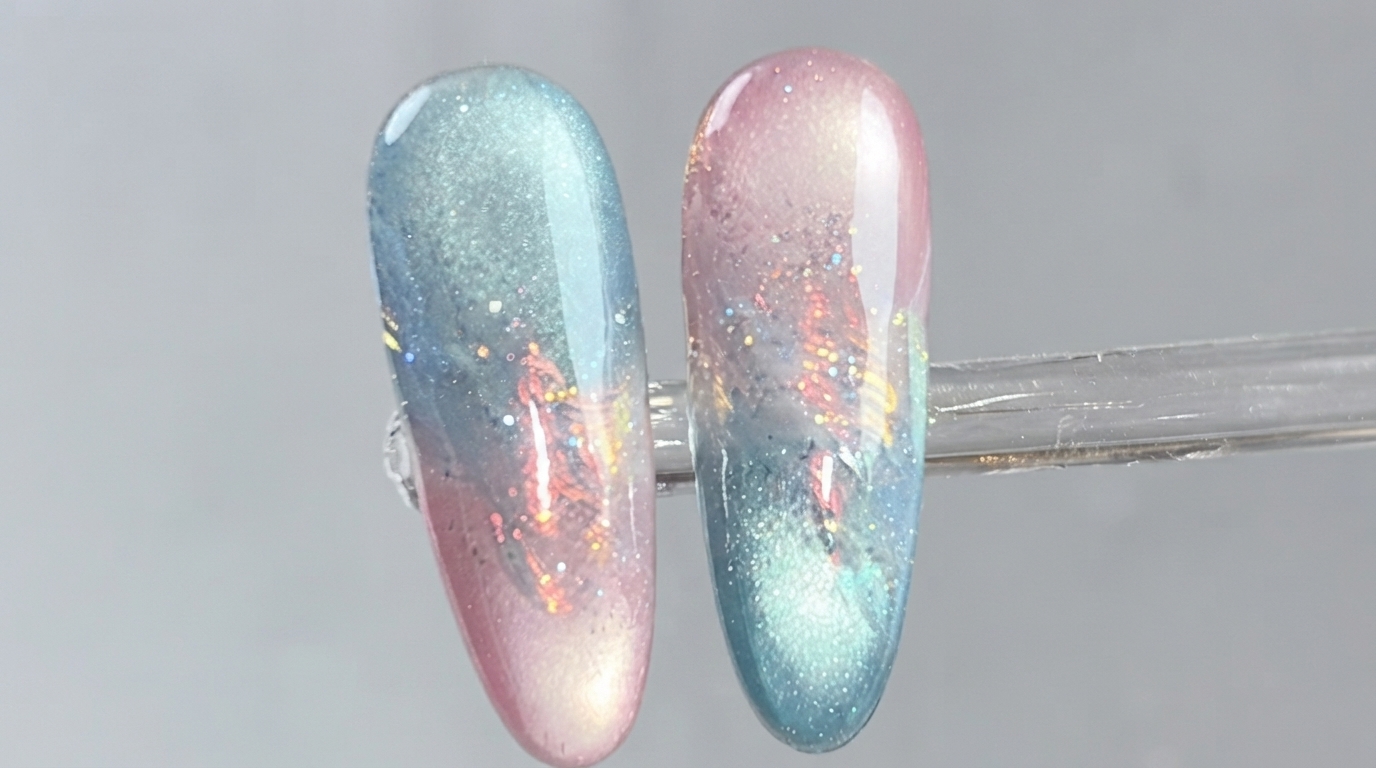
Create a dreamy pink and blue cloud gradient nail look featuring magnetic cat-eye shimmer, iridescent chrome powder, and ethereal translucent cloud art.
Cloud gradient nails paired with dimensional cat-eye effects offer a mesmerizing, otherworldly aesthetic that captures attention from every angle. By combining soft pastel tones, fluid blooming gel, and magical mirror powder reflections, this comprehensive tutorial guides you through each intricate stage to master salon-quality ethereal nail art at home.
Steps
- 1Apply clear water gel to the front edge
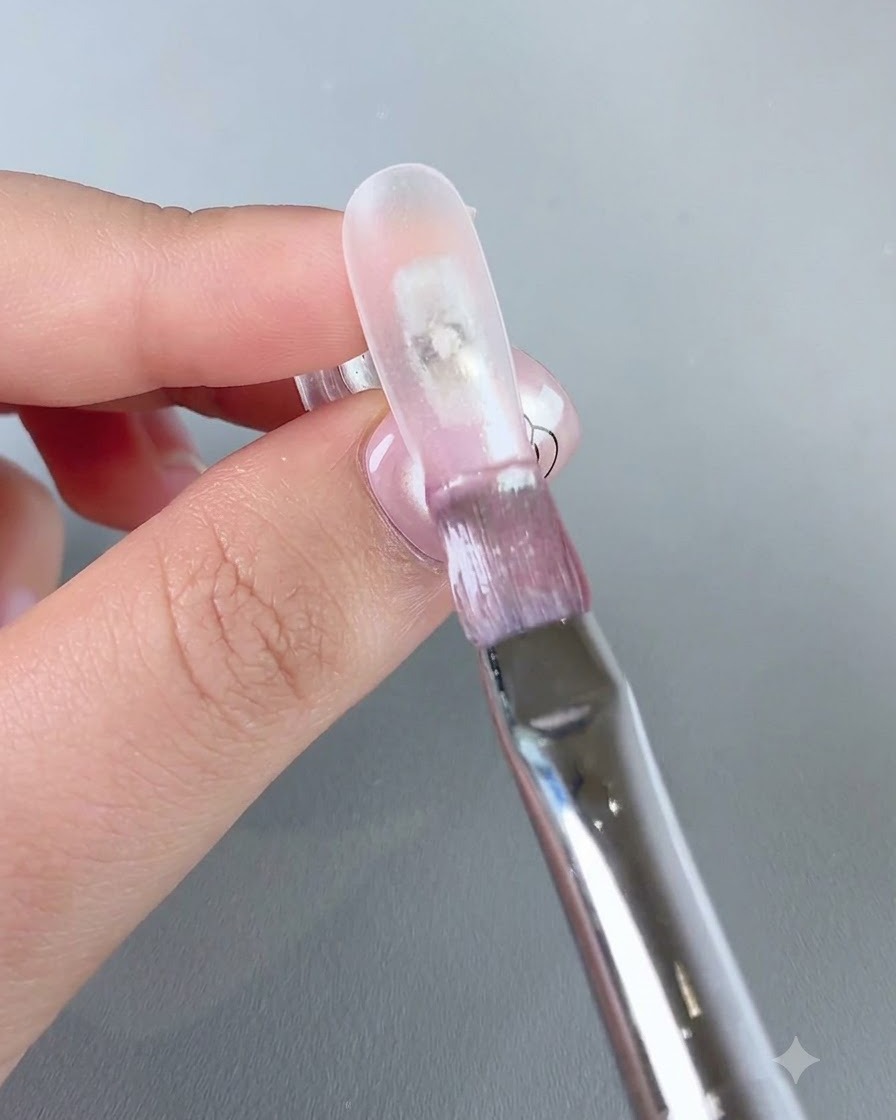
Take a brush and apply a layer of clear water gel No. 3 specifically onto the front edge of the nailcite: 1. This establishes the base placement for the gradient structure and prepares the surface for the natural transition effect.
Tip: Apply an even, thin layer to avoid pooling near the edges. - 2Swipe and pull color for gradient transition
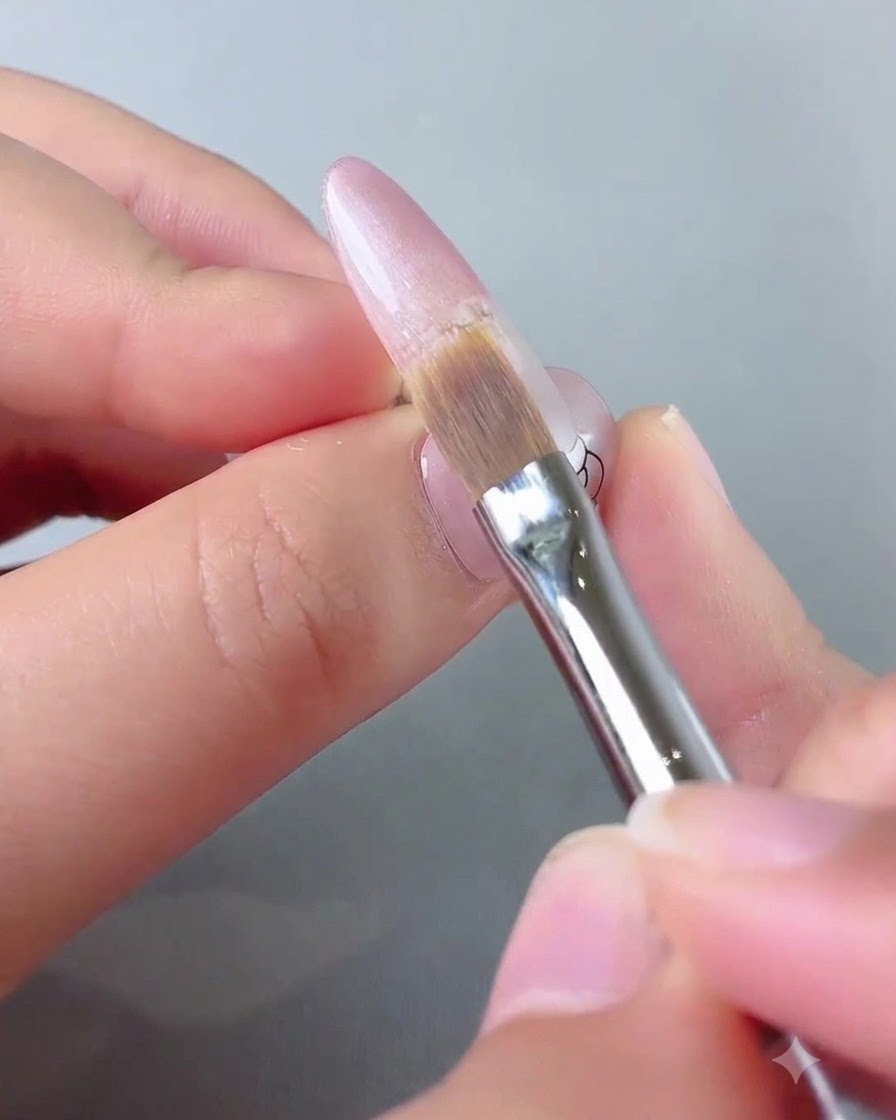
Switch to a dedicated swiping brush and gently pull the applied color downwards toward the basecite: 1. This technique diffuses the product and creates a seamless, natural downward gradient transition ideal for beginnerscite: 1.
Tip: Keep a light hand when swiping to maintain smooth diffusion without harsh lines. - 3Activate cat-eye effect at the fingertip
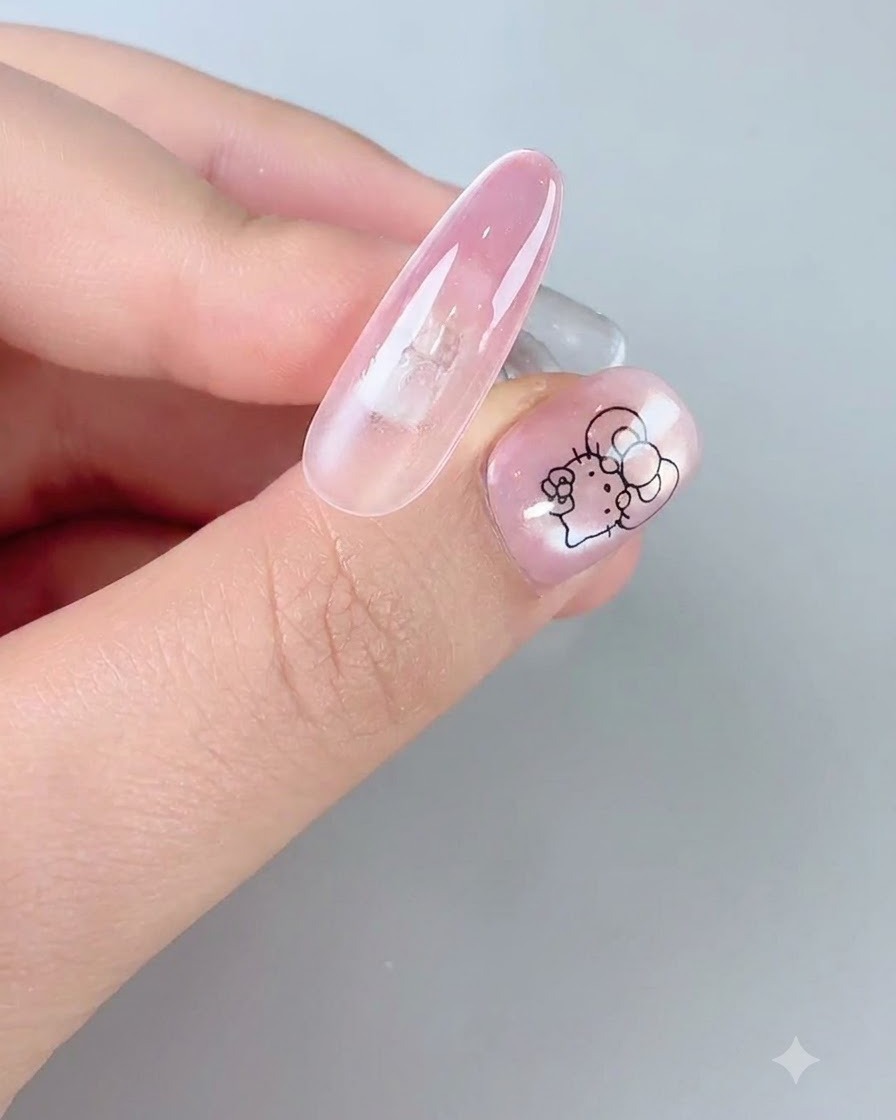
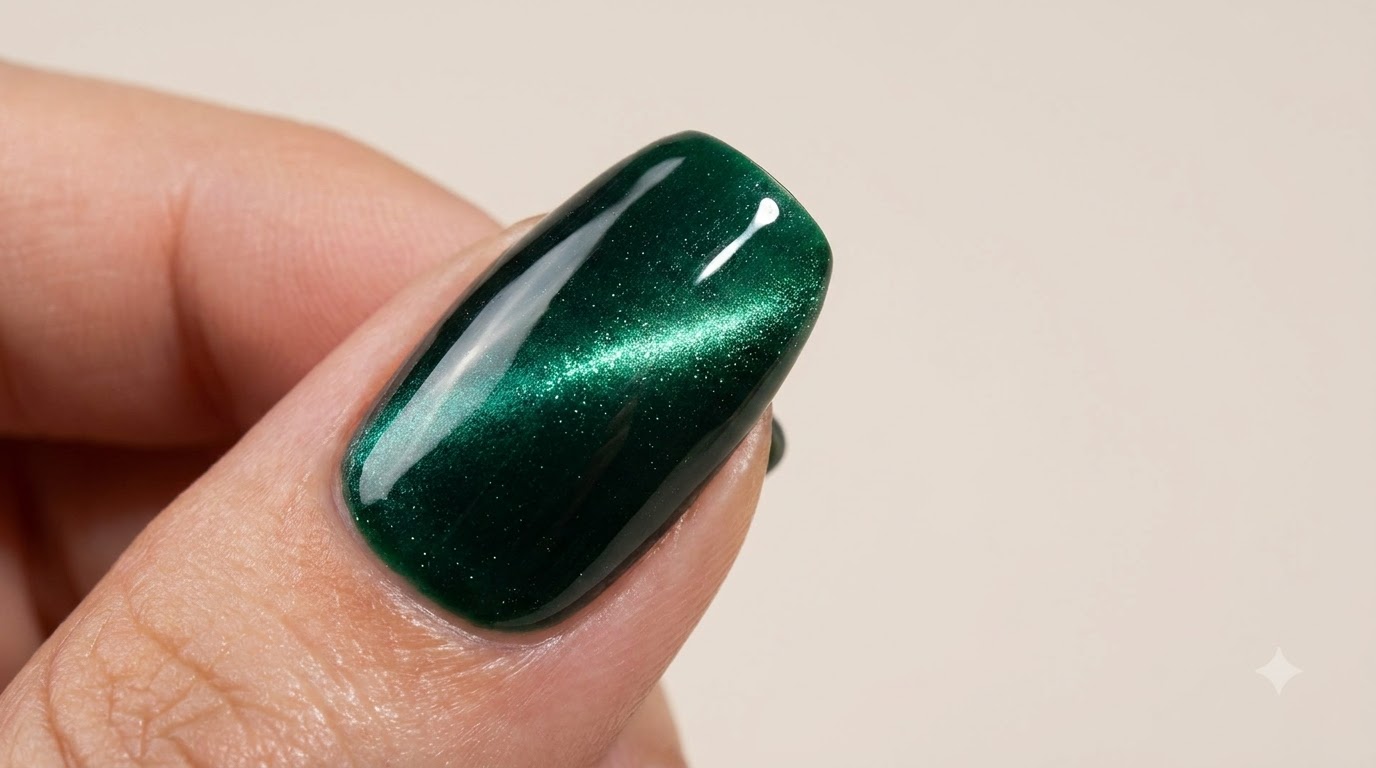
Bring a magnetic wand close to the fingertip area to magnetize the cat-eye gel particlescite: 1. Hold it steady until the magnetic shimmer concentrates and shines brilliantly, giving the tip a distinct reflective dimensioncite: 1.
Tip: Hold the magnet close without touching the wet gel surface to get a sharp cat-eye line. - 4Apply rain and clear sky gel on the back edge
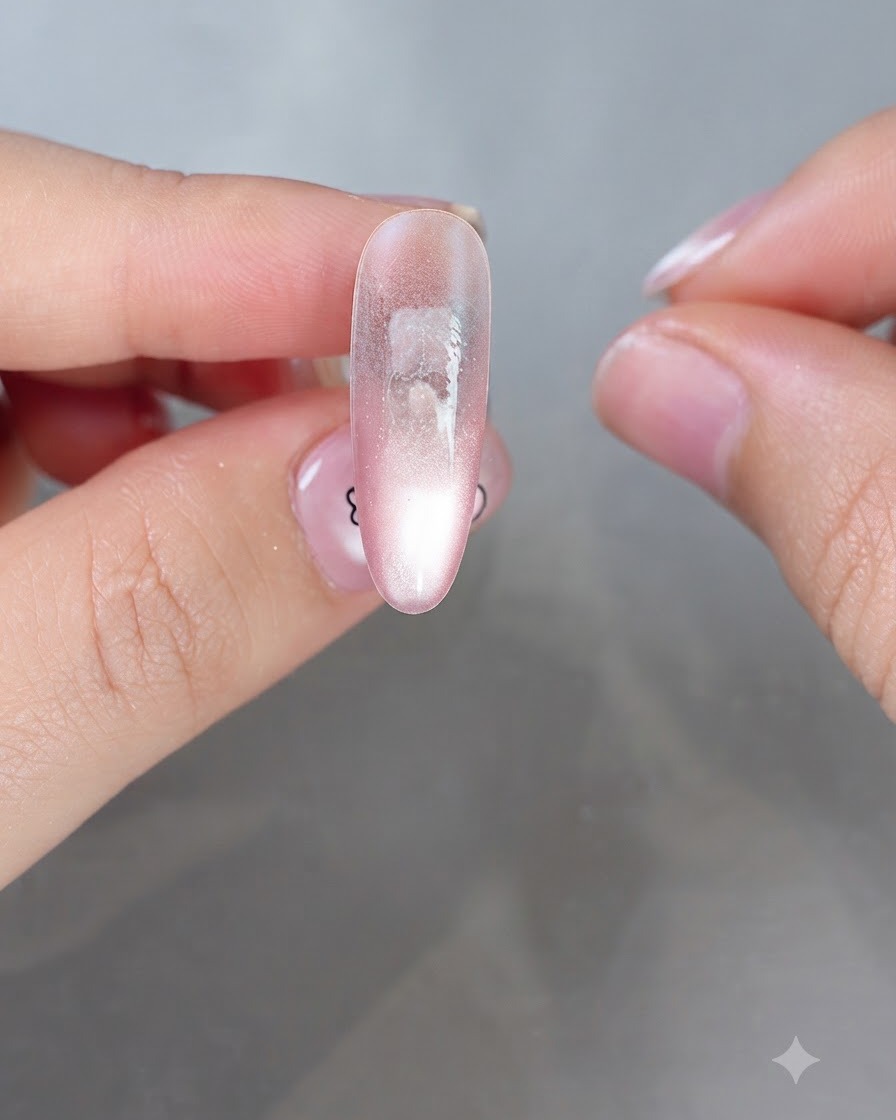
Apply the rain and clear sky No. 6 gel shade onto the back edge of the nailcite: 1. This introduces the contrasting tone needed to build the multi-tonal gradient look.
Tip: Place the product carefully near the back area to keep the transition zone clean. - 5Blend blue shade downward
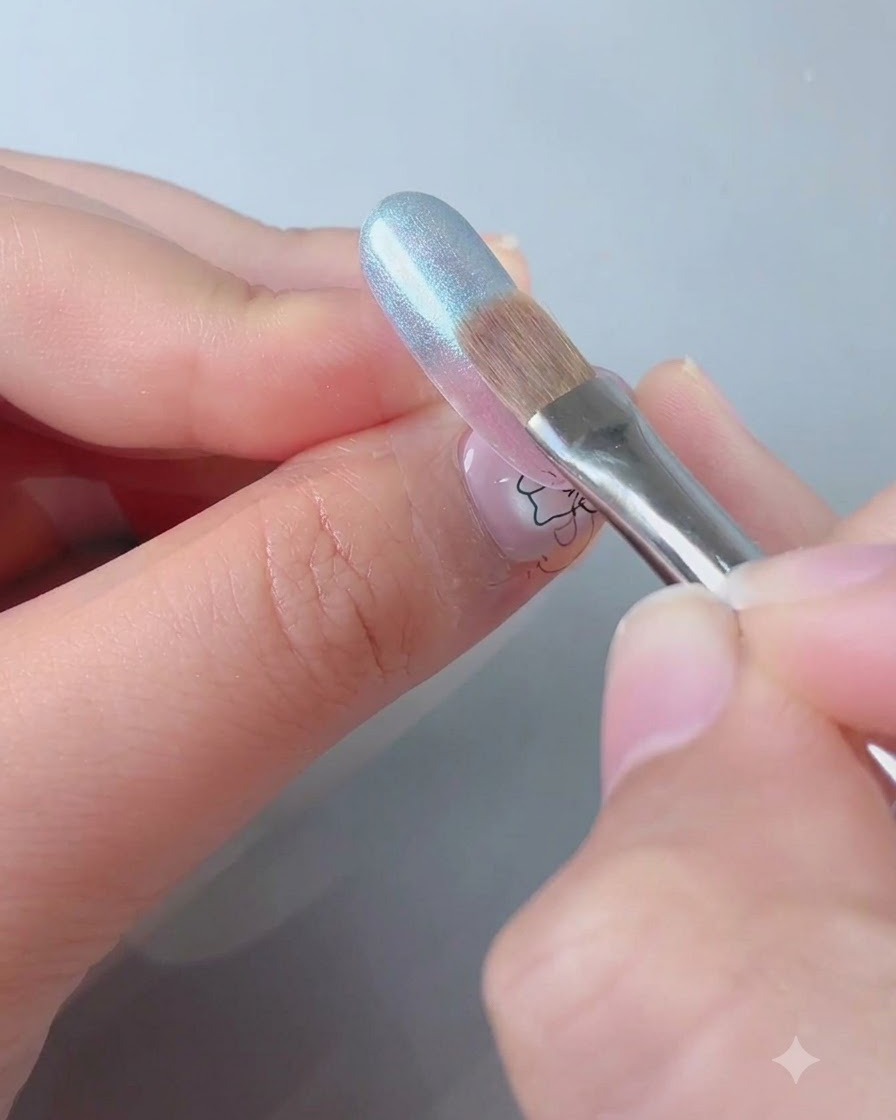
Take the swiping brush and gently blend the blue shade downwardcite: 1. This mirrors the previous transition technique, allowing beginners to easily brush a smooth and seamless gradientcite: 1.
Tip: Stroke lightly downwards to merge the blue hue evenly with the underlying layer. - 6Magnetize upper blue cat-eye effect
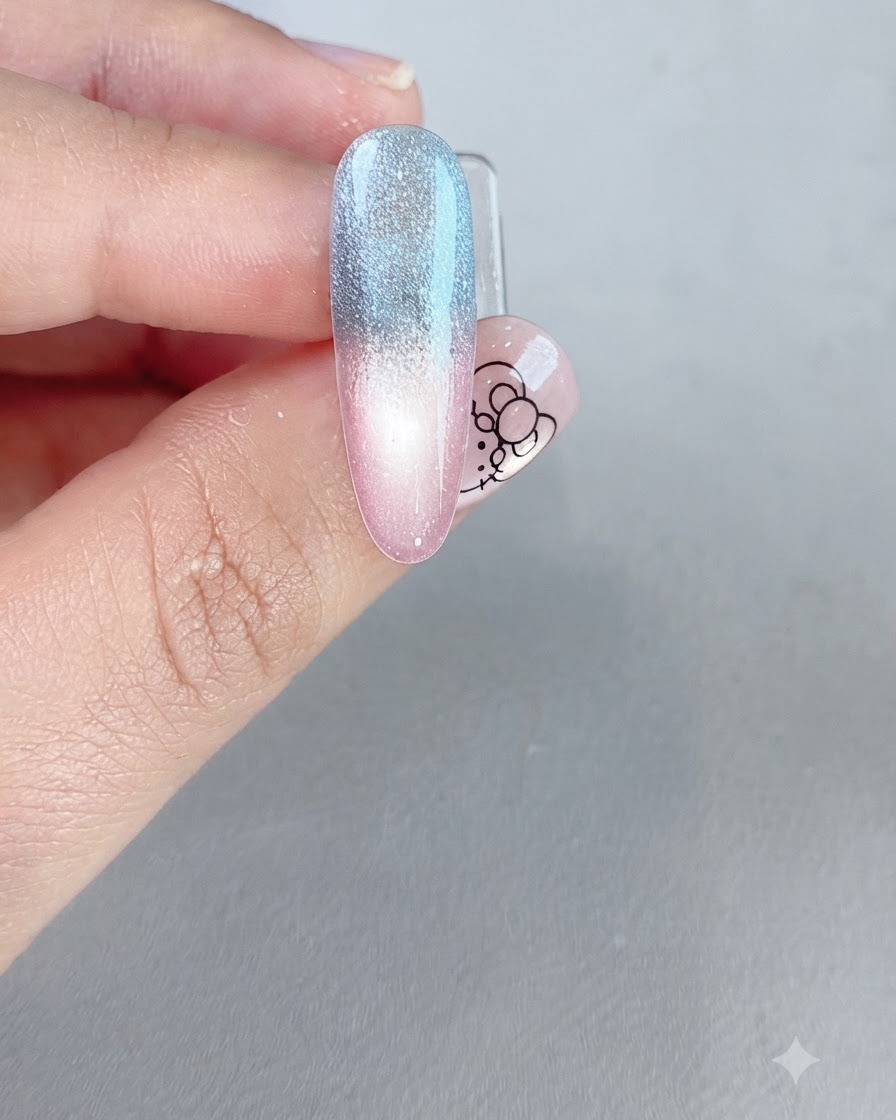
Use the magnetic wand once more over the upper blue section to magnetize the cat-eye effectcite: 1. This finalizes the magnetic alignment across the upper portion to achieve the desired luminous finishcite: 1.
Tip: Check the shimmer from different angles under the light to ensure even cat-eye reflection. - 7Draw abstract cloud patches
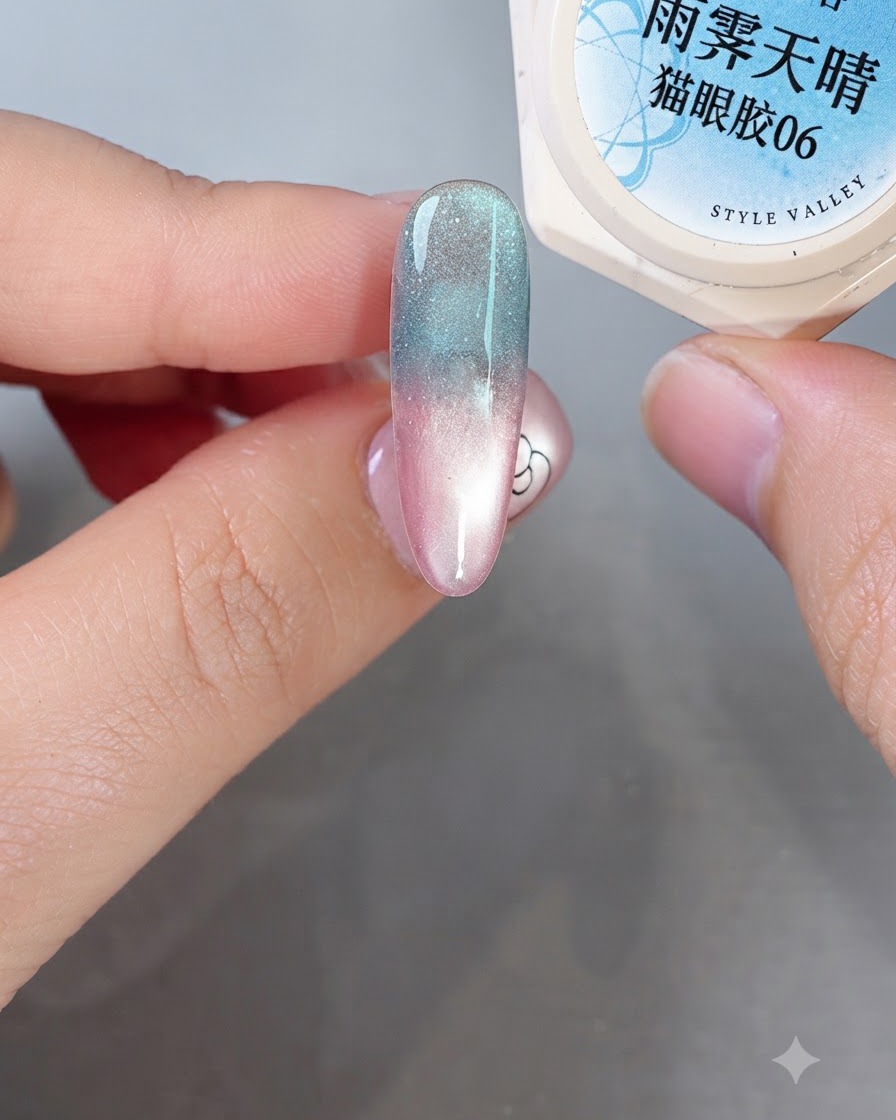
Using a fine brush, apply milky white self-leveling gel to create soft, abstract cloud-like patches on the nail surface. This forms the foundation for multi-dimensional cloud art.
Tip: Keep strokes light and airy to mimic natural wisps of clouds. - 8Blend cloud edges with blooming gel
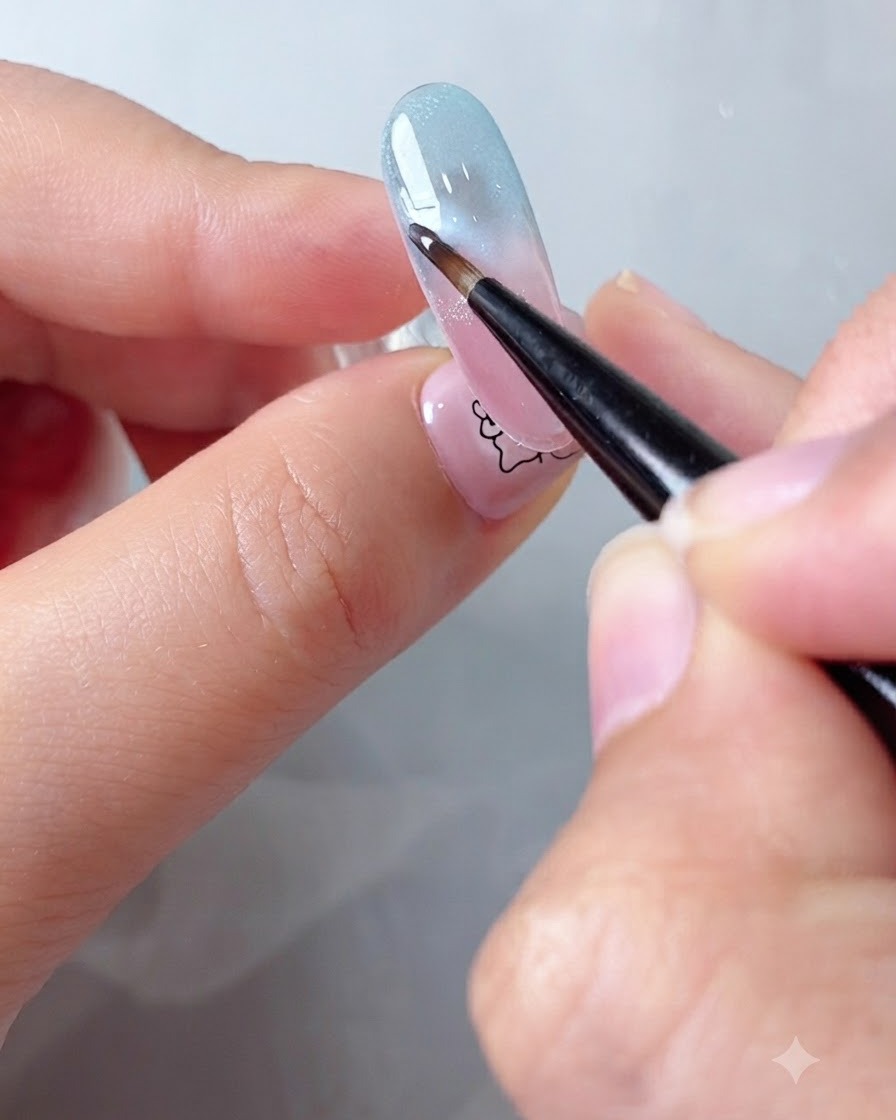
Take a fine brush with relaxed blooming gel and gently work around the edges of the white patches. This melts the boundaries into the background for a seamless, hazy transition.
Tip: Work quickly with the blooming gel before it spreads too far beyond your desired shape. - 9Add a second layer for depth
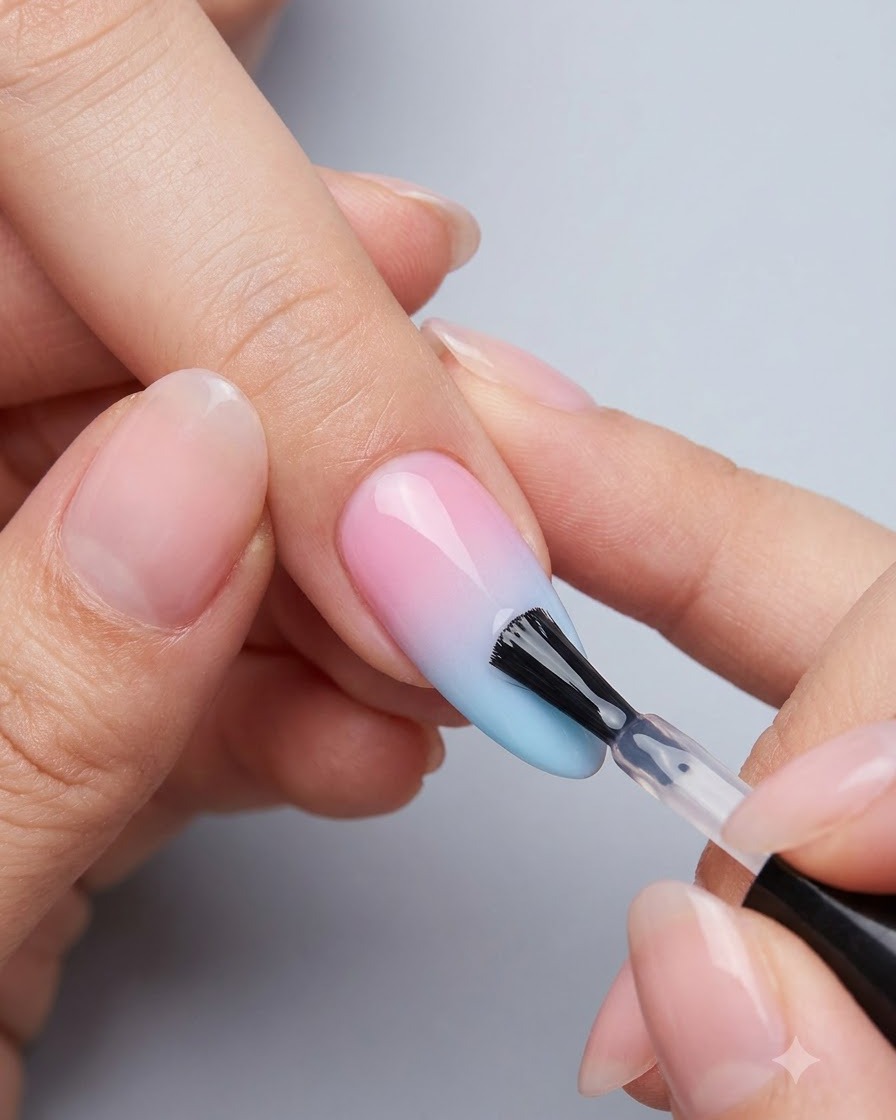
Apply a secondary layer of white self-leveling gel onto specific areas of the cloud design and blend it slightly. This intensifies the opacity and creates greater depth and layering.
Tip: Focus the second layer near the center of the clouds to keep the edges soft and translucent. - 10Apply powder-isolating top coat
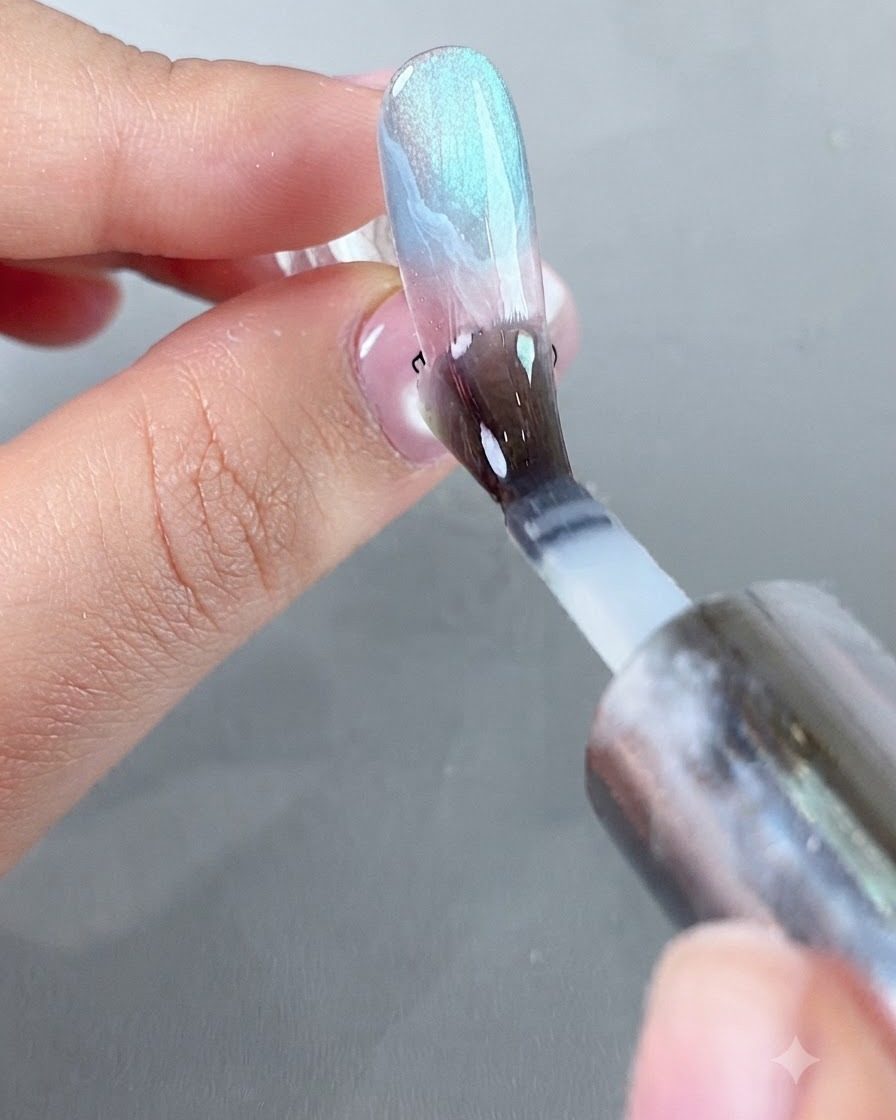
Brush a layer of powder-isolating top coat evenly across the entire nail plate and cure. This creates a protective barrier that prepares the surface for subsequent chrome or powder applications.
Tip: Ensure complete coverage across the entire nail so the magic mirror powder only adheres where intended later. - 11Create flowing streamer lines
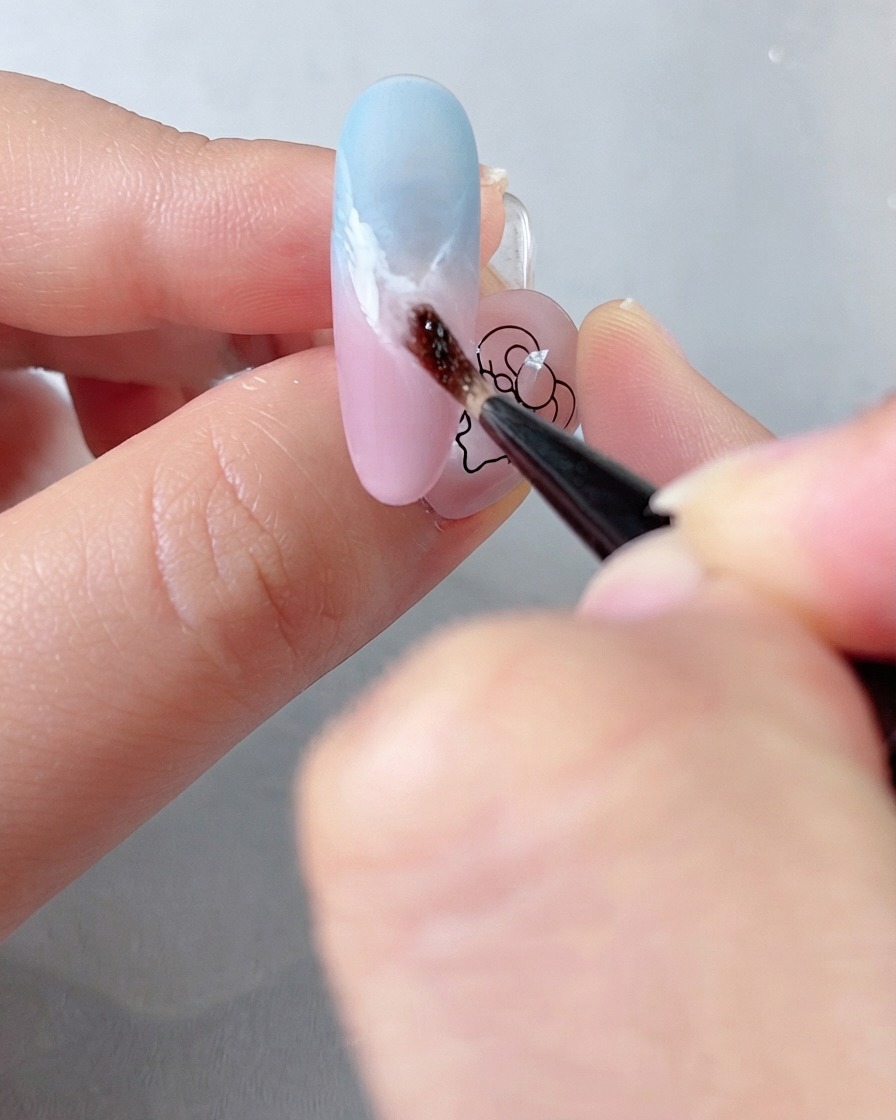
Using a large color-painting brush, apply glutinous rice diamond glue to draw dynamic, flowing streamer effects across the nail design.
Tip: Use light pressure to create sweeping, elegant lines that mimic ribbons or flowing light. - 12Cure under UV/LED lamp
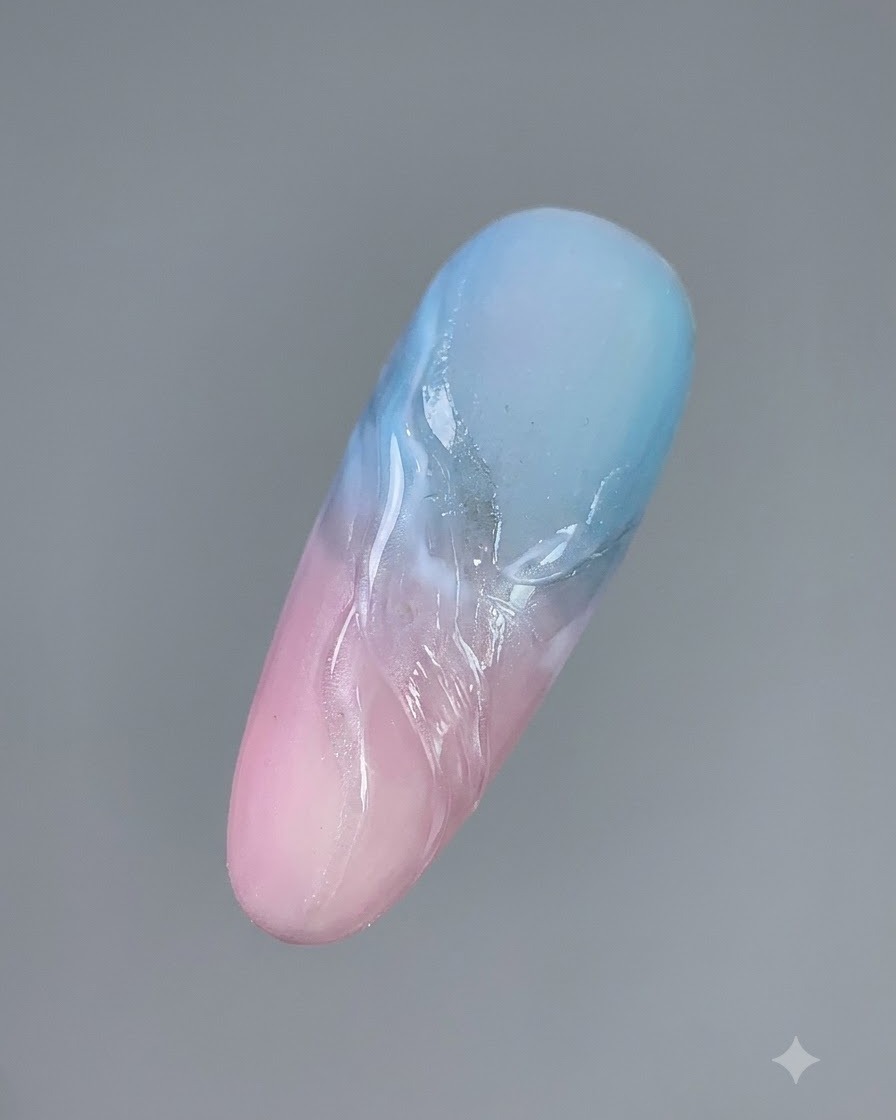
Place the nail under a UV or LED lamp and cure for 45 seconds to thoroughly set the textured glue and gel layers.
Tip: Ensure your hand is positioned directly under the light source for an even and complete cure. - 13Rub iridescent magic mirror powder
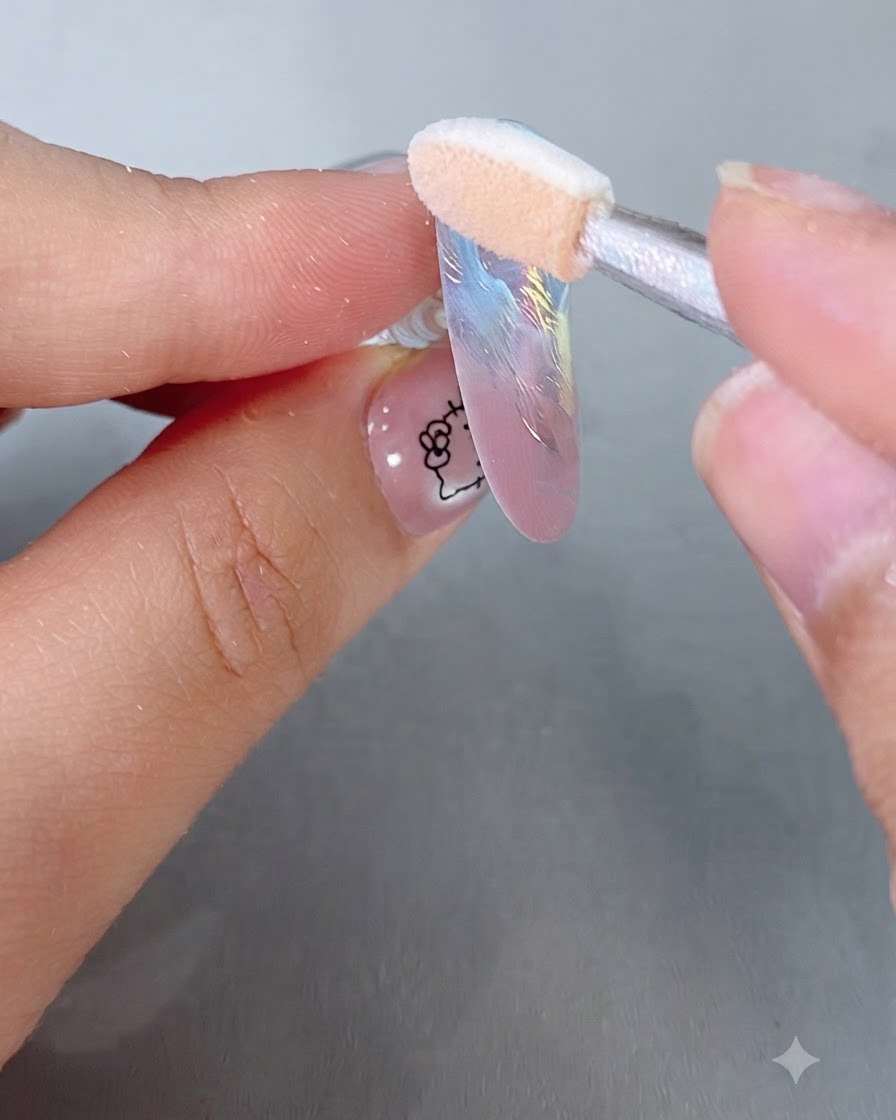
Using a sponge applicator tool, gently rub iridescent magic mirror powder onto the cured nail surface until a smooth, reflective, pearl-like finish appears across the design.
Tip: Apply the powder while the surface is warm right after curing for the best adhesion and mirror reflection. - 14Brush away excess floating powder
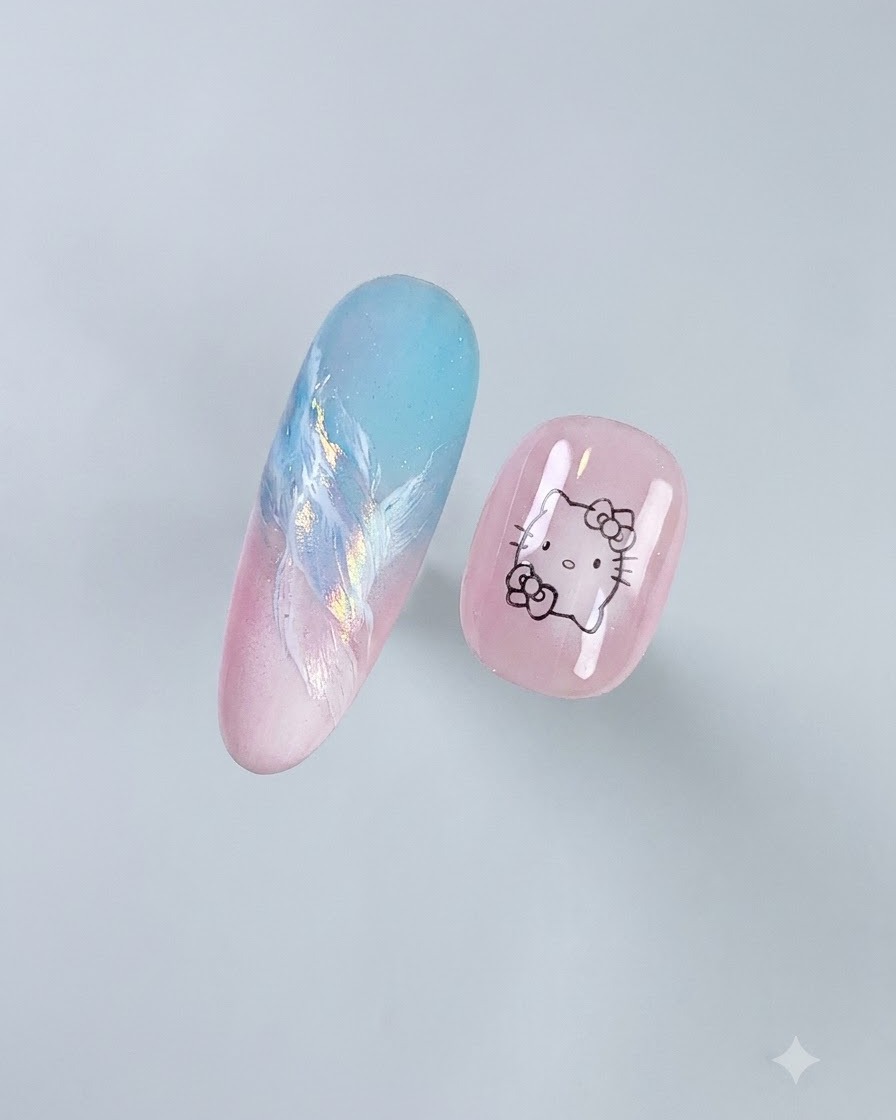
Use a soft dust brush to gently sweep away any loose or excess floating powder from the nail surface, revealing a clean, translucent, and iridescent finish.
Tip: Ensure all loose particles are completely removed before applying top coat to prevent a grainy texture. - 15Apply powder-sealing top layer
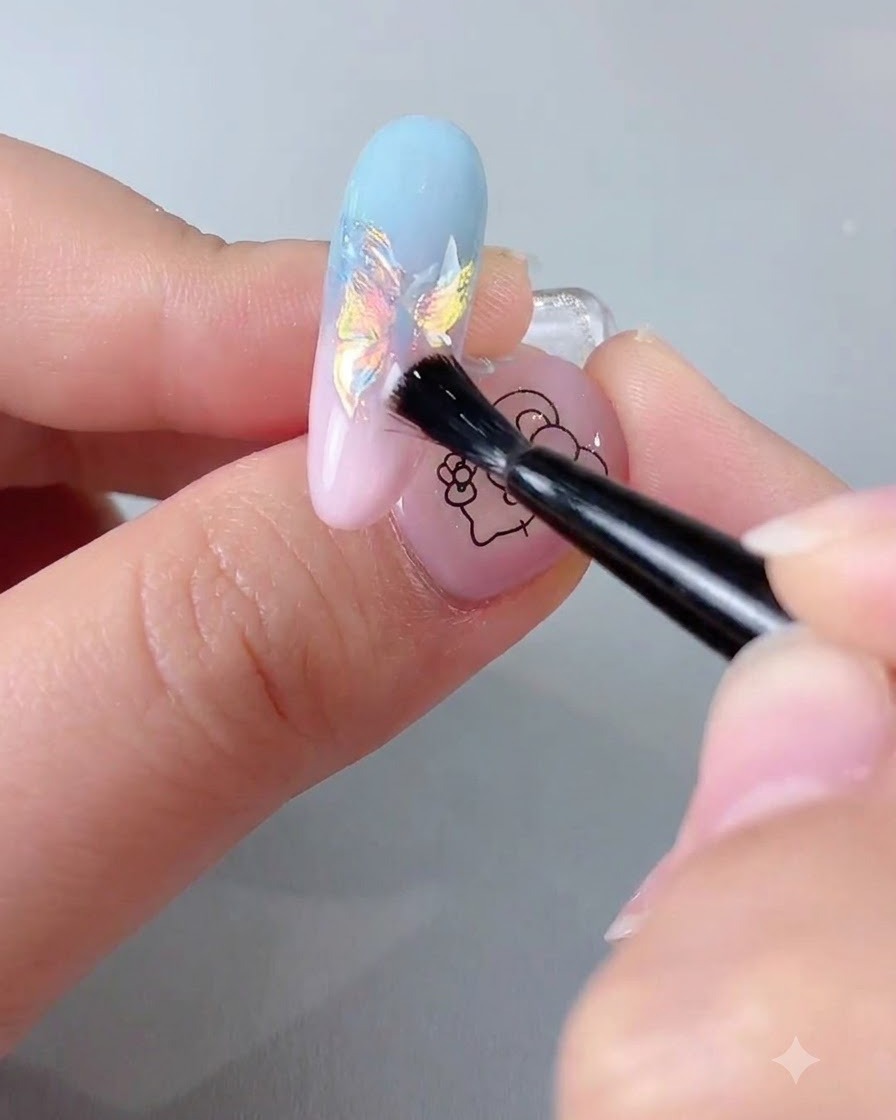
Apply an even coat of powder-sealing top layer over the entire nail design to lock in the magic mirror powder and protect the underlying layers.
Tip: Cap the free edge carefully with the sealing coat to prevent chipping and peeling of the chrome powder. - 16Add fine iridescent glitter powder
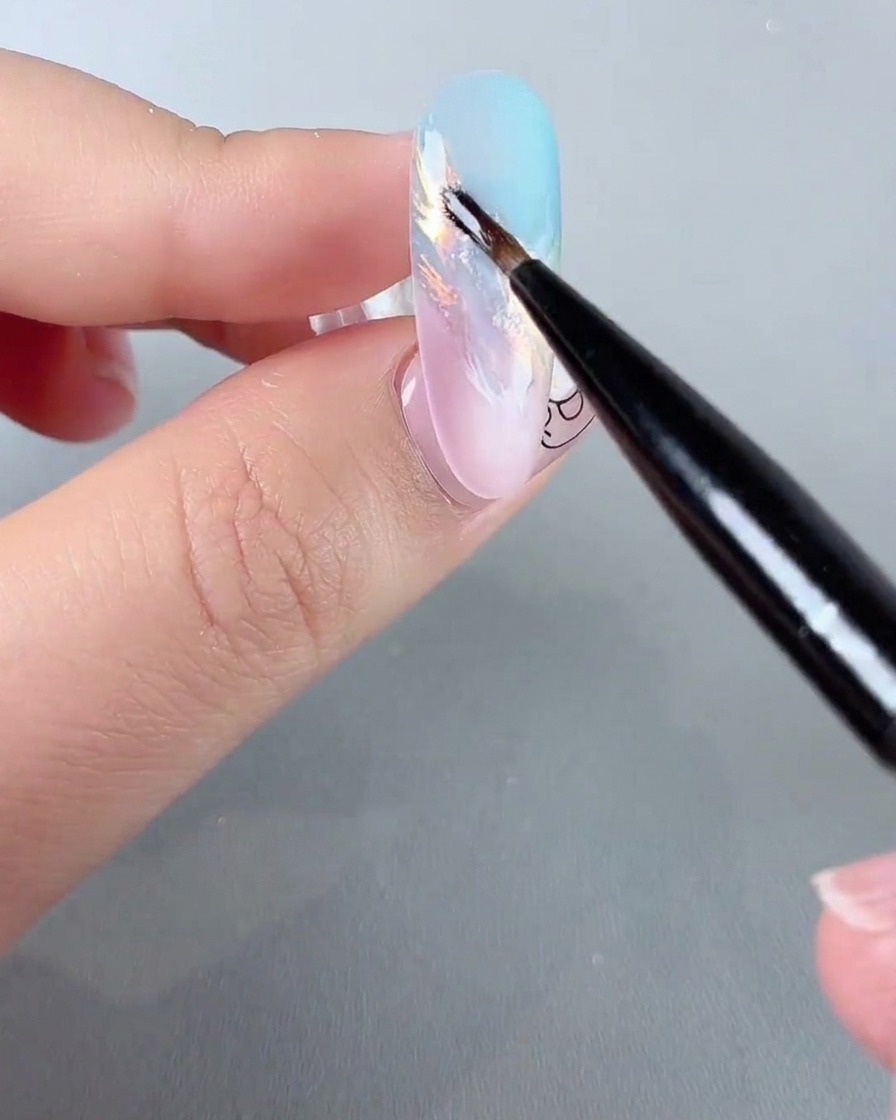
Using a fine detail brush, delicately apply fine iridescent glitter powder onto specific areas of the nail to create extra sparkle and depth.
Tip: Keep the glitter concentrated along the design lines to enhance the streamer and cloud effects without overwhelming the base. - 17Apply final smooth top coat
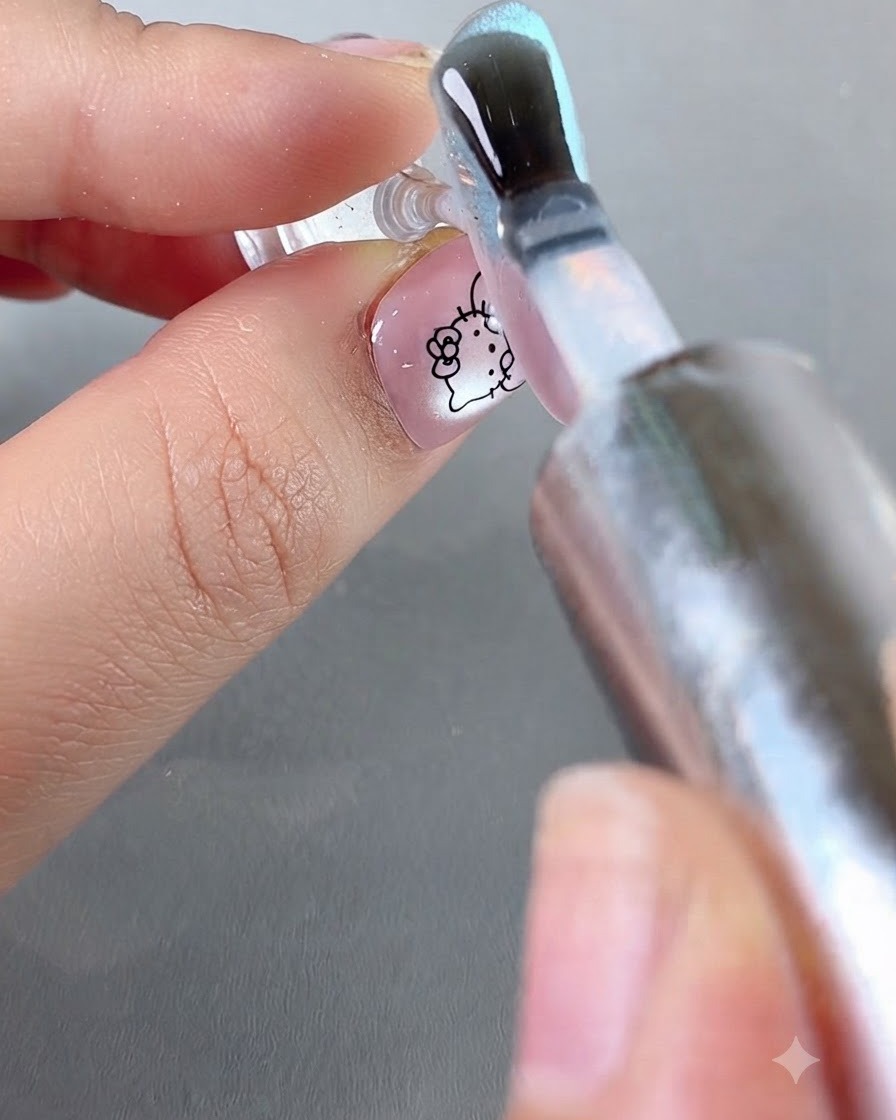
Apply a final layer of smooth, glossy top coat over the entire nail design to encapsulate all elements, smooth out any texture, and cure completely under the lamp.
Tip: Ensure complete coverage over all glitter and powder edges to maintain a high-gloss protection layer.