Deep Emerald Cat Eye Magnetic Gel Nails — Step-by-Step Tutorial
Master the art of mesmerizing deep green cat eye magnetic gel nails with diverse light effects using simple magnet positioning techniques.
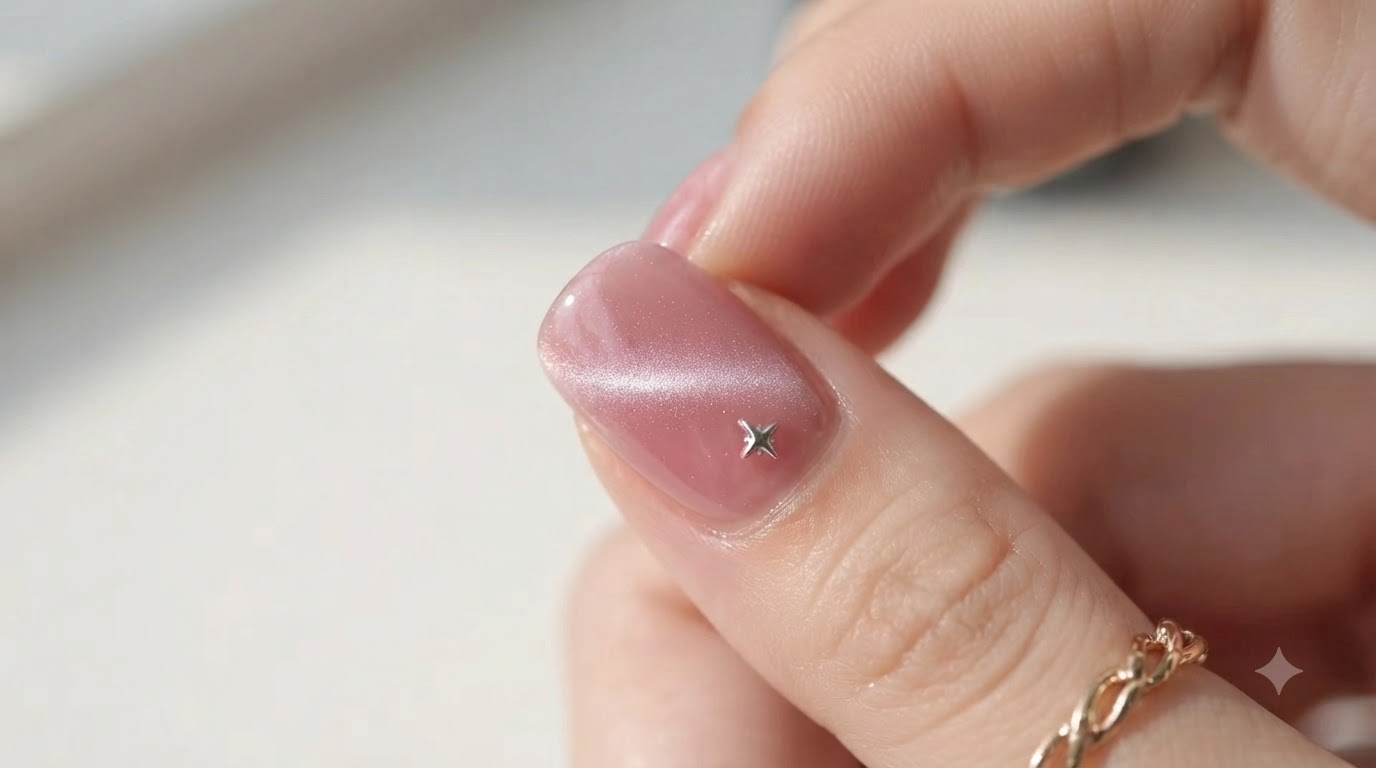
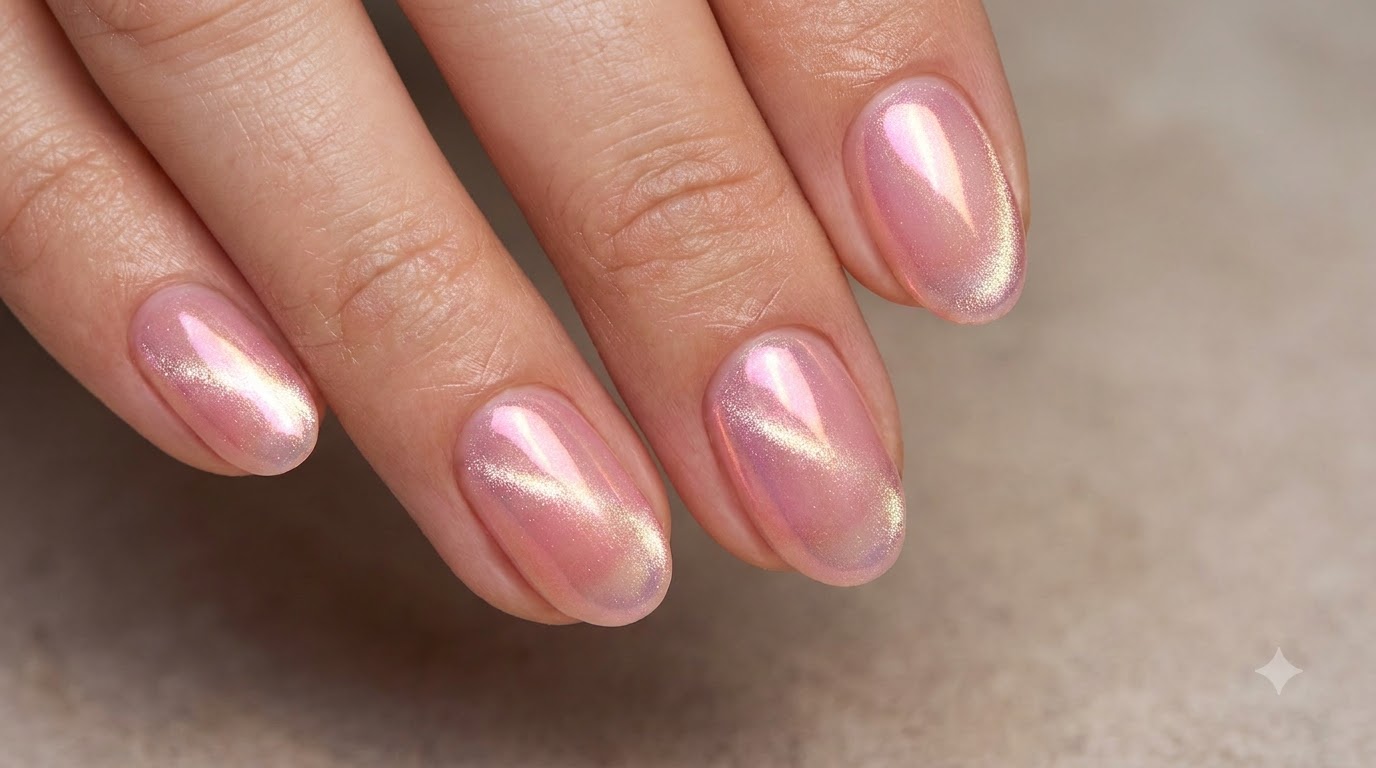
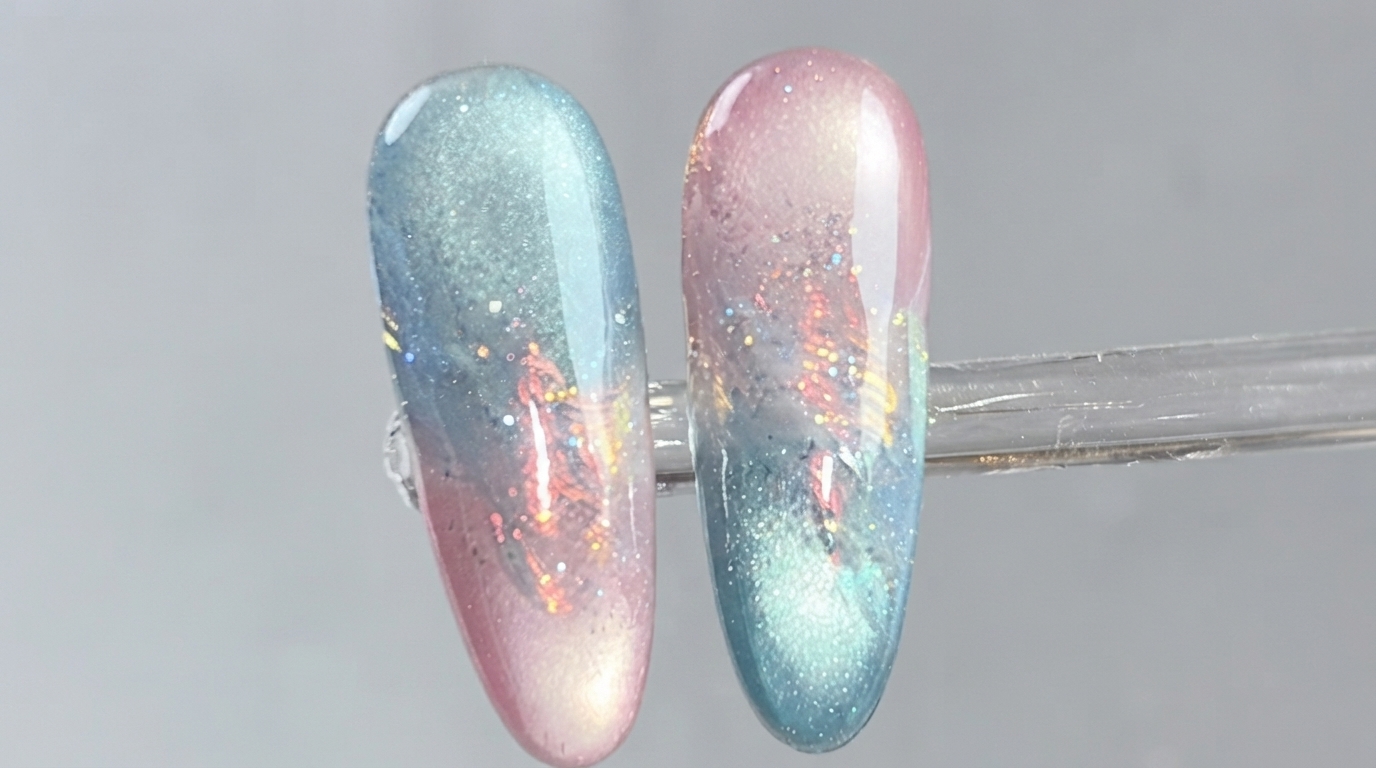
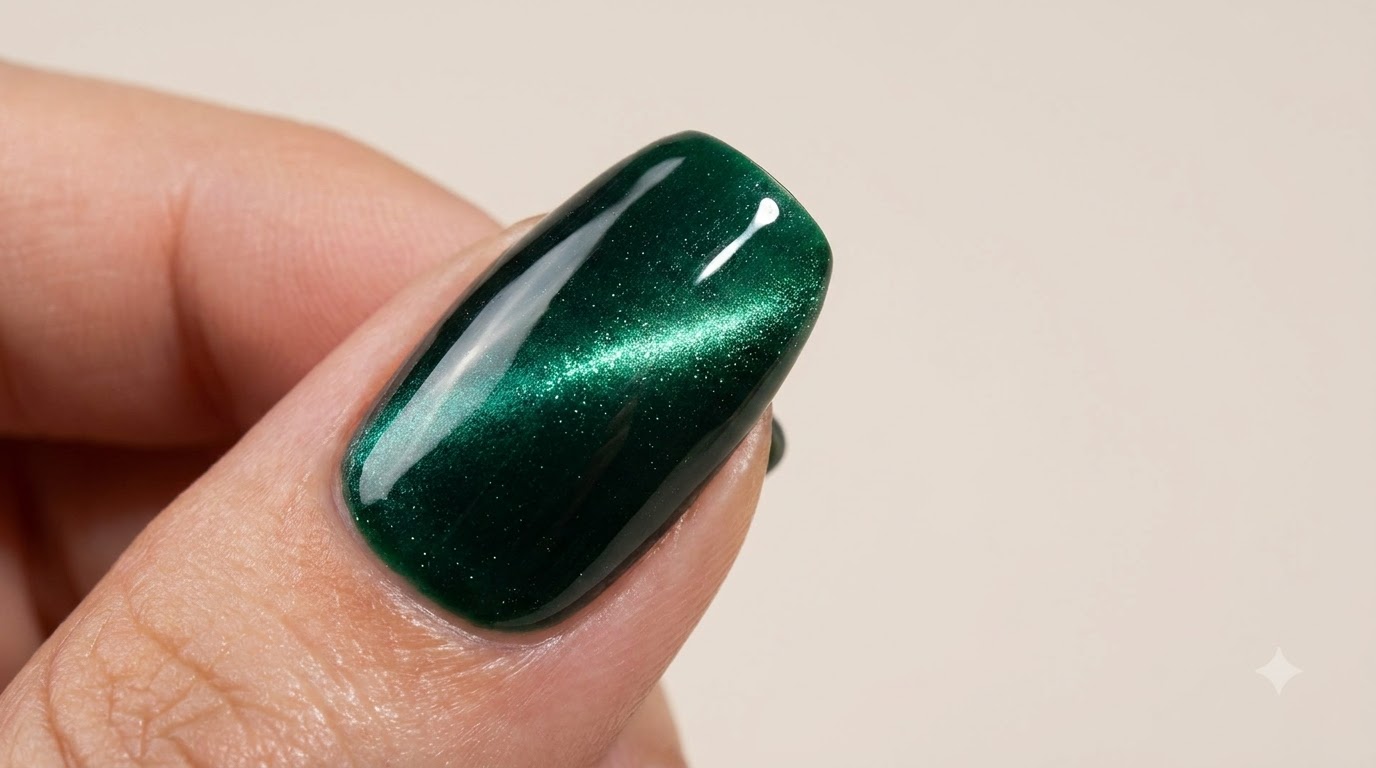
Cat eye gel polishes have revolutionized home manicures by bringing multidimensional, light-chasing gemstone effects right to your fingertips. This deep emerald green look combines a rich, dark base with precise magnetic manipulation to achieve a radiant, focused light streak. Whether you want a wide glow, a sharp center line, or an advanced C-curve, mastering these magnet techniques unlocks endless professional-looking styles.
Steps
- 1Apply magnetic cat eye gel
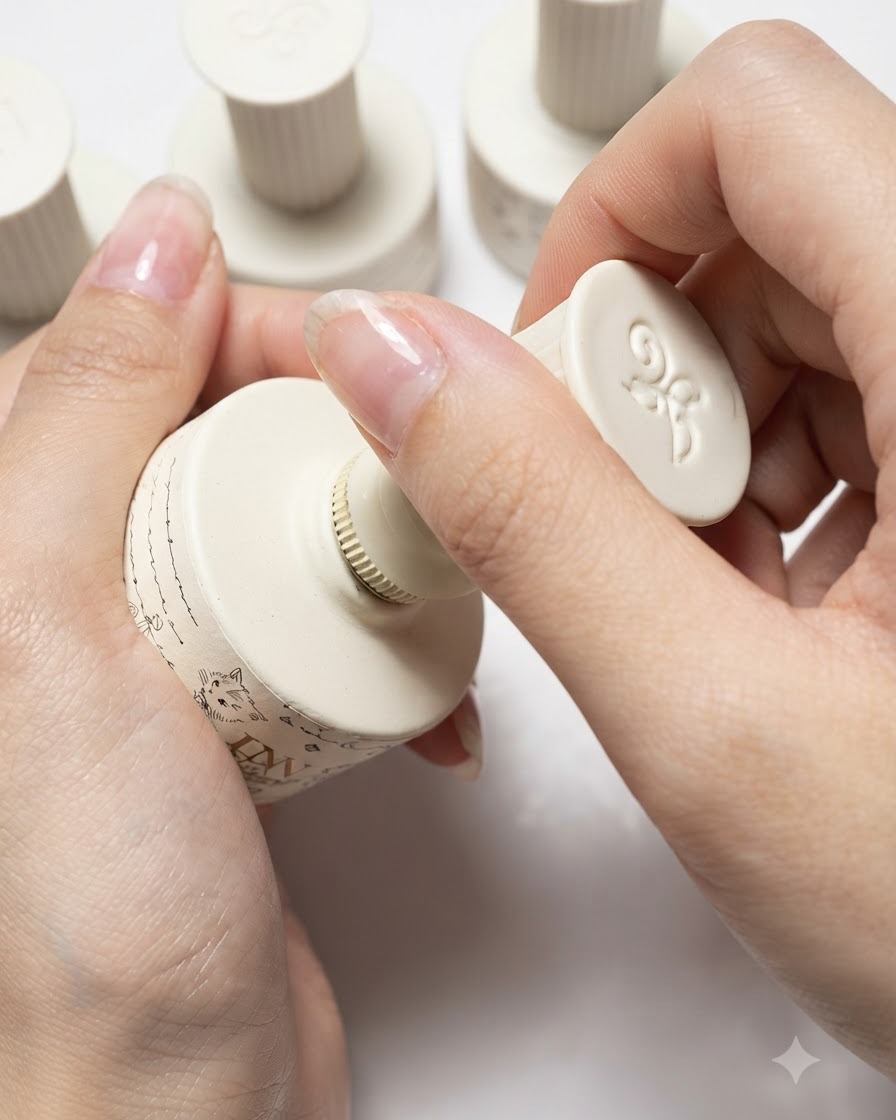
Take your high-quality magnetic cat eye gel and use a generous amount with a flat brush with rounded edges to apply it smoothly onto the nail. Keep the brush flat to avoid visible brush strokes, letting minor marks disappear on their own before activating the magnetic effect.
Tip: Apply a generous amount and keep your brush flat to ensure an even, smooth layer without distracting stroke lines. - 2Push magnetic particles with magnet
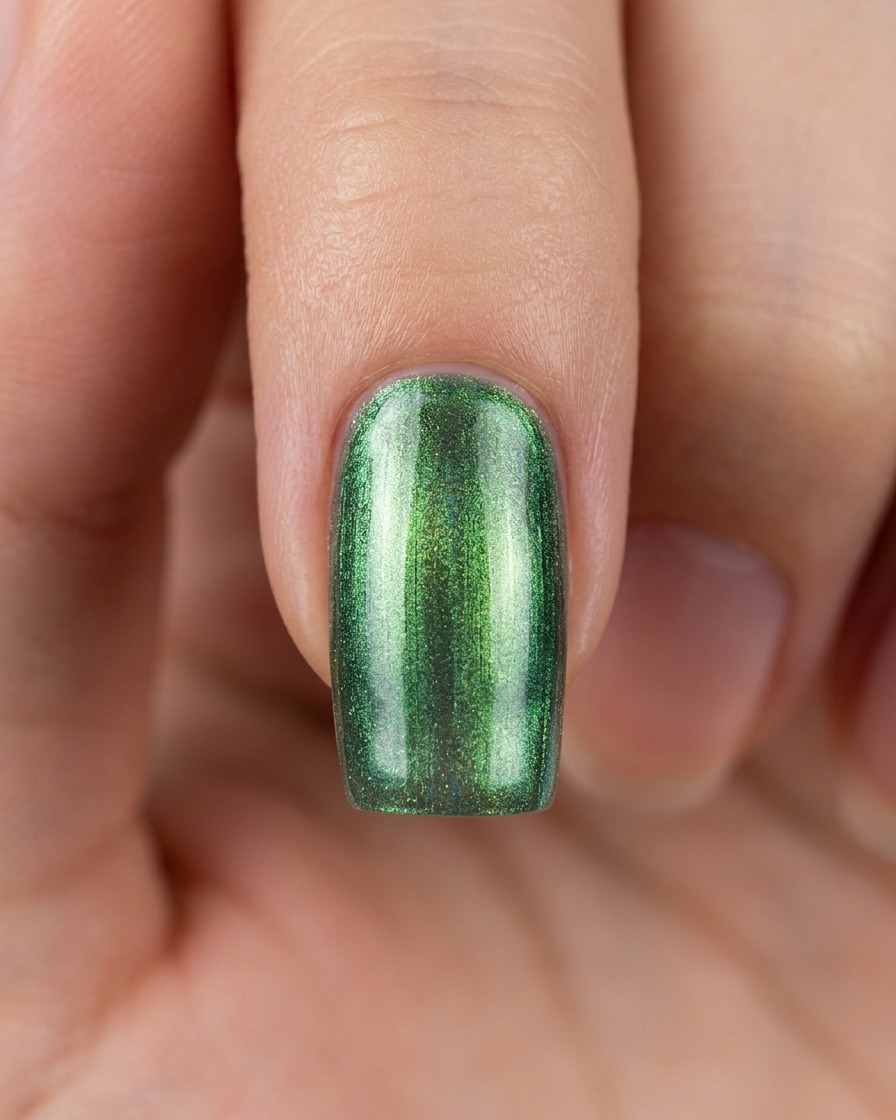
Hold the magnet parallel to the nail surface to push the magnetic powder away from the center. This initial movement disperses the particles evenly before styling the specific light effect.
Tip: Keep the magnet steady and close to the nail without touching the wet gel surface. - 3Distribute pigment by pulling back magnet
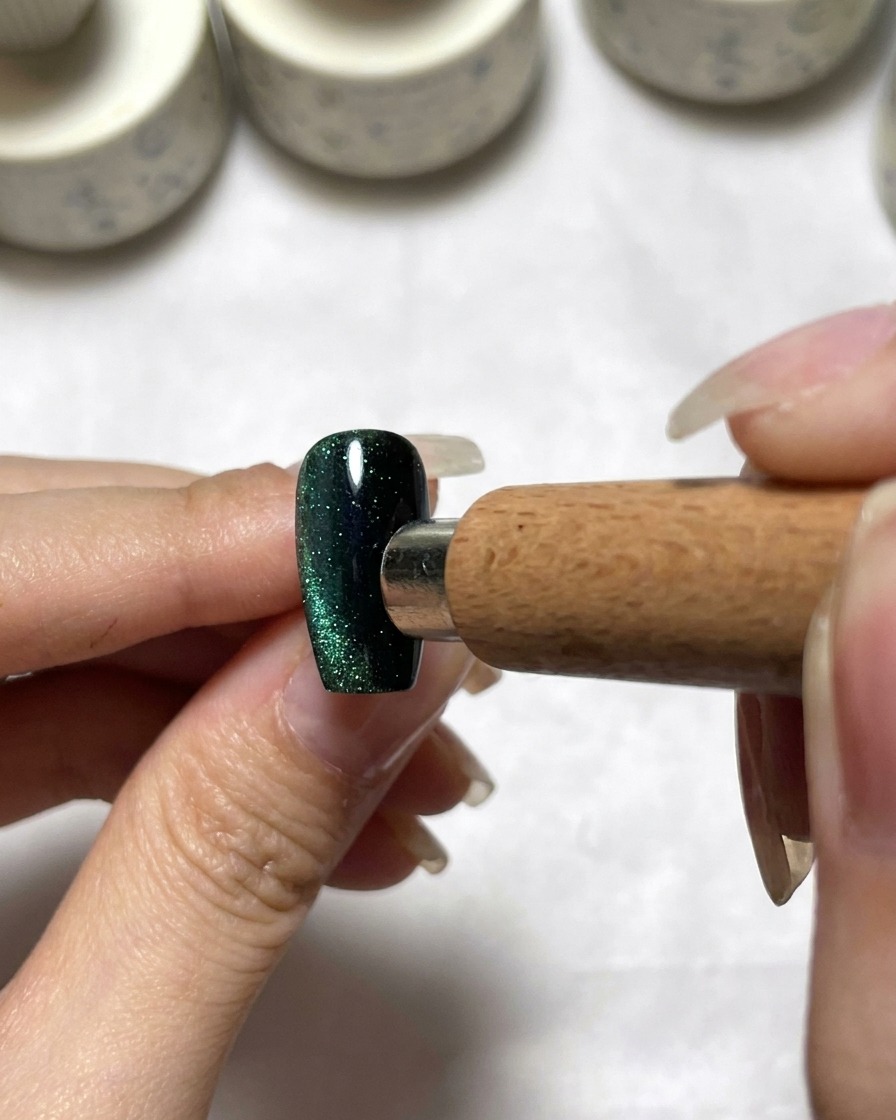
Gently pull the magnet back to allow the magnetic pigment to settle and distribute evenly across the nail. Watch as the magnetic force from the sides and surface work together to shape the particles.
Tip: Move the magnet slowly and deliberately so the particles have enough time to react. - 4Create wide light cat eye effect
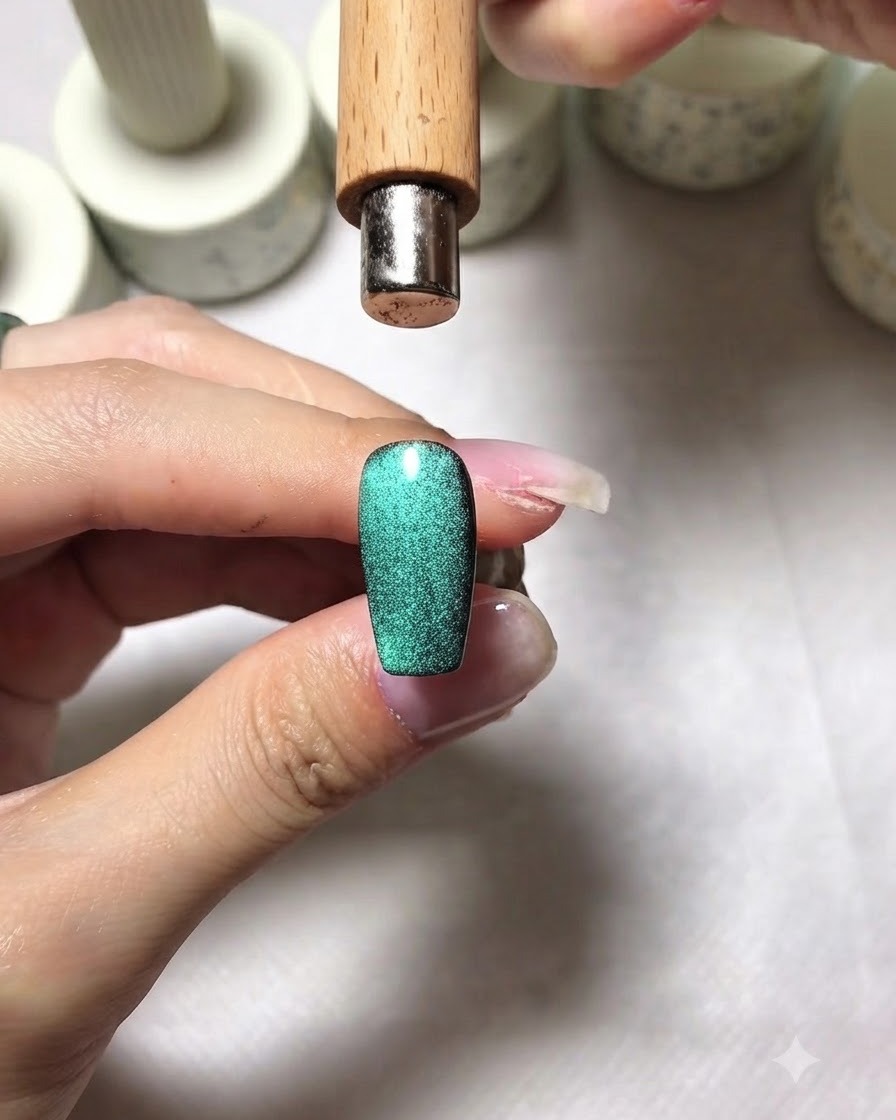
Hold the magnet over the nail for a moment to let the light gather into a wide, bright effect. This technique creates a soft, luminous appearance across the entire nail surface.
Tip: If the light isnt gathered well, simply repeat the movement or adjust the magnet position as needed. - 5Create side light effect
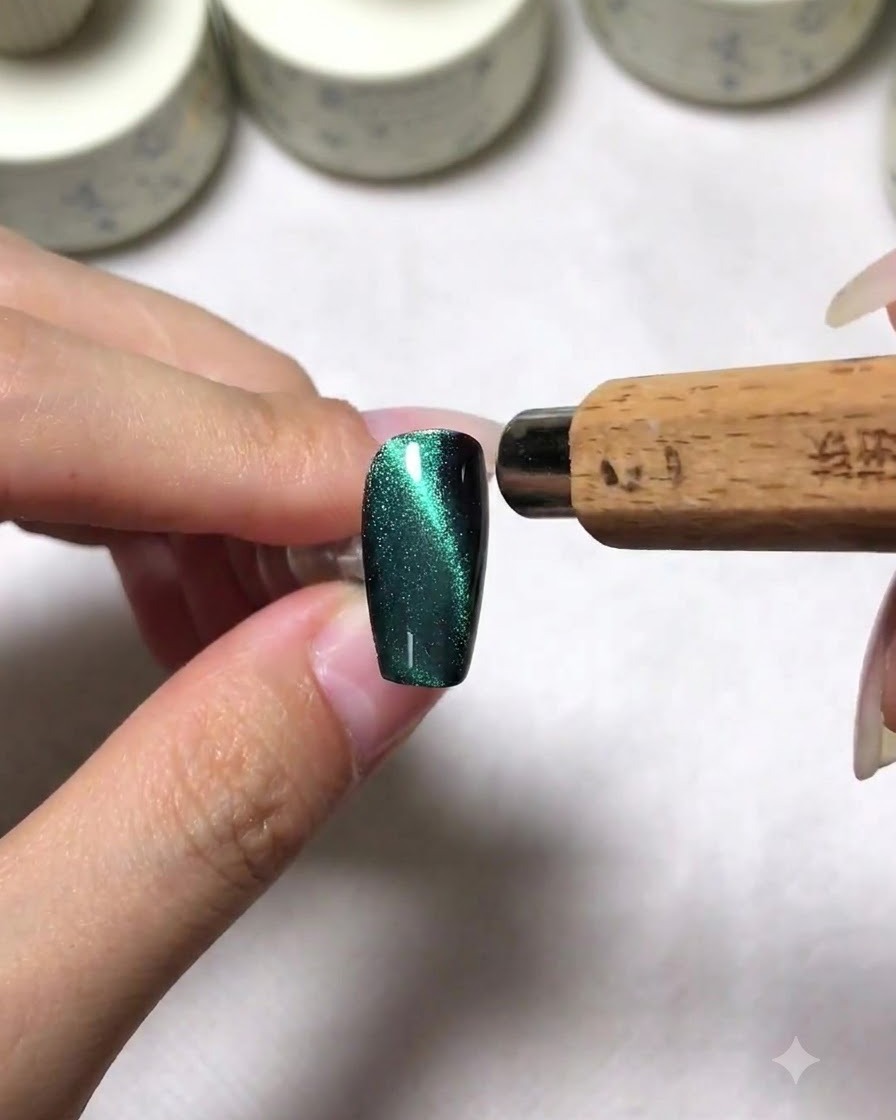
Move the magnetic light to one side of the nail and keep it straight to achieve a side light look. This style adds a modern, asymmetrical reflection to the manicure.
Tip: Keep your movements slow and deliberate to maintain a crisp line. - 6Create centered light line
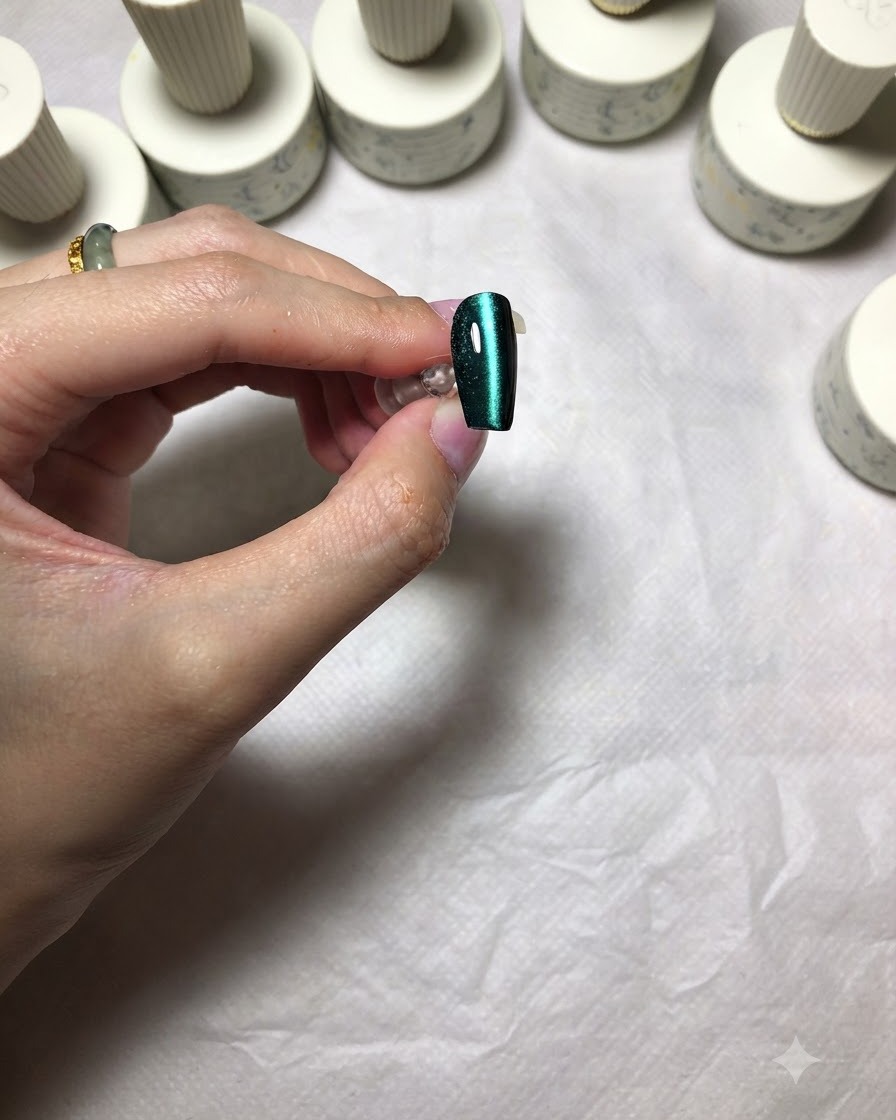
Move the light to the middle of the nail to achieve a shrimp line or centered light effect. This directs the brightest shimmer concentration straight down the longitudinal axis of the nail.
Tip: Ensure the magnet remains parallel while shifting it to the center for a clean line. - 7Create a C-curve light effect
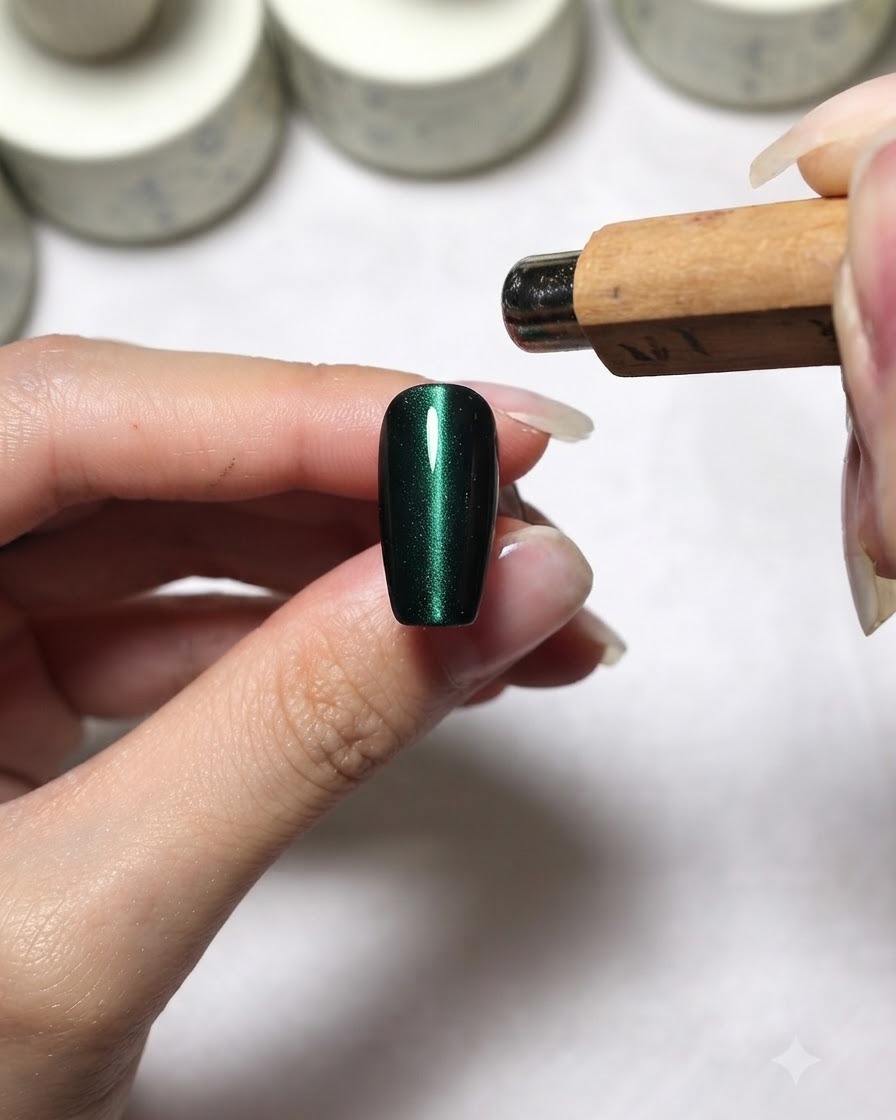
Hold the magnet over the nail and move it in a slow, curved motion to shape the magnetic particles. Ensure your movements are deliberate and slow, as moving too fast will prevent the magnetic particles from reacting properly.
Tip: Slow movements are key; if you move too fast, the magnetic particles wont have time to react. - 8Create a smile line effect
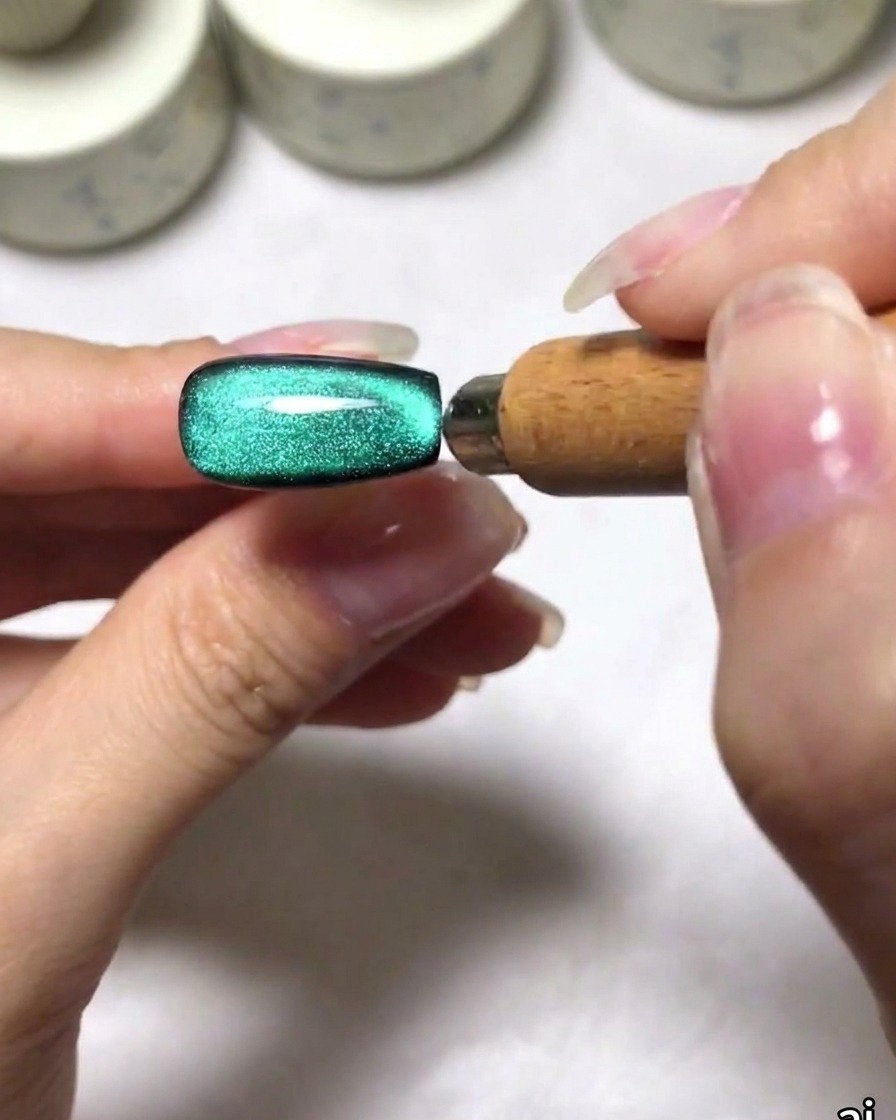
Treat the technique like a C-curve, then sweep the magnet in the opposite direction to shape the light into a distinct smile line curve at the tip of the nail.
Tip: Sweep the magnet precisely across the tip area to maintain a clean and defined smile line. - 9Achieve a French gradient look
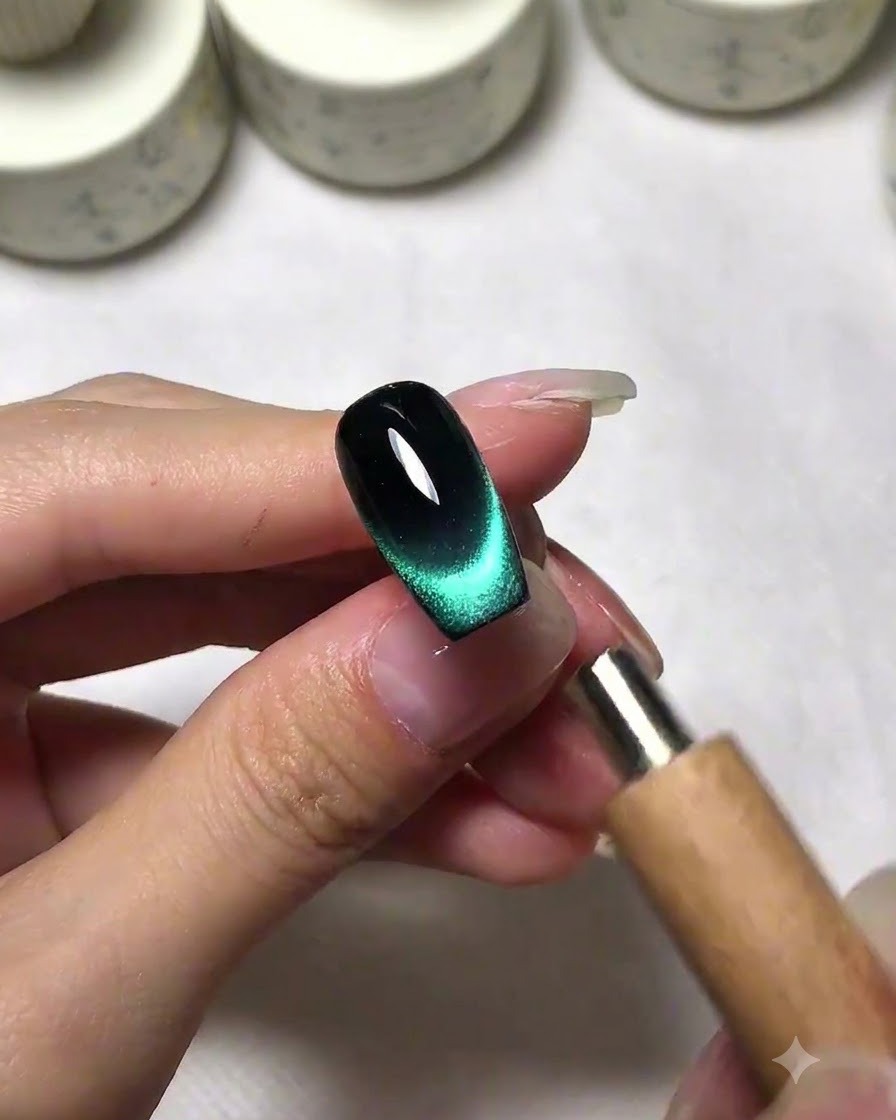
Sweep the magnetic light towards the tip of the nail to diffuse the pigment, creating a soft French gradient effect where the light fades gracefully.
Tip: Keep the motion smooth and controlled to ensure an even diffusion across the nail tip.