Starry French Cat-Eye Nails — 3D Crystal Nail Art Tutorial
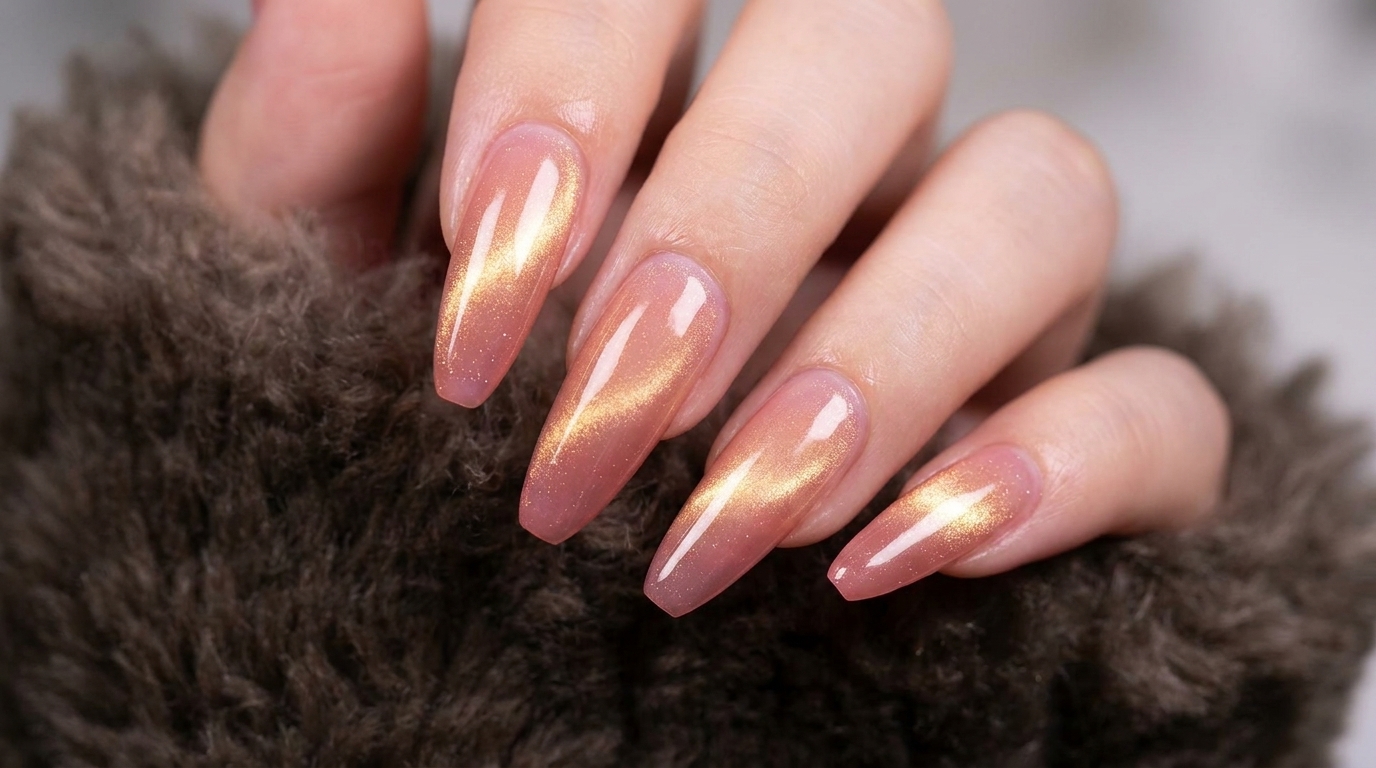
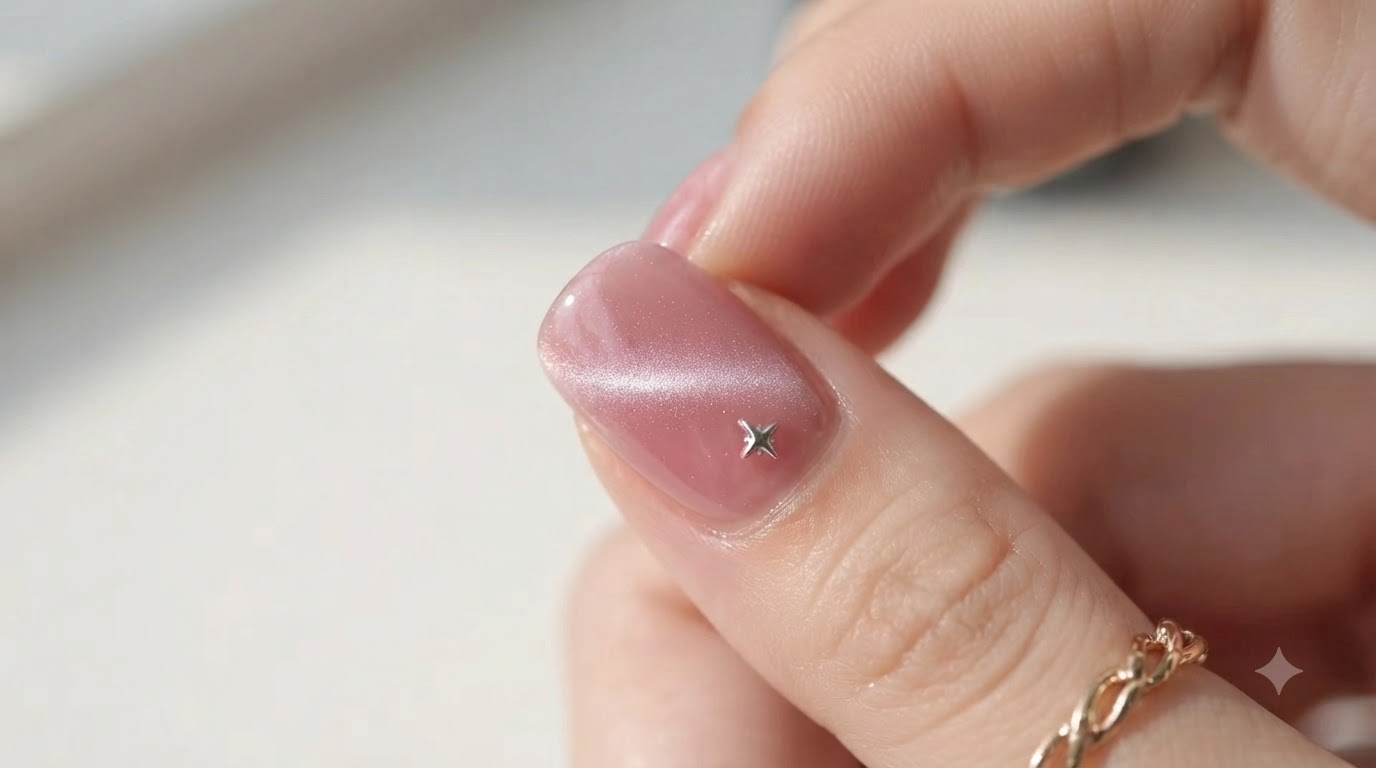
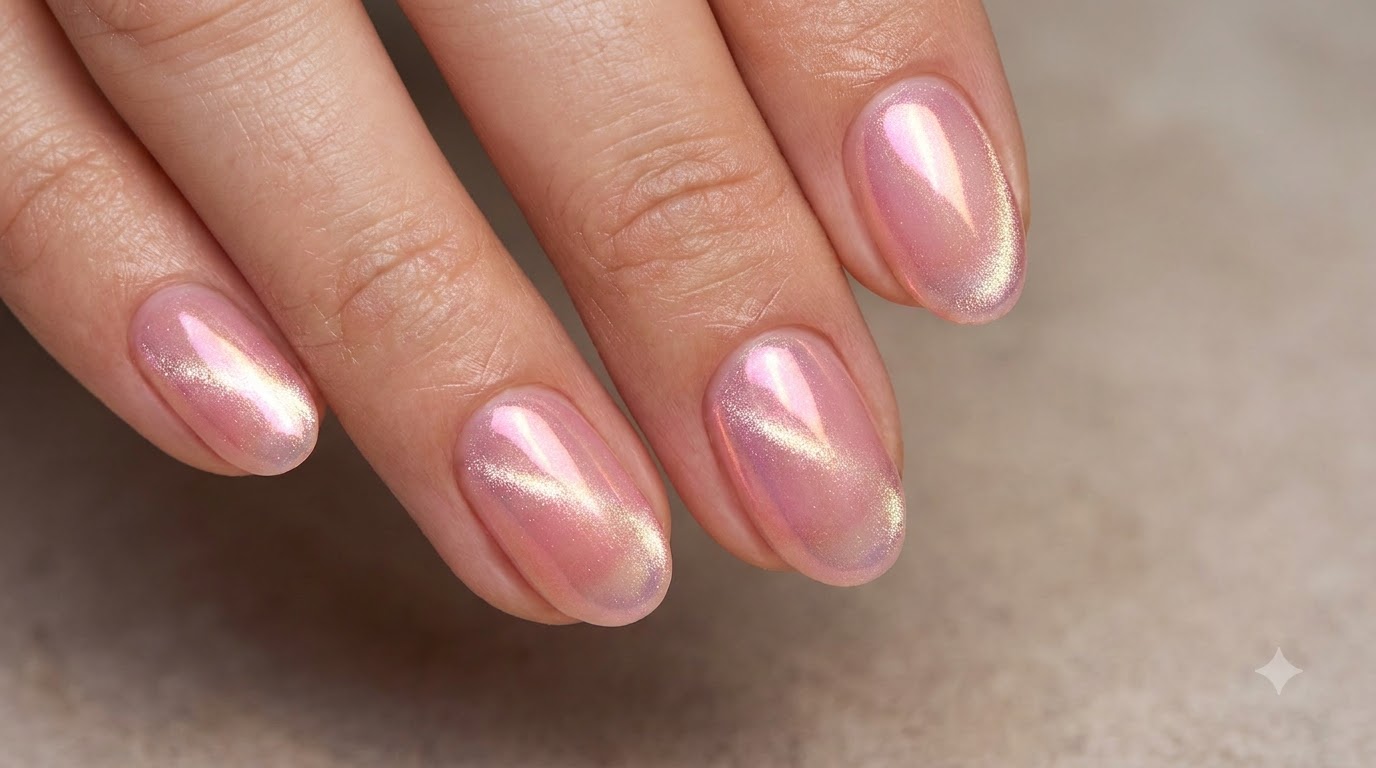
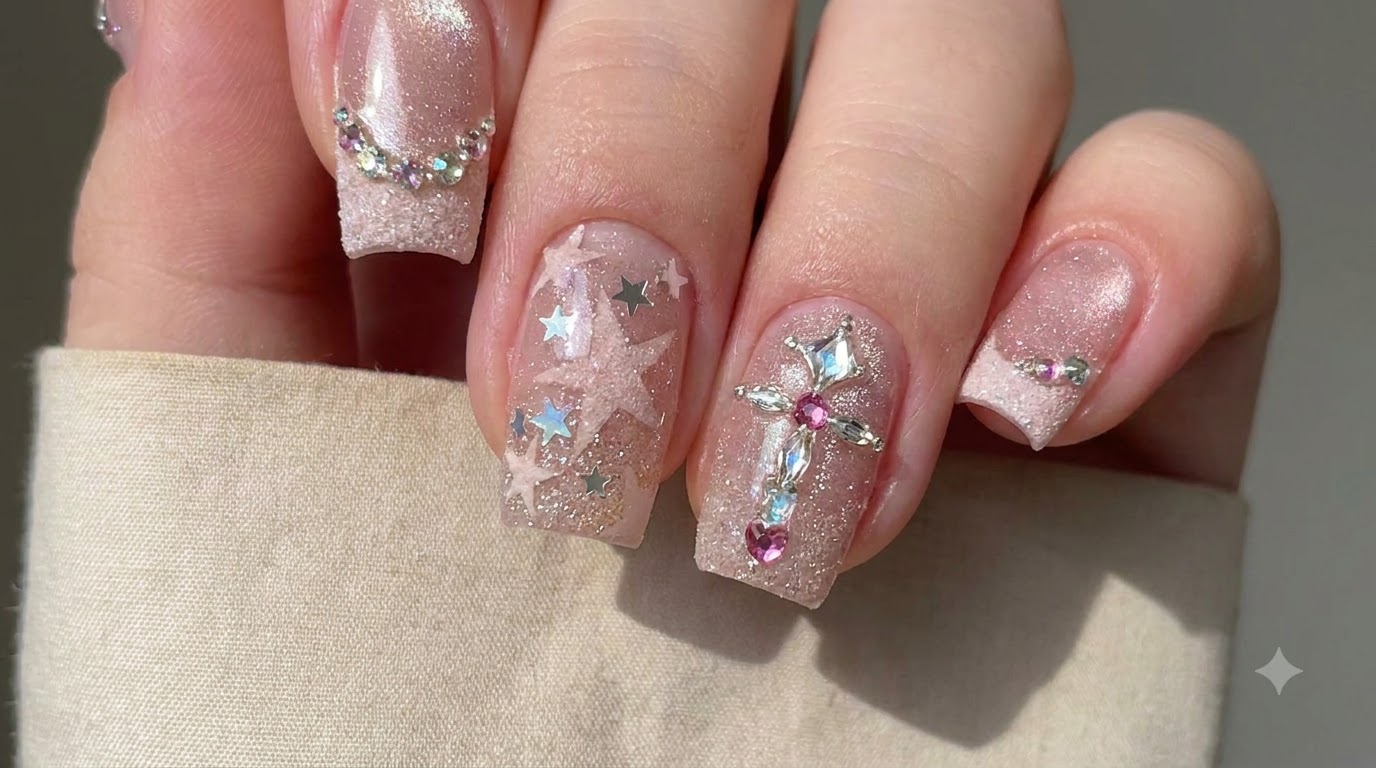
Create enchanting starry French cat-eye nails featuring 3D crushed diamond texture, shimmering star sequins, and elegant crystal cross embellishments.
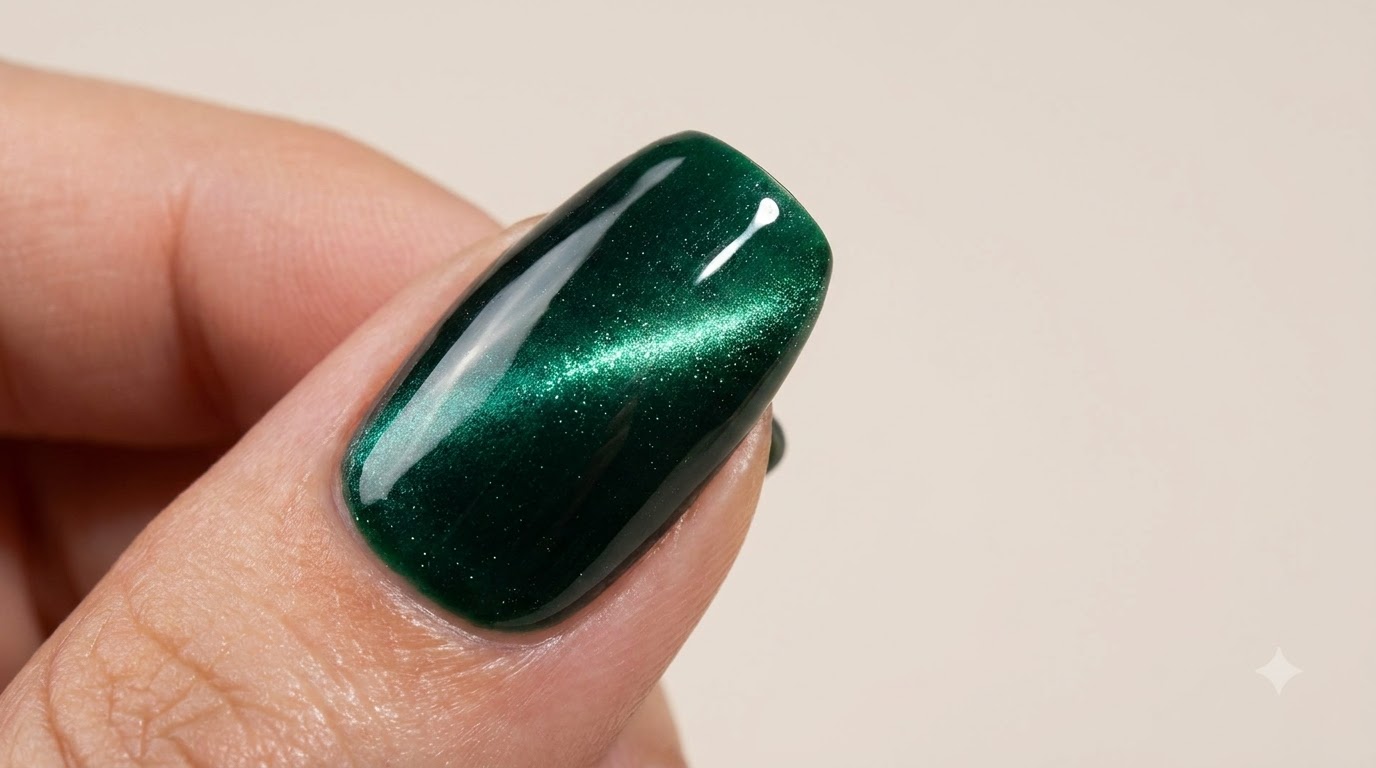
Starry nail art combined with mesmerizing cat-eye gel creates an ethereal, cosmic look that catches the light from every angle. This detailed tutorial guides you through layering translucent magnetic polish, embedding delicate star sequins, and adding sparkling 3D textures for a salon-quality finish.
Steps
- 1Apply translucent pink cat-eye gel
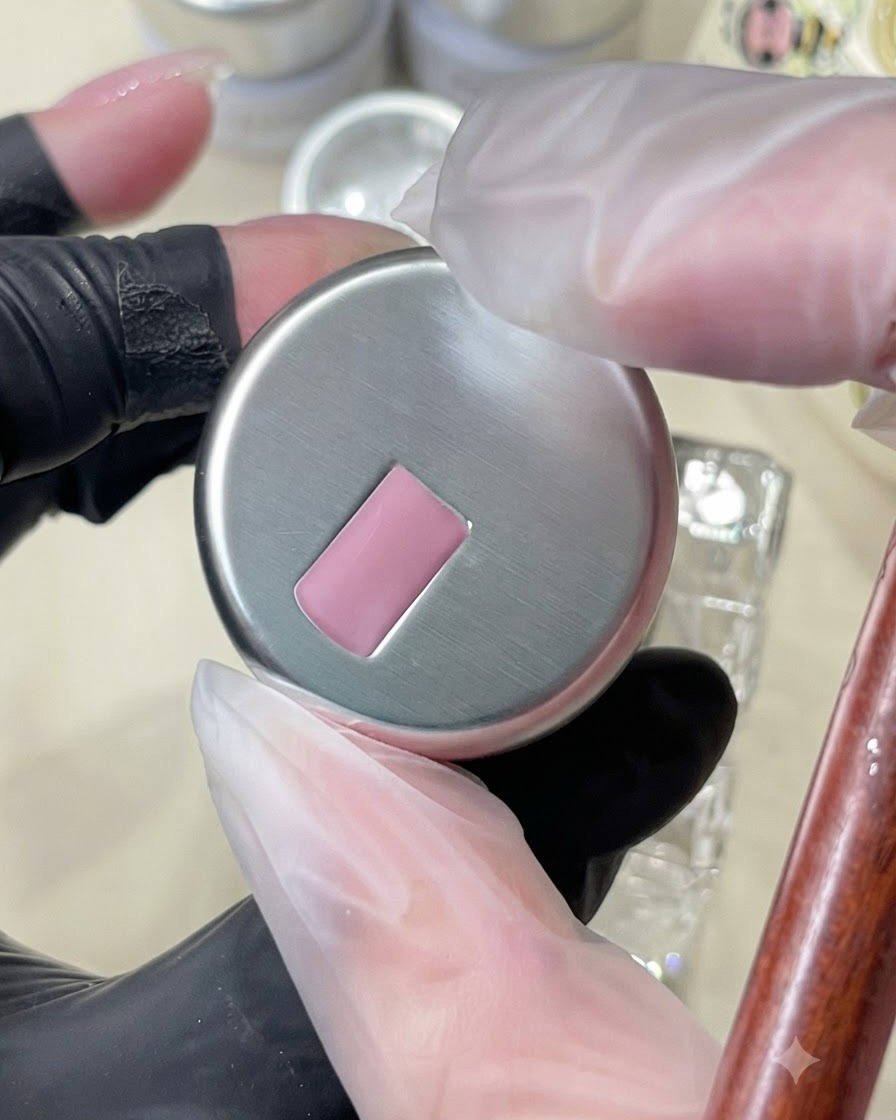
Apply a thin layer of pink cat-eye gel to the prepped nail, making sure to keep the application translucent rather than opaque. This allows the magnetic shimmer to catch the light properly and keeps the base looking soft and natural against your nail bed.
Tip: Do not apply too much gel at once; keeping the layer thin ensures the cat-eye magnetic particles move freely and create a clean effect. - 2Create the cat-eye effect with a magnet
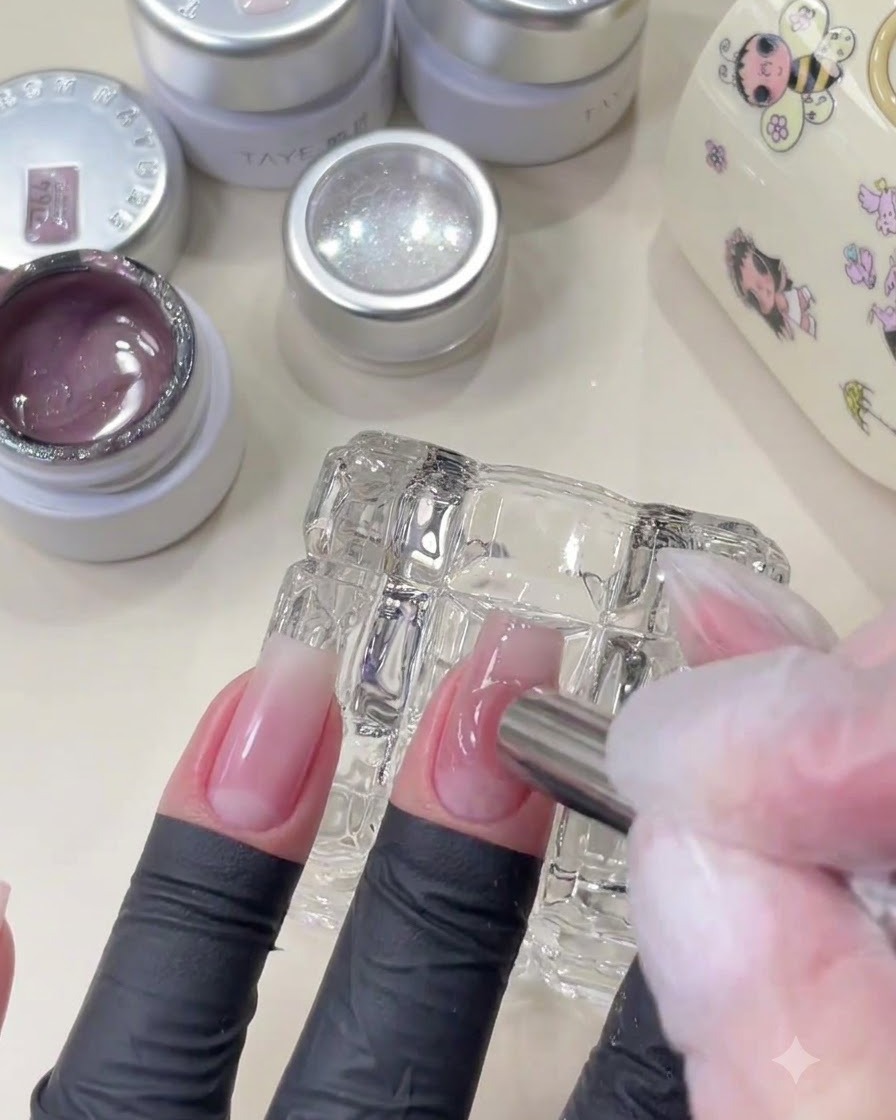
Hold a magnetic tool close to the side of the uncured gel, then move it in two circular motions to guide the metallic particles into position. This technique creates a soft, diffused starry glow across the nail surface rather than a sharp line.
Tip: Keep the magnet steady and close to the nail without touching the wet gel surface to avoid smudging. - 3Cure the cat-eye gel
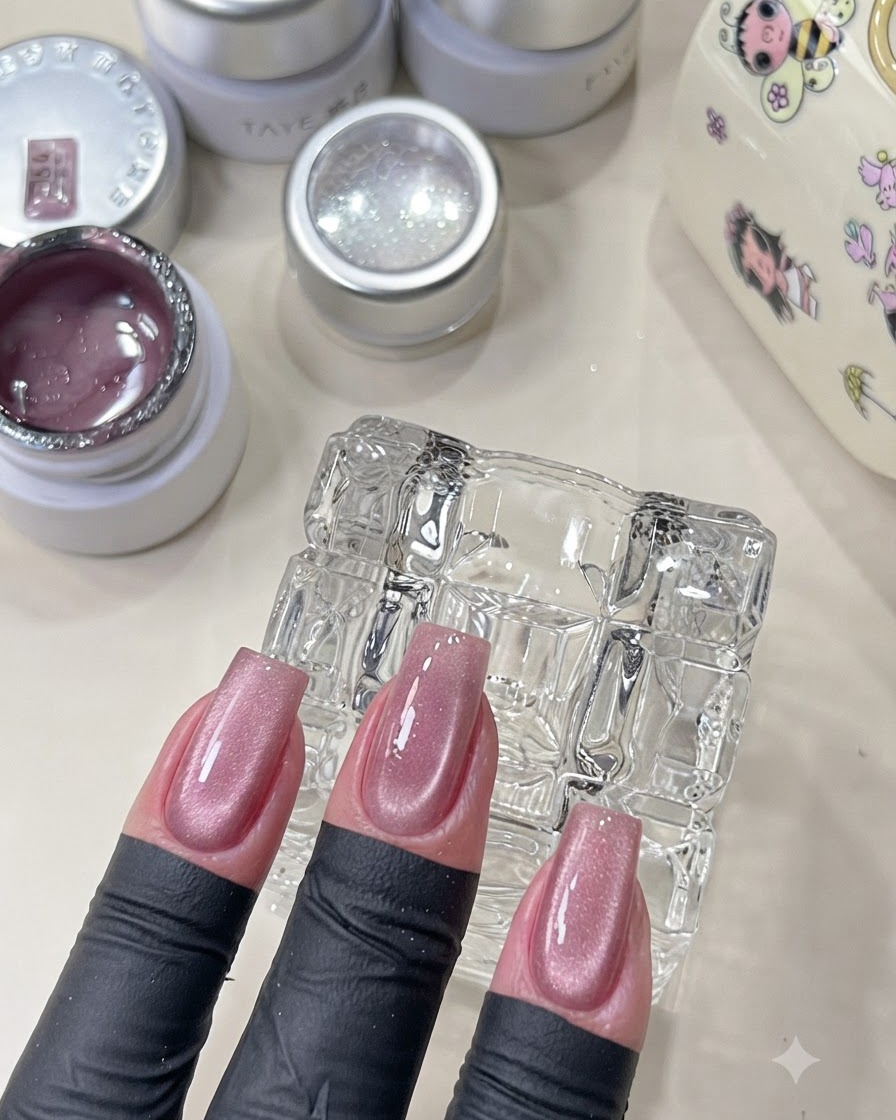
Place your hand under the UV or LED lamp to cure the patterned cat-eye gel. Ensure your hand is positioned evenly under the light so the magnetic effect sets completely without shifting.
Tip: Cure for the full recommended time specified by your gel brand to lock in the magnetic particles permanently. - 4Apply base gel and embed star sequins
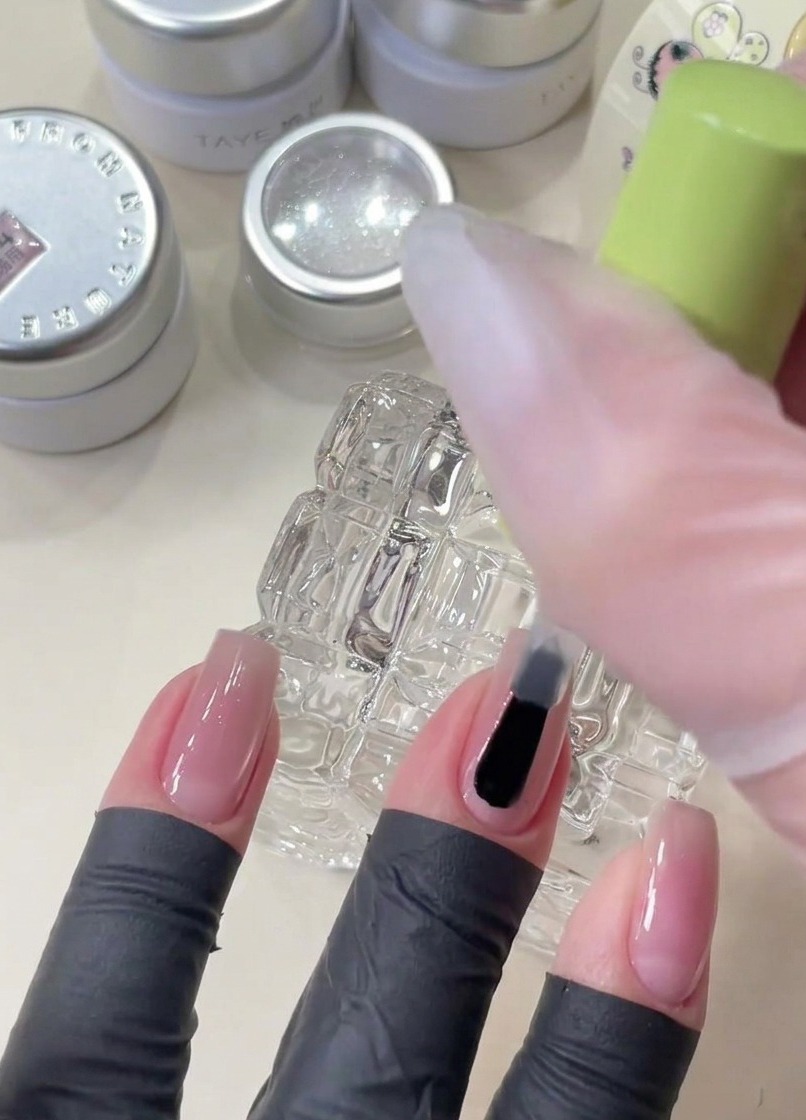
Apply a fresh layer of base gel to the nail without curing it. While the surface is still wet and sticky, carefully place star-shaped sequins of various sizes onto the nail using a pickup tool to create a scattered starry night design.
Tip: Leaving the base gel uncured allows you to easily reposition the star sequins until you are satisfied with their layout. - 5Apply top coat to build a smooth surface
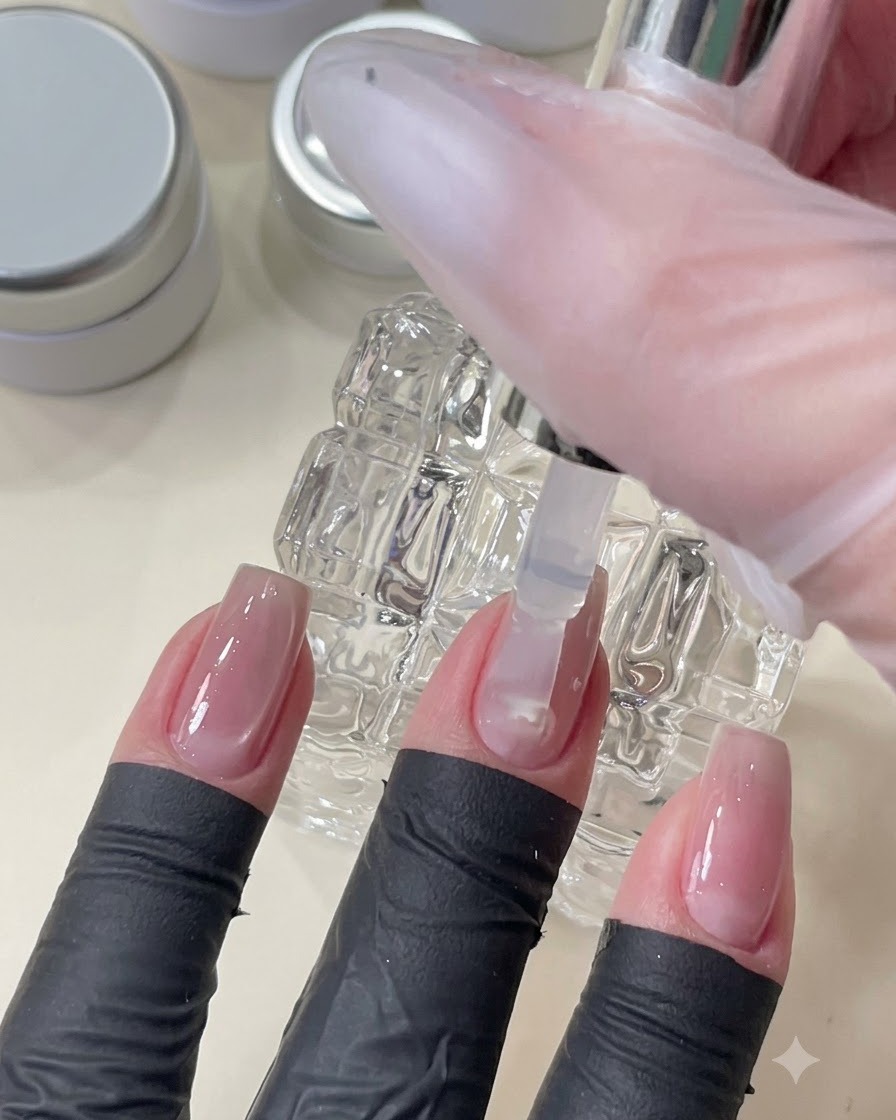
Apply a generous layer of top coat gel over the embedded sequins and entire nail surface to encapsulate them completely. Build a smooth, even architectural surface that levels out any bumps from the decorations.
Tip: Make sure to cover all the edges of the sequins with top coat to prevent them from catching or peeling off later. - 6Mix a custom pink gel shade
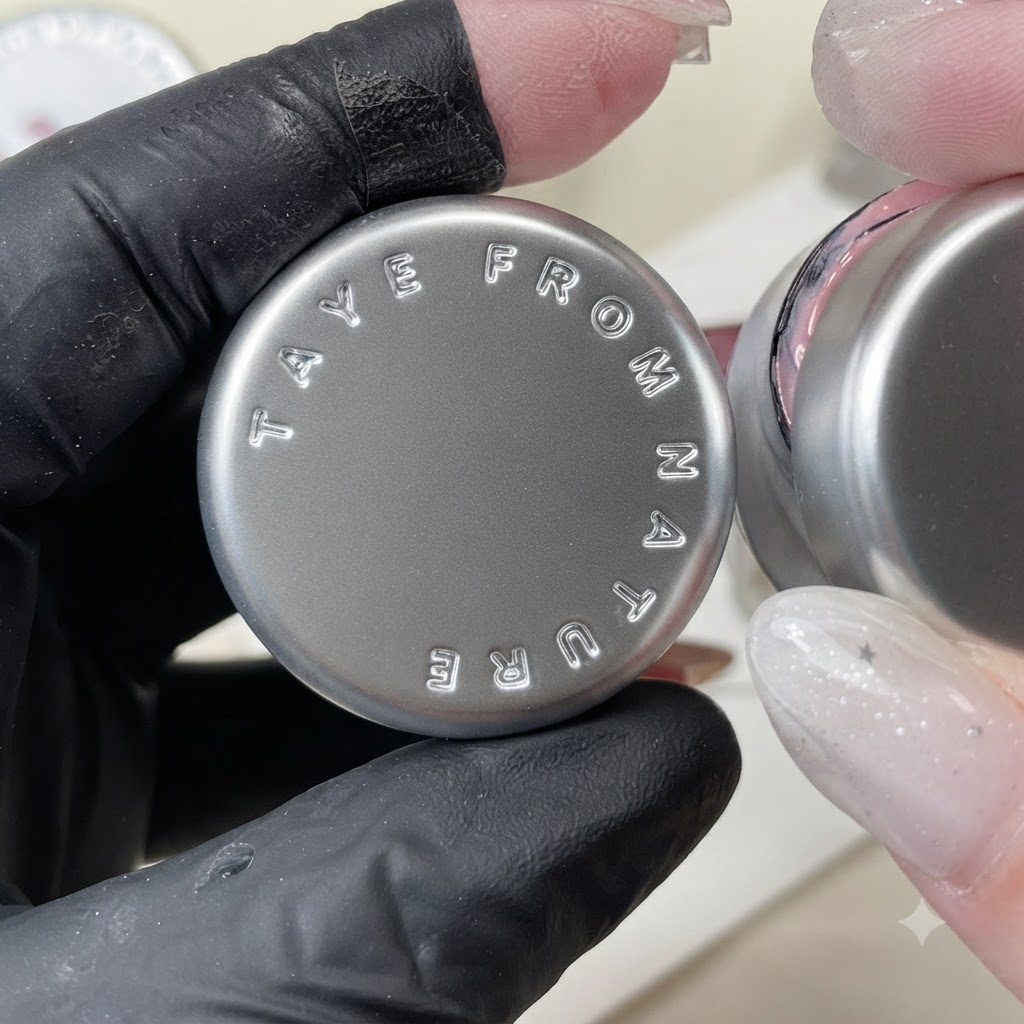
Combine two different shades of pink gel together to create a custom new color for your detailed nail art. Blending the tones ensures the painted elements match your base color scheme perfectly.
Tip: Mix a slightly lighter or contrasting pink so the painted stars stand out clearly against the cat-eye background. - 7Paint detailed stars with a liner brush
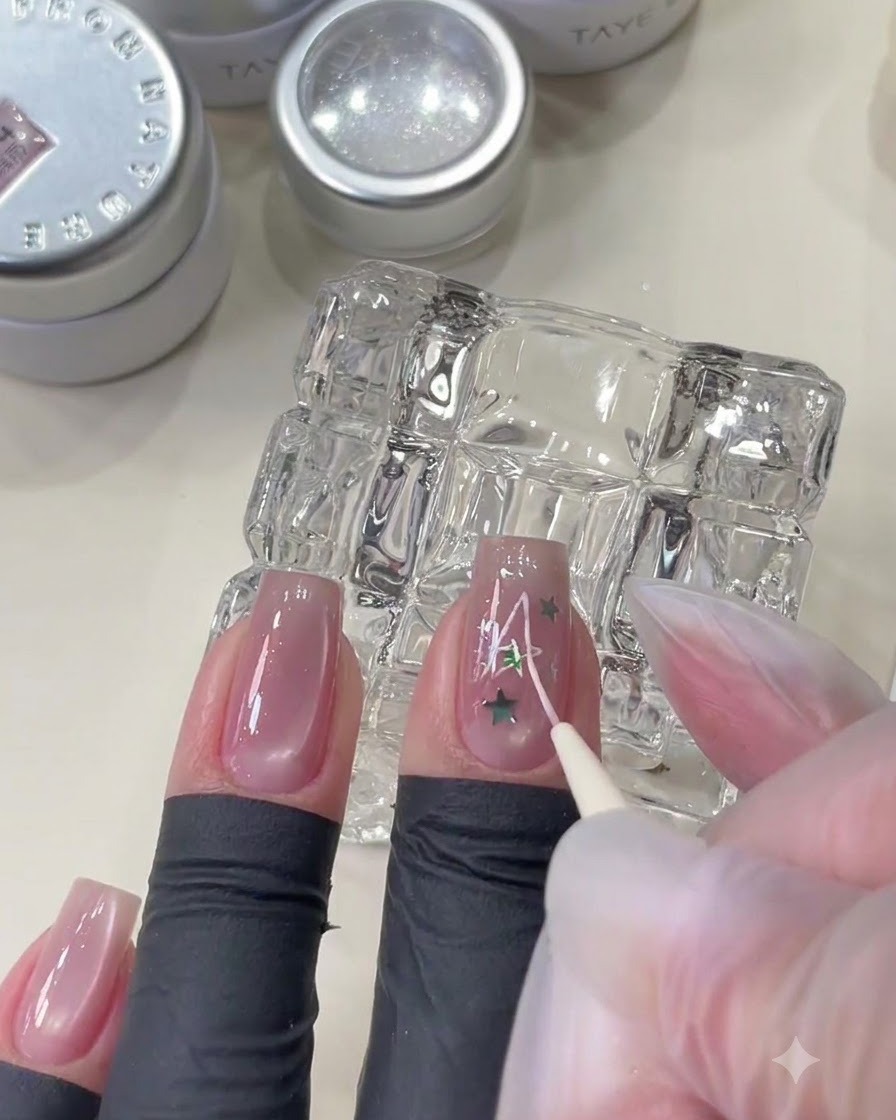
Dip a fine liner brush into your custom mixed pink gel and carefully paint a star shape over the nail surface. Work carefully around existing sequin details to layer the design and add dimension.
Tip: Use light, steady pressure on the tip of the liner brush to achieve crisp, sharp points on your painted stars. - 8Sprinkle crushed diamond powder
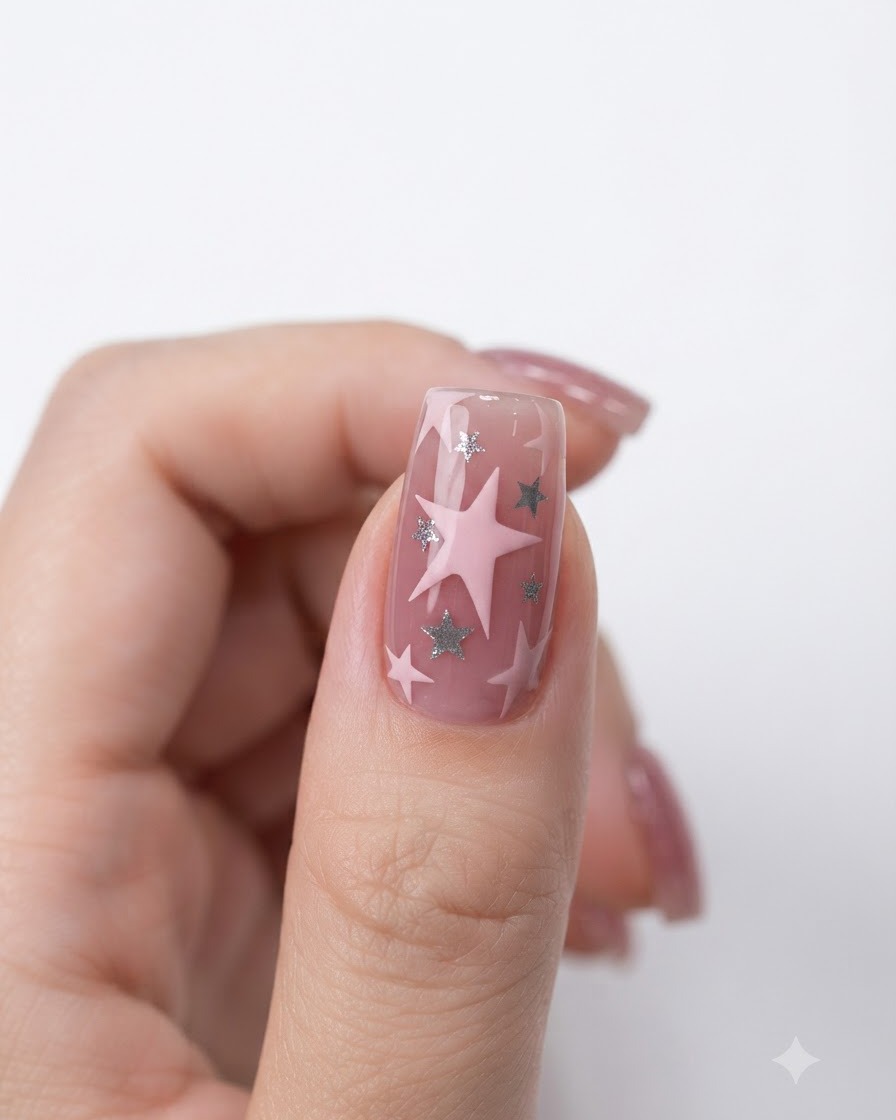
While the freshly painted star gel is still uncured and wet, take crushed diamond powder and sprinkle it directly over the painted areas. This adds a unique 3D sandy texture and intense sparkle to the artwork.
Tip: Sprinkle the powder generously over the wet gel design, then cure before brushing away the excess to ensure the texture stays locked in. - 9Cure the star designs
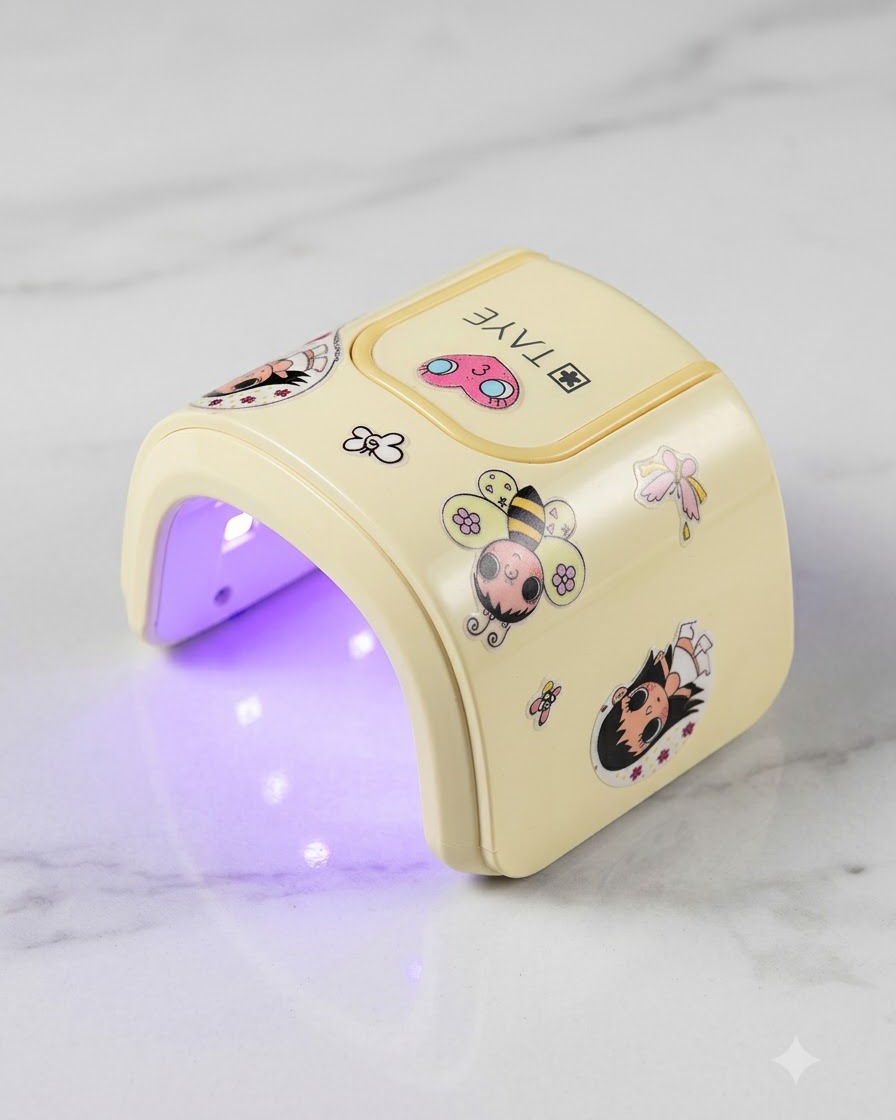
Place your hand under the UV or LED lamp to fully cure the crushed diamond powder and star nail art designs. Ensure your hand is positioned evenly under the light so all fingers receive full exposure and the 3D textured surface sets properly.
Tip: Keep your hand flat inside the lamp to prevent any shifting of the uncured top coat or embellishments before they lock into place.