Peach Ombre Cat-Eye Gel Nails — Step-by-Step Tutorial
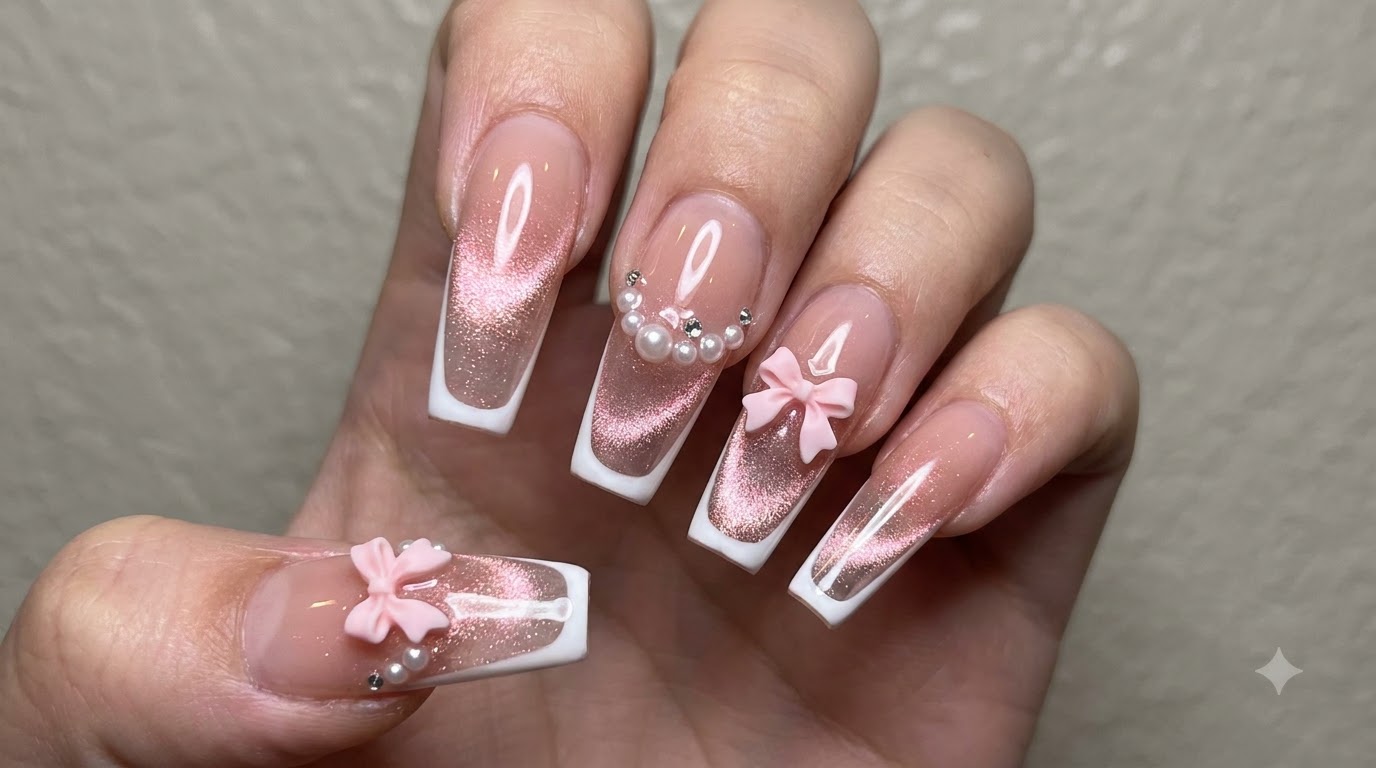
Create a juicy peach ombre cat-eye look with this step-by-step gel tutorial. Learn to combine a sponge gradient with a glowing magnetic glass bead effect.
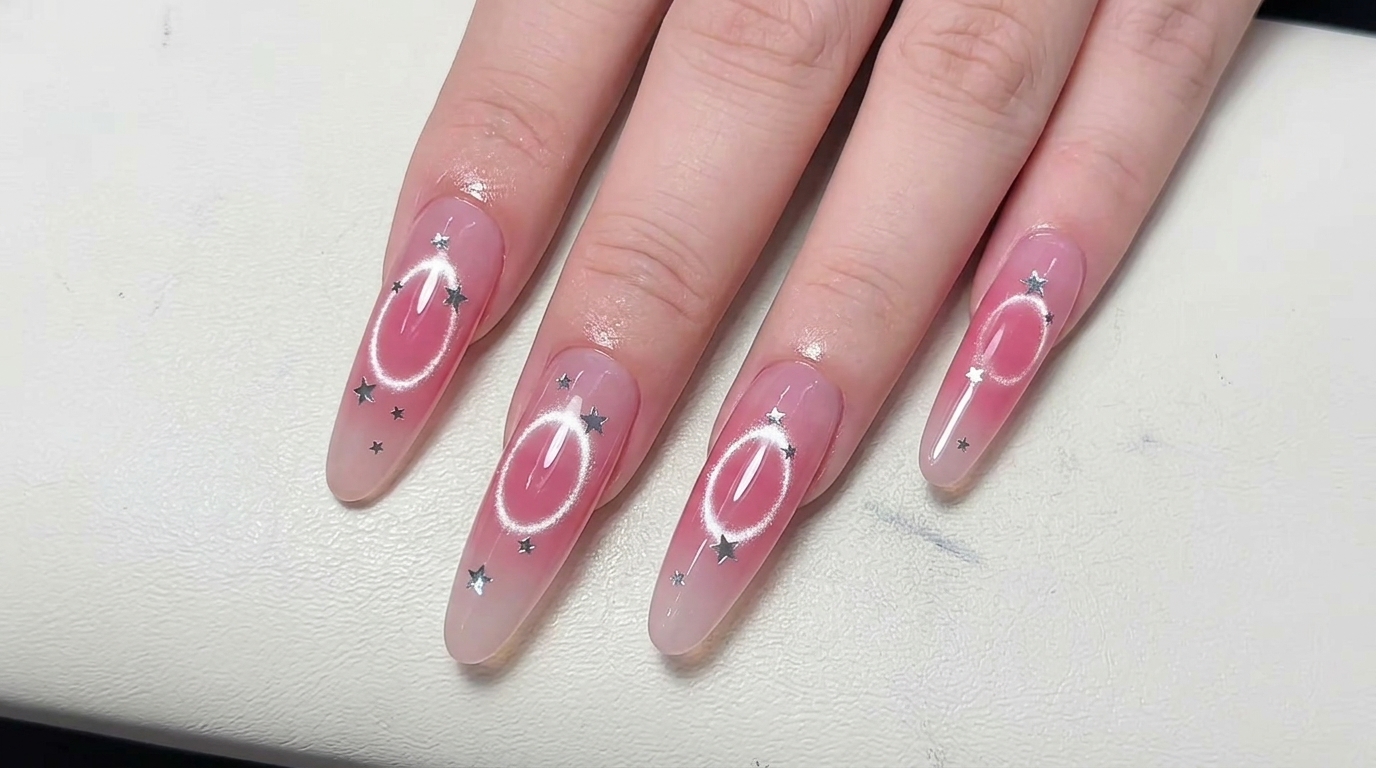
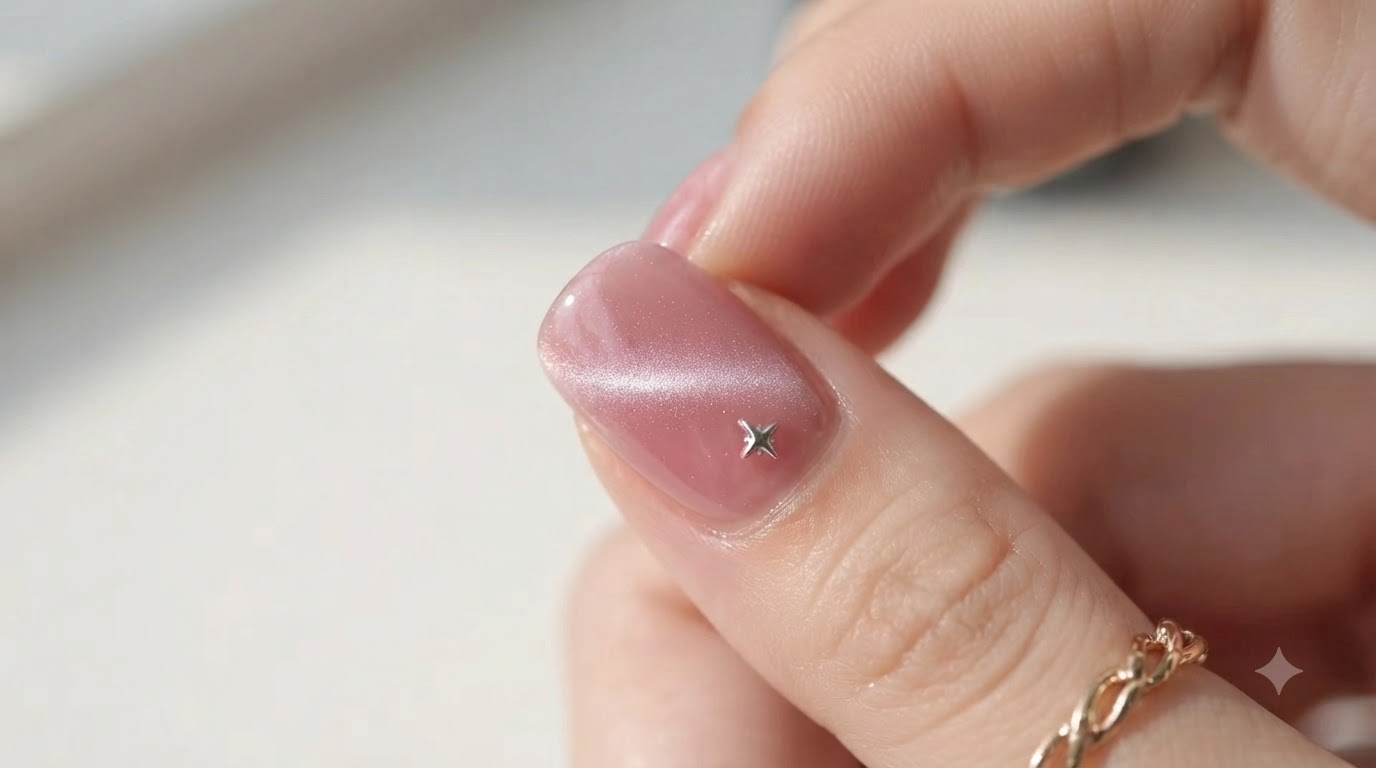
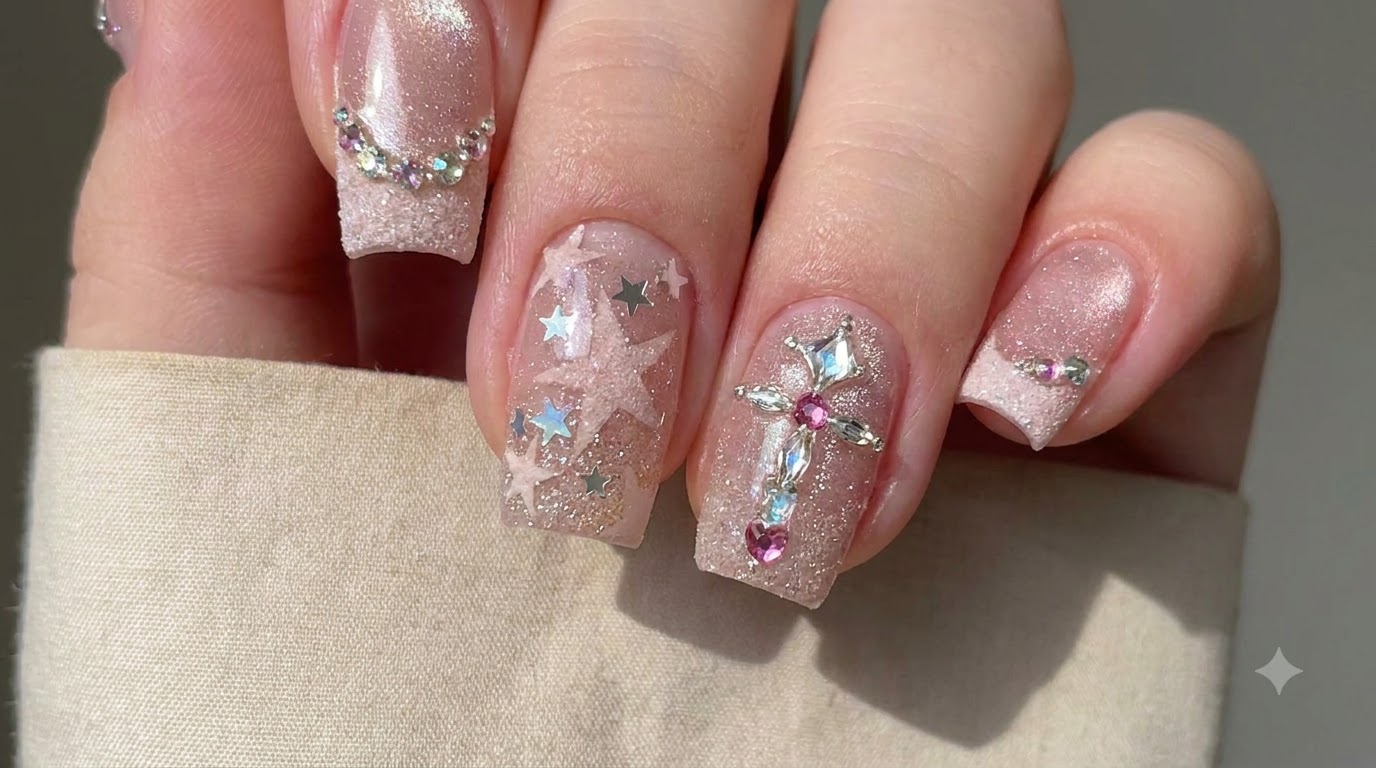
This peach ombre cat-eye style is full of feminine charm, offering a juicy look that feels incredibly fresh and vibrant. By pairing a soft patting gel gradient with a highly reflective pink-gold magnetic polish, you can achieve a stunning 3D glass bead effect. It is the perfect design for anyone wanting a high-gloss, sophisticated manicure with a touch of magic.
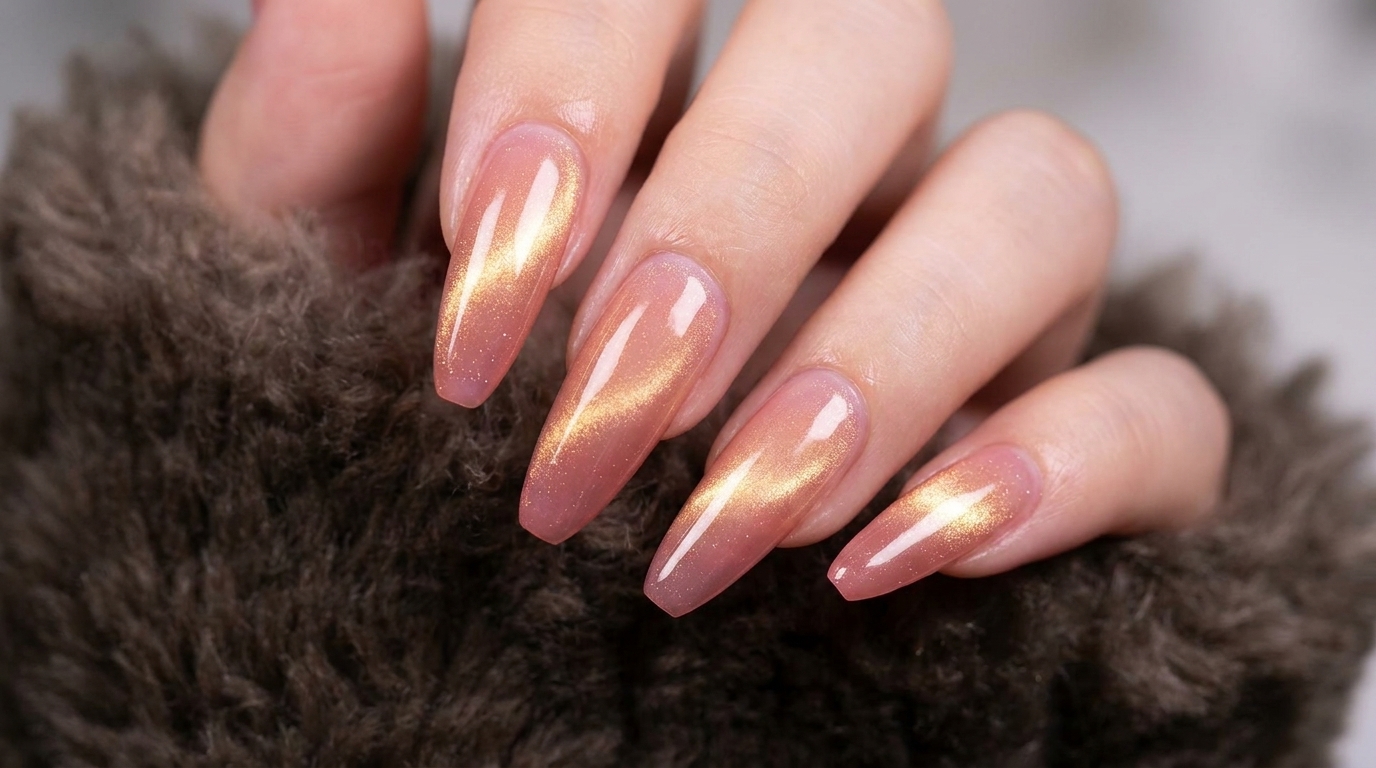
Steps
- 1Scoop peach pink patting gel
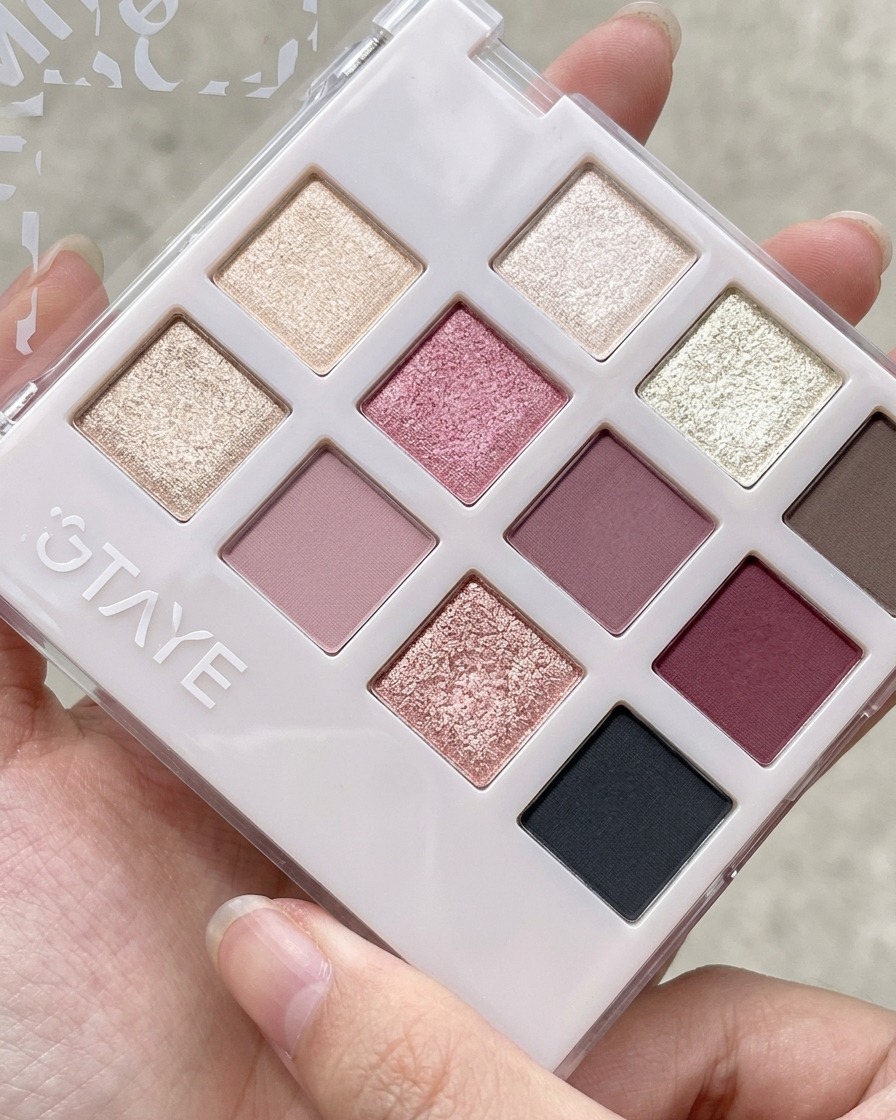
Using a silicone tool, gently scoop a small amount of peach pink patting gel from the palette to prepare it for the gradient technique. Ensure you take an appropriate amount to avoid excess product waste.
Tip: A silicone tool prevents gel from soaking into bristles, making it much easier to control product quantity. - 2Distribute gel evenly on paper card
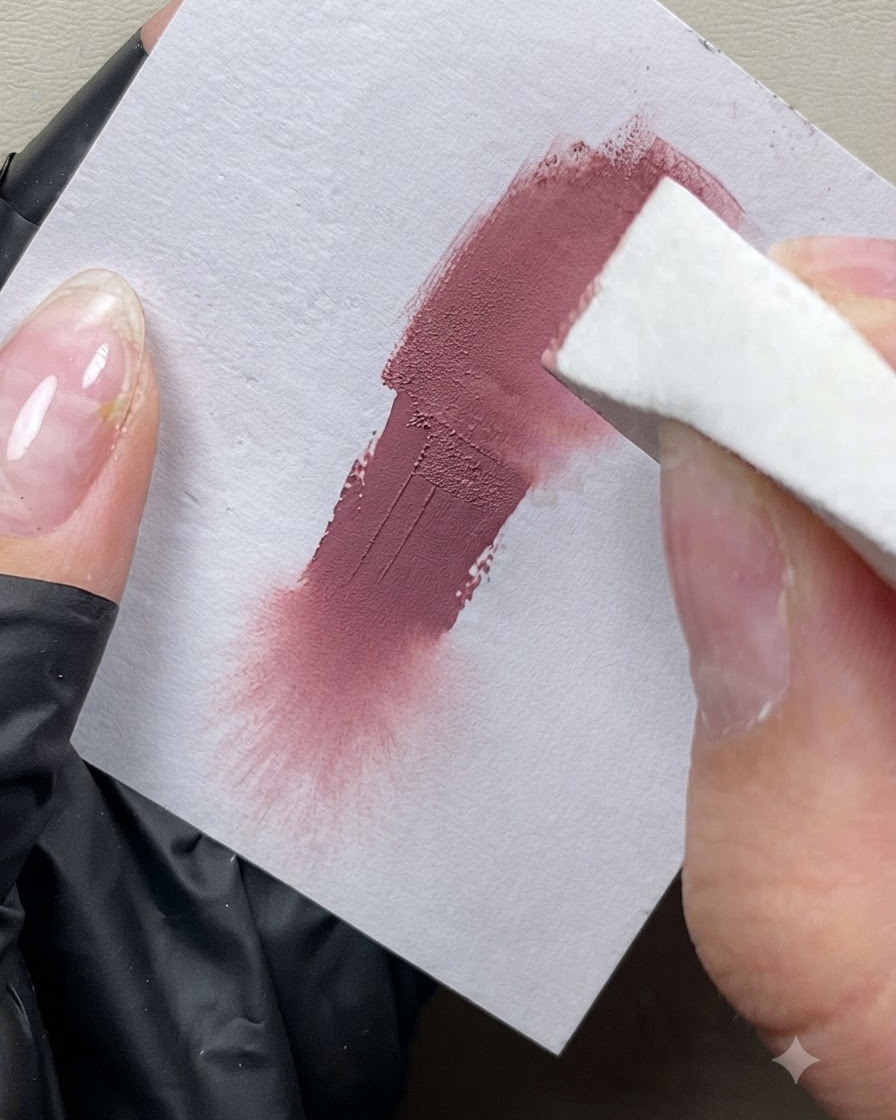
Take a sponge block and pat the peach pink gel onto a paper card to distribute the pigment evenly across the sponge surface. This prevents heavy blotches when applying color to the nail tips.
Tip: Dab the sponge on the paper card a few times to remove excess product before touching the nails. - 3Create gradient effect on nail tips
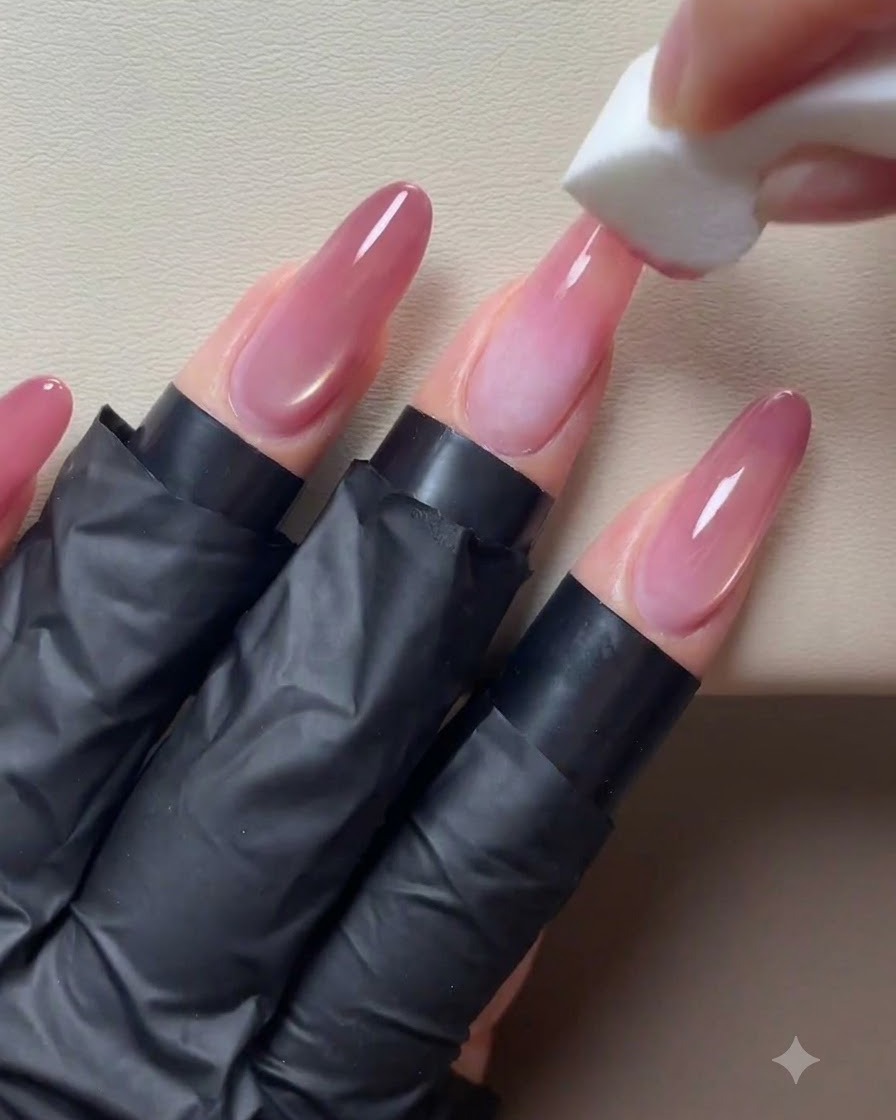
Gently dab the sponge block onto the tips of the prepped nude base nails to deposit a soft gradient color. Build up the color lightly from the free edge downward to create a smooth ombre transition.
Tip: Use light, vertical tapping motions with the sponge to avoid harsh lines and ensure a seamless fade. - 4Darken the gradient tips
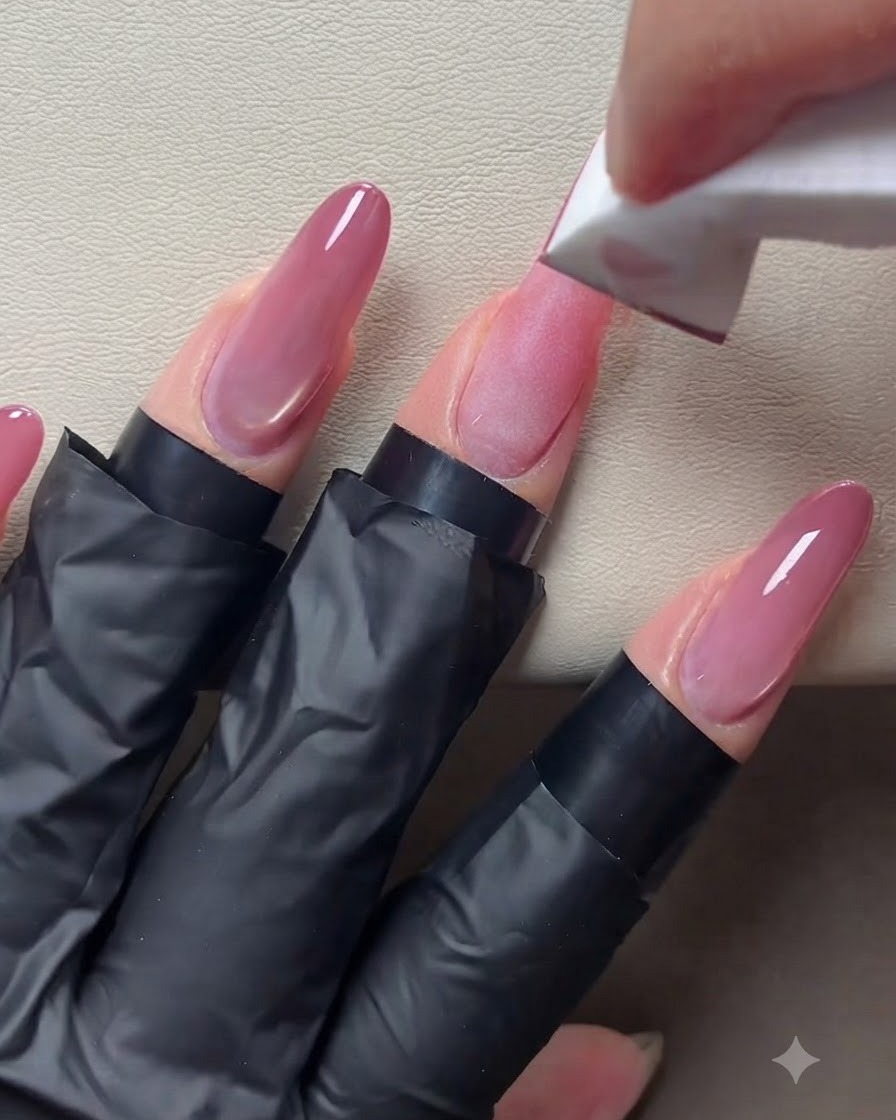
Dab additional peach pink gel onto the extreme ends of the nail tips to deepen the color intensity. Concentrating the layers closer to the edge enhances the dimensional ombre effect.
Tip: Keep the additional layers focused strictly on the tips to maintain a clean fade transition toward the nail bed. - 5Prepare the magnetic gel
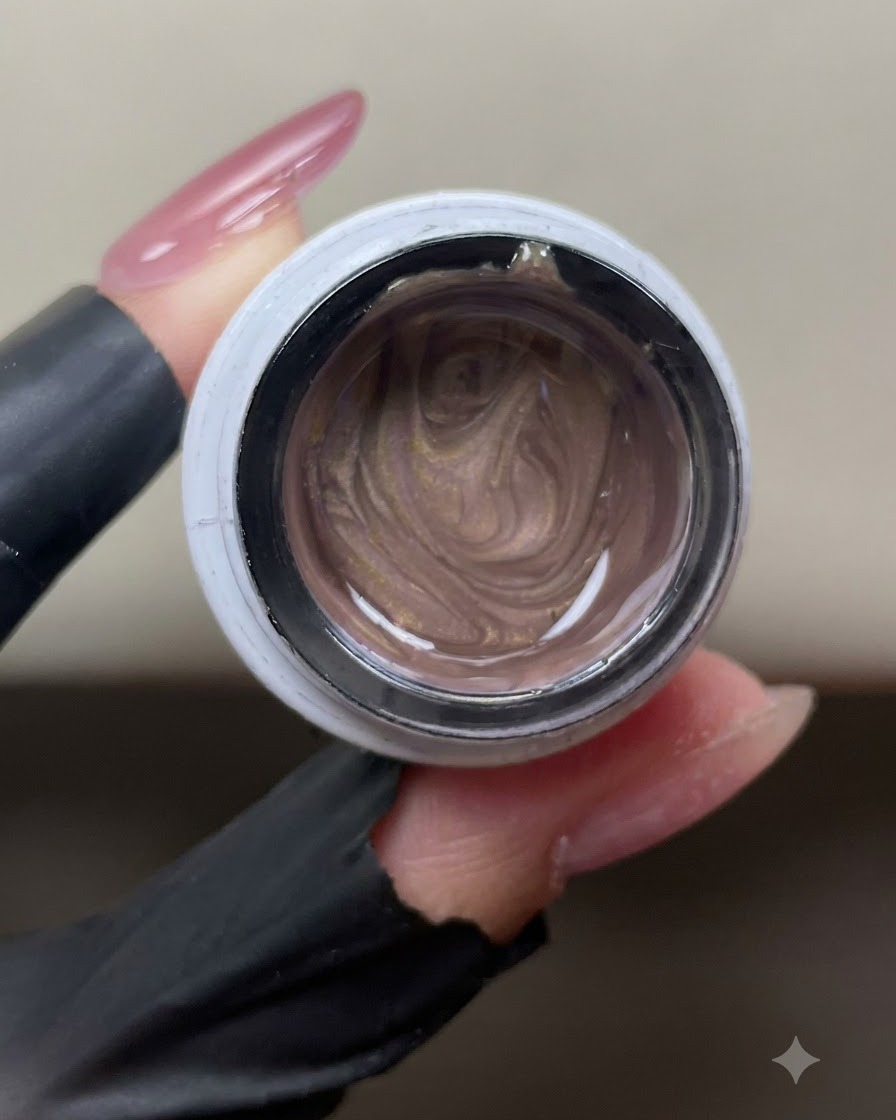
Open the jar of pink-gold cat-eye gel and inspect its consistency. Ensure the metallic magnetic particles are properly mixed and ready for a smooth application before you begin coating.
Tip: Magnetic gels contain metallic particles that create distinct light reflections when activated. - 6Apply an even layer of cat-eye gel
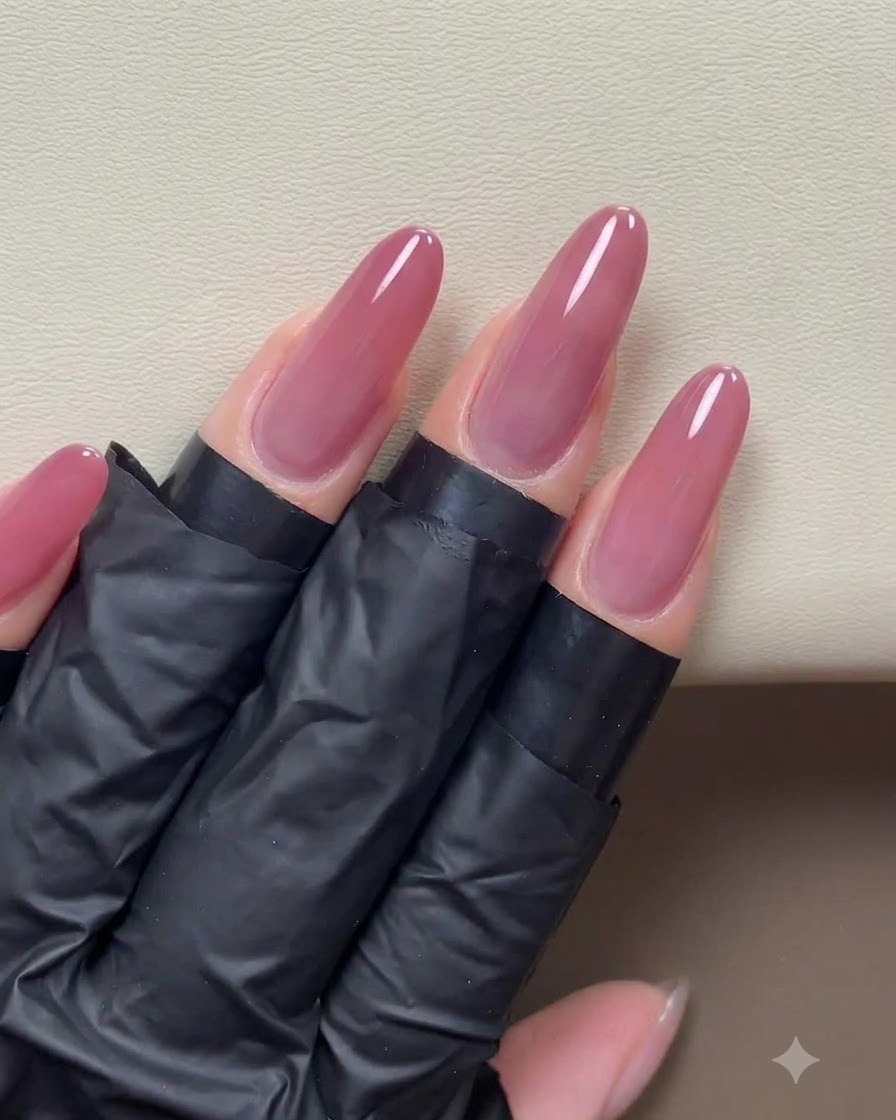
Apply a thin layer of the pink-gold cat-eye gel evenly across the entire surface of each nail over the gradient base. Make sure the coating is smooth and covers the complete nail plate before magnetic styling.
Tip: Apply an even, thin coat so the magnetic particles can move freely and create a sharp light effect. - 7Draw glowing side light with a pen magnet
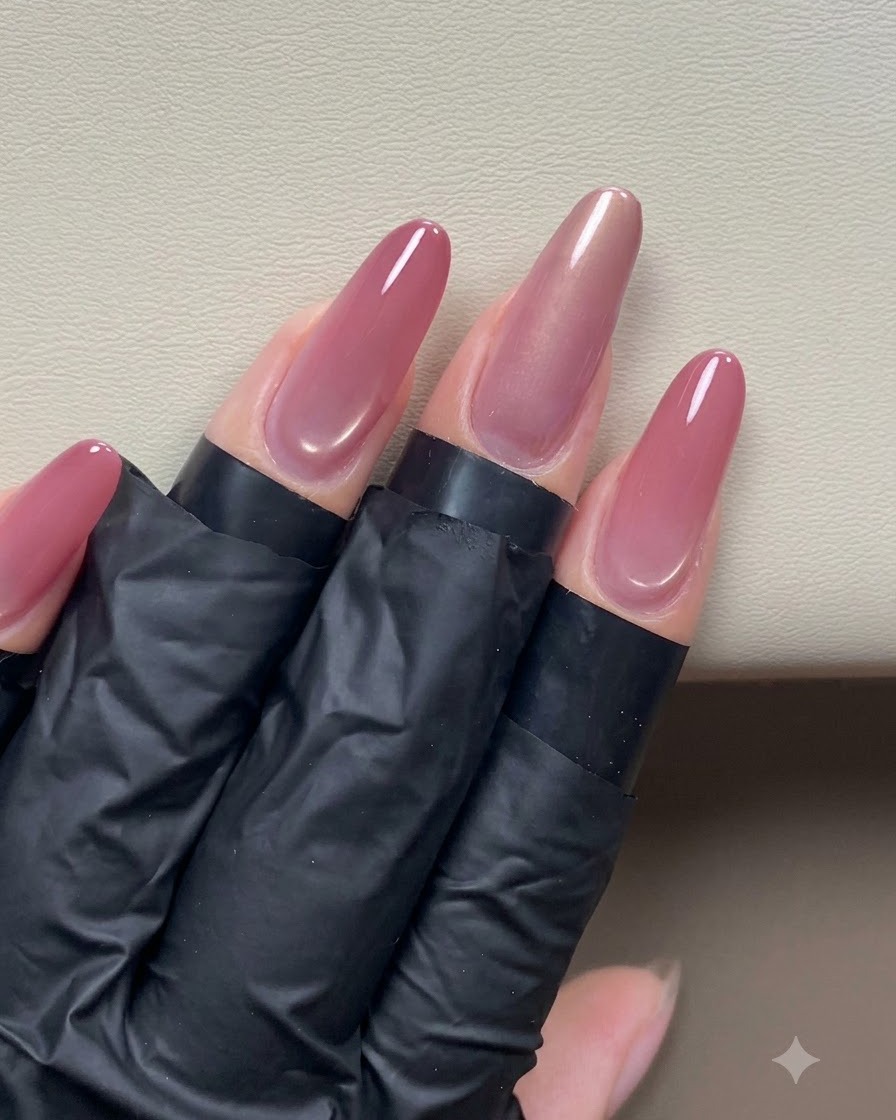
Take a pen magnet and carefully guide the magnetic particles in the gel to create a bright glowing side light effect along the edge of the nail. Hold the magnet close to the surface without touching the wet gel to shape the light precisely.
Tip: Keep your hand completely steady while using the magnet to prevent the magnetic line from distorting or dispersing. - 8Create the glass bead cat-eye effect
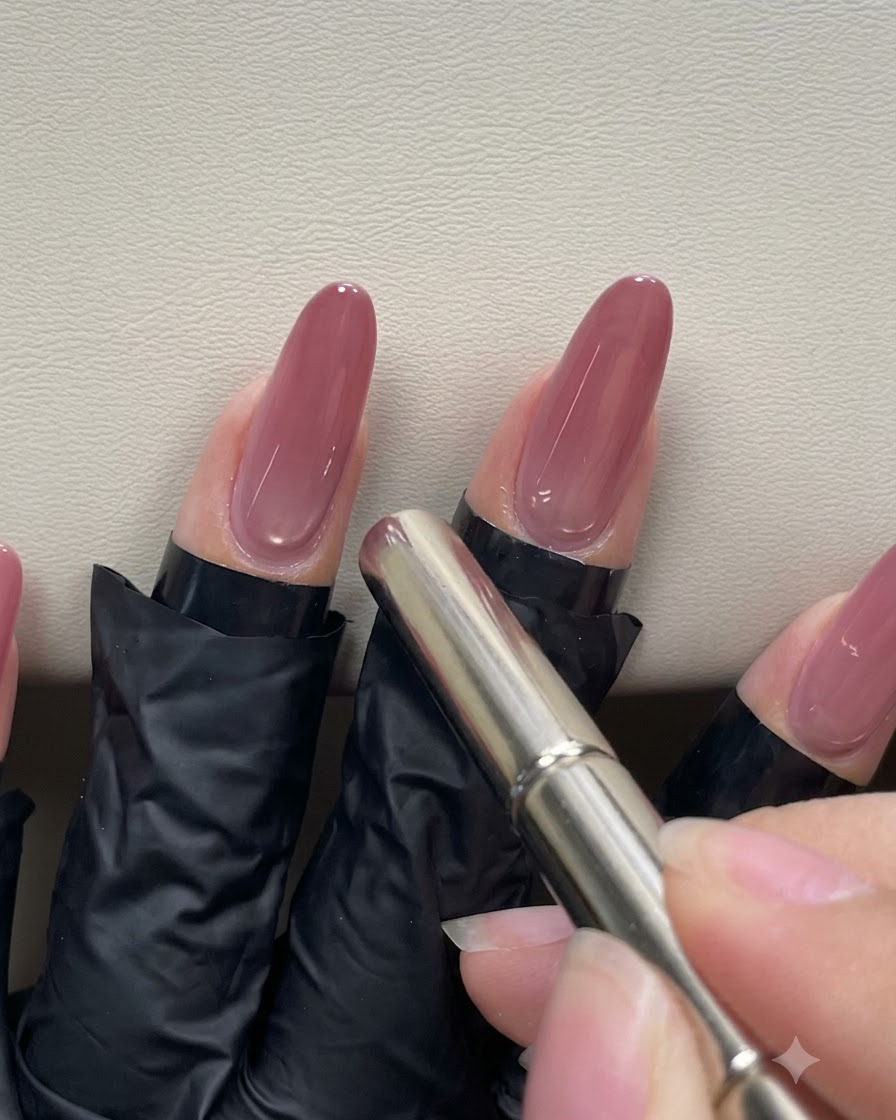
Take your cylindrical pen magnet and carefully hover it around the back edge of the nail. Guide the magnetic particles to form a concentrated, curved highlight near the cuticle area, creating a plump, 3D glass bead appearance.
Tip: Keep the magnet steady and close to the nail surface without actually touching the wet gel to get the sharpest magnetic pull. - 9Apply final clear top coat
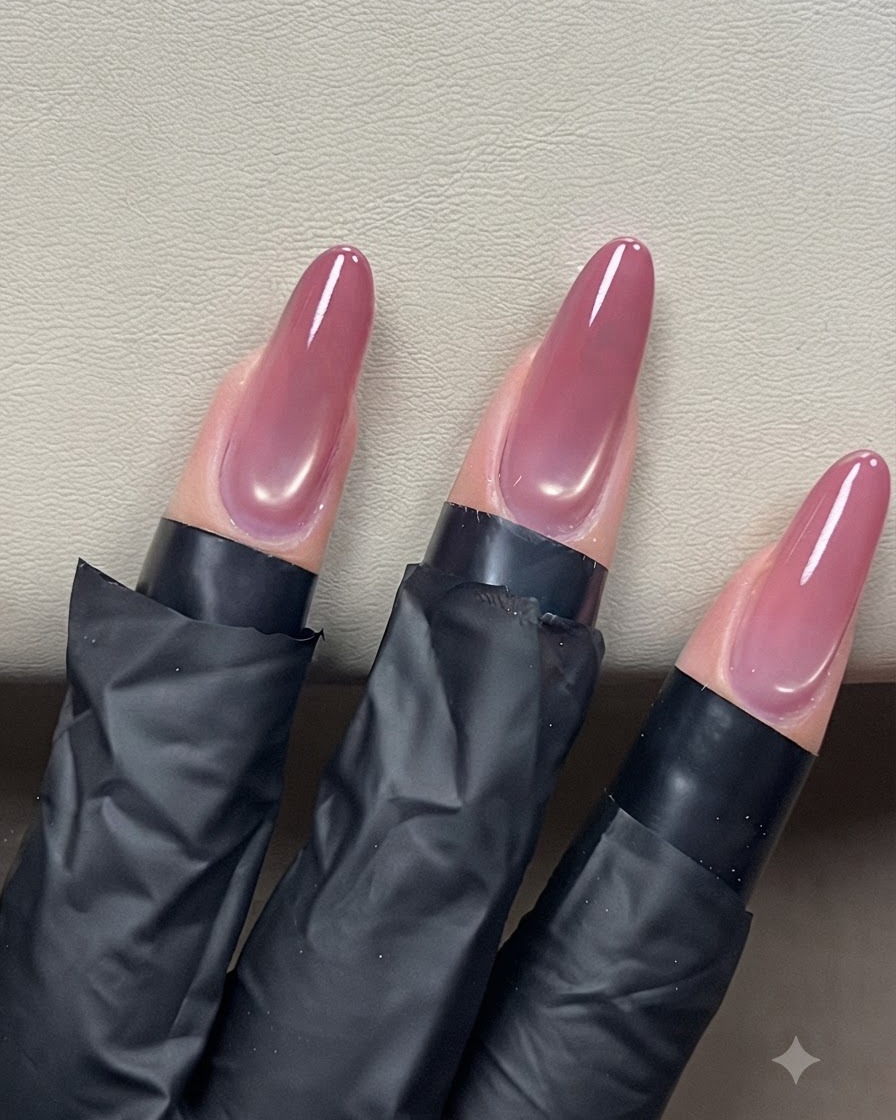
Apply a smooth, even layer of clear top coat over the entire nail surface to seal in the cat-eye design and add a high-gloss finish. Be sure to cap the free edge completely to protect against chipping and ensure long-lasting wear.
Tip: Apply a slightly thicker bead of top coat if needed to smooth out any unevenness and enhance the 3D depth of the cat-eye effect.