Pink Blush Hollow Cat Eye Nails
Silver Stars — Step-by-Step Tutorial
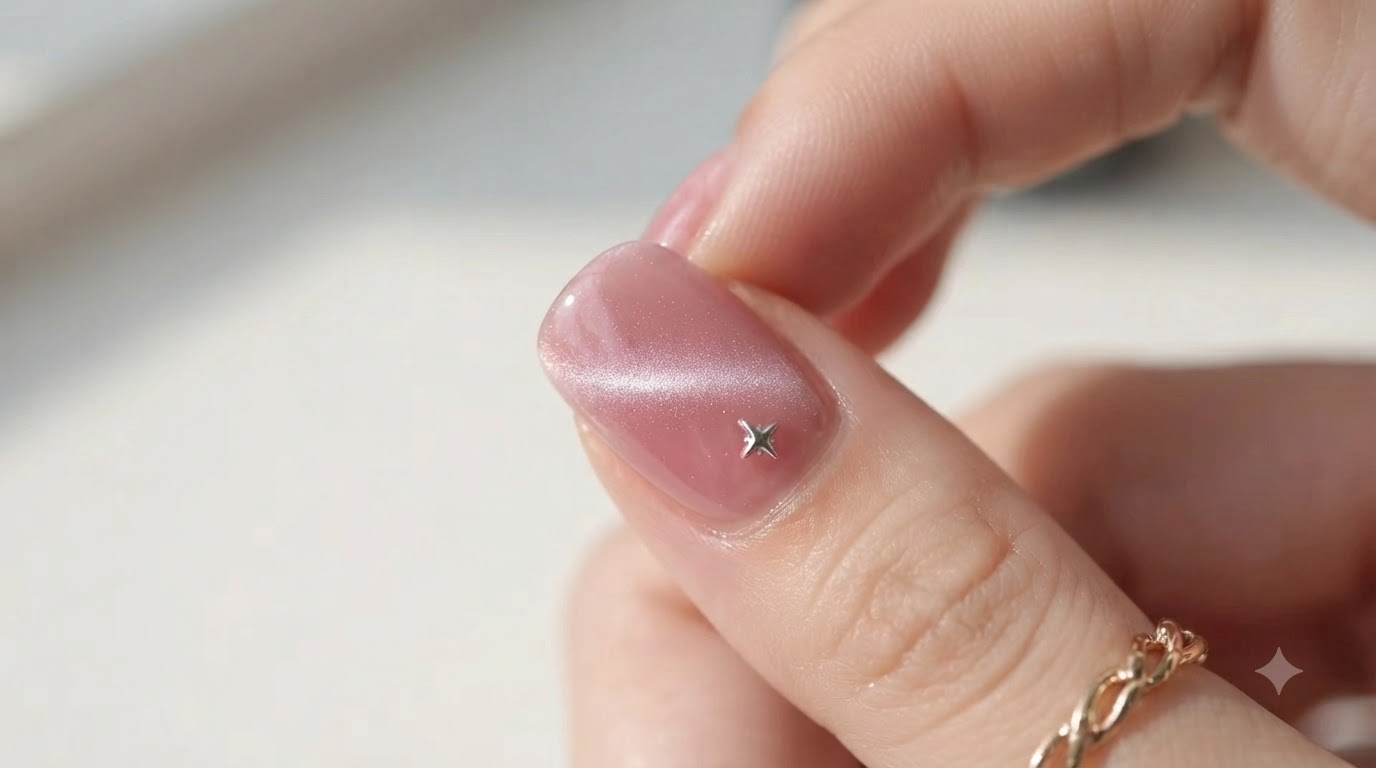
Create enchanting pink blush nails featuring a glowing hollow cat eye effect and delicate silver star sequins for a magical celestial manicure.
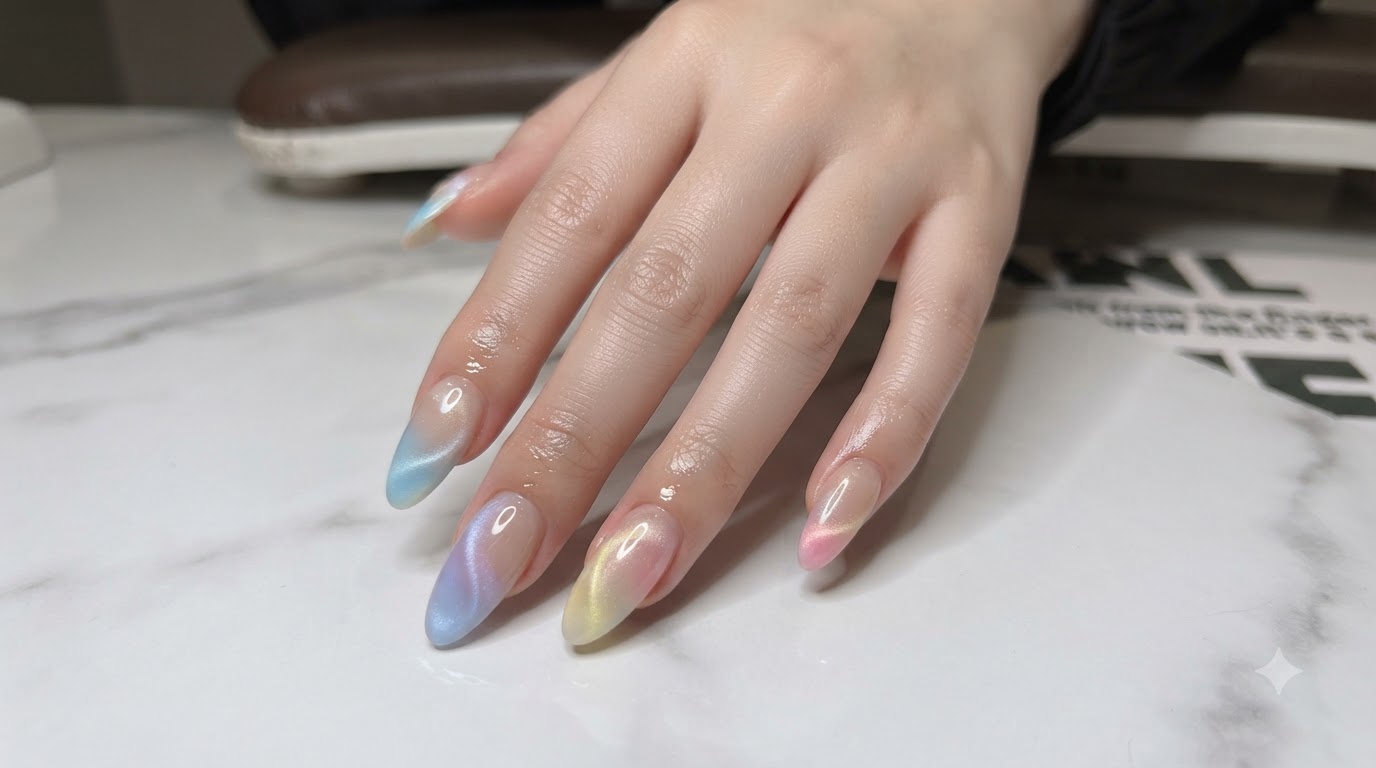
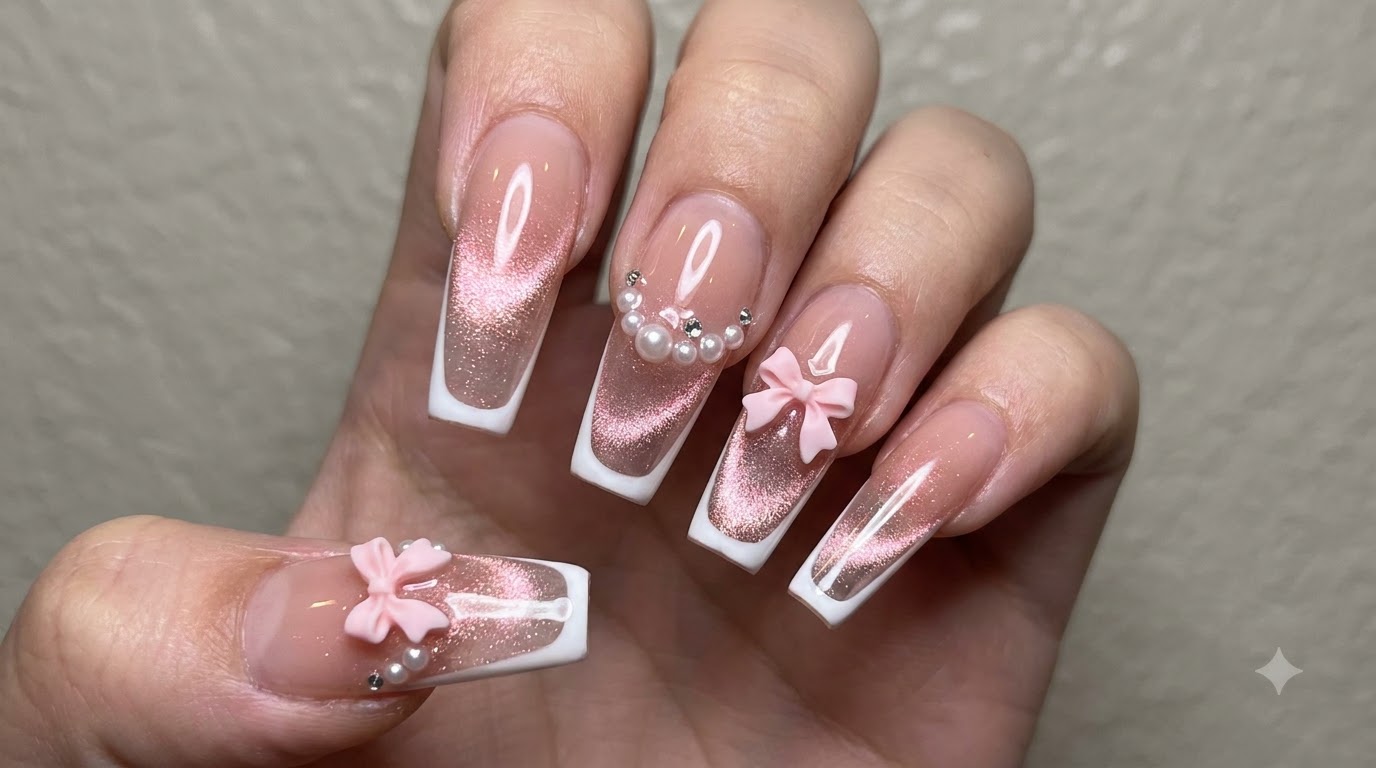
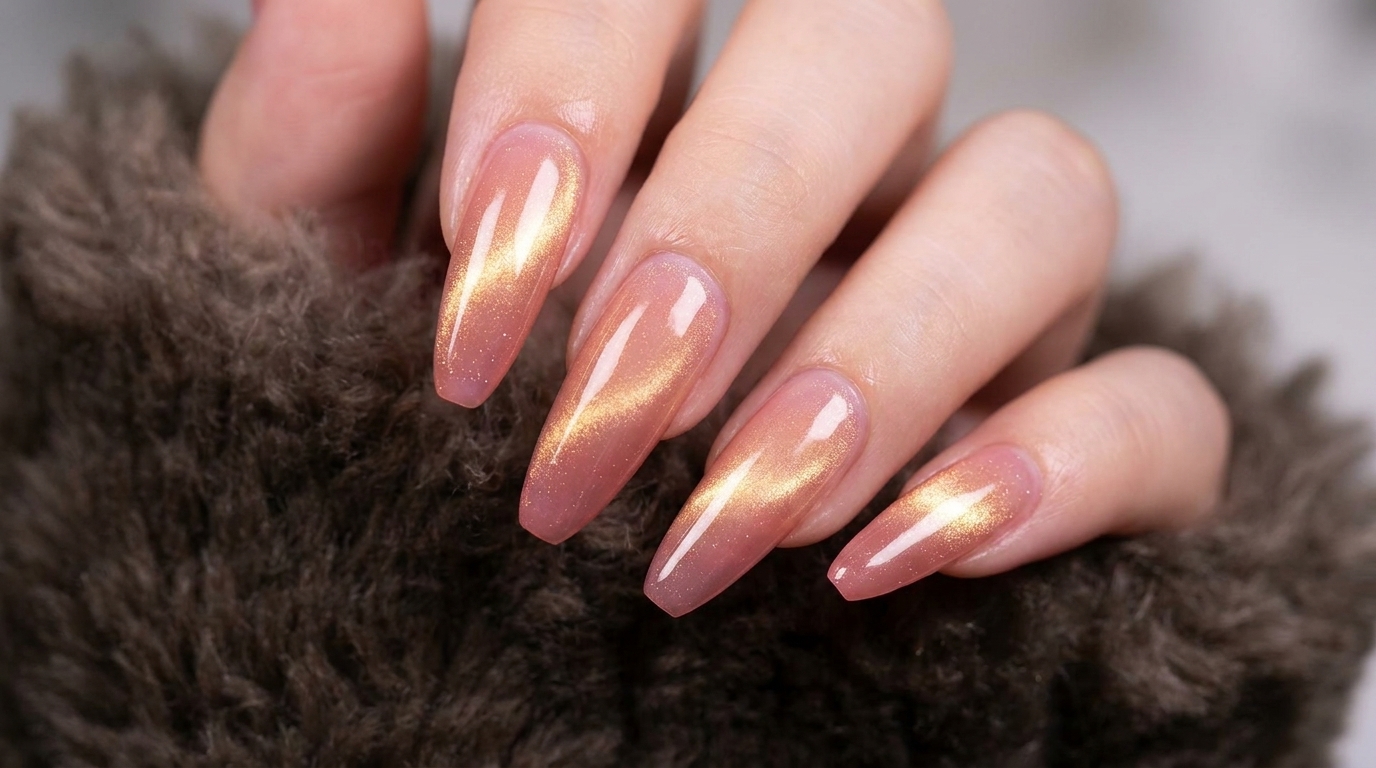
Celestial and aura styles have taken the nail world by storm, combining ethereal gradients with dimensional lighting effects. This look pairs a soft, diffused pink blush center with a mesmerizing hollow cat eye ring and twinkling star sequins, creating a stunning glass-like depth that catches the light from every angle.
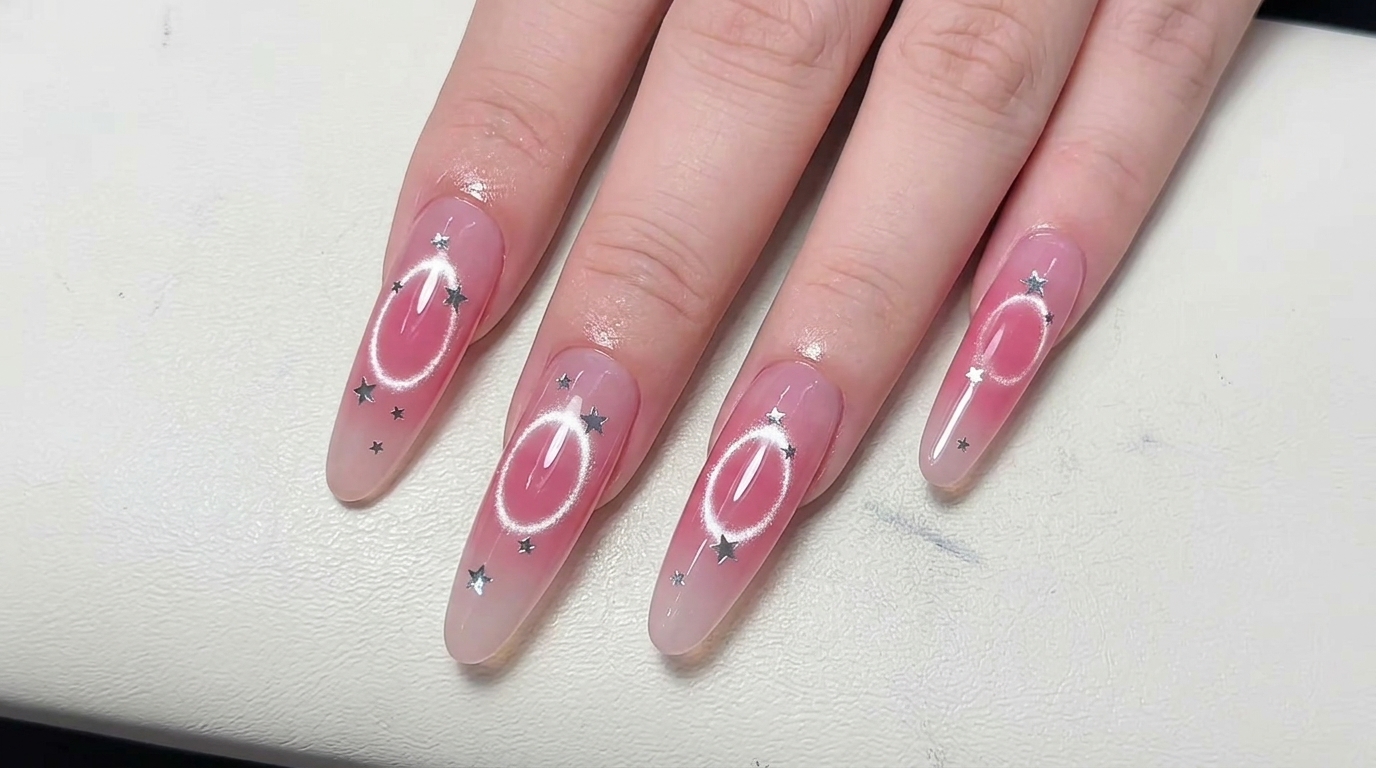
Steps
- 1Cure matte top coat
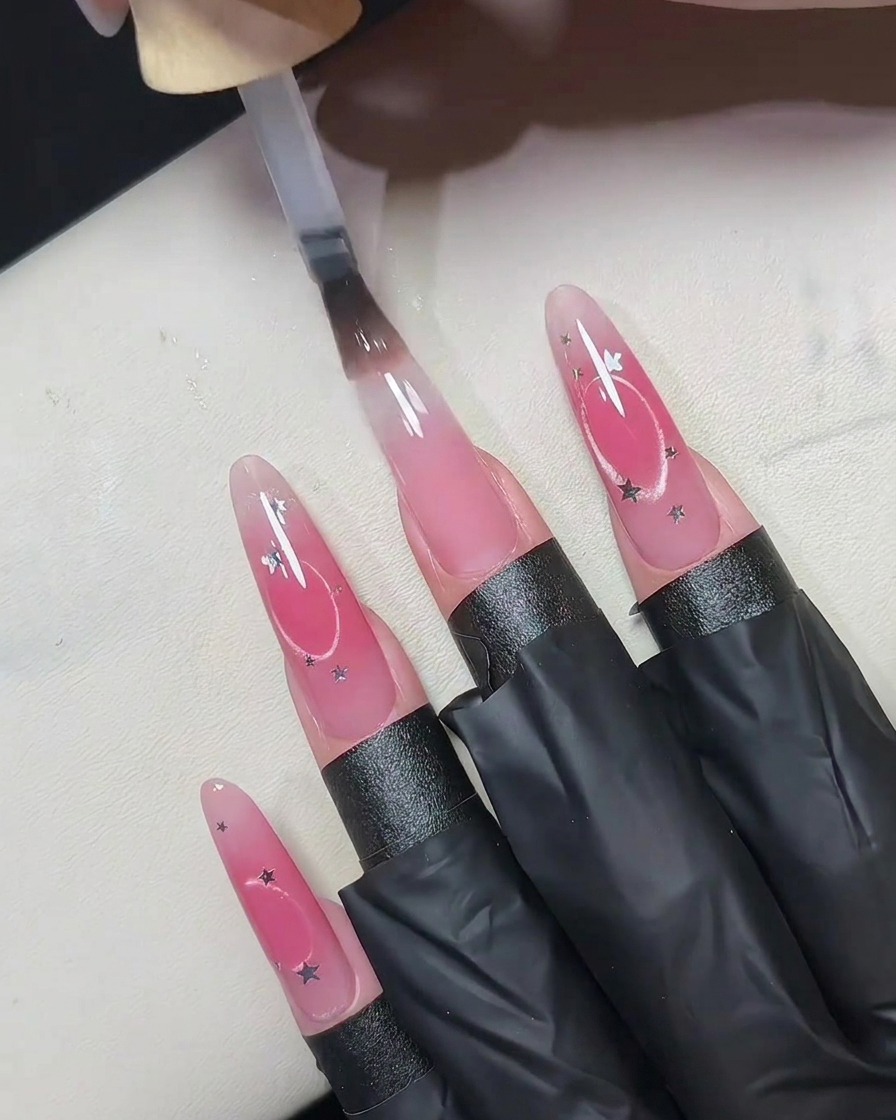
Position the small handheld UV LED lamp directly over the nail to cure the matte top coat. Ensure the light covers the entire surface evenly to lock in the matte finish completely.
Tip: Hold the lamp steady and close to the nail for optimal curing without shifting position. - 2Apply blush effect gradient
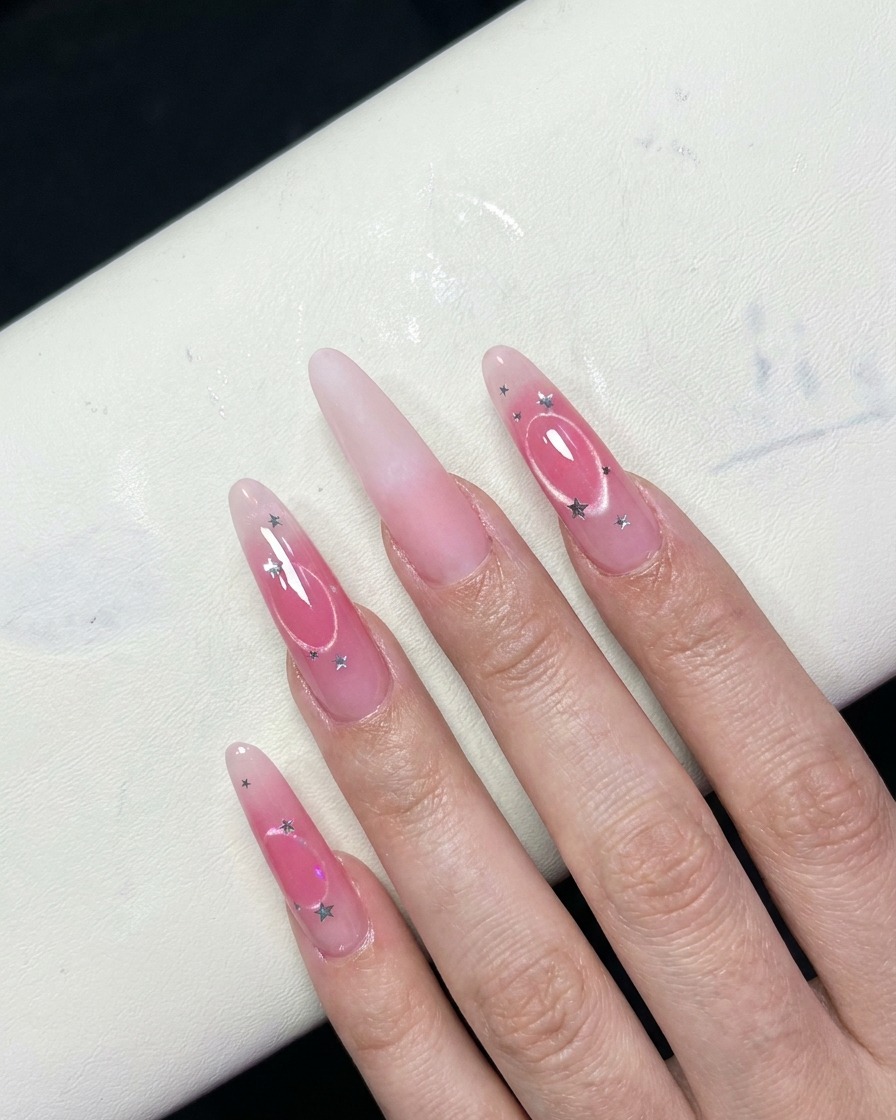
Place a small dot of pink gel polish in the center of the nail. Using a sponge applicator, gently pat and blend the color outwards to create a soft, diffused blush effect.
Tip: Use light tapping motions with the sponge to avoid harsh lines and ensure a smooth gradient. - 3Cure first blush layer
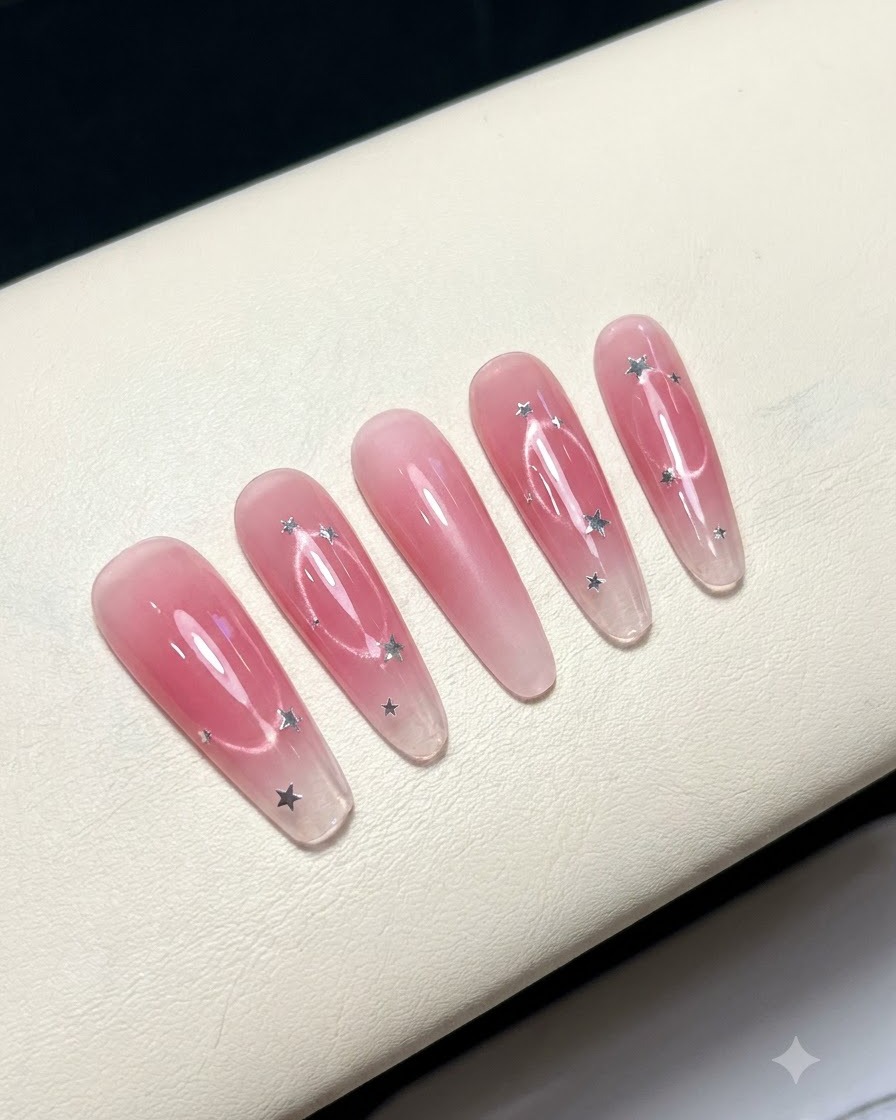
Place the styled nails under the handheld UV lamp to cure the first layer of the pink blush effect. This sets the color before adding further detailing.
Tip: Ensure proper curing time to prevent the gel from shifting during subsequent steps. - 4Check dry status
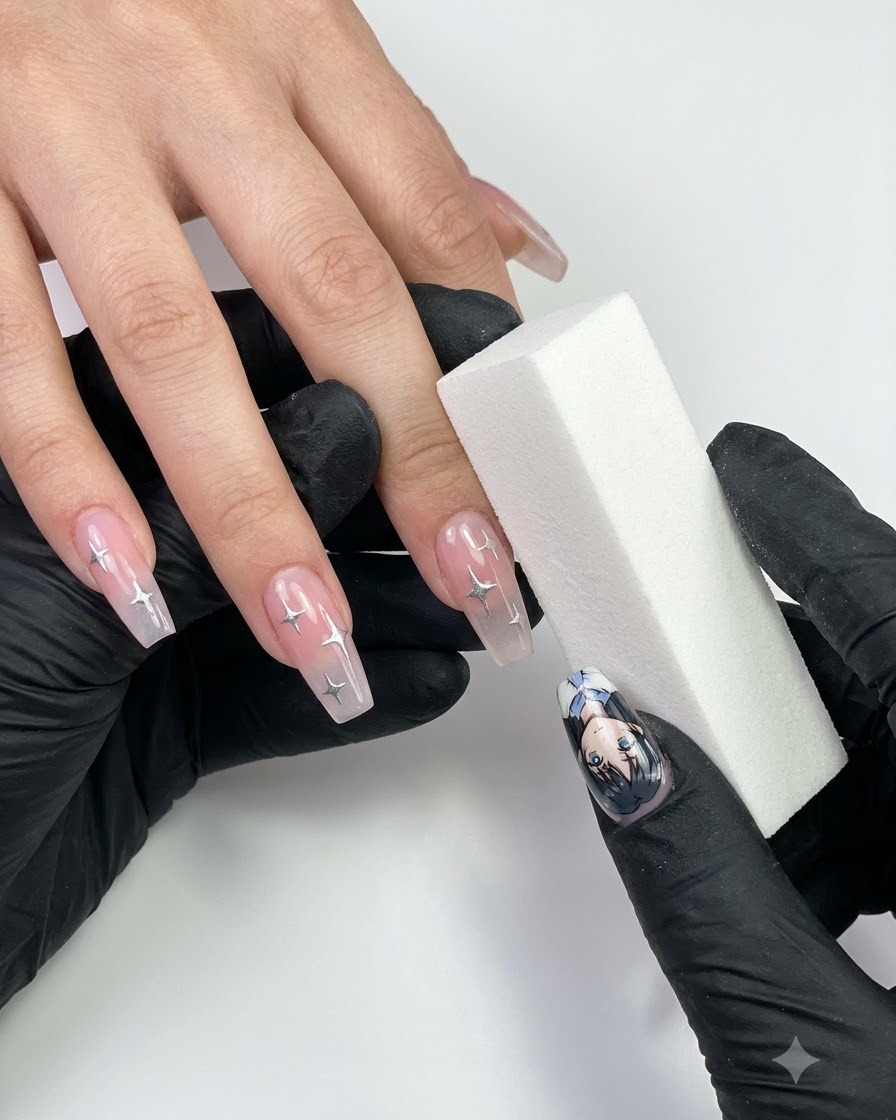
Lightly tap the cured nail surface with a finger to demonstrate that the blush gel layer is fully dry, set, and completely smudge-proof.
Tip: Testing the surface ensures the gel is thoroughly cured before proceeding with additional layers. - 5Deepen blush center
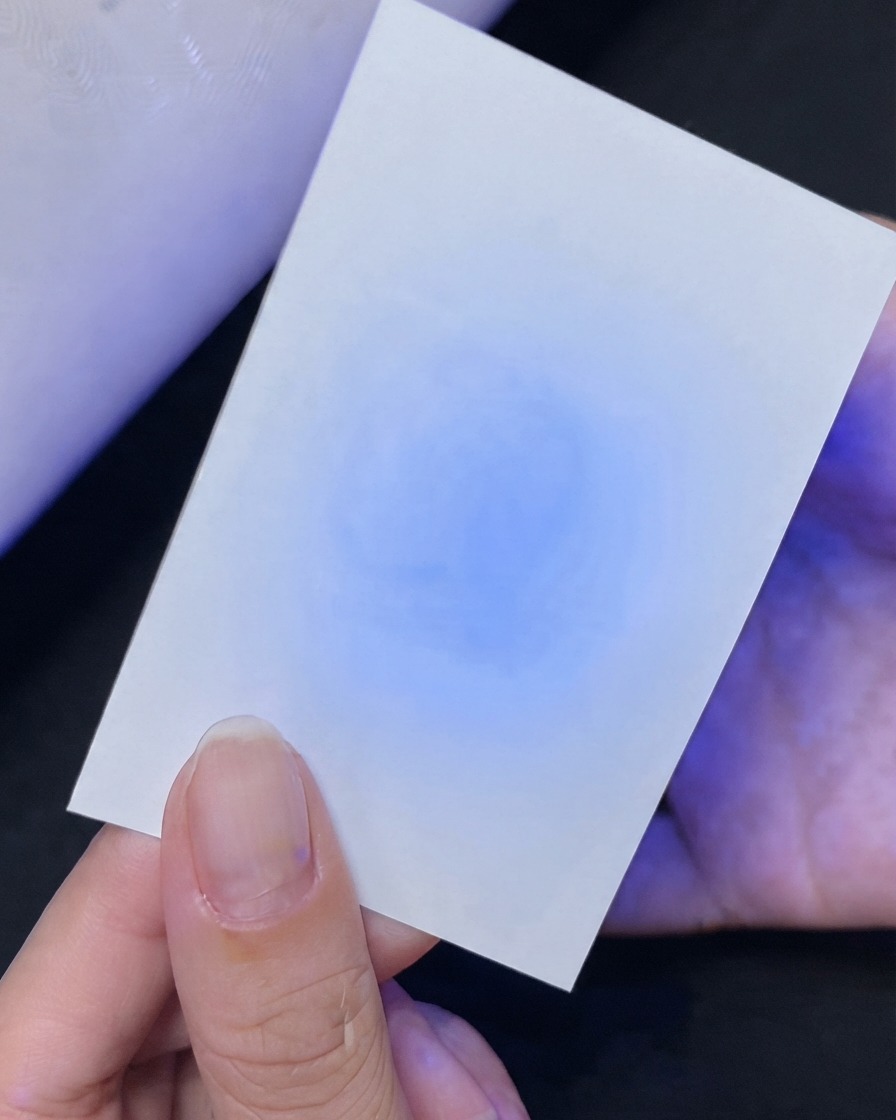
Apply a second, smaller dot of pink gel precisely in the center and blend it using the sponge to deepen the color gradient and enhance the blush dimension.
Tip: Concentrating the second dot in a smaller area adds depth and makes the gradient pop. - 6Apply sheer silver cat eye gel
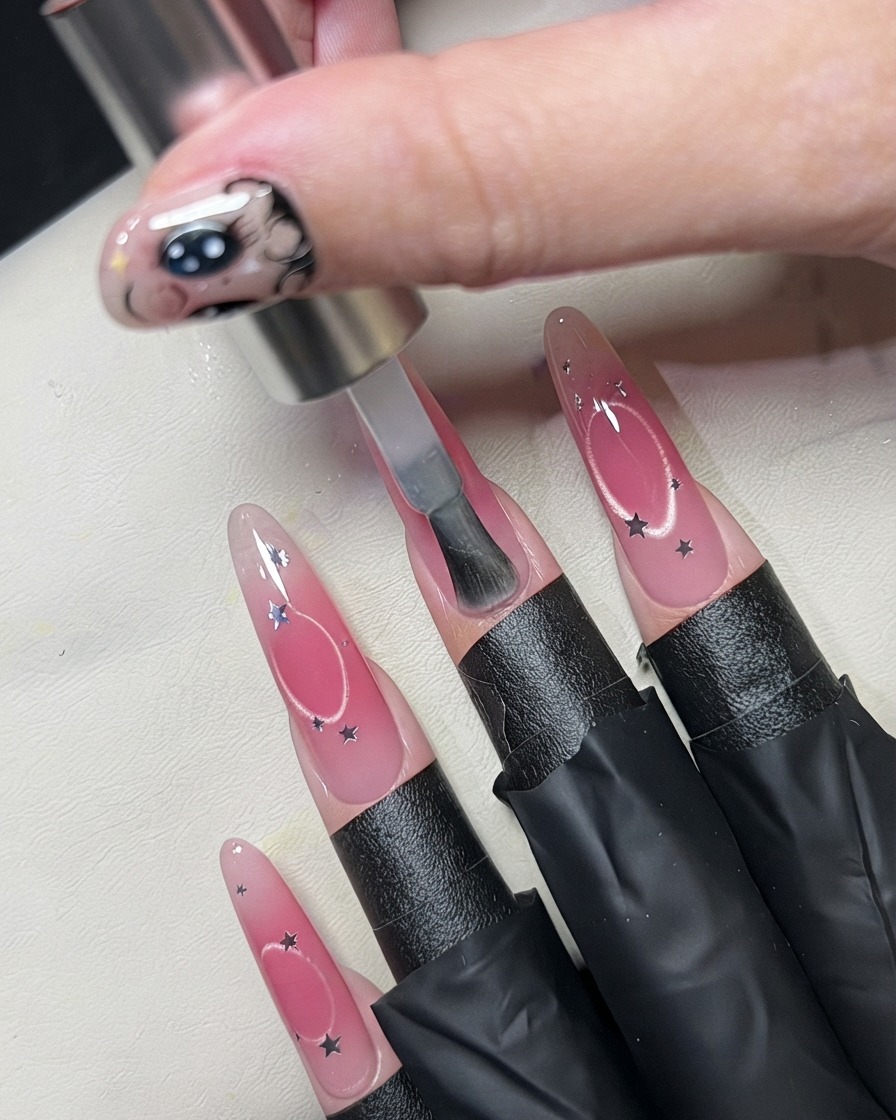
Brush a smooth, full coat of sheer silver cat eye gel evenly over the entire surface of the nail. Prepare to use a magnet while the gel is still wet.
Tip: Apply an even coat to ensure the magnetic particles disperse uniformly before magnet manipulation. - 7Gather magnetic shimmer with cylinder magnet
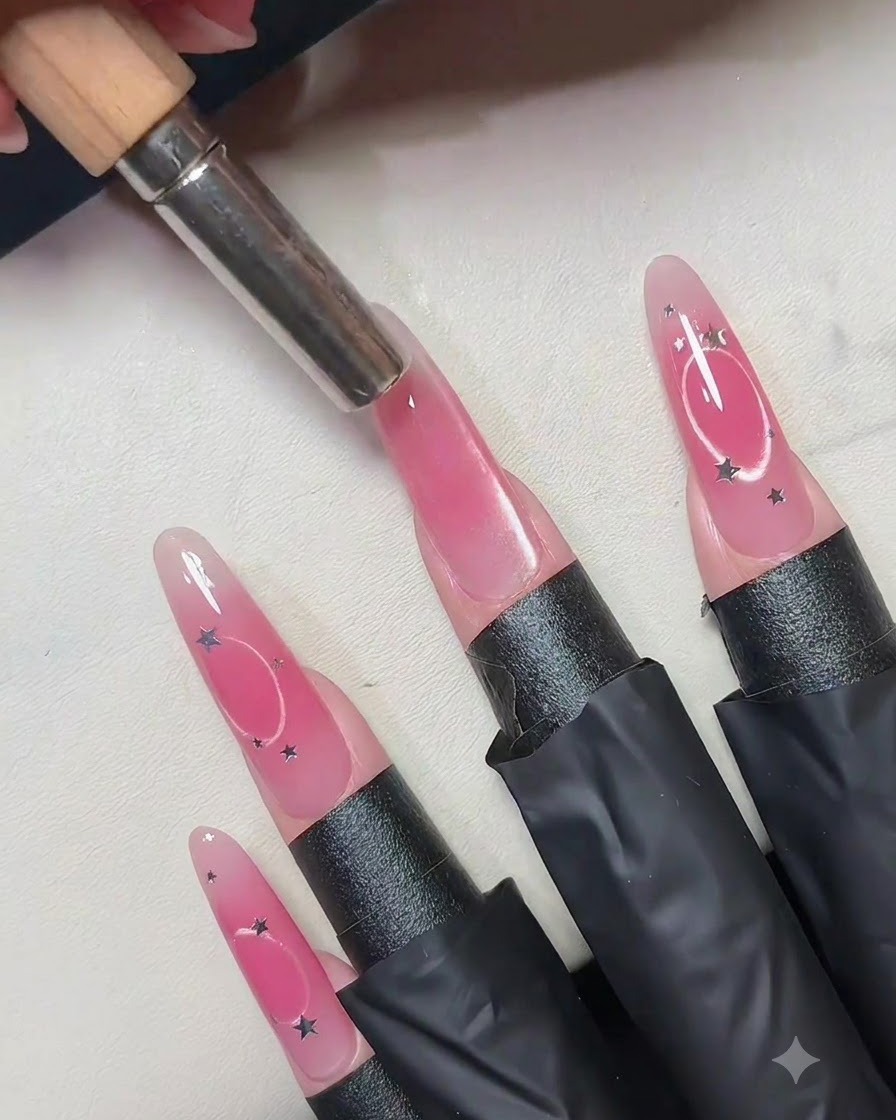
Hold a cylindrical magnet vertically over the center of the uncured cat eye gel. Keep the magnet steady to draw and concentrate the magnetic shimmer particles directly into the middle section of the nail before curing.
Tip: Keep the magnet close to the gel surface without touching it to achieve the sharpest magnetic concentration. - 8Create hollow ring effect with circular magnet
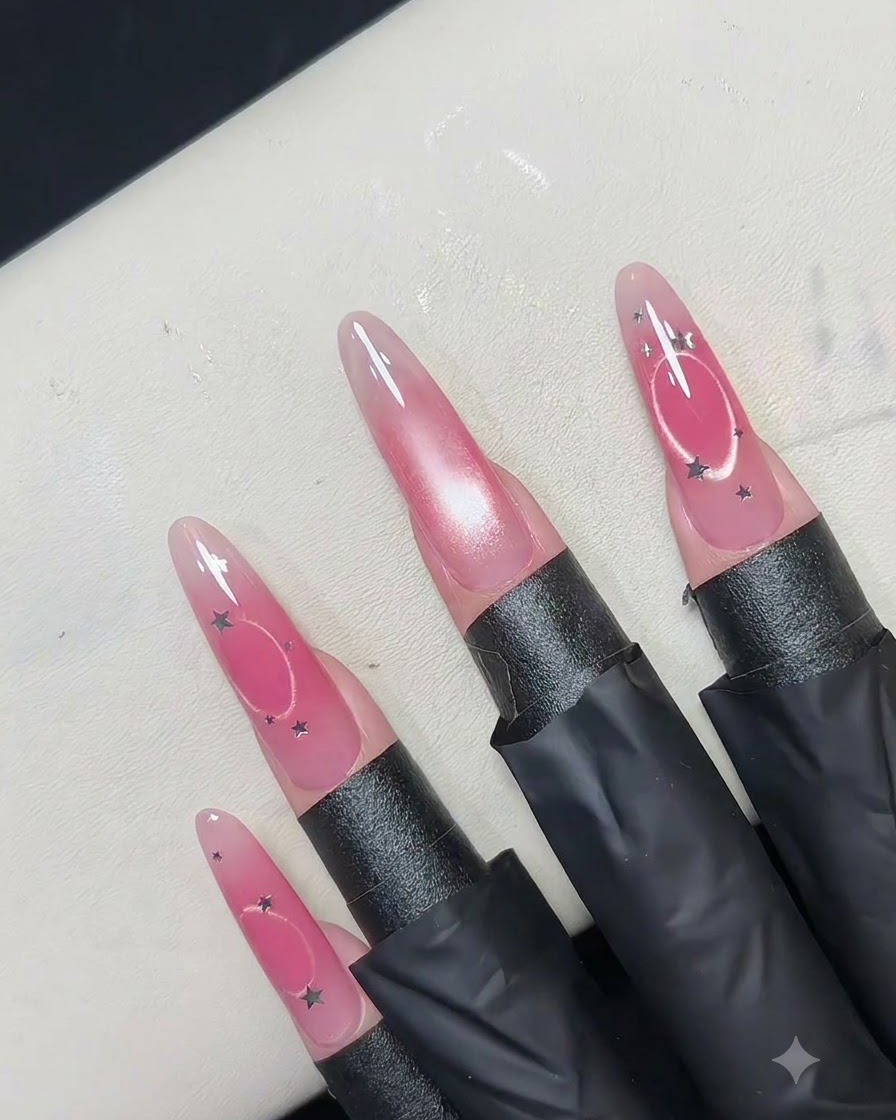
Hover a special hollow circle magnet tool directly over the center of the nail while the cat eye gel is still wet. This repels the magnetic particles outward, leaving a distinct empty circular opening in the middle of the shimmer.
Tip: Hold the hollow magnet tool perfectly parallel to the nail surface for an even, symmetrical ring shape. - 9Place silver star sequins around the ring
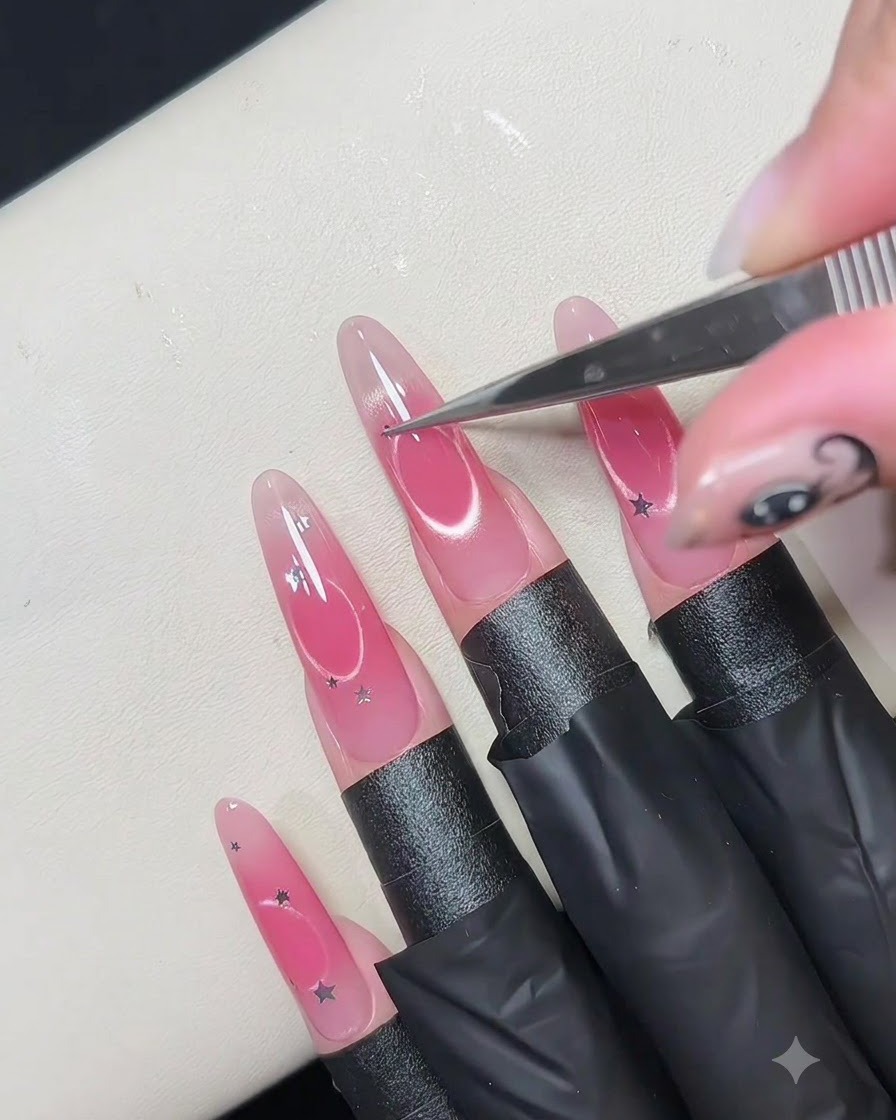
Using fine precision tweezers, pick up tiny silver star sequins and place them carefully onto the wet gel layer around the perimeter of the hollow circle design. Press them slightly into the uncured gel so they stay secure.
Tip: Dip the tip of your tweezers lightly into base coat or gel if needed to easily pick up small sequins. - 10Apply Final Glossy Top Coat
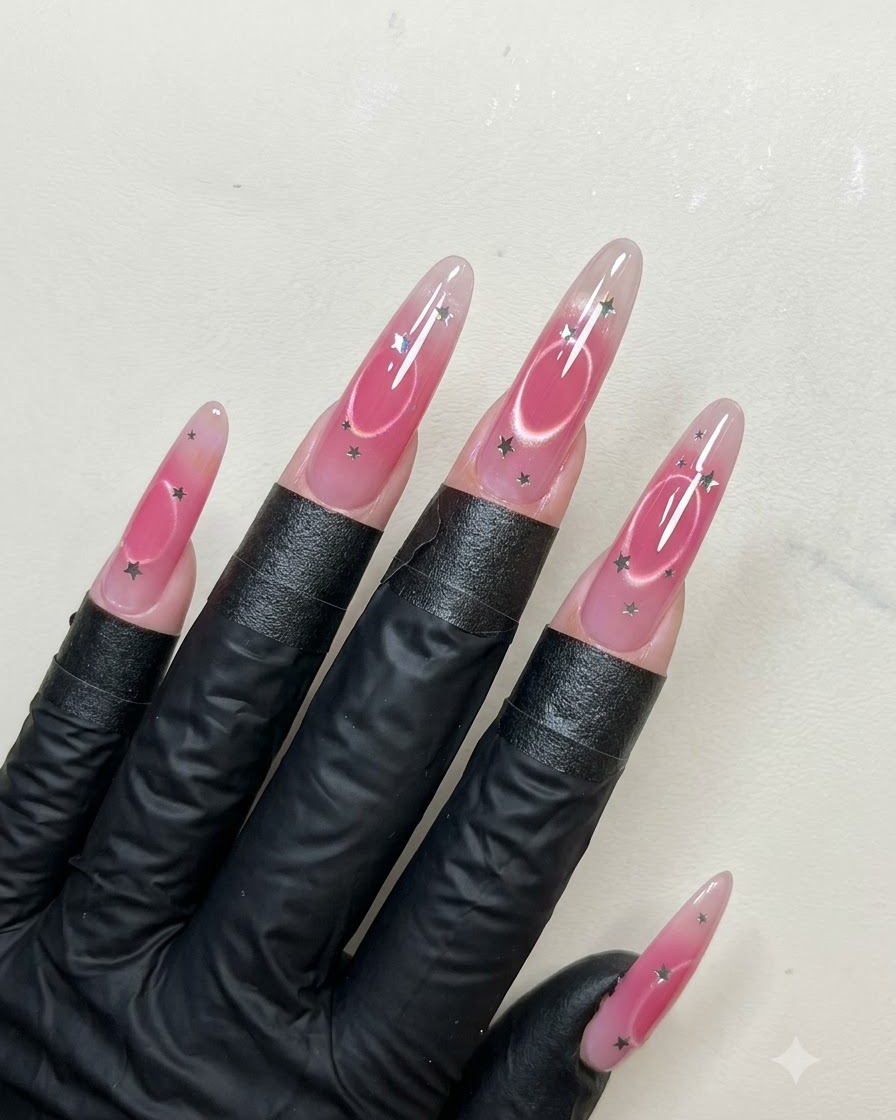
Brush a final layer of glossy top coat carefully over the entire nail to seal in the cat eye design, magnetic effect, and silver star sequins, completing the overall look.
Tip: Cap the free edge securely with top coat to prevent chipping and ensure the embedded star sequins stay protected.