Pink and Gold Cat Eye French Gradient Nails — Step-by-Step Tutorial
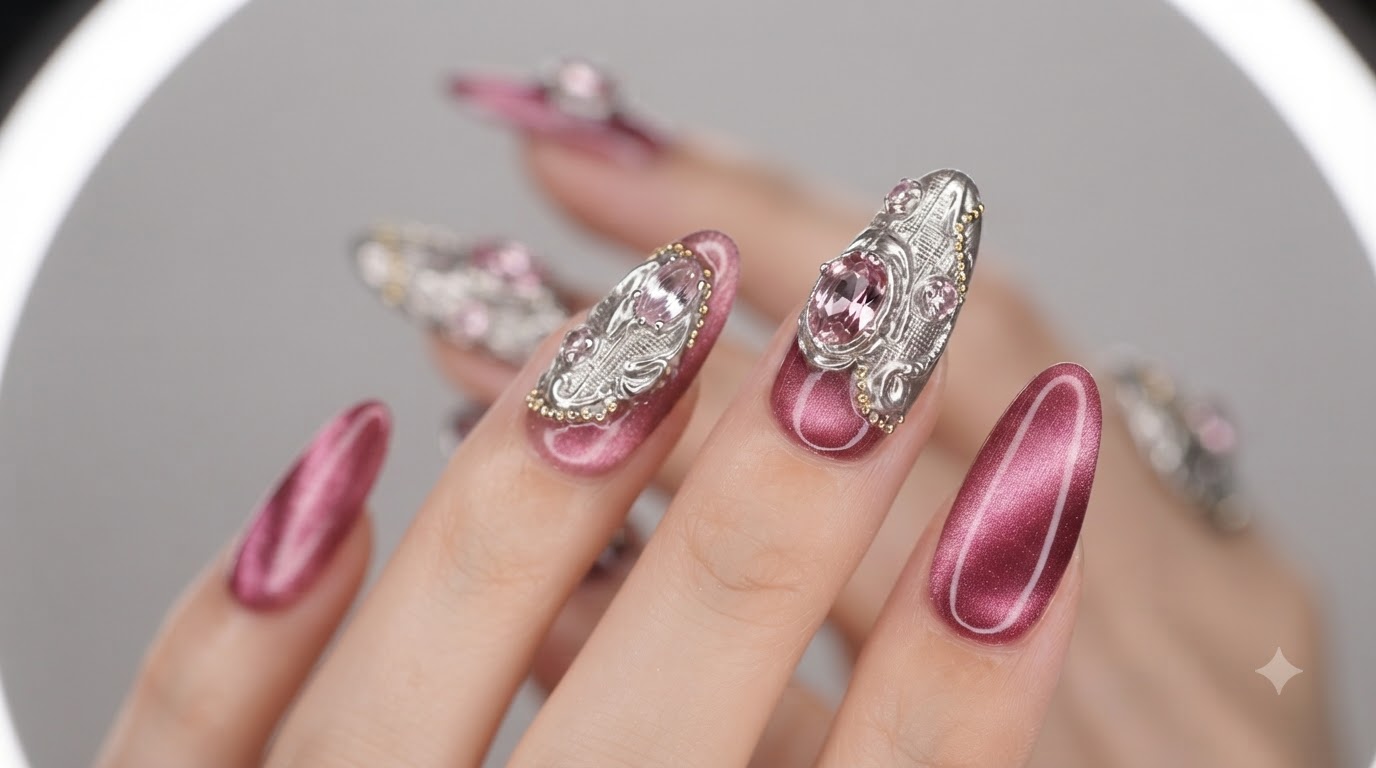
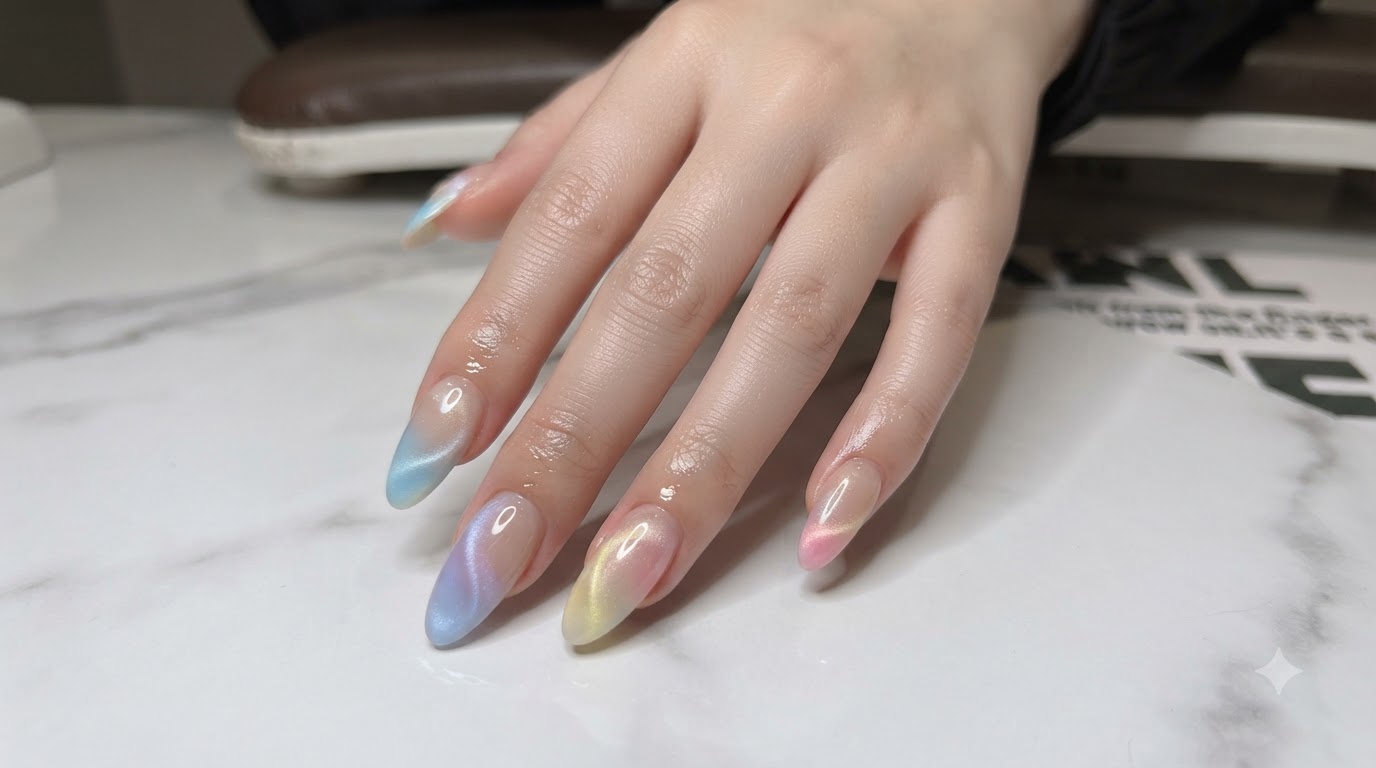
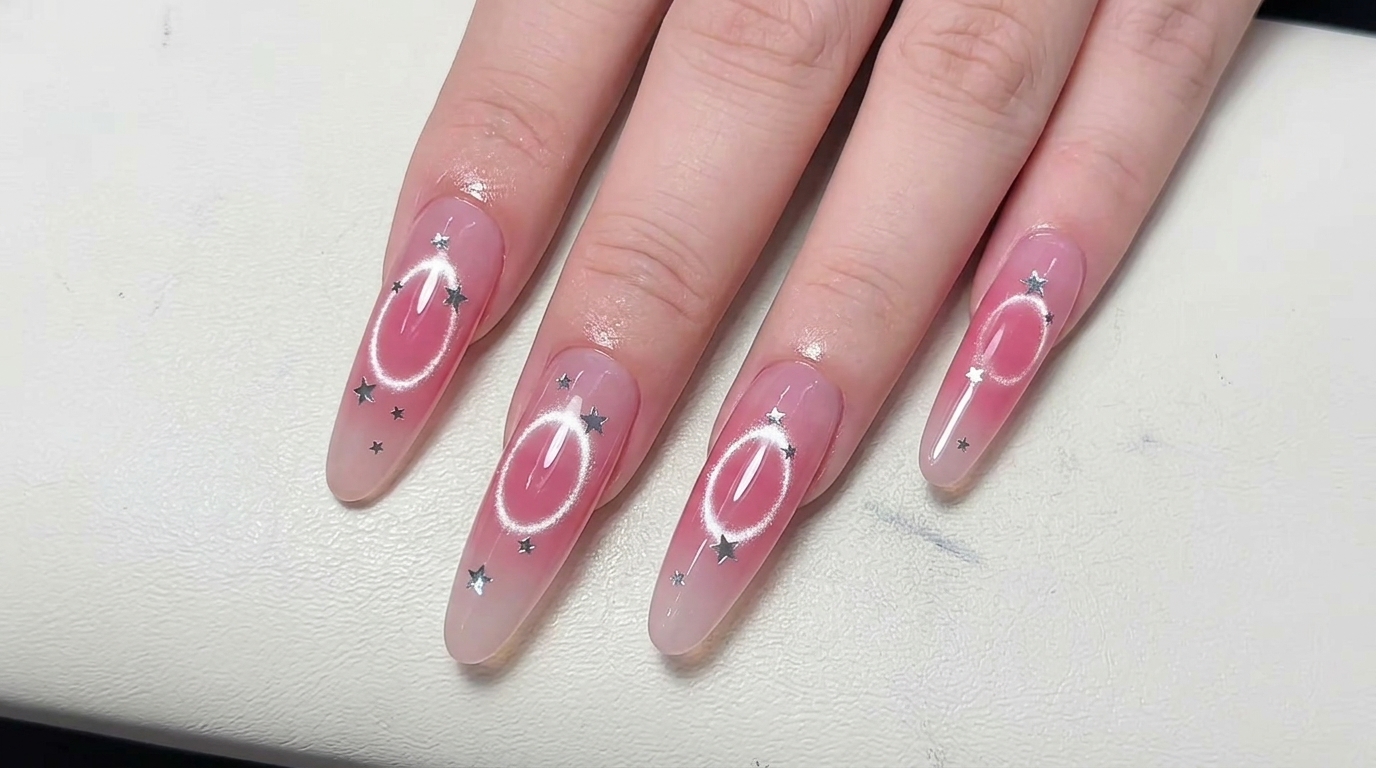
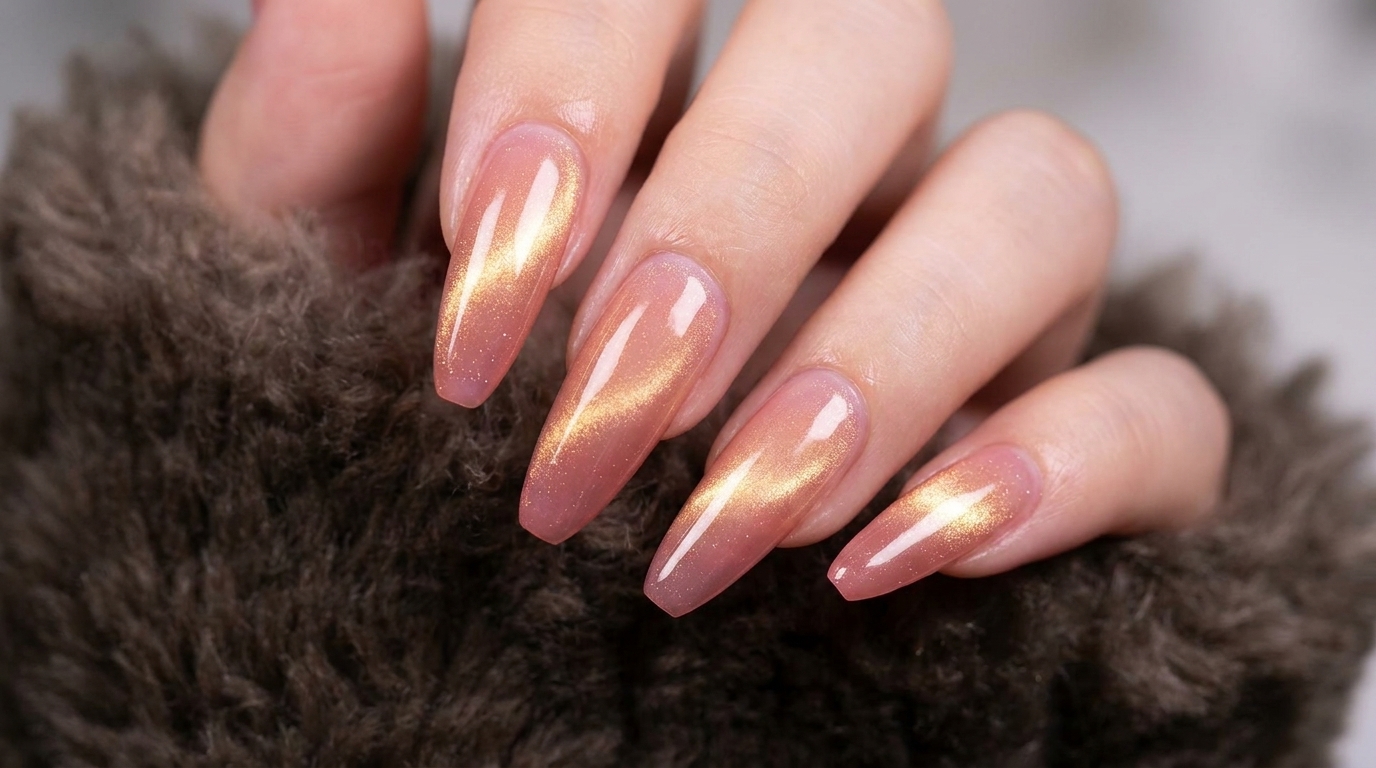
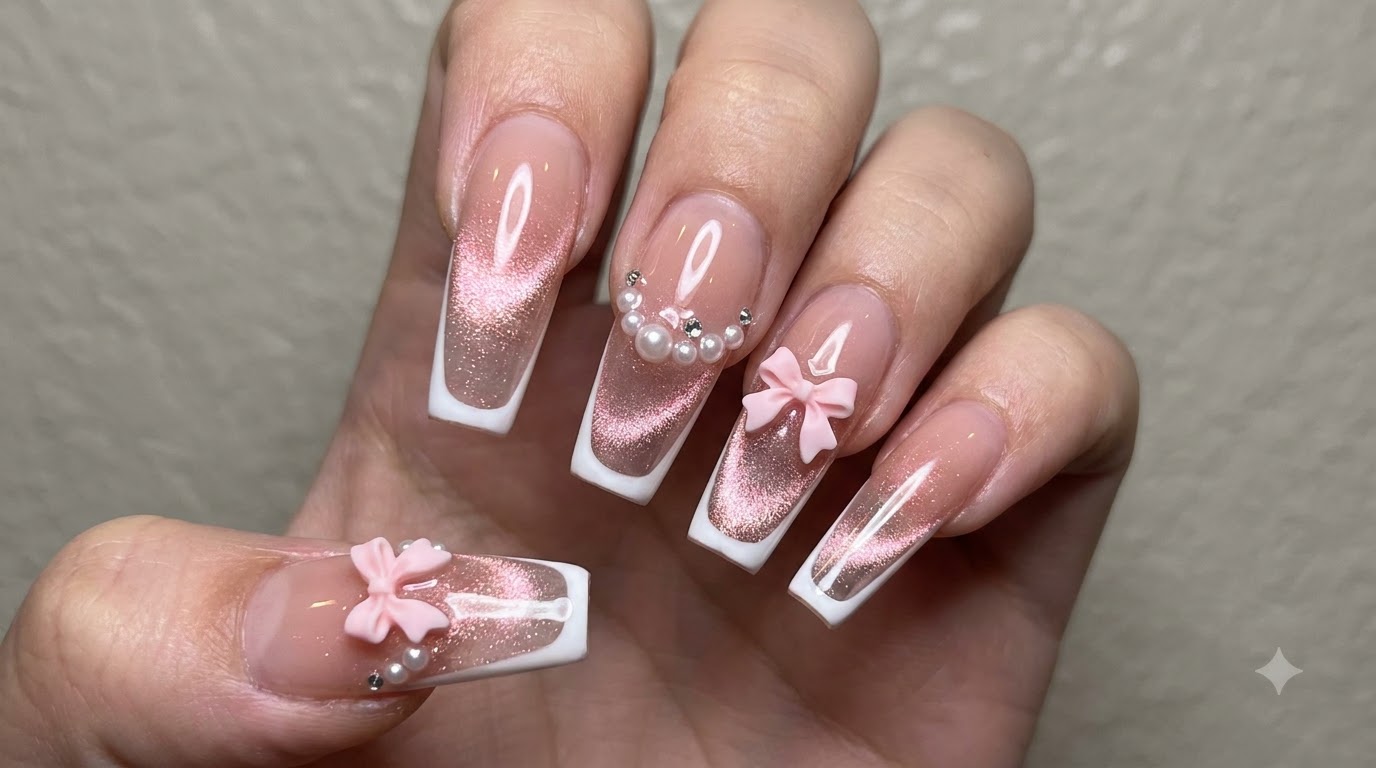
Master this elegant pink and gold cat eye nail design featuring a crisp white French tip gradient, a glowing blush center, and delicate 3D bow embellishments.
This sophisticated nail design seamlessly blends multiple viral trends into one cohesive masterpiece. By combining a magnetic pink-gold cat eye with a reverse white French gradient and a soft blush nail center, it creates incredible depth and dimension. The structural gel overlay not only ensures an ultra-glossy, self-leveled apex but also guarantees lasting durability for your intricate pearl and 3D bow accents.
Steps
- 1Select a nude base gel
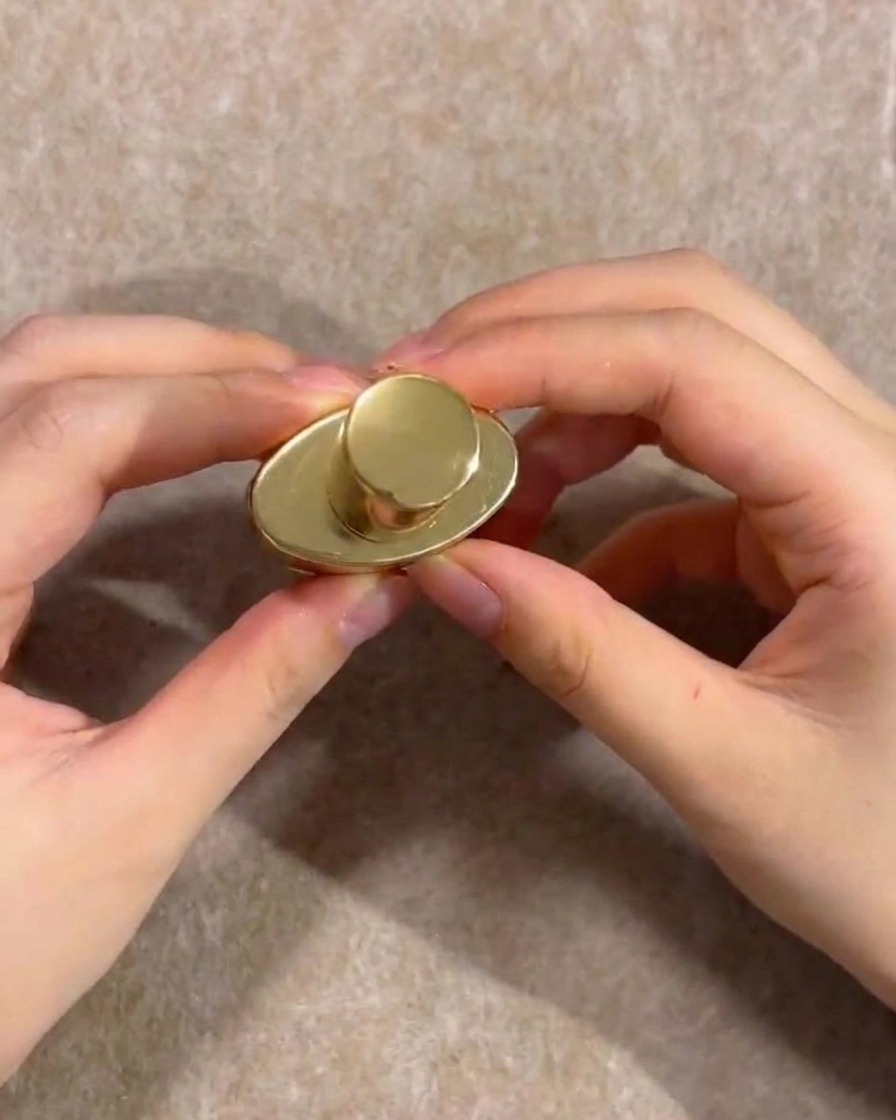
Begin by selecting a sheer nude gel color for the base of your design. This soft shade will create the perfect foundation for the gradient cat eye effect, providing a natural and elegant look.
Tip: A semi-sheer nude works best for gradients as it blends seamlessly into the natural nail or extension. - 2Apply nude base color gradient
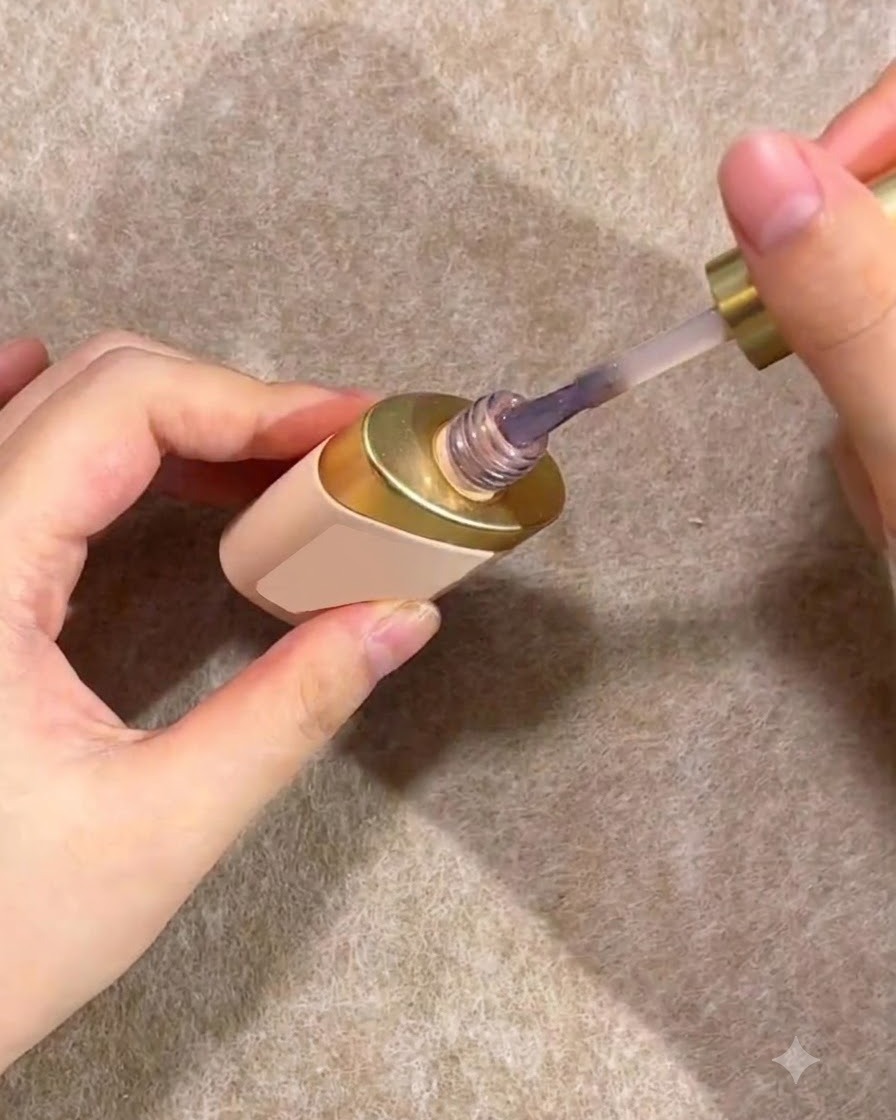
Apply a nude gel color strictly to the bottom half of the nail. Carefully swipe the brush upward from the cuticle area to begin establishing a soft, sheer gradient effect.
Tip: Keep the application thin on the brush to control the gradient transition smoothly without harsh lines. - 3Blend the Nude Base
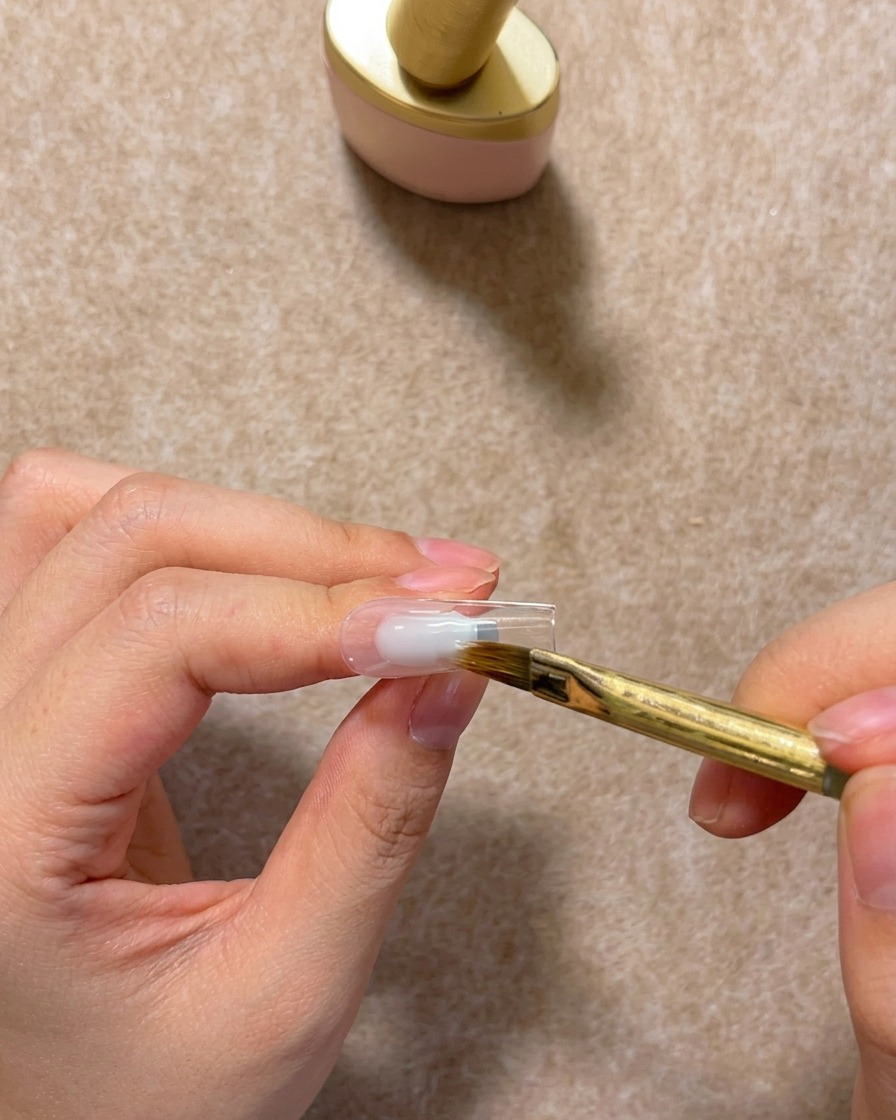
Apply the nude gel polish only to the bottom half of the nail. Using a clean flat gel brush, gently sweep the polish upwards to fade out the color. This sweeping motion creates a seamless, translucent gradient effect that transitions softly toward the tip.
Tip: Clean your blending brush frequently on a lint-free wipe to prevent dragging too much product up the nail. - 4Choose pink gold cat eye gel
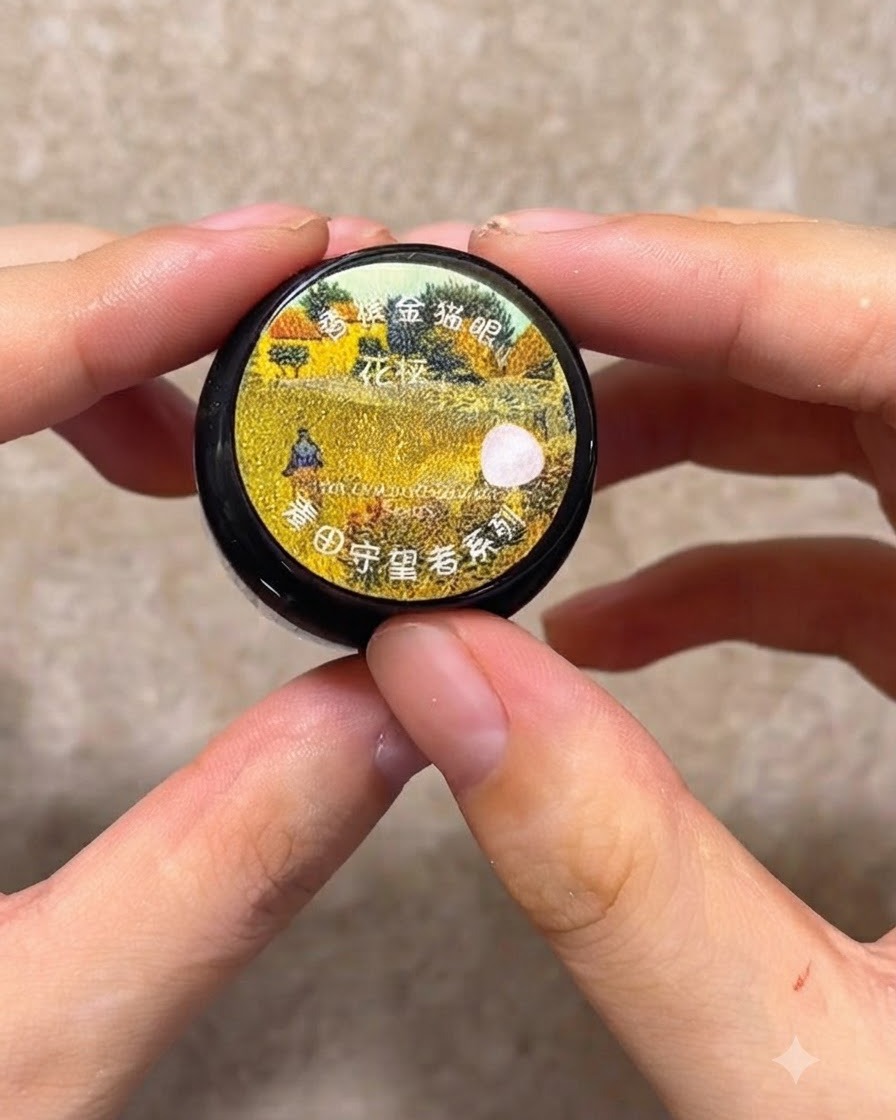
Select a pink gold cat eye gel for the top portion of the gradient. This type of gel contains magnetic particles that create a stunning, shimmering effect when activated with a magnet.
Tip: Make sure your cat eye gel is well-mixed before use so the magnetic particles are evenly distributed. - 5Apply pink gold cat eye gel
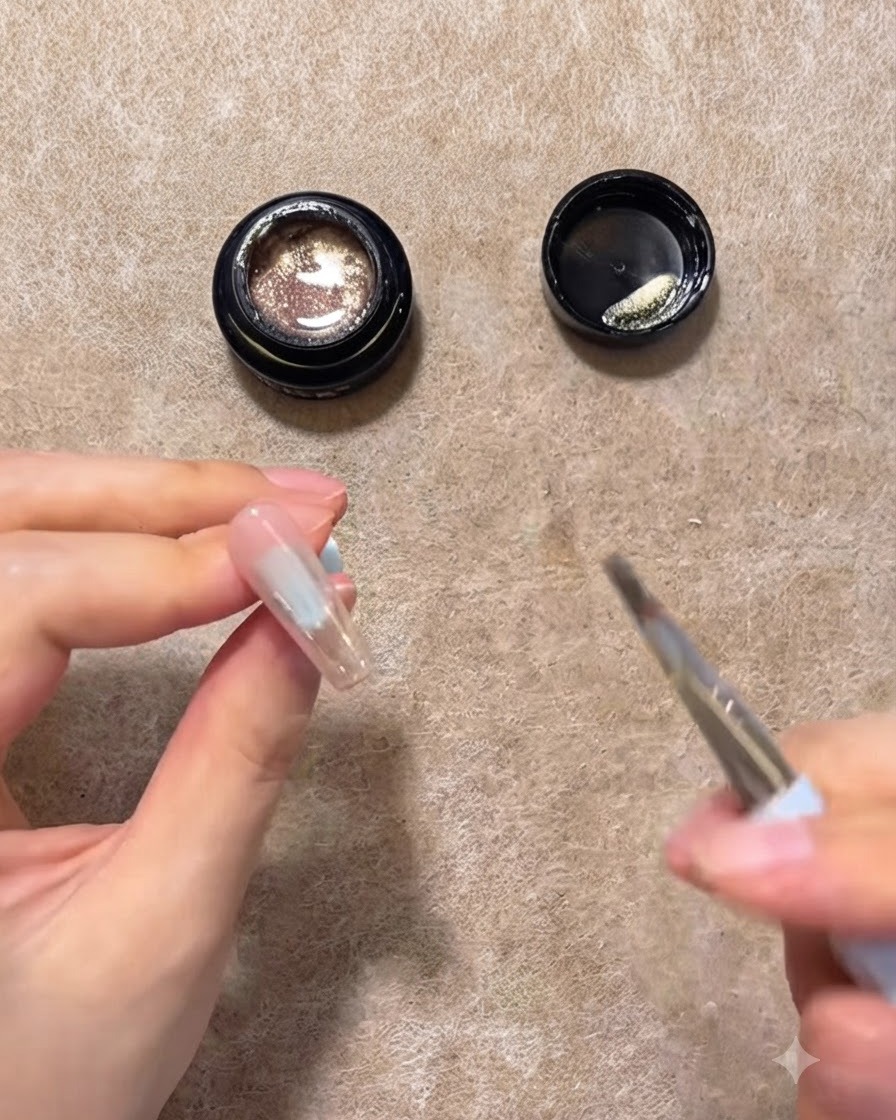
Apply the pink gold cat eye gel exclusively onto the top half and tip area of the nail. Use your brush to swipe the gel downwards, continuing to build the foundation for a seamless gradient.
Tip: Use a fine liner brush to define the edge of the cat eye gel where it meets the nude base. - 6Blend the cat eye gel
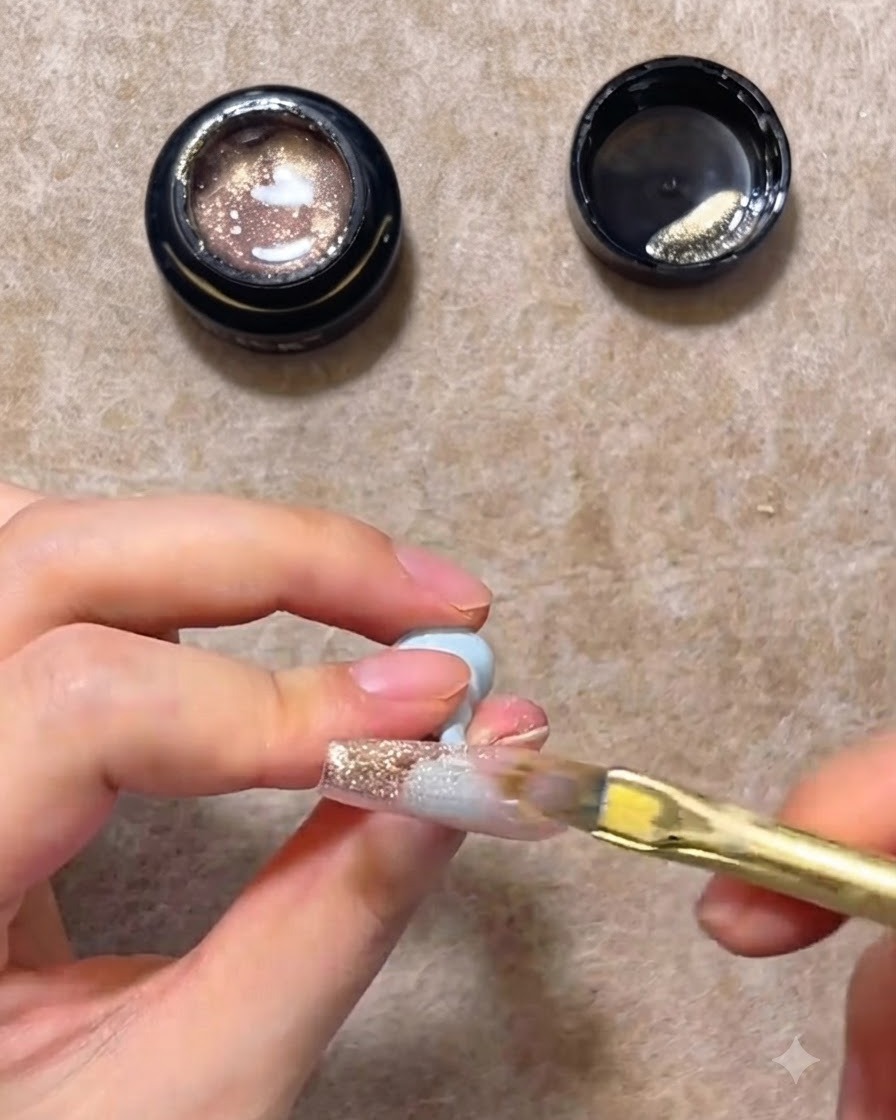
After applying the pink gold cat eye gel to the top half of the nail tip, use a flat brush to gently sweep the product downwards. Blend it into the nude base to create a smooth, seamless gradient transition.
Tip: Use a light hand when blending to avoid dragging too much product away from the tip. - 7Activate the cat eye effect
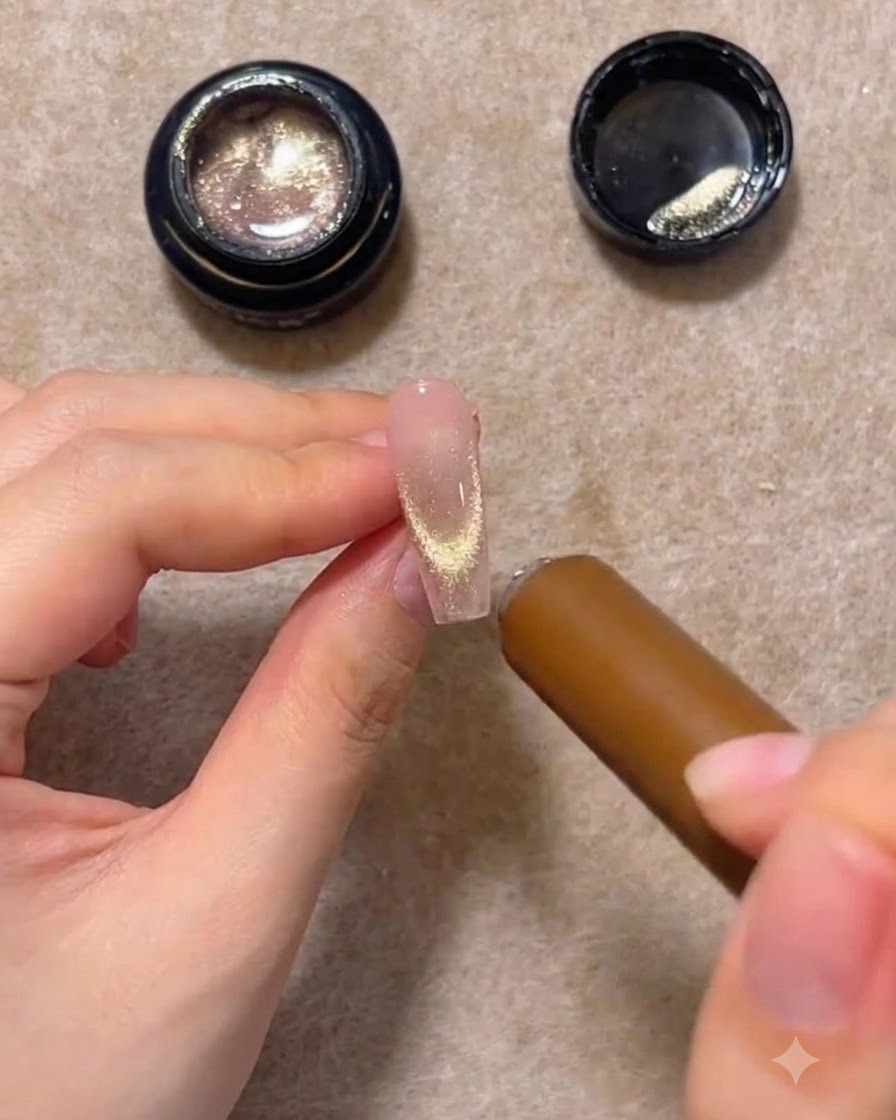
While the cat eye gel is still wet, hover a magnetic wand around the edges of the nail tip. Rotate and angle the magnet to draw the magnetic particles into a smooth, tracking curve that highlights the tip before curing.
Tip: Hold the magnet steady for a few seconds in each position to pull the maximum amount of shimmer into place. - 8Magnetize tracking cat eye effect
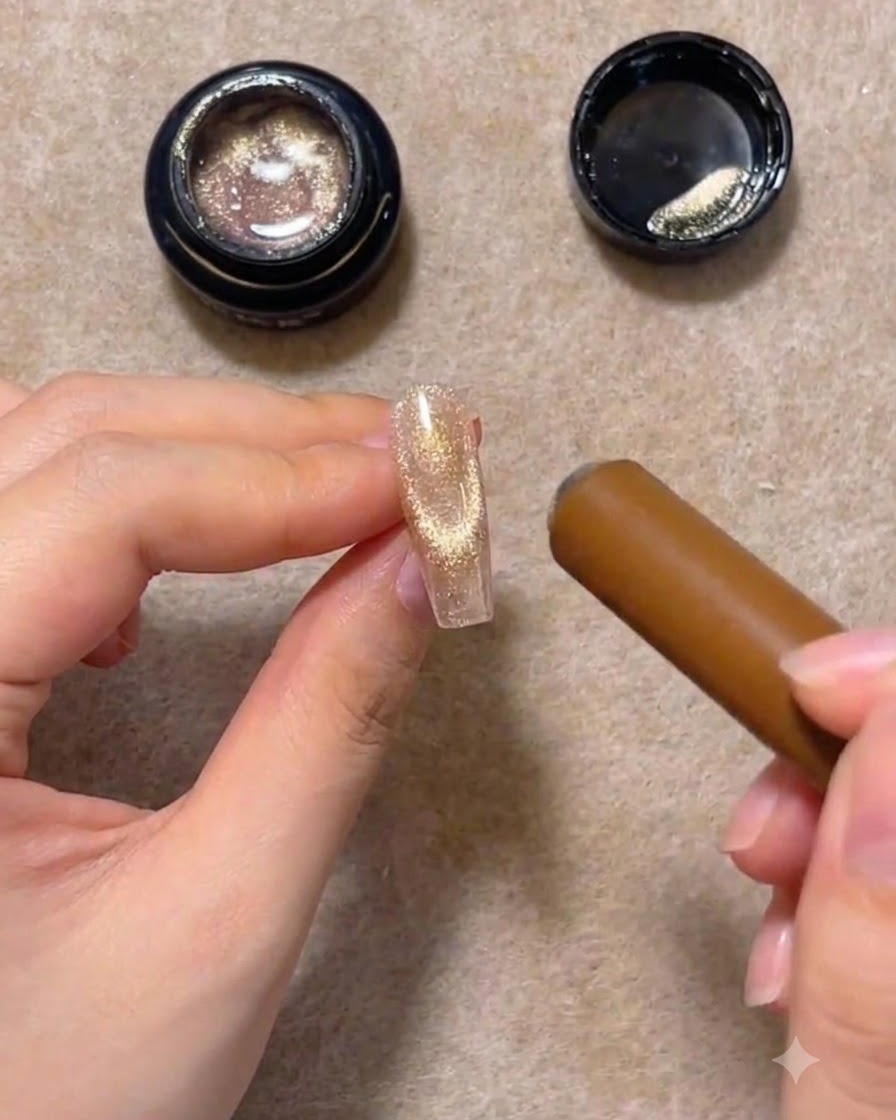
Using a magnetic wand, carefully circle the tip of the nail to manipulate the magnetic particles. This movement pulls the shimmer together to form a distinct, glowing cat eye tracking beam across the free edge.
Tip: Keep the magnet steady and close to the gel surface without touching it to achieve a sharp magnetic line. - 9Wipe inhibition layer
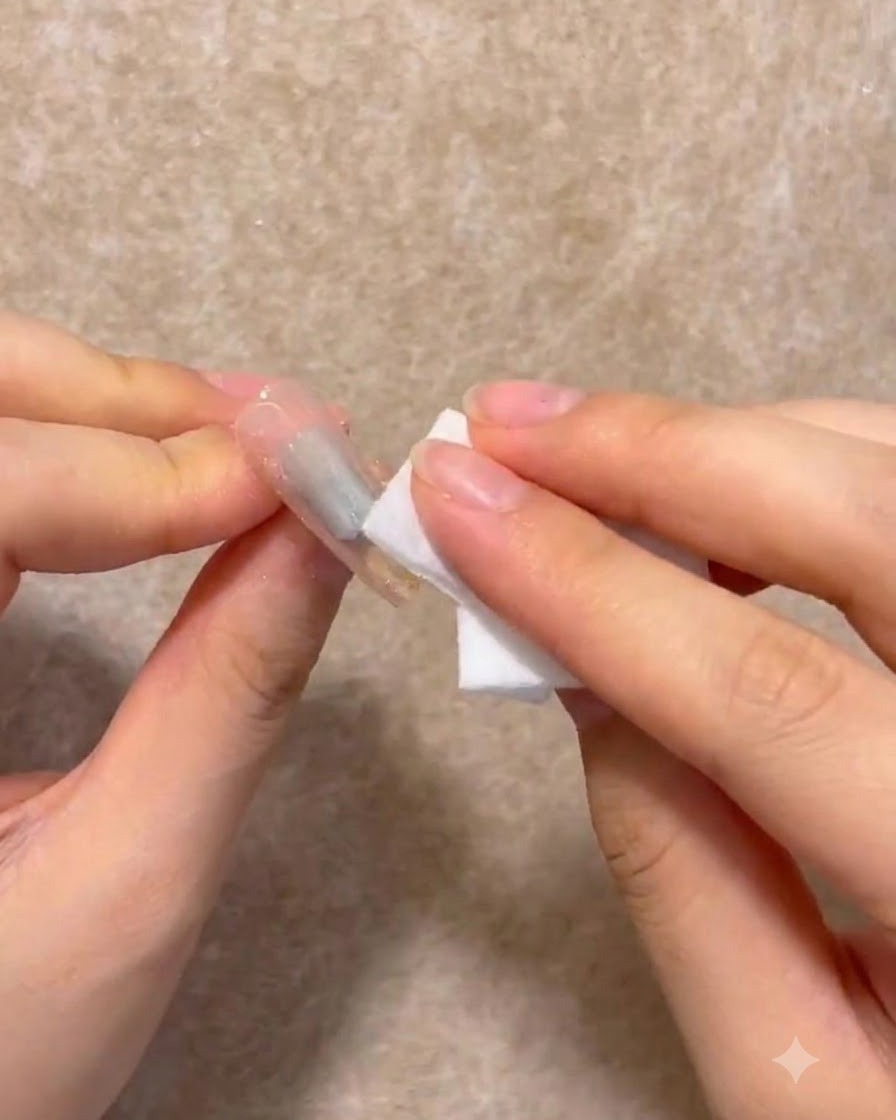
Thoroughly wipe away the sticky inhibition layer from the cured nail surface. Using a lint-free wipe saturated with isopropyl alcohol ensures a completely clean, dry base for the upcoming art layers.
Tip: Ensure the surface is completely dry and lint-free before applying any stickers or secondary layers. - 10Apply French guide stickers
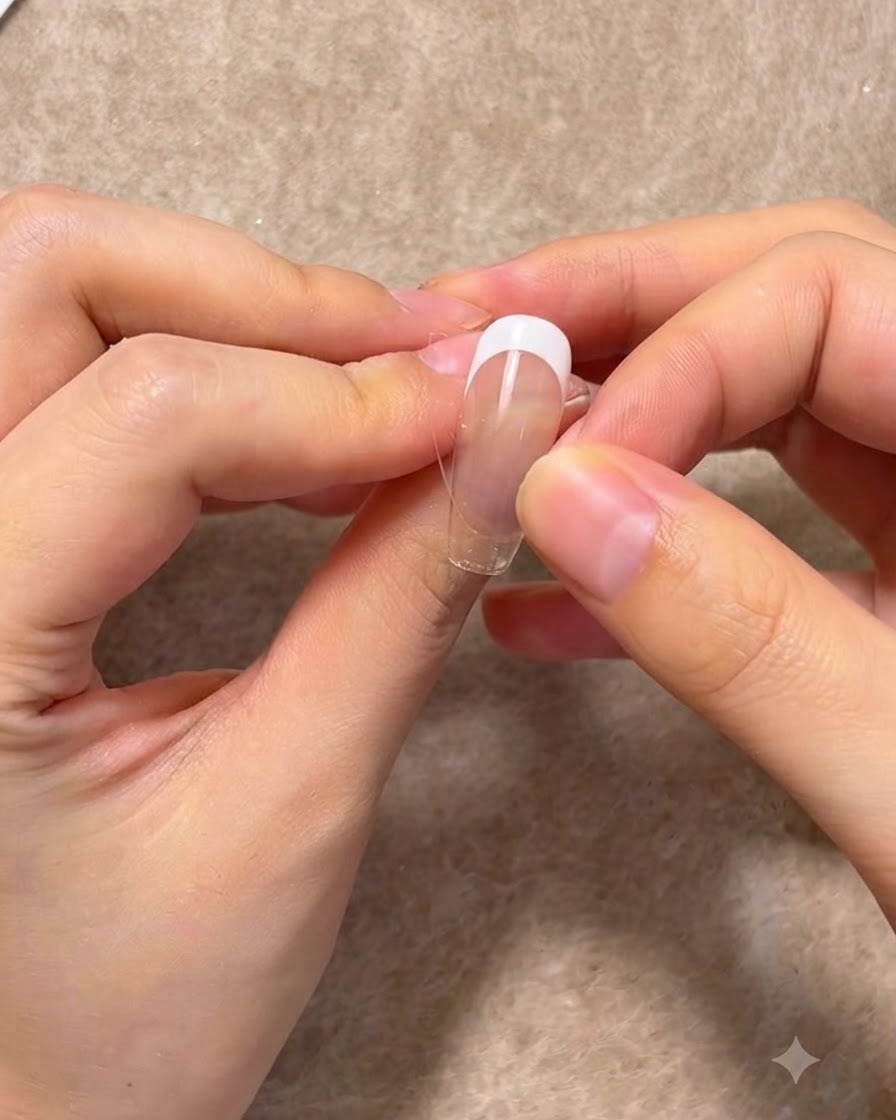
Carefully place French guide stickers onto the nail to mask off the lower gradient. Press the edges down firmly to ensure a tight seal, which will prevent any white gel from bleeding underneath during the stamping process.
Tip: Make sure the sticker edges are sealed tightly to prevent any stamping gel from bleeding underneath. - 11Stamp reverse French gradient
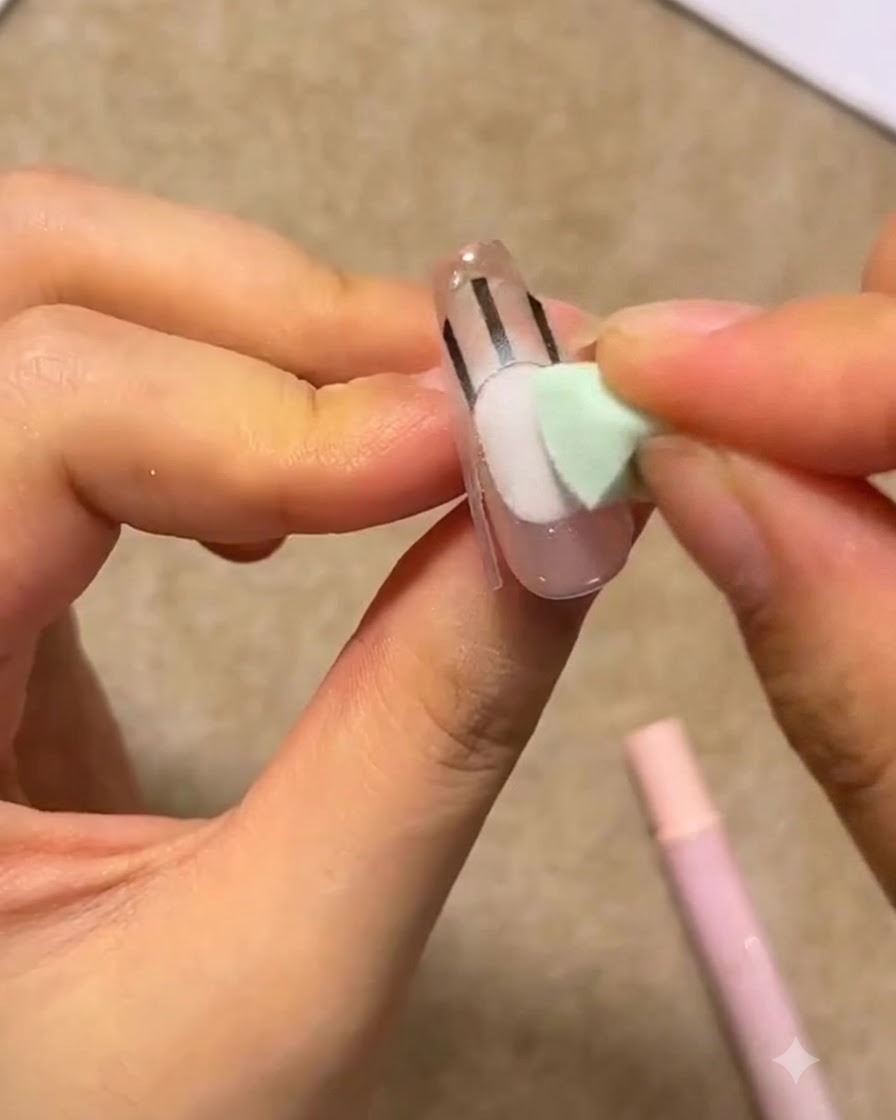
Using a small sponge applicator, dab white gel polish over the exposed tips to create a reverse French gradient. Use light tapping motions to build a soft, even opacity without adding thick texture.
Tip: Use light, tapping motions with the sponge to avoid creating heavy texture or bubbles in the gel layer. - 12Peel off the French nail sticker guides
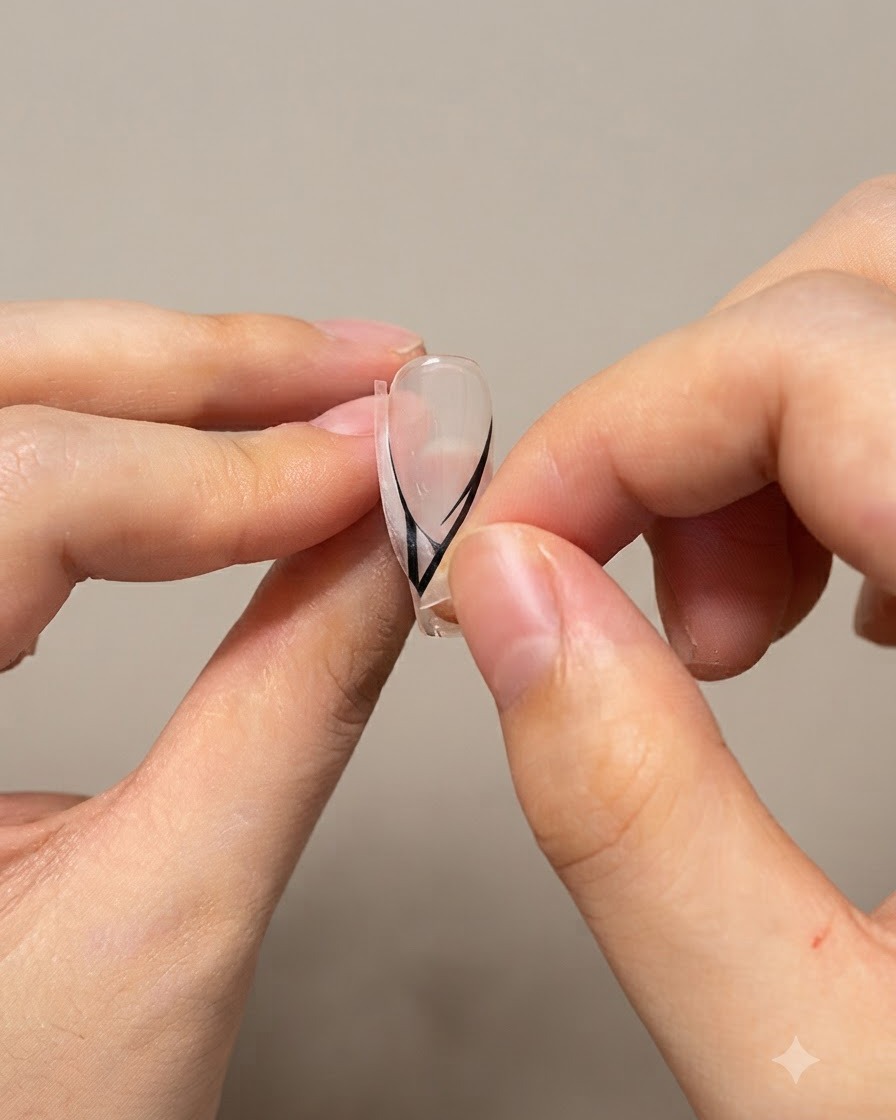
Carefully peel away the sticker guides from the sides of the nail before curing the stamped gradient design. Ensure you remove the guides cleanly without smudging the wet white sponge-dabbed gradient underneath. This leaves a crisp and clean division line for the French manicure effect.
Tip: Peel the stickers off slowly and at a shallow angle to prevent dragging or pulling wet product onto your clean lines. - 13Apply blush red center
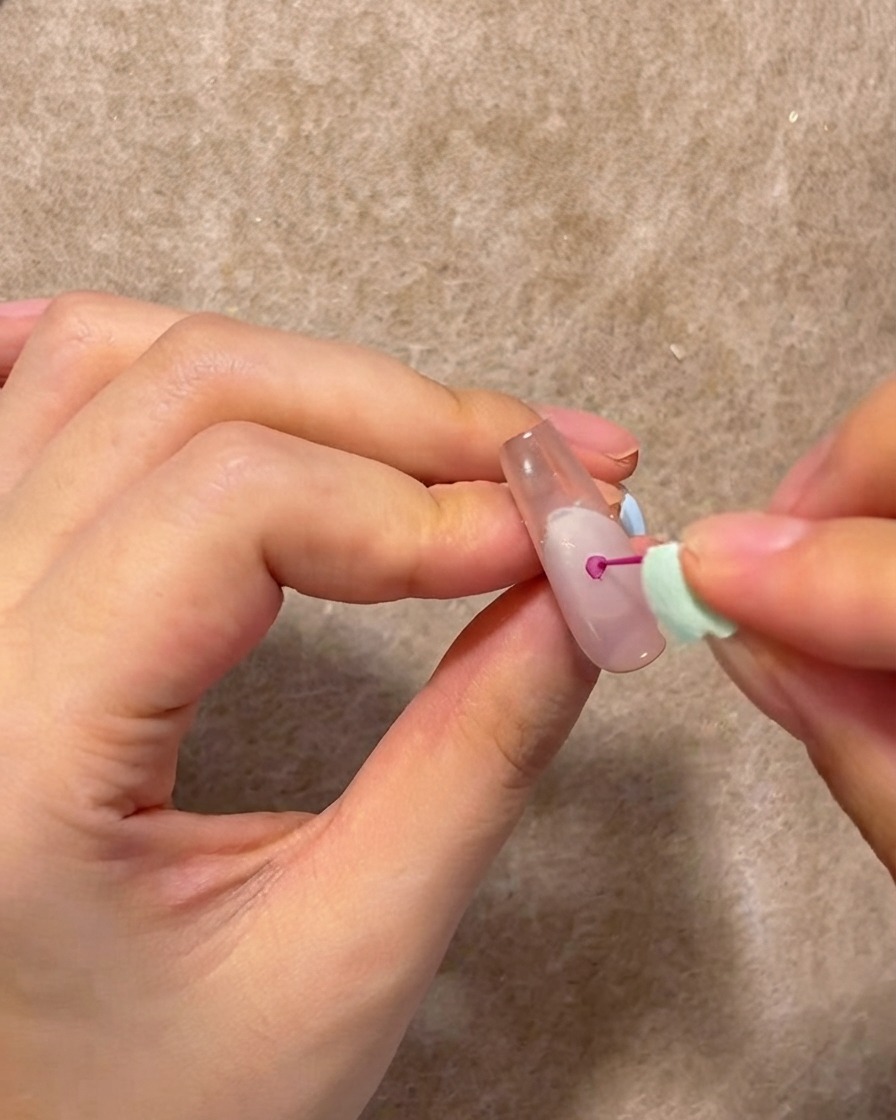
Take a small sponge-dab tool with blush red gel and apply a soft point or spot right in the center of the nail. This creates the popular Korean blush nail look or inner-glow gradient effect. Softly tap the color to blend the edges gently into the surrounding nude base.
Tip: Use a light tapping motion rather than pressing down hard to keep the color gradient smooth and diffused. - 14Encapsulate with reinforcement gel
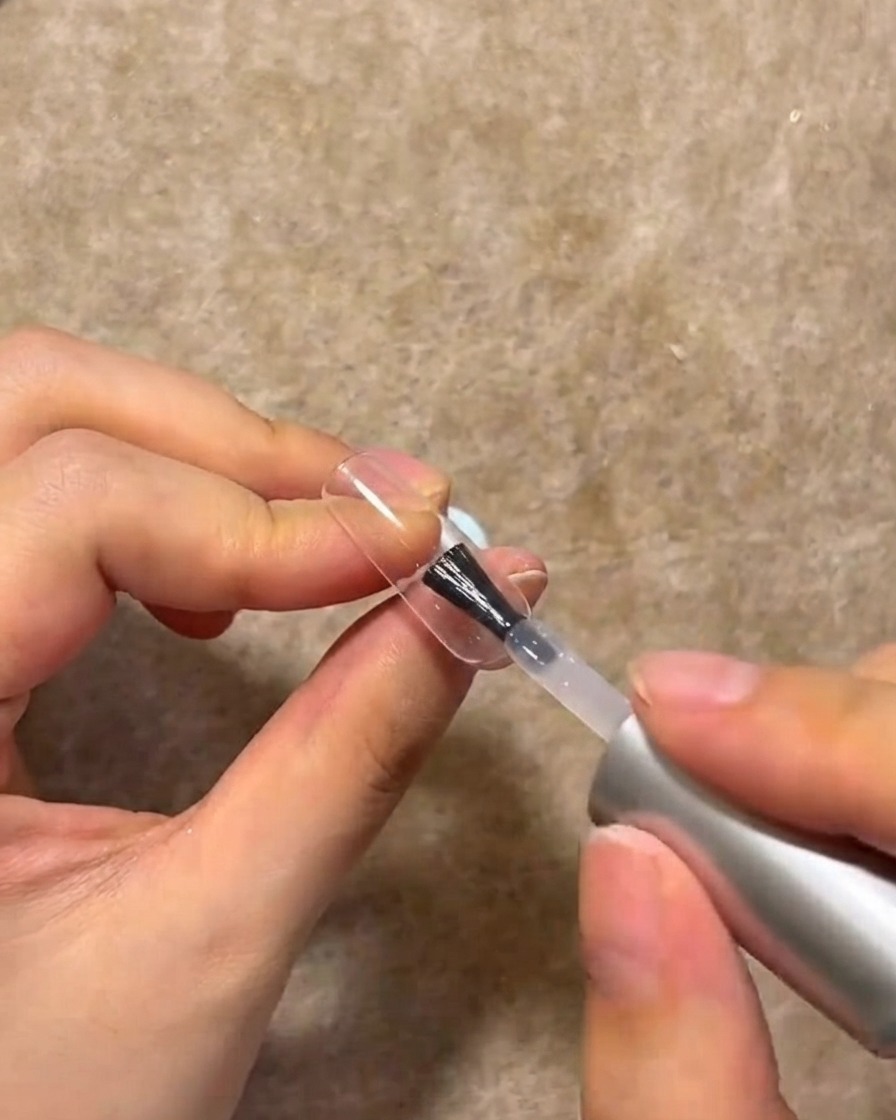
Brush a layer of clear reinforcement building gel over the entire nail surface to lock in and encapsulate the blush red center and nail art. This adds structural thickness, strength, and protects the inner design elements from chipping or wearing off.
Tip: Make sure to coat the entire nail evenly, sealing the edges so the encapsulated design is fully protected underneath. - 15Draw the French edge line
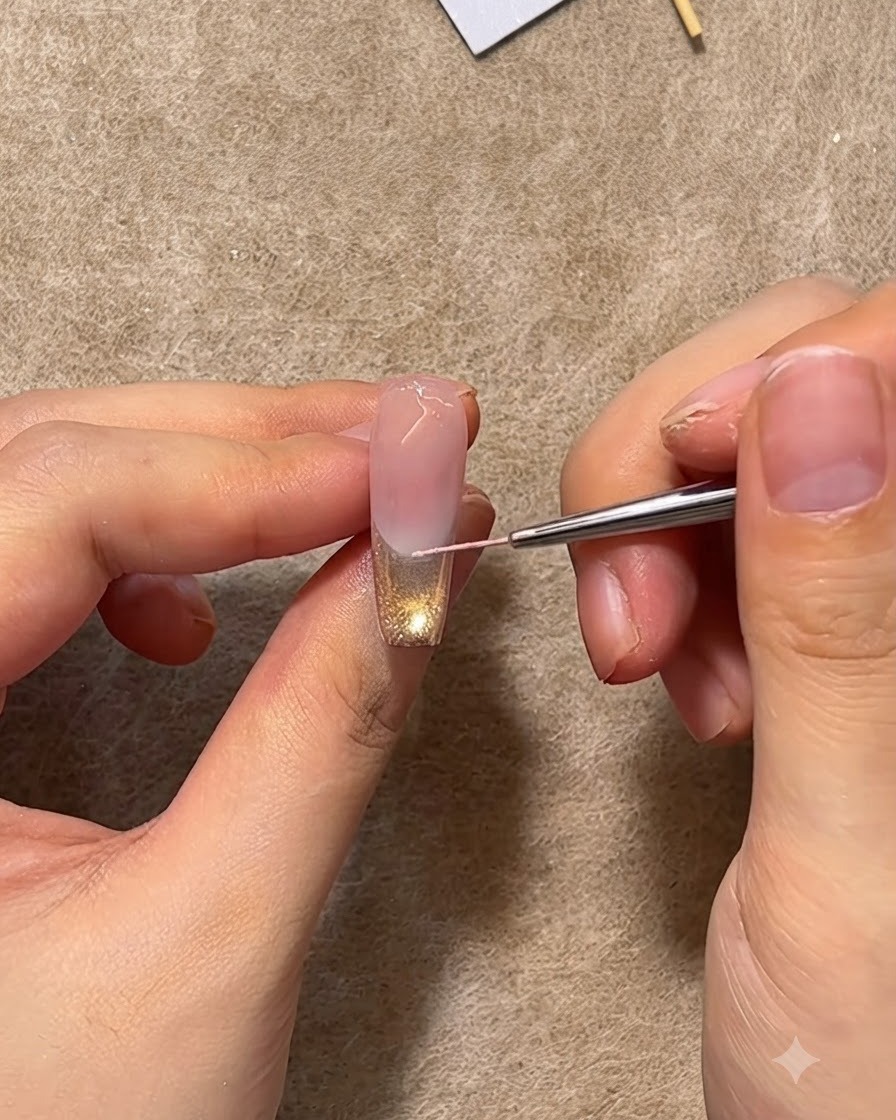
Dip a fine nail art liner brush into pink gel and carefully draw a crisp, clean French smile line or border along the transition. This accentuates the French tip shape and adds a polished, definition outline separating the nude base and the cat eye glitter tip.
Tip: Keep your hand steady and use the tip of the brush to glide smoothly along the curved edge for a sharp finish. - 16Apply top coat
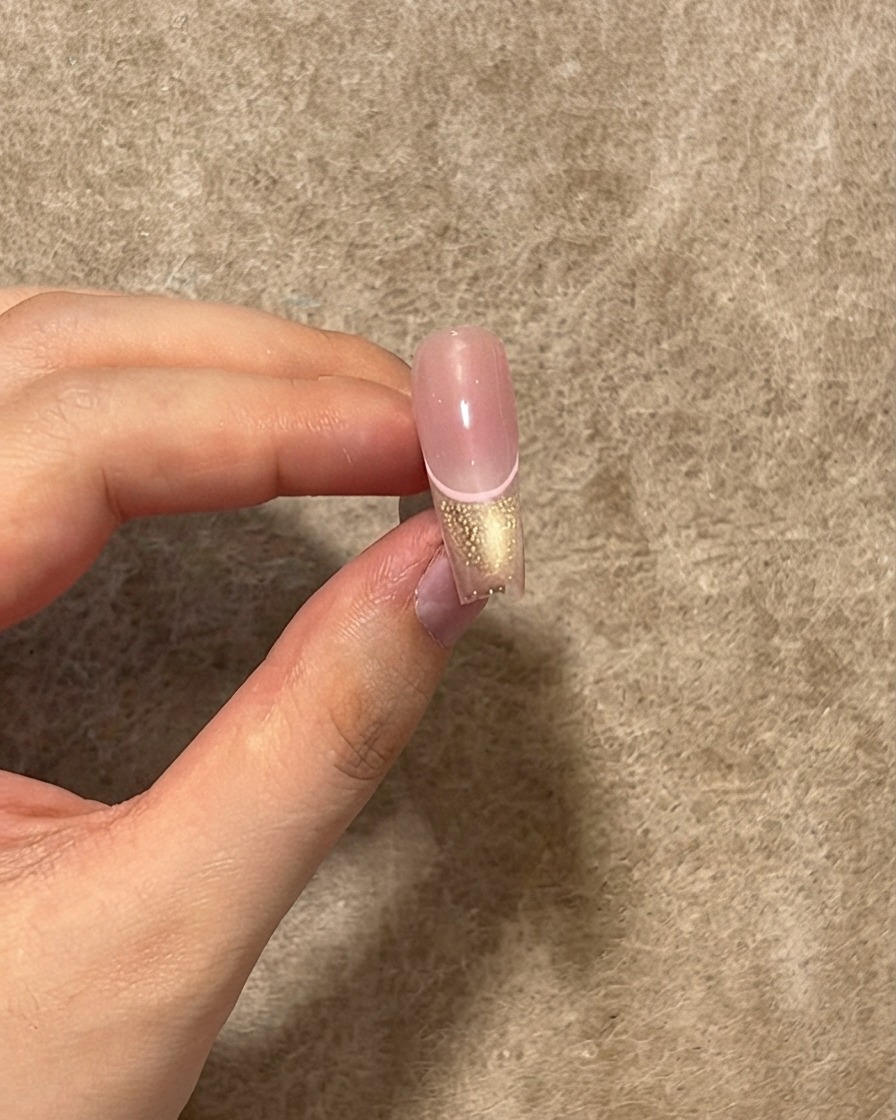
Apply a generous full coat of glossy top coat over the entire nail surface to seal everything in. Ensure complete coverage from cuticle to free edge to protect the design and give it a brilliant mirror shine.
Tip: Cap the free edge carefully with top coat to prevent premature chipping and lifting at the tip. - 17Build structural apex with top coat
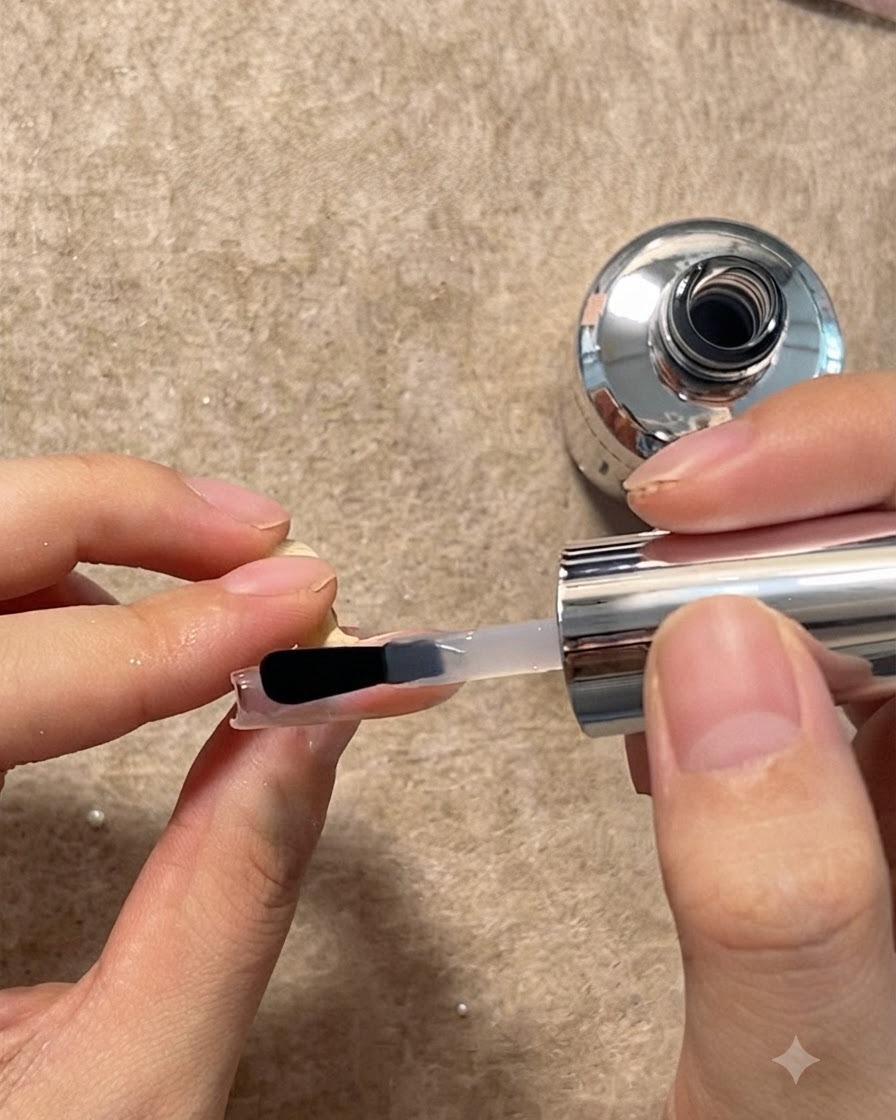
Take an extra bit of top coat product on the brush to create a structural apex build and add volume for strength. Place the bead near the center and allow it to self-level, creating a beautiful plump profile and ultimate durability.
Tip: Flip the nail upside down briefly before curing to let the thick top coat self-level into a smooth, even apex. - 18Flip to self-level top coat
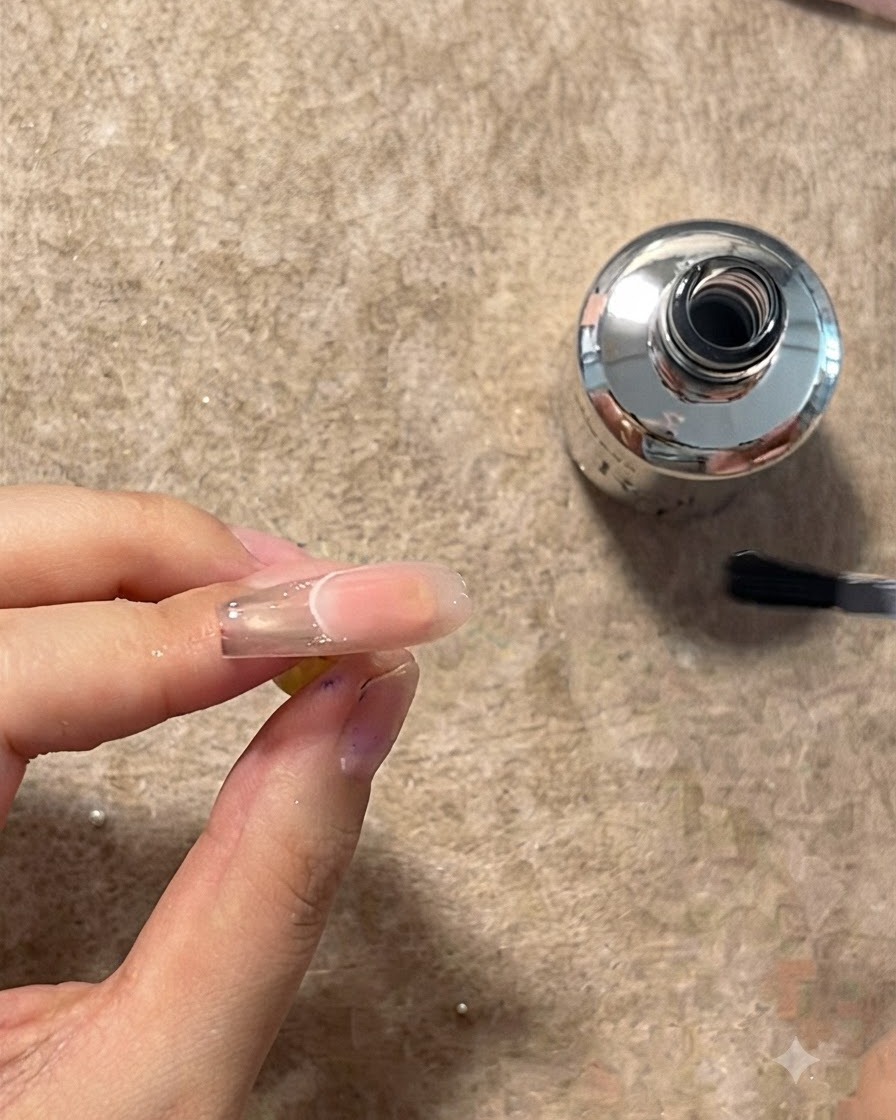
Hold the nail holder upside down briefly after applying the structural top coat layer. This allows the gel to flow and settle perfectly into a smooth, even arch before curing.
Tip: Flipping the nail upside down for a few seconds uses gravity to create an ideal apex and prevents the gel from pooling at the edges. - 19Showcase cured glossy surface
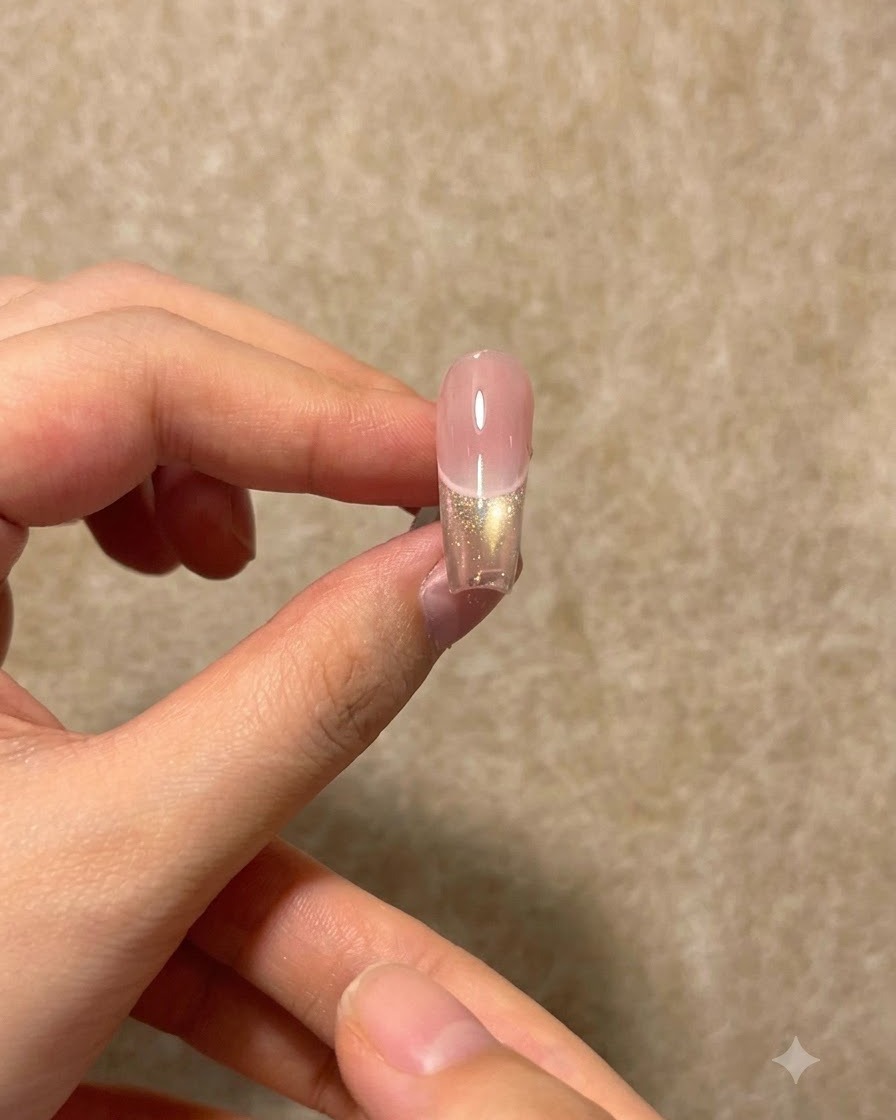
Inspect the fully cured nail to ensure a flawless, ultra-glossy, and smooth finish with great stain resistance. The surface should reflect light evenly without any bumps or dents.
Tip: A completely smooth finish ensures your top coat stays stain-resistant and glossy for weeks. - 20Show top coat and gel bottles
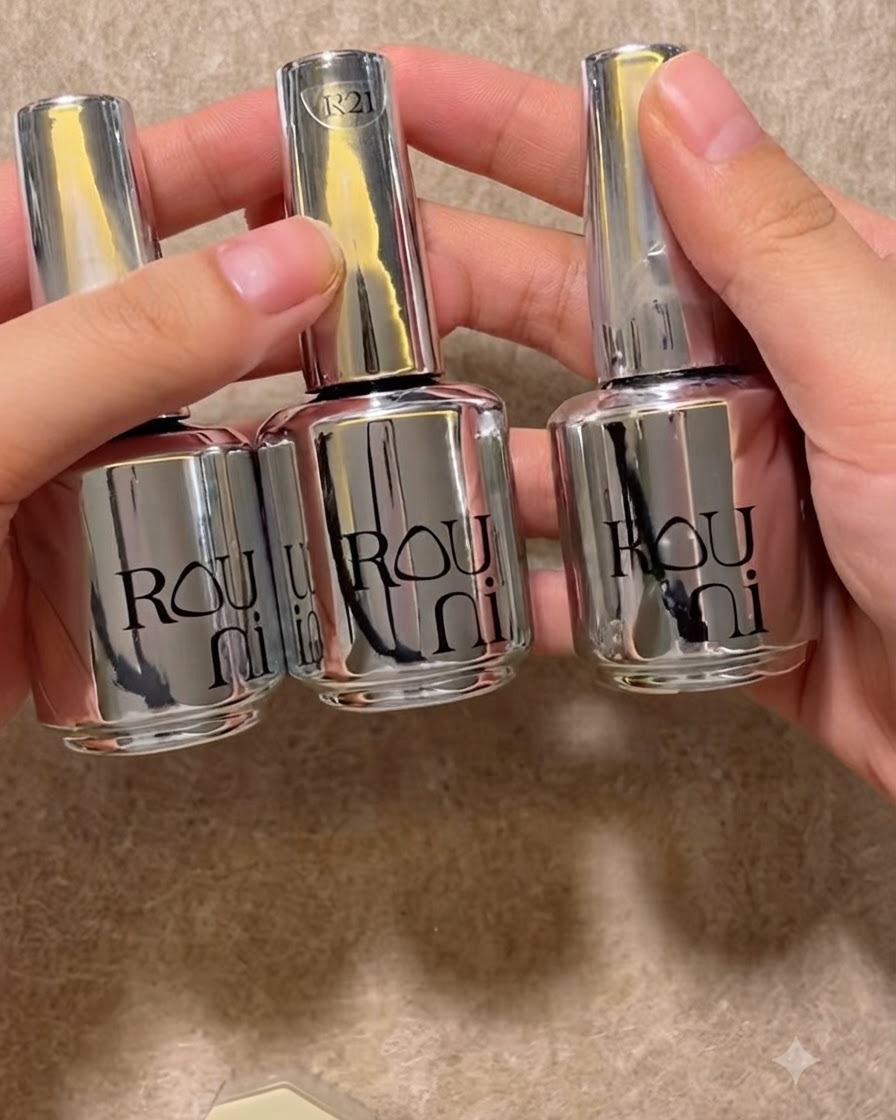
Display the products being used for the final sealing and application steps, including the top coat and gel bottles lined up together. Having the correct products ready ensures a seamless transition into sealing the nail art and achieving a glossy finish.
Tip: Check product labels and keep them organized on your workspace before starting the final sealing phase. - 21Apply rhinestone and pearl decorations
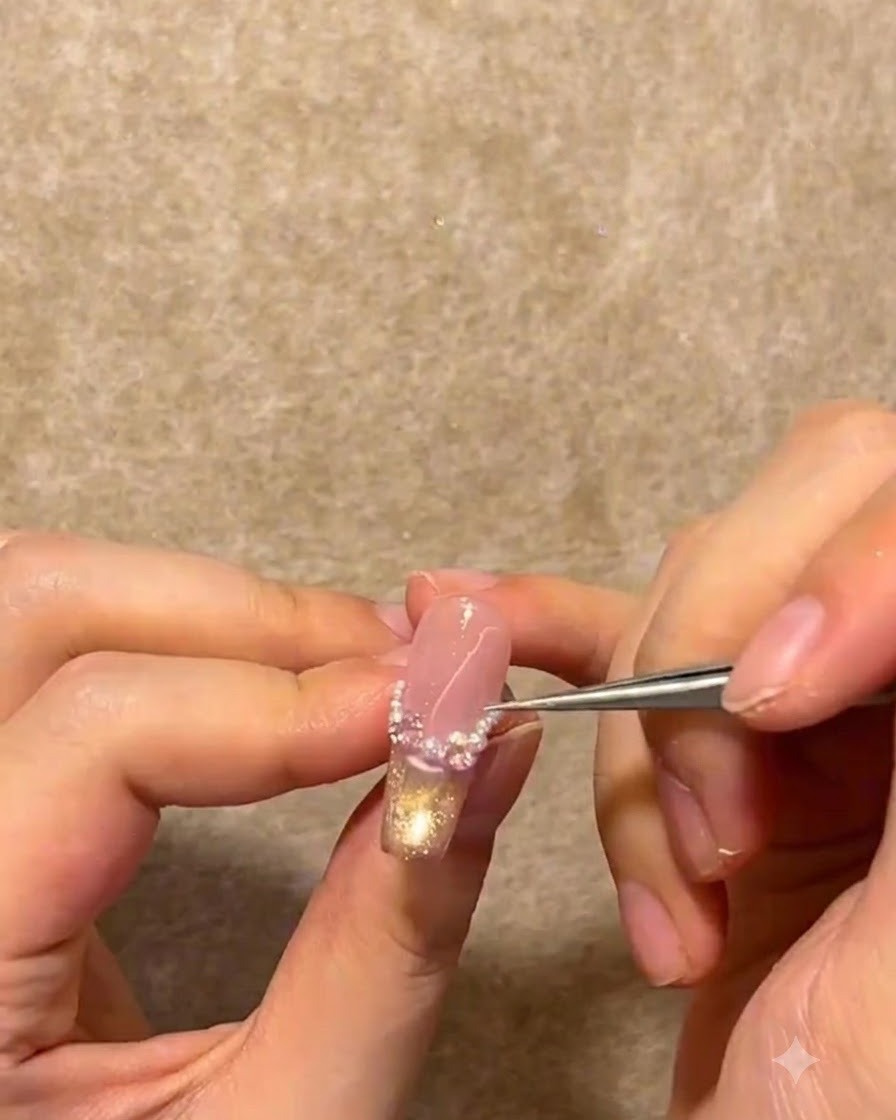
Use precision tweezers to carefully pick up small rhinestones and pearl beads, placing them along the curved base of the nail art design to add a touch of elegance.
Tip: Press each stone gently into the tacky layer or uncured reinforcement gel before curing to lock them firmly in place.