Pink Cat Eye
Metallic Buccellati Style Textured Nail Art Tutorial
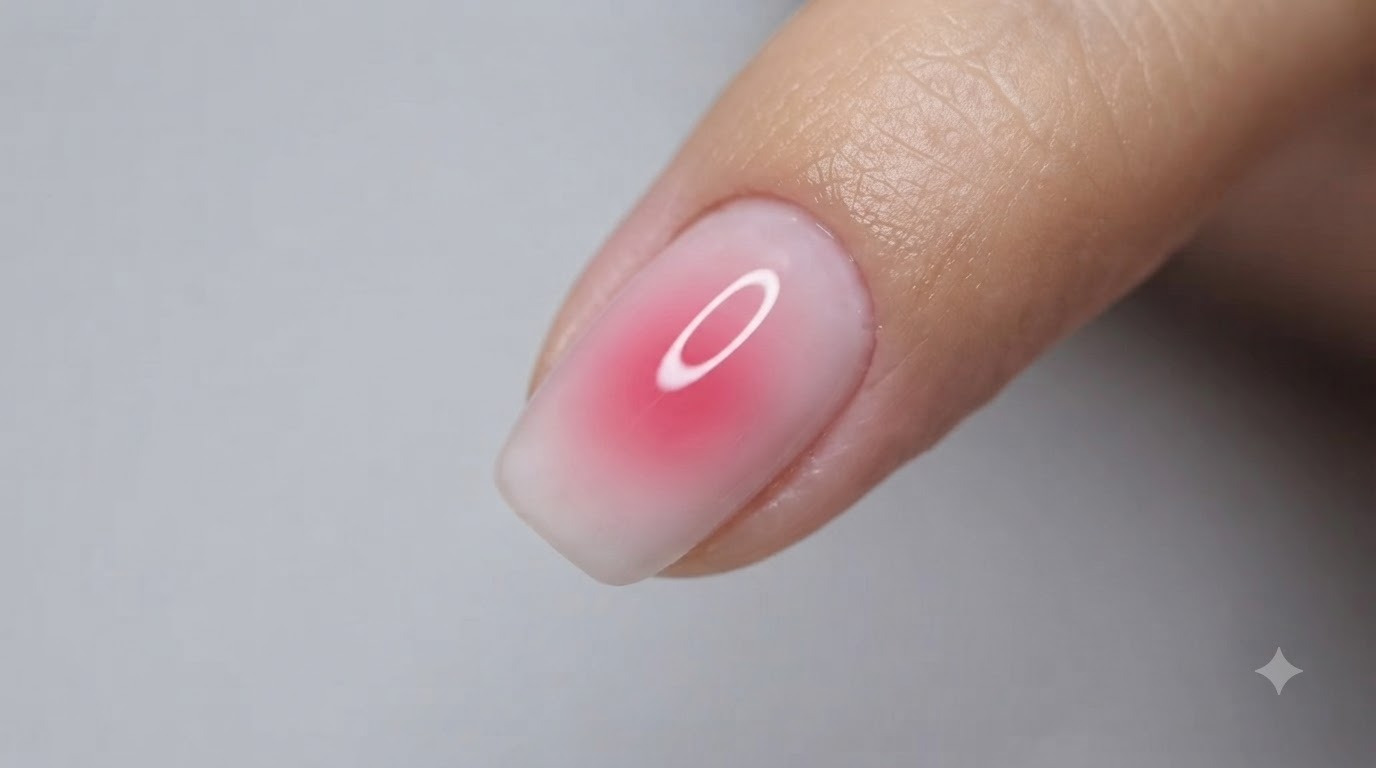
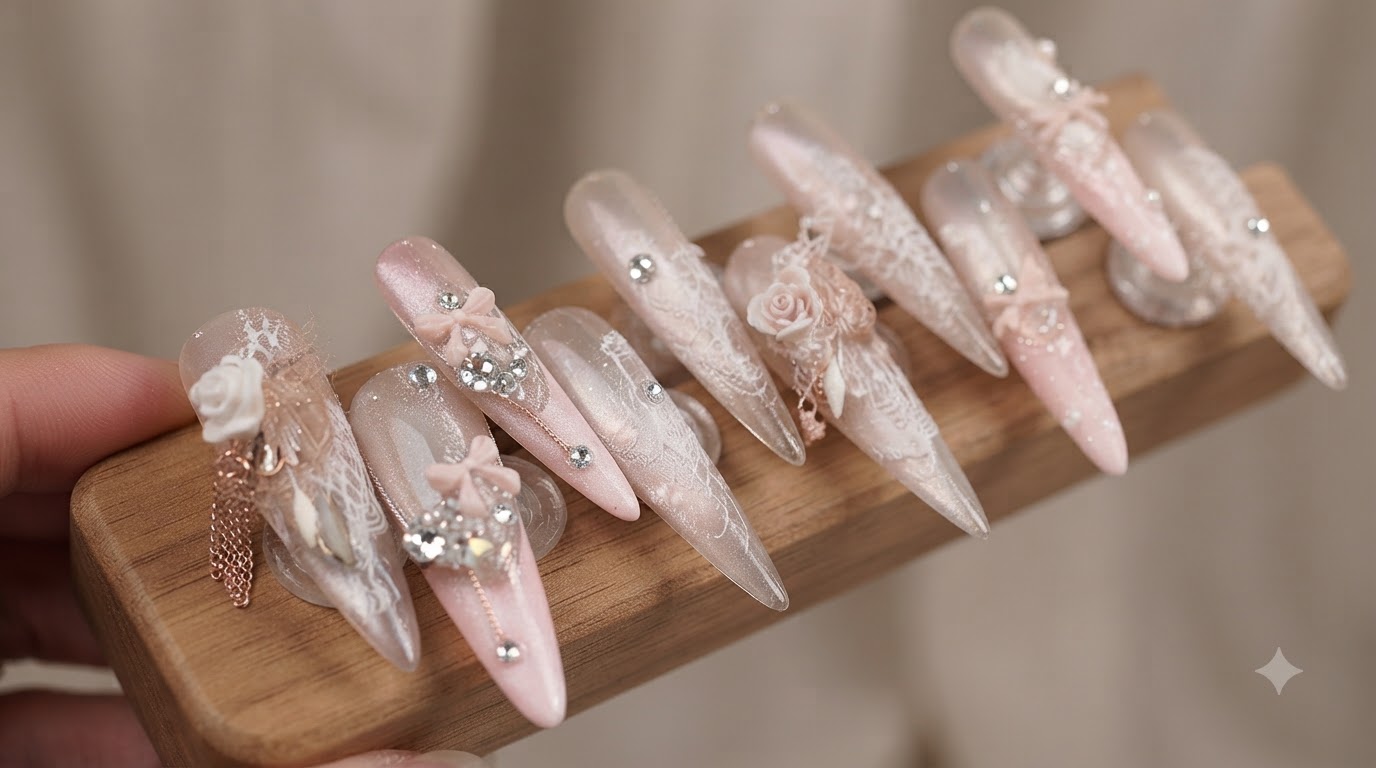
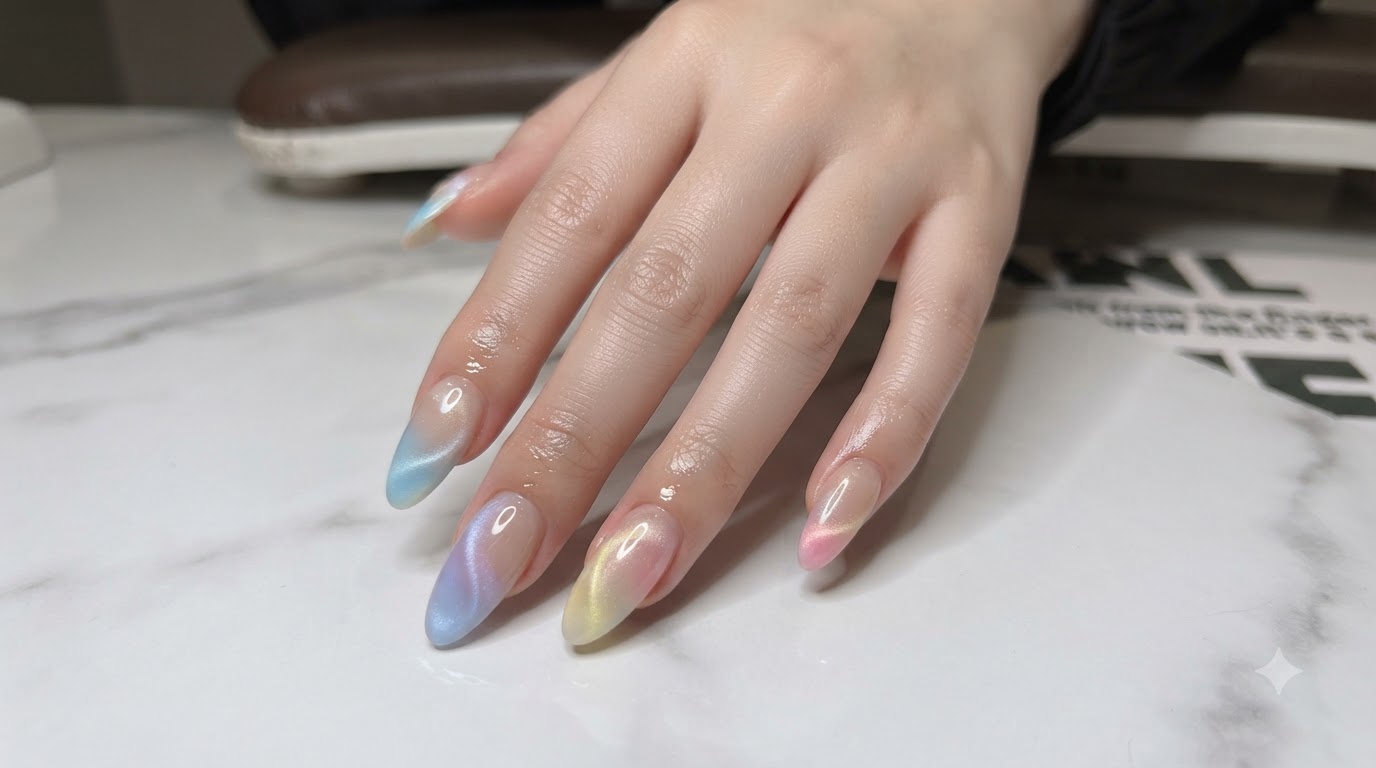
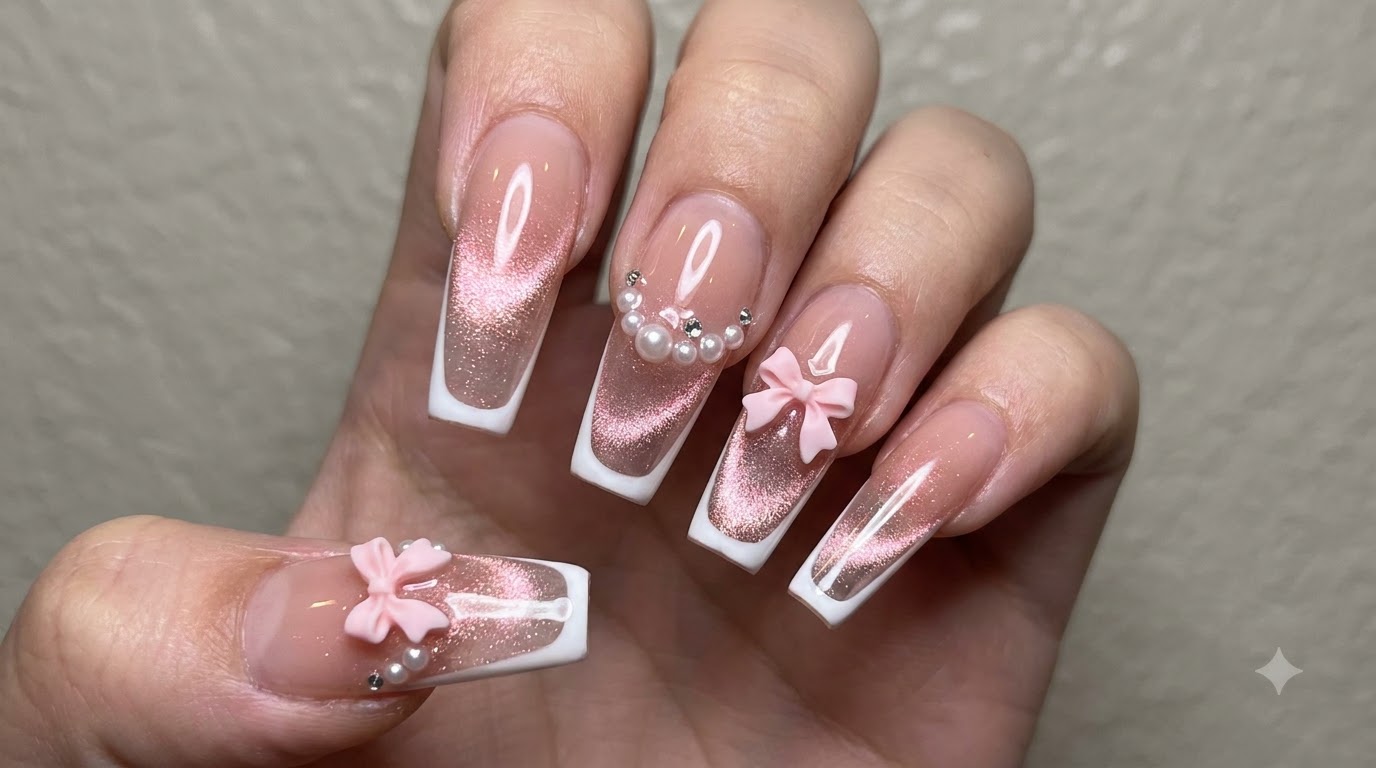
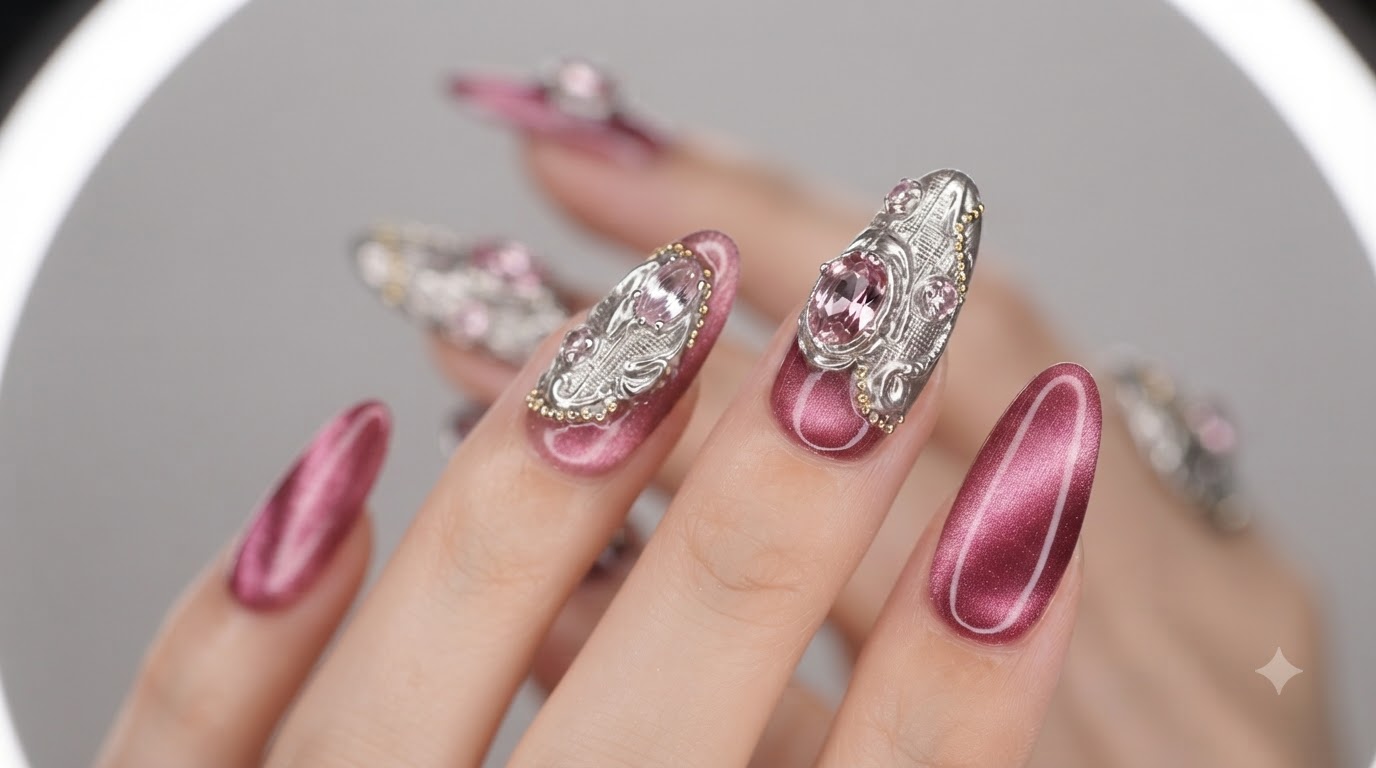
Discover how to create luxurious pink cat eye nails combined with intricate metallic Buccellati style textured carvings, rhinestones, and gold beads.
This advanced nail art look brings together the mesmerizing depth of magnetic pink cat eye gel and the sophisticated, Renaissance-inspired texture of Buccellati metalwork. Enhanced with delicate crystal rhinestones and tiny gold beads, it is a true statement manicure for special occasions.
Steps
- 1Apply translucent flesh pink gel
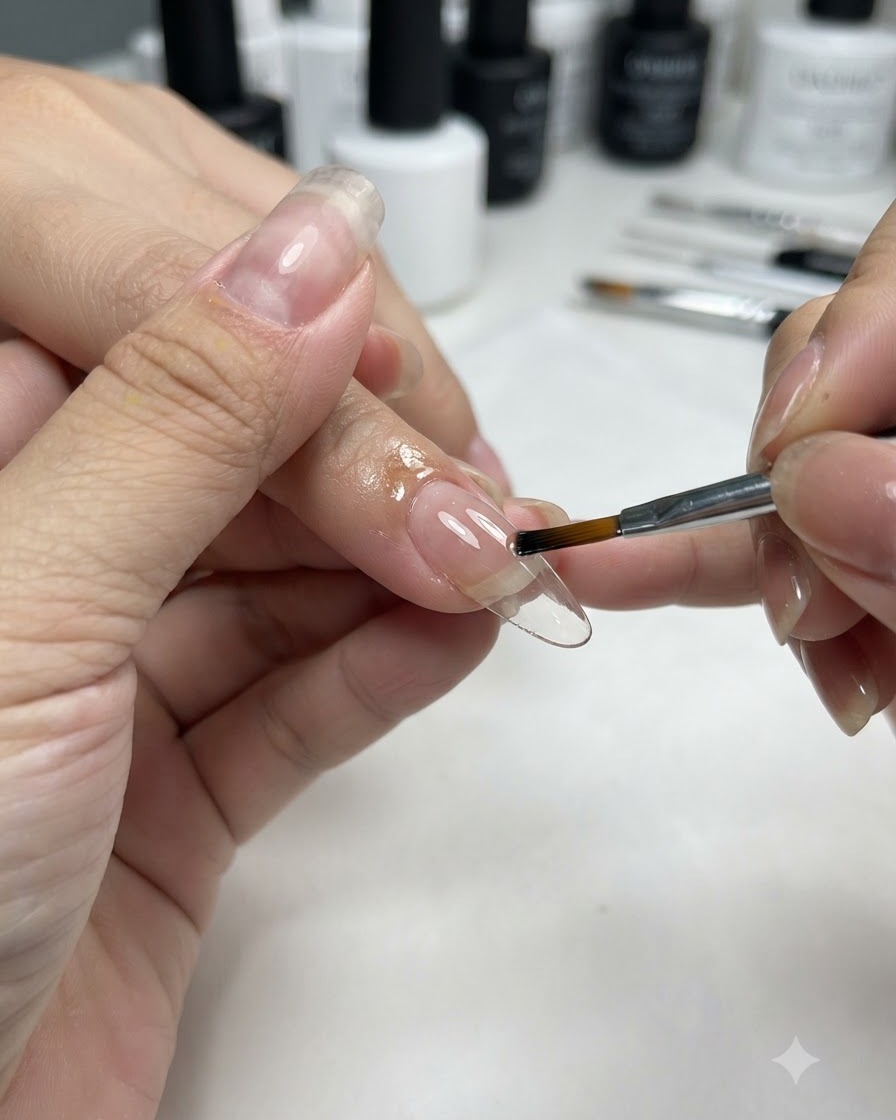
Using a flat brush, carefully apply two thin layers of translucent flesh pink gel onto the prepared nail extension. Make sure to cover the surface evenly while maintaining a smooth and natural finish. Cure each layer properly under the UV/LED lamp as needed.
Tip: Applying thin layers prevents the gel from wrinkling and ensures an even color distribution. - 2Apply Mocha Gel reverse gradient
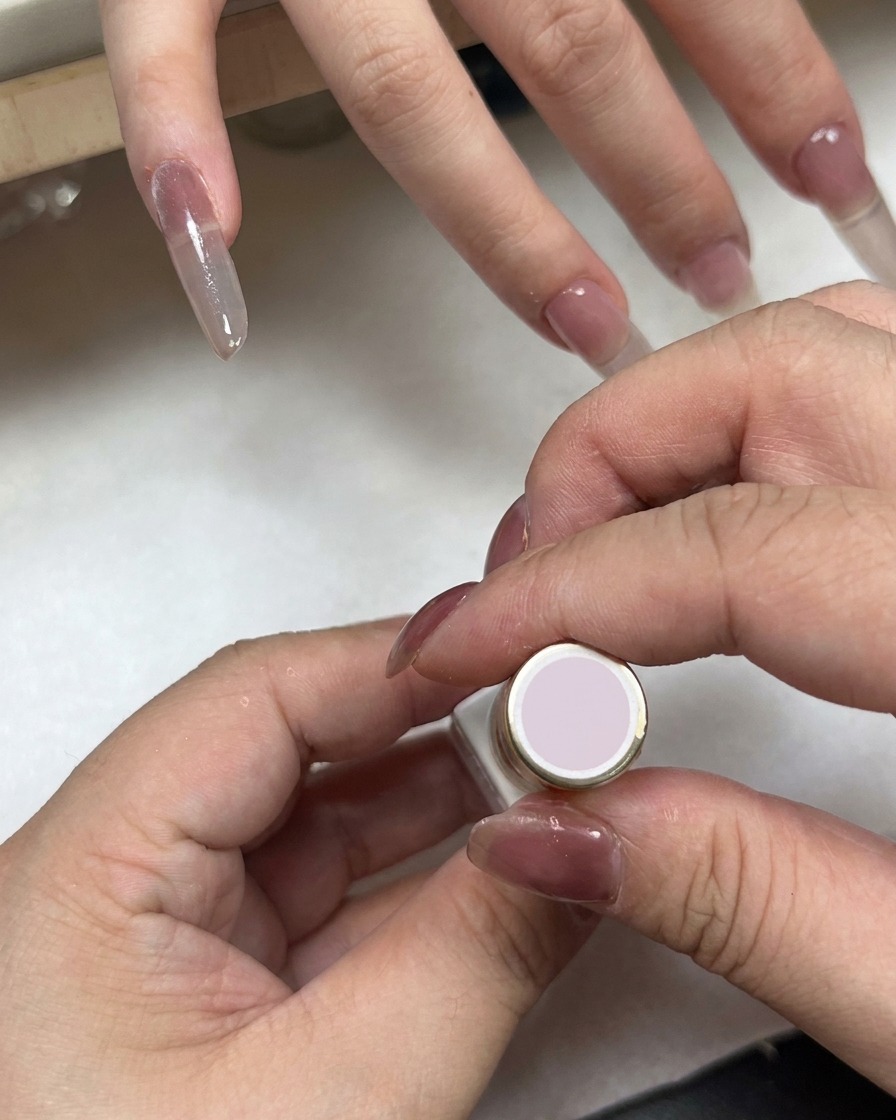
Take MCs Mocha Gel No. 05 and apply it in a reverse gradient style specifically on the pinky and ring fingers. Blend the color smoothly to achieve the desired gradient transition before moving on to the magnetization step.
Tip: Keep the application controlled at the gradient transition area for a clean and soft look. - 3Activate cat eye light effect
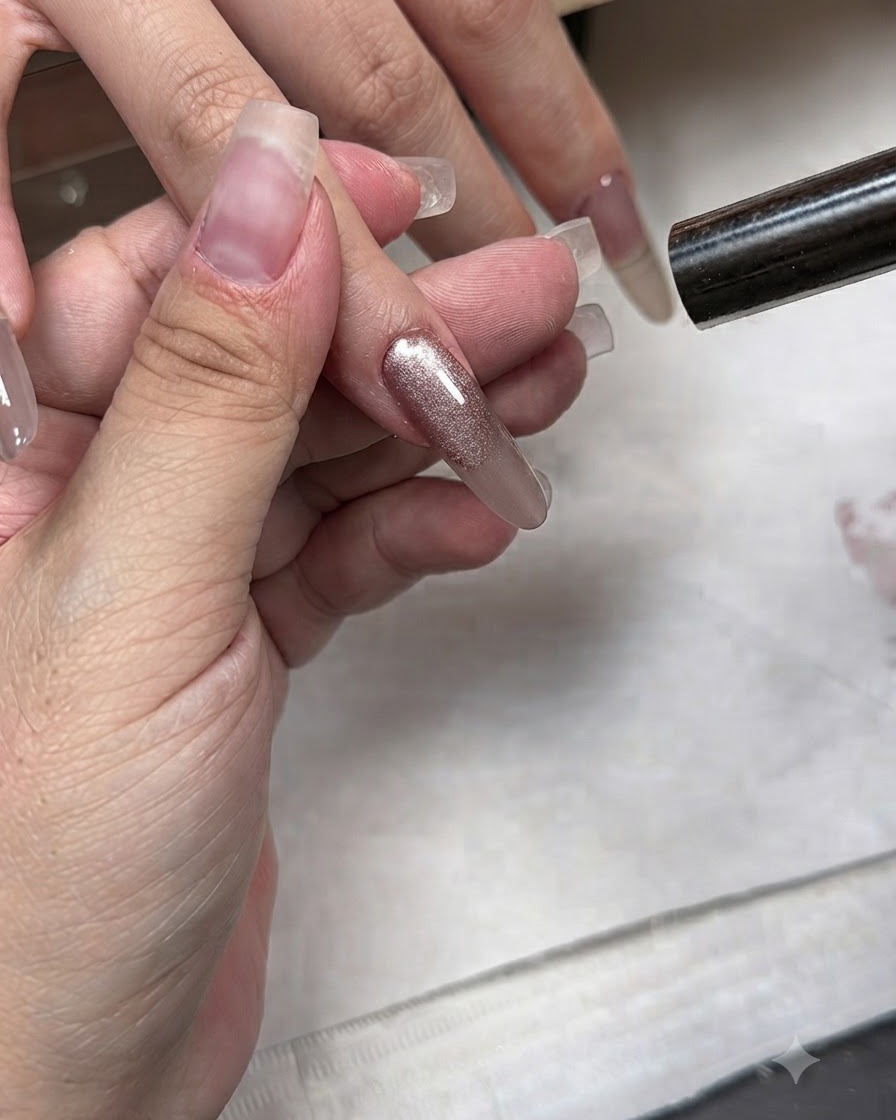
Hold a large magnetic wand close to the gradient nails treated with Mocha Gel No. 05 to pull out and shape the cat eye light effect. Position the magnet precisely to achieve the desired shimmering stripe appearance across the surface.
Tip: Hold the magnet steady for a few seconds to let the magnetic particles fully shift into place before curing. - 4Cure the cat eye gel
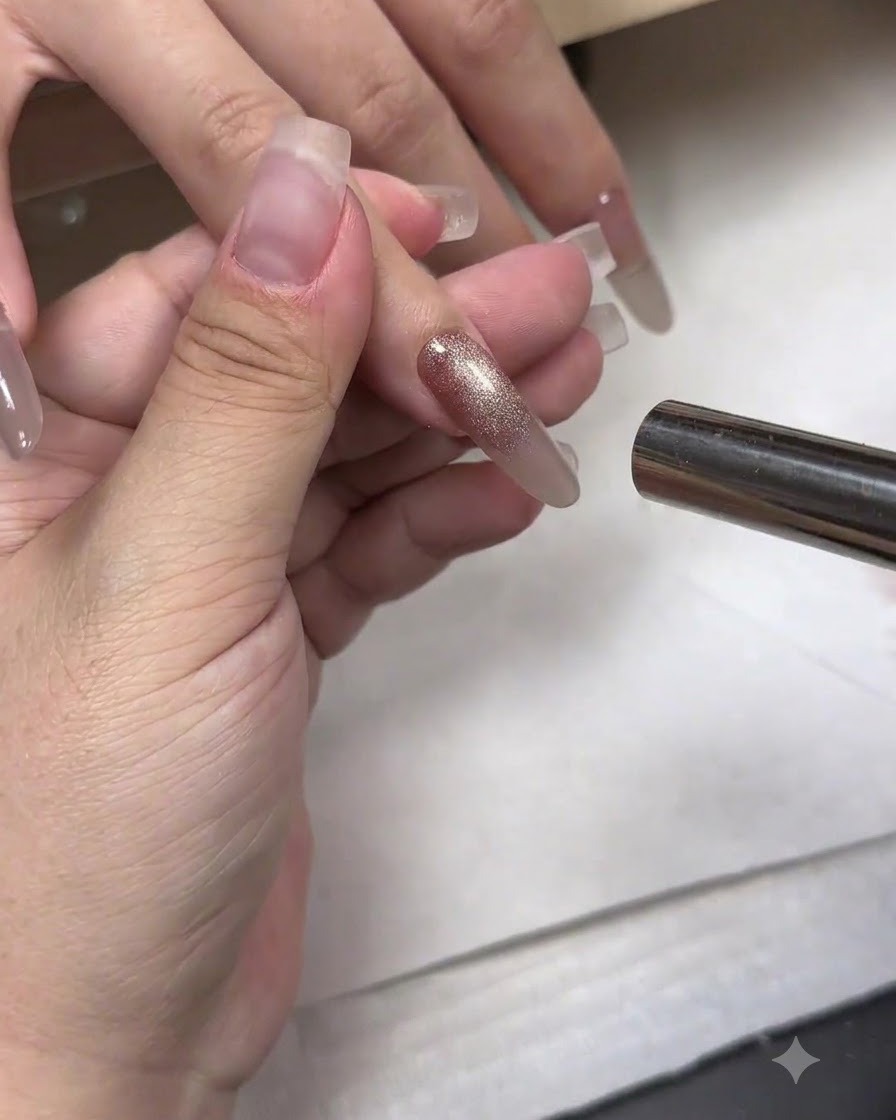
Place the hand under the UV/LED lamp to cure the cat eye gel. Ensure the light properly sets the magnetized particles before moving on to the next step.
Tip: Keep the hand steady inside the lamp to prevent the gel or magnetic effect from shifting during curing. - 5Apply irregular cat eye color block
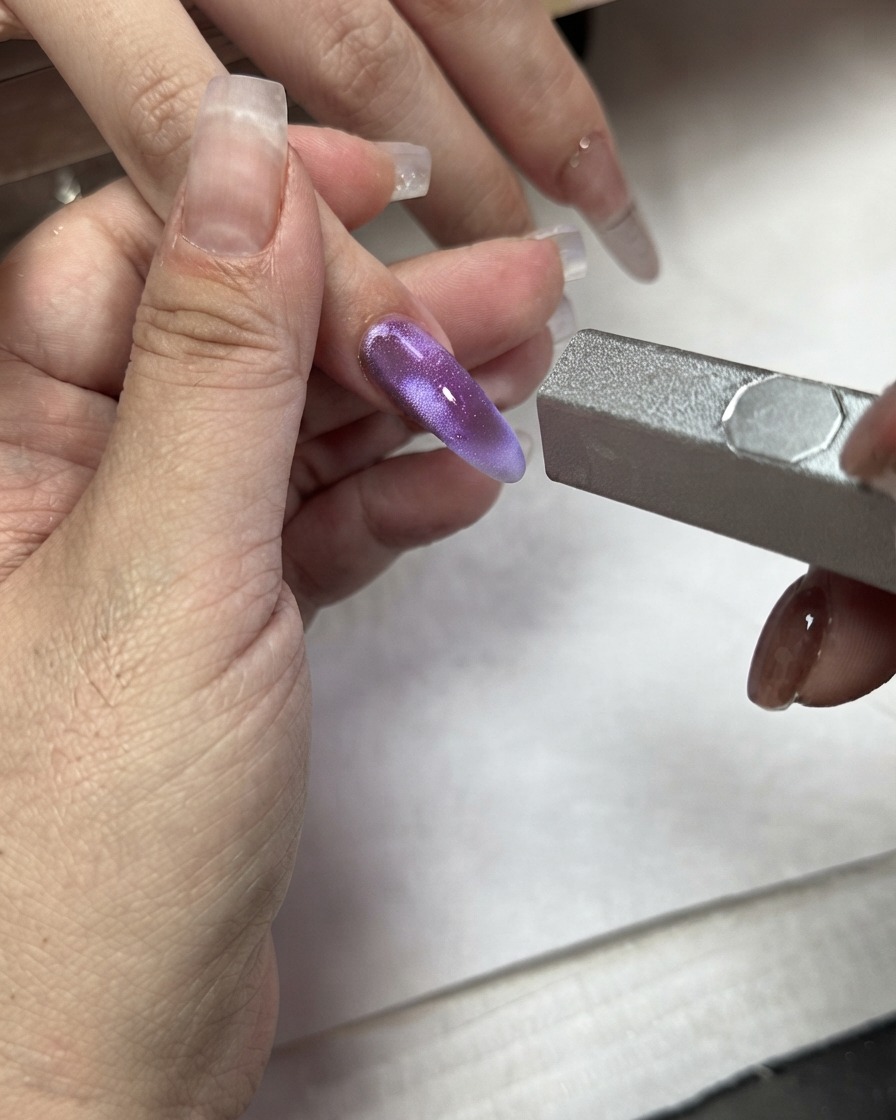
Apply an irregular color block of cat eye gel onto the index finger to create a unique artistic base. Ensure the placement is deliberate and ready for subsequent magnetization and curing.
Tip: Varying the shape of the color block adds dynamic visual interest to the overall textured nail design. - 6Magnetize index finger color block
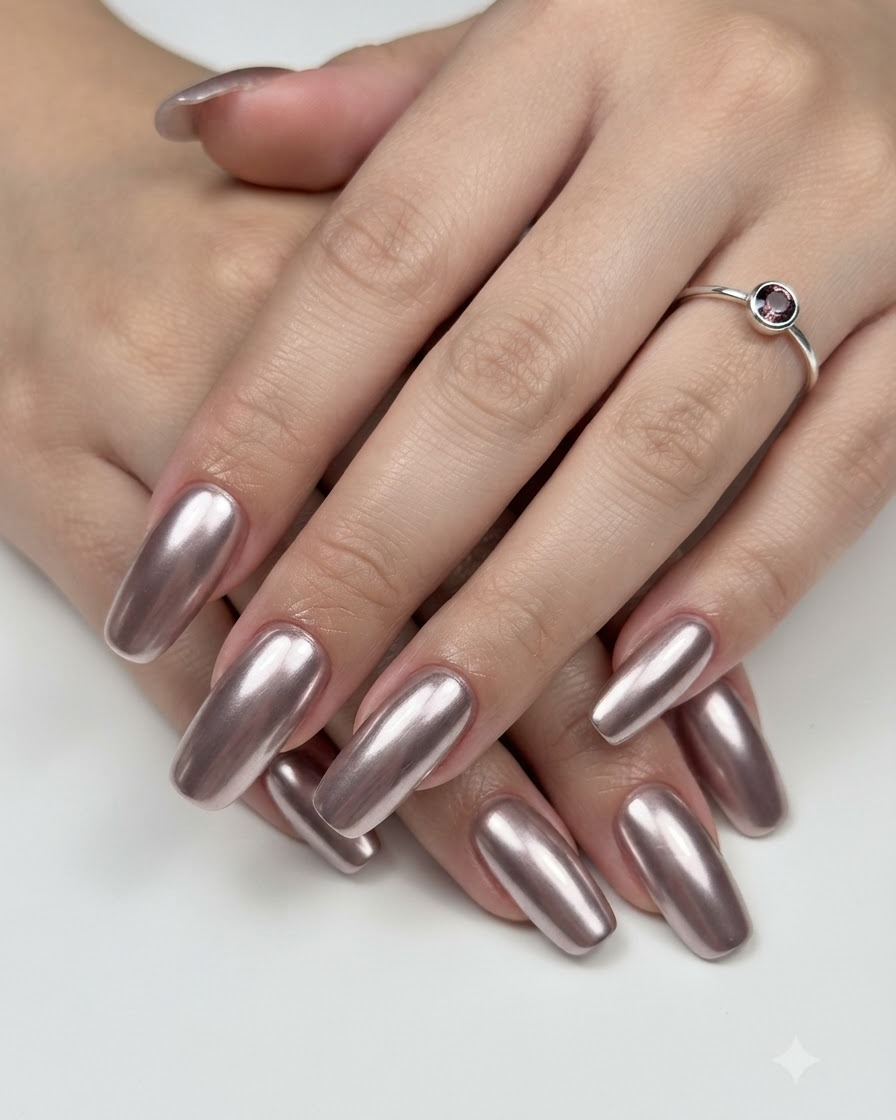
Use the magnetic wand to manipulate the particles within the irregular color block on the index finger, pulling out a sharp and defined light effect. Once the light effect is correctly positioned, proceed to cure it under the lamp.
Tip: Check the light reflection from multiple angles under the lamp light to ensure the cat eye effect pops. - 7Cure the index finger
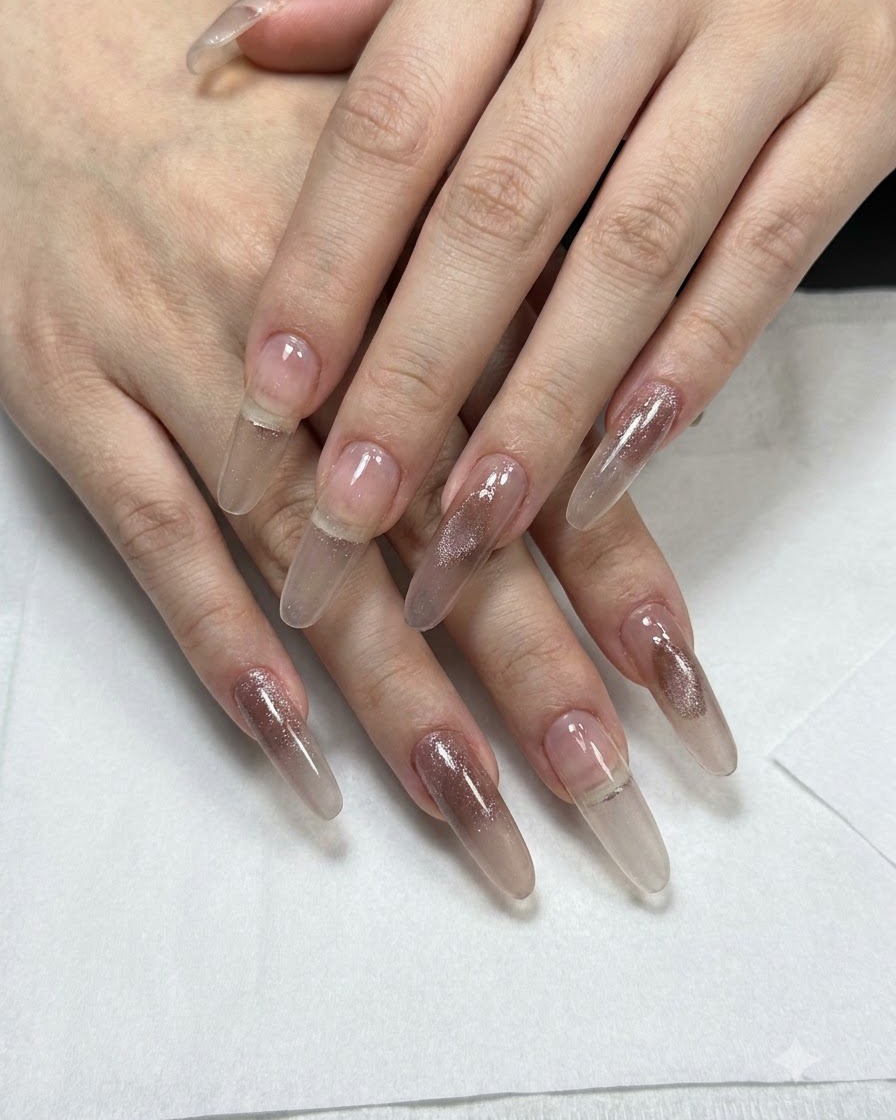
Cure the index finger under the lamp. Ensure the color block and magnetized design are fully set before proceeding.
Tip: Check that the entire nail surface receives even exposure from the UV or LED light. - 8Apply top coat to specific fingers
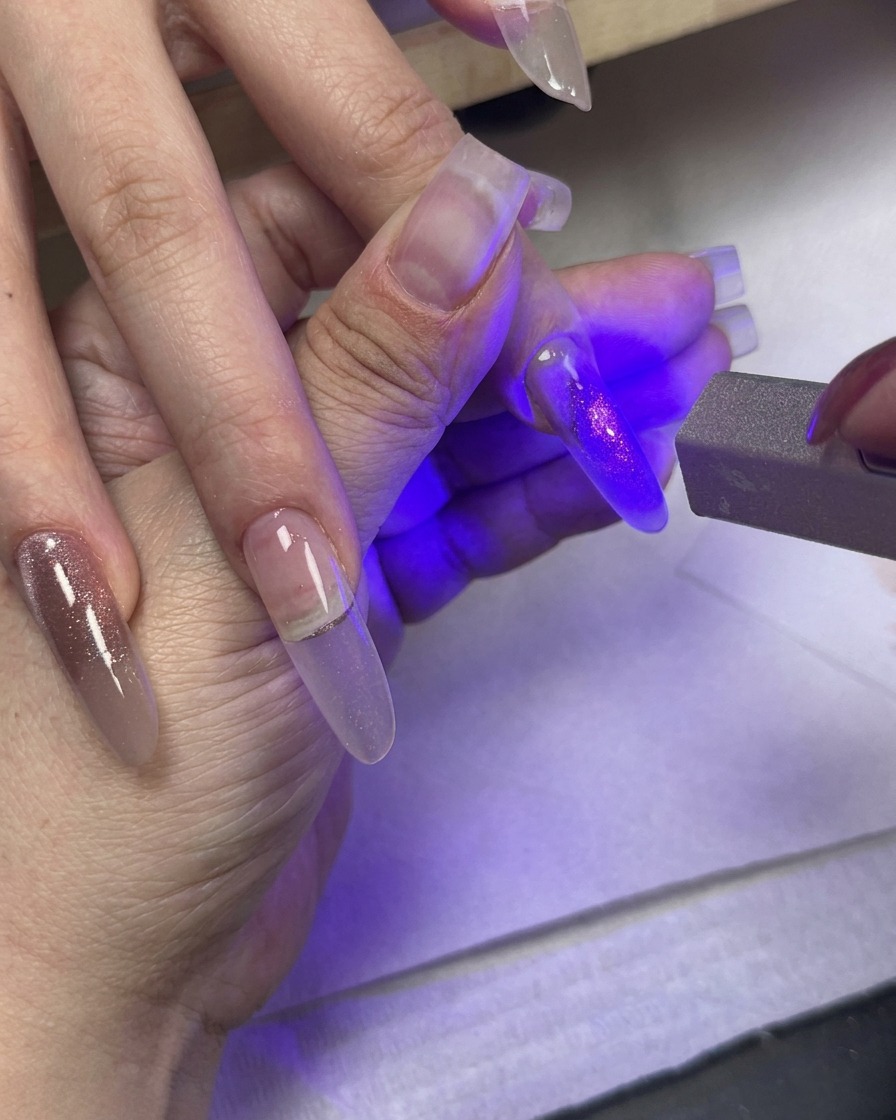
Brush top coat directly onto the pinky, ring, and index fingers. This seals the underlying cat eye and color block designs with a protective finish.
Tip: Apply an even, thin layer to avoid pooling around the cuticles and free edges. - 9Create pitted French tip design
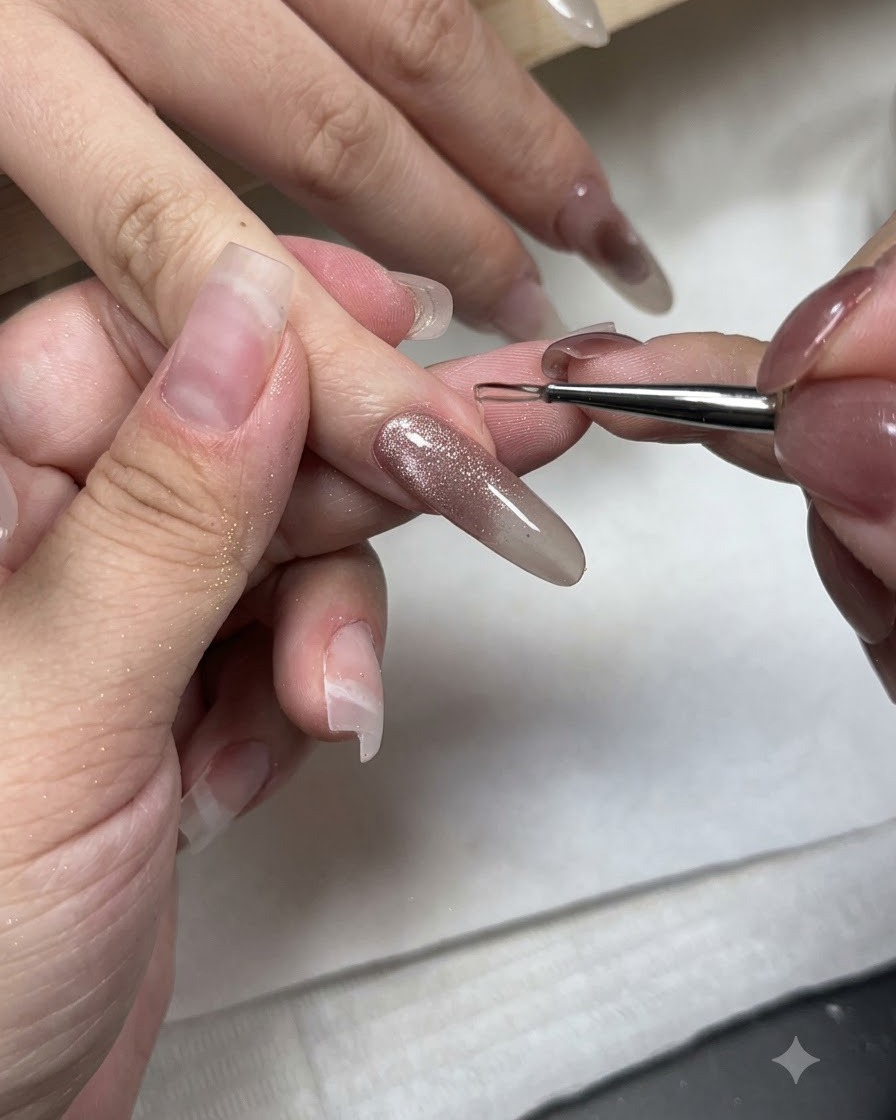
Use non-wipe styling gel to draw an uneven, pitted French tip design on the middle finger. This builds the textured Buccellati style effect.
Tip: Vary the thickness slightly to achieve an organic, handcrafted textured look. - 10Cure the middle finger styling gel
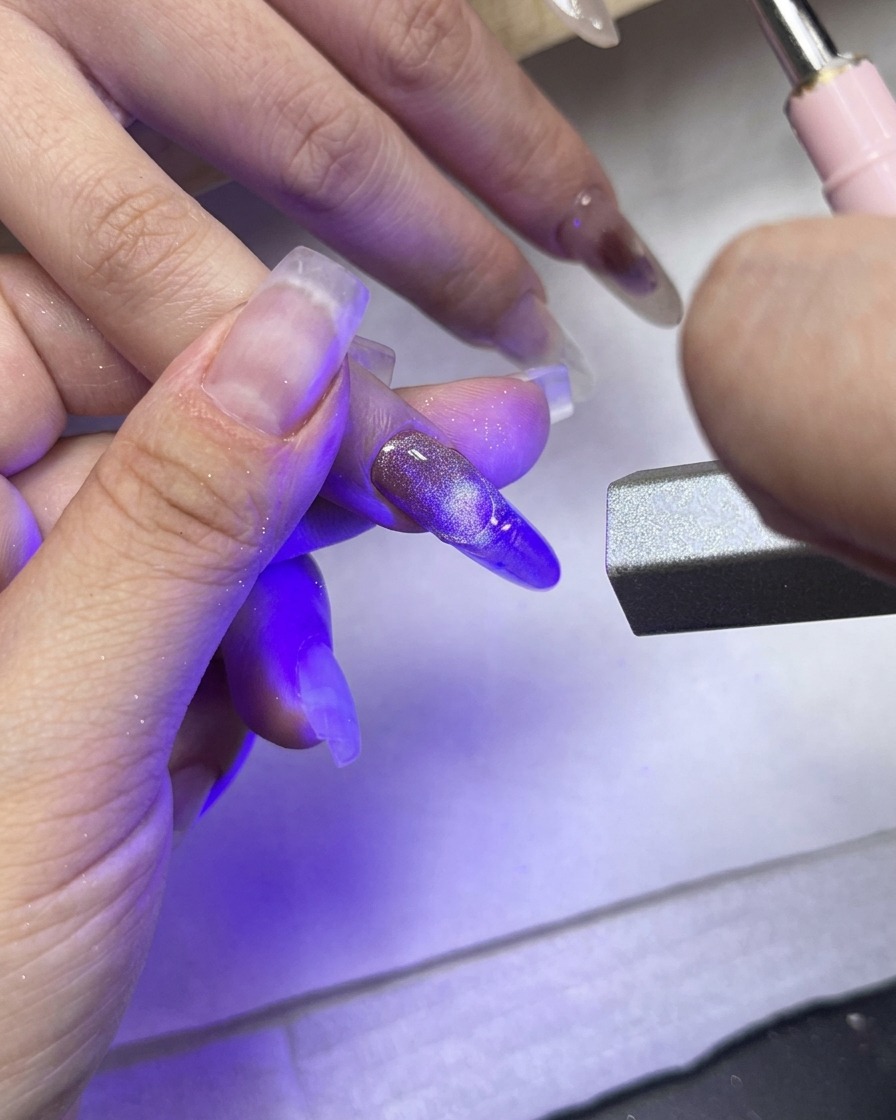
Cure the middle finger styling gel under the UV/LED lamp. This locks in the uneven, pitted French tip shape permanently.
Tip: Make sure the textured styling gel is completely cured so it maintains its raised shape. - 11Outline cat eye with a textured frame
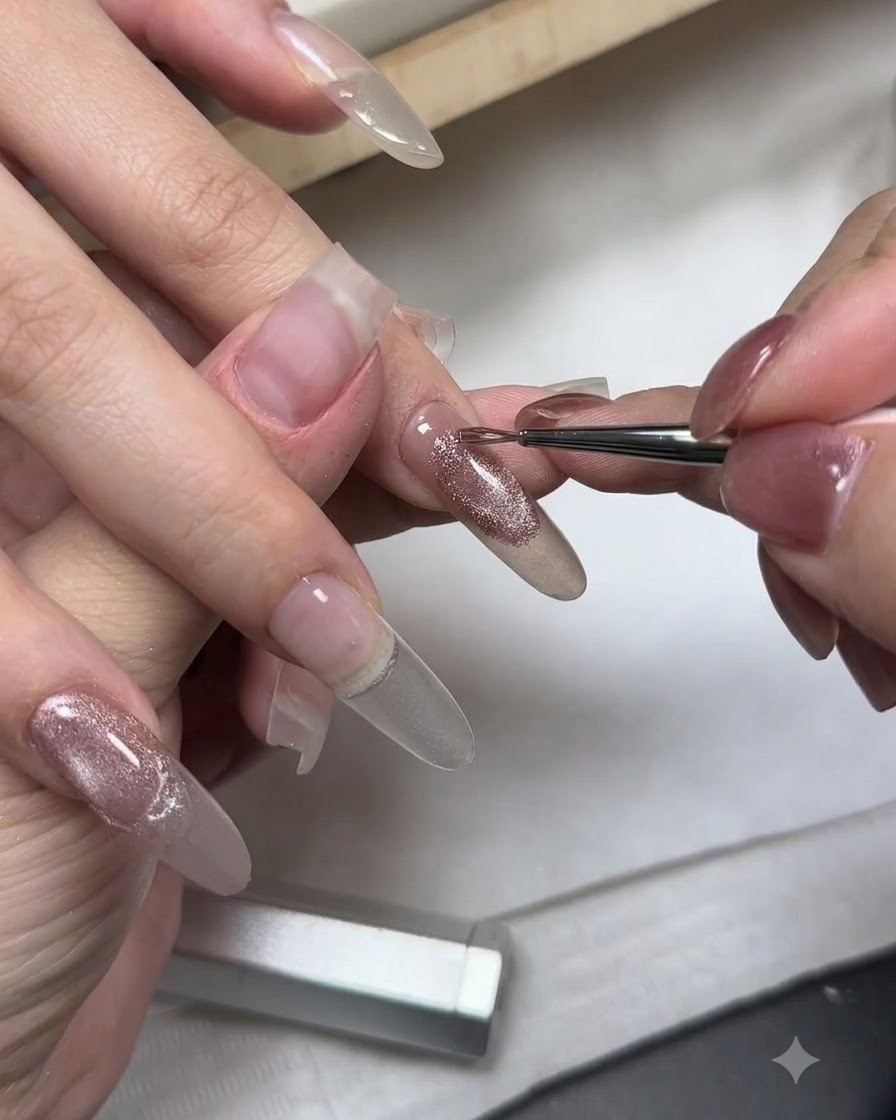
Use non-wipe styling gel to outline the cat eye on the ring finger with a pitted frame, creating a tactile texture using the brush. This adds dimensional depth to the design.
Tip: Use the tip of the brush to lightly dab or press into the gel to create the unique pitted texture. - 12Cure textured gel on the ring finger
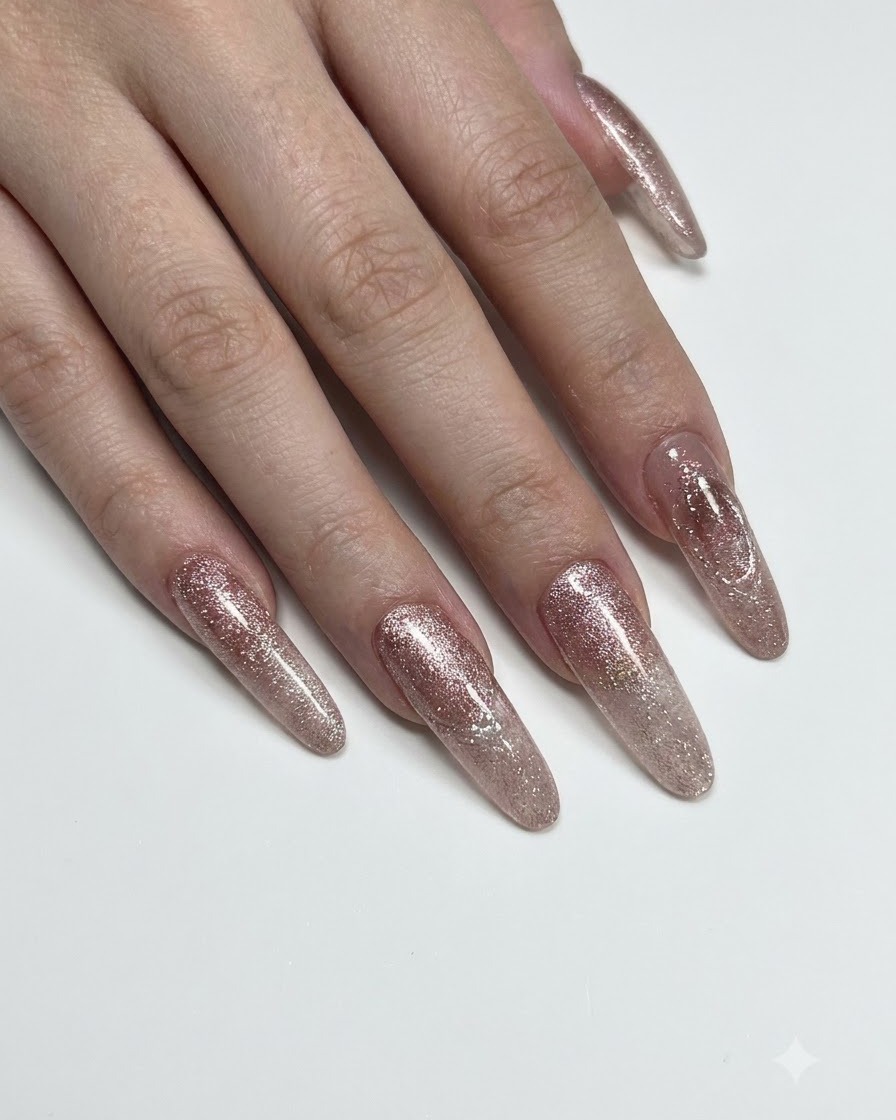
Place your hand under the UV or LED lamp to thoroughly cure the textured styling gel applied to the ring finger. Ensure the gel is completely set before moving on to the next step, as proper curing guarantees the durability and longevity of the raised details.
Tip: Keep your hand steady inside the lamp to prevent the wet gel from shifting before it initiates curing. - 13Apply sculpting gel to the thumb
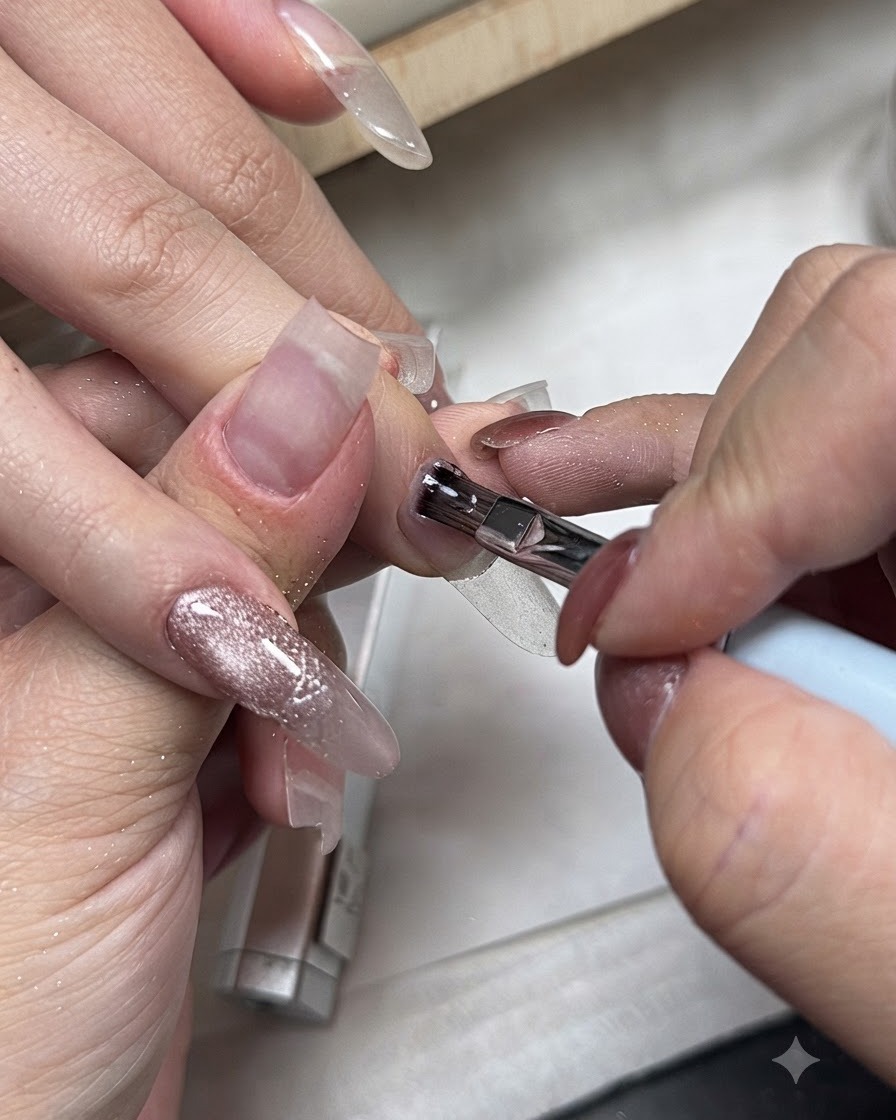
Apply solid builder styling gel directly over the entire nail plate of the thumb. This layer will serve as the base for creating a textured, sculpted relief effect across the surface.
Tip: Ensure an even layer is spread across the entire nail plate to provide enough material for texturing. - 14Texture the thumb gel
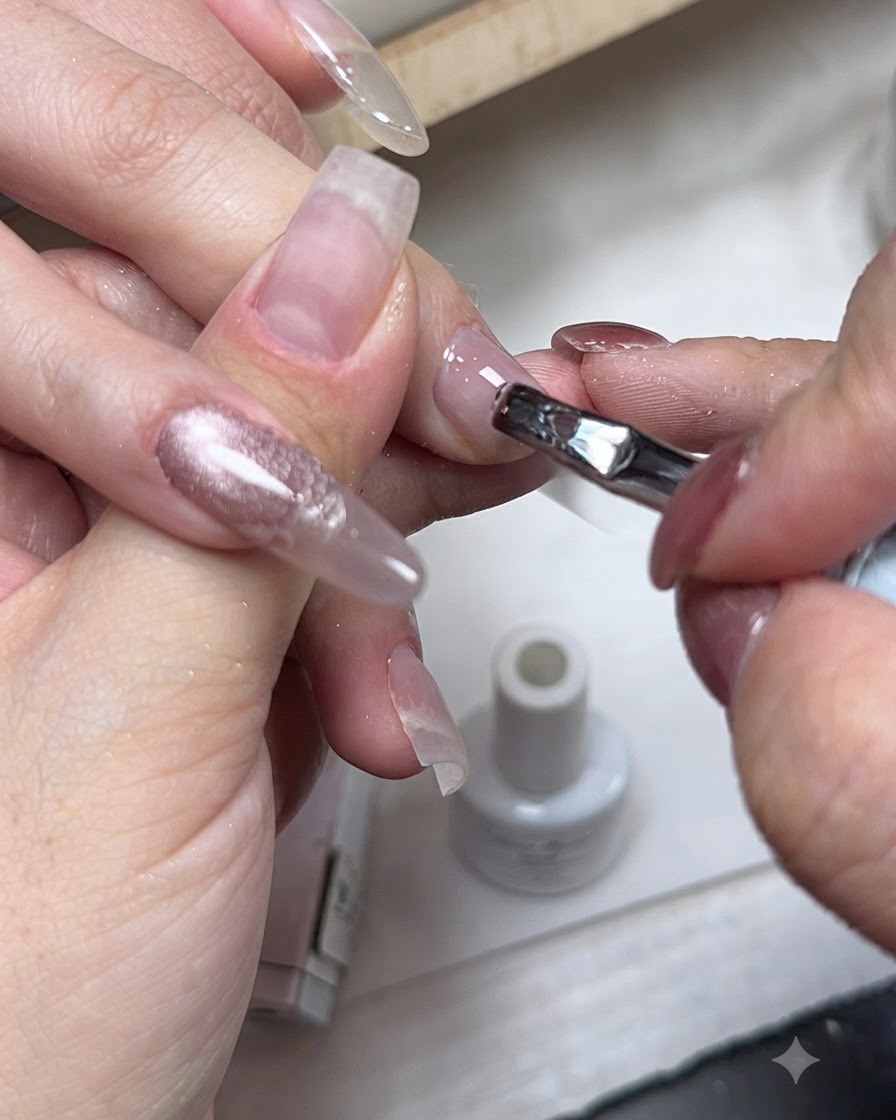
Use a small brush tool to smooth out and texture the gel applied on the thumb. Work carefully to create a detailed wood-grain-like relief pattern across the surface before curing.
Tip: Make light, controlled strokes with the brush to achieve fine, consistent texture lines. - 15Cure the thumb gel
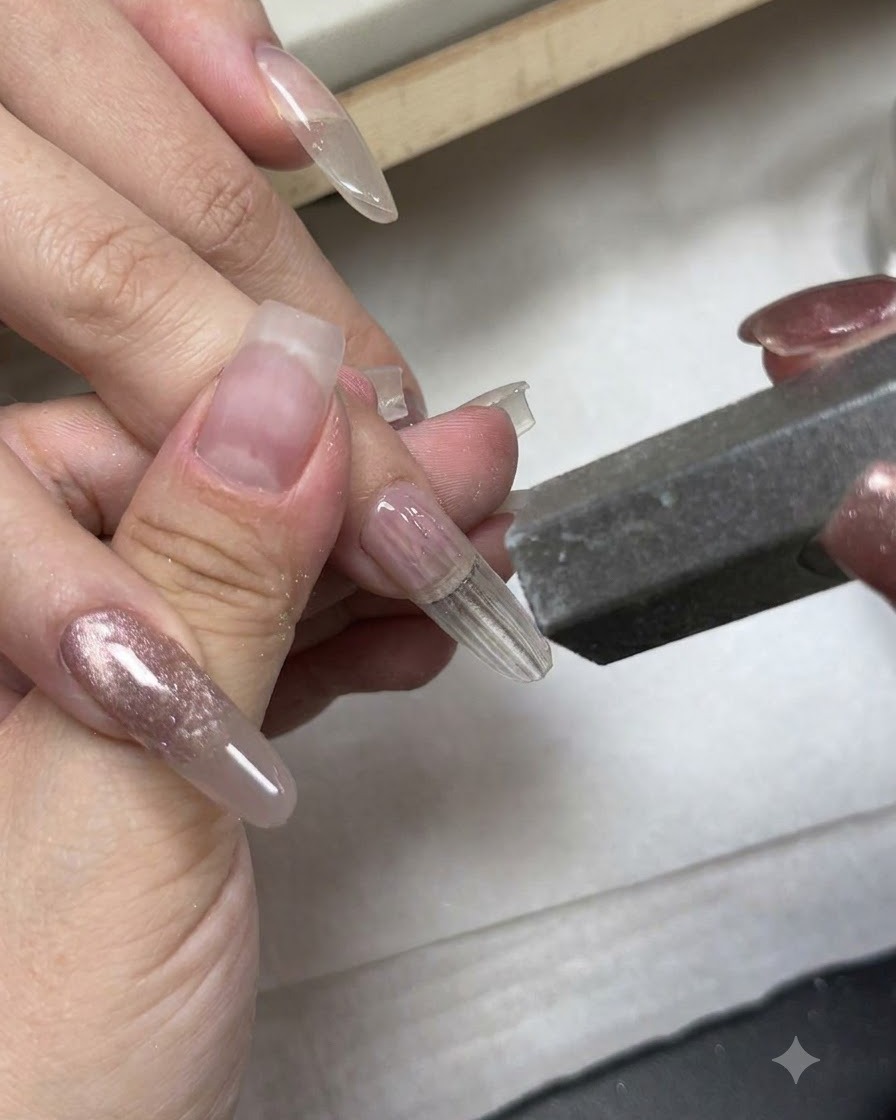
Place the hand under the UV or LED lamp to cure the textured styling gel on the thumb. Ensure the detailed relief pattern is fully set and hardened.
Tip: Keep the finger steady inside the lamp to prevent the wet gel pattern from shifting before it cures. - 16Apply light gold magic chrome powder
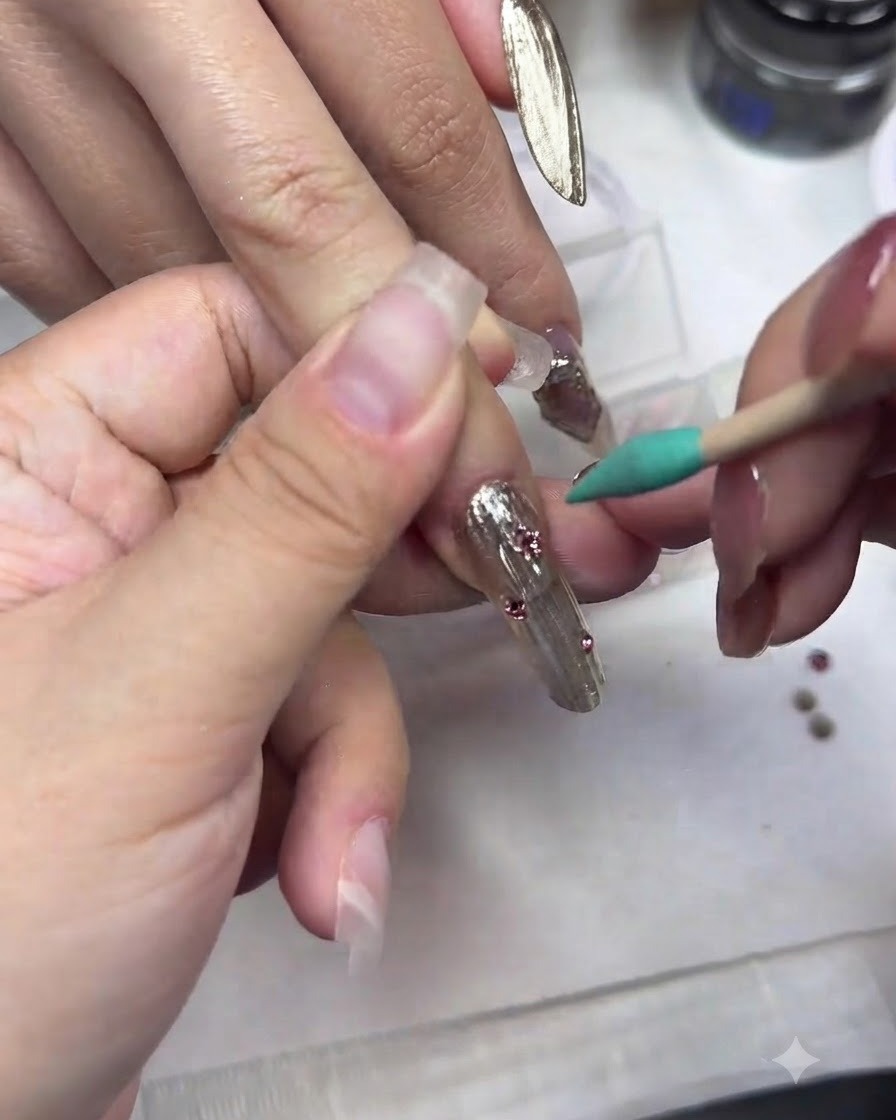
Rub light gold magic chrome powder onto all the textured styling gel parts using a silicone applicator tool. Buff gently to ensure an even, metallic finish over the relief designs.
Tip: Buff the powder firmly into the cured gel surface for a brilliant, mirror-like metallic shine. - 17Apply matte top coat and seal
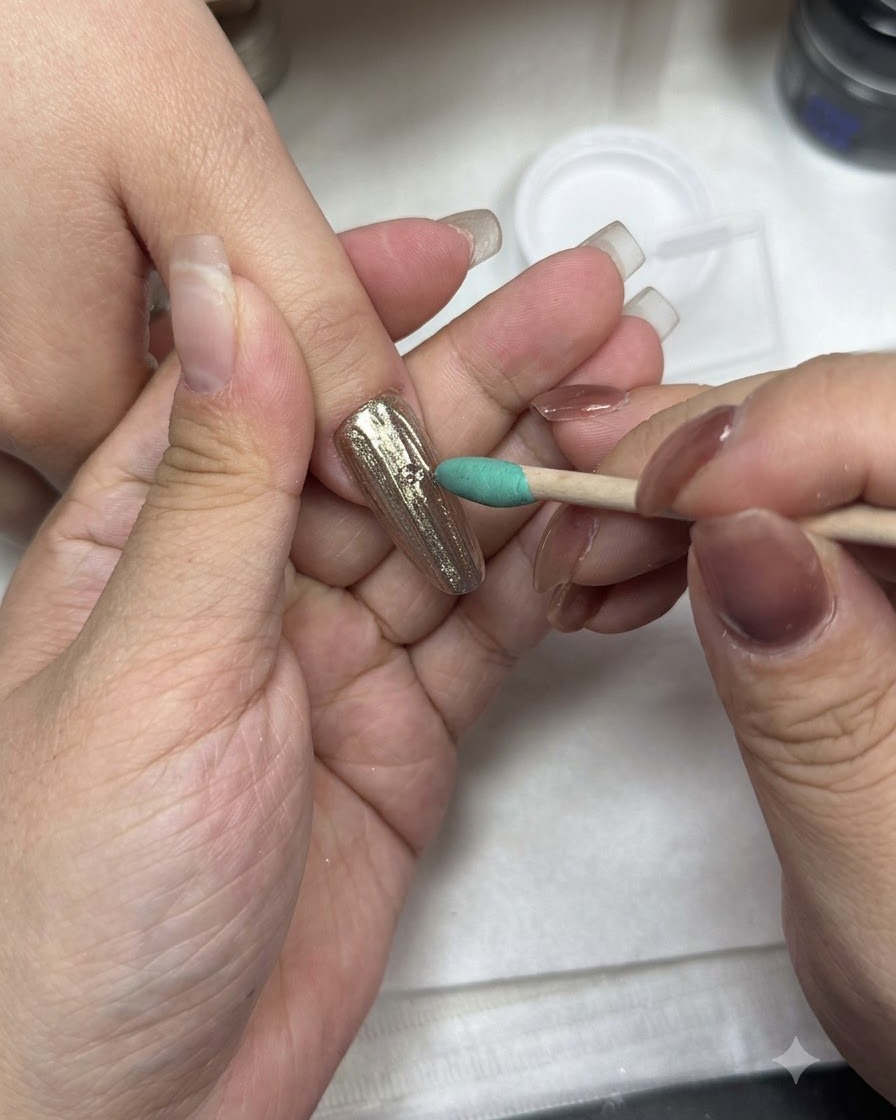
Brush a layer of matte top coat over the light gold magic chrome powder design, then cure it under the lamp. Follow this by applying another regular glossy top coat layer over specific sections to create a dynamic contrast between matte and shiny textures.
Tip: Make sure to brush off any residual floating chrome powder with a soft brush before sealing with the top coat. - 18Apply gel for rhinestone placement
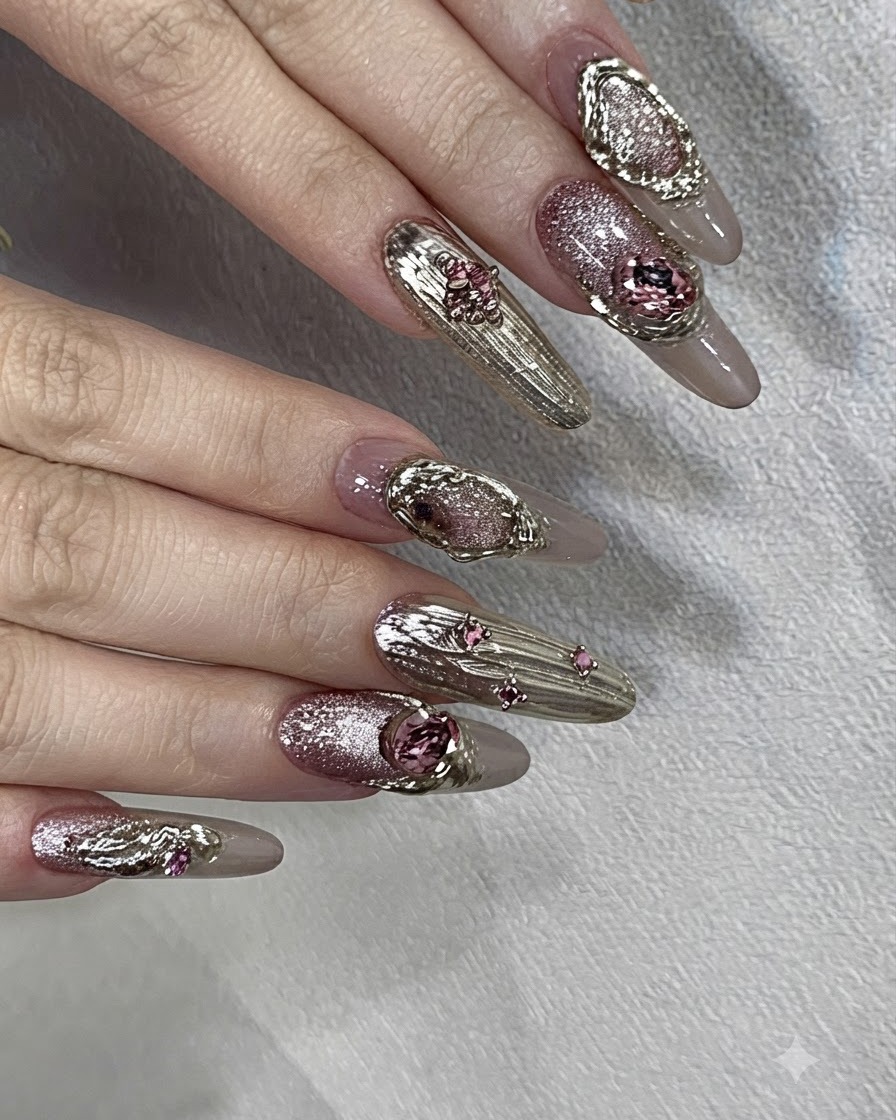
Use a fine detail brush or direct squeeze bottle to apply small amounts of non-wipe styling gel onto the designated nail areas where embellishments will go. This acts as a strong adhesive base to securely encapsulate and hold rhinestones and beads in place.
Tip: Apply just enough gel to anchor the gems without flooding the surrounding textured details. - 19Embellish with rhinestones and seal
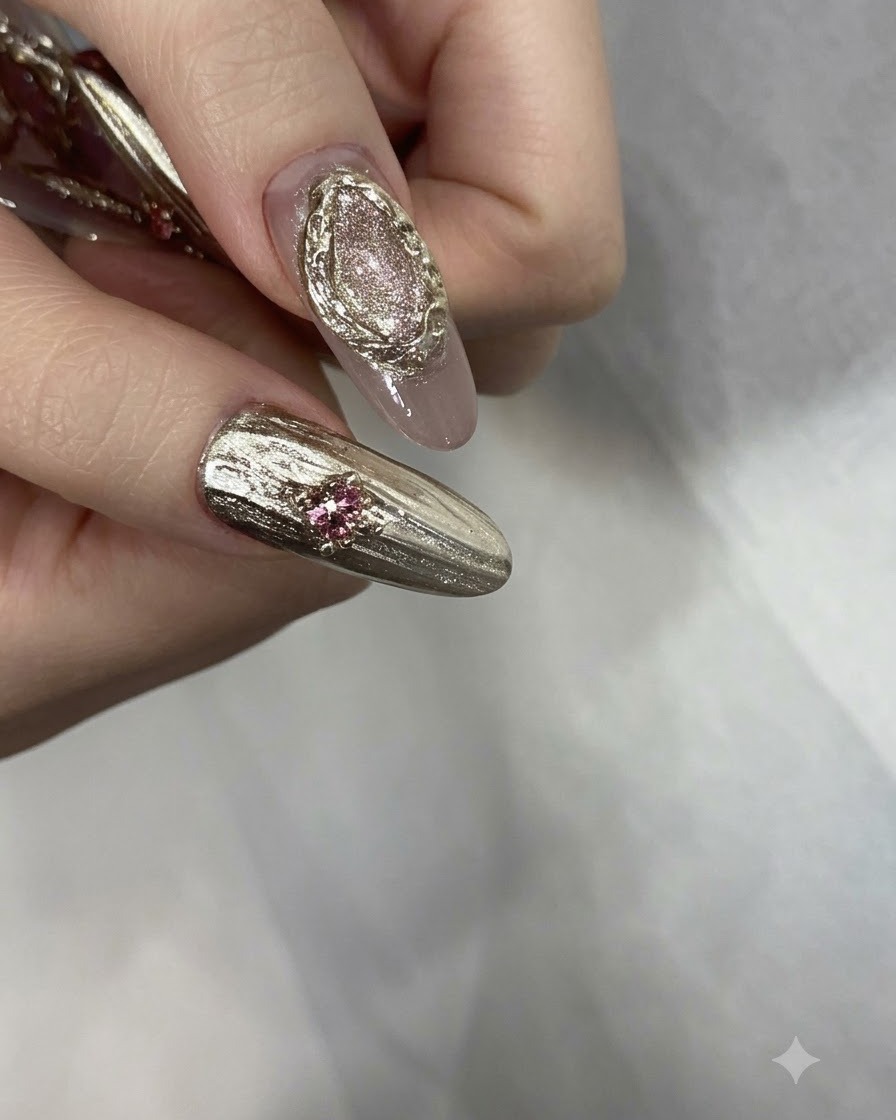
Place a light pink small round diamond on the pinky finger, an 8x6 pink oval rhinestone on the ring finger, and small rhinestones with gold beads on the middle and thumb fingers. Cure the arrangement under the lamp, and finally seal all rhinestones and golden beads securely with a hard top coat.
Tip: Double-check the alignment of the gold beads around the rhinestones before curing to ensure a neat finish.