Pink Graceful Princess Press-On Nails — Step-by-Step Cat Eye
Lace Tutorial
Create enchanting princess-style press-on nails featuring cat-eye gradients, white lace stamping, and delicate rhinestones with this detailed guide.
Princess-core nail aesthetics combine ethereal shimmer with intricate vintage details like lace and 3D bows. This tutorial walks you through creating a fairy-tale press-on nail look using solid pudding gels, magnetic cat-eye effects, and precision stamping techniques.
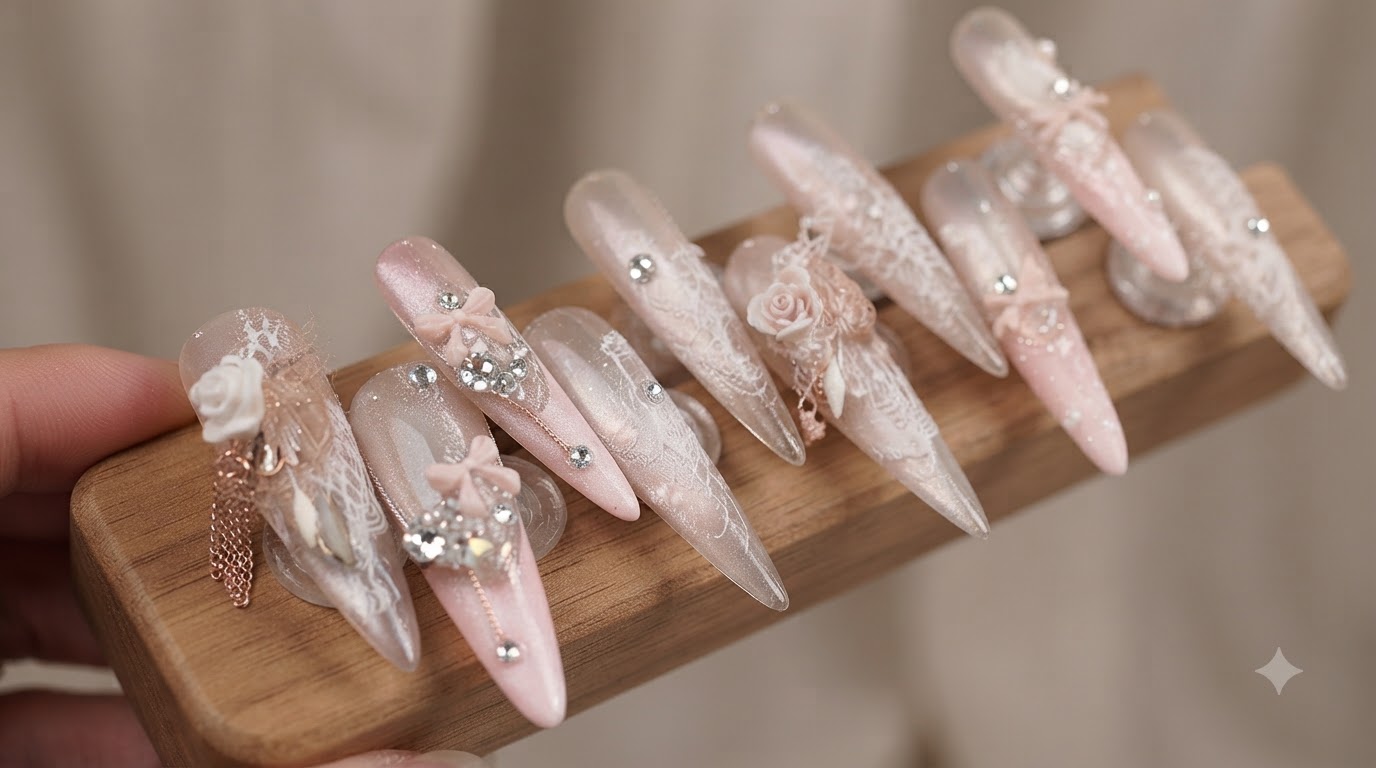
Steps
- 1Buff and prepare the artificial nail tip
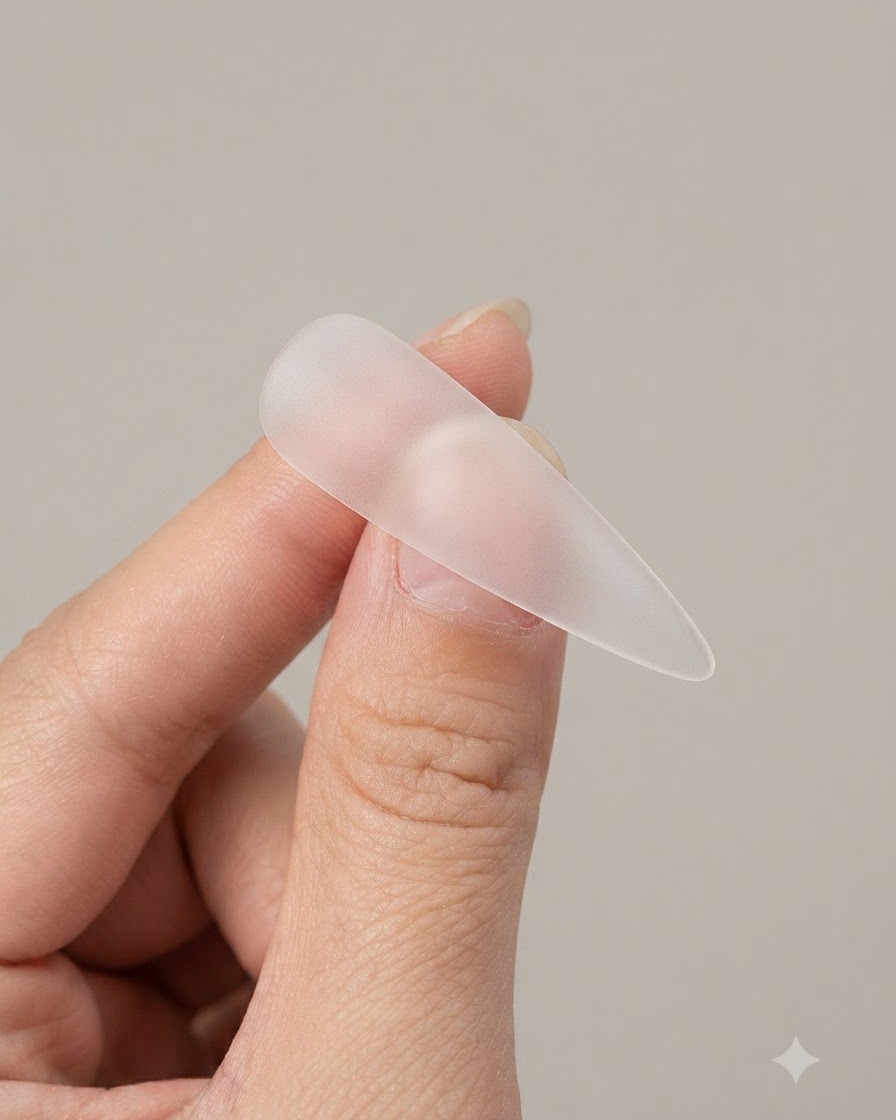
Take the clear artificial nail tip and gently use a nail file to buff and prepare the surface. This creates a slightly textured area that ensures proper adhesion for the upcoming gel layers and decorative stickers. Make sure to cover the targeted application zone evenly.
Tip: Buffing should be light and uniform to avoid wearing down or thinning the structure of the artificial nail tip. - 2Apply French guide sticker
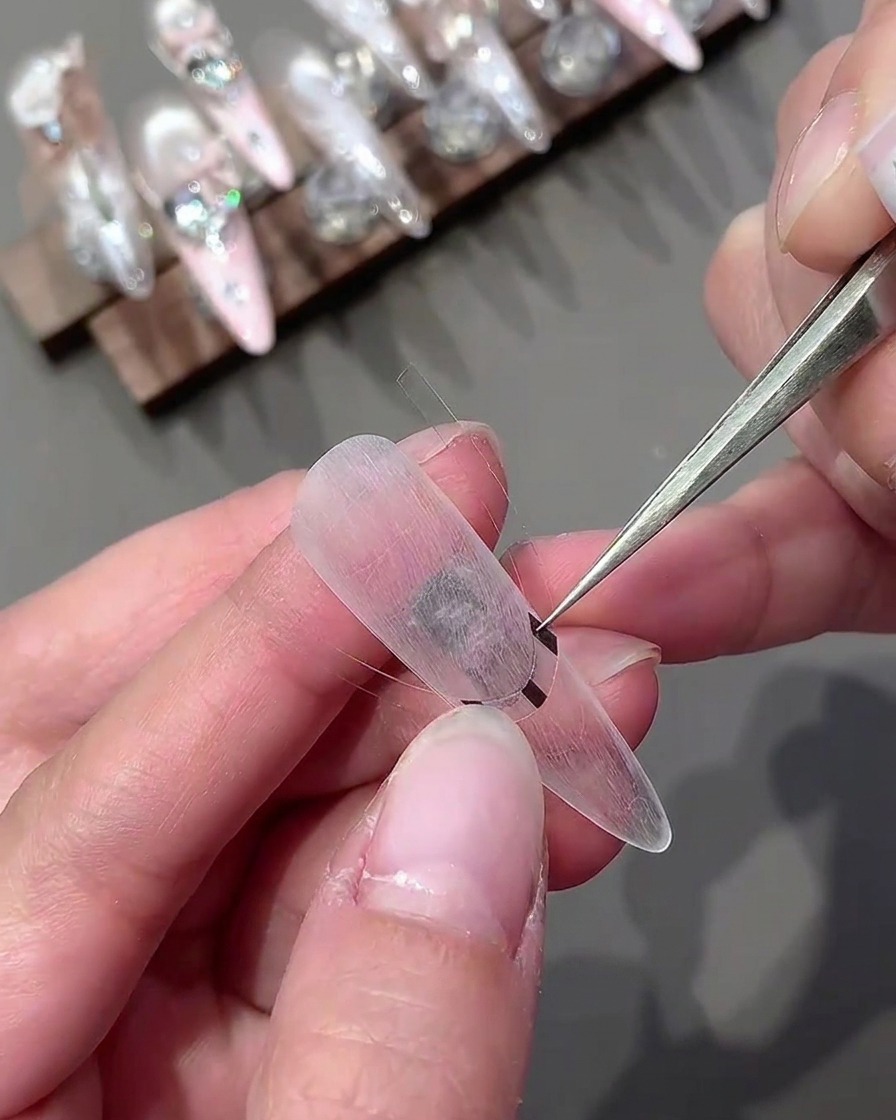
Using a pair of precision tweezers, carefully pick up a curved French guide sticker and place it horizontally across the middle section of the artificial nail tip. Press down gently along the edges to secure it in place and prevent any gel from bleeding underneath during the gradient step.
Tip: Use tweezers for high-precision placement so the guide sticker sits straight and creates a clean dividing line. - 3Pat solid pudding gel for gradient
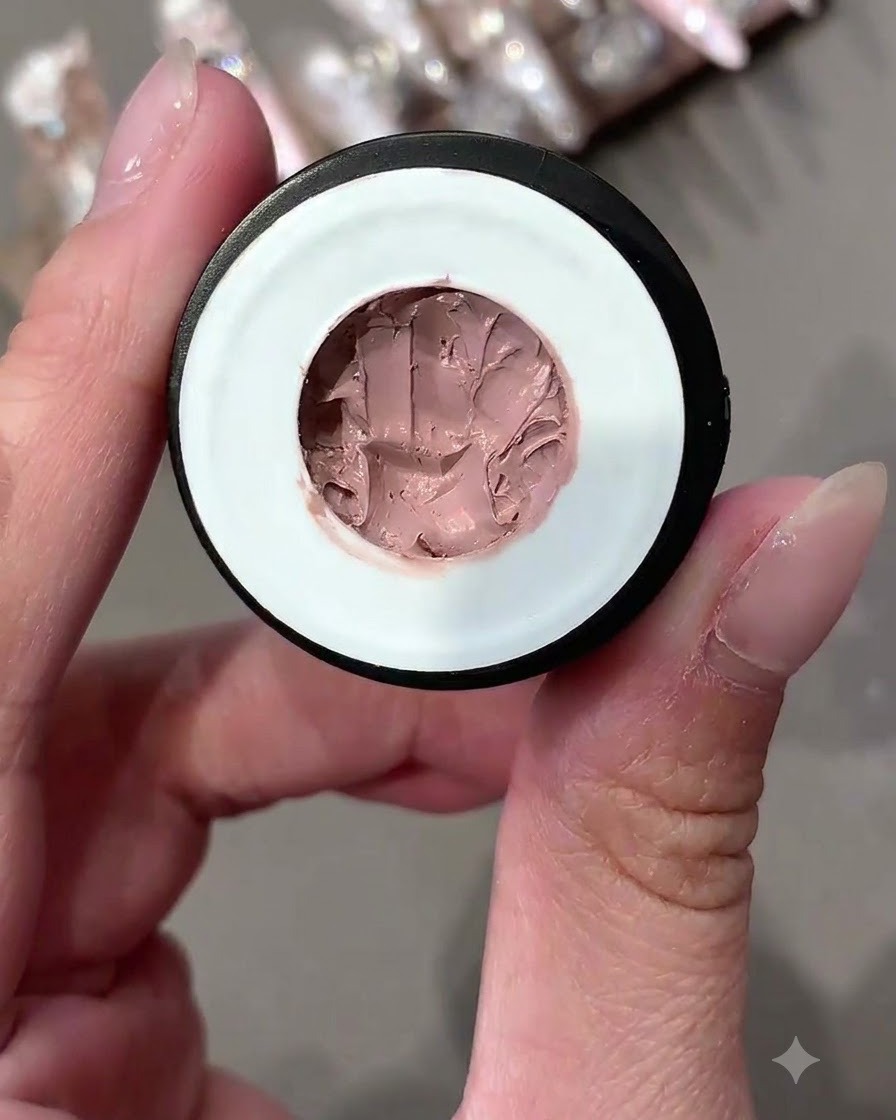
Dip your tool into the number 09 solid pudding gel and gently pat it onto the nail area positioned above the guide sticker. Build up the color gradually to create a soft, seamless gradient look that fades downwards toward the sticker line.
Tip: Keep the application thin and even when patting solid pudding gel to maintain a smooth gradient finish. - 4Peel off the guide sticker
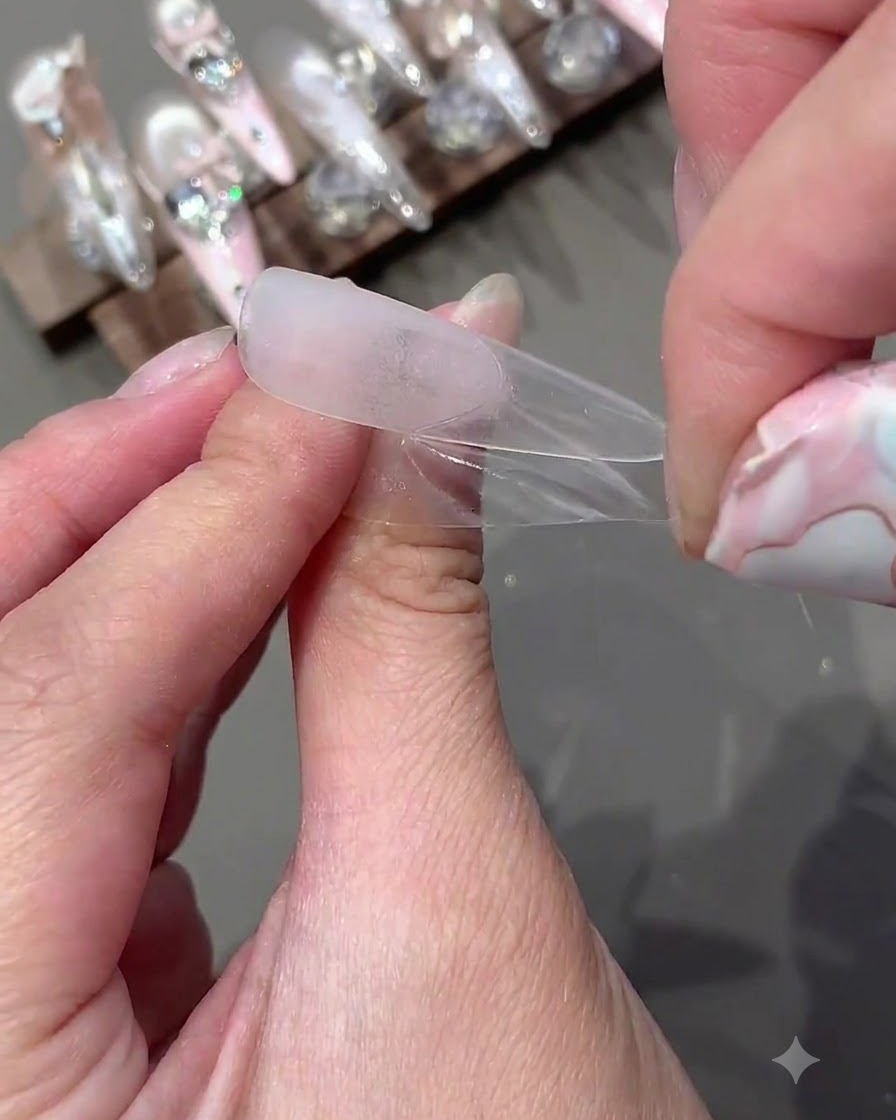
Gently lift and peel away the French guide sticker from the nail tip while the gel is still in place. Pull it off slowly and steadily to reveal a crisp, clean border line separating the gradient portion from the rest of the clear nail surface.
Tip: Peel the sticker off at a shallow angle and do it carefully to avoid smudging the fresh gel edge. - 5Coat with soft base gel
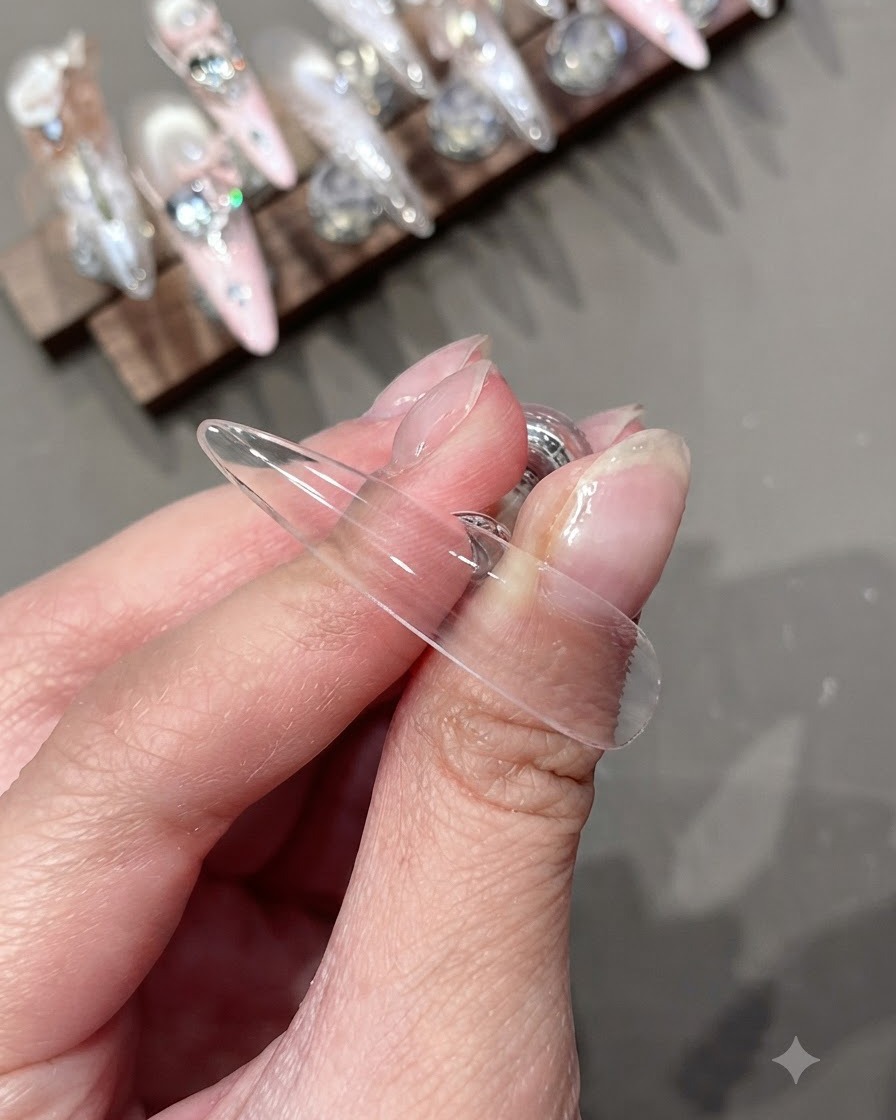
Apply a layer of soft base gel evenly across the entire nail plate, ensuring all edges and the newly created gradient section are fully wrapped and sealed. This protects the design and creates a uniform foundation for subsequent color layers. Cure under the lamp afterward.
Tip: Cap the free edge with base gel to seal the design and prevent premature lifting. - 6Apply cat eye gel to posterior edge
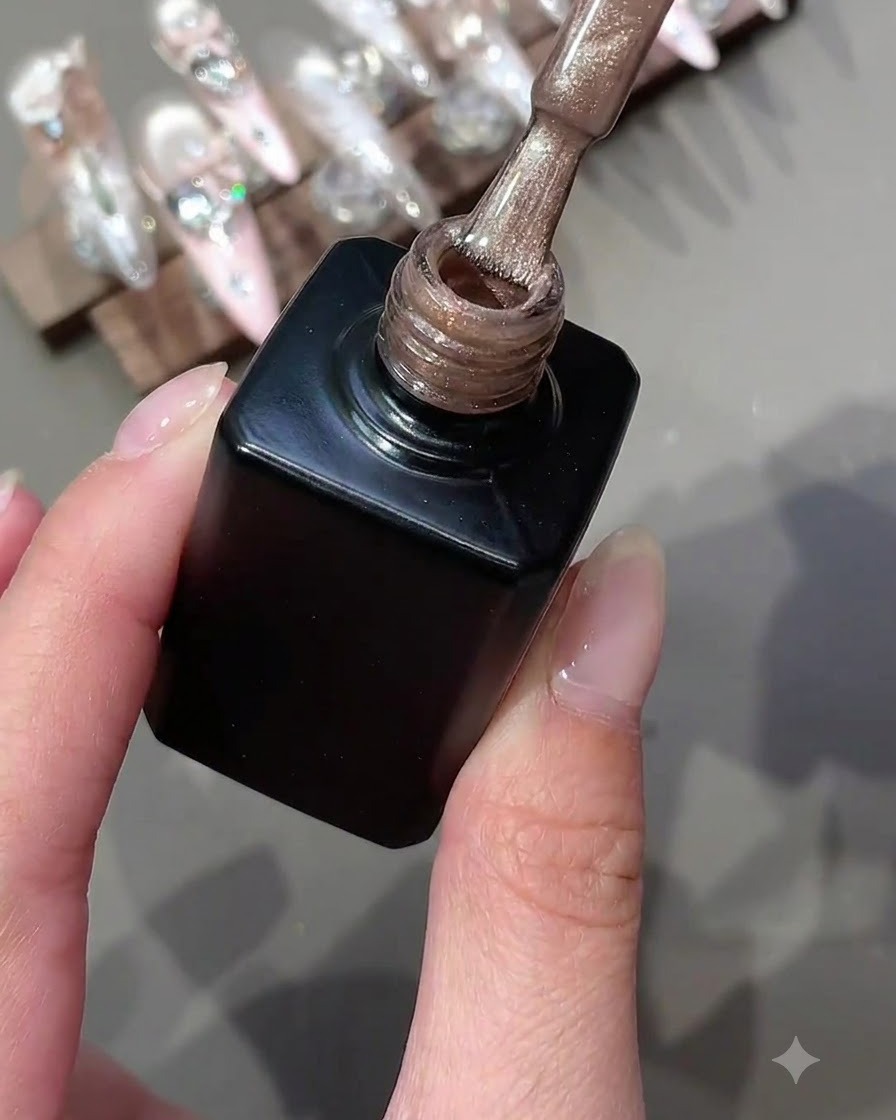
Take the brush with number 02 cat eye gel and apply it evenly onto the posterior edge position of the nail. This sets up the base for creating a stunning reflective cat eye light effect in the next step.
Tip: Apply a thin and controlled amount of cat eye polish to prevent pooling near the edges. - 7Move magnet to concentrate cat eye light
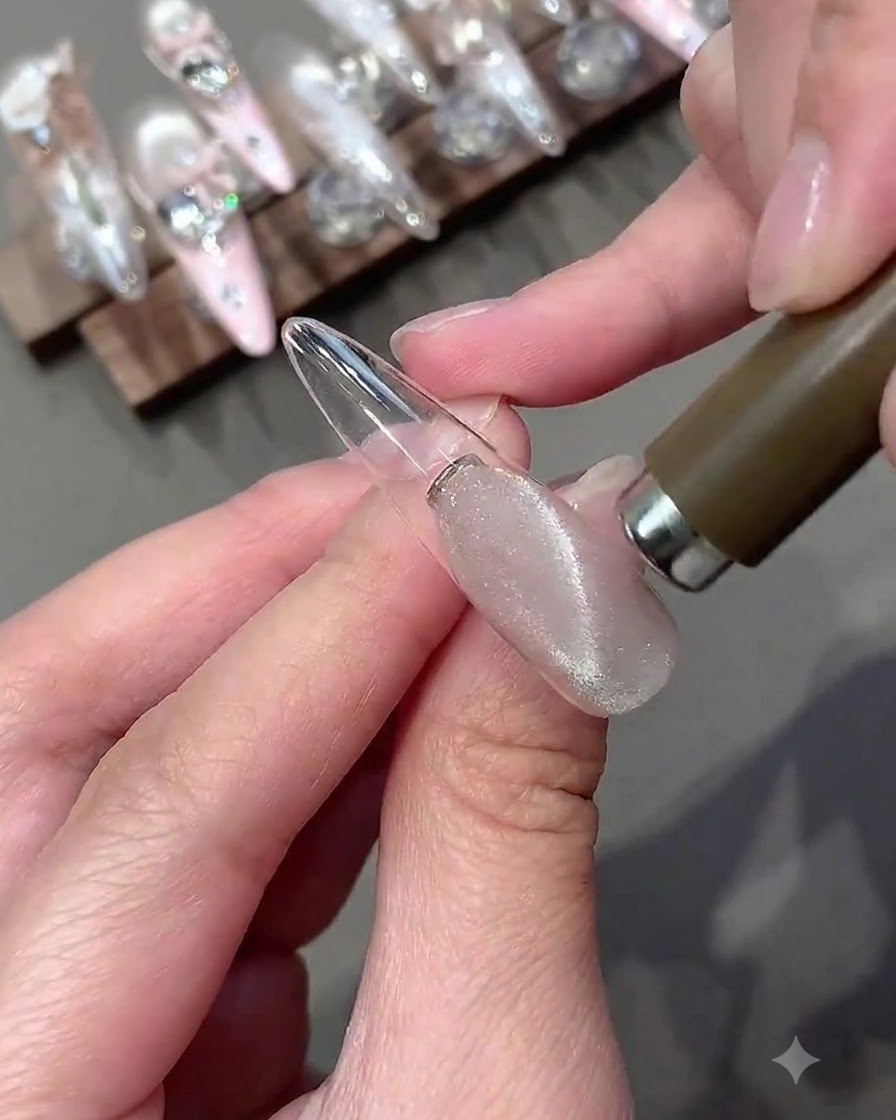
Hover the magnet tool back and forth near the nail surface to pull and concentrate the magnetic particles into a bright cat eye light beam. Make sure to keep the magnet close enough to influence the gel without touching the uncured surface.
Tip: Moving the magnet smoothly and evenly helps create a continuous, highly concentrated stripe of shimmer. - 8Shape spotlight effect with C-curve pulling
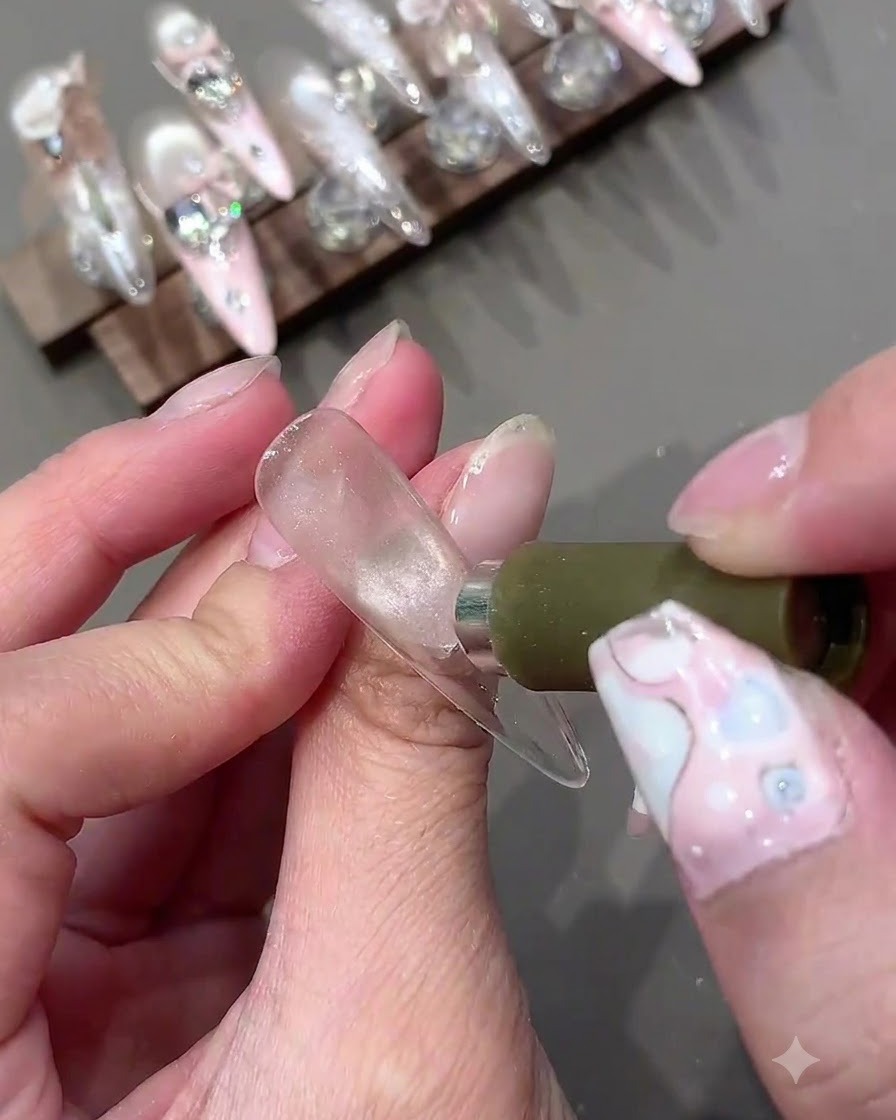
Use the magnet in a C-curve pulling motion to shape the magnetic particles into a focused spotlight effect on the nail. This technique gathers the light into a brilliant, glowing focal point that looks stunning and gorgeous.
Tip: Control the speed of your pulling motion to prevent the magnetic line from scattering before you cure. - 9Cure under UV or LED lamp
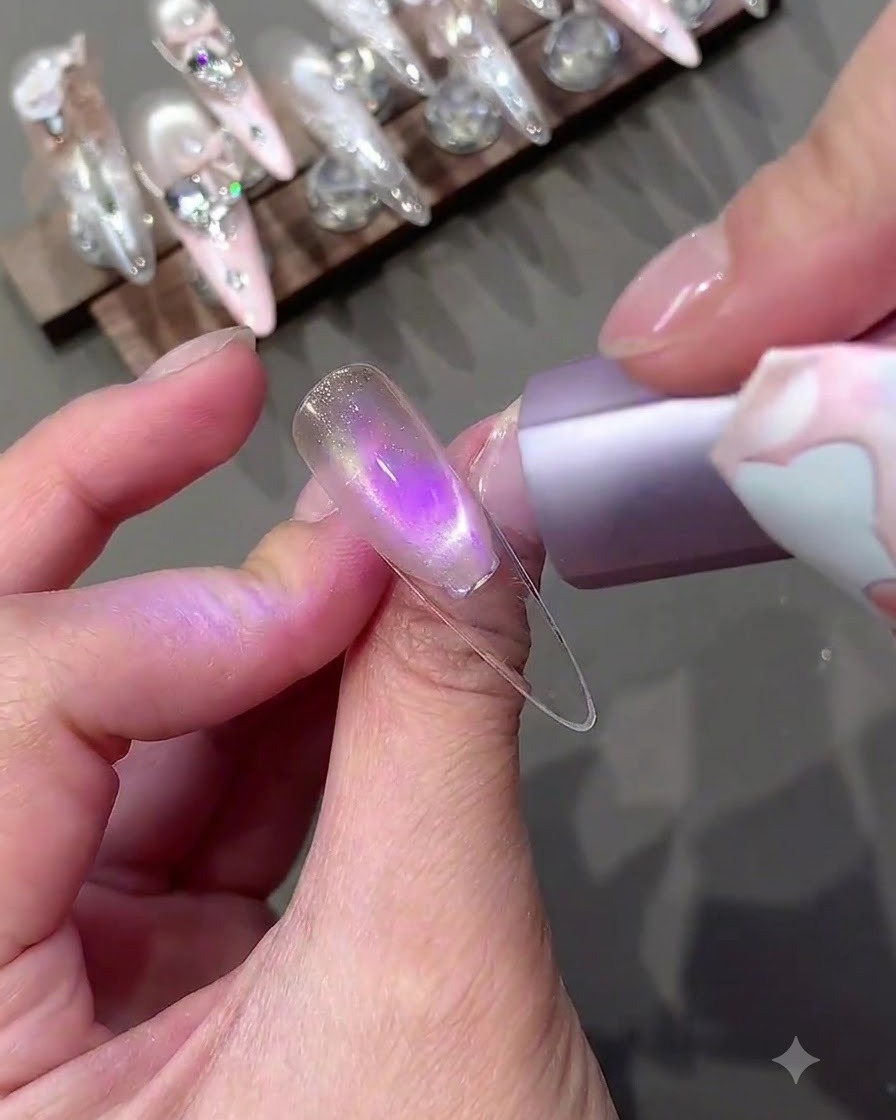
Place the nail under a purple UV or LED nail lamp to cure the cat eye gel layer completely. Curing locks the magnetic shimmer and gel structure firmly in place, ensuring long-lasting durability and shine.
Tip: Ensure your hand is positioned directly under the light source for an even and complete cure. - 10Apply number 09 cat eye gel to lower nail
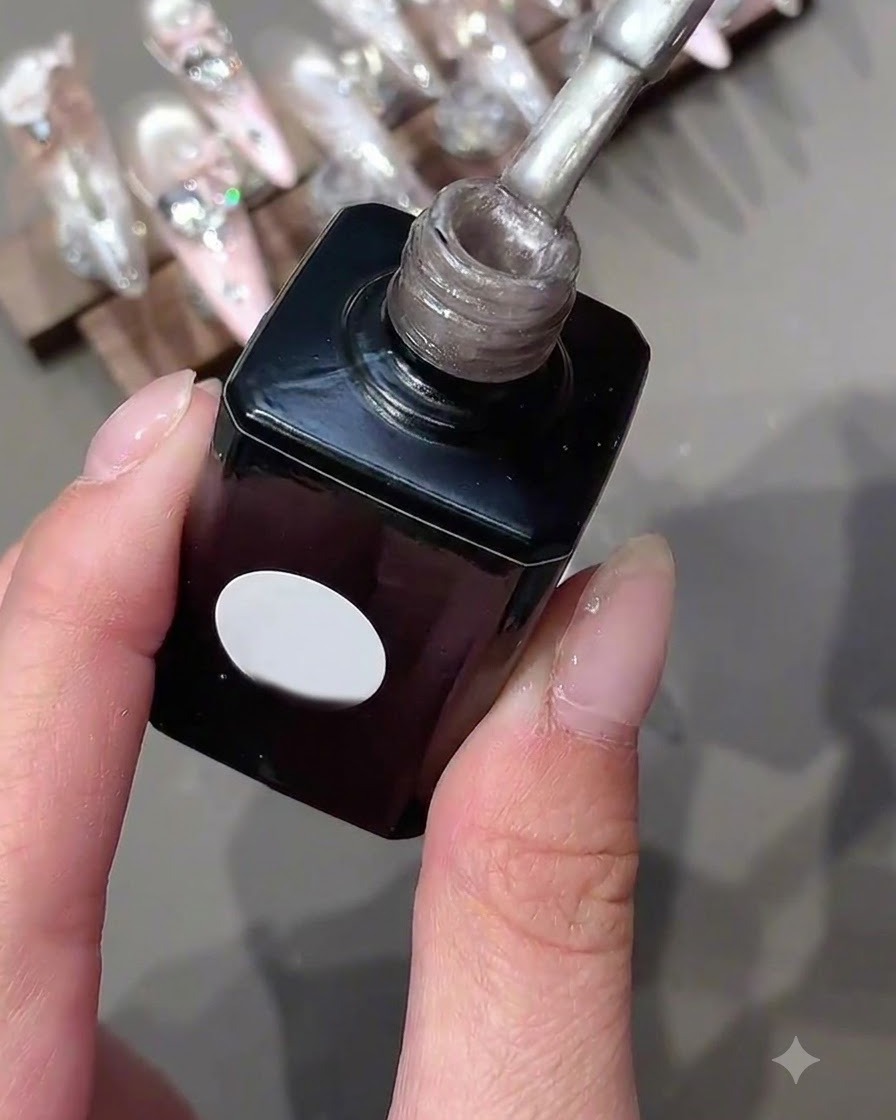
Apply the number 09 cat eye gel thinly and evenly across the lower half of the nail surface. Keeping the layer thin ensures smooth application and prevents bulkiness before magnetizing.
Tip: Wipe excess product off the brush stem before applying to maintain a thin, controlled layer. - 11Blend posterior edge with a cleaning brush
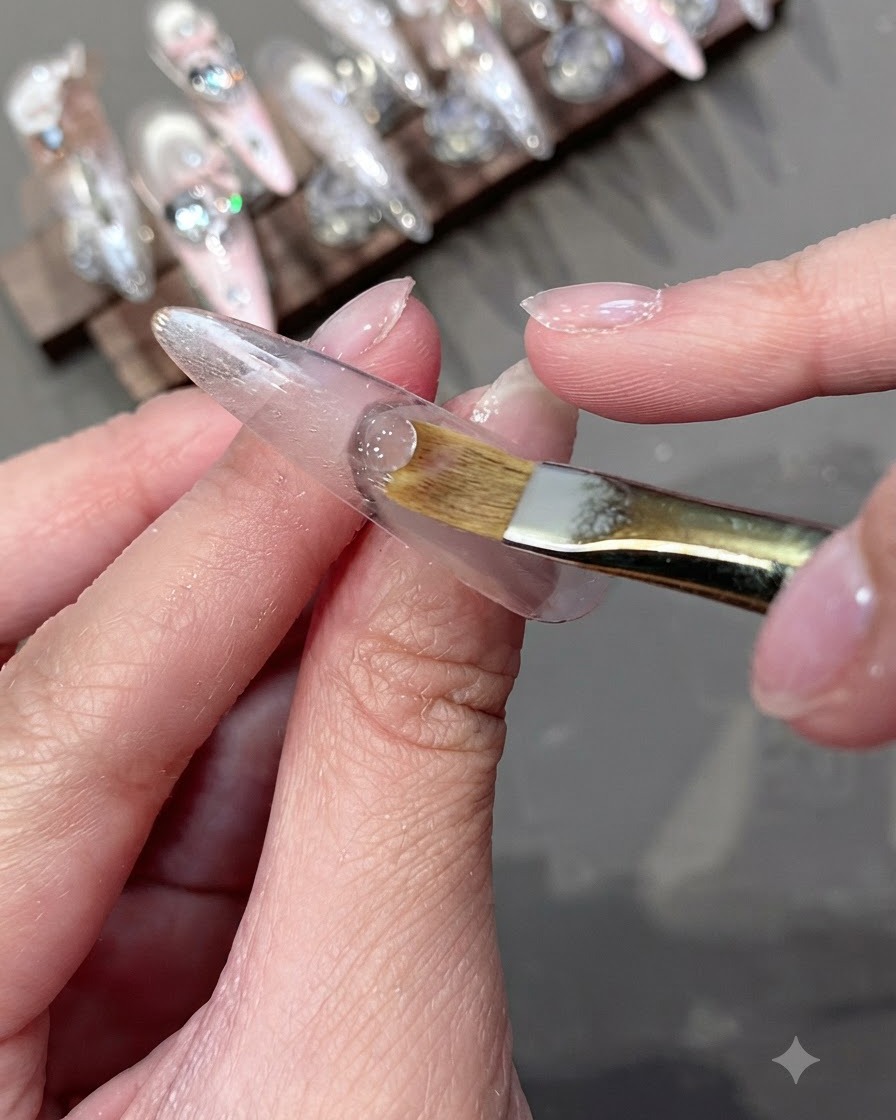
Take a soft cleaning brush and gently sweep and blend the posterior edge of the applied gel layer. This softens the transition line near the cuticle area for a seamless, professional finish.
Tip: Use light, feather-like strokes so you do not wipe away too much of the product. - 12Gather cat eye light at the fingertip
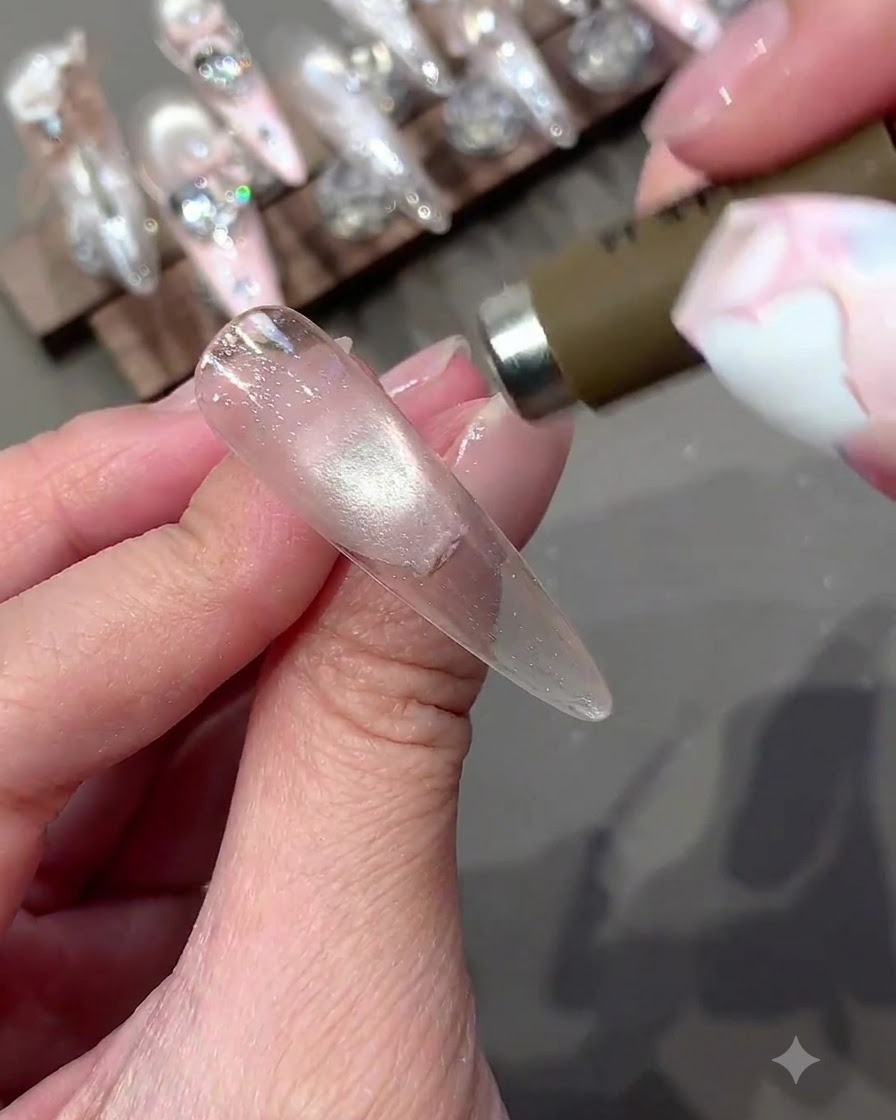
Use the magnet tool once more to draw and gather the cat eye light specifically toward the direct fingertip portion of the nail. This polish is super easy to magnetize and yields a very bright result at the edge.
Tip: Keep the magnet very close to the tip to pull the glitter particles tightly to the very edge. - 13Wipe away the sticky inhibition layer
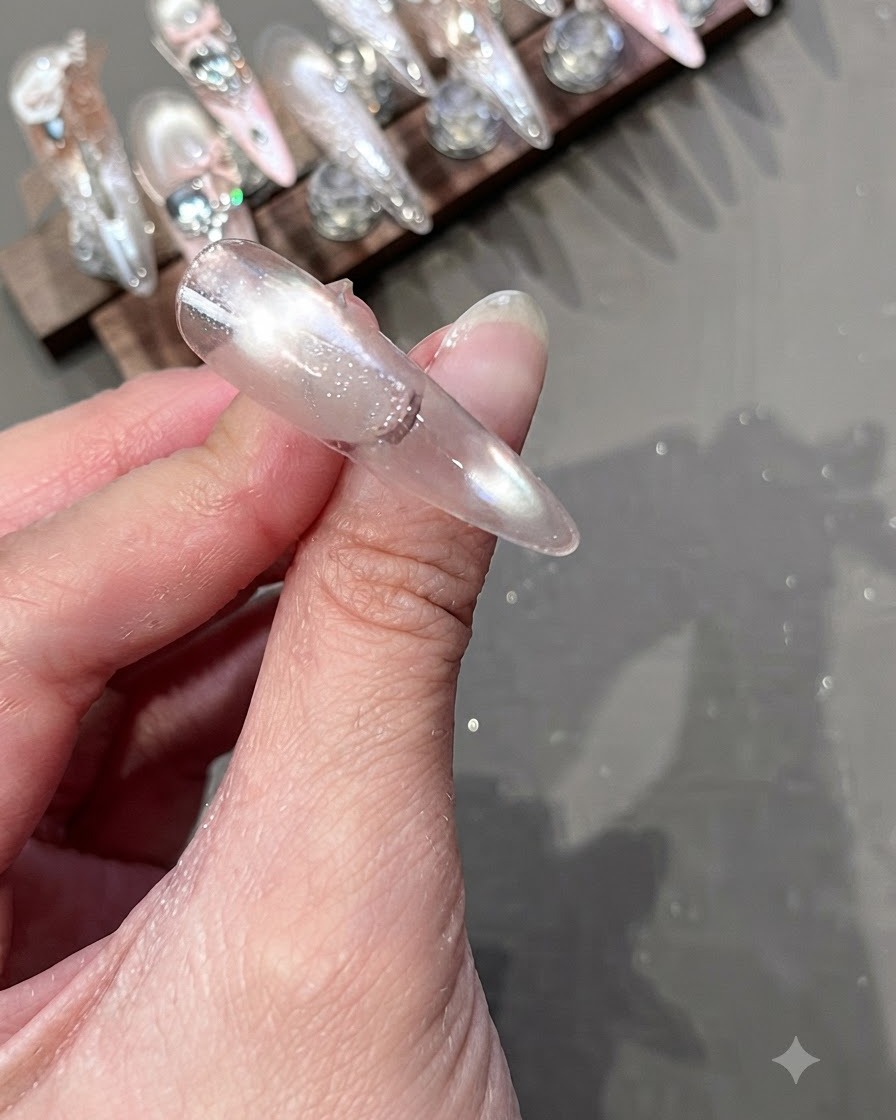
Take a cleansing wipe dampened with nail cleanser and gently wipe away the sticky floating layer remaining on the cured nail surface. This removes any unpolymerized residue, leaving the gel fully set and ready for the next design phase.
Tip: Ensure your wipe is thoroughly saturated to prevent smudging or dulling the glossy gel surface. - 14Pick up the lace pattern using a clear stamper
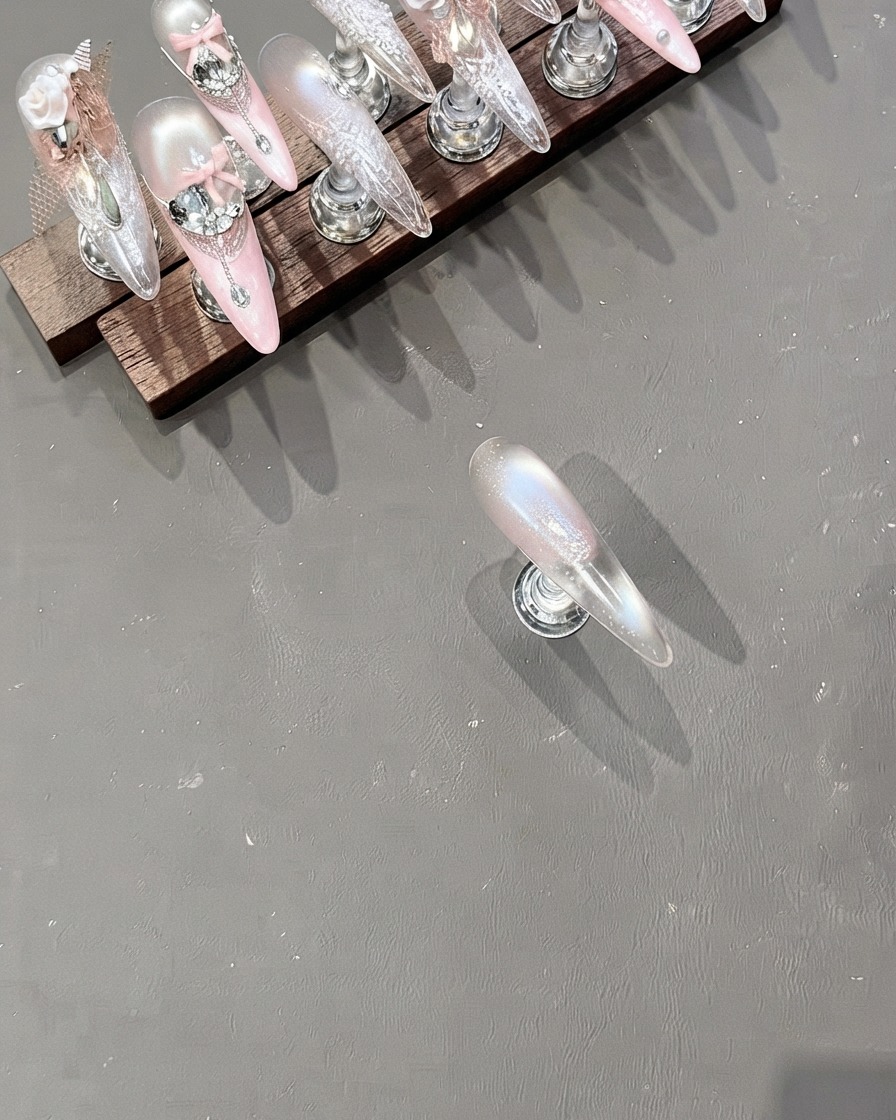
Using a clear nail stamper, gently press down onto the metal stamping plate to pick up the white lace pattern. Make sure your pressing action is light and controlled to ensure the complete pattern transfers clearly onto the stamper head.
Tip: Keep your stamping motion light and steady to prevent distorting or missing parts of the delicate lace design.