Pink Blush Gradient Ombre Nails — Easy Step-by-Step Tutorial
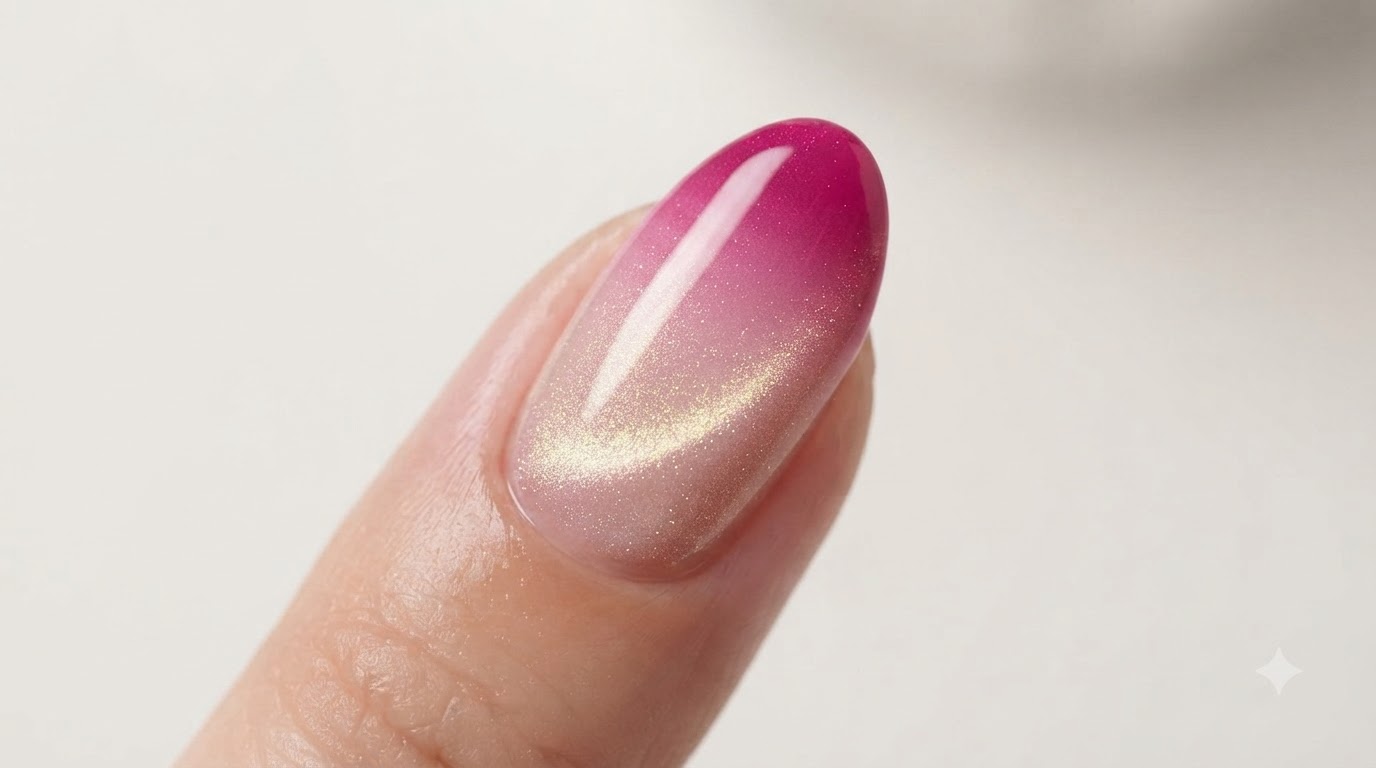
Create trendy pink blush gradient nails at home using a translucent white base and layered translucent pink gel blooming technique.
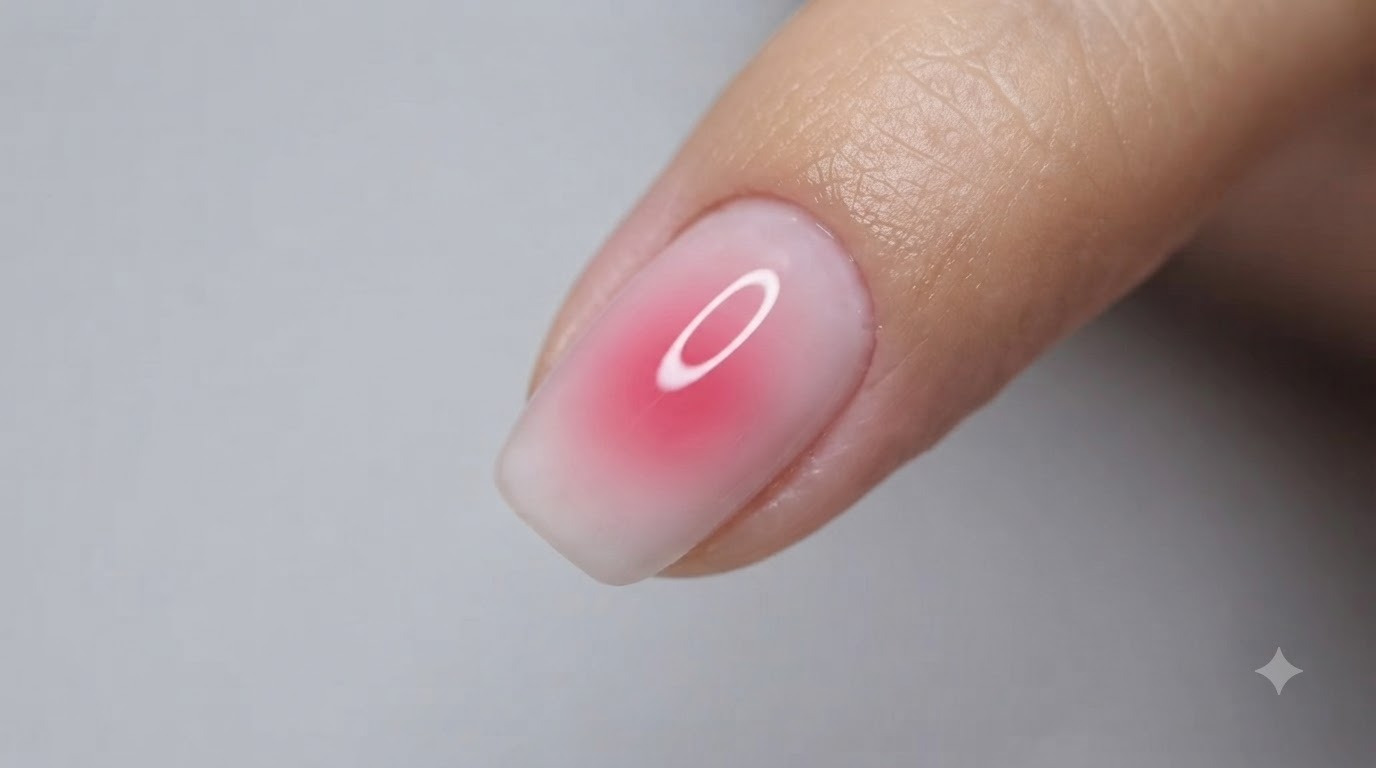
Blush gradient nails, also known as Korean blush nails, are a major trend in modern nail art because of their ethereal, glowing center effect. This tutorial guides you through building a seamless multi-layered gradient using translucent pink gel and a precision blending brush.
Steps
- 1Apply translucent white gel
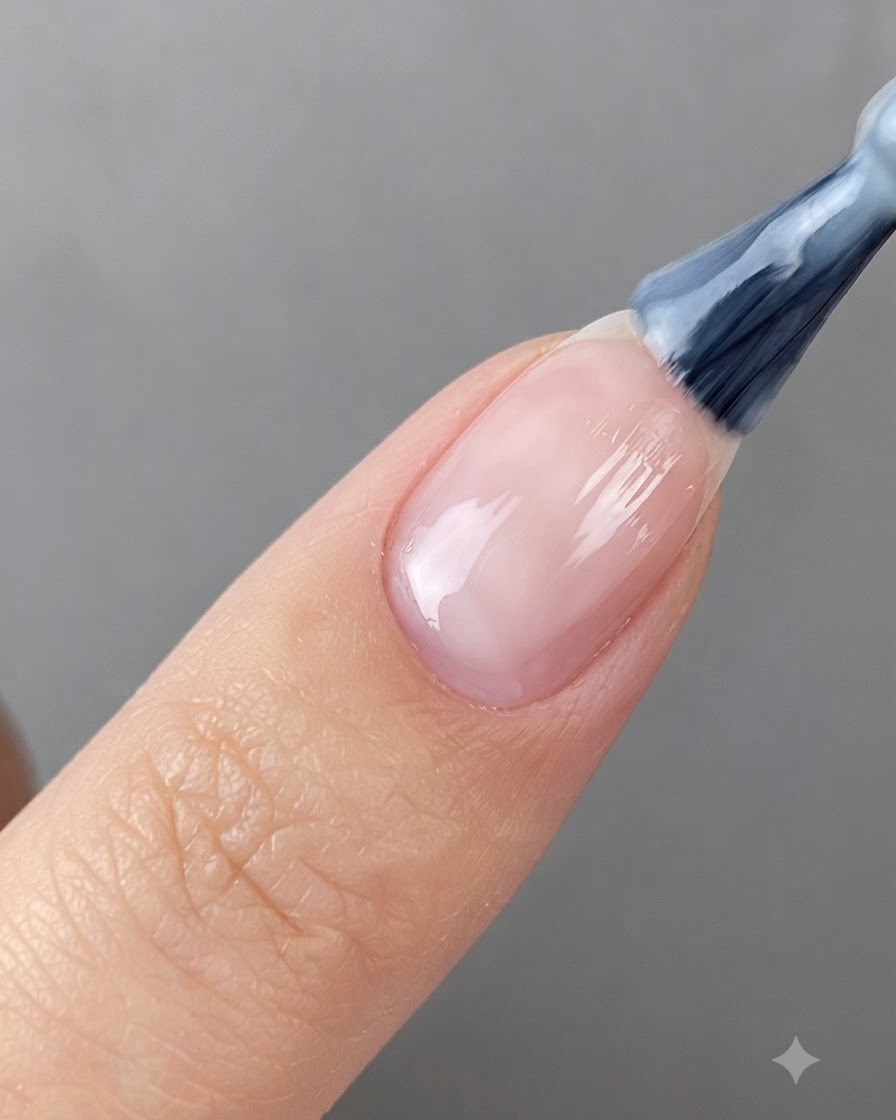
Apply an even layer of translucent white gel onto the prepped nail plate using the polish brush. Cover the nail smoothly while maintaining a clean shape around the edges.
Tip: Apply in thin, even strokes to avoid pooling or uneven thickness across the nail surface. - 2Cure the white base coat
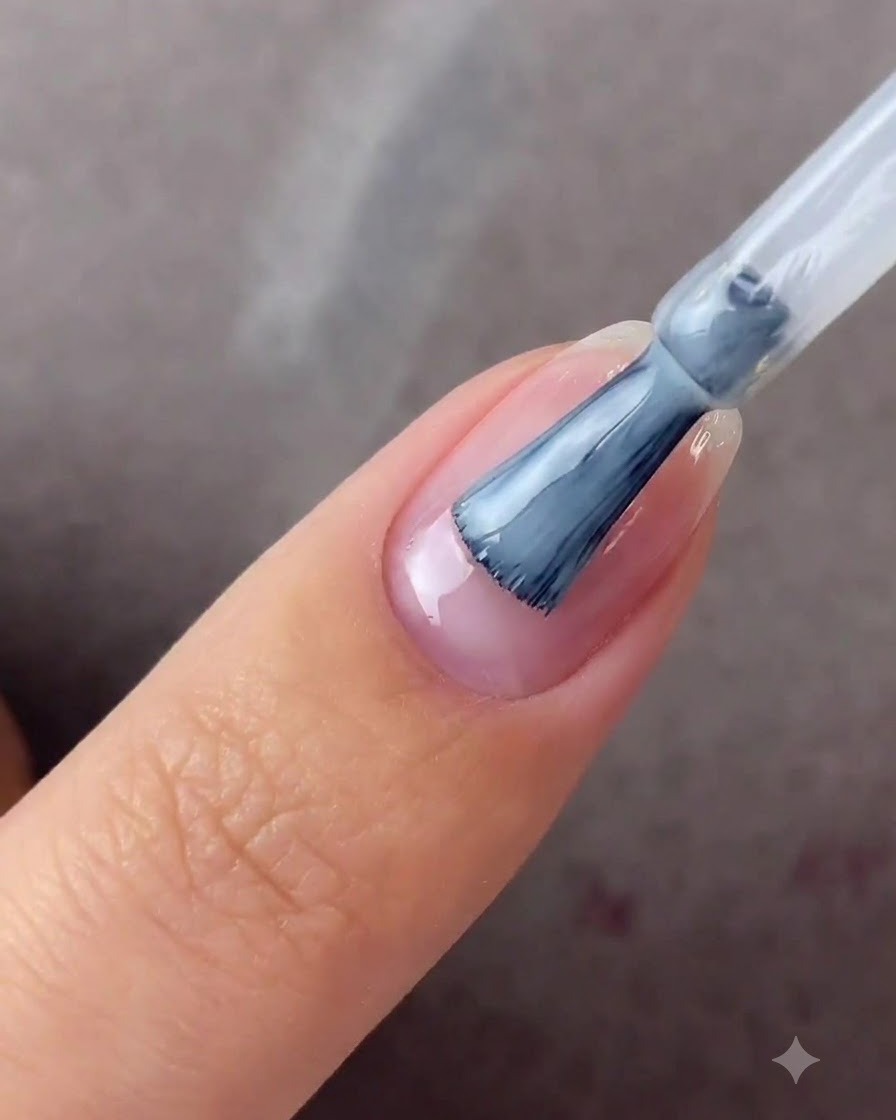
Place the finger under the UV or LED lamp to fully cure the translucent white base layer. Ensure the hand is positioned correctly for even light exposure.
Tip: Check that the entire nail surface is exposed directly to the light source to ensure proper curing. - 3Apply the first pink layer
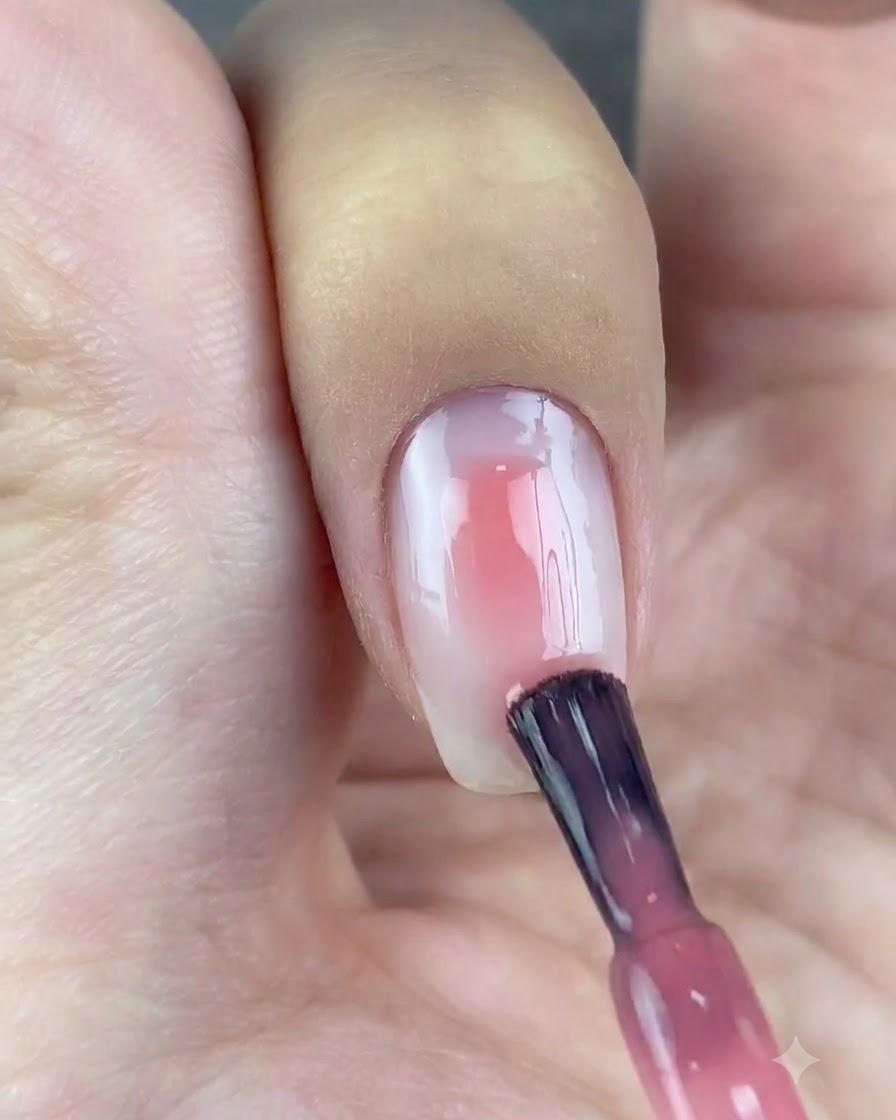
Apply the first layer of translucent pink gel directly to the center of the nail surface. Keep the application area slightly larger while leaving a 2 to 3 millimeter margin around the nail edges.
Tip: Leaving space around the perimeter allows you to blend outward for a natural blush gradient effect. - 4Wet brush with base gel
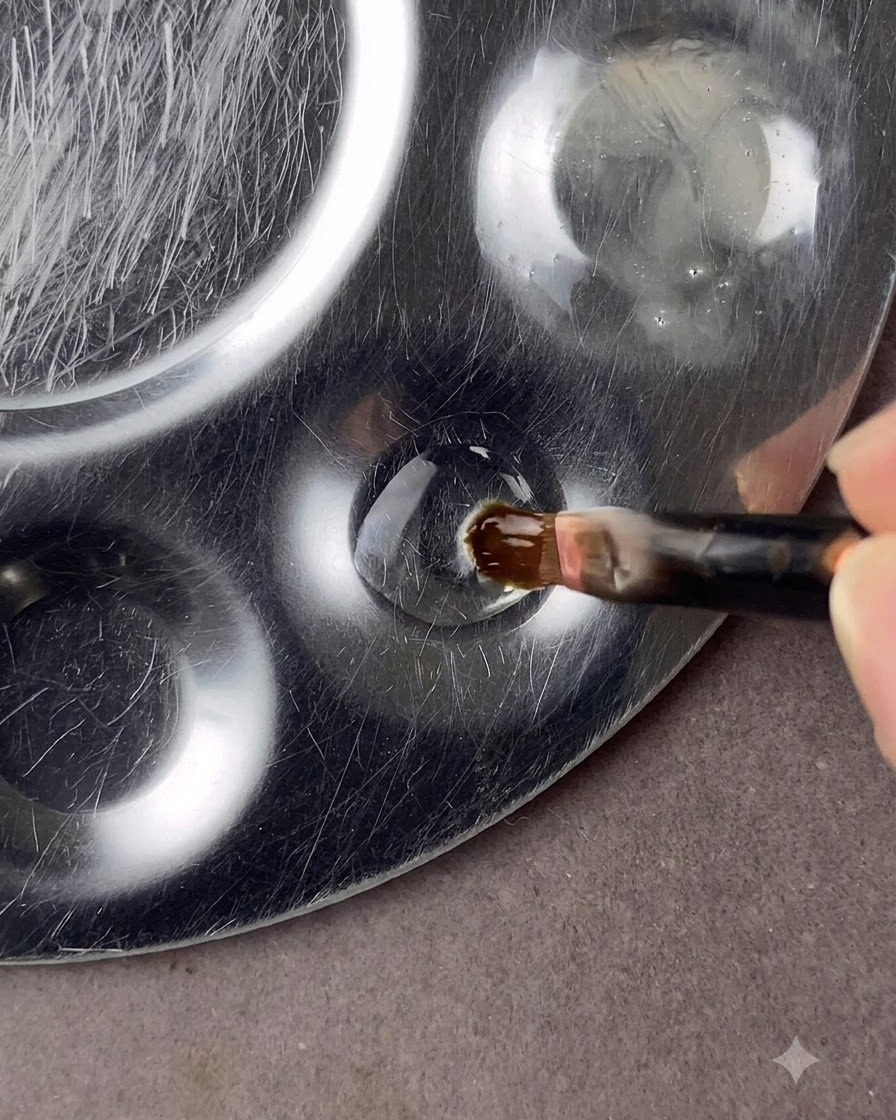
Dip a clean round-headed nail art brush into base gel to lightly wet the bristles. This helps soften the blending process.
Tip: Use only a small amount of base gel on the brush to avoid overloading the nail surface during blending. - 5Blend the first gradient layer
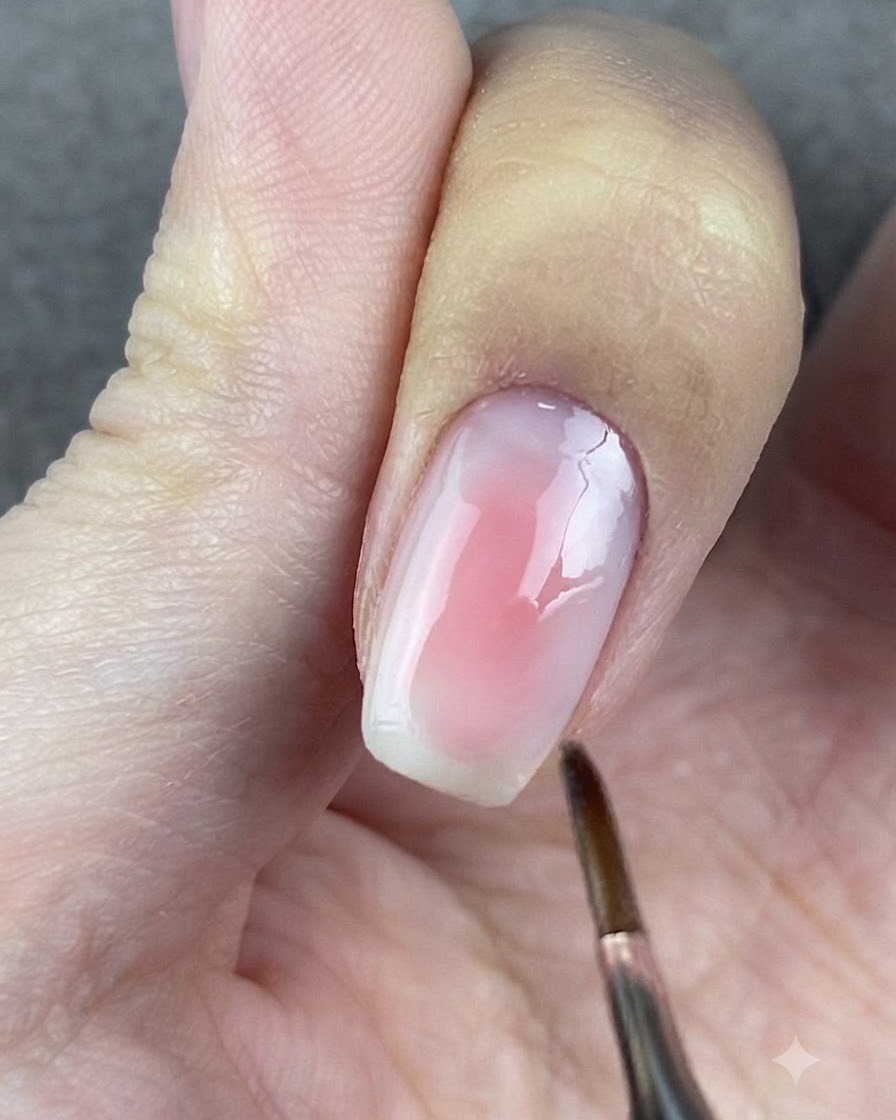
Using the base-gel moistened round-headed brush, gently tap and pull at the perimeter of the pink color zone. This diffuses the harsh lines and creates a smooth gradient effect.
Tip: Keep your motions light and feathery to pull the pigment outward without completely wiping it away. - 6Cure the first color layer
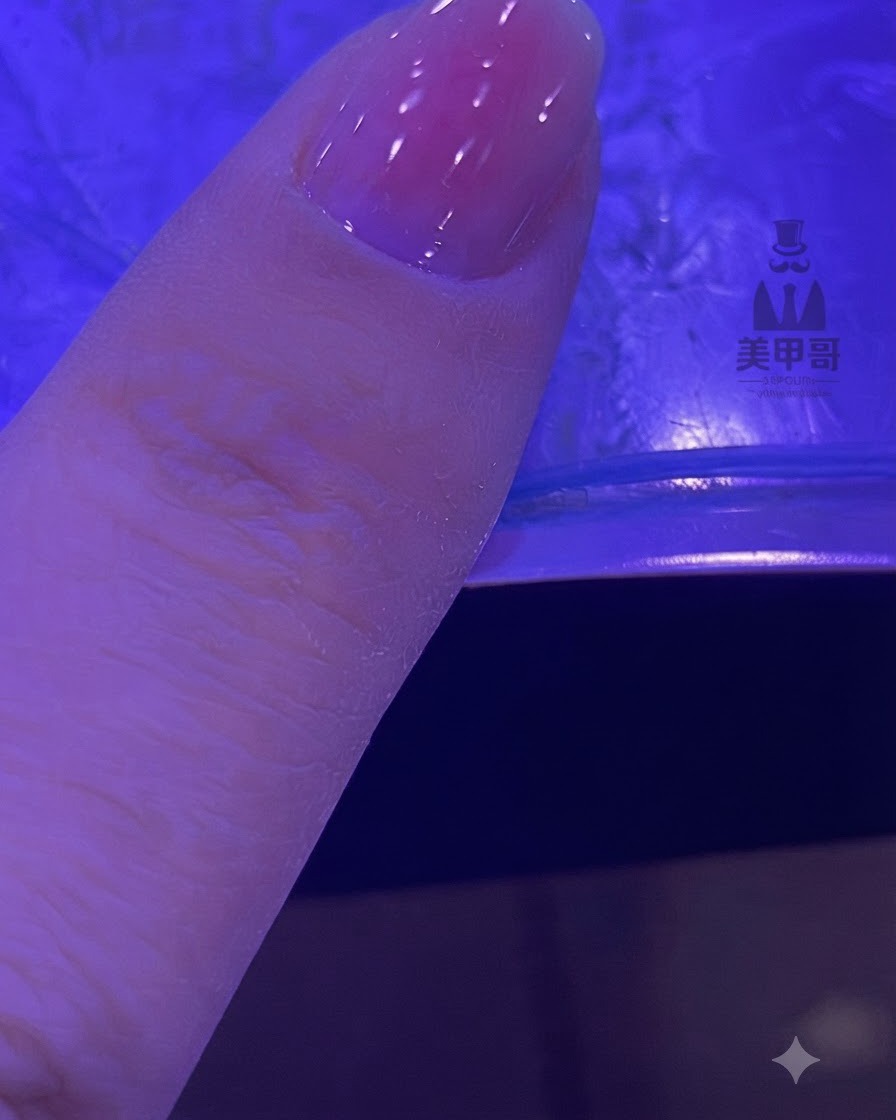
Place the finger back under the UV or LED lamp to cure the first blended pink gradient layer.
Tip: Cure each layer thoroughly before moving on to subsequent color applications to prevent muddting. - 7Apply second translucent pink layer
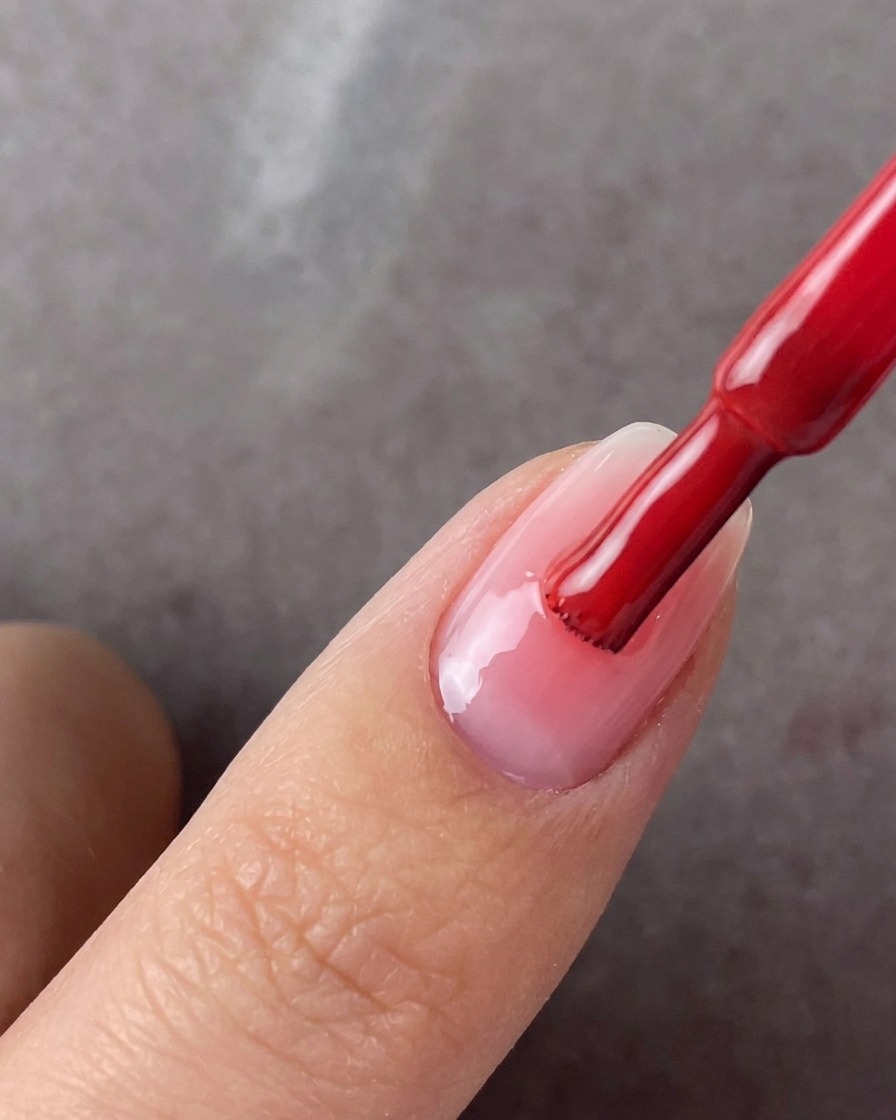
Apply the second layer of translucent pink gel directly to the middle of the nail surface. Ensure the applied area is slightly smaller than the first layer to begin building depth and dimension in the center.
Tip: Keep each progressive layer slightly smaller than the last to maintain a smooth color transition. - 8Blend second pink layer edges
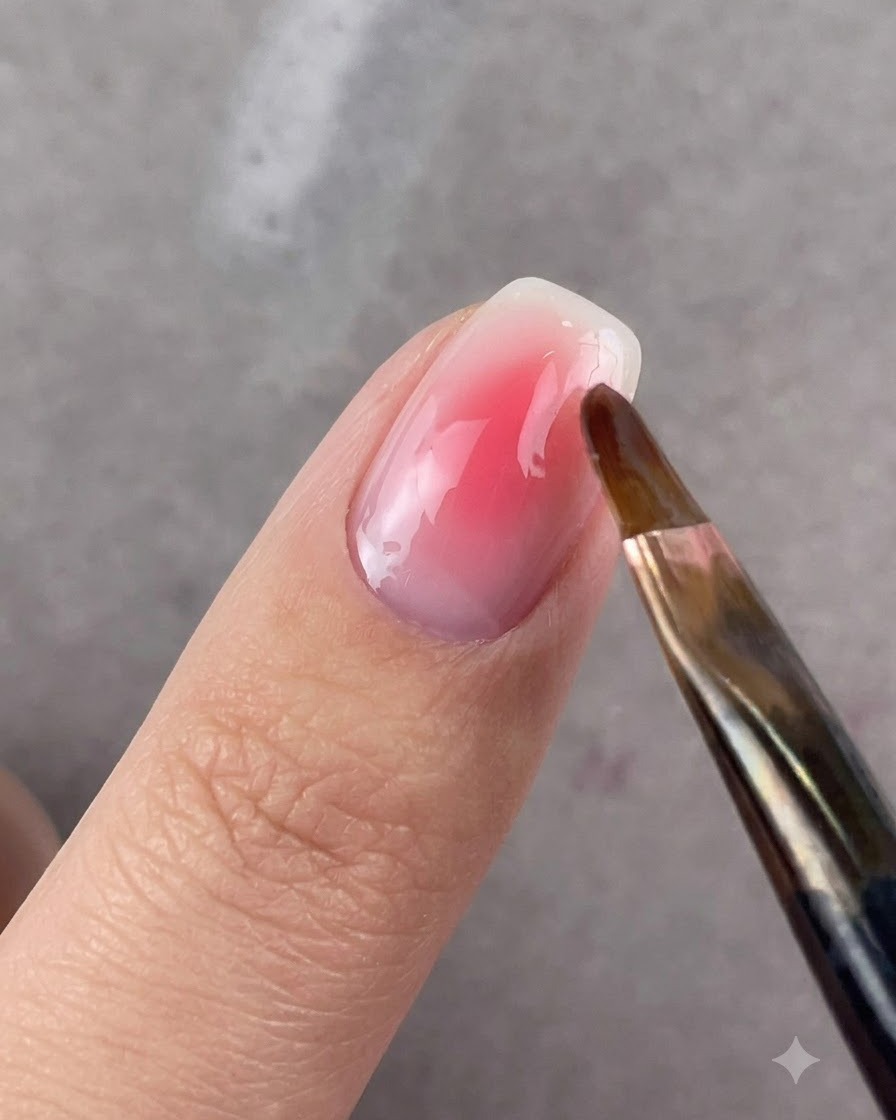
Using a clean round-headed brush, gently tap and pull at the edges of the second pink gel application. This diffuses the product outward to create a seamless and natural gradient transition.
Tip: Light tapping motions work best to blend edges without creating harsh lines. - 9Cure second color layer
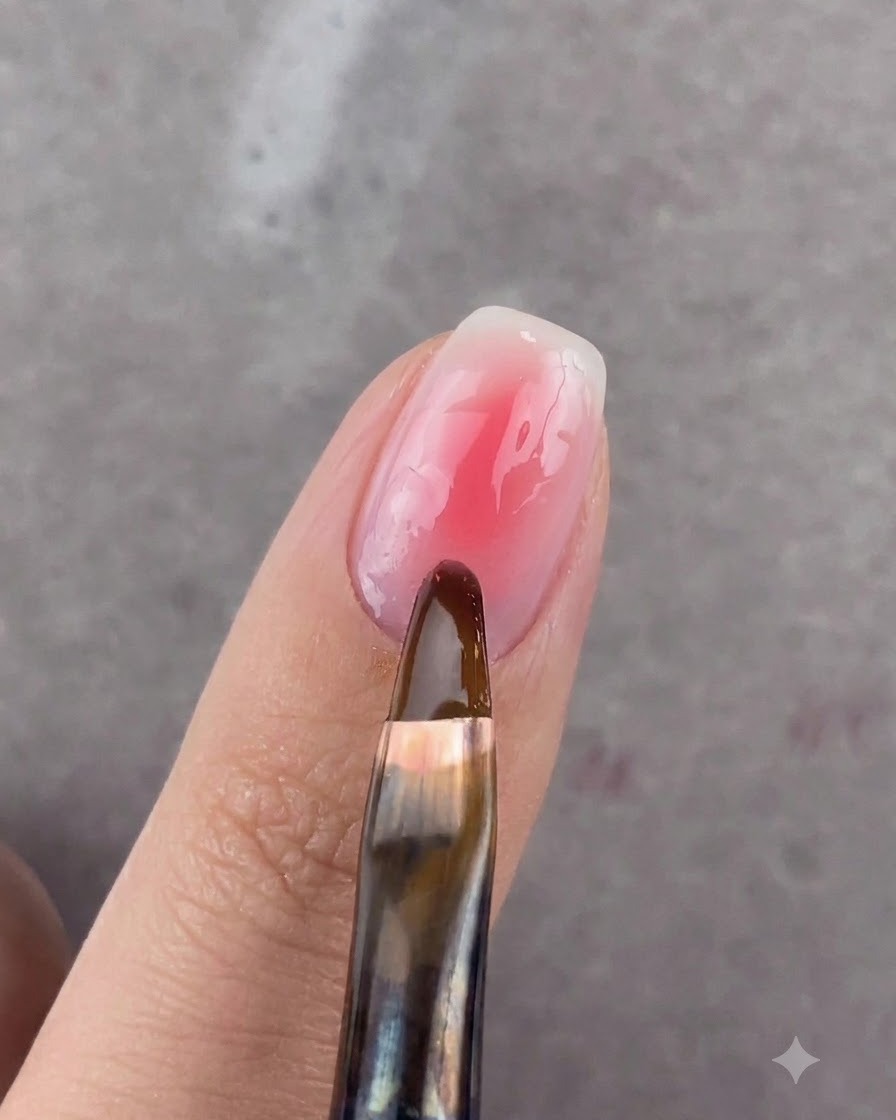
Place the finger under the UV or LED lamp to cure the second color layer completely. This sets the gel and prevents any shifting before the next step.
Tip: Ensure your hand is positioned evenly under the light source for complete curing. - 10Apply third pink dot
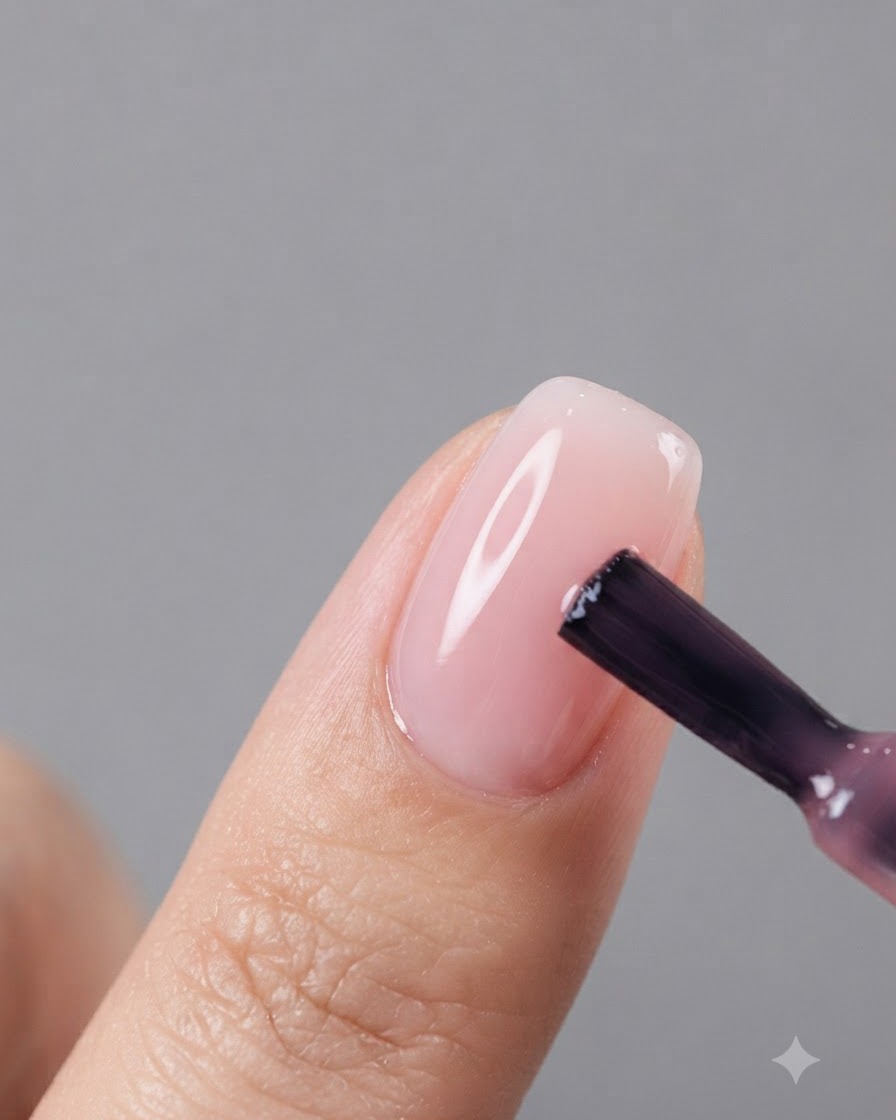
Apply the third layer of translucent pink gel as a small, concentrated dot directly in the center of the nail surface. This final color placement creates the deepest point of the blush gradient.
Tip: A smaller brush or precise dotting motion helps control the placement of this final layer. - 11Refine gradient with brush
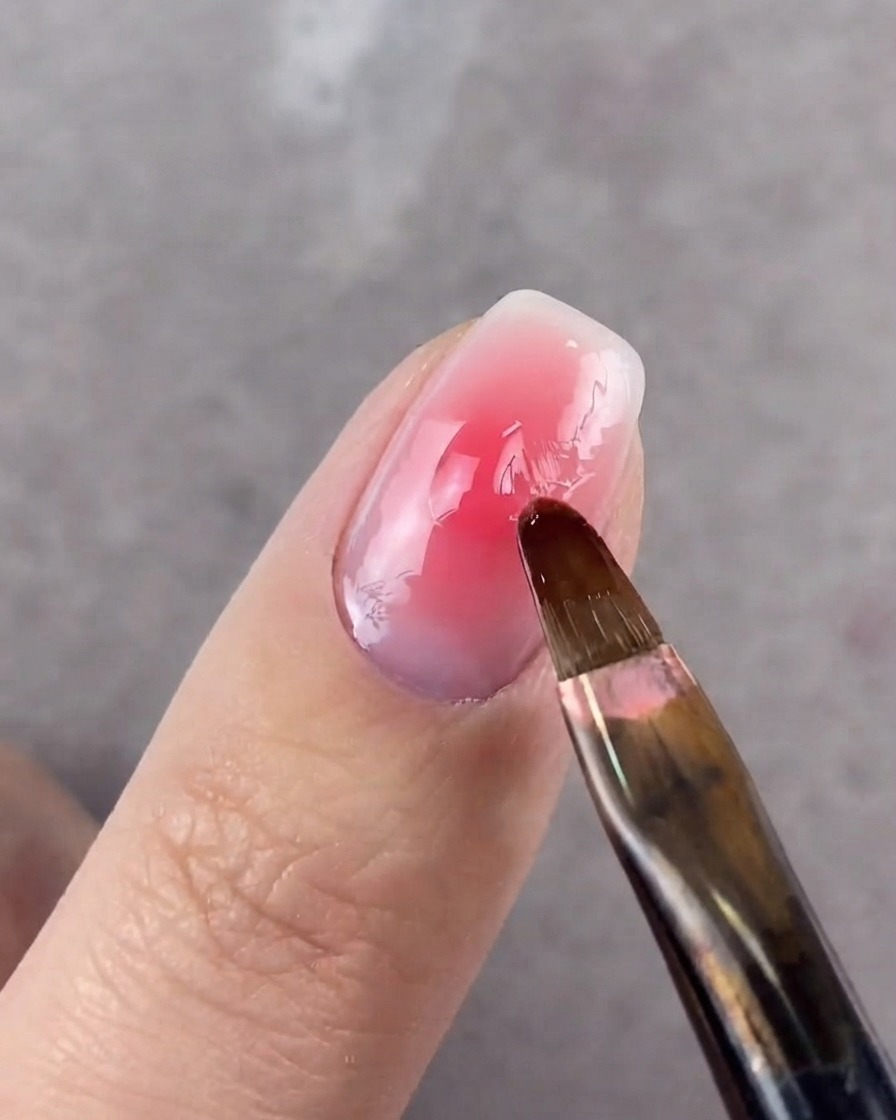
Use the round-headed brush once more to tap and blur the outer edges of the center dot. This softens the transition and perfects the overall blush gradient effect.
Tip: Keep strokes extremely light to maintain the concentrated color intensity right in the middle. - 12Apply no-wipe top coat
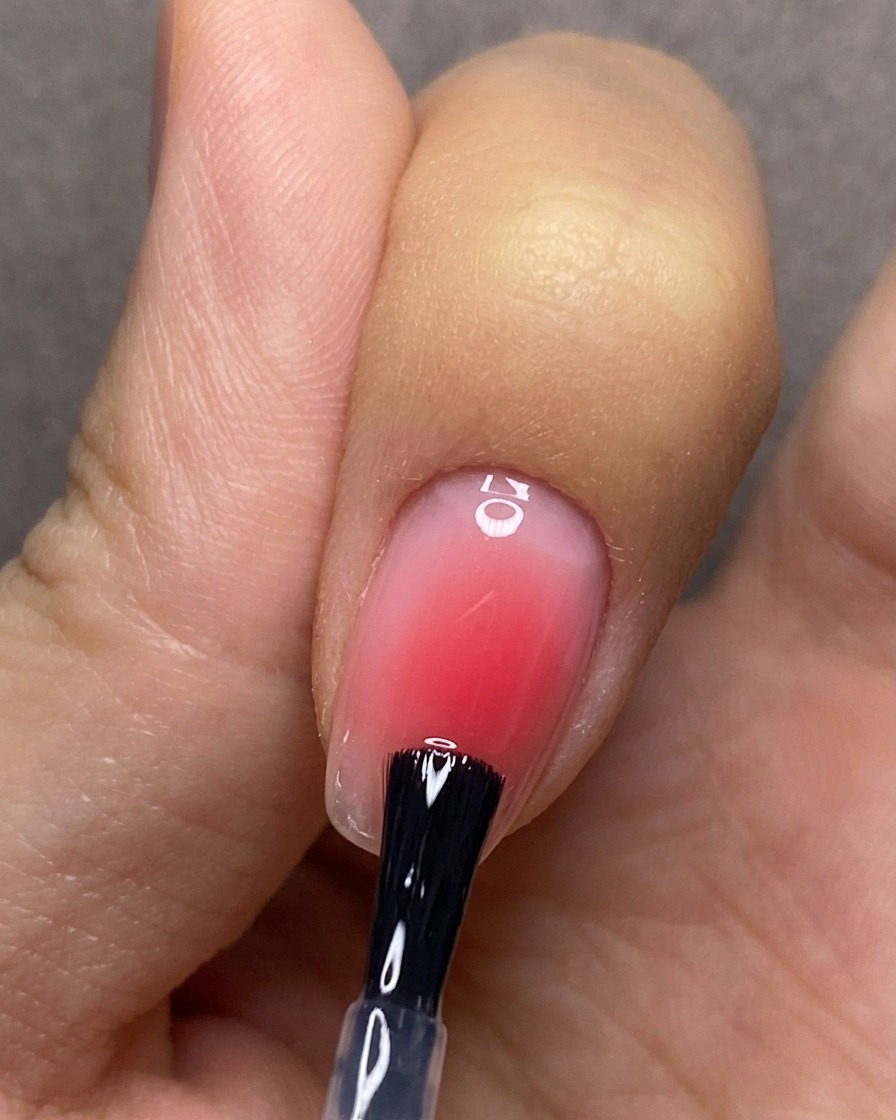
Apply a layer of no-wipe top coat evenly over the entire nail surface, sealing the edges carefully. This locks in the pink blush gradient design and provides a high-gloss protective finish without leaving any sticky residue.
Tip: Make sure to cap the free edge with the top coat to prevent chipping and peeling along the tip. - 13Cure the top coat
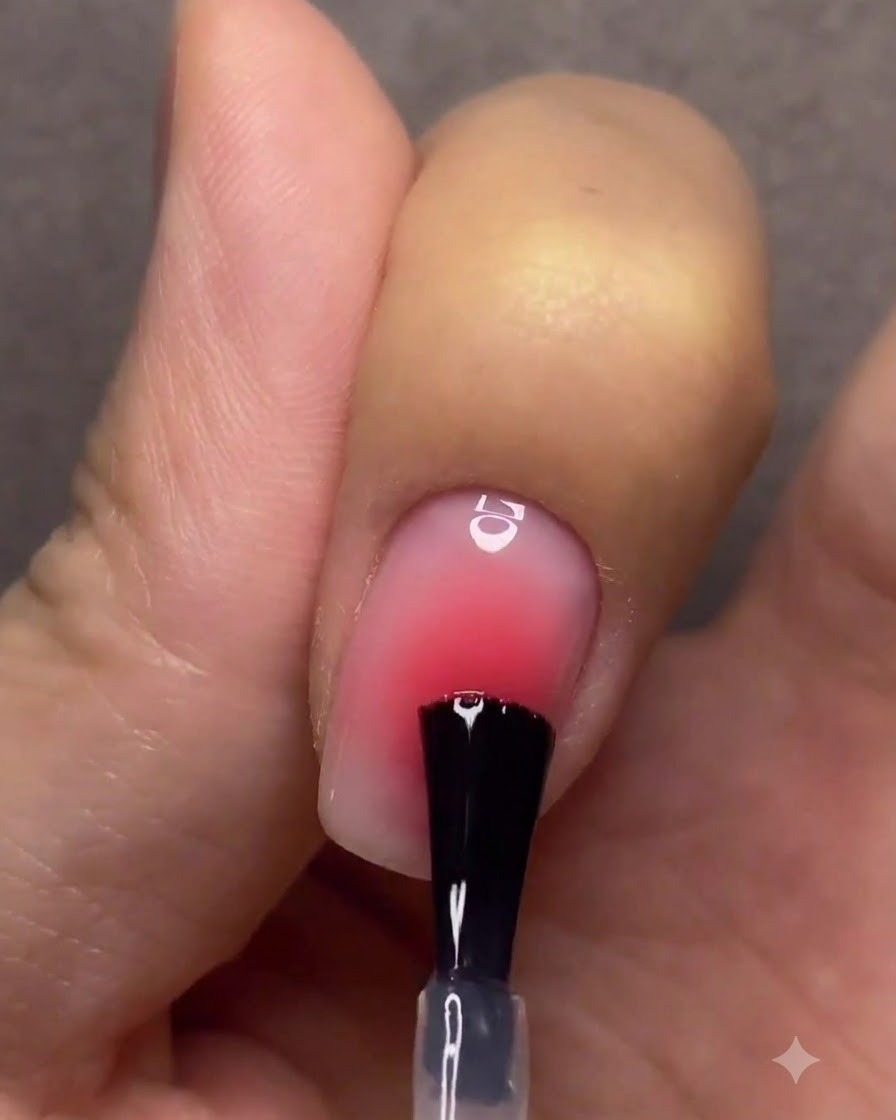
Place the finger under the UV/LED lamp and cure the top coat for 60 seconds. This fully hardens the surface, locks in the shine, and completes the entire red blush gradient nail art process.
Tip: Ensure the hand is positioned directly under the light source to cure the edges and surface evenly.