Pink Ombre
Magnetic Cat Eye Gel Nails — Step-by-Step Tutorial
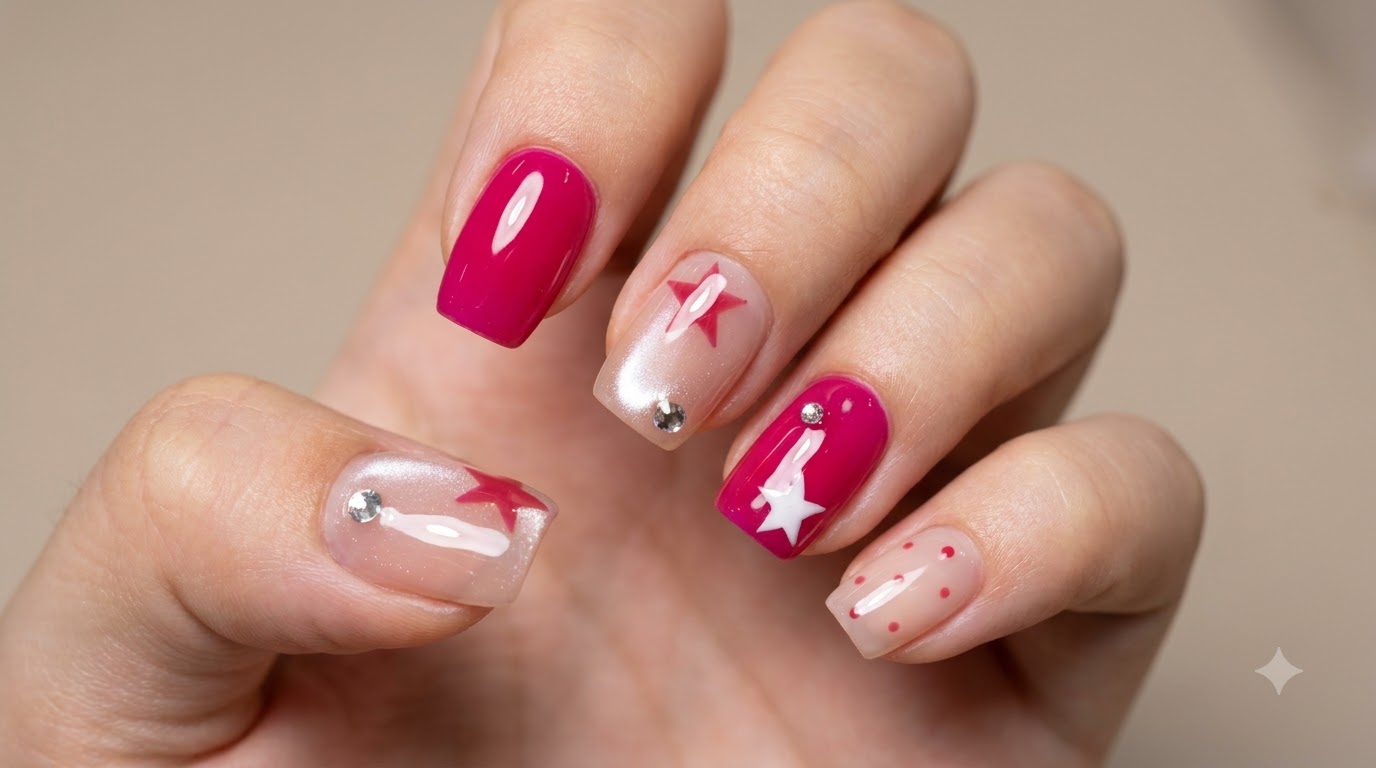
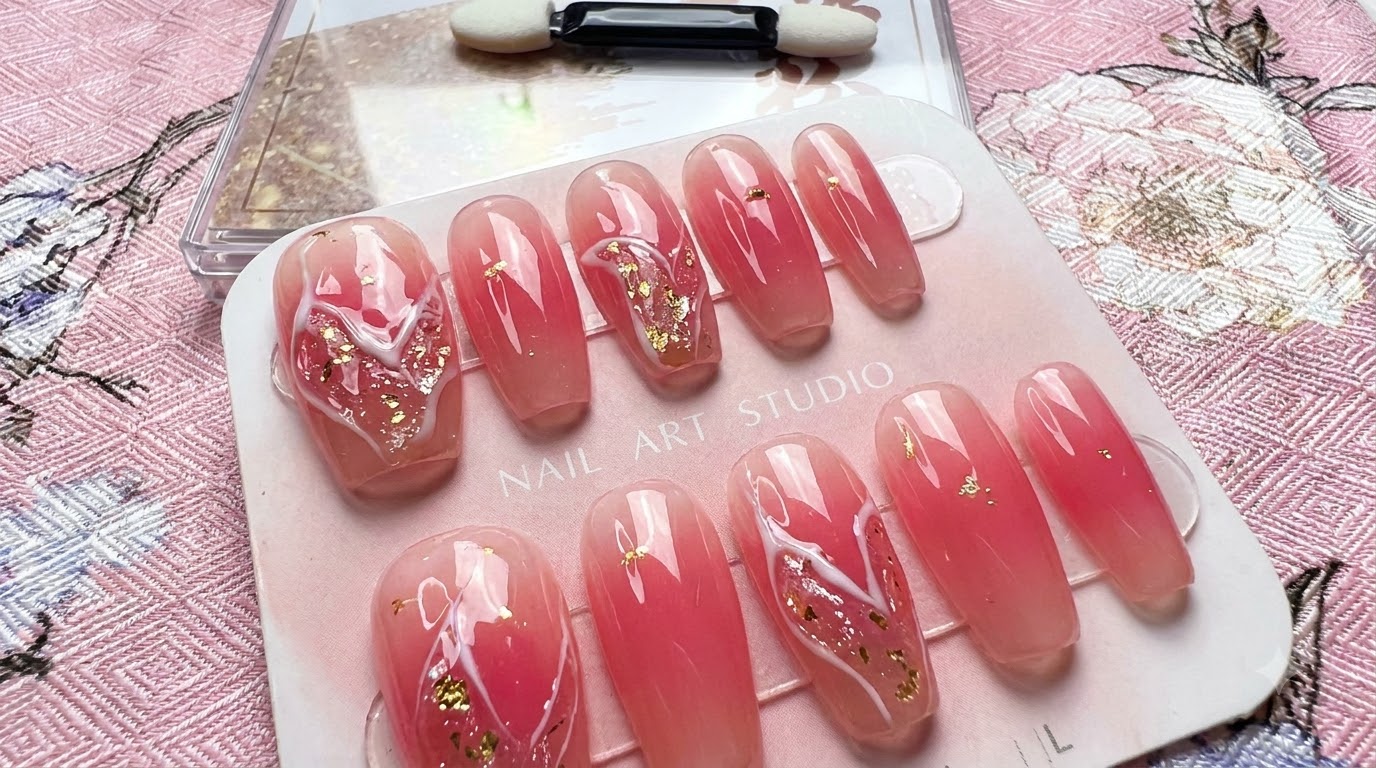
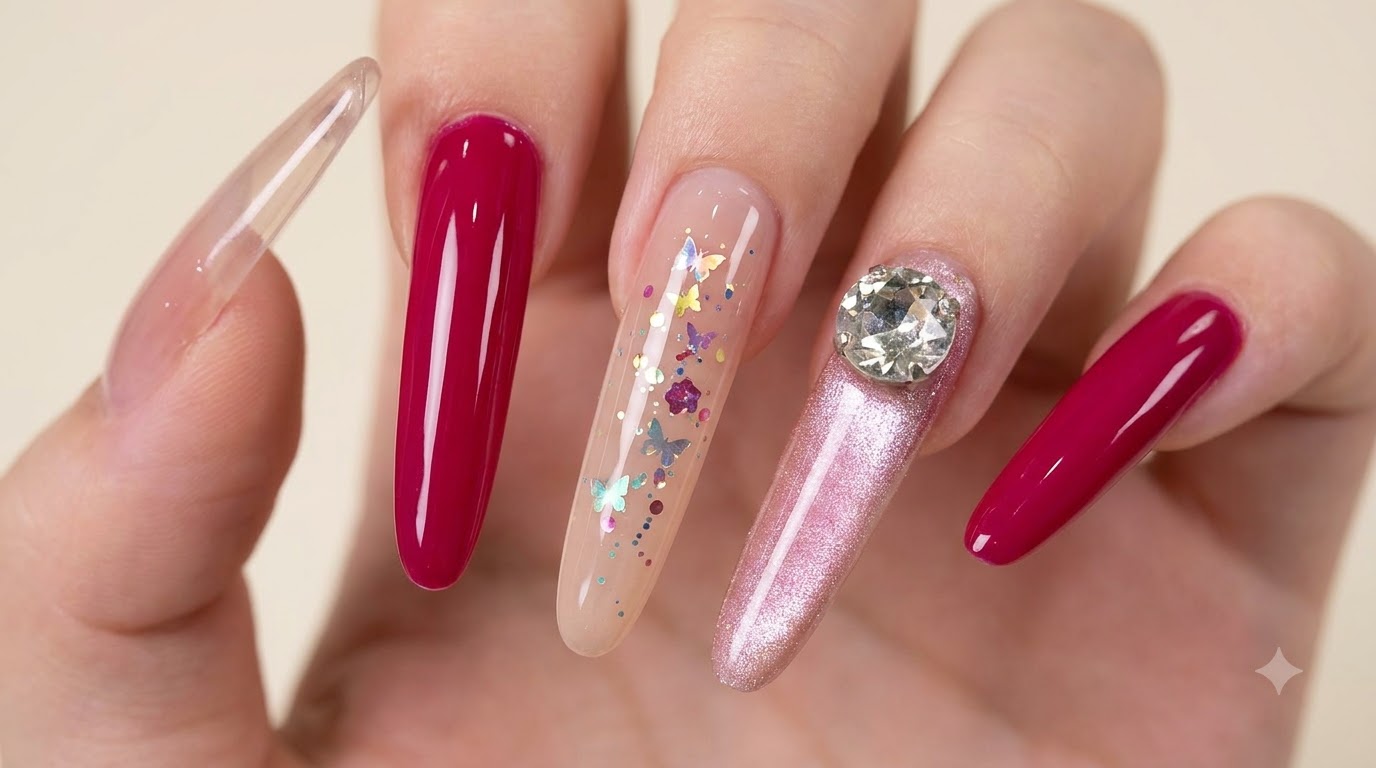
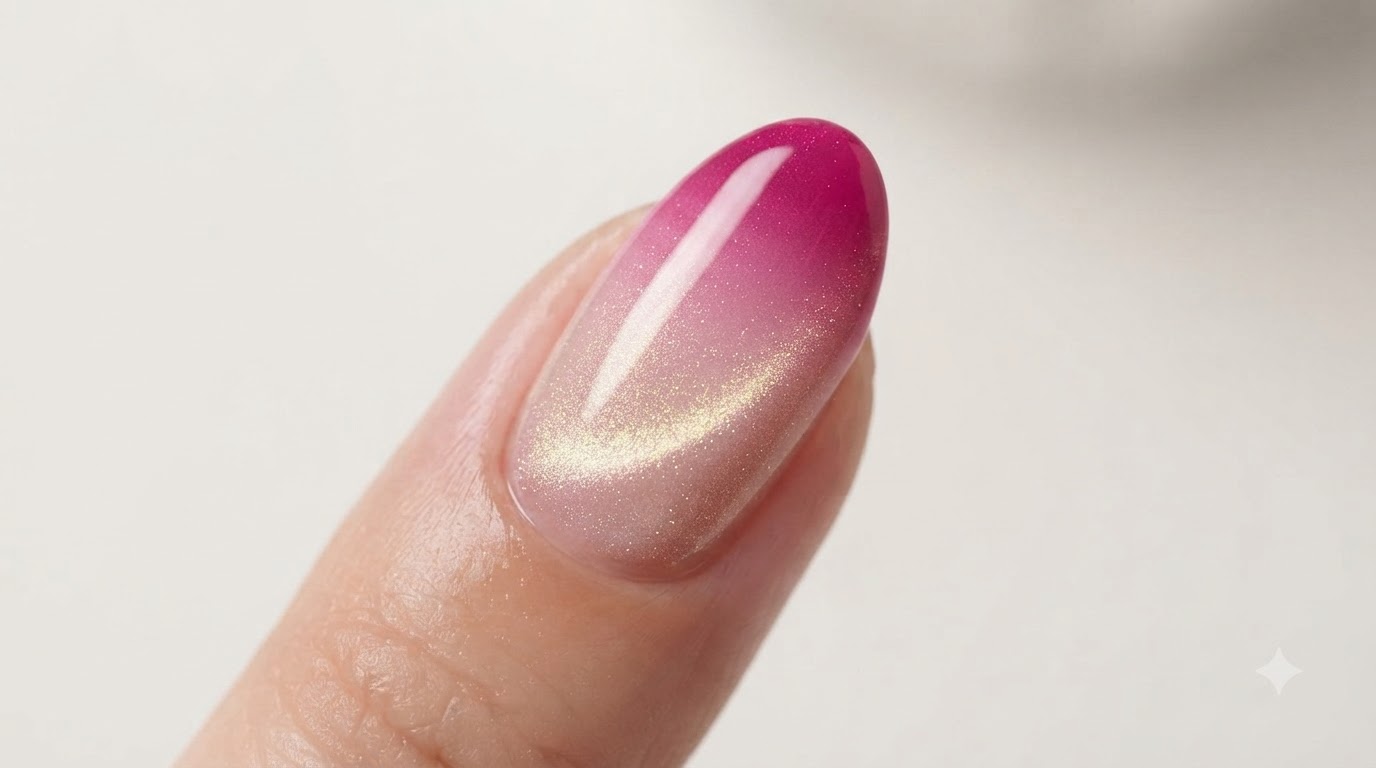
Create a mesmerizing pink ombre and magnetic cat eye gel manicure using sponge blending and custom light reflection techniques for a high-gloss finish.
Combining the soft, seamless blend of a classic pink ombre with the dynamic, shifting shimmer of magnetic cat-eye gel creates a truly spellbinding manicure. This step-by-step guide walks you through layering magenta hues and manipulating metallic particles with a magnet to achieve a professional salon-quality look right at home.
Steps
- 1Apply first magenta red gradient layer
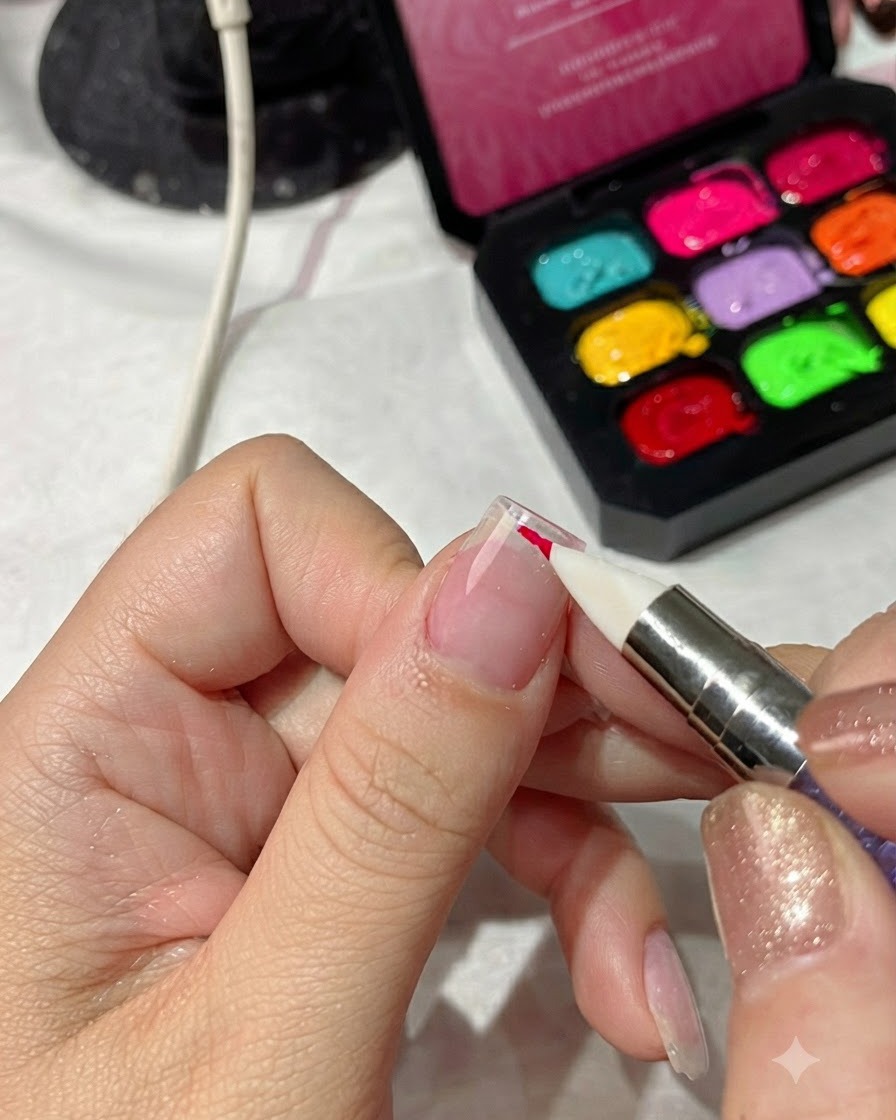
Using a sponge applicator tool, gently dab magenta red gel polish onto the upper portion of the nail plate to build a soft gradient effect. Keep the application concentrated near the tip or upper area as desired for the design layout.
Tip: Dabbing lightly with a dry sponge helps create a smooth, airbrushed gradient transition without harsh lines. - 2Cure the gradient layer
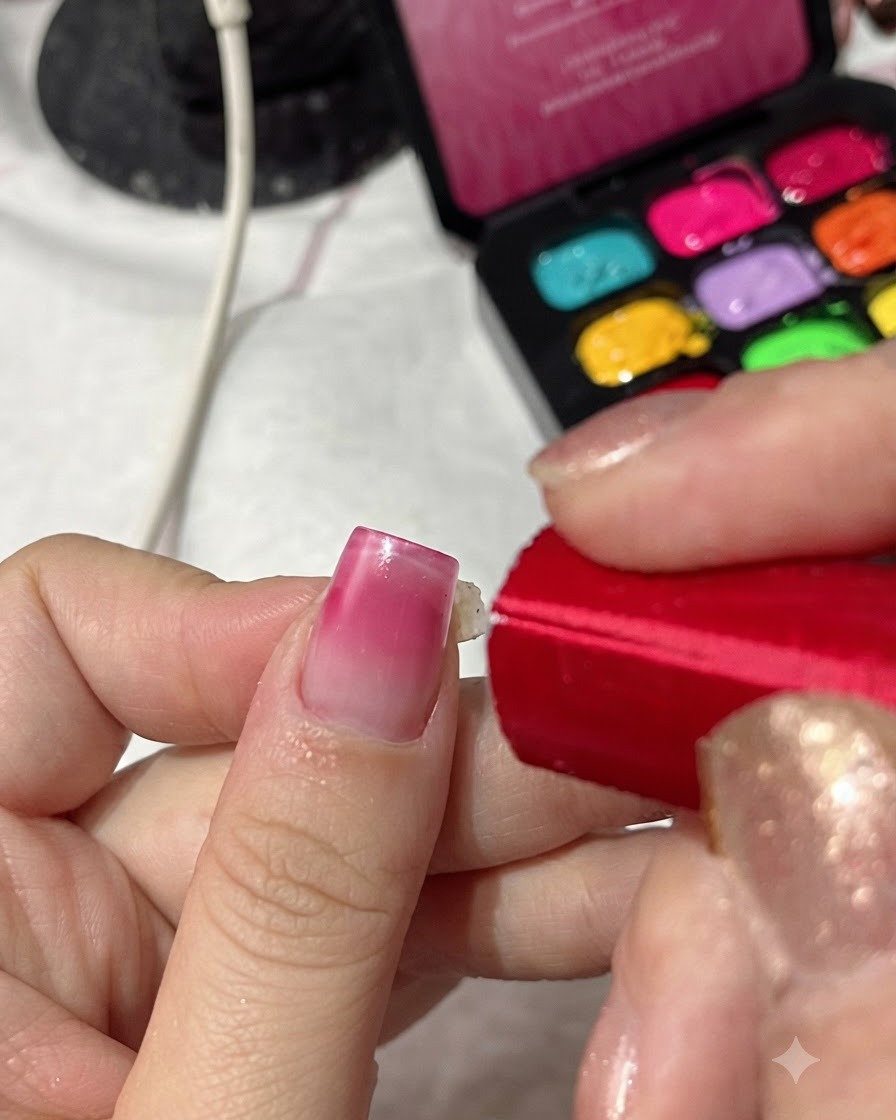
Place the nail under a portable red UV/LED lamp to cure the freshly applied layer of magenta gel polish. Ensure the light covers the entire painted area properly to lock in the gradient effect before moving on to the next step.
Tip: Hold the portable lamp steady to prevent the finger from shifting while curing. - 3Apply sparkling magnetic cat-eye gel
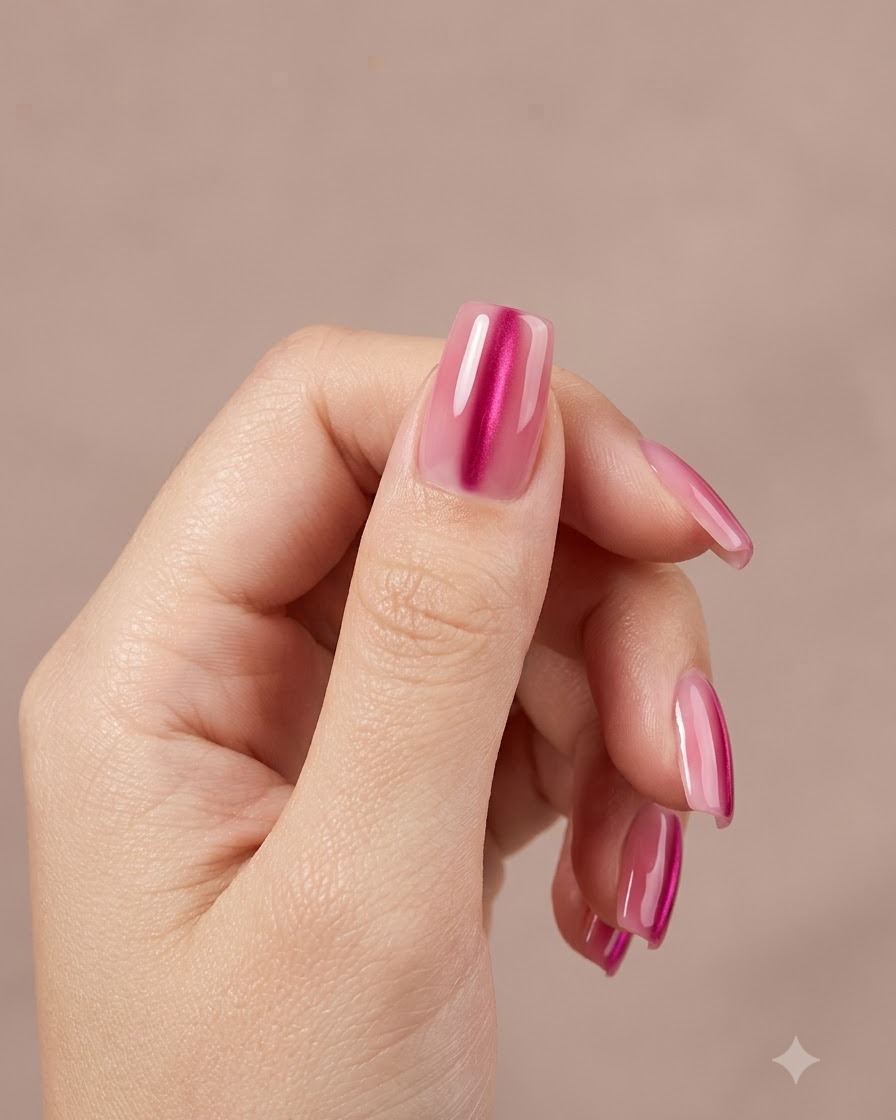
Apply a full, even coat of sparkling magnetic cat-eye gel over the entire surface of the nail using a flat nail art brush. Ensure the coat covers both the natural base and the magenta gradient section smoothly without pooling.
Tip: Apply an even layer so the magnetic particles have enough fluid medium to move freely when you shape them. - 4Shape wide light reflection with magnet
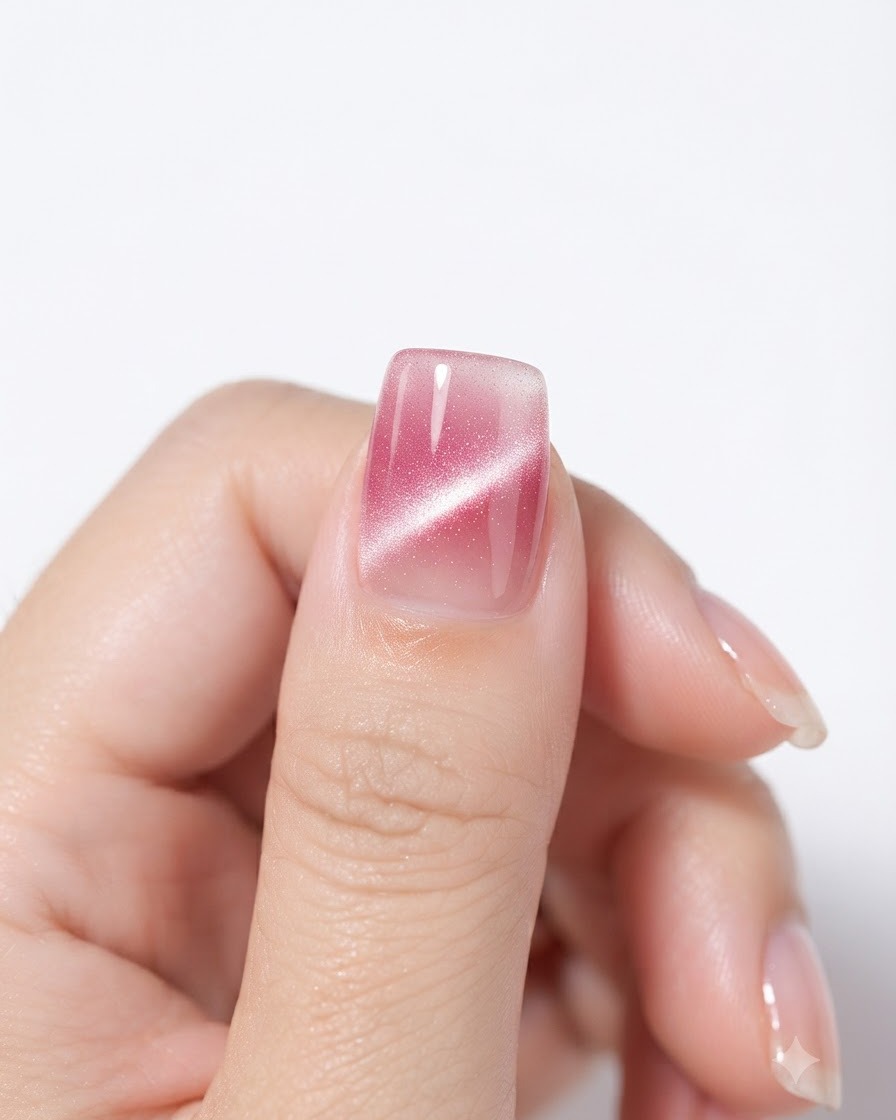
Hold a magnetic tool close to the left and right sides of the nail simultaneously to push and pull the cat-eye magnetic particles. This action shapes the metallic particles into a wide, luminous light reflection band across the nail.
Tip: Keep the magnet steady and close to the sides without touching the wet gel surface to maintain a clean line. - 5Create chasing light effect
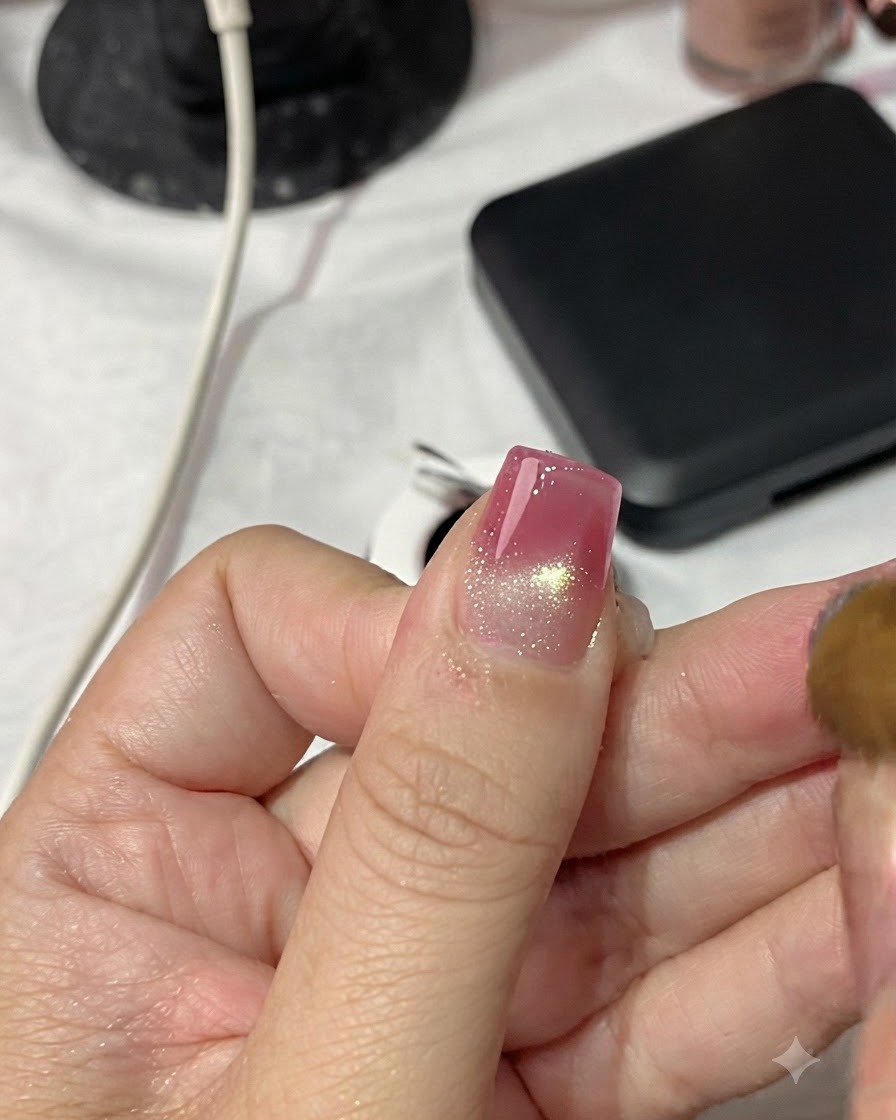
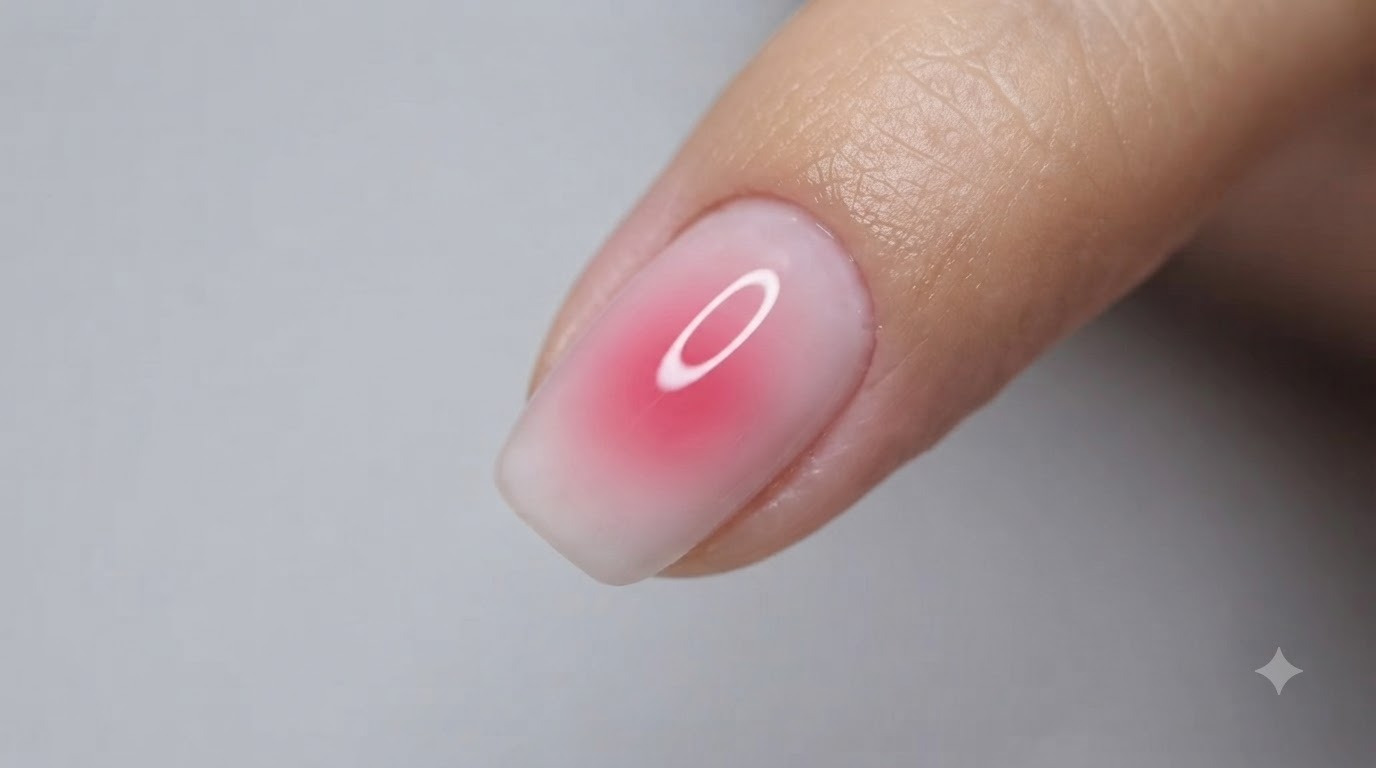
Take the cylindrical end of the magnet and move it in a circular motion around the nail surface. This specialized motion pulls and concentrates the magnetic particles to form a dynamic chasing light or blooming halo effect.
Tip: Slow, controlled circular movements give you precise control over how the magnetic particles cluster together. - 6Cure the cat-eye layer
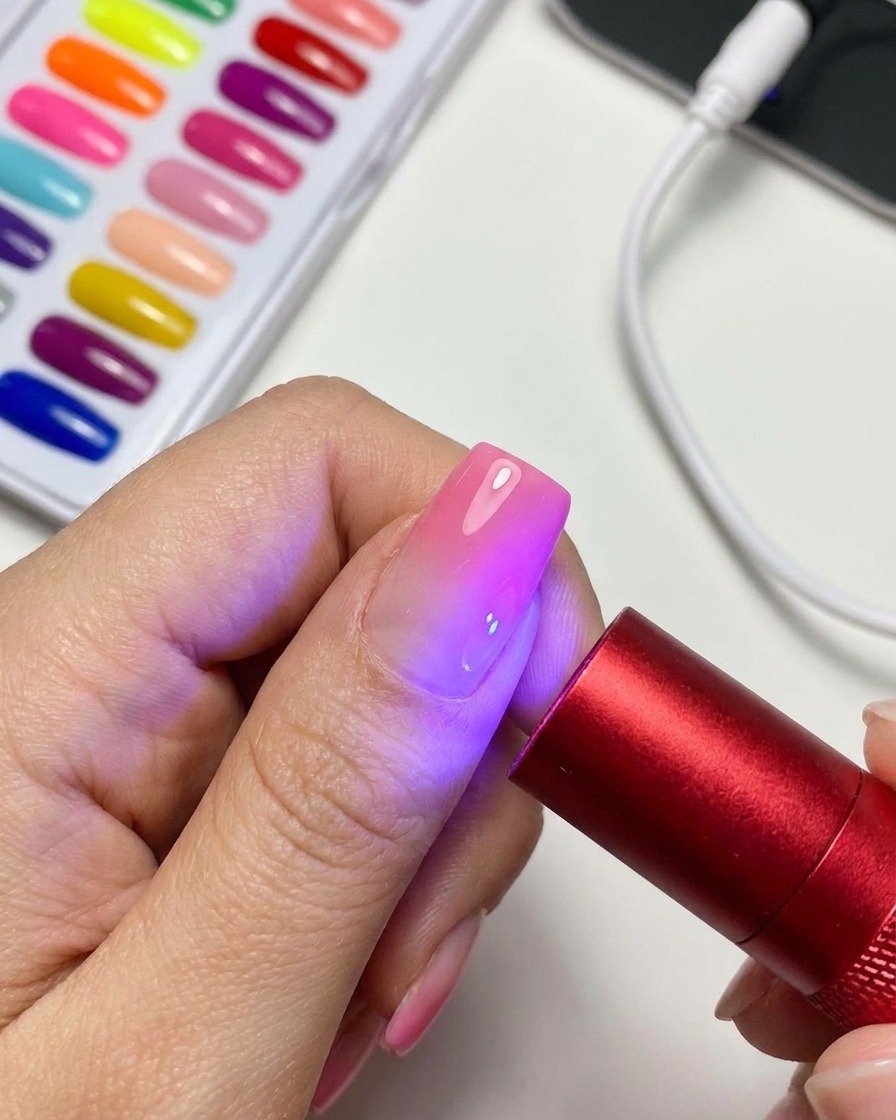
Position the portable red UV/LED lamp over the nail to cure the newly shaped magnetic cat-eye gel layer. Curing immediately preserves the customized light reflection pattern so it will not shift or disperse.
Tip: Flash cure for a few seconds if needed to lock the particles in place before a full cure. - 7Wipe away the sticky floating gel layer
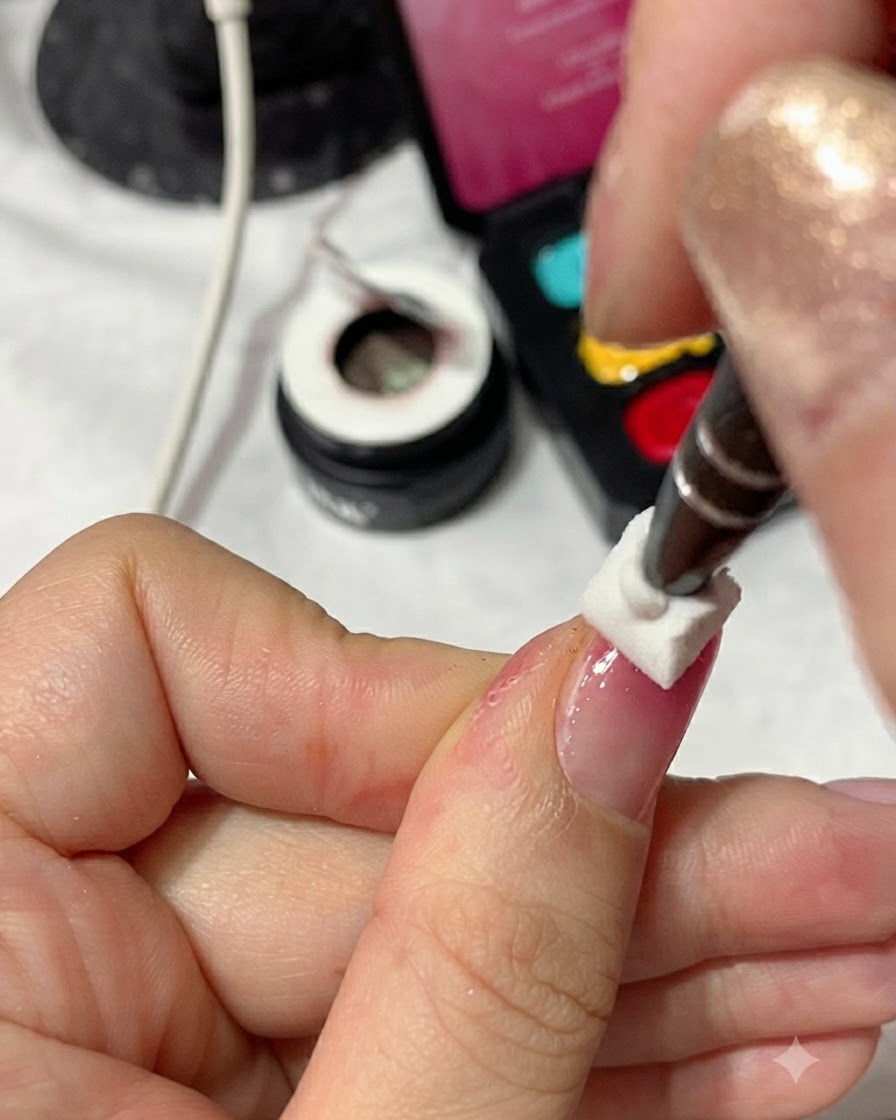
Using a lint-free wipe dampened with nail cleanser, thoroughly wipe away the sticky inhibition layer from the cured nail surface. This removes any unpolymerized gel residue, leaving the manicure completely smooth, clean, and ready for the next step.
Tip: Make sure your wipe is fully saturated with cleanser so it removes the sticky residue cleanly without smudging the glossy finish. - 8Reapply magenta red on the nail tip
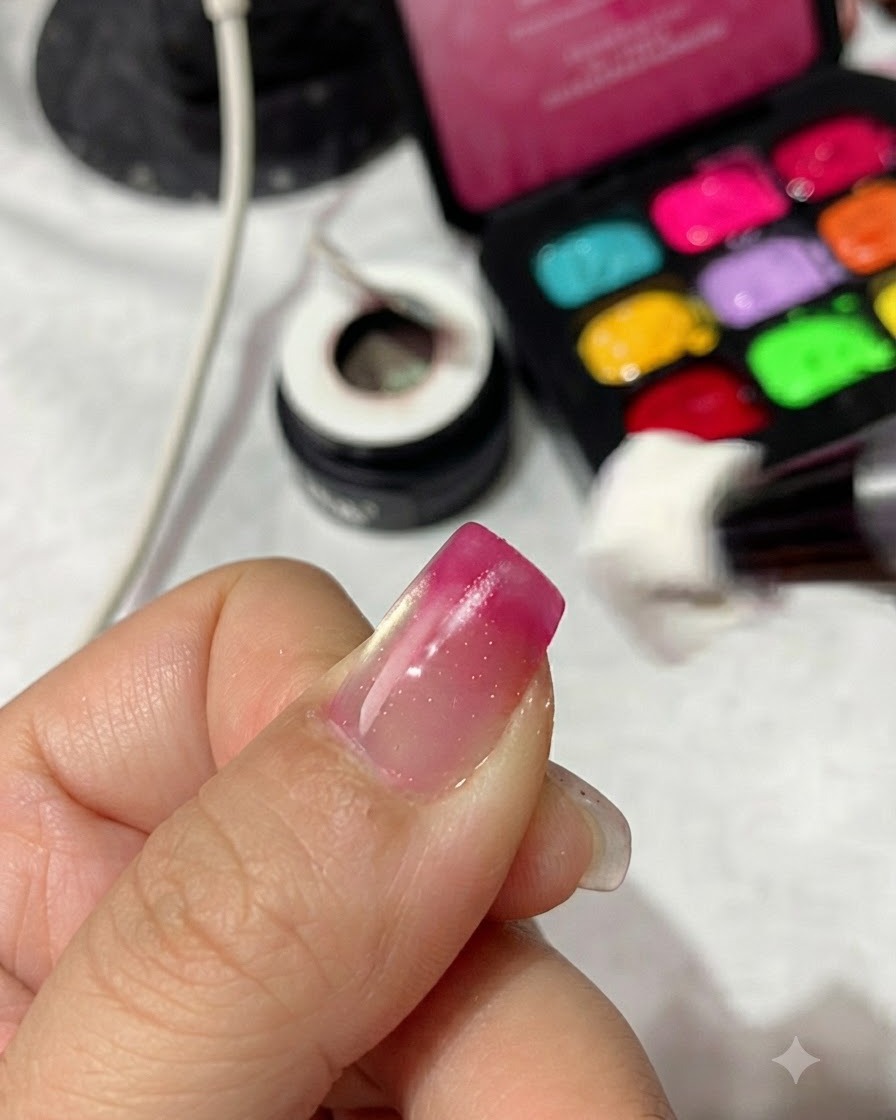
Take the sponge applicator with magenta red gel polish and dab it onto the nail tip once more. This second application deepens the pigment intensity and builds a richer, more defined ombre gradient effect.
Tip: Dab lightly with the sponge to keep the gradient fading smoothly toward the middle of the nail rather than creating a harsh line. - 9Cure the second gradient layer
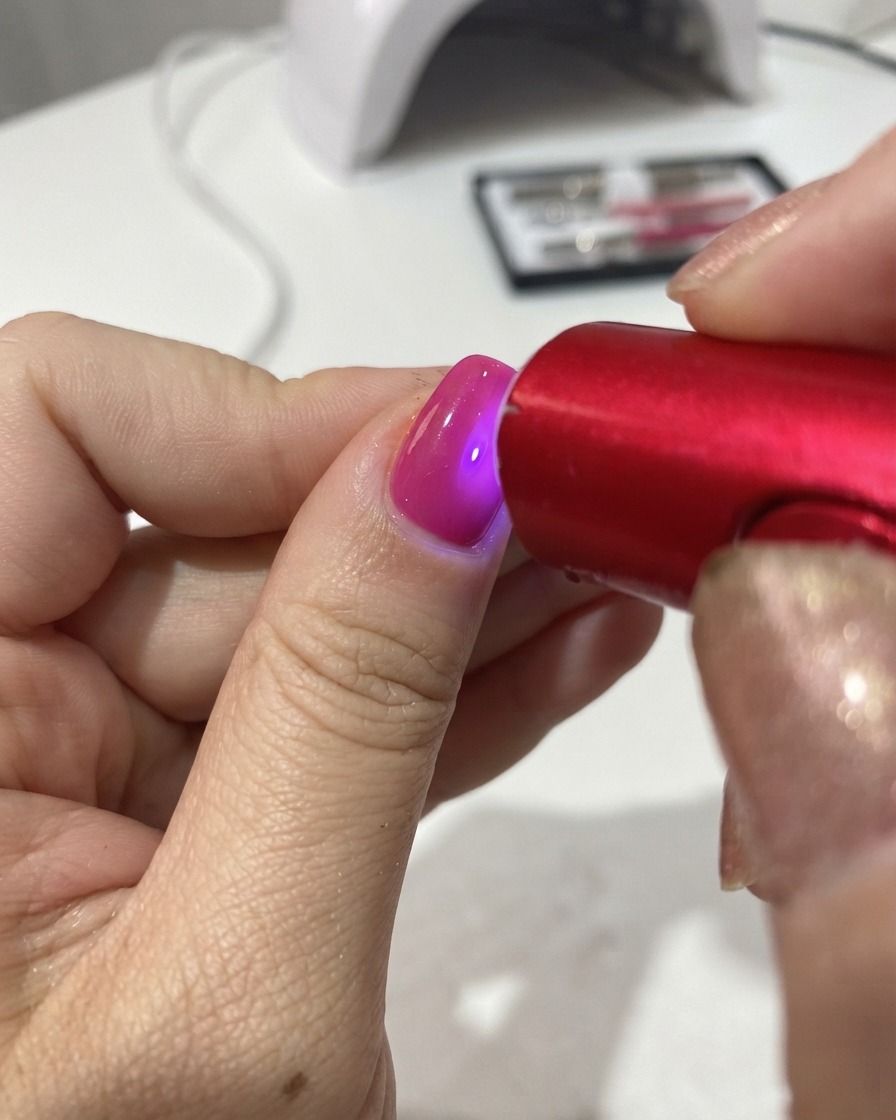
Position the portable red UV/LED lamp directly over the nail to cure the second layer of magenta gradient gel. Hold or place the lamp securely to ensure the gel hardens properly.
Tip: Ensure the light source covers the entire nail tip evenly so the intensified gradient sets without shifting. - 10Apply final clear top coat
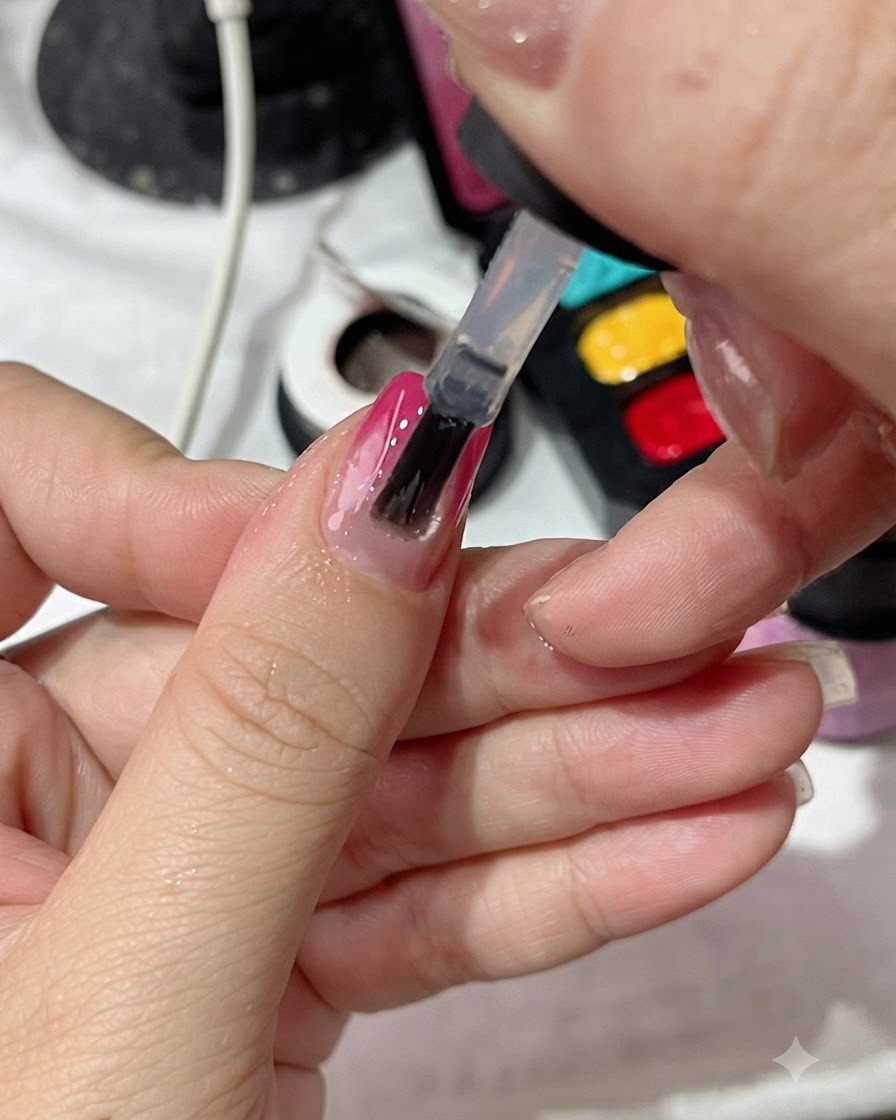
Apply a smooth, even layer of clear top coat across the entire nail using the polish brush, sealing in the ombre gradient design. Be sure to cap the free edge to protect the manicure from chipping.
Tip: Apply a thin and consistent layer to avoid pooling around the cuticles and ensure a high-shine finish. - 11Cure the top coat layer
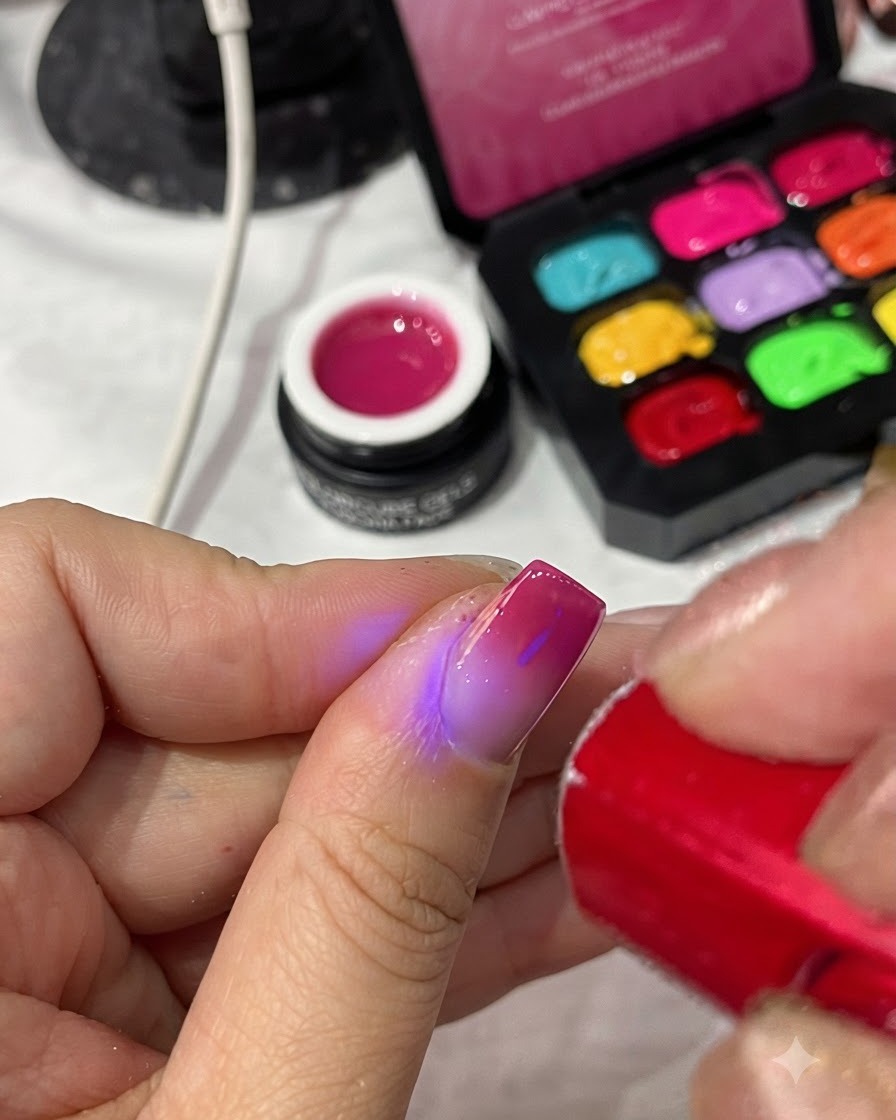
Use the portable red UV/LED lamp to cure the final top coat layer. This locks in the shine, protects the underlying design, and fully sets the manicure.
Tip: Cure for the full recommended duration to guarantee a durable, long-lasting, and smudge-proof finish.