Magenta Star
Dot Nail Art — Step-by-Step Gel Tutorial
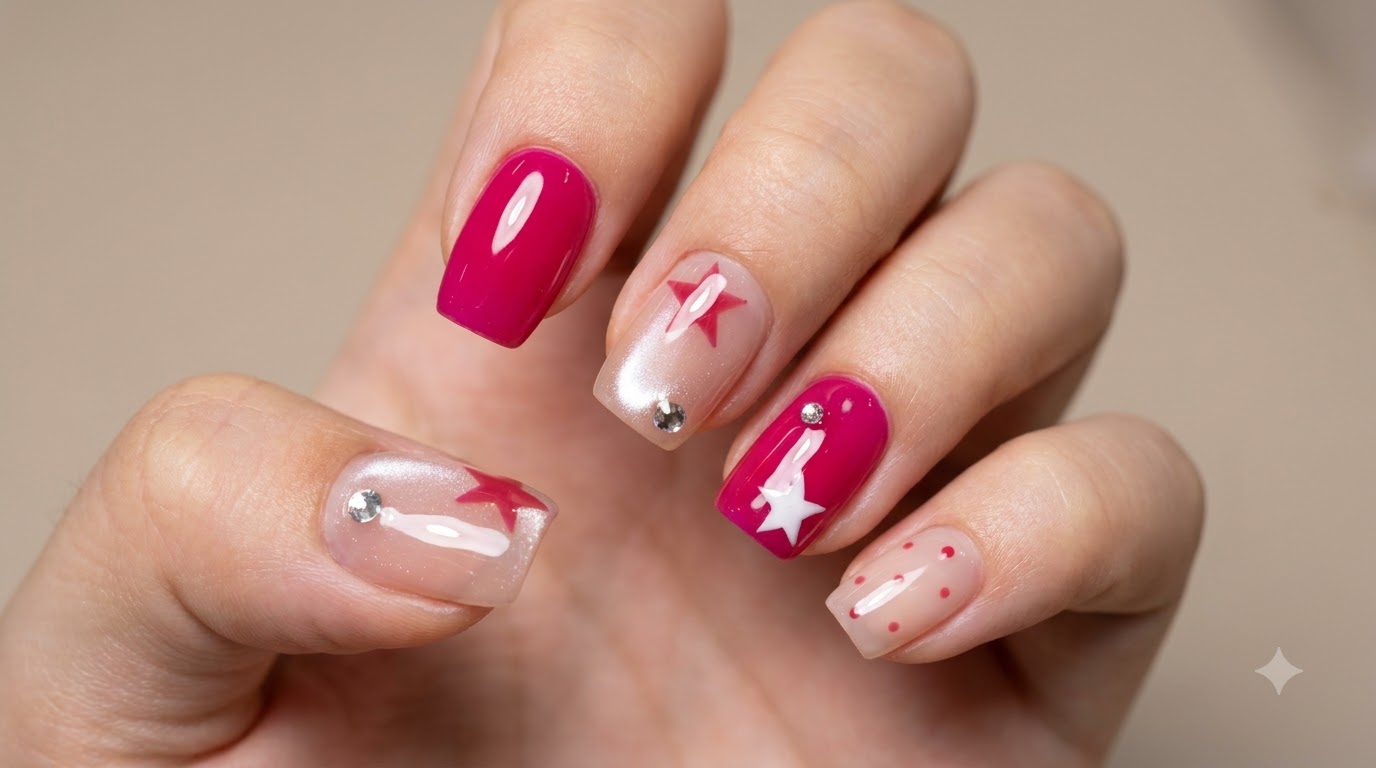
Create a vibrant magenta nail look featuring metallic cat eye effects, hand-painted five-pointed stars, delicate polka dots, and sparkling crystal gems.
Star motifs and playful polka dots have taken over contemporary nail trends, offering a sweet yet striking aesthetic. This look combines the mesmerizing dimension of magic cat eye gel with crisp hand-painted stars and subtle rhinestone accents for a balanced, eye-catching manicure.
Steps
- 1Apply matte top coat
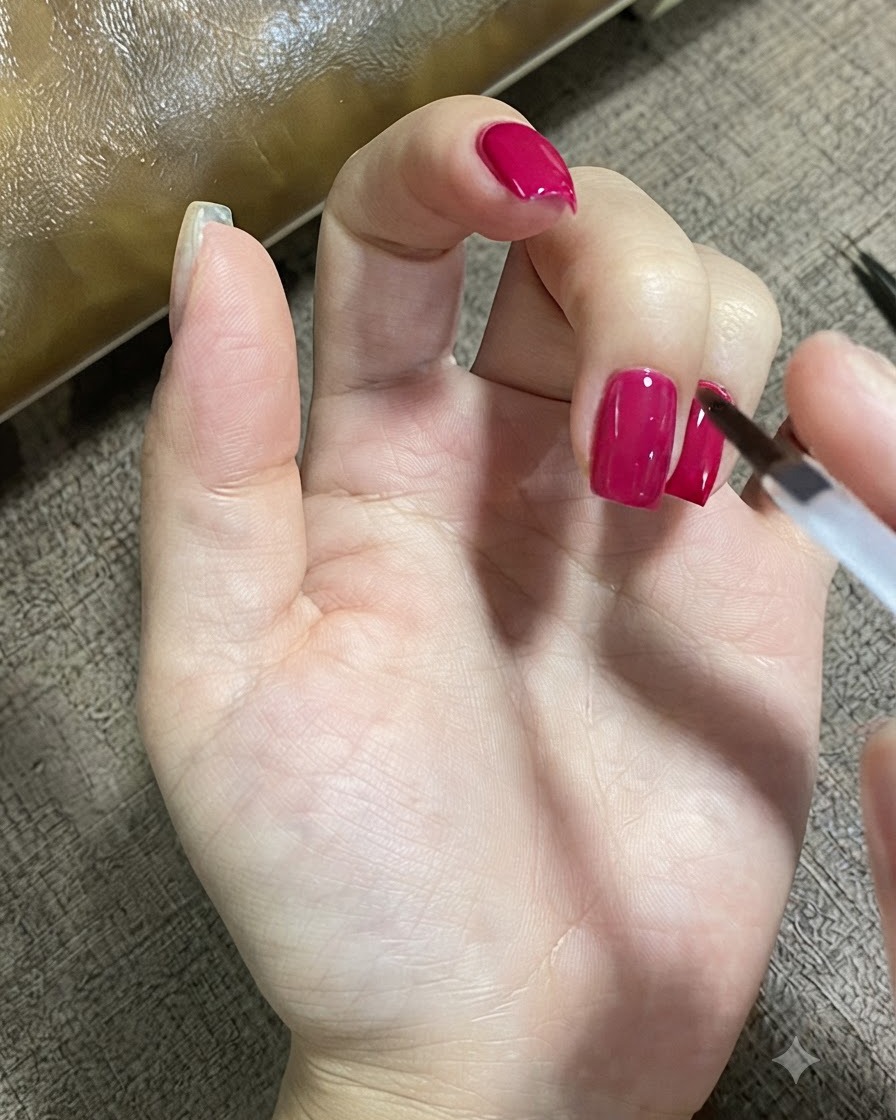
Apply a matte top coat to the remaining bare fingers using a nail brush to create a smooth, velvety finishcite: 1. Ensure the product is applied evenly across the entire nail surface without flooding the cuticles, then cure properly under a UV or LED lamp.
Tip: Make sure to cap the free edge of each nail with top coat to prevent chipping and premature lifting. - 2Apply extension gel at the cuticle
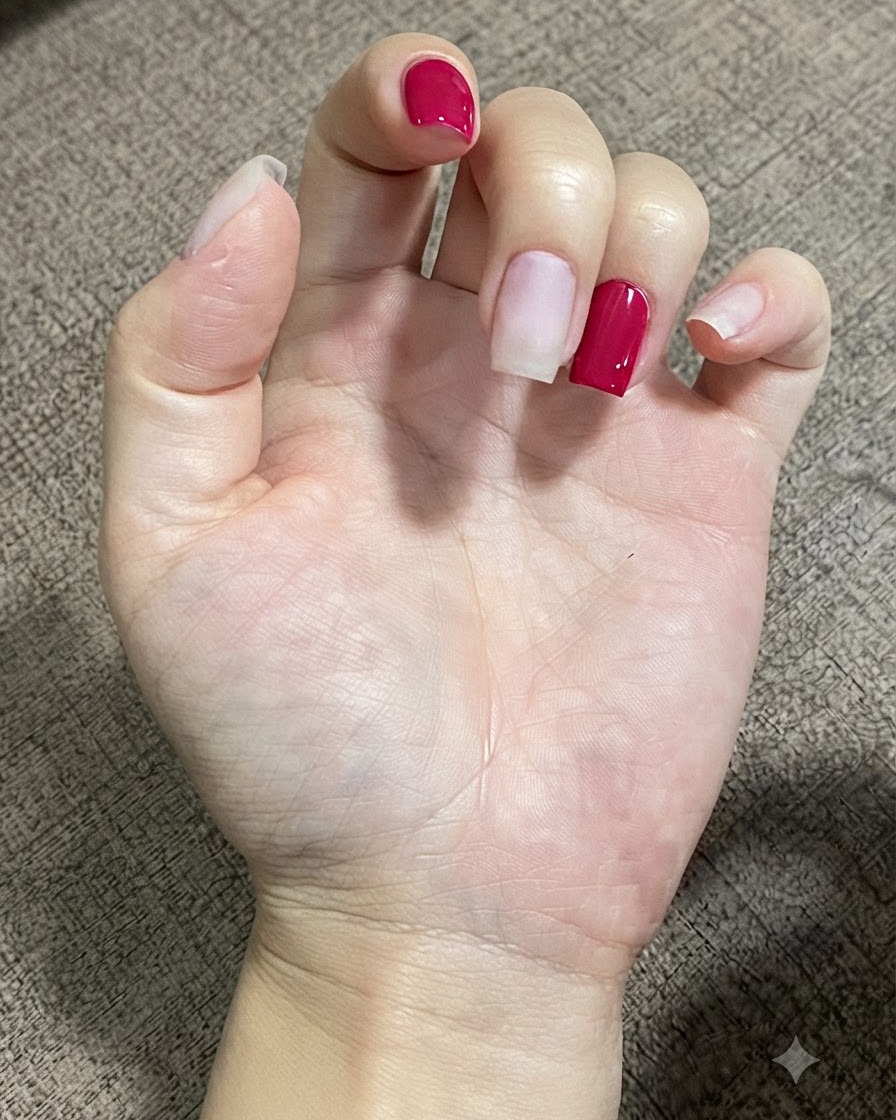
Apply a small dot of extension gel precisely at the cuticle line of the nailcite: 1. This acts as a foundation or anchor point for placing structural elements or decorative embellishments near the base of the nail.
Tip: Keep the dot of gel small to prevent overflow onto the surrounding skin. - 3Pat and smooth gel at the cuticle area
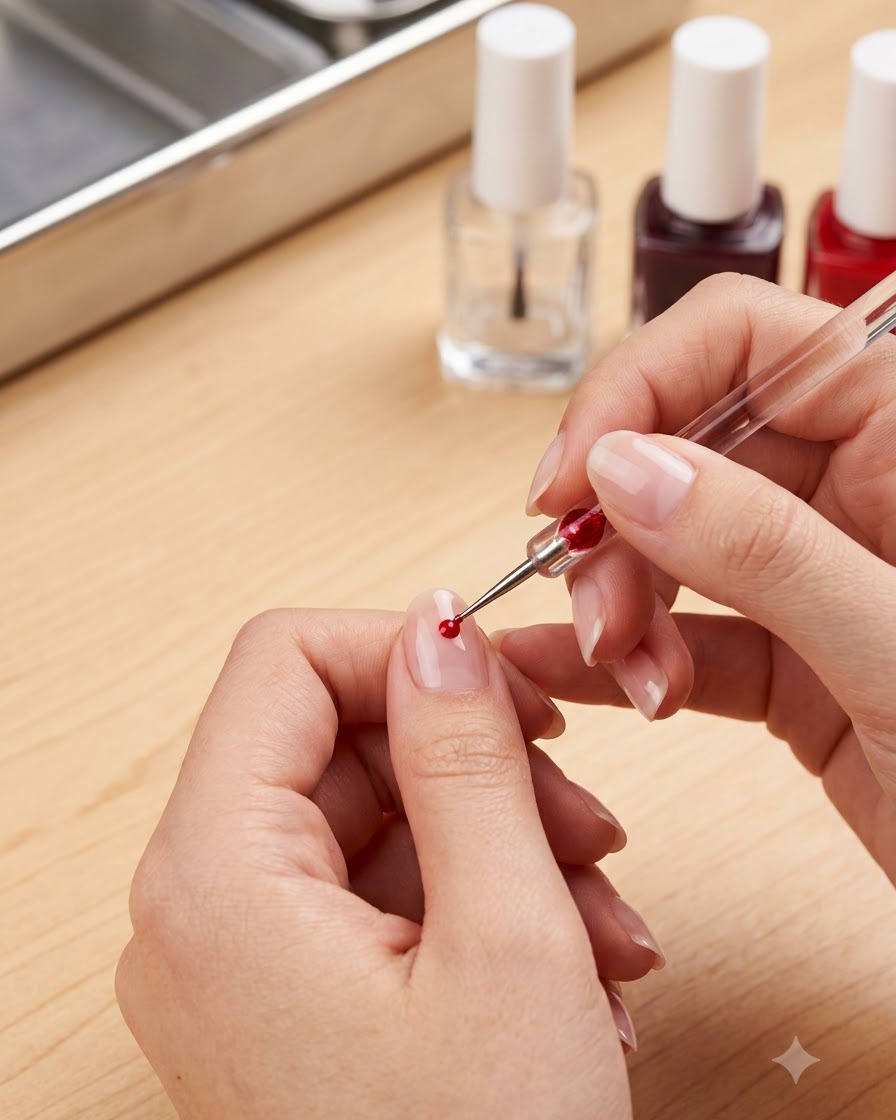
Take a small amount of gel and place it near the cuticle line using a detailing tool. Gently pat, press, and smooth out the product toward the cuticle area to ensure a seamless, flush transition without flooding the skin.
Tip: Work in thin layers and keep your tool clean to prevent dragging excess product onto the surrounding skin. - 4Apply a layer of base coat
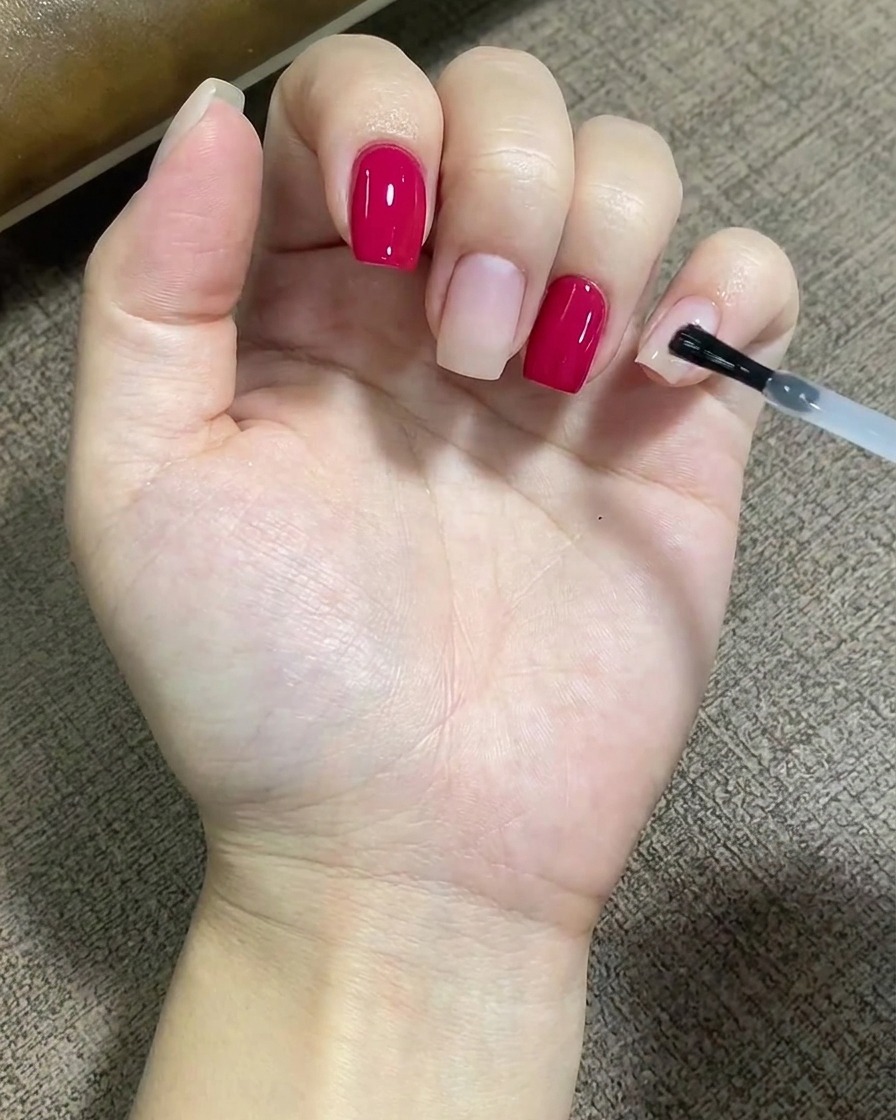
Apply an even layer of base coat over the entire nail platecite: 1. This creates an essential adhesive foundation that binds subsequent gel colors securely to the natural nail surface.
Tip: Ensure the base coat is applied thinly and evenly to avoid shrinking or wrinkling during the curing stage. - 5Apply Magic Cat Eye gel polish
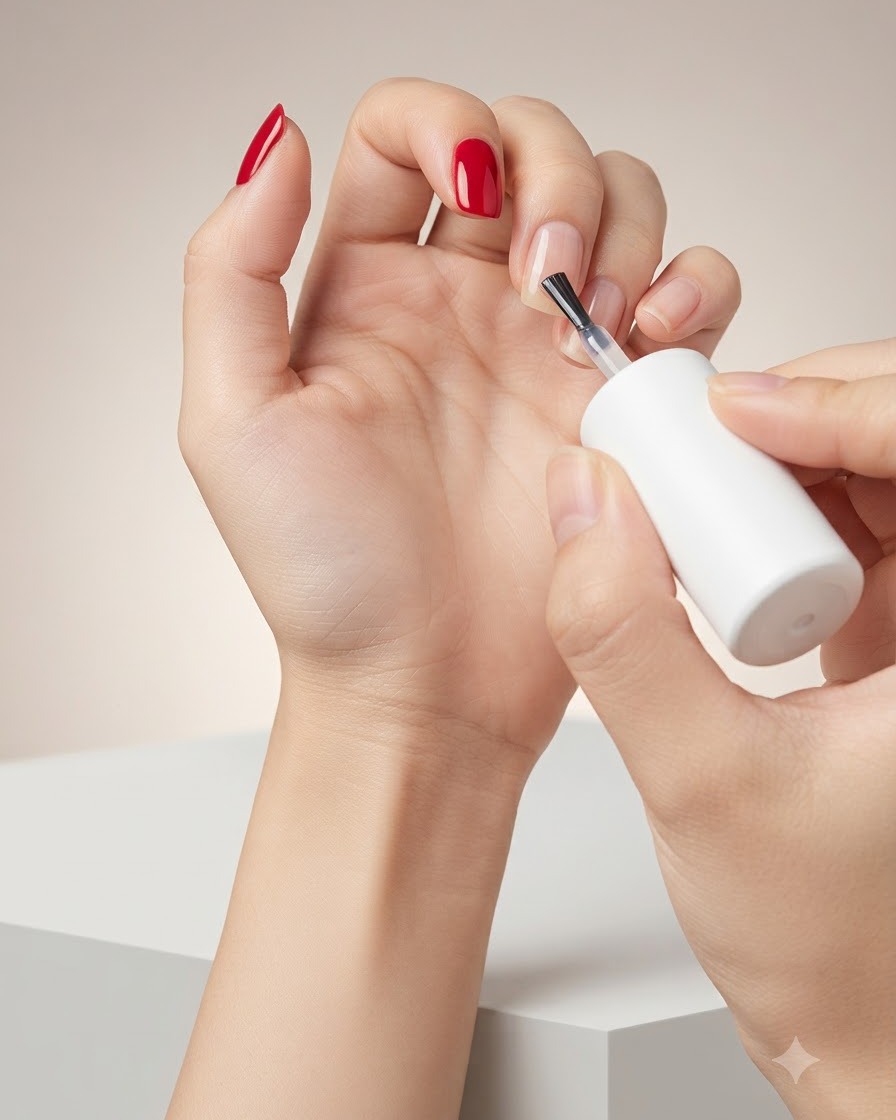
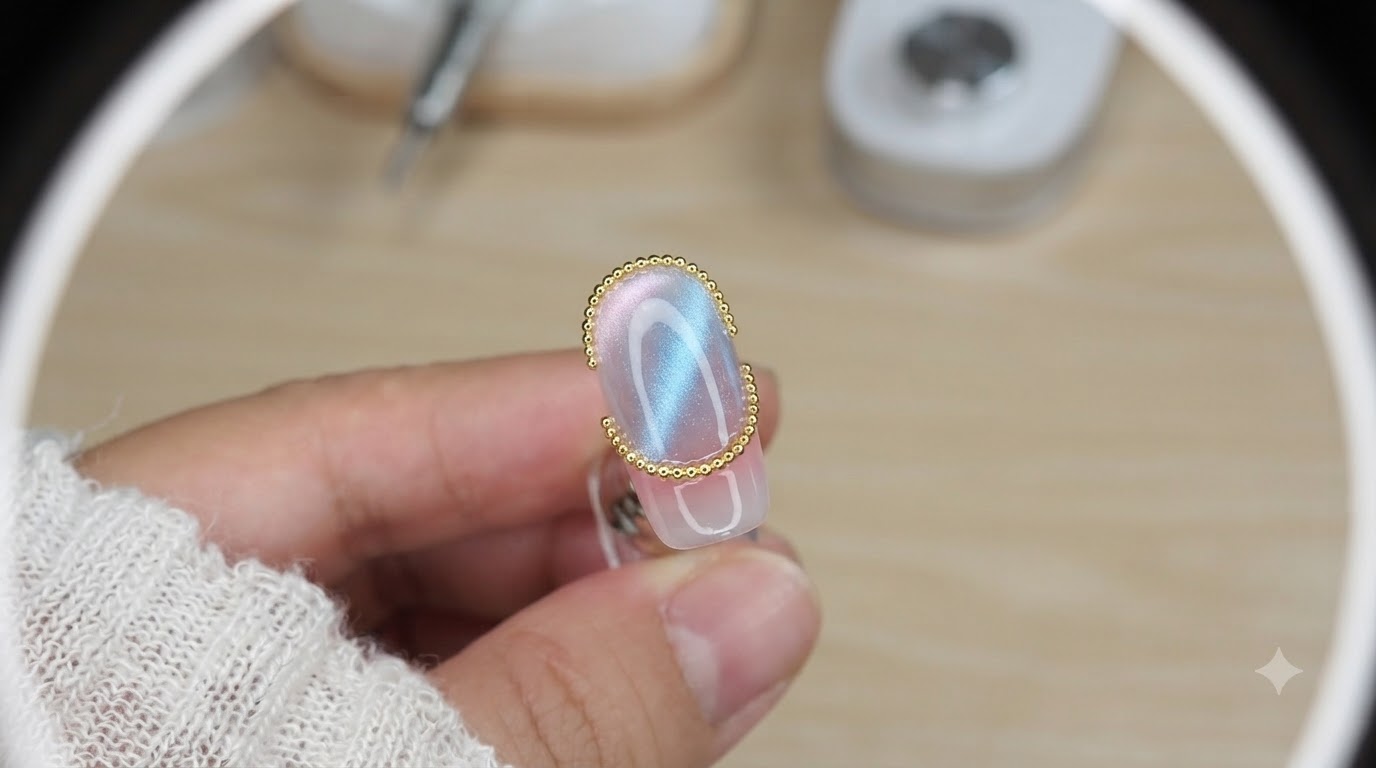
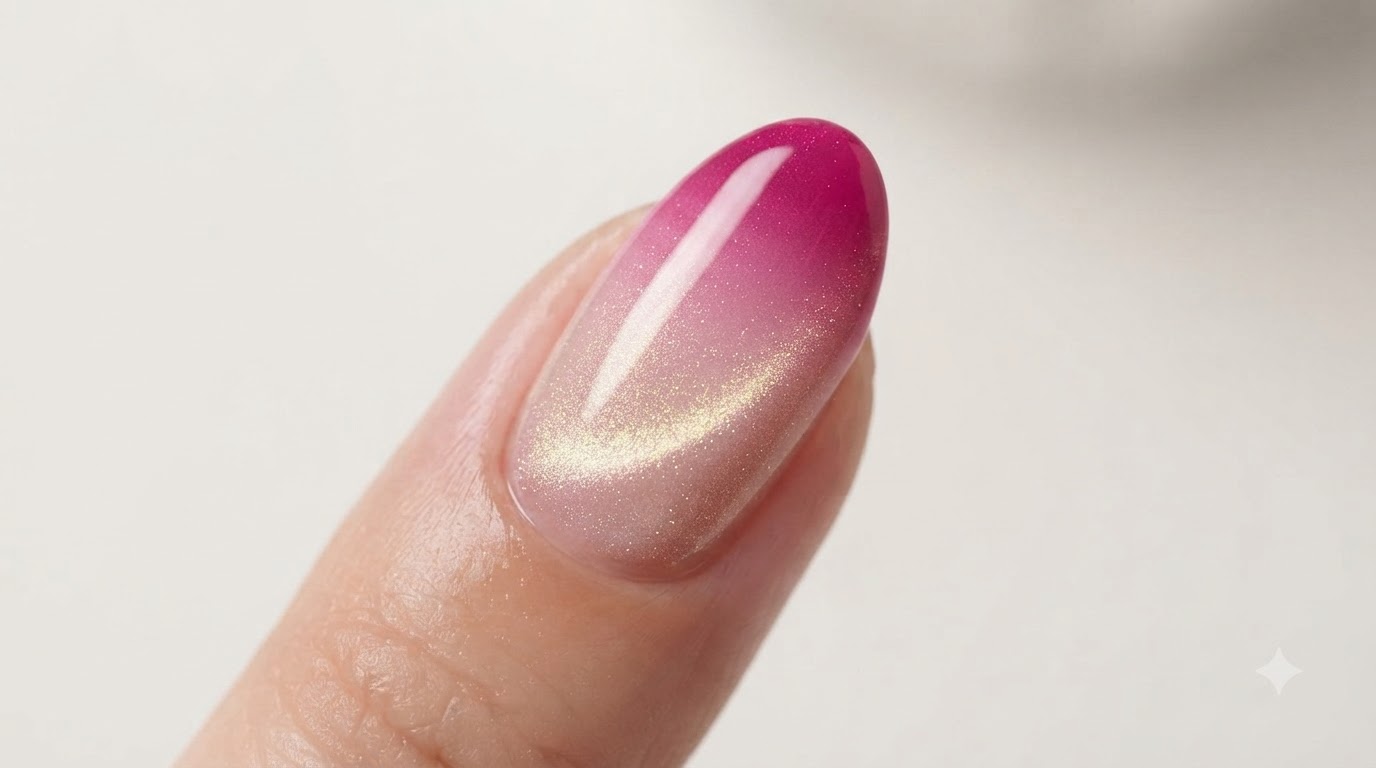
Apply Magic Cat Eye gel polish onto the middle finger nailcite: 1. Before curing, use a specialized magnet to manipulate the magnetic particles within the polish, creating a luminous cat eye glass ball effect.
Tip: Hold the magnet close to the wet polish for a few seconds to achieve a sharp, well-defined light reflection. - 6Create the cat eye glass ball effect
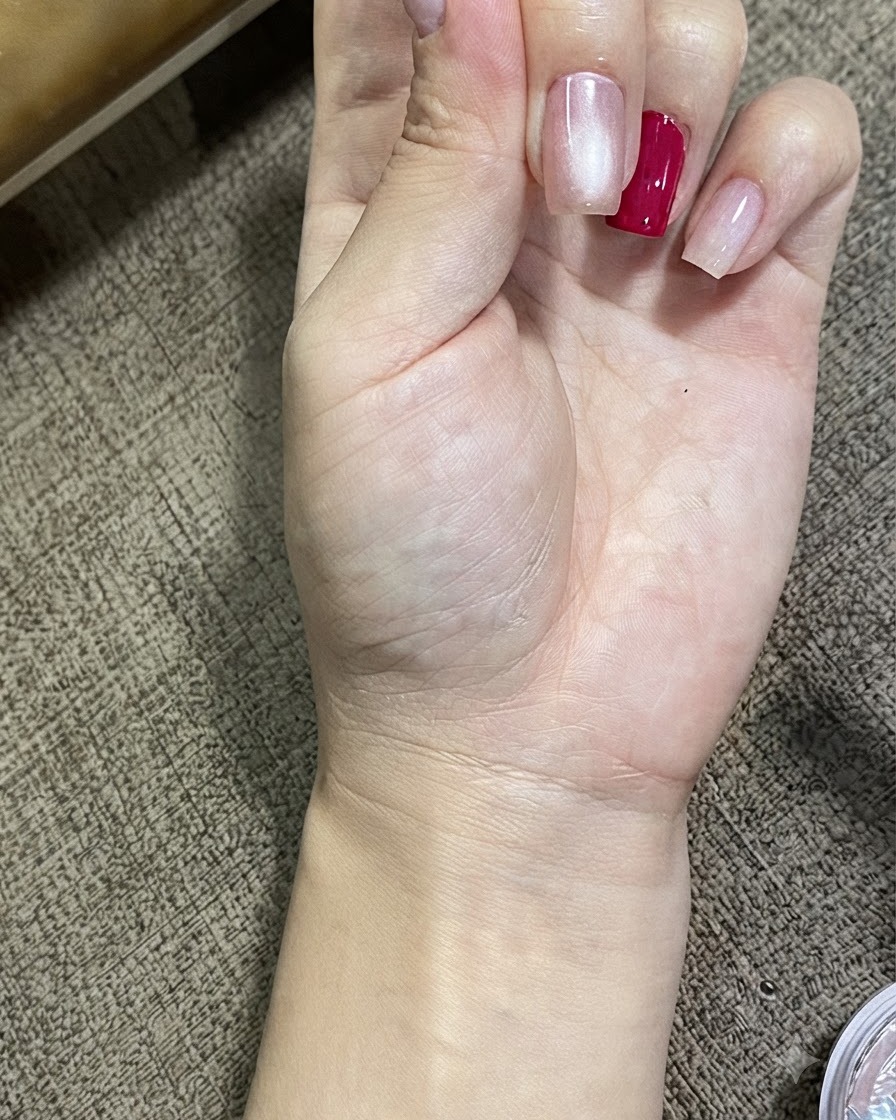
Hold a magnetic tool closely over the uncured cat eye gel to gather the magnetic particles. Position the magnet carefully to push the light reflection into a centralized glass ball sphere effect, then immediately cure to lock the pattern in place.
Tip: Keep the magnet steady and close to the nail without touching the wet surface to achieve a sharp, dimensional reflection. - 7Cure gel under UV/LED light
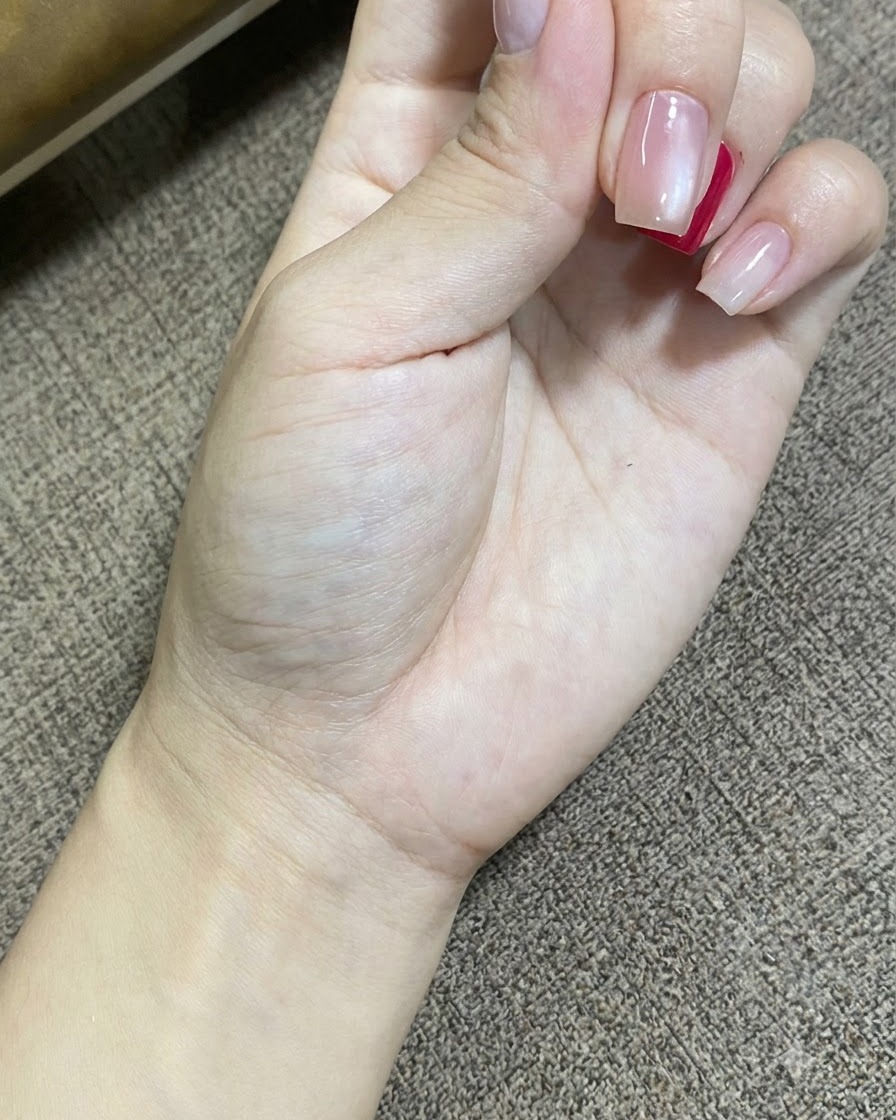
Place the nails under a portable UV/LED flashlight or lamp to cure the freshly applied gel layer. Hold the light steadily over each finger for the manufacturers recommended time to ensure complete polymerization.
Tip: Using a portable flashlight helps flash-cure nail art details instantly so they do not shift before full curing. - 8Draw a star with magenta gel
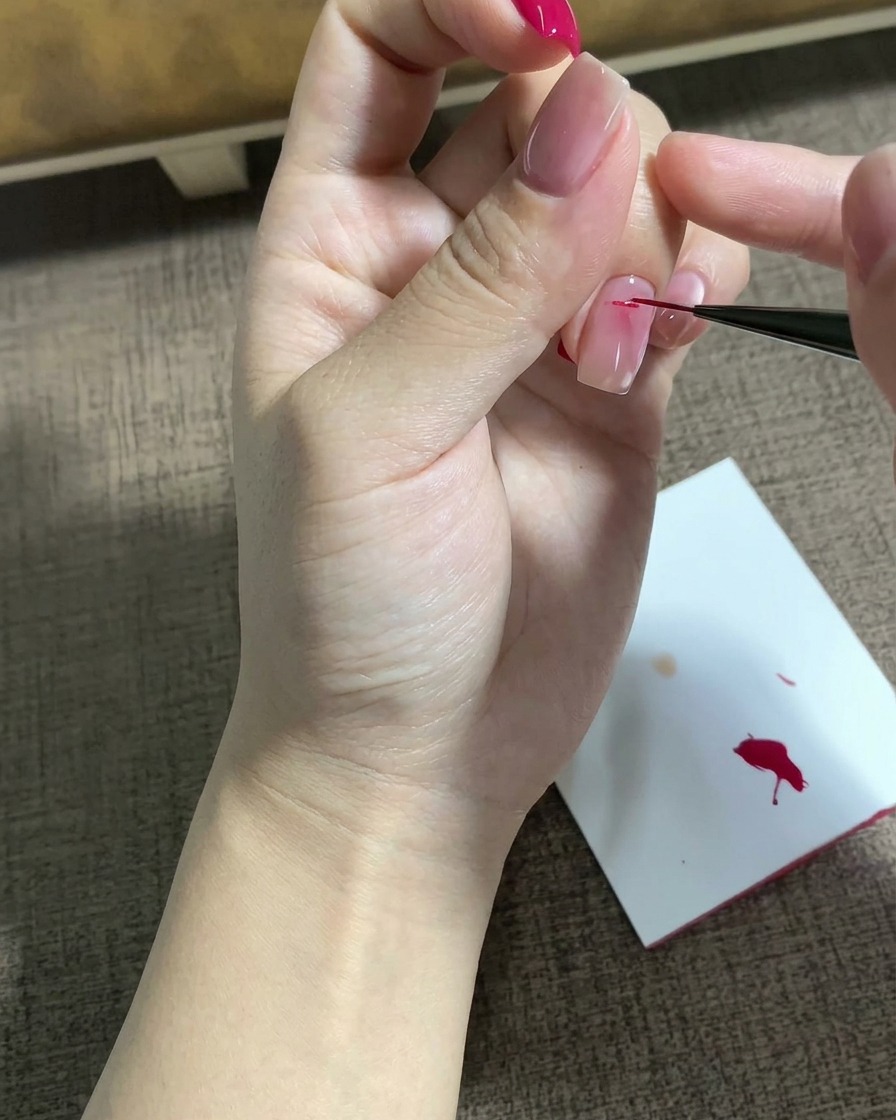
Dip a fine liner brush into magenta gel polish and carefully outline and fill in a five-pointed star on the middle finger nail. Take your time to keep the lines crisp and the points sharp against the base layer.
Tip: Wipe your liner brush clean on a palette if needed to keep the tip ultra-sharp for precise star points. - 9Draw a white star on the ring finger
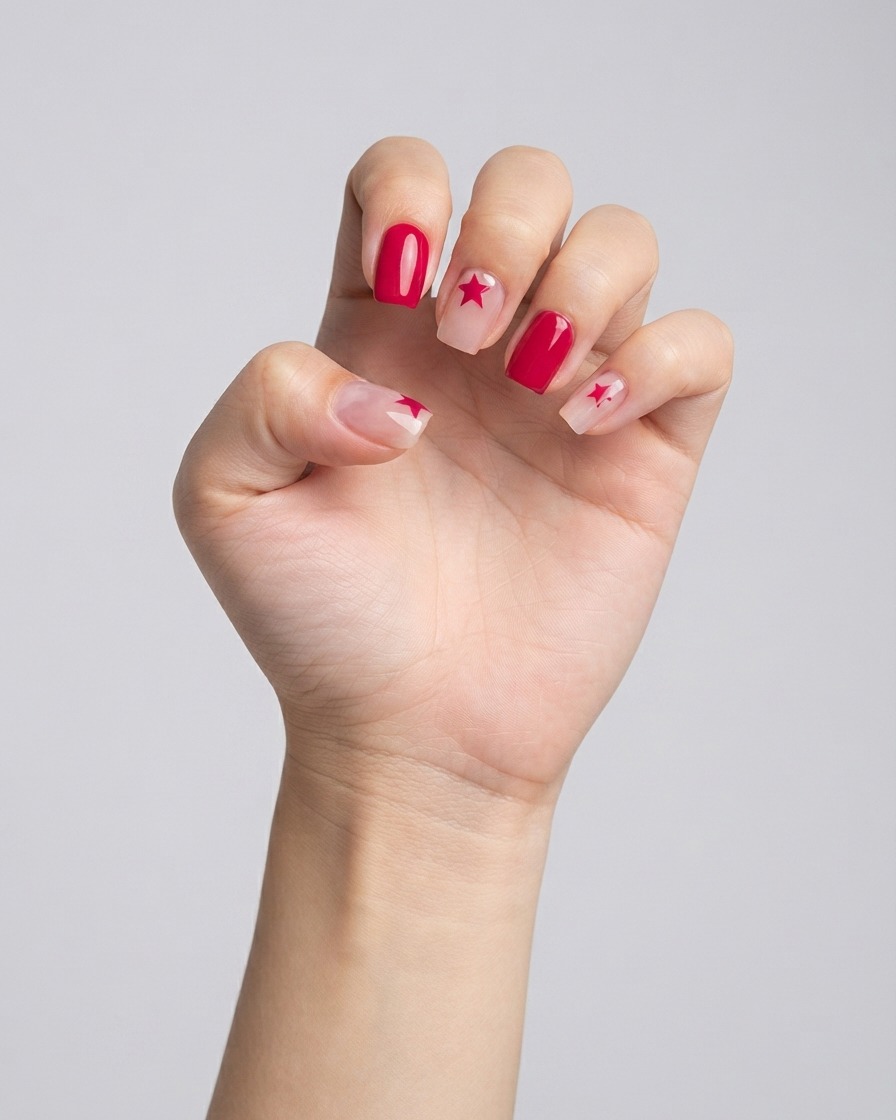
Using a fine liner brush dipped in white gel polish, carefully paint a clean five-pointed star on the accent nail. Take your time outlining the points and filling in the center for a sharp, distinct shape. Cure under the UV or LED lamp to set the design.
Tip: Flash cure for 5 to 10 seconds after drawing details to prevent the gel lines from spreading before your final cure. - 10Add polka dot accents
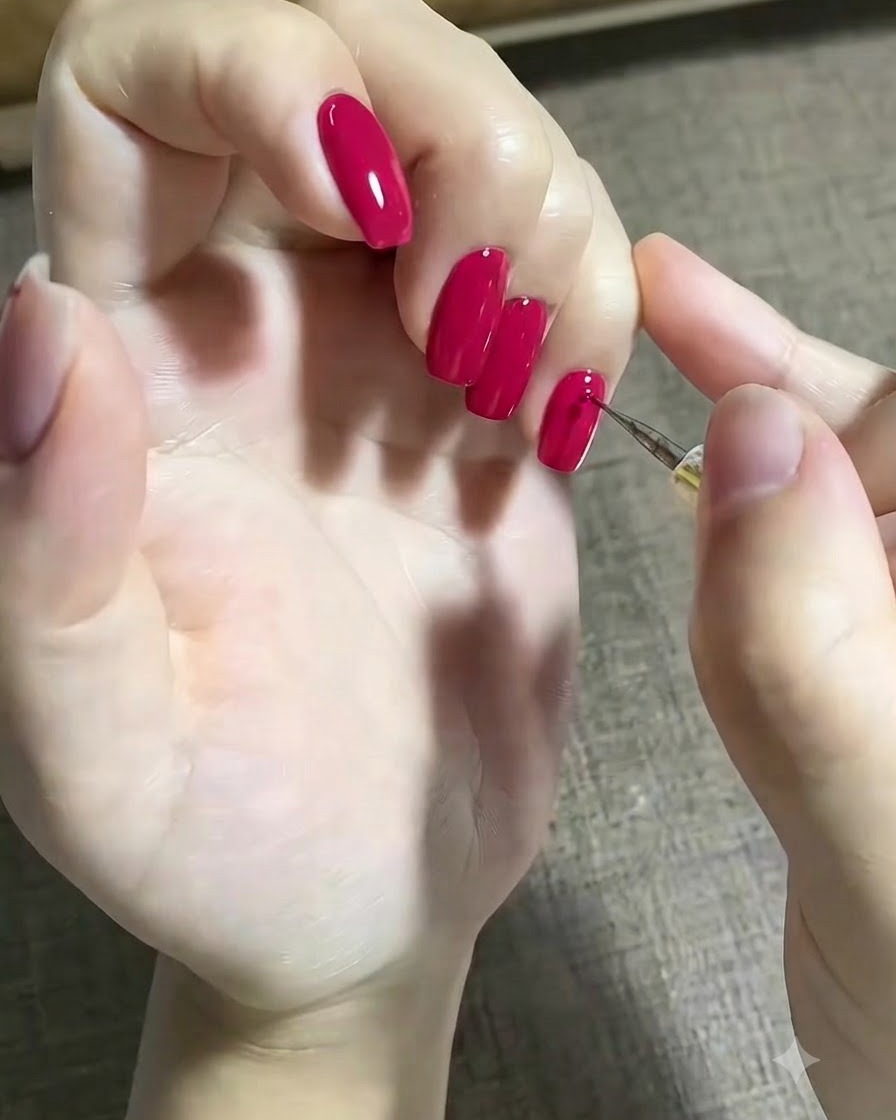
Dip a fine liner brush or dotting tool into white gel polish and gently place tiny dots onto the pinky nail surface. Space them evenly to create a playful dotted pattern. Cure the polish once the pattern is complete.
Tip: Keep the pressure light and consistent on the brush tip to ensure all dots are uniform in size. - 11Add small red dot accents
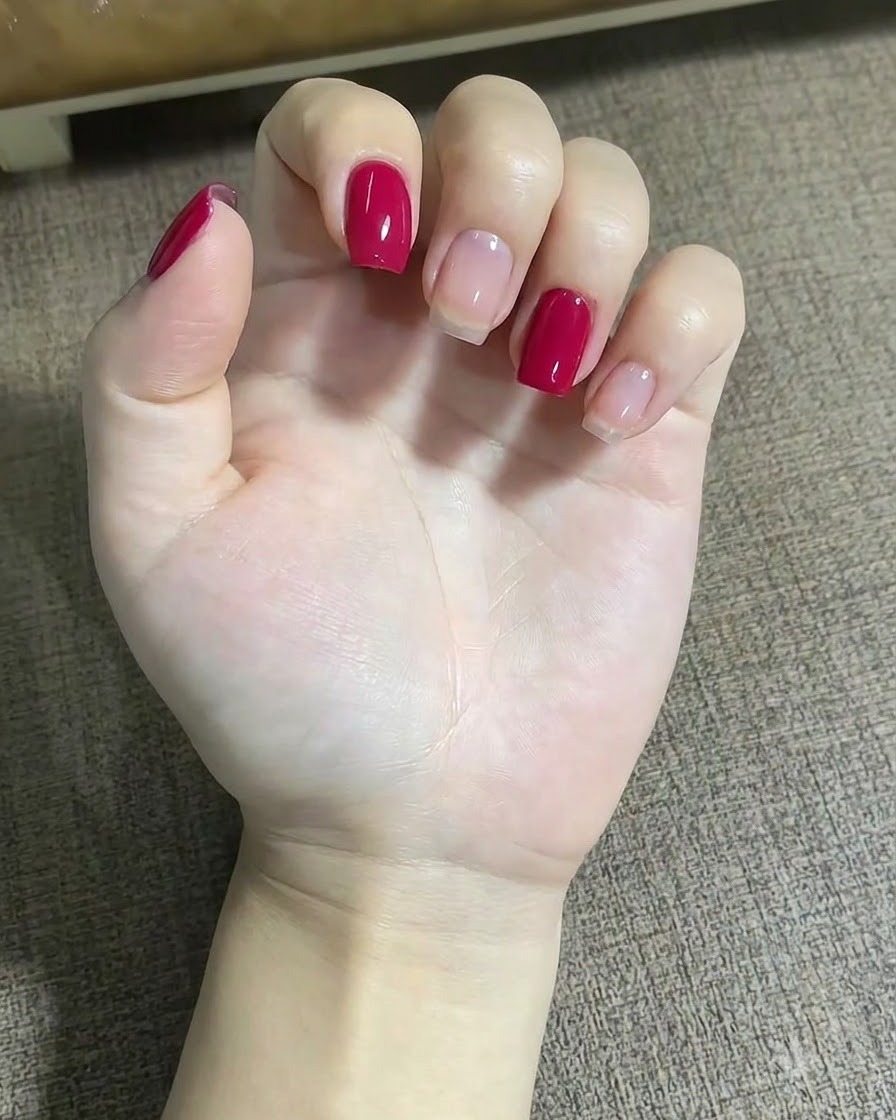
Using a fine liner brush and red gel polish, carefully add small dot accents near the star on the middle finger. These tiny details enhance the nail art design, adding depth and contrasting color points around the star motif. Cure the dots under a UV or LED lamp once placed.
Tip: Keep your hand steady and use only the tip of the fine liner brush to ensure the dots remain crisp and uniform. - 12Apply nail gems for decoration
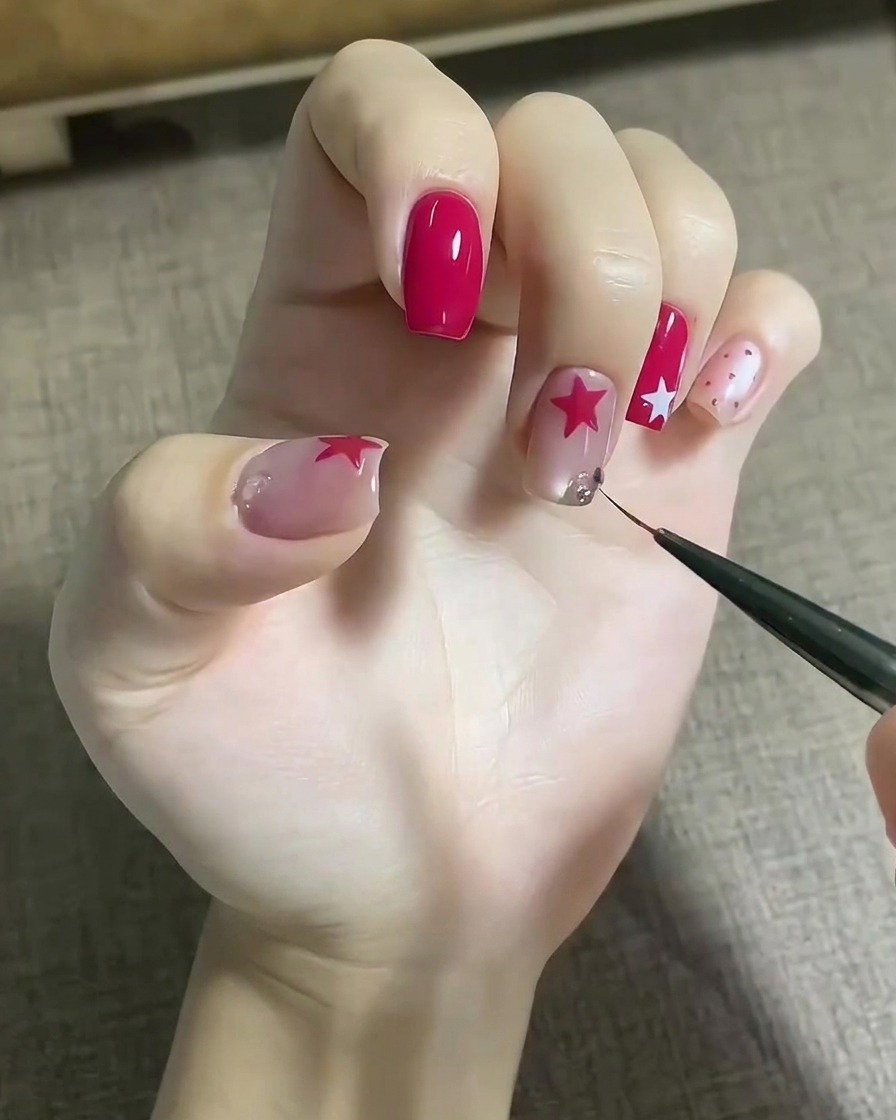
Place small dots of clear adhesive gel or rhinestone glue near the base of the nail. Use a wax pencil or pick-up tool to pick up small crystal gems and set them securely into the gel. Cure thoroughly to lock the decorations in place.
Tip: Seal around the edges of the gems with top coat using a fine brush, taking care not to cover the sparkling facets. - 13Apply final top coat
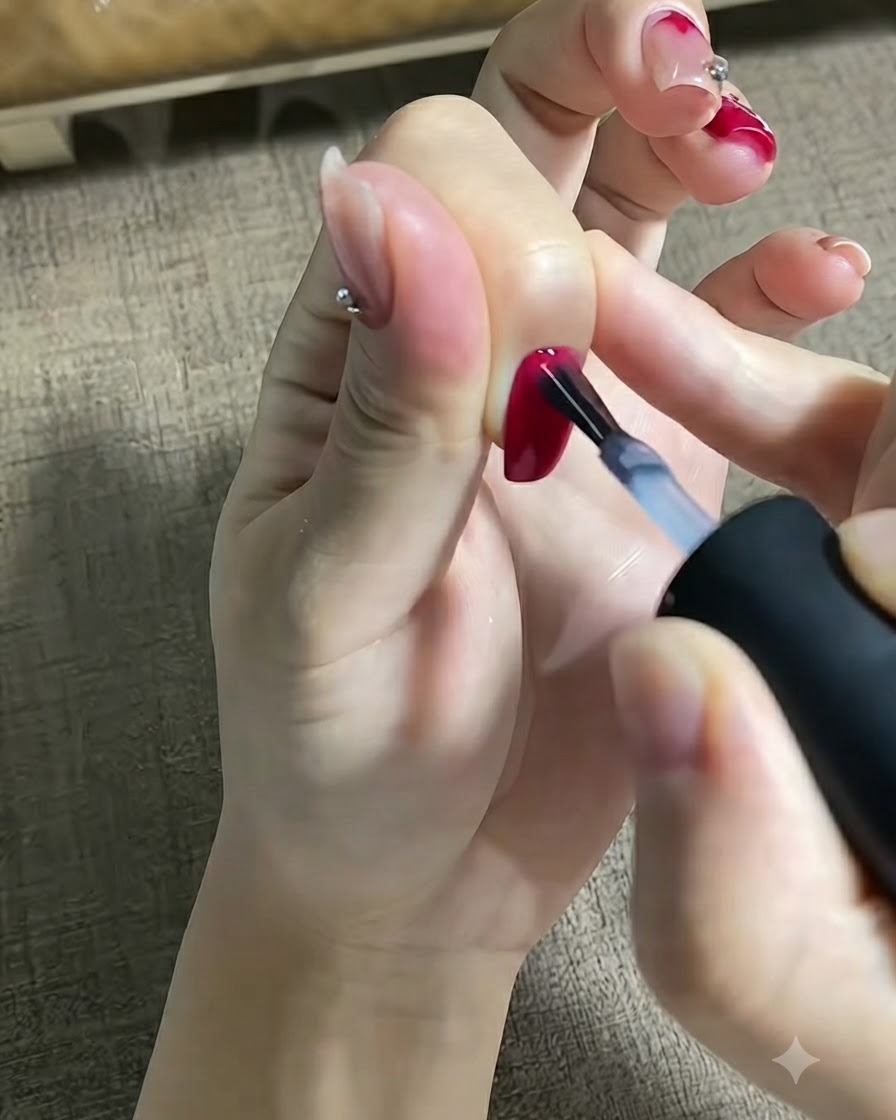
Finish the manicure by applying a layer of high-gloss top coat over all the painted and decorated nails. Cap the free edges to prevent chipping and ensure long-lasting wear. Cure under the UV or LED lamp for the full recommended time and wipe away any inhibition layer if necessary.
Tip: Cap every free edge carefully with top coat to lock in your nail art and protect against peeling.