Aurora Ice and Cat Eye Gel Nails
Gold Accents — Step-by-Step Tutorial
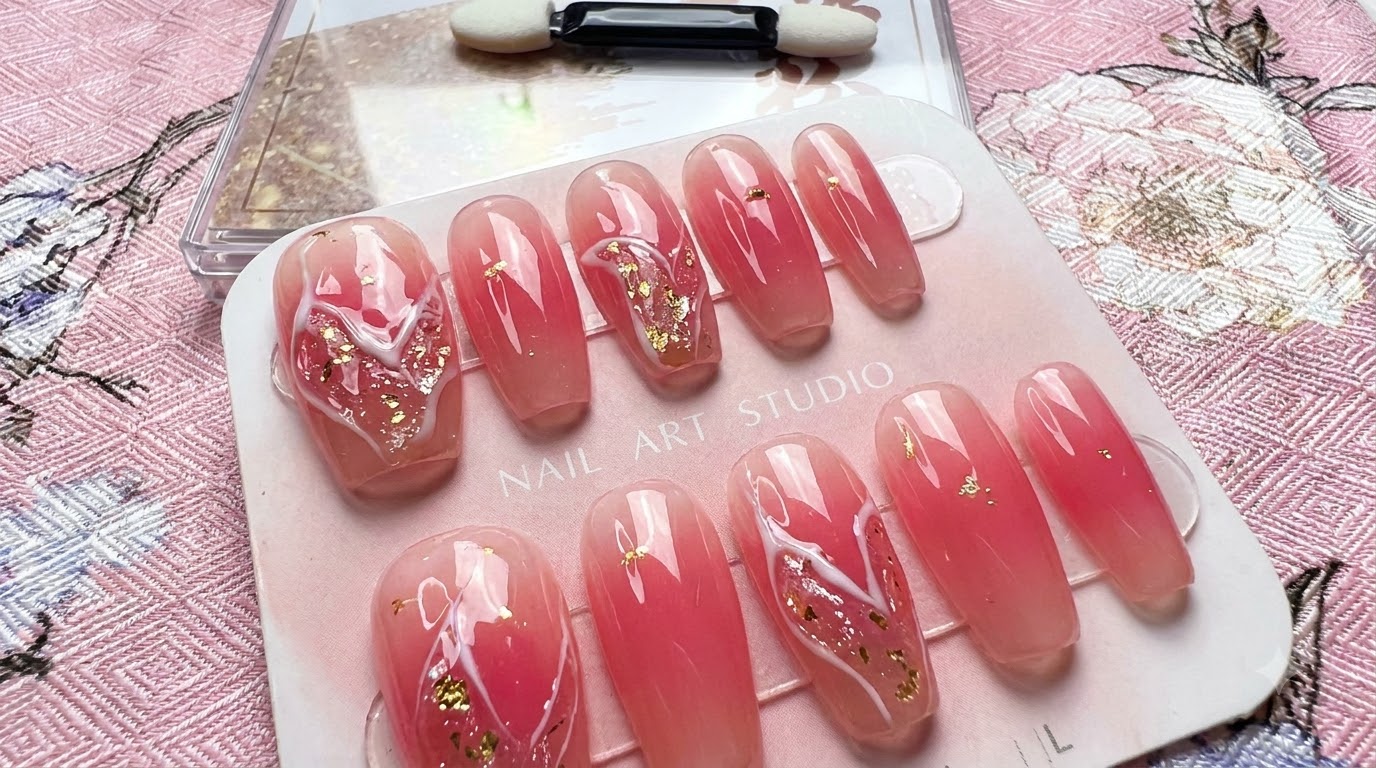
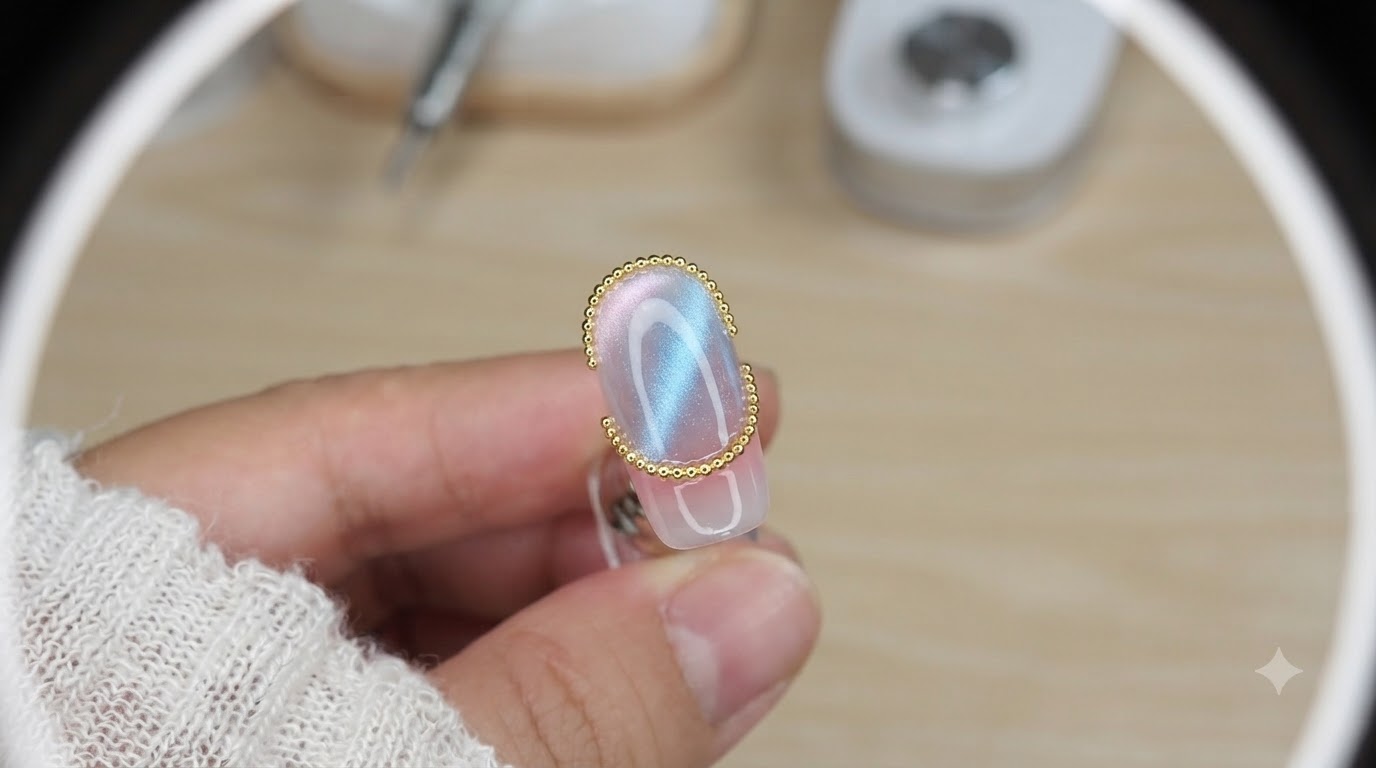
Create stunning aurora ice-transparent nails featuring blue cat-eye shimmer, glass patting gel gradients, and delicate gold steel bead accents.
Aurora and cat-eye nail trends have taken the beauty world by storm, offering a mesmerizing, glass-like dimension that shifts beautifully in the light. This tutorial guides you through layering glass patting gels, precise magnetic cat-eye placement, and adding sophisticated gold steel bead borders for a high-end salon finish.
Steps
- 1Apply rose red glass patting gel
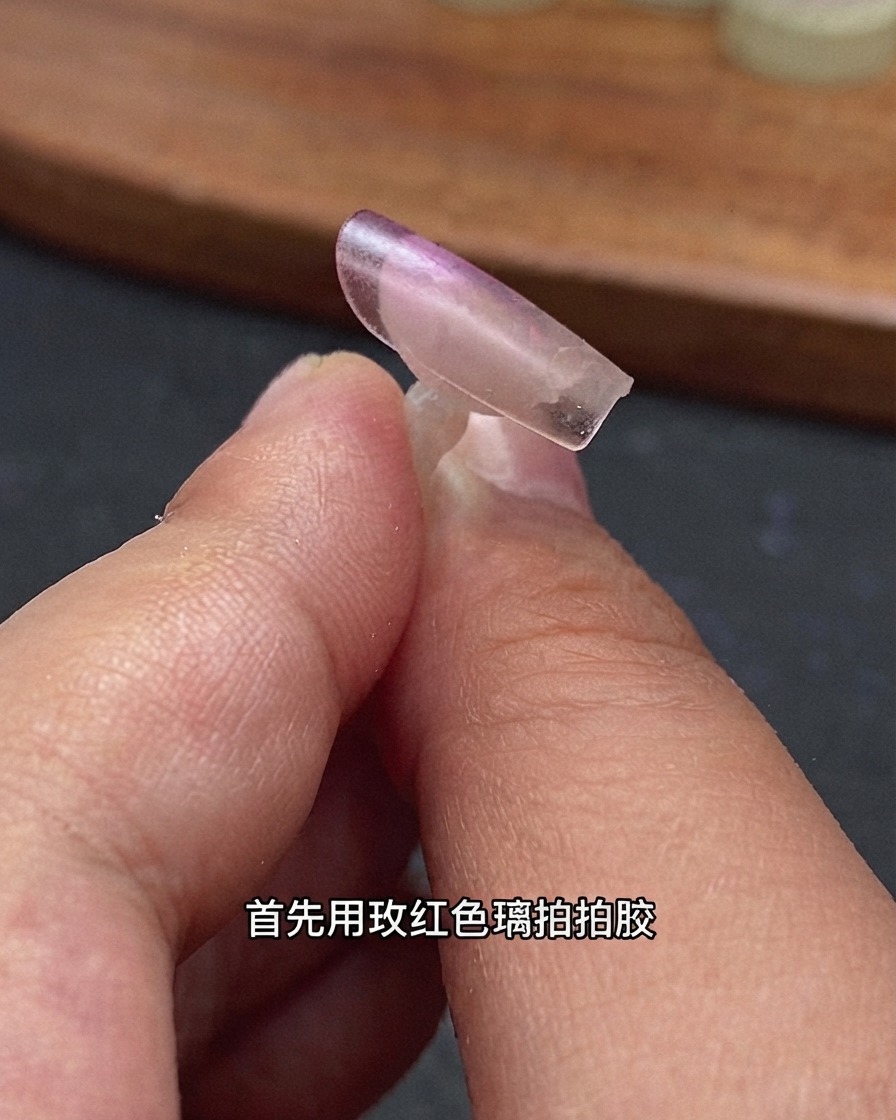
Apply rose red glass patting gel to the back edge of the clear nail extension tip, gently patting to create a smooth gradient effect. This forms the base color transition for the aurora nail design. Cure under the lamp once the desired gradient blend is achieved.
Tip: Keep the application thin near the edge to ensure a smooth transition into the clear section of the nail. - 2Add dark blue shadow effects
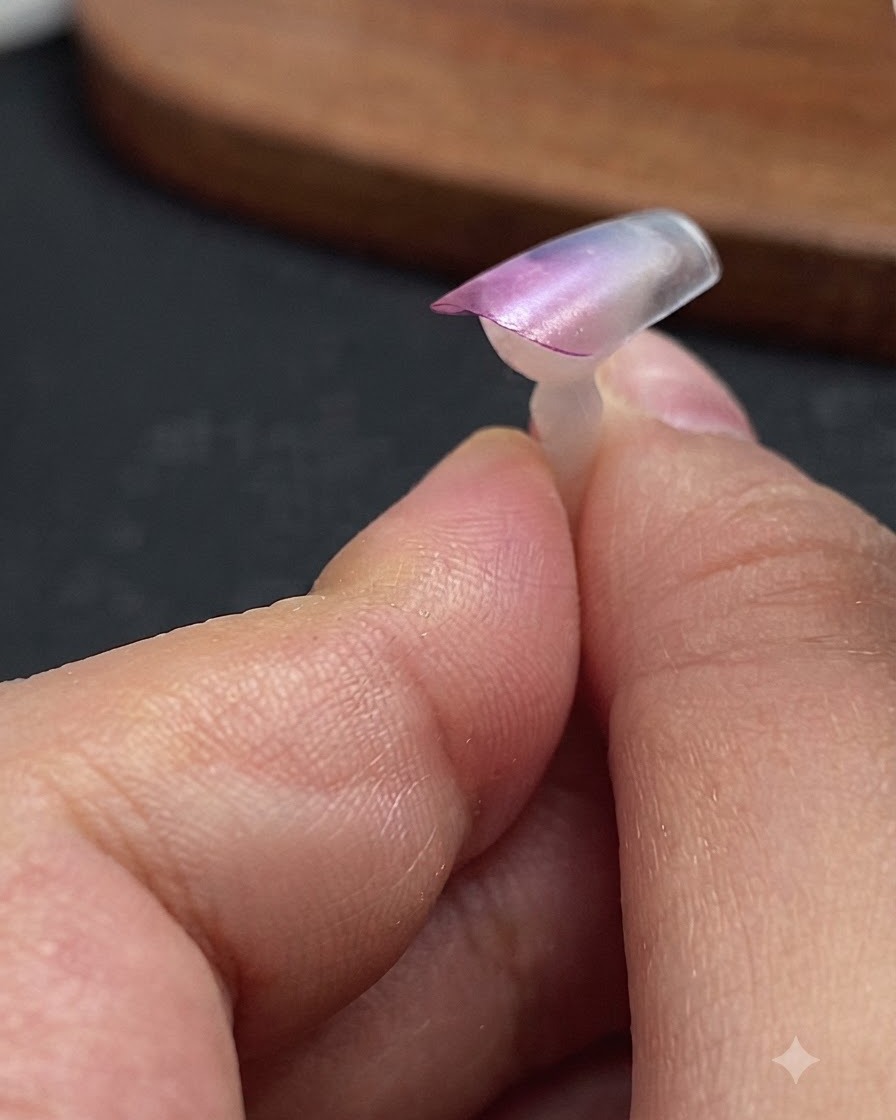
Tap a small amount of dark blue glass patting gel onto both sides of the nail tip to introduce depth and shadow effects. Blend it carefully to complement the existing rose red gradient. Cure under the lamp before moving on to the next design layer.
Tip: Use a light tapping motion with minimal product to avoid muddying the gradient transition. - 3Cure gel under mini lamp
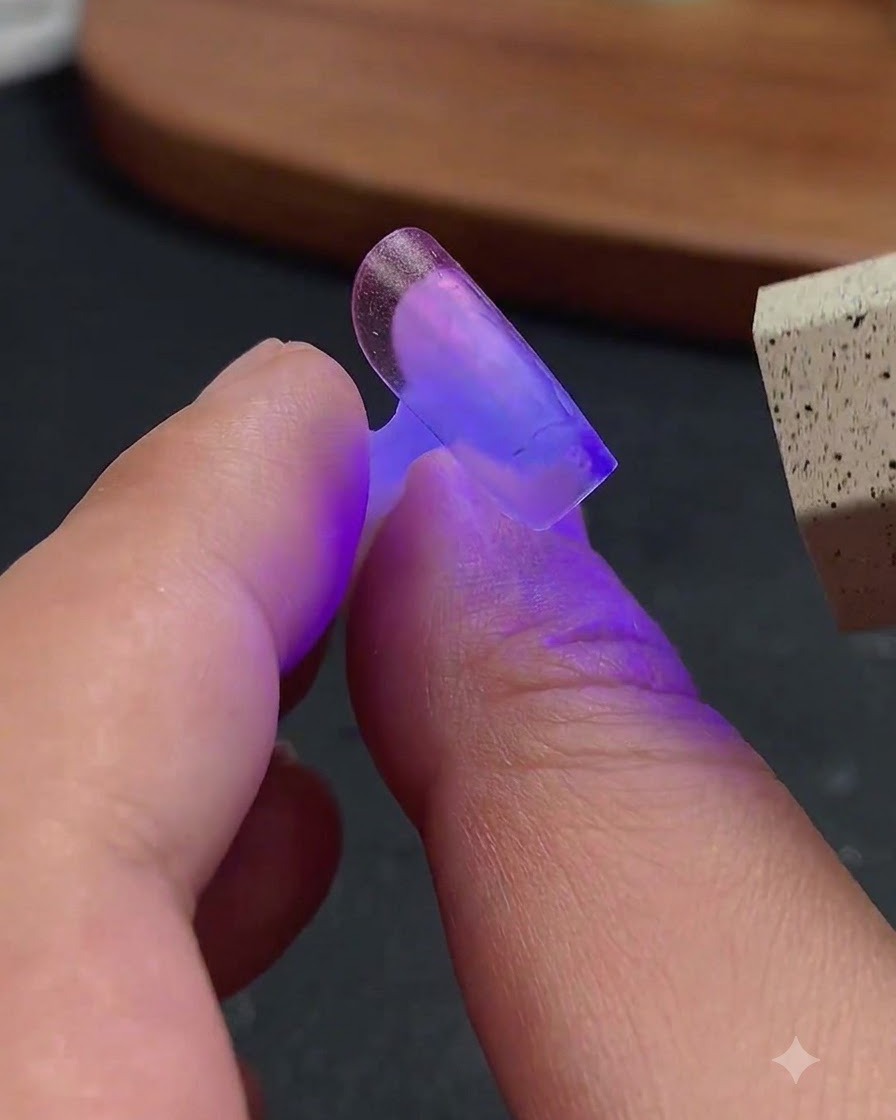
Place the nail under a mini UV/LED flashlight lamp to cure the applied layers of glass patting gel. Ensure the light hits the entire surface evenly to set the color and shadow effects securely. Hold the lamp steady for the required curing duration.
Tip: A mini flashlight lamp allows for quick, targeted flash curing so the gel doesnt shift before full placement. - 4Apply colorless blue-light cat-eye gel
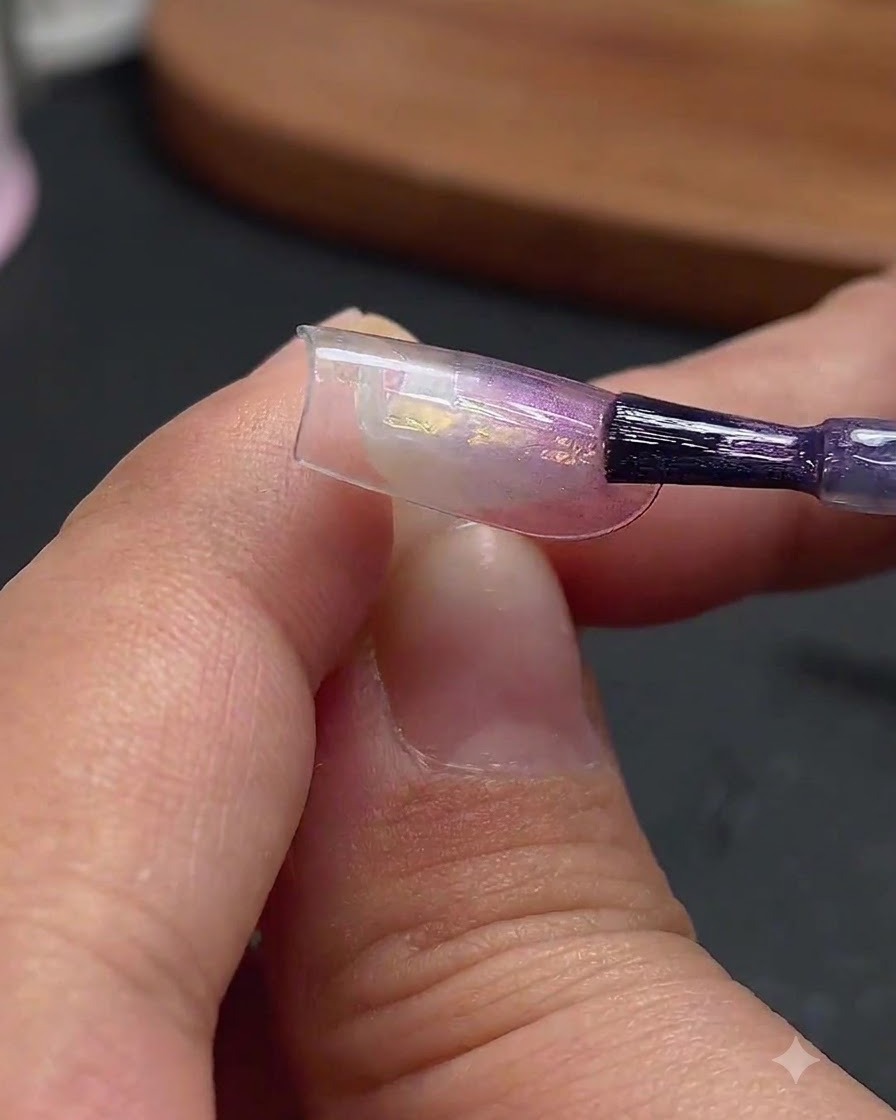
At the two-thirds position from the back edge, apply a layer of colorless blue-light cat-eye gel across the nail surface. This specialized gel provides the shifting luminescent effect characteristic of aurora nails. Keep the layer even to prepare for magnetic styling.
Tip: Position the gel precisely at the two-thirds mark to align with the optical highlight requirements of the design. - 5Concentrate cat-eye effect with magnet
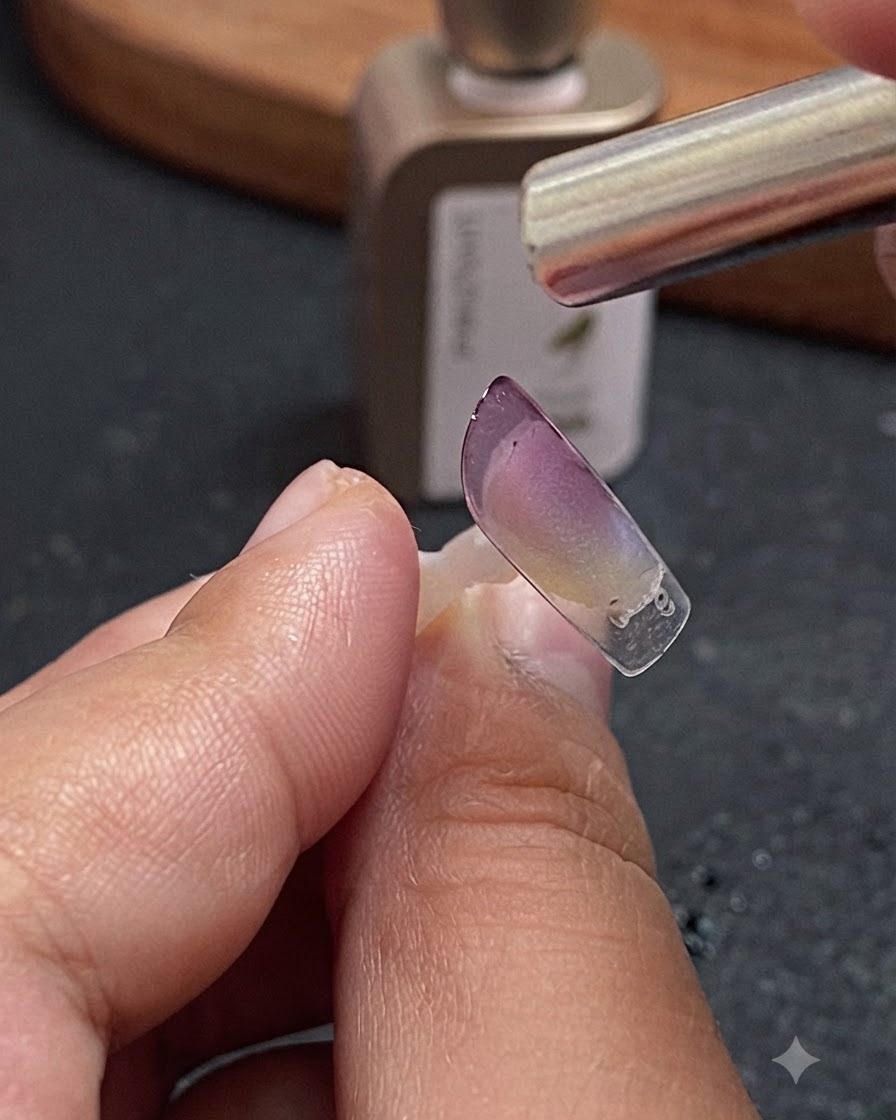
Hold a magnet tool close to the nail surface to attract and concentrate the cat-eye magnetic particles directly into the middle of the nail. Once the desired light stripe or reflection is formed, immediately cure the gel under the lamp to lock the pattern in place.
Tip: Keep the magnet steady and close without touching the wet gel surface to get a sharp, focused light line. - 6Apply and cure top coat
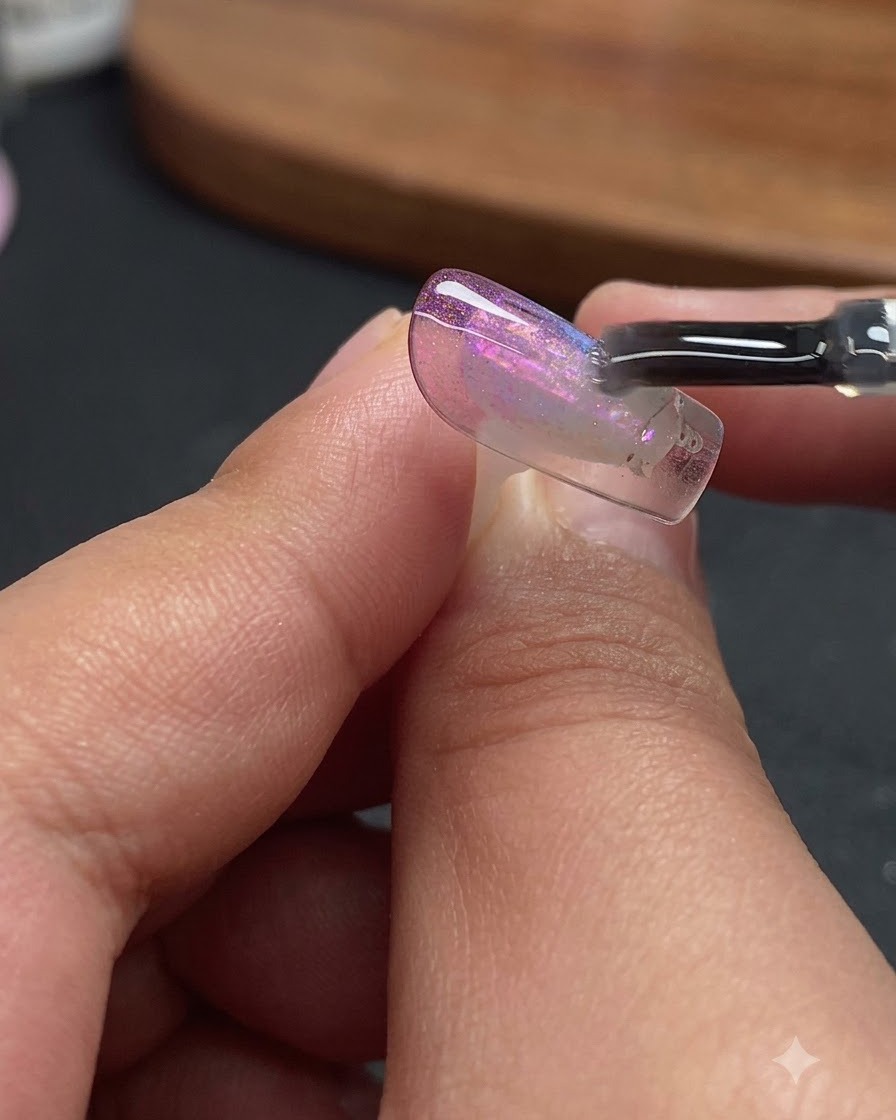
Apply a clear top coat over the entire nail surface to seal the design and enhance transparency. Make sure to coat all edges thoroughly, then cure under the lamp to achieve a durable, high-gloss finish.
Tip: Sealing the edges with top coat prevents chipping and maintains the ice-transparent look of the extension. - 7Apply top coat to the back of the nail tip
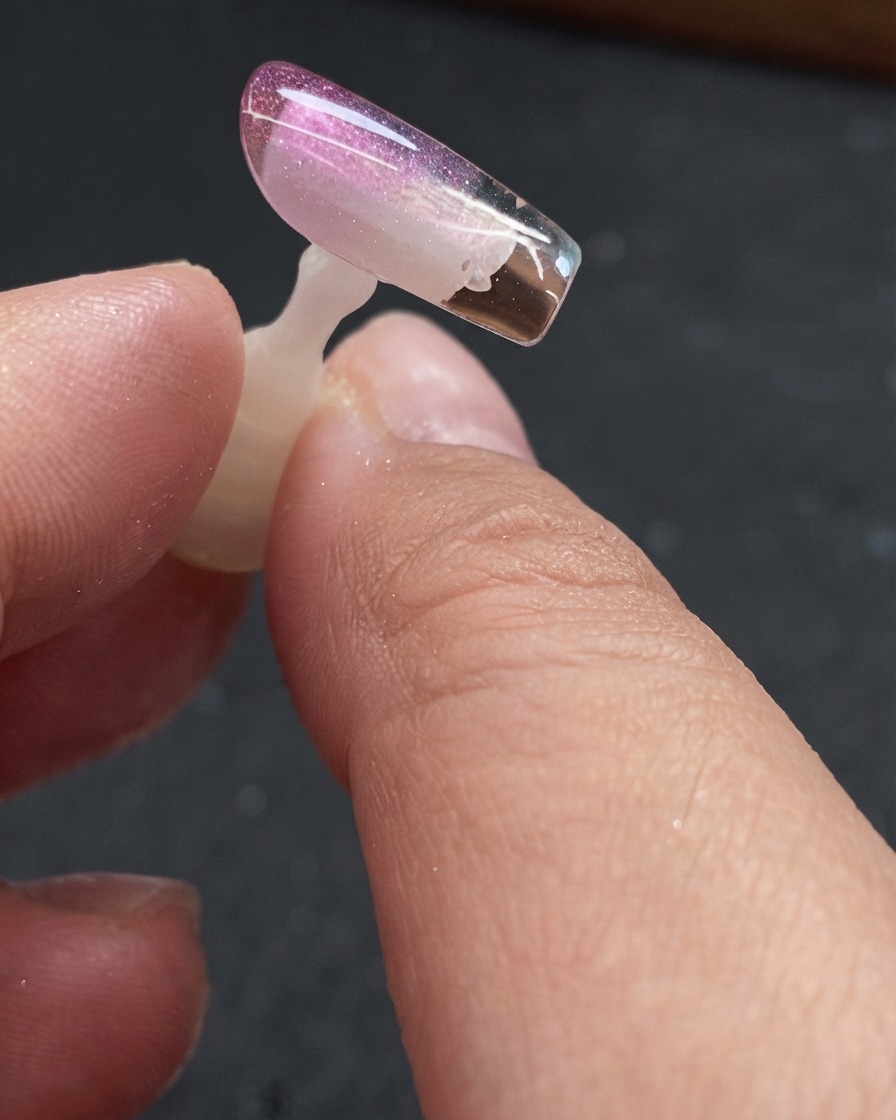
Apply top coat to the entire nail layer and also to the back of the nail tip to significantly increase transparency and shine. Cure under the lamp to ensure a long-lasting, highly ice-transparent finish.
Tip: Applying top coat to the underside of clear extensions enhances the depth and glass-like appearance of the design. - 8Attach small gold steel beads
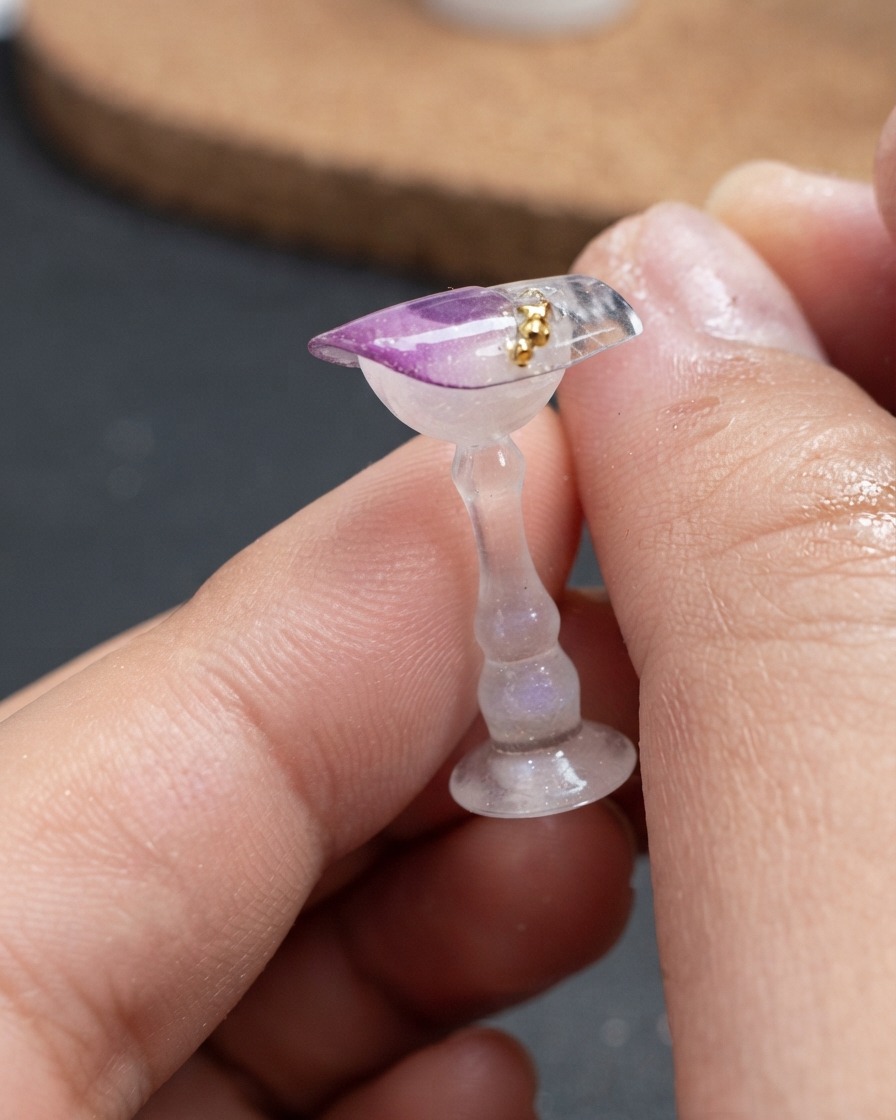
Carefully pick up and place small gold steel beads along the curved transition edge of the nail design. Wrap the edges neatly and cure under the lamp to lock the embellishments firmly in place.
Tip: Use a fine detail brush or a wax picker tool to precisely position tiny steel beads without disturbing the uncured gel underneath. - 9Seal edges and cure
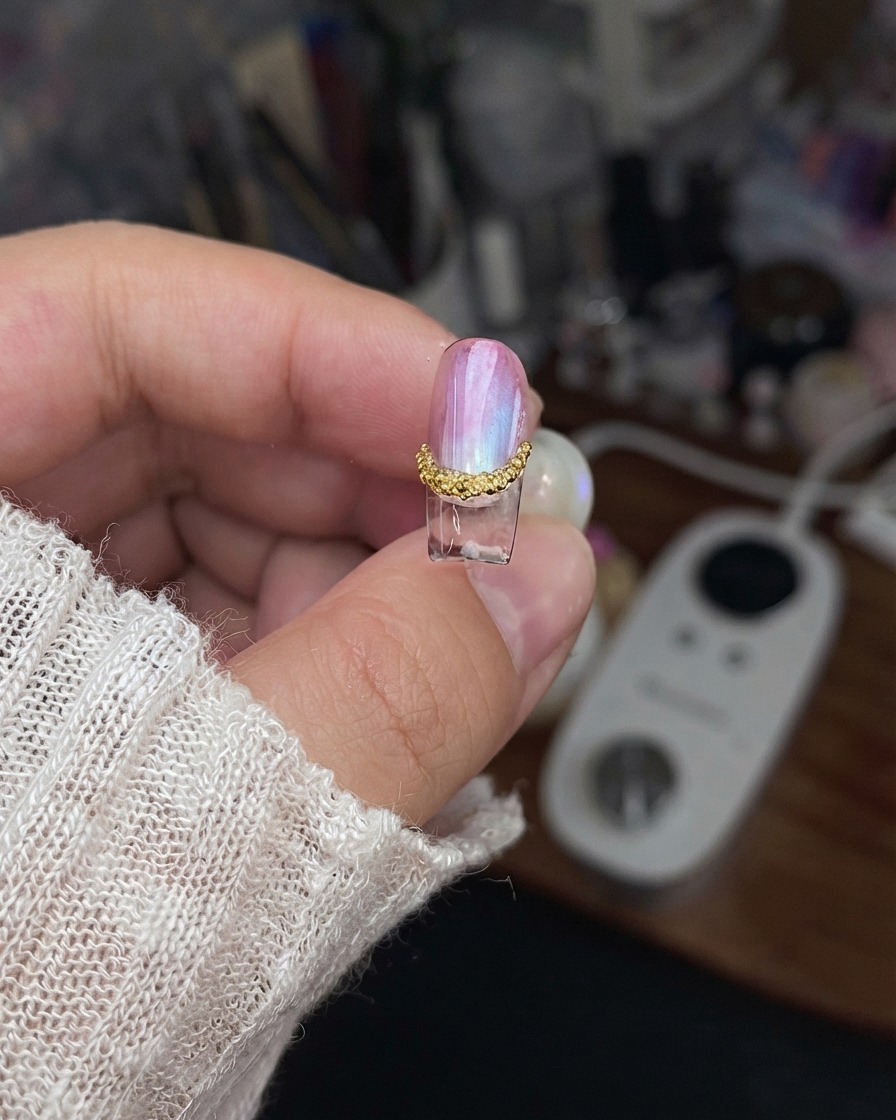
Seal all the outer edges of the nail design with top coat to prevent chipping or lifting. Cure thoroughly under the UV/LED lamp to complete the nail piece and achieve a polished, durable finish.
Tip: Always cap the free edges securely when sealing to ensure the longevity of the decorative elements. - 10Buff the natural nail surface
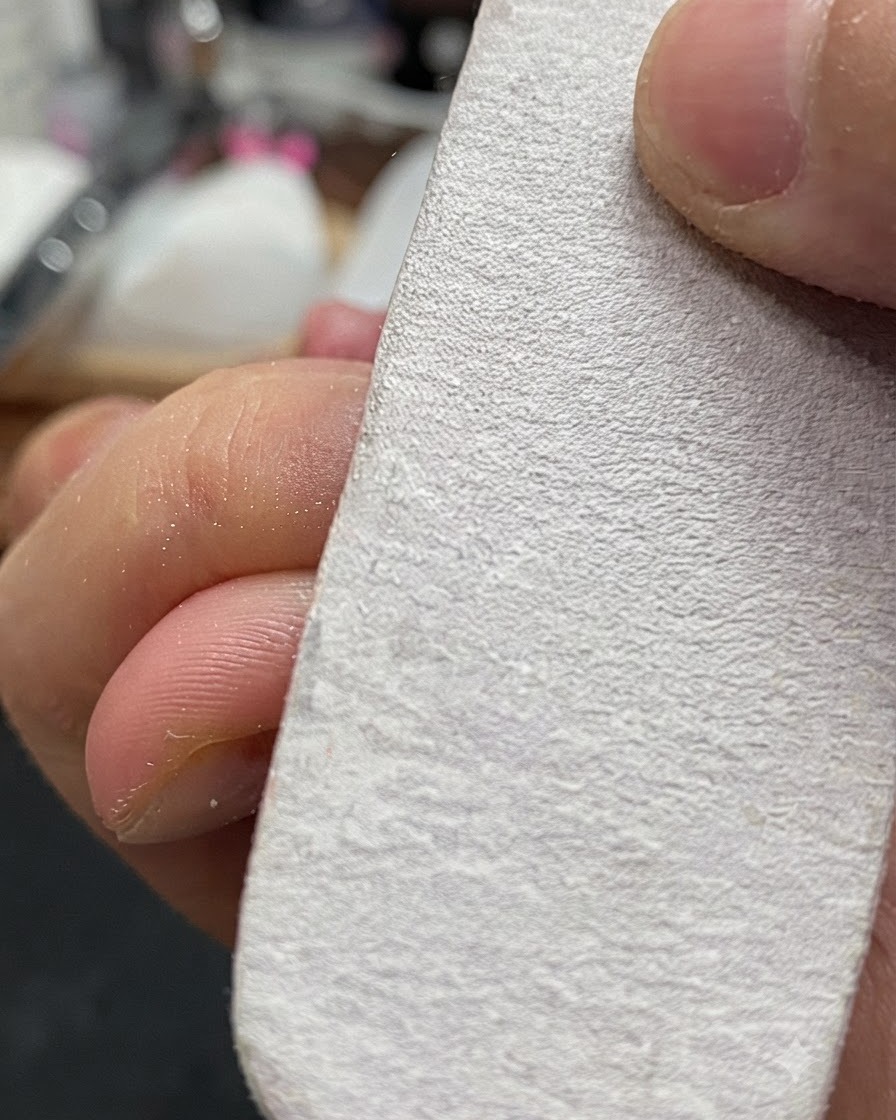
Gently buff the natural nail surface using a nail buffer block to remove surface shine and smooth out minor imperfections. This essential pre-treatment step creates a micro-textured surface that enhances product adhesion.
Tip: Use light, even pressure when buffing to avoid thinning or damaging the natural nail plate. - 11Attach long tapered drill bit
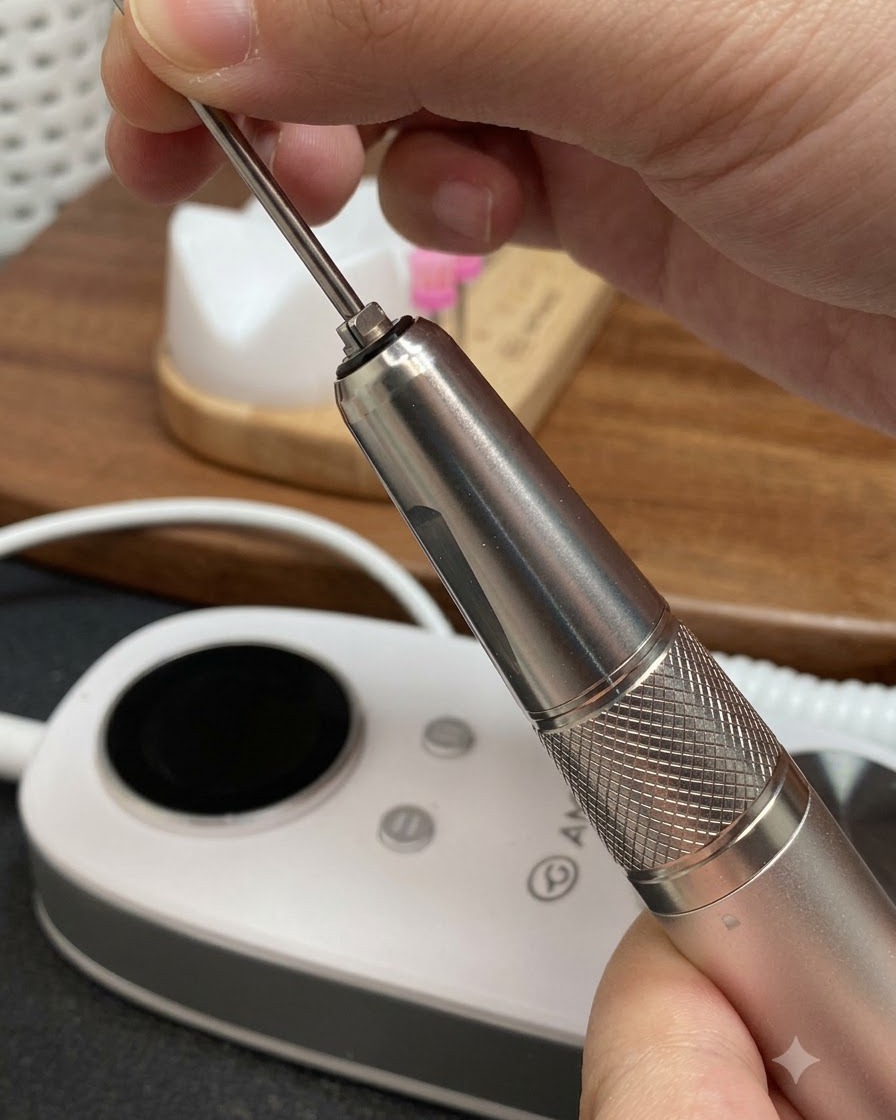
Select a long tapered drill bit and insert it securely into the electric manicure file machine handpiece. Ensure it is locked tightly into position before turning on the device for cuticle pre-treatment.
Tip: Always make sure the machine is paused or powered off when changing drill bits to prevent accidental slips or damage. - 12Open the cuticle pocket with electric file
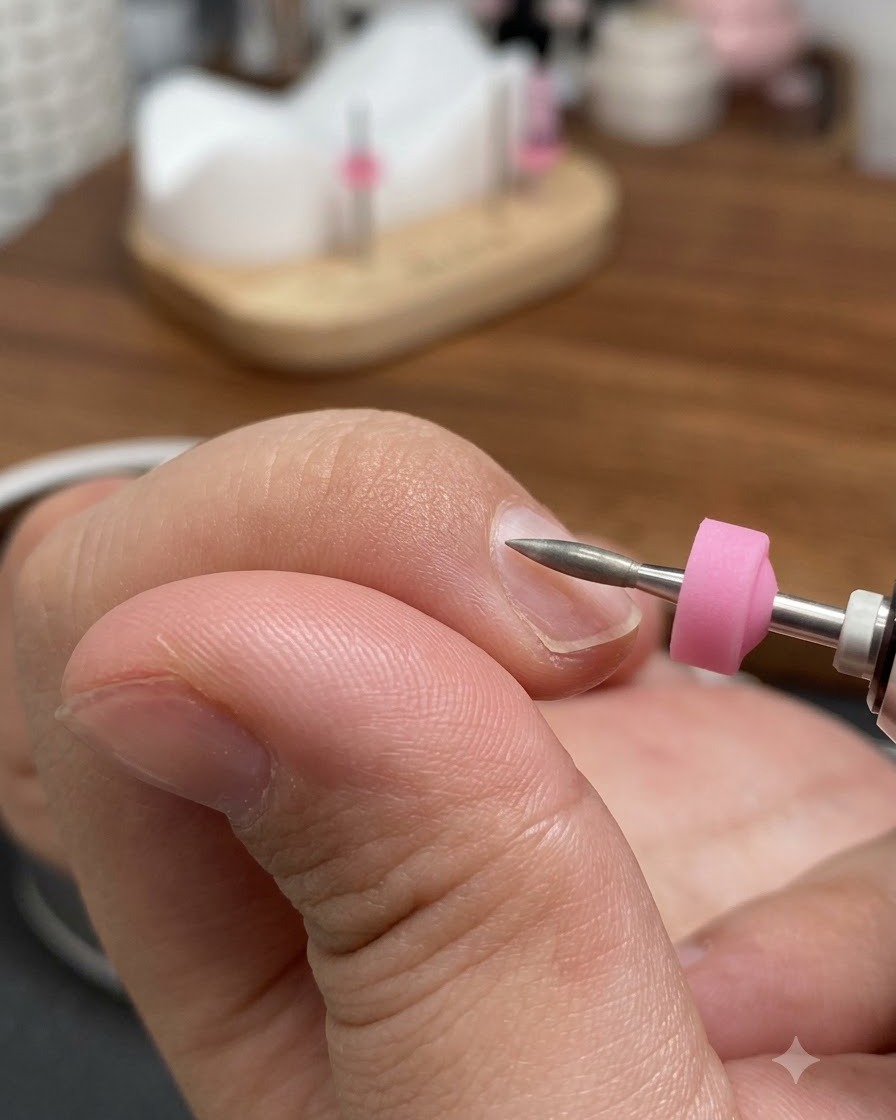
Set the electric file to speed 15 and gently use the long tapered bit to open the cuticle pocket on the natural finger. Maintain a steady and stable hand motion to safely clear away dead skin around the nail fold.
Tip: Keep the file moving smoothly along the pocket contour at a low speed to maintain complete control and avoid friction burns. - 13Open the right side of the cuticle pocket
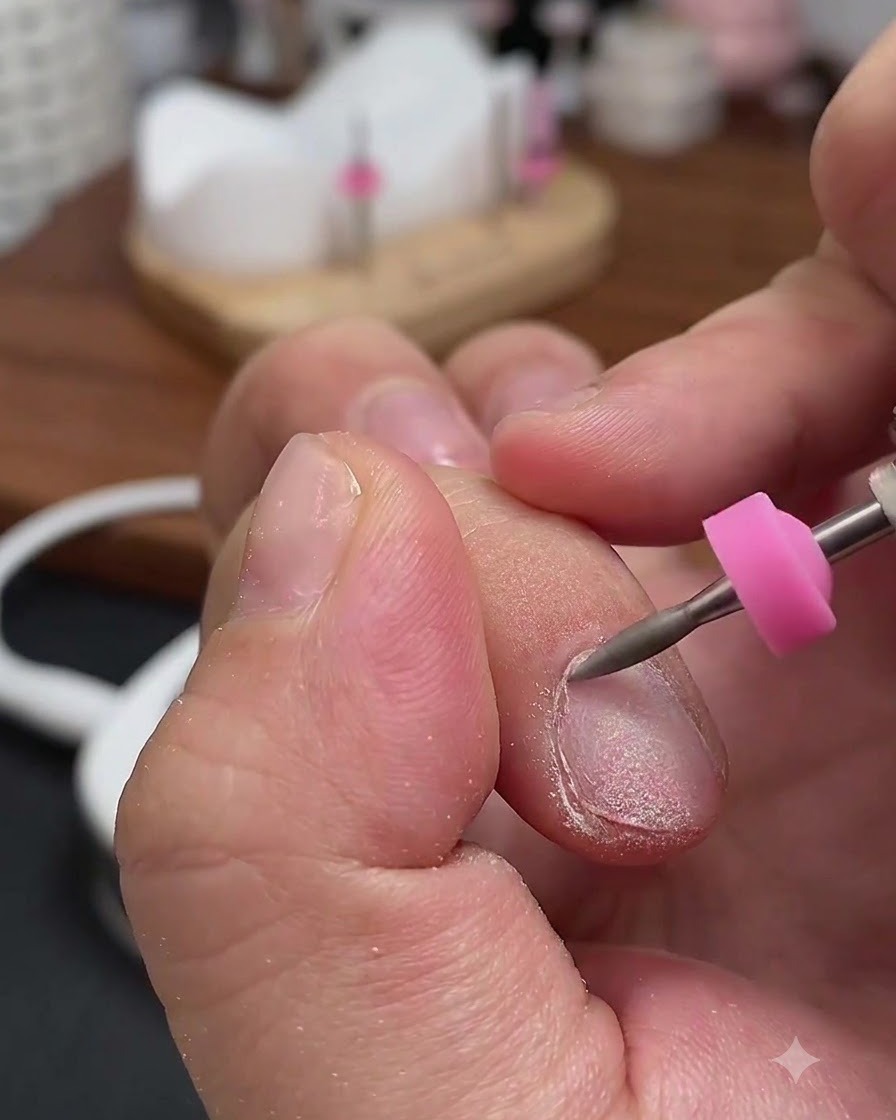
Switch the electric file rotation direction to R and carefully work along the right side of the cuticle pocket. Keep the speed and angle steady to gently lift and clean the area without damaging the surrounding skin. This ensures a clean base for subsequent cuticle care and product application.
Tip: Pay close attention to the rotation switch direction when changing sides to maintain full control over the bit movement. - 14Trim dead skin around the nail fold
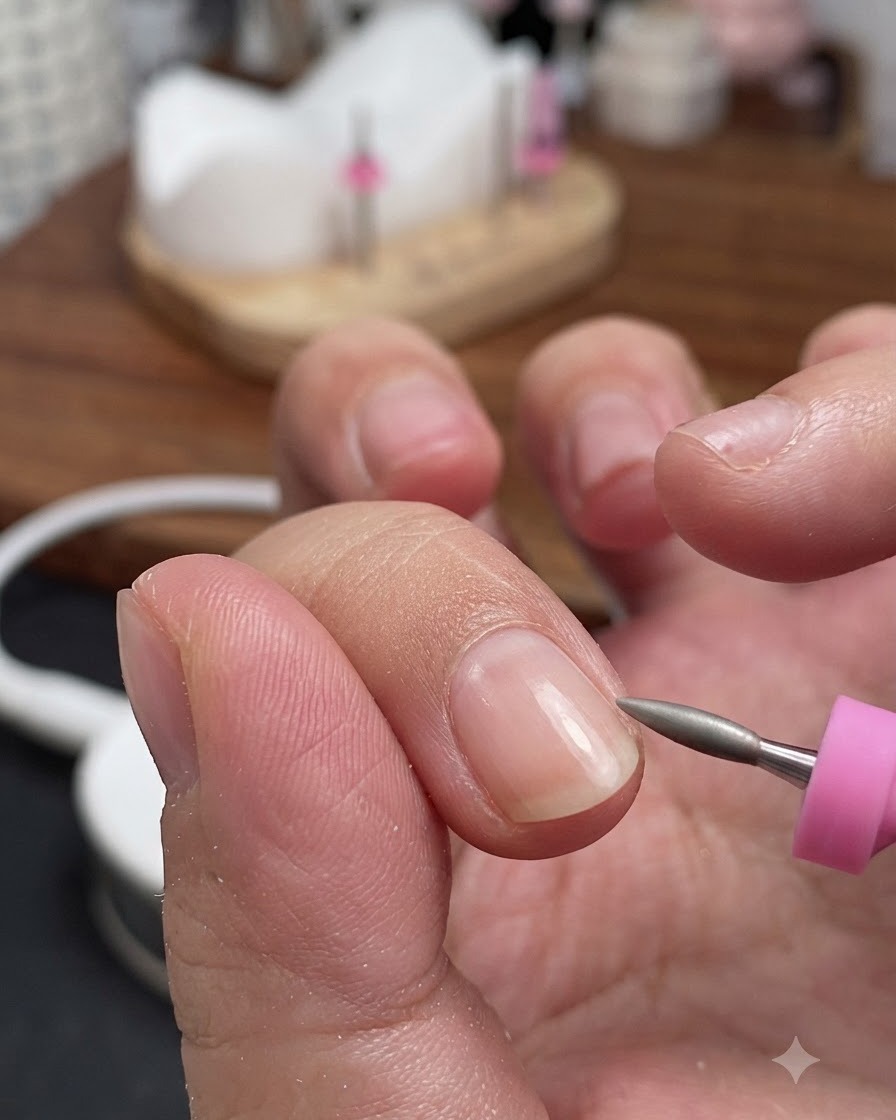
Use precision cuticle nippers to carefully trim away any loosened dead skin and hangnails around the nail fold. Take small, controlled snips to avoid cutting into living tissue. This neatens the overall appearance of the nail bed and creates a polished finish.
Tip: Rest your hand stably against the clients hand while using nippers to prevent accidental slips. - 15Apply water-grinding technique for refined trimming
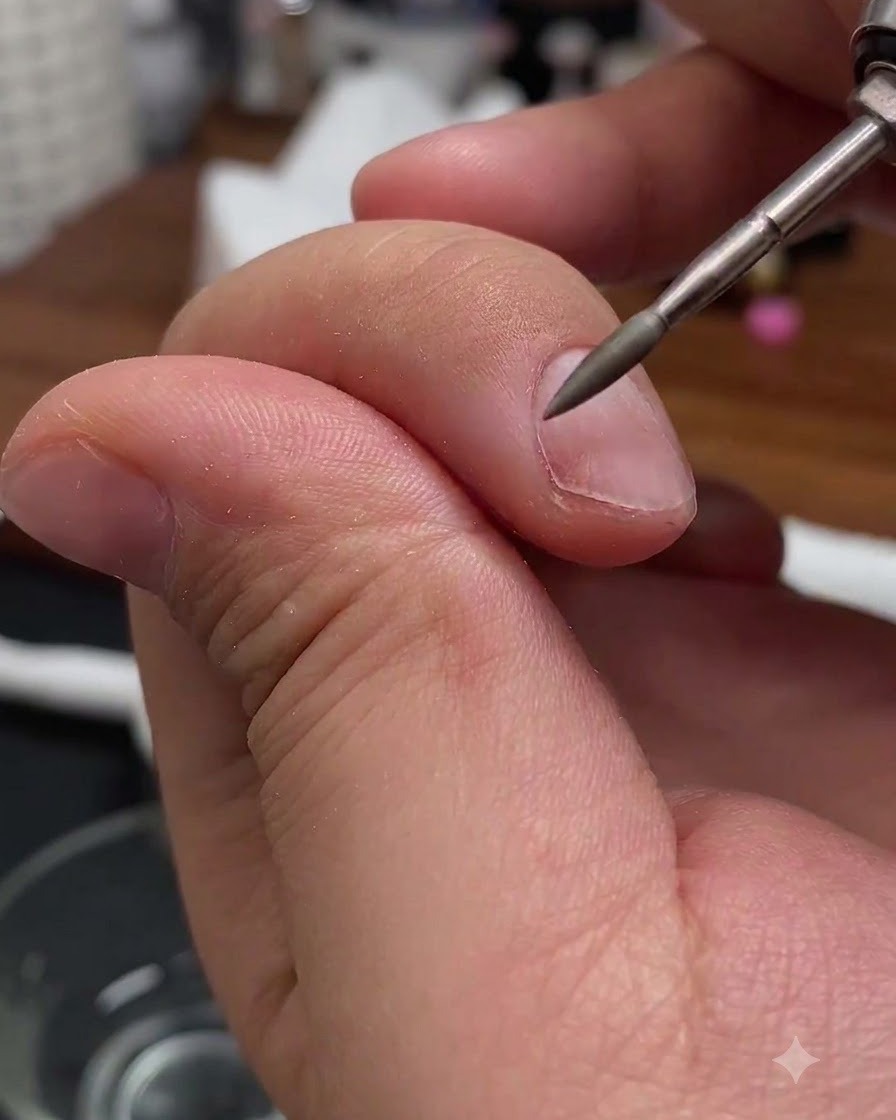
Utilize the water-grinding technique by dipping the electric file bit in water to perform refined trimming around the cuticle area. This method reduces friction and heat, providing a smoother finish while protecting the skin and nail plate.
Tip: Ensure the electric file has waterproof functionality before using water-grinding techniques to prevent device damage.