Rose Red Polka Dot
Cat Eye Nail Art — Step-by-Step Tutorial
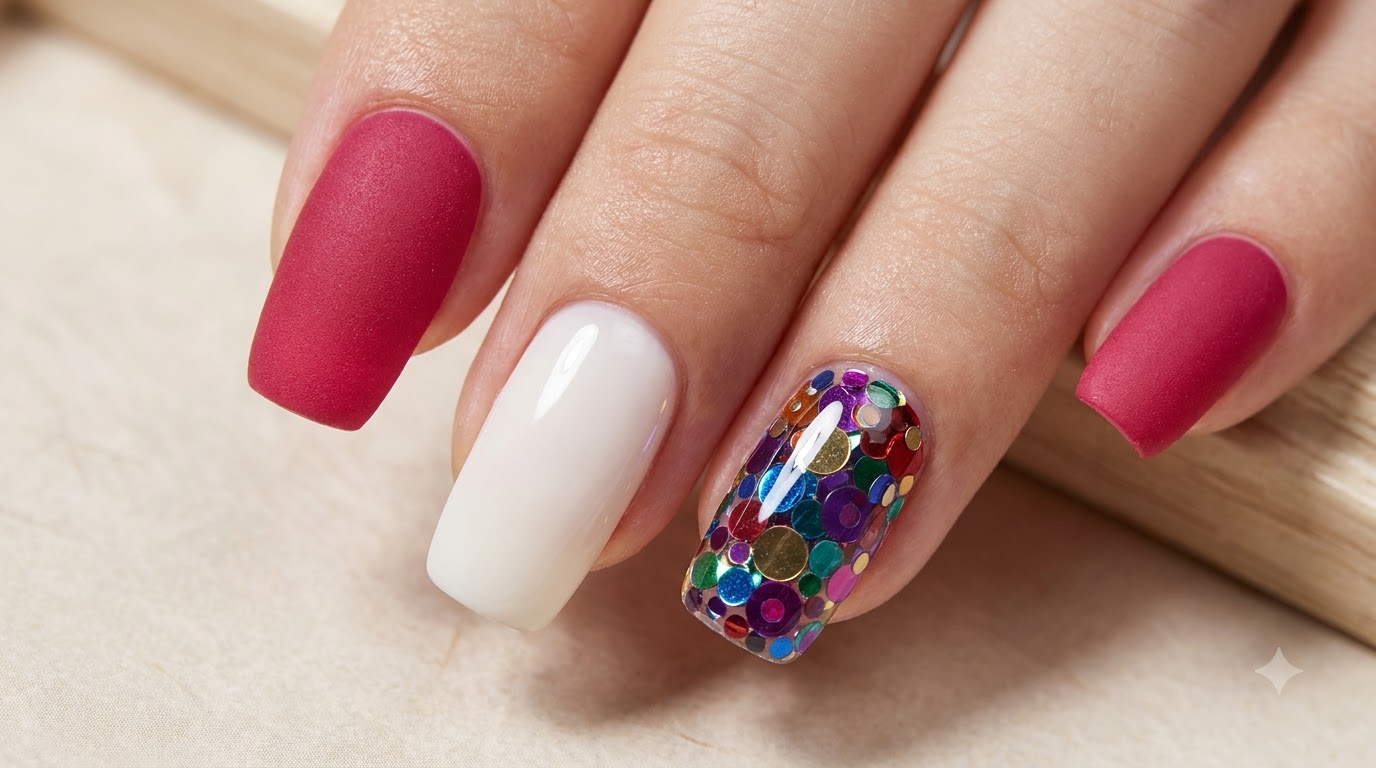
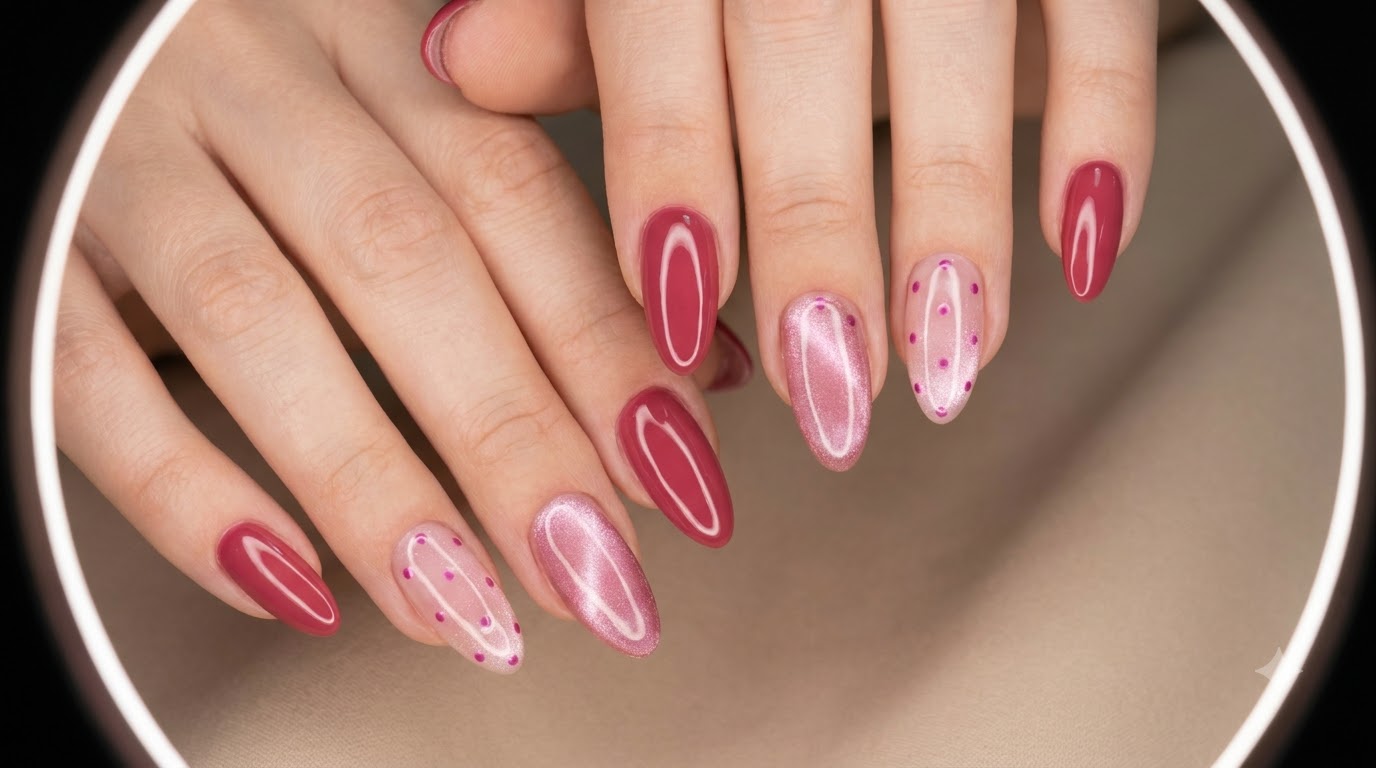
Discover how to create a stunning combination of rich rose red solid nails, shimmering pink cat eye effects, and playful polka dot accents in this detailed nail art tutorial.
Mixing textures and finishes is one of the best ways to elevate a classic manicure. This look pairs vibrant magenta cream polish with mesmerizing glass ball cat eye dimensions and delicate polka dot art, creating a balanced and eye-catching style suitable for any season.
Steps
- 1Shape and prep near the cuticle
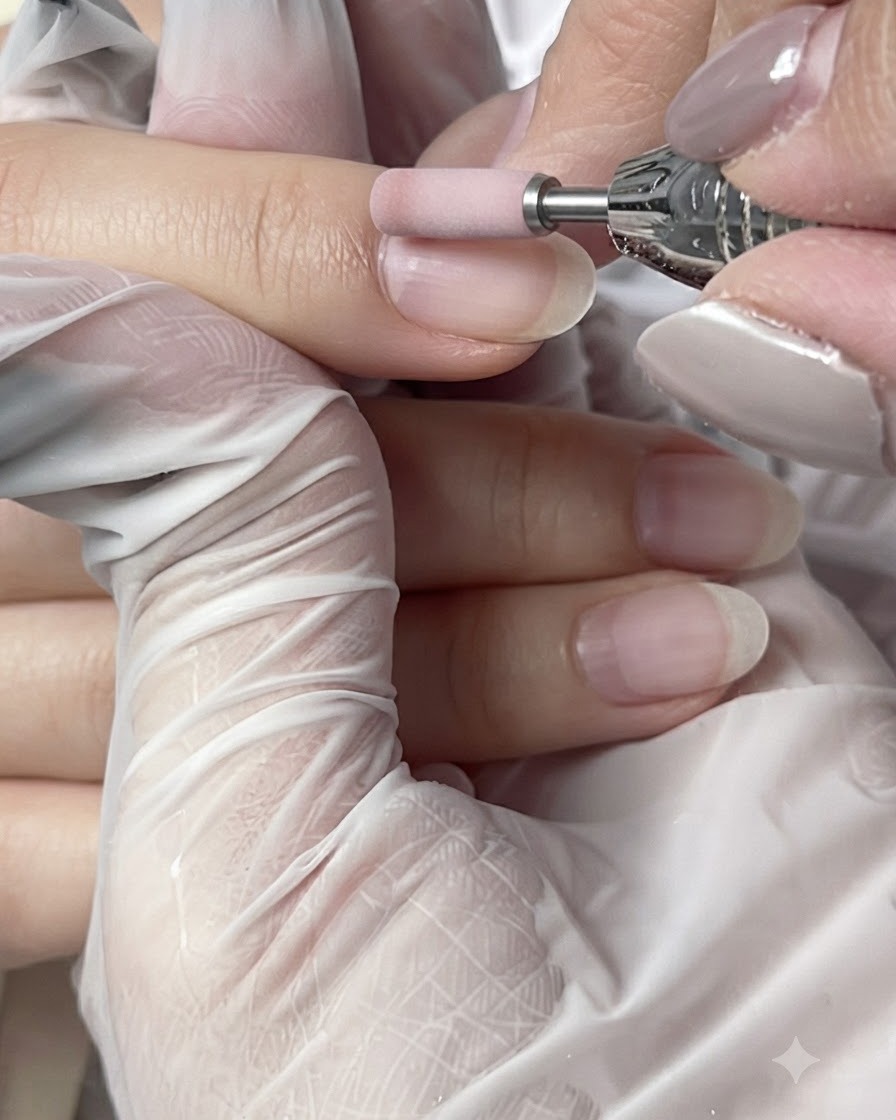
Using an electric file equipped with a pink ceramic bit, gently shape and prep the nail surface around the cuticle area. Maintain a light touch and keep the bit moving smoothly to avoid friction burns or thinning the natural nail plate. This prepares the surface for proper product adhesion.
Tip: Keep the e-file at a low to medium speed and hold it at a parallel angle to the nail plate for safe, controlled cuticle prep. - 2Dust off filing residue
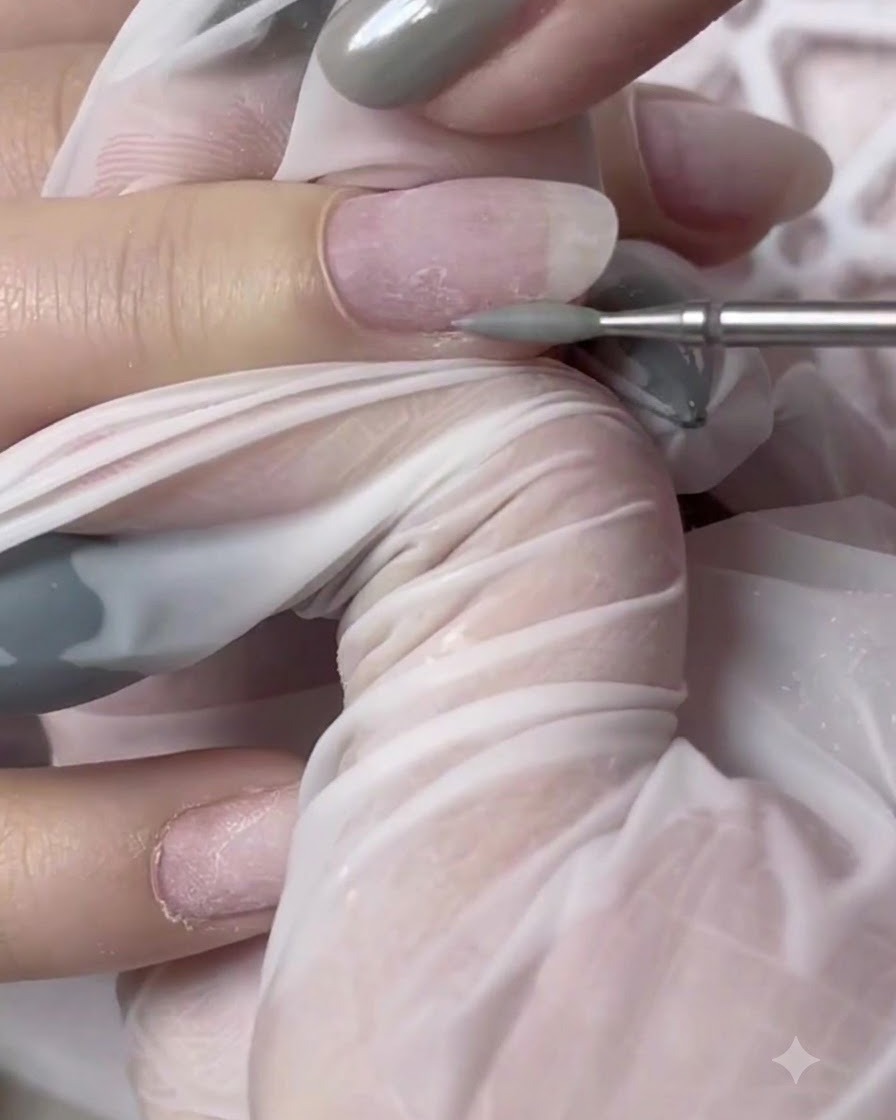
Gently brush away all filing dust and debris from the nail plate using a soft, fluffy dusting brush. Ensuring the nail surface is completely clean and free of particles is essential before moving on to detailed cuticle work or liquid applications.
Tip: Brush downward from the cuticle toward the free edge to thoroughly clear dust out of the lateral folds and nail grooves. - 3Clean cuticles with a diamond bit
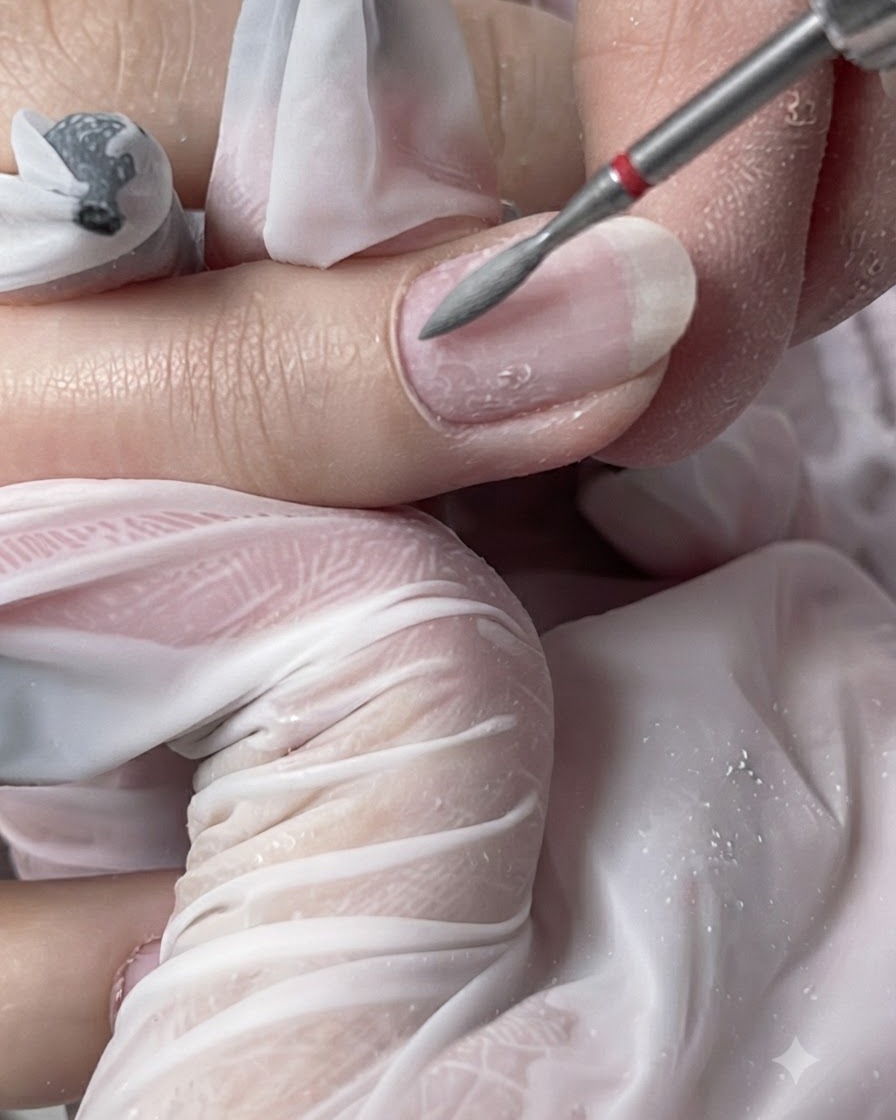
Switch to a fine flame-shaped diamond bit on your electric file to carefully clean around the cuticle area and lateral folds. This step lifts and removes any remaining non-living tissue or pterygium from the nail plate, ensuring a clean edge for flawless product application.
Tip: Use a low RPM and work gently around the sensitive skin of the lateral folds to prevent cuts or irritation. - 4Trim excess cuticle and hangnails
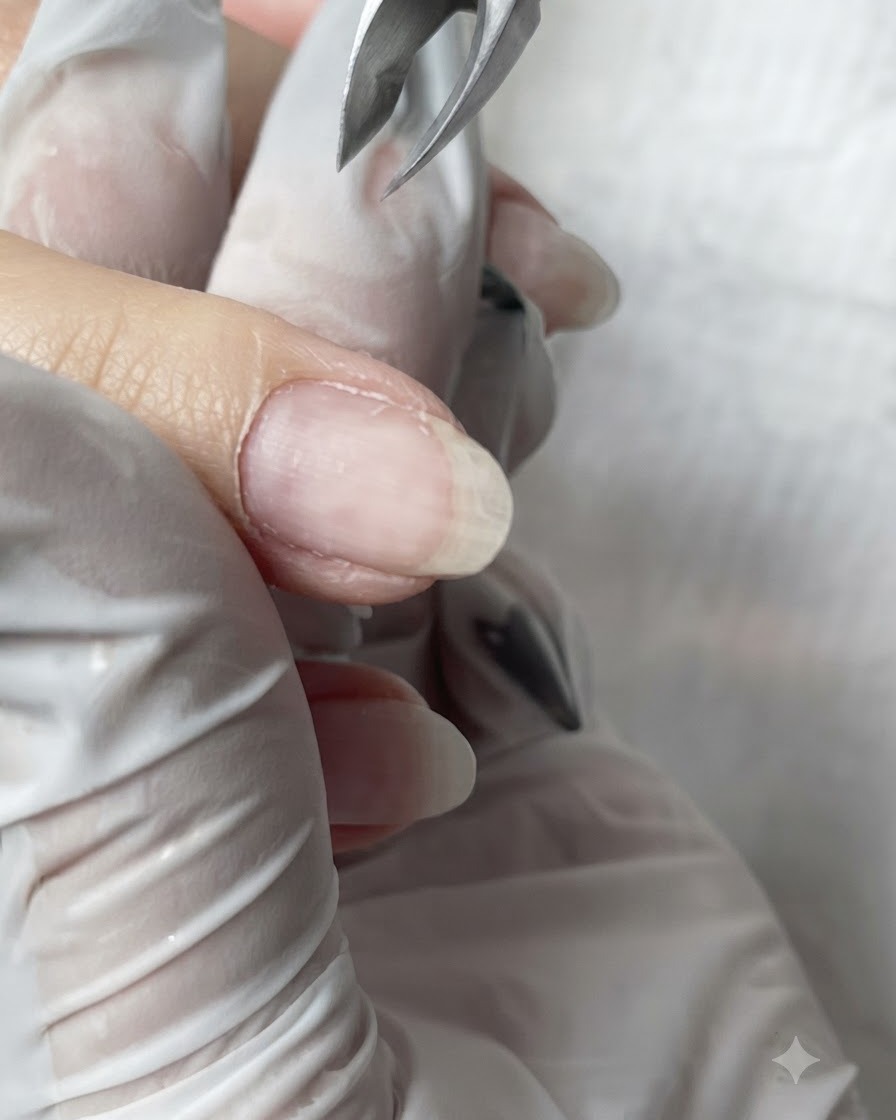
Carefully use cuticle nippers to trim away any loosened dead skin, dry tissue, and hangnails around the nail fold. Take small, precise snips to maintain a clean, tidy contour without pulling or cutting live skin.
Tip: Sanitize your nippers before use and rest your hand steadily against the clients finger for maximum precision and control. - 5Refine the nail plate surface
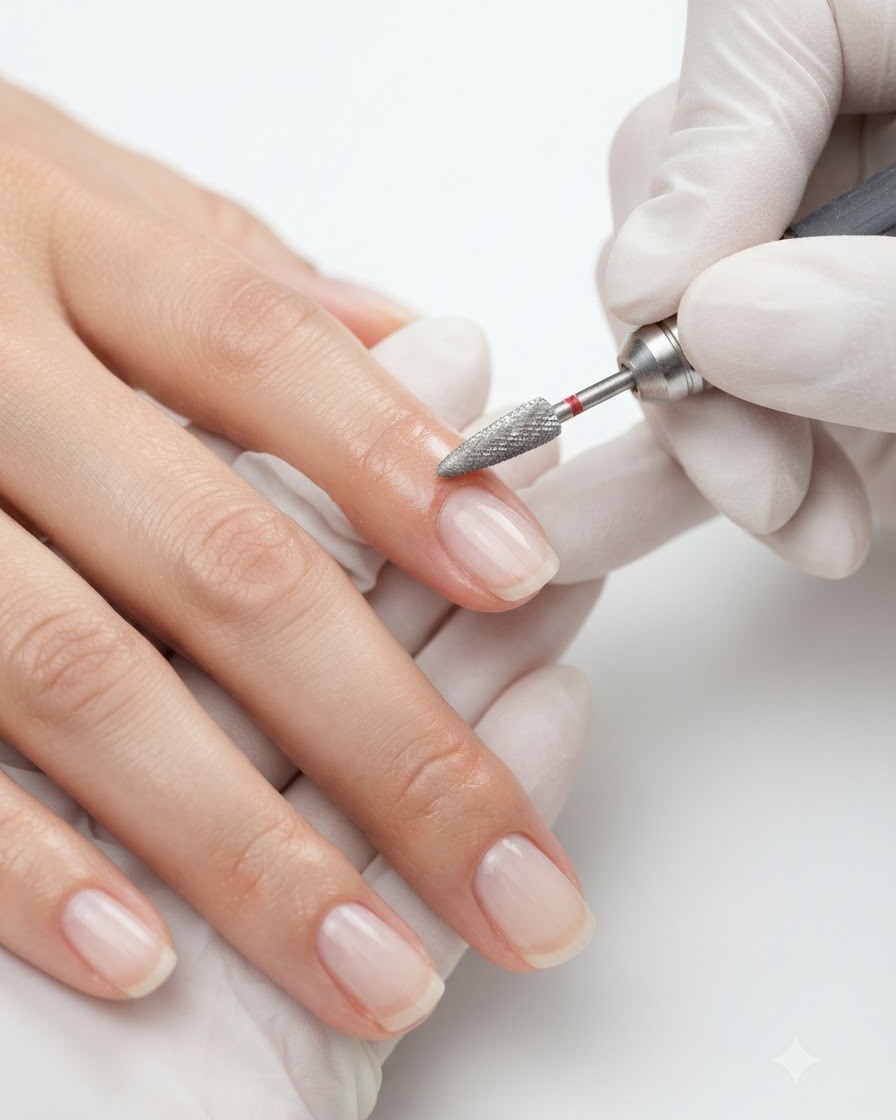
Lightly go over the nail plate surface once more using a fine-grit drill bit to ensure a uniform texture and smooth adhesion profile. This final mechanical prep step helps maximize the longevity of the base gel without causing damage.
Tip: Use minimal pressure during this secondary refinement to protect the integrity of the natural nail. - 6Final dust cleanup
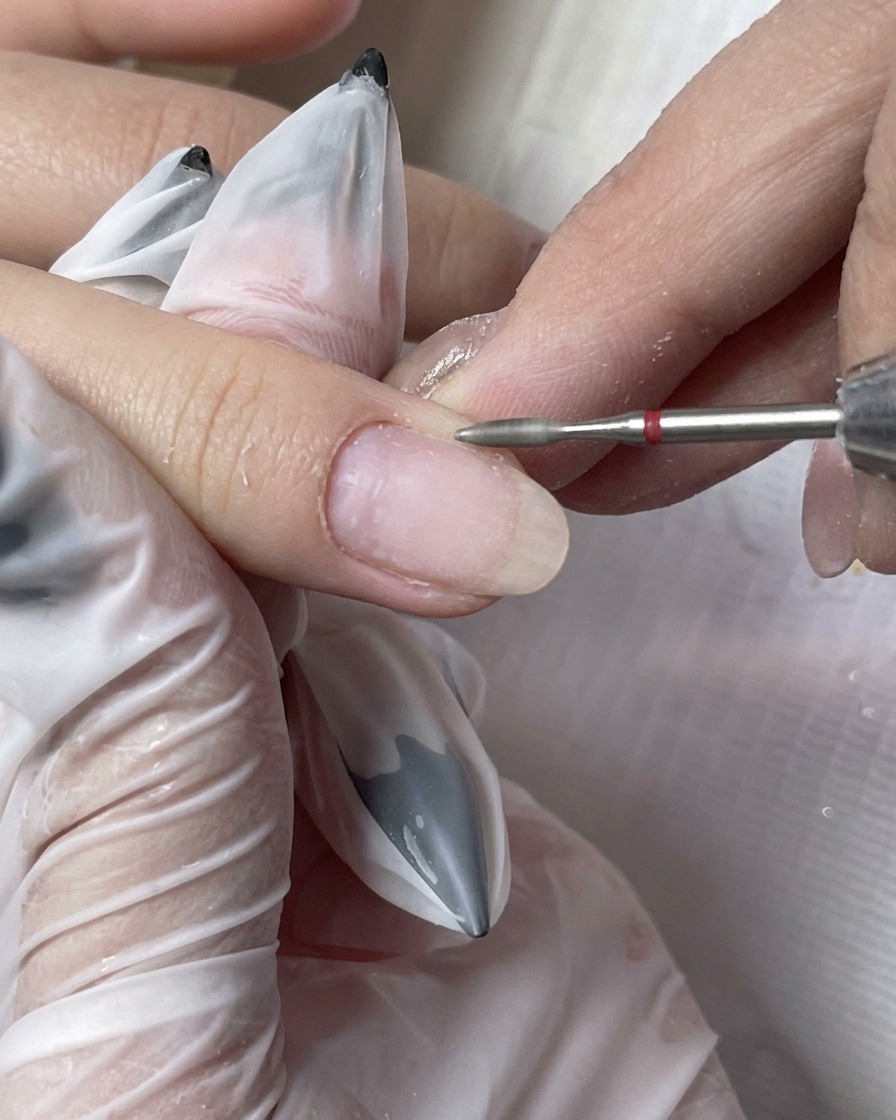
Thoroughly brush away all remaining filing debris and dust particles from the nails using a clean brush. A spotless surface ensures that subsequent liquid applications and gel layers adhere cleanly without trapped particles.
Tip: Always follow up with a cleanser wipe after dusting to remove microscopic oils and dust before applying base coats. - 7Apply Base Coat Gel
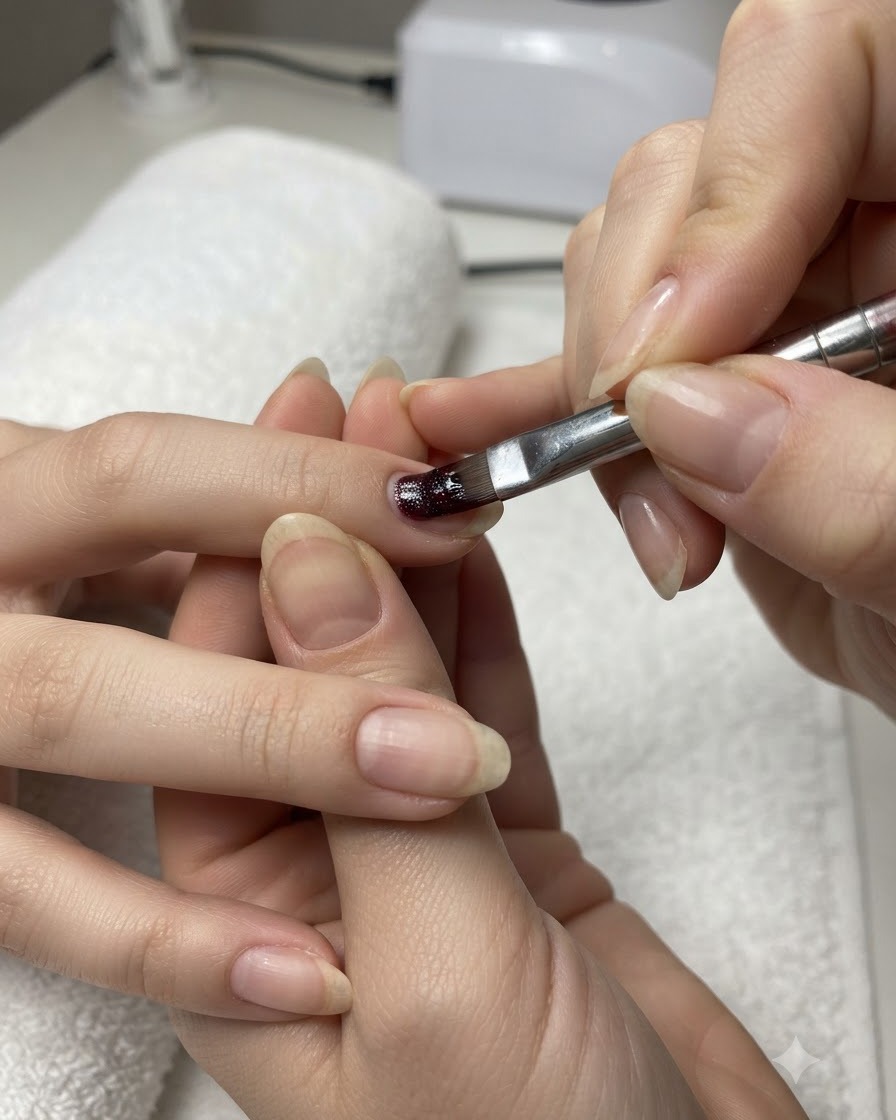
Dip the brush into the jar and apply the base coat gel onto the nail plate. Use a wiping and rubbing technique to lightly wet the surface, ensuring strong adhesion without lifting or peeling.
Tip: Apply a thin layer using rubbing motions to properly anchor the base gel to the natural nail plate. - 8Smooth Base Coat Layer
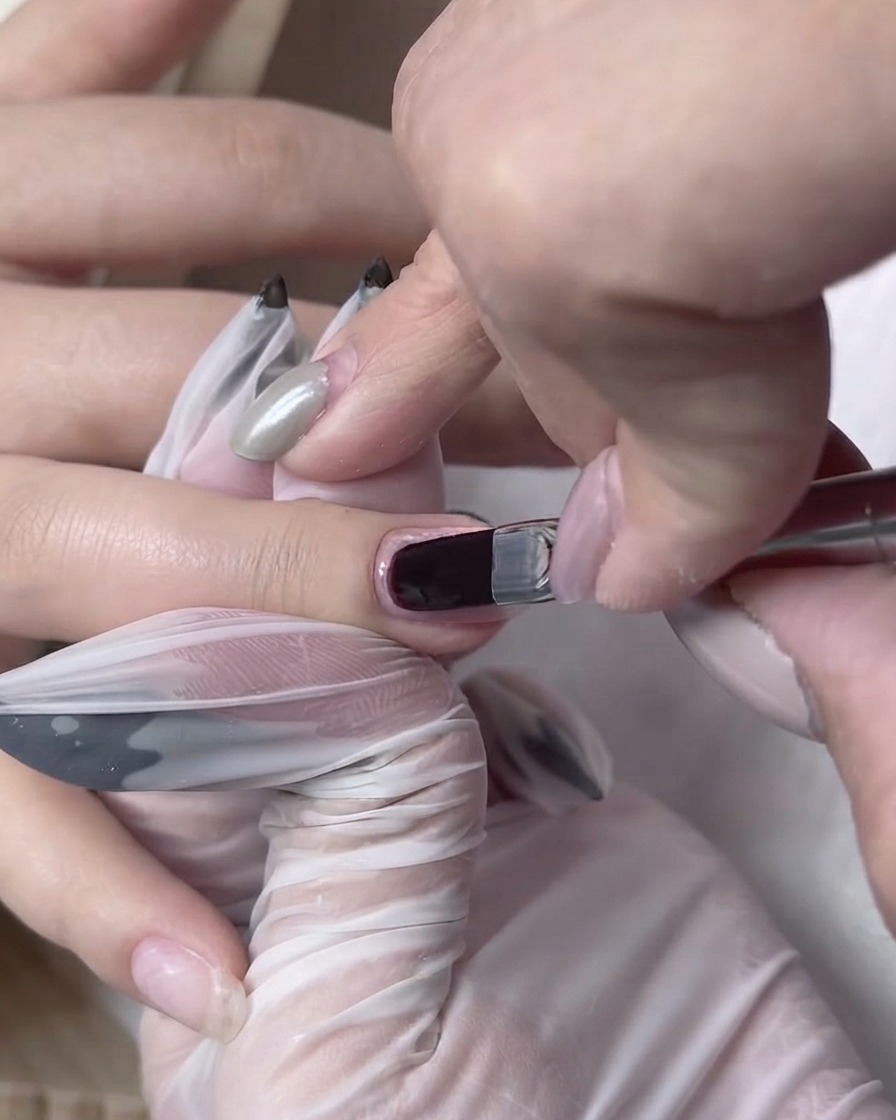
Smooth out the base gel layer evenly across the entire nail plate to guarantee firm adhesion and prevent future lifting or peeling.
Tip: Make sure the base gel is evenly distributed across the nail without pooling near the cuticles. - 9Cure Base Coat
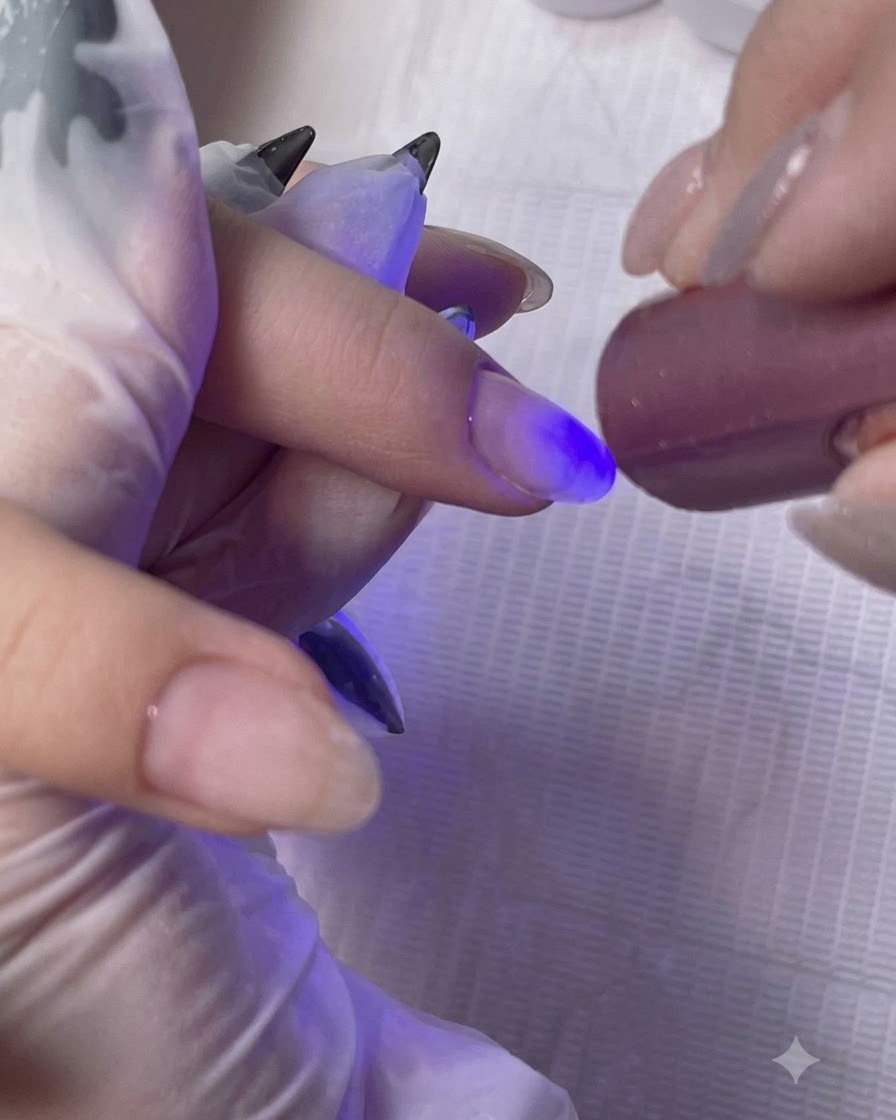
Cure the freshly applied base coat layer underneath a mini handheld UV or LED lamp to set the product securely before the next step.
Tip: Hold the mini lamp steady over the nail to ensure the base gel cures completely. - 10Apply Building Gel
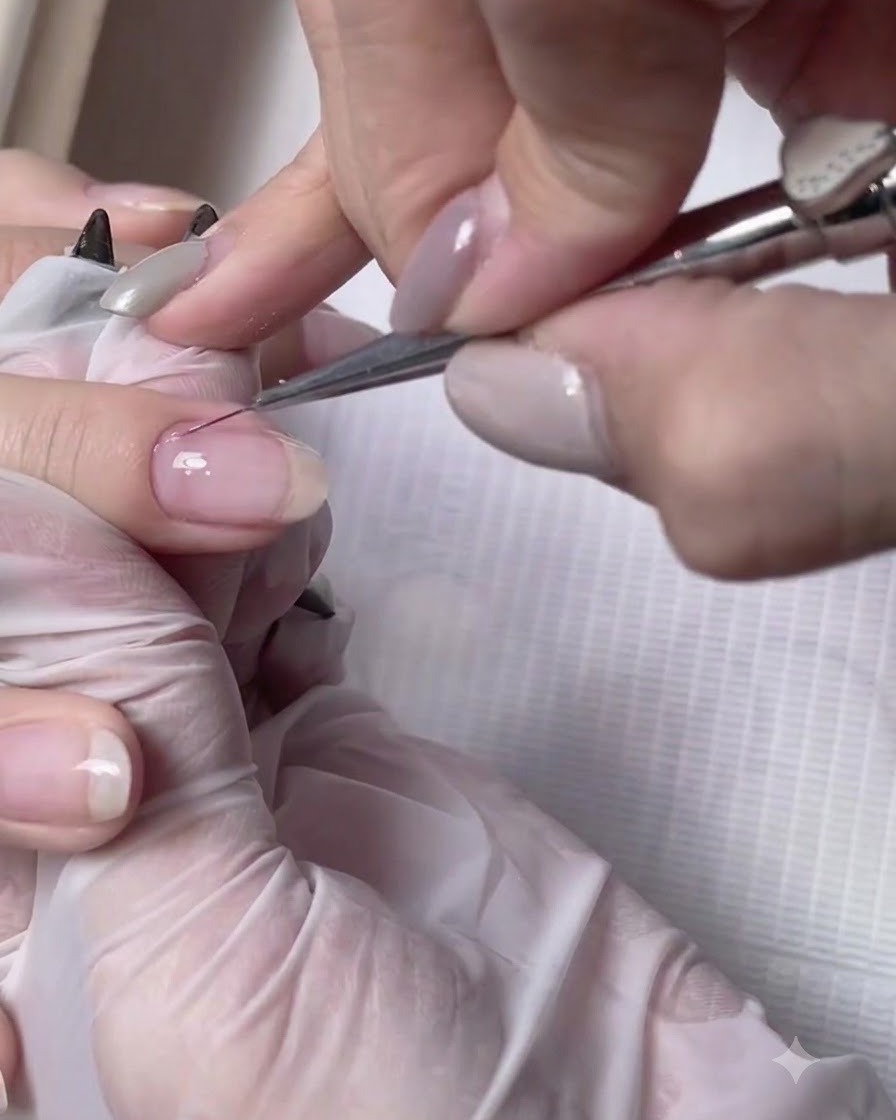
Apply a clear building gel layer onto the longer natural nail to provide extra structure, thickness, and strength.
Tip: Since the clients nails are longer, building gel is essential to reinforce durability against bending or breaking. - 11Cure Building Gel
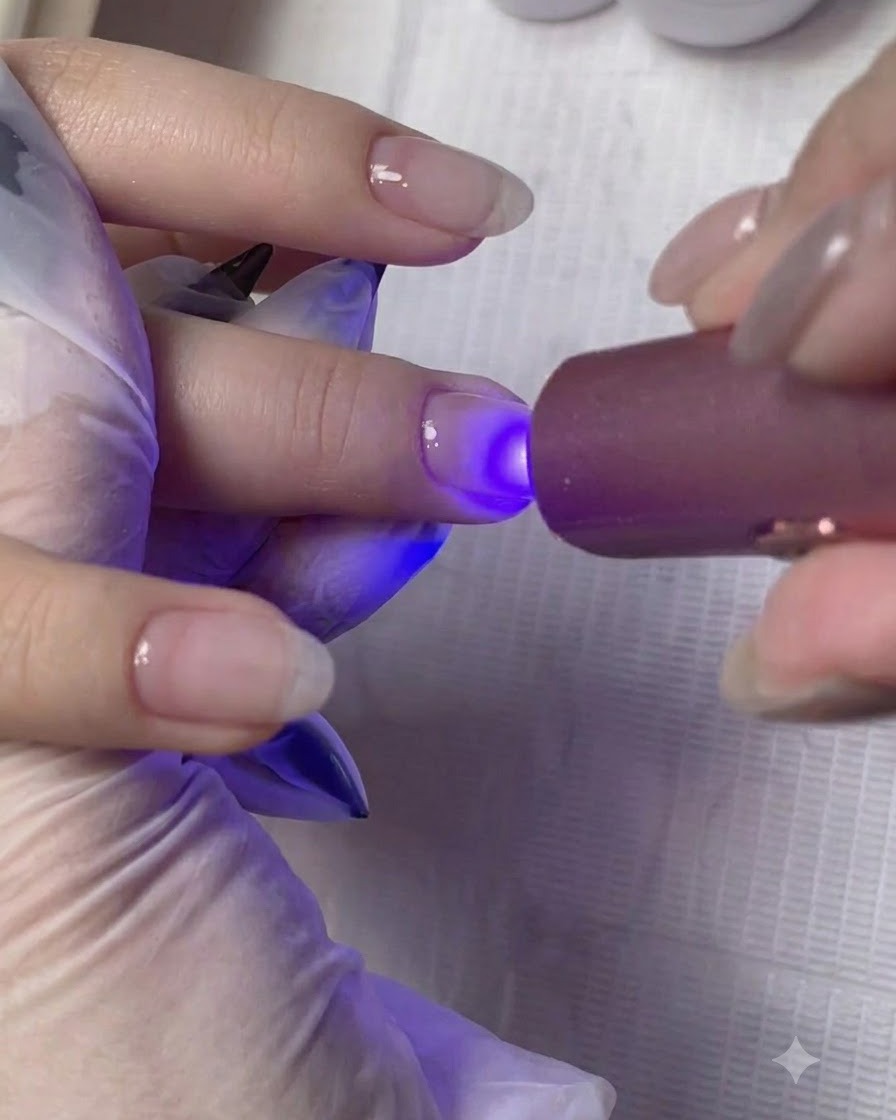
Place the finger under the UV/LED lamp to cure the building gel layer and harden the structural reinforcement.
Tip: Ensure proper curing time to avoid shifting or soft spots in the building gel layer. - 12Wipe Free Edge
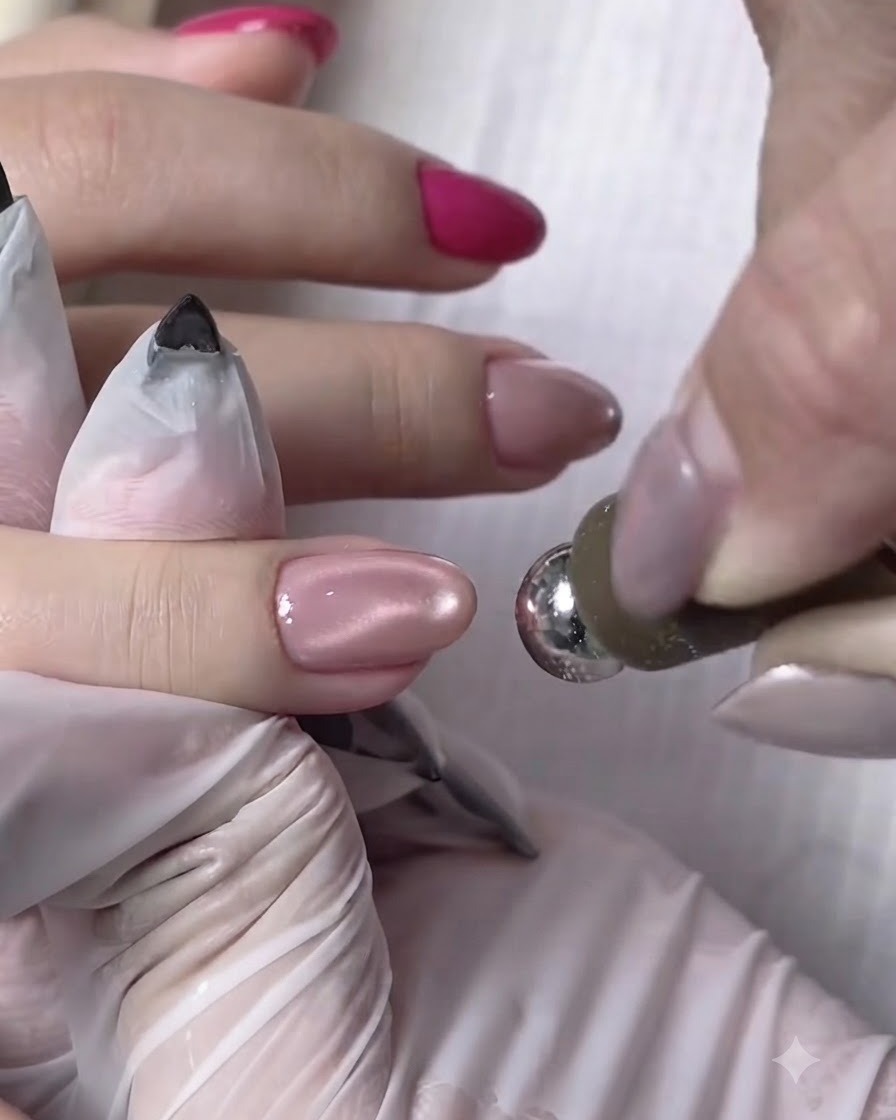
Use a wiping pad or lint-free cleansing wipe to clean the free edge and remove the sticky inhibition layer.
Tip: Wipe the free edge thoroughly to prepare a clean surface for subsequent color applications. - 13Apply first coat of magenta color gel
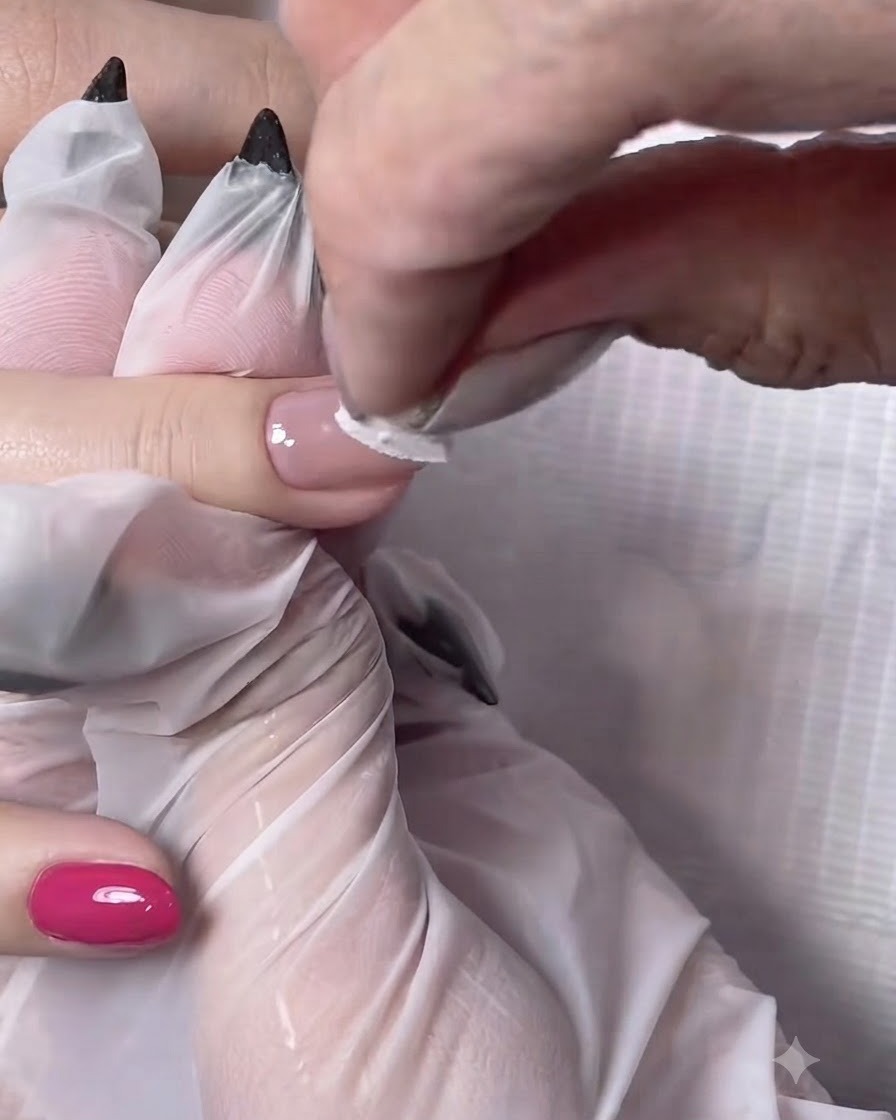
Apply the first coat of vibrant magenta color gel onto the thumb, index, and pinky nails, pushing close to the cuticle. Ensure the application is smooth and even without flooding the skin. Cure briefly under the lamp if required before moving to the next step.
Tip: Pushing the brush gently into the cuticle pocket creates a neat, professional look that lasts longer as nails grow out. - 14Apply second coat of magenta color gel
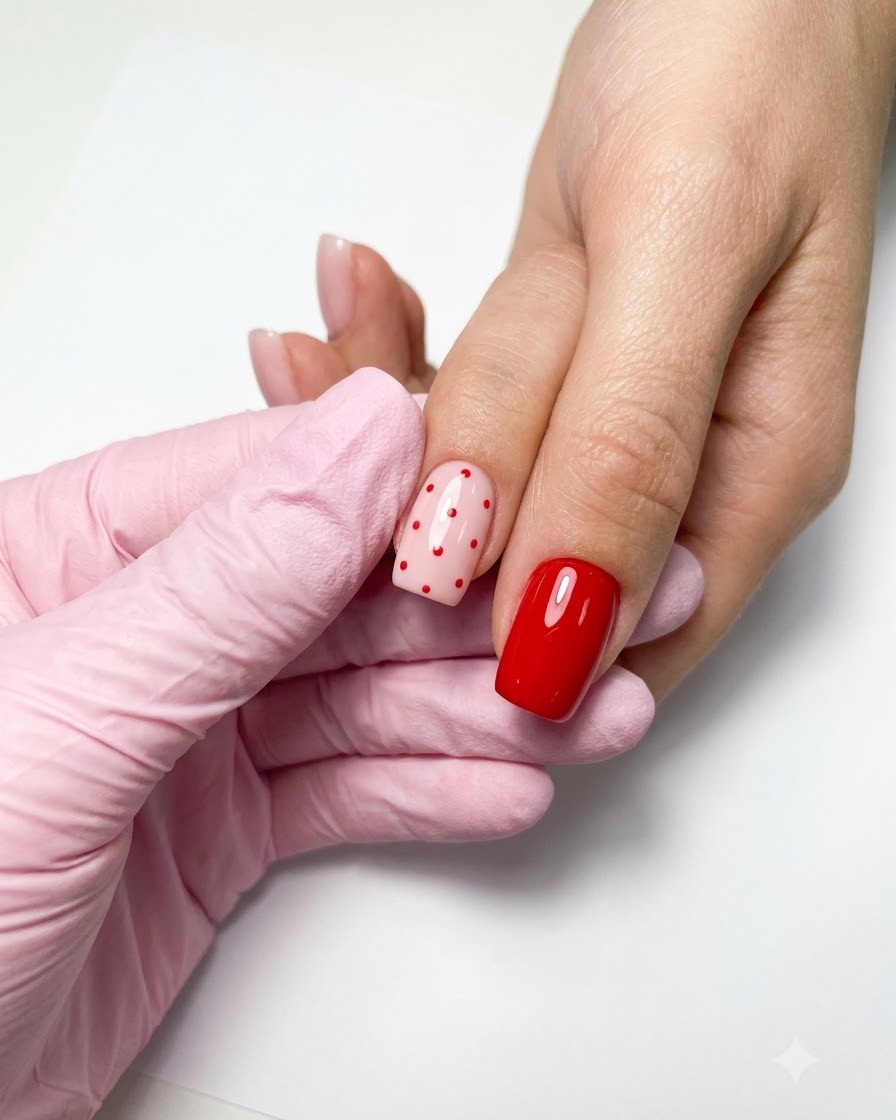
Apply the second coat of magenta color gel to ensure full opacity and smooth coverage across the thumb, index, and pinky nails. Double coating prevents patchiness and locks in a rich, vibrant color tone.
Tip: Keep strokes thin and consistent to avoid bulkiness around the edges of the nail. - 15Apply light pink cat eye gel polish

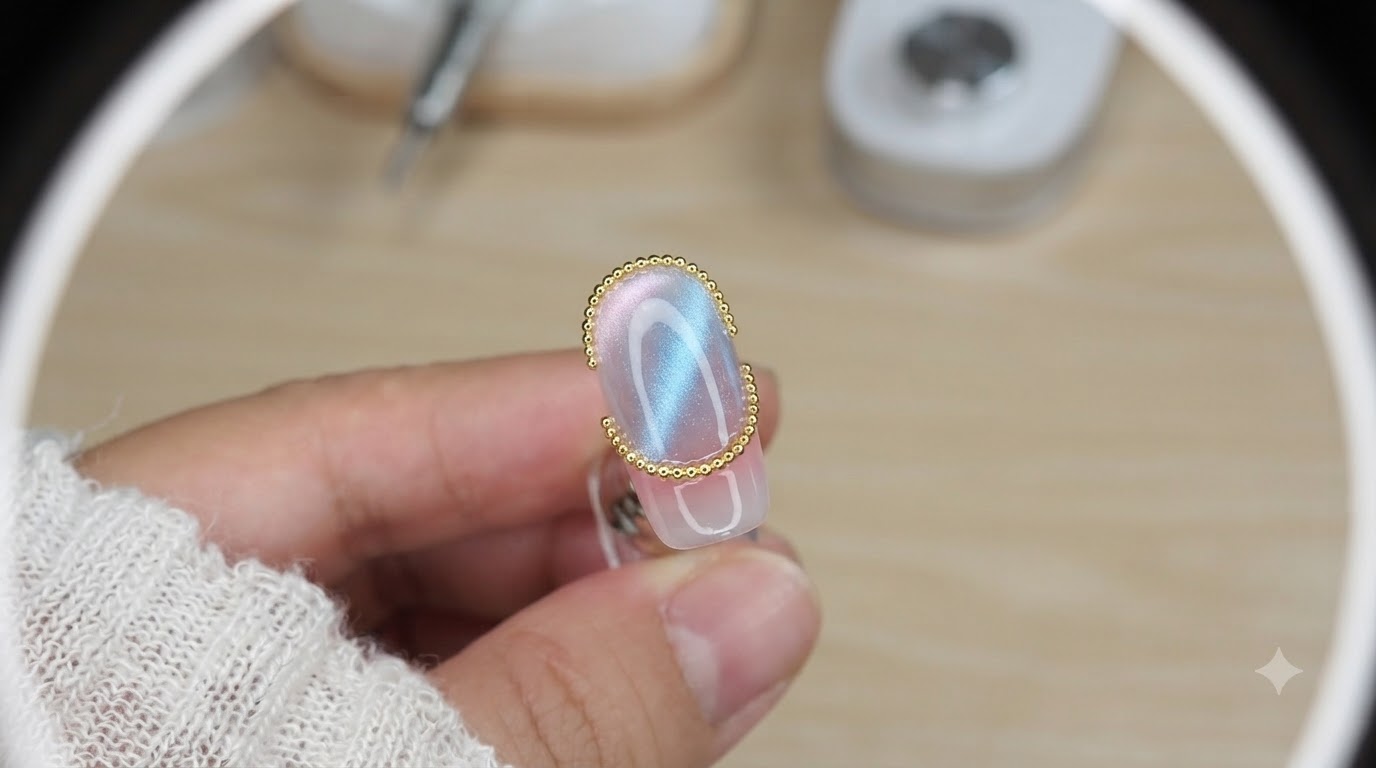
Apply a light pink cat eye gel polish onto the middle and ring fingers. Ensure an even coat is applied across the nail surface before using a magnet to create the desired cat eye optical effect. Cure under a UV or LED lamp once the pattern is achieved.
Tip: Work on one finger at a time or use the magnet immediately before the cat eye particles disperse to maintain a sharp, defined light effect.