Christmas Santa
Plaid Nail Art Tutorial
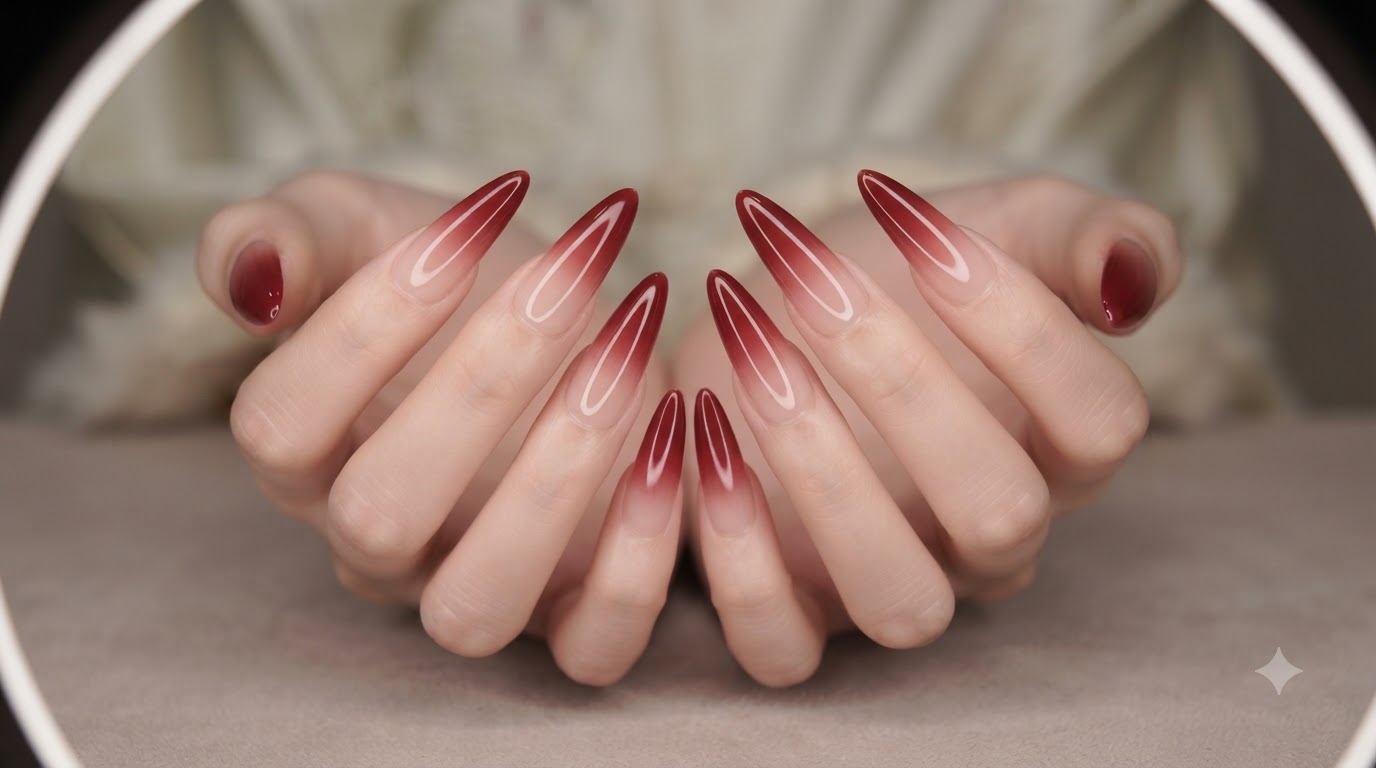
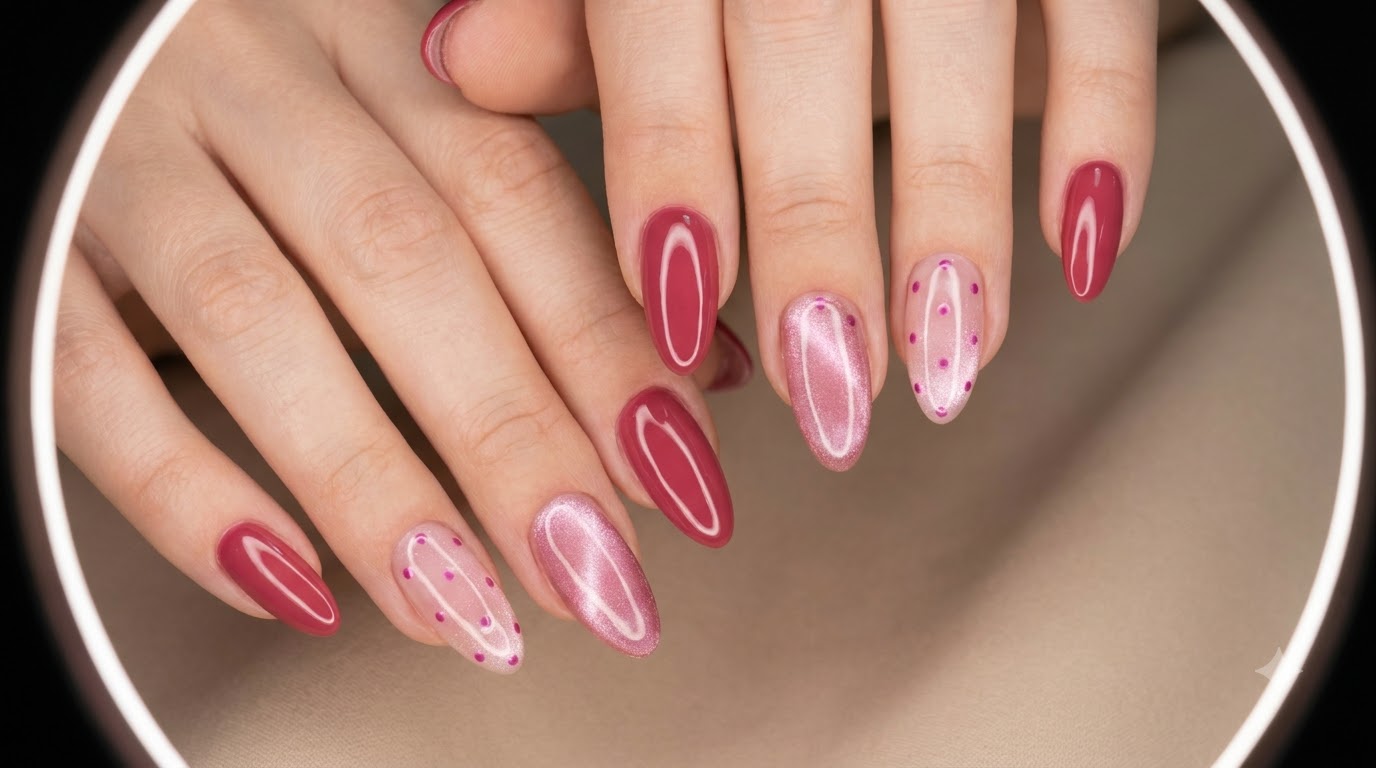
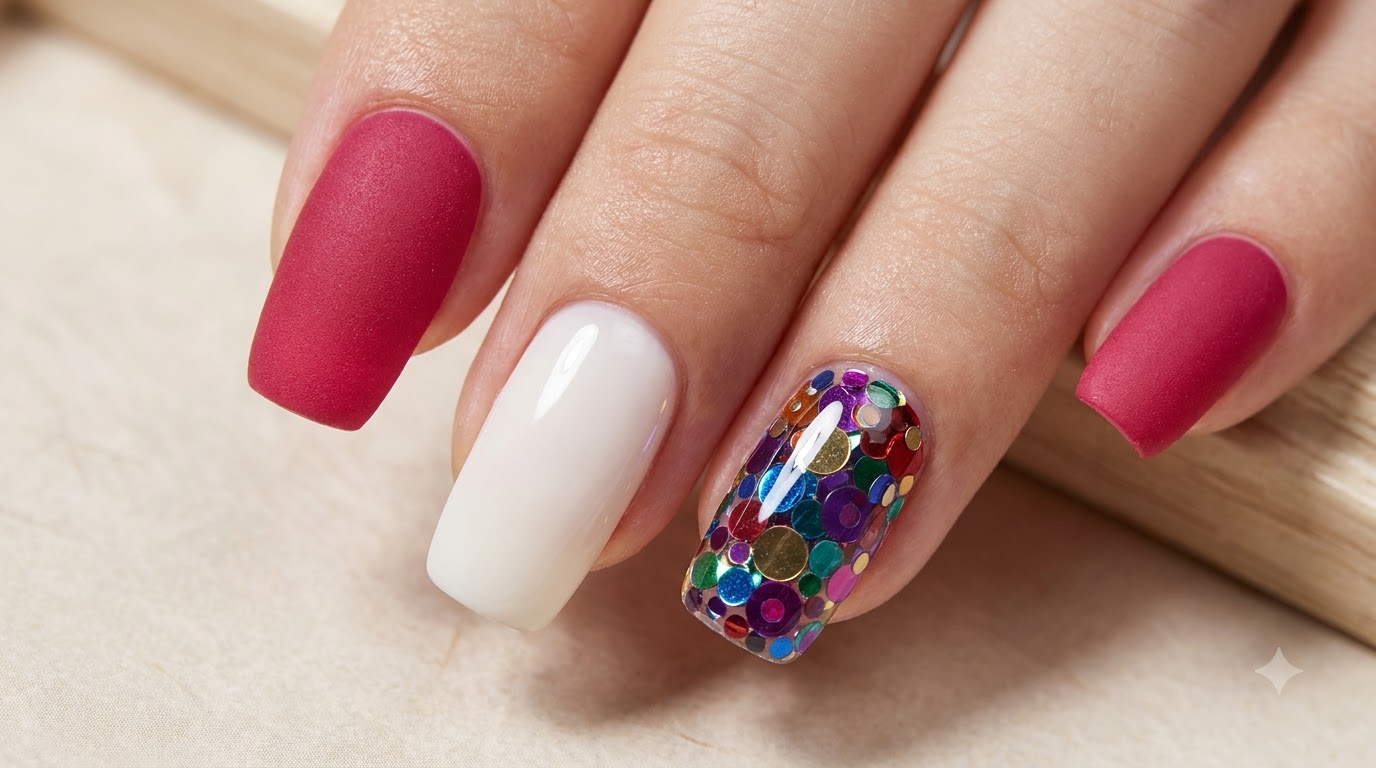
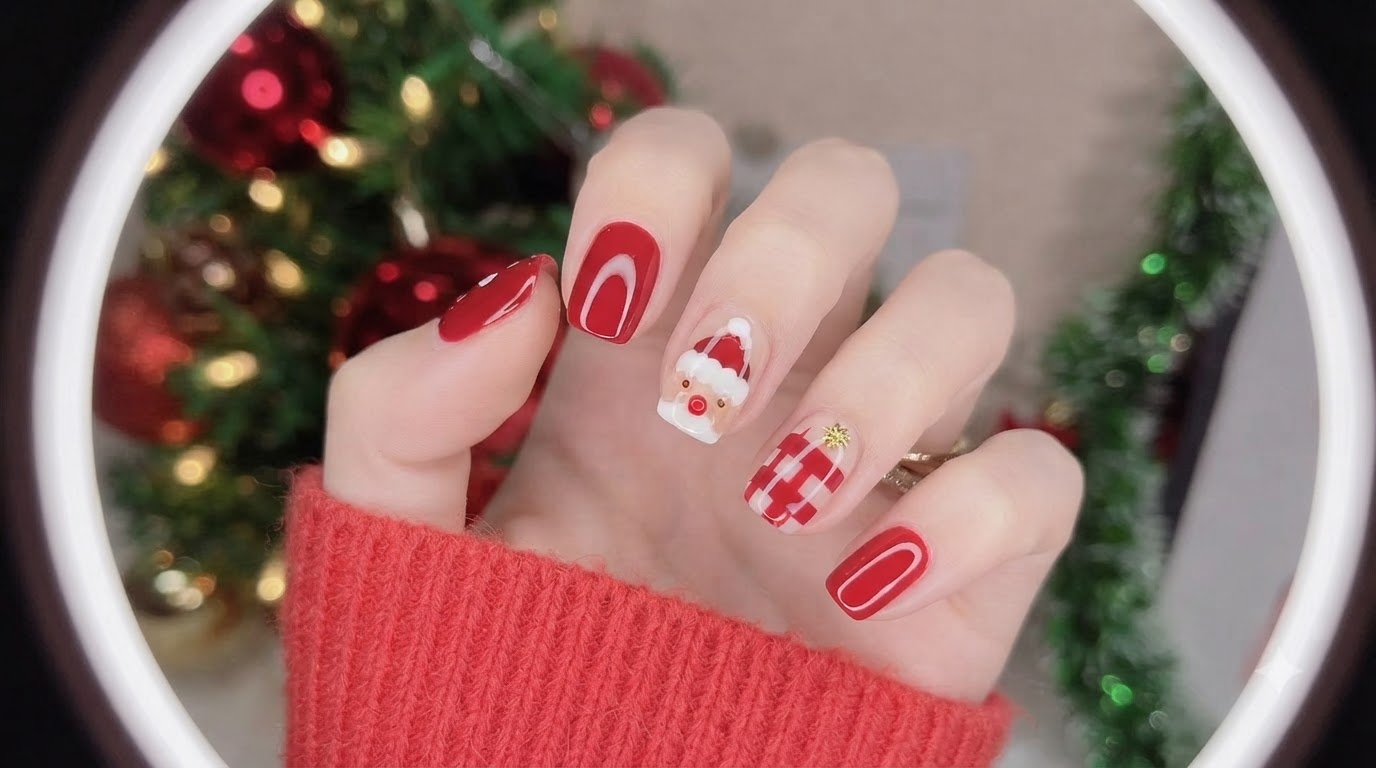
Master festive holiday nails with this super cute Christmas Santa and plaid nail art tutorial featuring vibrant reds, clean nudes, and playful details.
Get into the holiday spirit with a festive manicure that combines classic Christmas cheer with modern nail art charm. This step-by-step tutorial guides you through creating an adorable hand-painted Santa Claus face, a cozy red-and-white plaid accent nail, and shimmering side hearts for a bright, skin-whitening holiday look.
Steps
- 1Apply first coat of fiery red gel
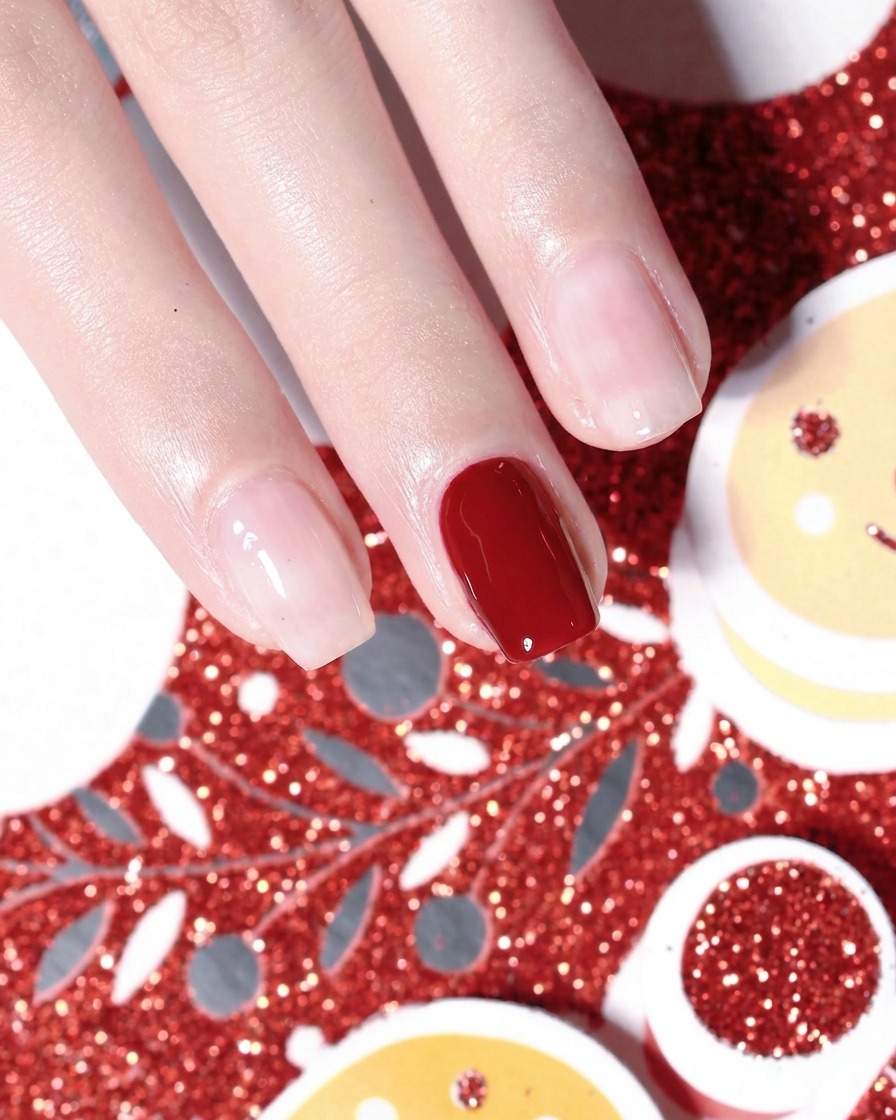
Apply the first even coat of Kelly Kessa #14 fiery red gel polish to the pinky, middle finger, and thumb. Ensure smooth coverage along the nail plate while leaving a clean gap around the cuticle area. Cure under the lamp before proceeding to the next layer.
Tip: Keep the first coat thin to prevent wrinkling or uneven curing under the UV lamp. - 2Apply second coat of fiery red gel
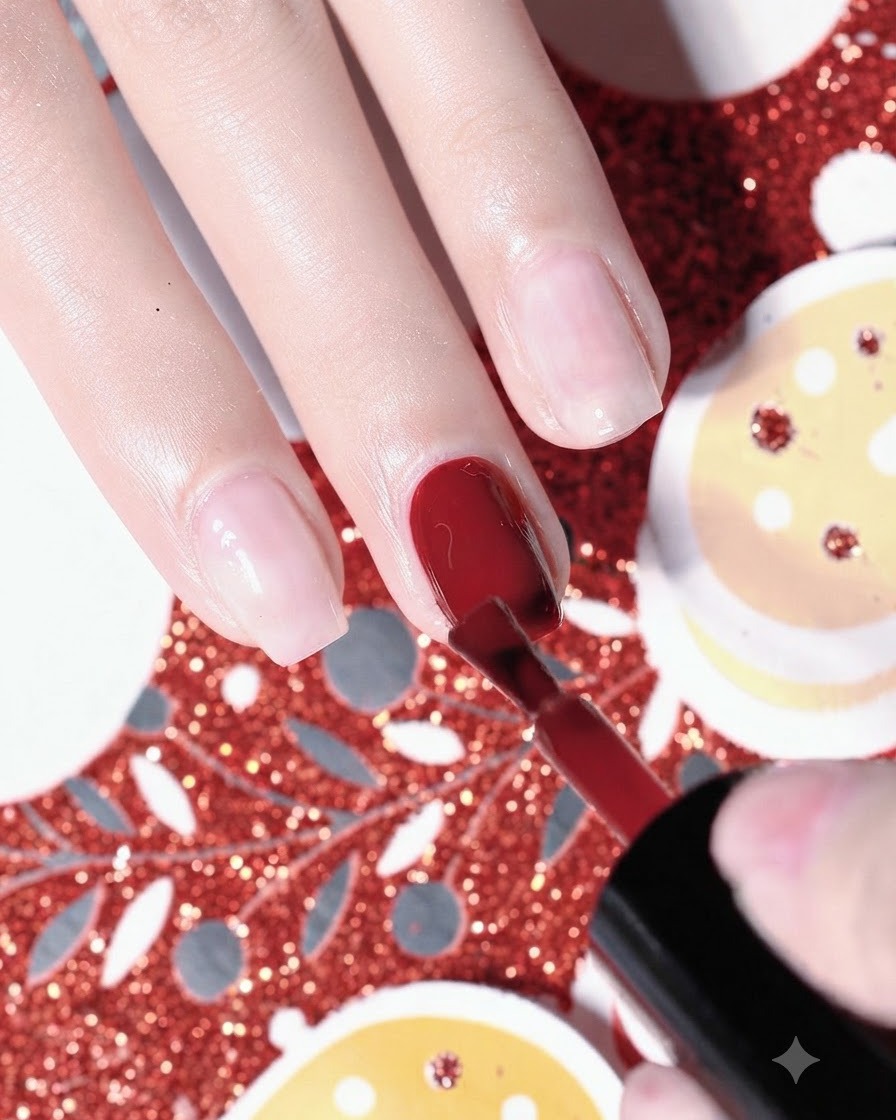
Apply a second coat of fiery red gel polish to the pinky, middle finger, and thumb to achieve full, rich opacity and vibrant color depth. Seal the free edge carefully with the brush to prevent chipping, then cure under the lamp.
Tip: Applying two thin coats is always better than one thick coat for long-lasting durability. - 3Take warm nude base gel
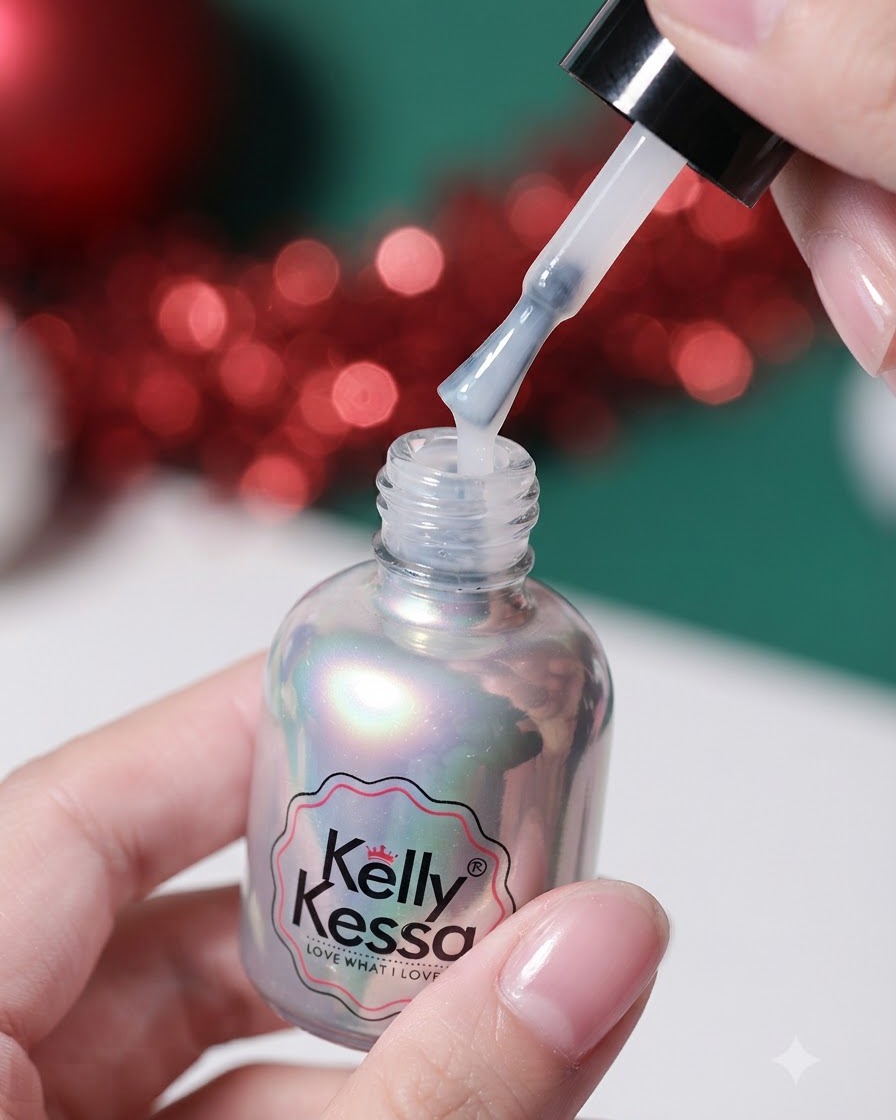
Unscrew the bottle and pull out the brush loaded with white or warm nude base gel polish, ensuring the excess is wiped neatly against the neck of the bottle. This prepares the product for application on the remaining unpainted nails.
Tip: Wipe one side of the brush clean to maintain precise control over the amount of gel product. - 4Apply warm nude base color
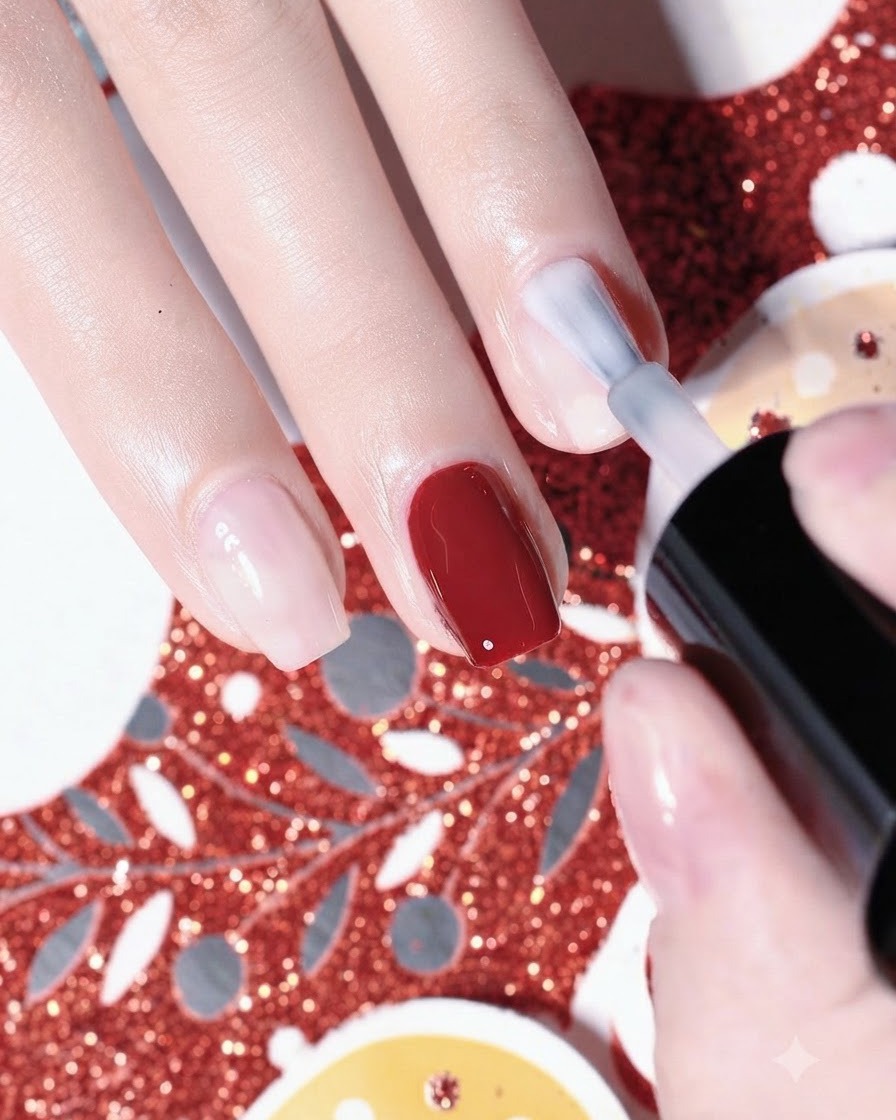
Apply a smooth coat of clean warm nude base color to both the ring finger and the index finger. Make sure the application is even and neat around the cuticles, then cure the nails under the UV or LED lamp.
Tip: Check for any pooling around the sidewalls before placing the hand under the lamp to ensure a clean cure. - 5Paint Santas semi-circular face
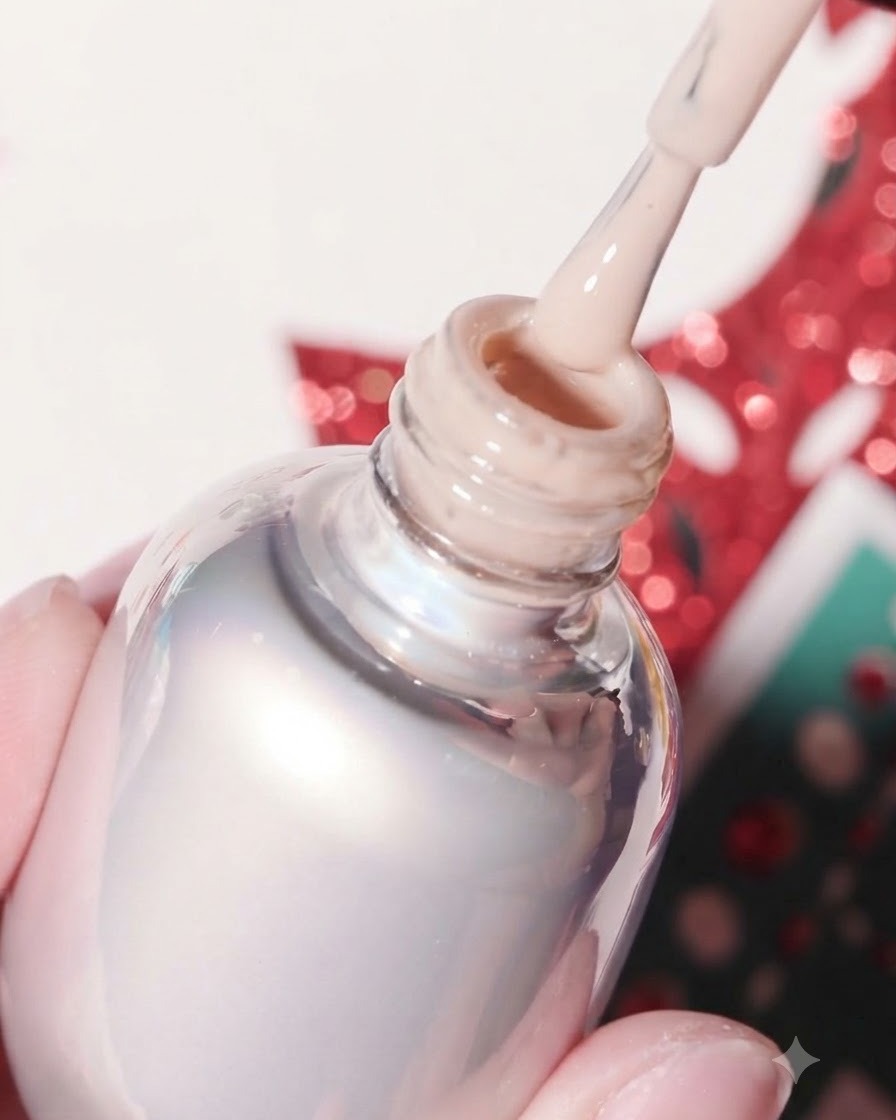
Take Kelly Kessa #02 warm nude gel and paint a rounded semi-circular face shape near the bottom or center of the ring finger nail. Cure the gel under the lamp to set the base of the character design.
Tip: Use a steady hand or a fine detailing tool to keep the curved edges of the face smooth and defined. - 6Paint the Santa Hat Shape
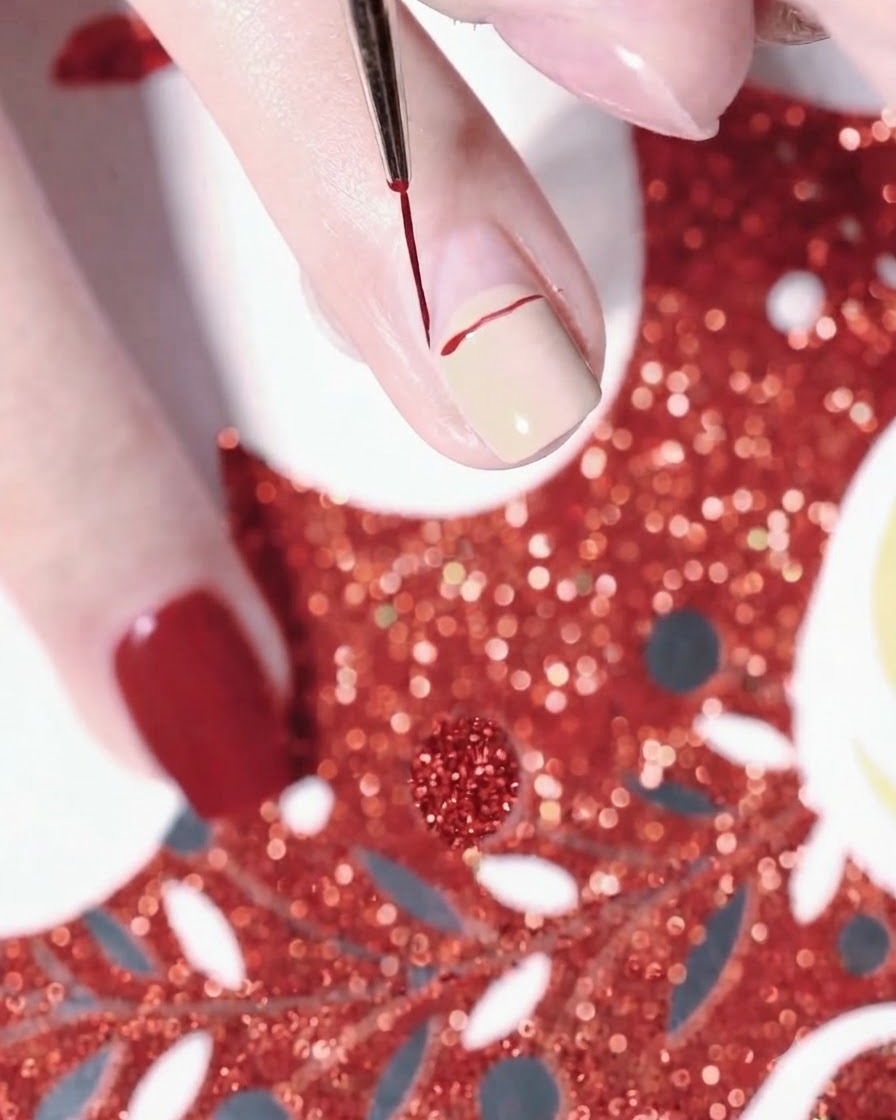
Take a fine liner brush dipped in red gel polish and carefully outline the shape of the Santa hat on top of the nude base of the ring finger. Fill in the upper portion of the hat to form the iconic red cap, then place your hand under the UV or LED lamp to cure the gel completely.
Tip: Keep your hand steady and draw thin, precise lines to ensure the hat shape looks sharp and well-defined. - 7Draw the White Fur Trim
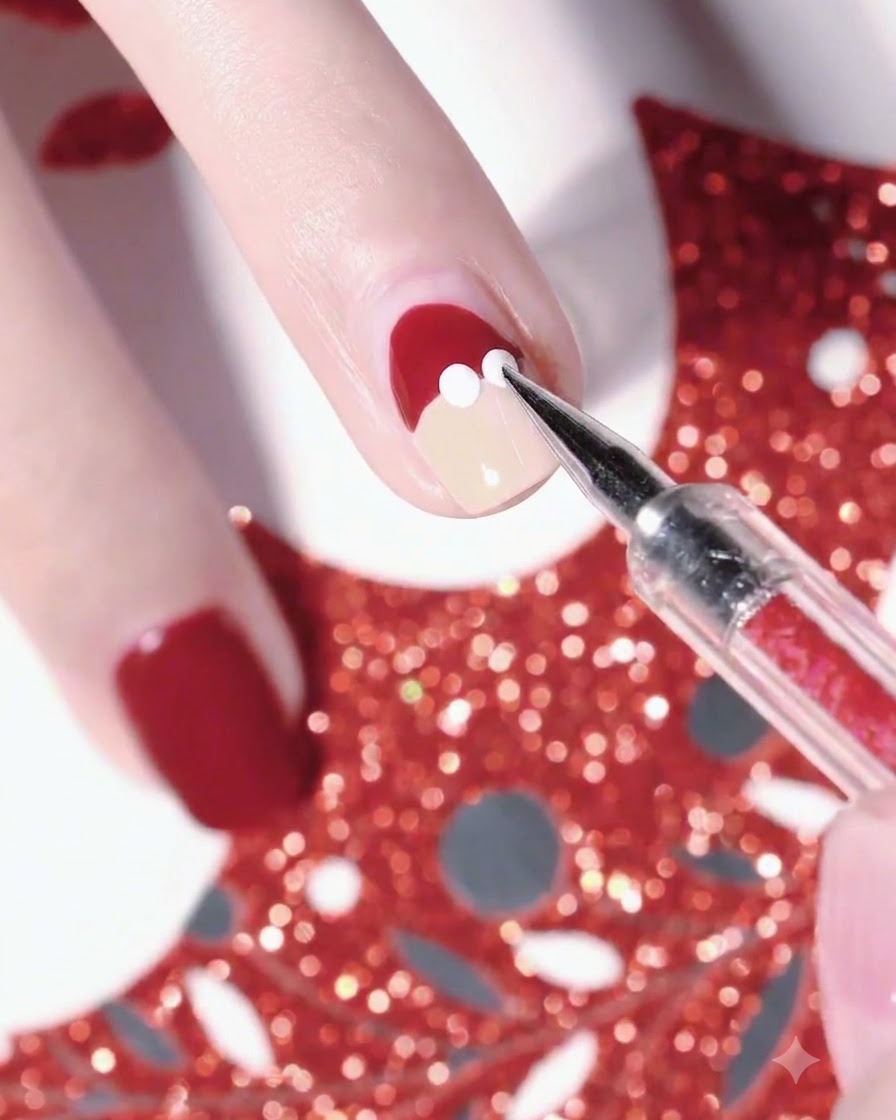
Dip a dotting pen into white gel polish and create a series of connected dots along the base of the red Santa hat to form the fluffy white brim. This creates a textured, dotted line separating the red hat from the nude face underneath.
Tip: Vary the pressure slightly on your dotting tool to keep the dots uniform and nicely rounded. - 8Add the Hat Pom-Pom
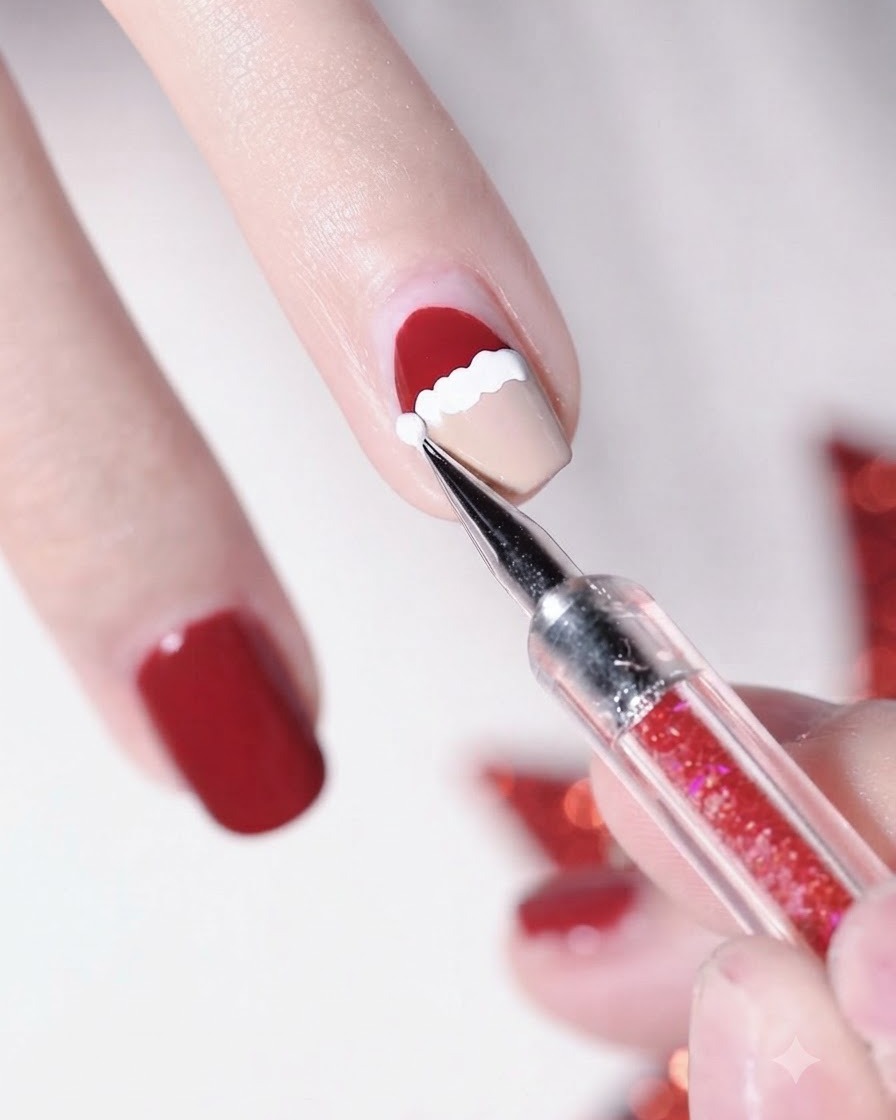
Using the dotting tool with white gel, place a small, neat dot at the very tip of the red Santa hat to represent the fluffy pom-pom. Once positioned correctly, cure the nail under the UV or LED lamp to lock the white details in place.
Tip: Ensure the pom-pom dot is slightly larger than the trim dots to make it stand out as the top of the hat. - 9Create Santas Beard
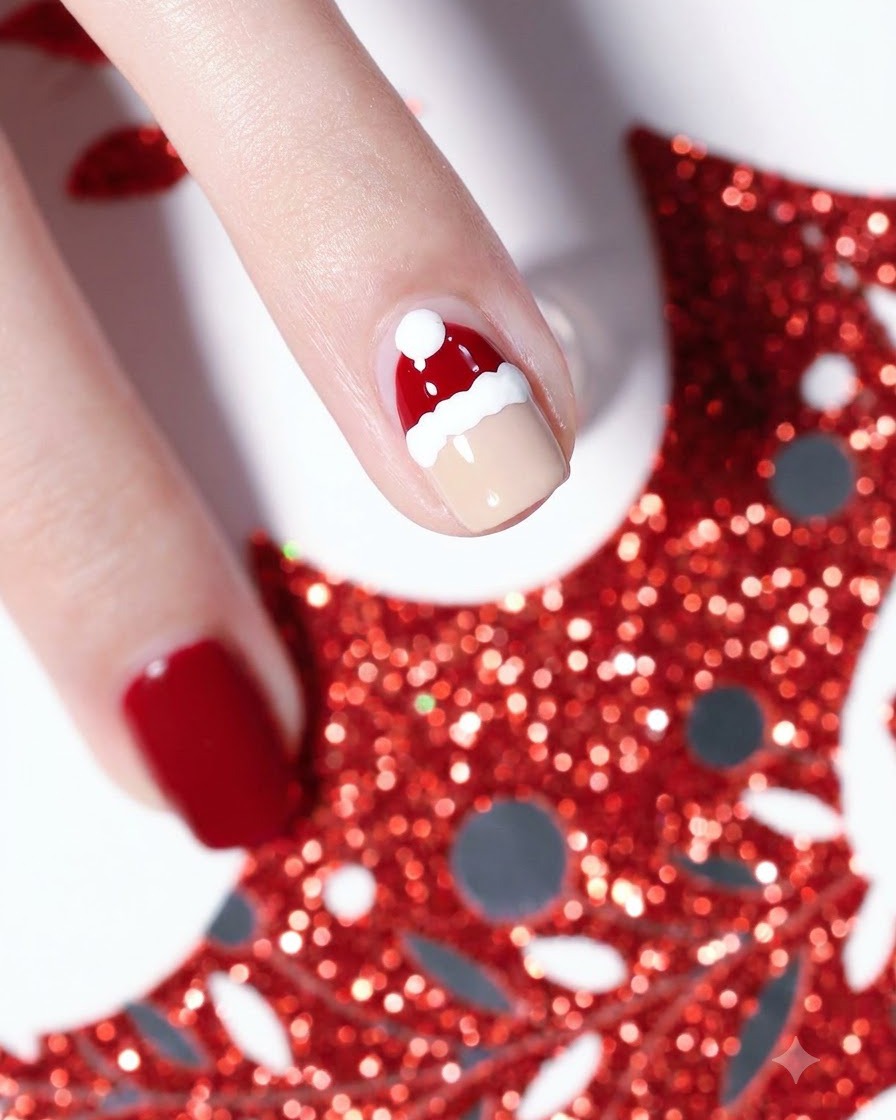
Take white gel and carefully paint Santas fluffy beard underneath the hat brim, extending it down along the sides of the nude base. Shape soft, rounded edges to mimic a classic beard texture, then place the finger under the lamp to cure the gel.
Tip: Use a fine detail brush or dotting tool to shape the fluffy curves of the beard cleanly around the face. - 10Add Facial Features
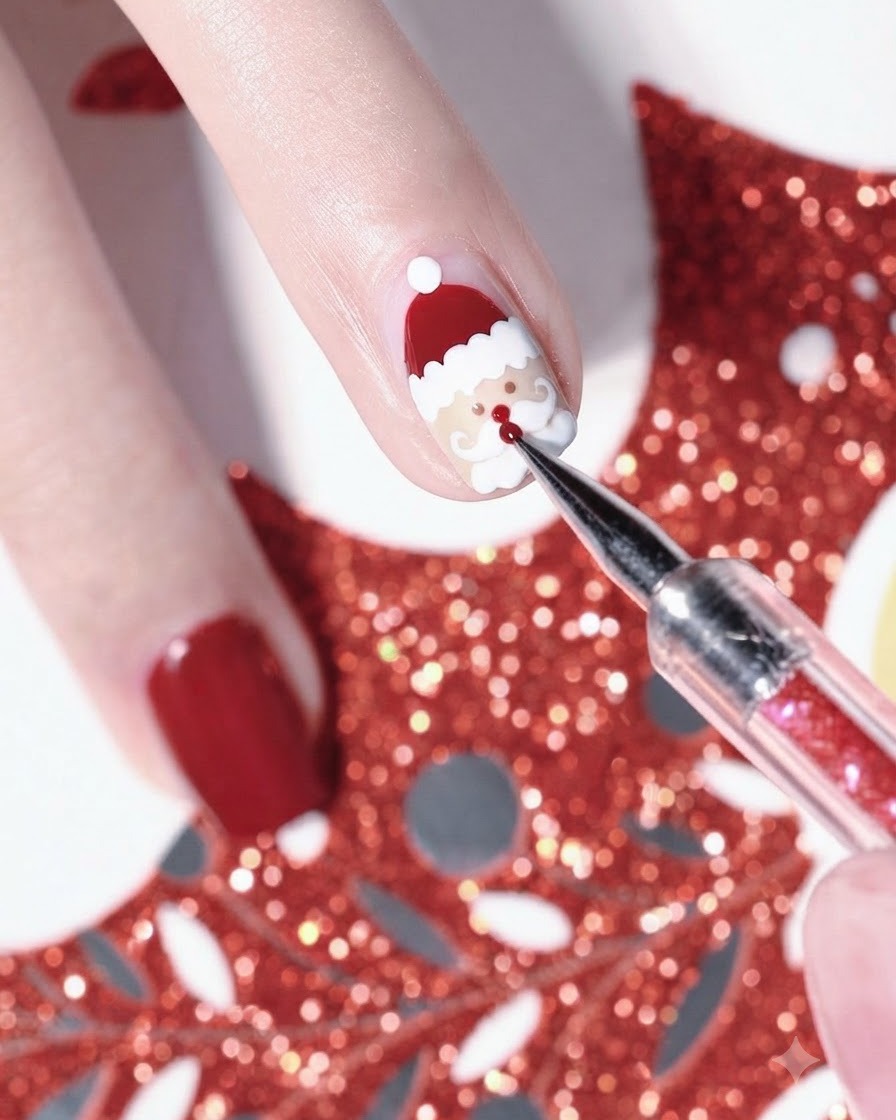
Dip a fine tool into red gel polish to dot on Santas round nose centrally above the beard, along with two small eyes and rosy cheeks for blush. Double-check the placement for symmetry, and then cure the nail under the UV or LED lamp to finish the face details.
Tip: Use a very light touch when applying the eyes and nose so they remain small and proportional to the face. - 11Add star highlight dots
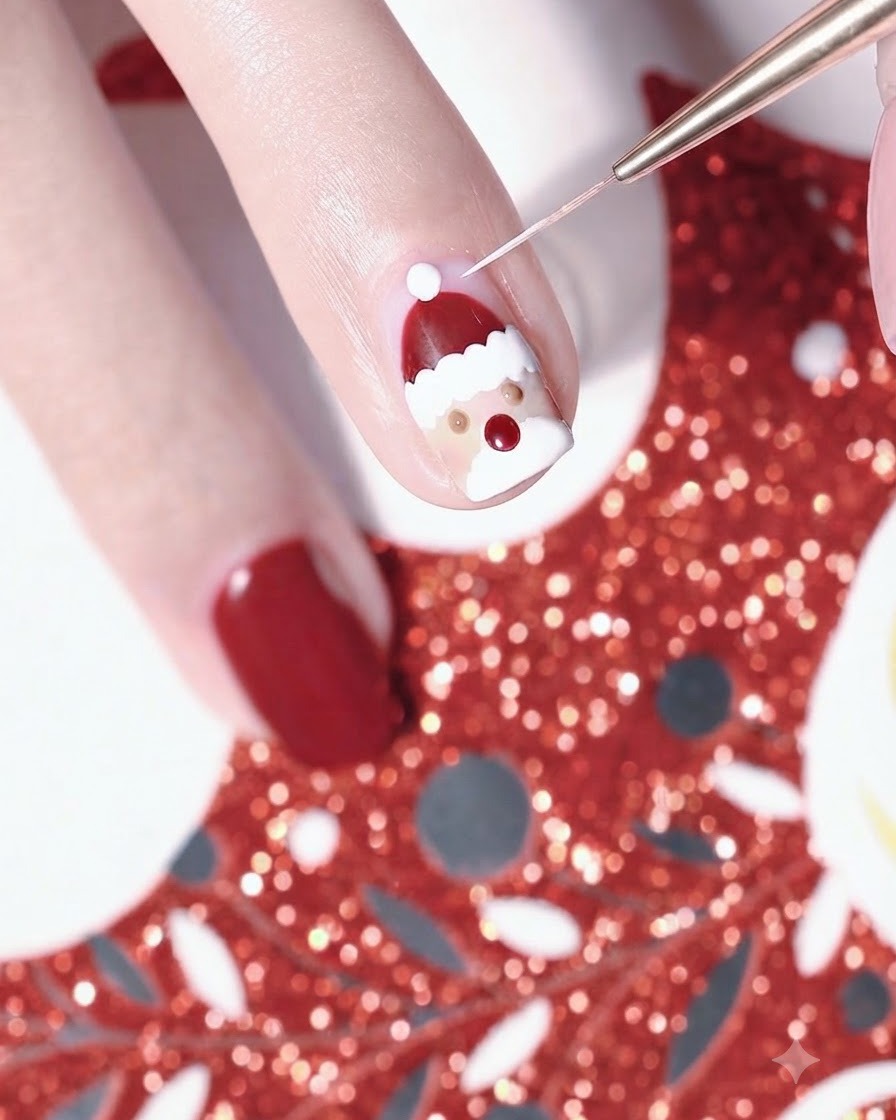
Using a fine liner brush and white gel, carefully paint small star highlight dots around the Santa hat and design to add dimension and make the artwork pop. Cure under the UV or LED lamp to set the details.
Tip: Keep your hand steady and use a minimal amount of gel on the tip of your brush to prevent the dots from spreading. - 12Apply irregular white base for plaid
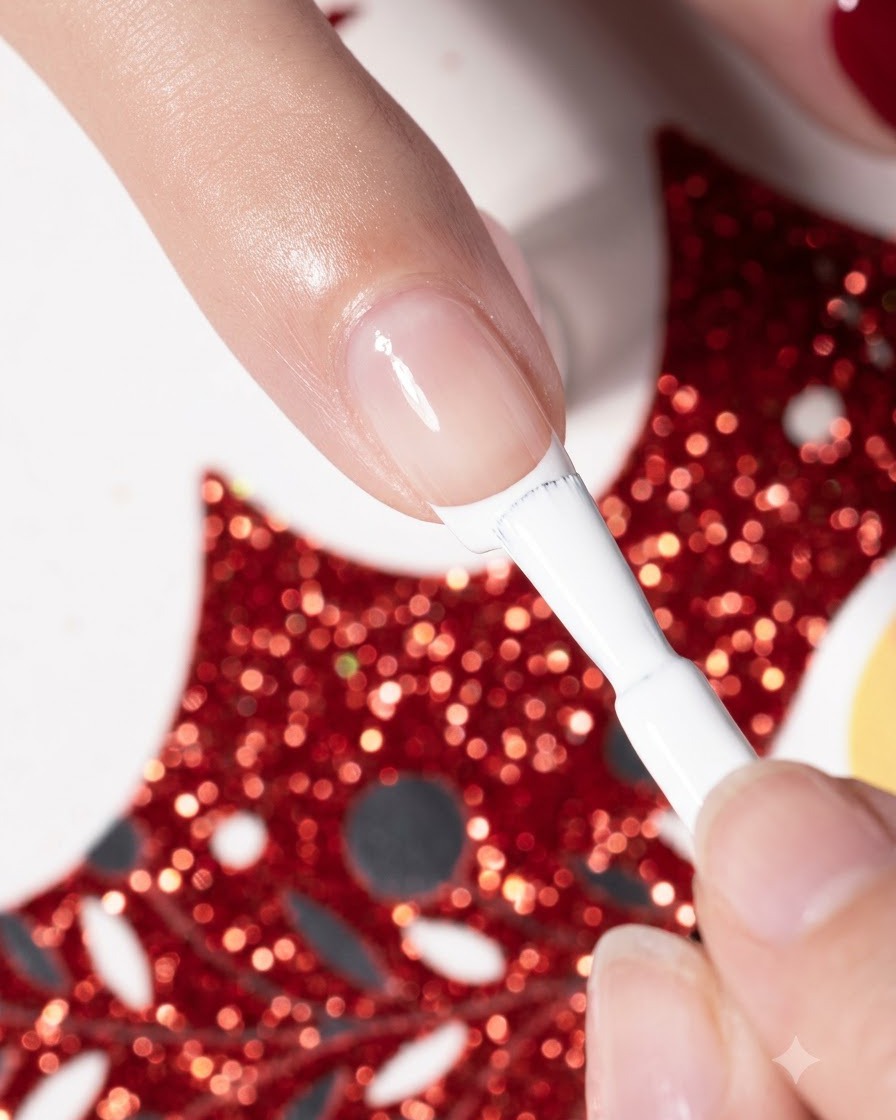
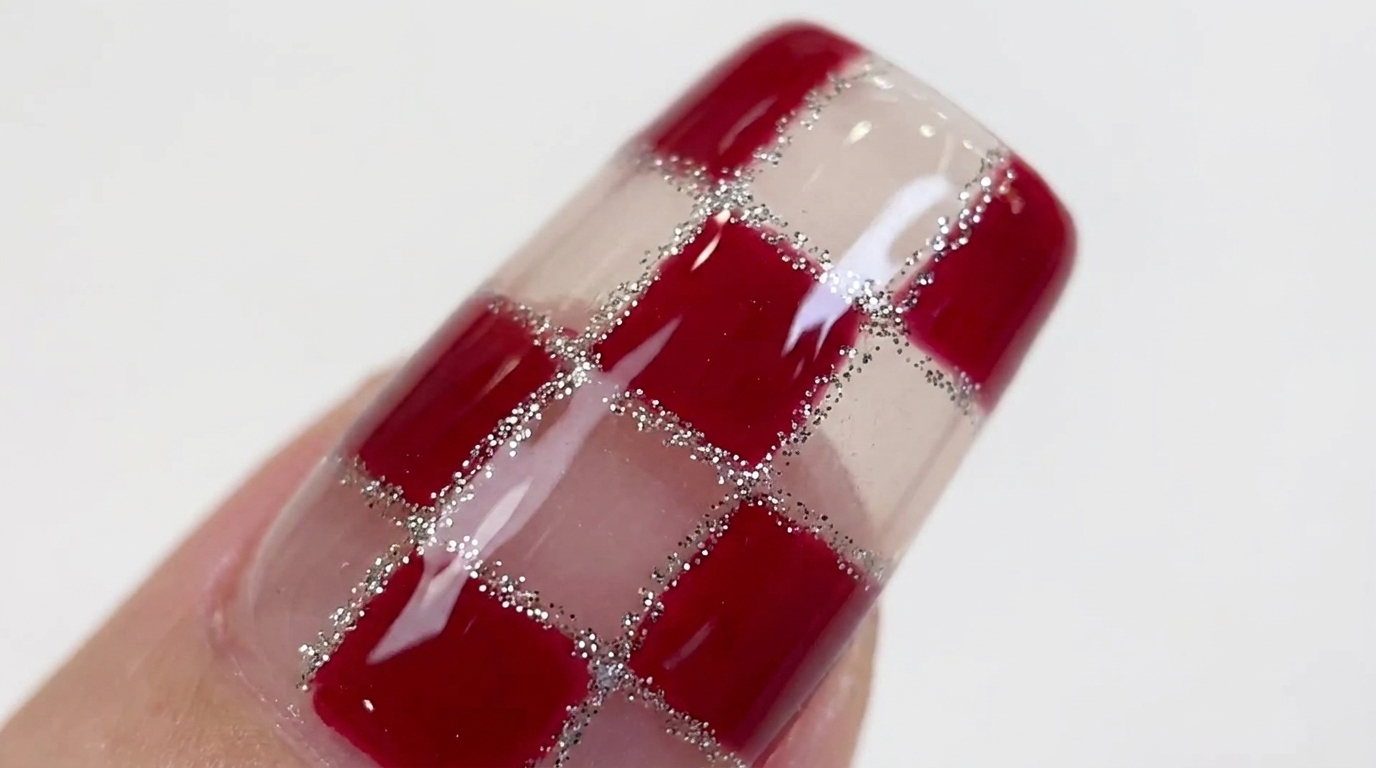
Using white gel polish, paint an irregular semi-nail base shape on the index fingercite: 1. This free-form white base creates the foundation layer for the plaid nail art designcite: 1. Cure the layer under the UV or LED lamp to set the base before adding the grid linescite: 1.
Tip: Keep the edge of the semi-nail base clean and intentional to ensure the subsequent plaid grid lines look neat and well-defined. - 13Paint plaid grid lines
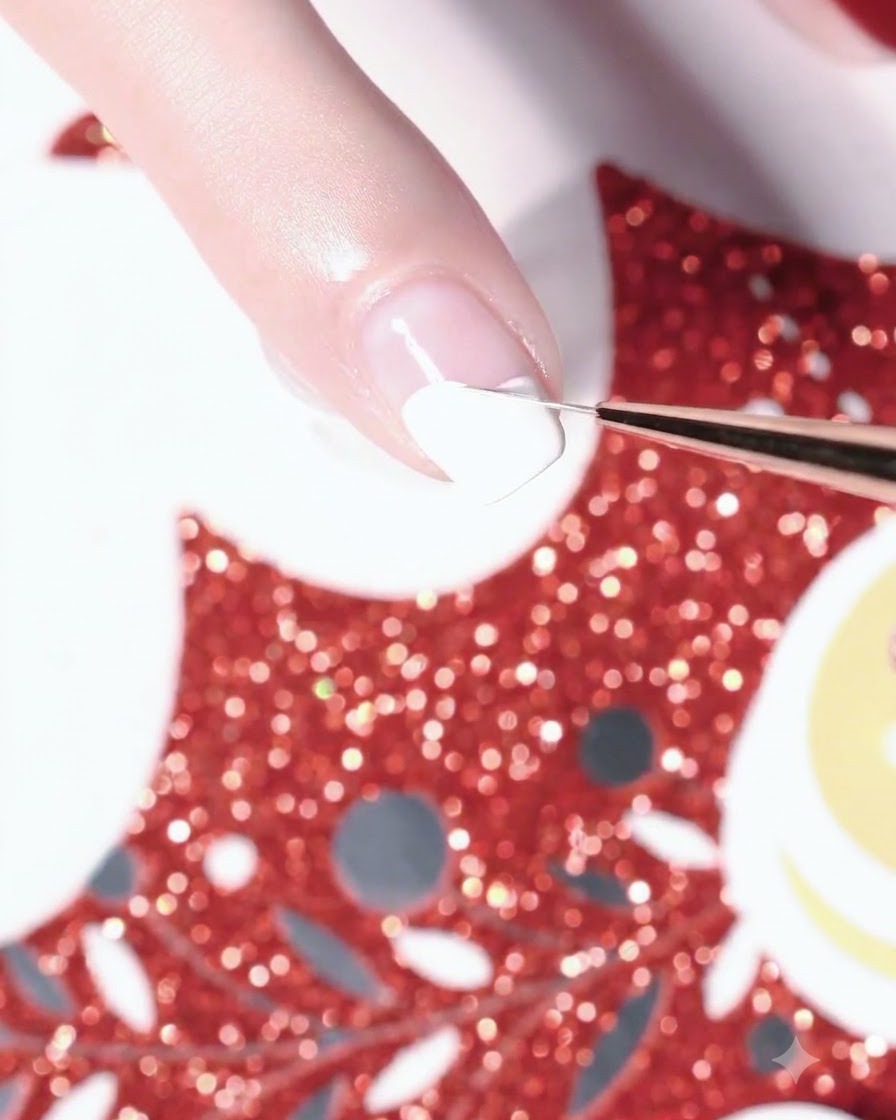
Using a fine red liner brush, carefully draw intersecting horizontal and vertical grid lines over the cured white base on the index finger to create the classic plaid pattern.
Tip: Lightly drag the brush across the surface to keep the grid lines thin and uniform. - 14Refine plaid pattern with white lines
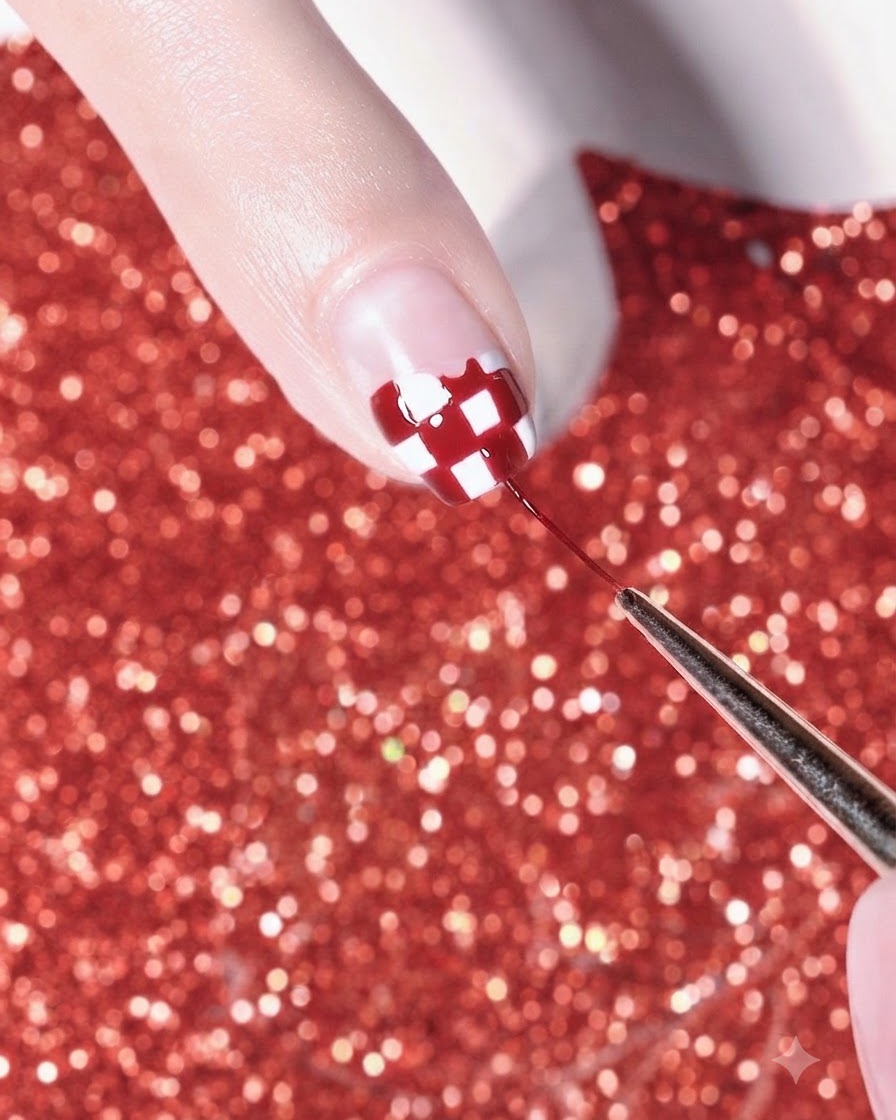
Take a fine detail brush with white gel and add complementary lines within the red grid to refine and complete the plaid motif. Cure the design under the lamp to secure it.
Tip: Use a light touch to layer white accent lines precisely inside the squares of the grid. - 15Apply gold star sticker
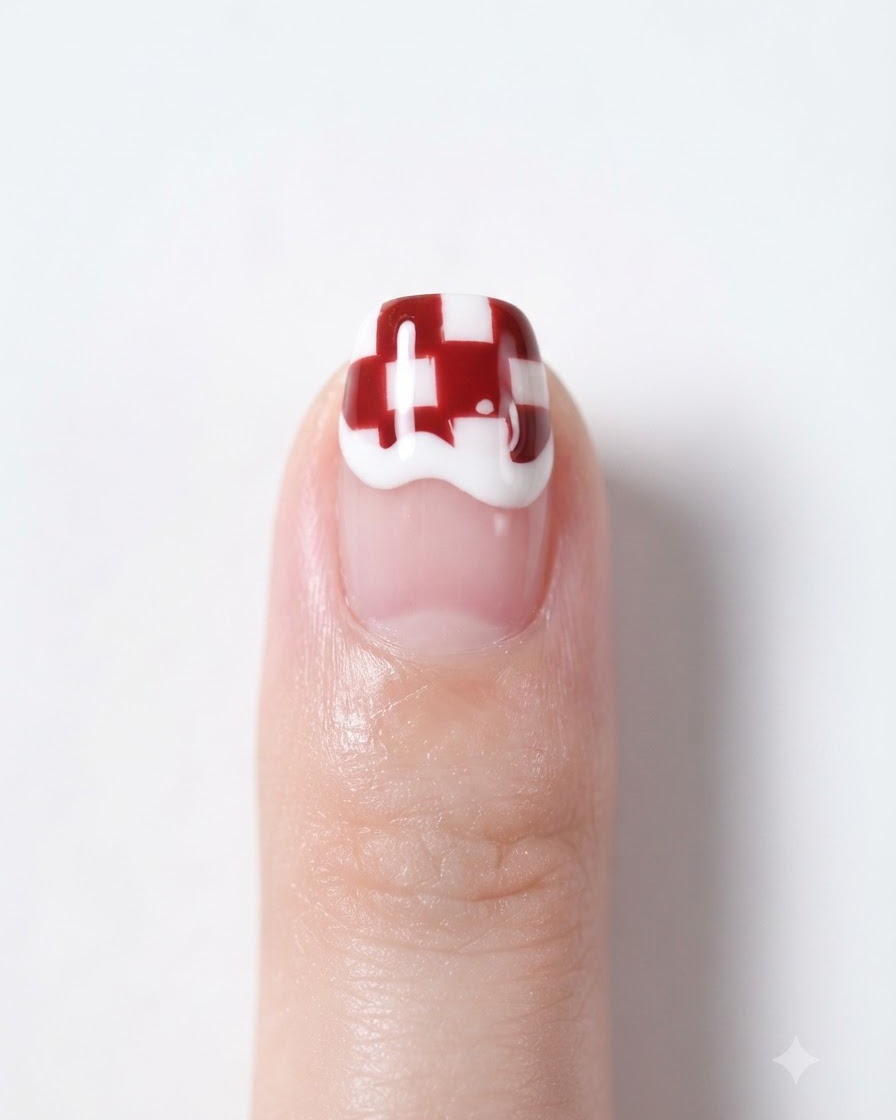
Using tweezers, pick up a tiny gold star sticker and place it carefully onto the finished plaid pattern on the index finger. Press it down gently and cure under the lamp to seal it in place.
Tip: Use a dab of clear base gel underneath the sticker if needed to ensure it adheres securely before curing. - 16Paint shimmering white side heart on pinky
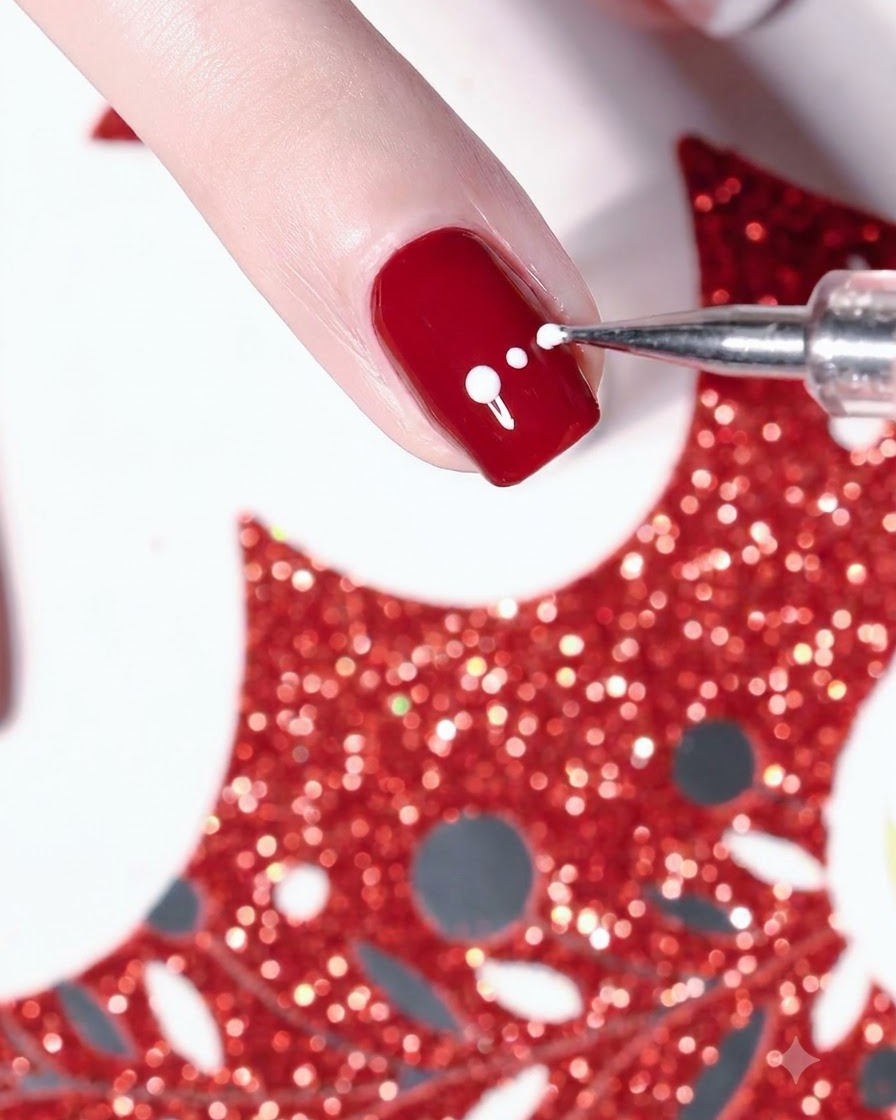
Using white gel and fine shimmer with a detail brush, paint a small heart shape on the side of the pinky fingercite: 1. Carefully place the dots and shape the heart contour before curing the layer completely under the lampcite: 1.
Tip: Use a fine detail brush with a light touch to keep the shimmering heart small, crisp, and neatly positioned on the side of the nail. - 17Paint shimmering white side heart on middle finger
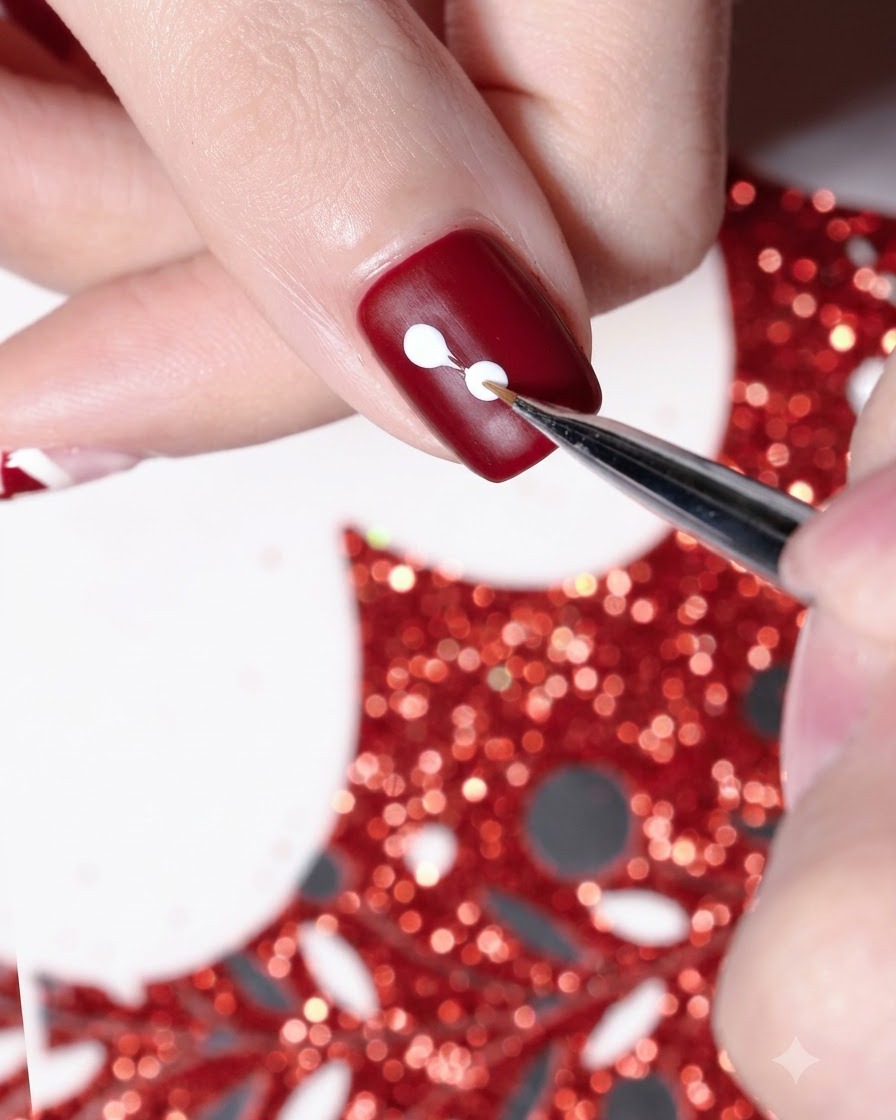
Take white gel and fine shimmer with a detail brush to paint a small heart on the side of the middle fingercite: 1. Match the style and placement of the heart painted on the pinky finger for a cohesive look, then cure under the lampcite: 1.
Tip: Wipe your detail brush clean between strokes if needed to keep the shimmer distribution even and prevent the heart edges from blurring. - 18Apply top coat and finish manicure
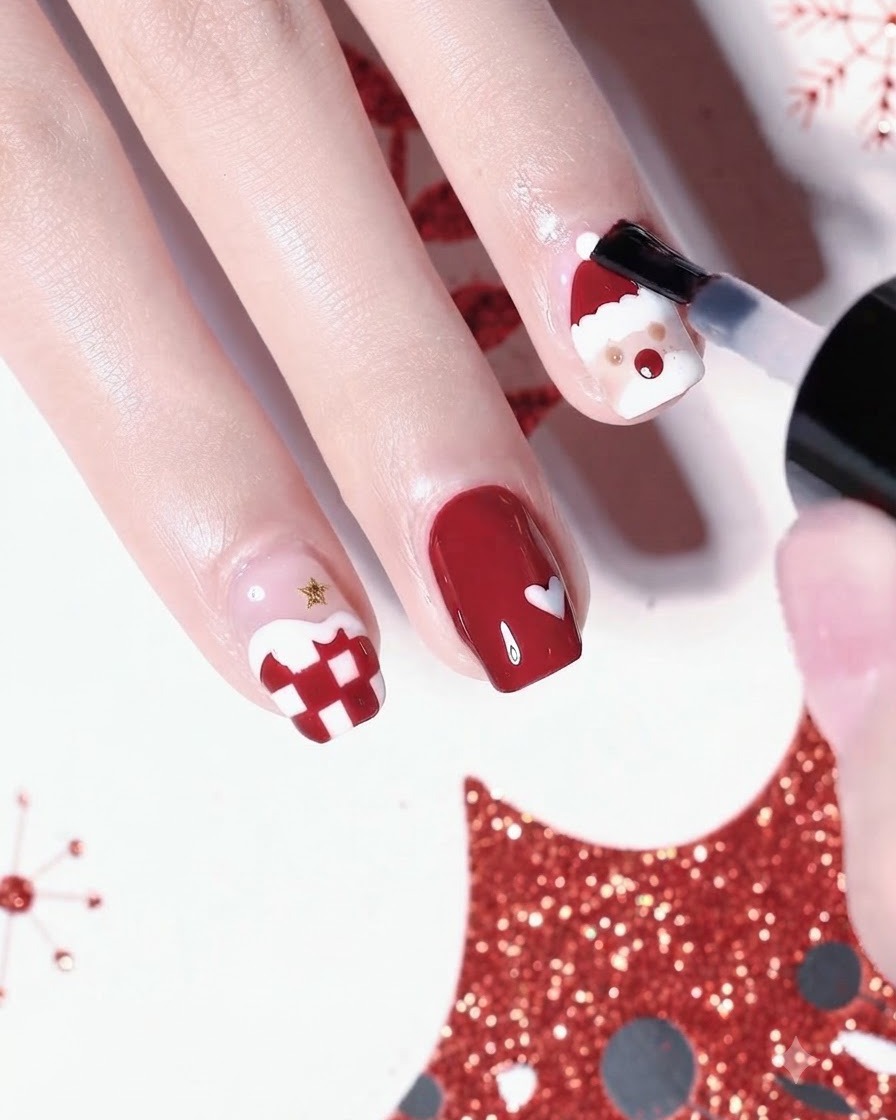
Apply a final layer of clear top coat across all finished nails to seal the nail art and add high-gloss shinecite: 1. Cure all nails thoroughly under the UV or LED lamp to lock in the design and complete the cute Christmas plaid manicurecite: 1.
Tip: Cap the free edge of every nail with top coat to prevent chipping and protect your holiday nail art design from wear.