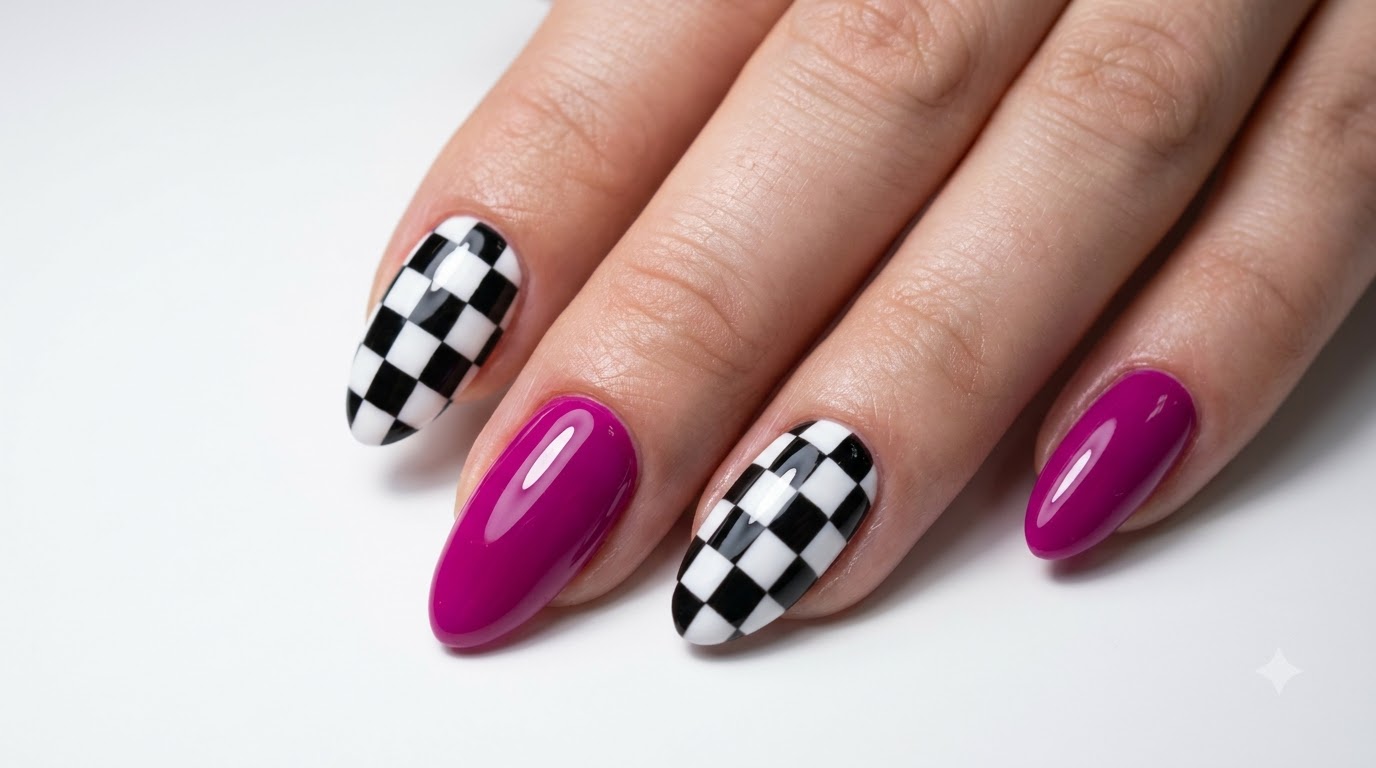
Red & Clear Checkered Grid Nail Art
Silver Glitter — Step-by-Step Tutorial
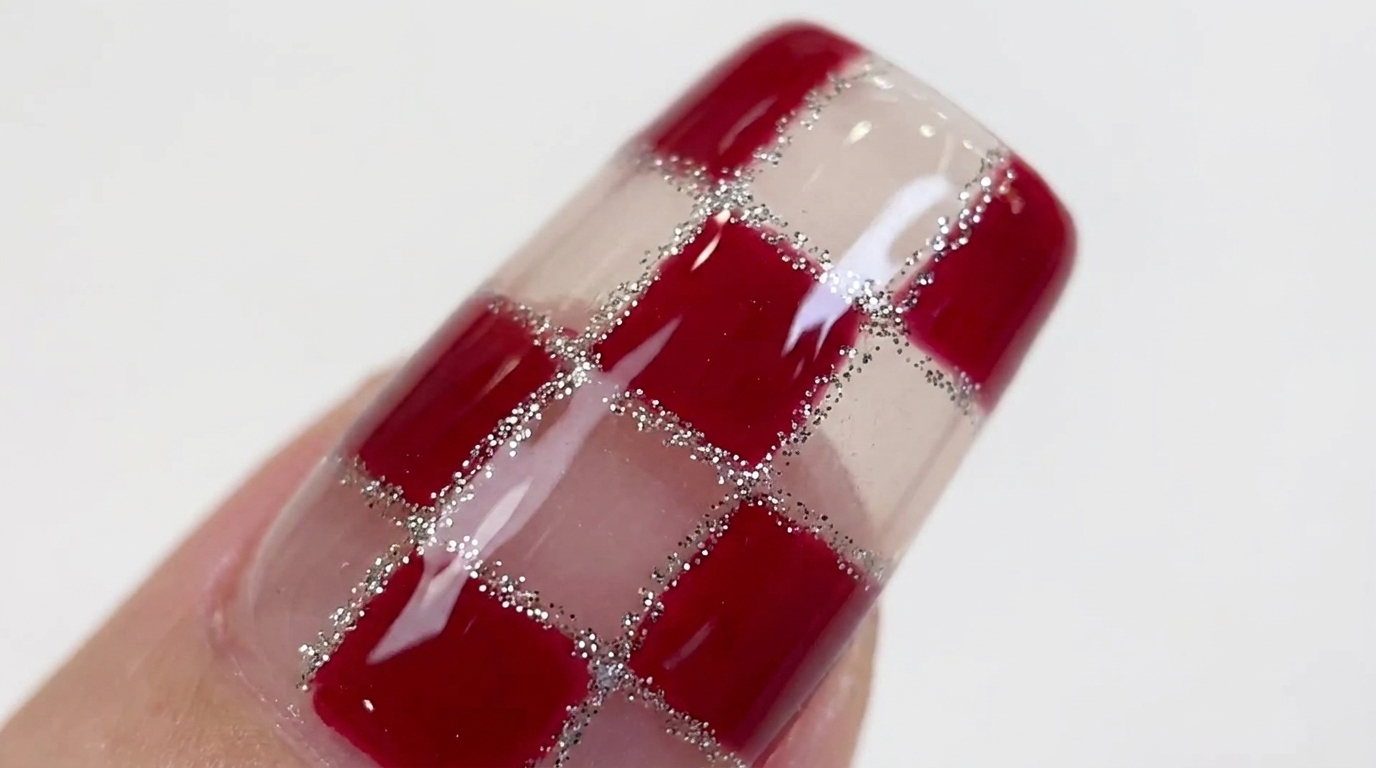
Master the trendy negative space checkered look with this precise red and clear grid nail art tutorial. Finished with delicate silver glitter outlines, this design perfectly balances edgy cutouts with elegant sparkle.
Negative space nail art continues to dominate salon requests, offering a modern twist on classic patterns. This red and clear checkered design plays with transparency, using the natural or clear nail base as part of the pattern itself. The addition of fine silver glitter lines not only hides any slightly imperfect grid edges but also elevates the overall look, making it perfect for both holiday parties and striking everyday wear.
Steps
- 1Draw the first vertical line
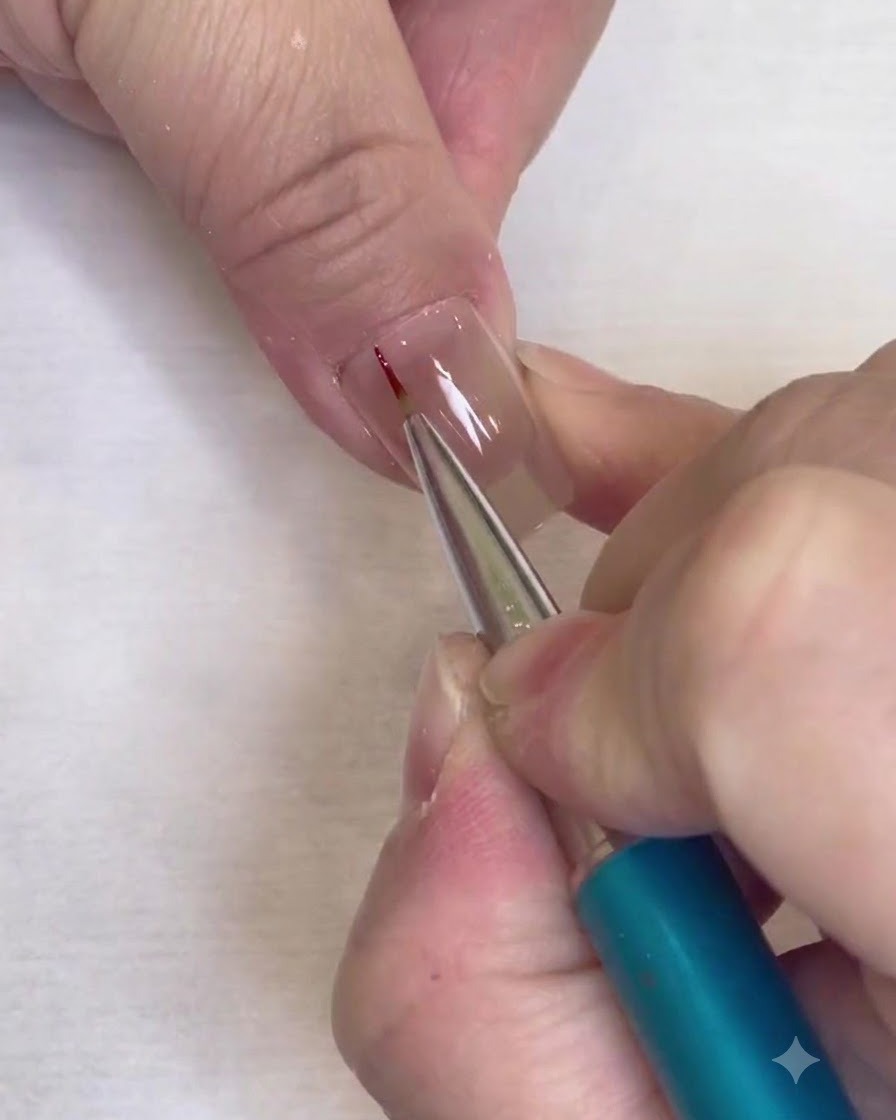
Dip a fine liner brush into red gel polish and carefully draw a straight vertical line down the center of the prepped clear nail plate. Keep your hand steady and ensure the line is thin and crisp to set the foundation for your grid.
Tip: Anchor your pinky finger on your other hand or the table for better stability while drawing straight lines. - 2Add a parallel vertical line
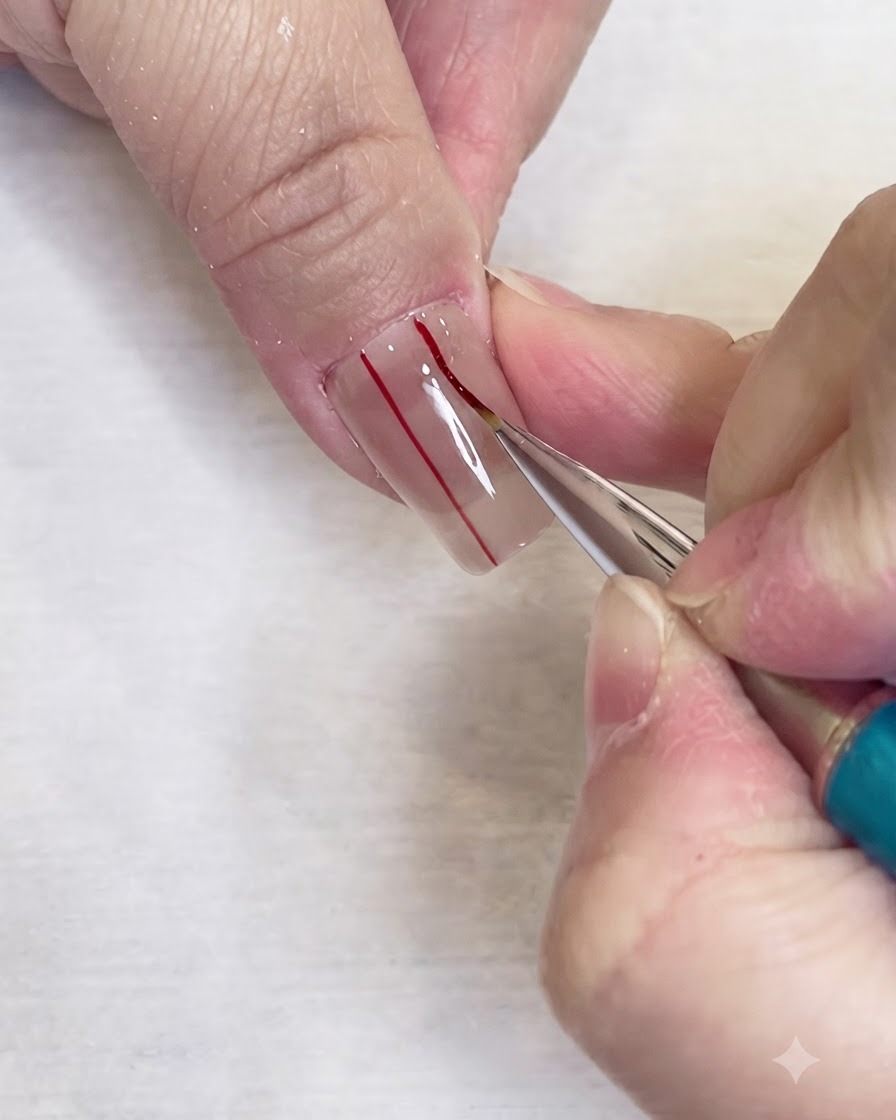
Using the same fine liner brush and red gel polish, draw a second vertical line parallel to the first one. Make sure the spacing between the lines is even and the thickness matches.
Tip: Wipe off any excess polish from the brush before drawing to maintain a consistent line thickness. - 3Draw horizontal intersecting lines
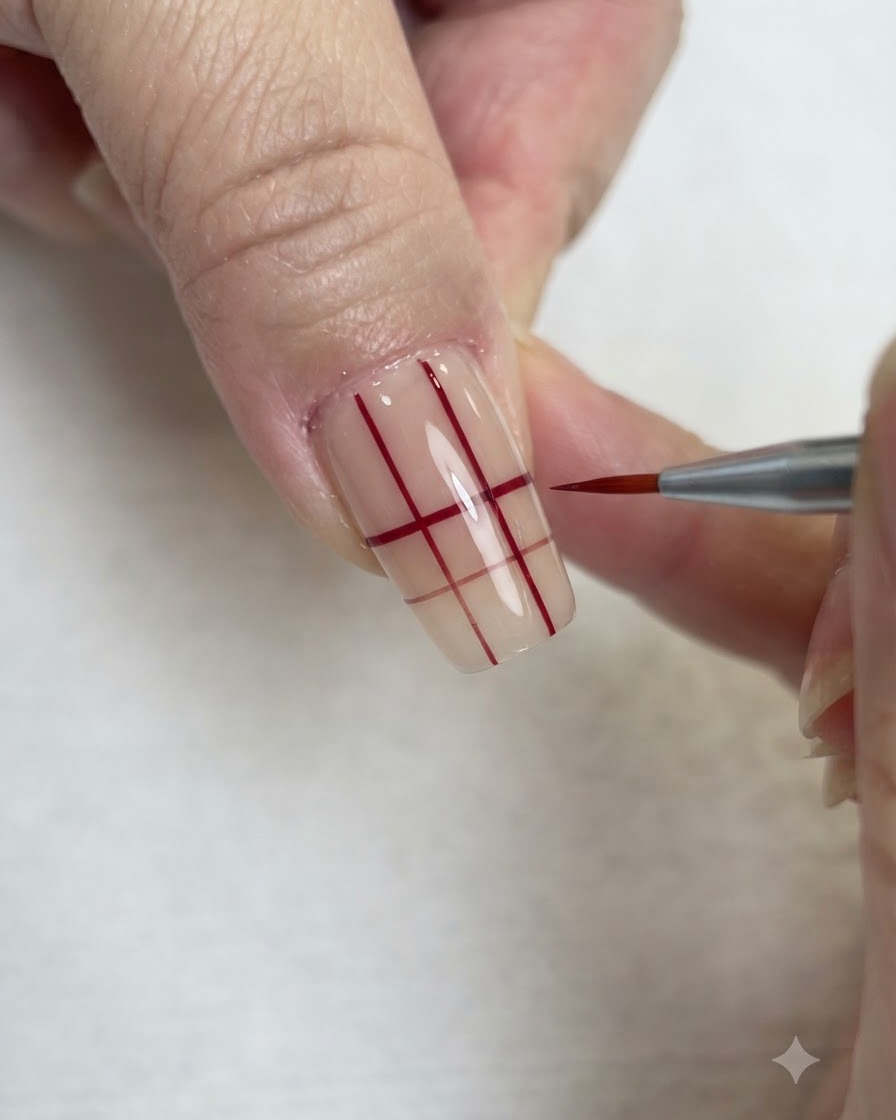
Next, draw horizontal lines across the vertical ones using your fine liner brush. This will start to create a grid or checkered pattern. Aim for equidistant spacing to form perfect squares.
Tip: Flash cure the vertical lines before adding the horizontal ones to prevent the gel from bleeding at the intersections. - 4Complete the grid structure
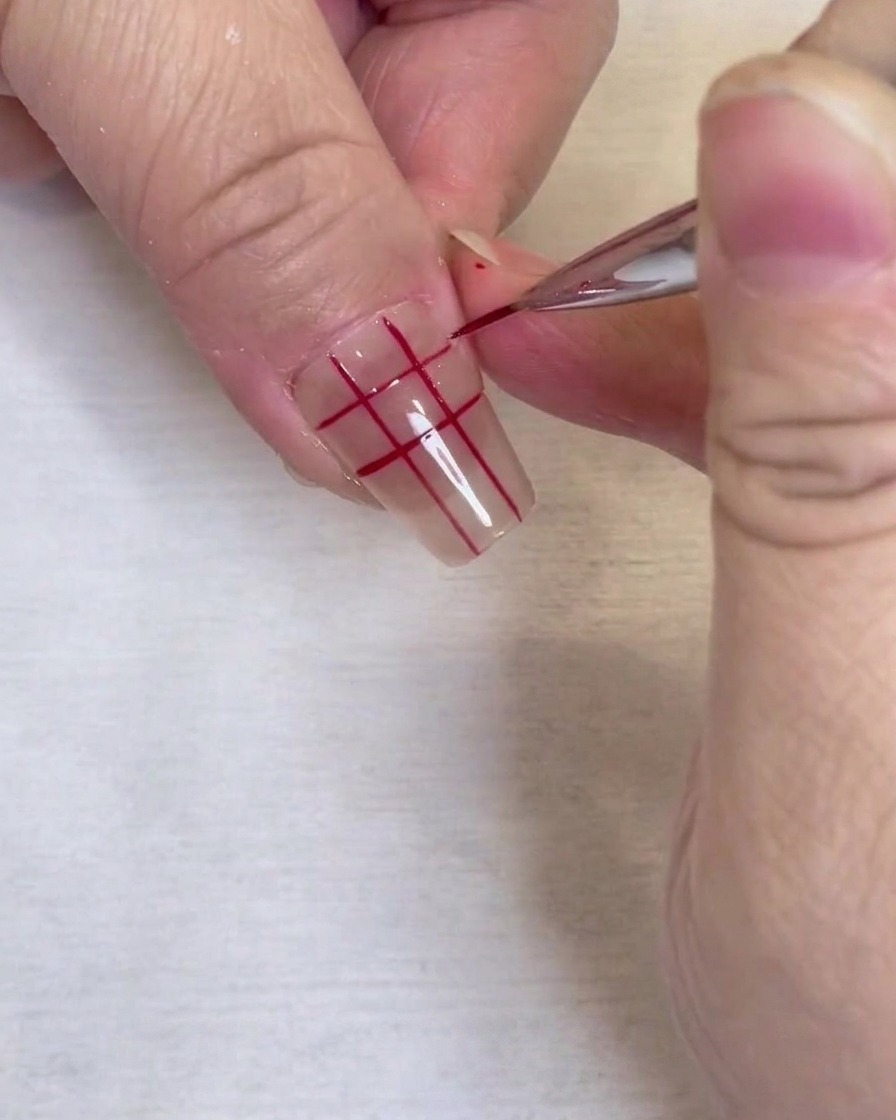
Continue adding horizontal grid lines across the remaining surface of the nail until the grid structure is fully complete. Ensure all lines connect cleanly and the squares are as uniform as possible.
Tip: Take your time with spacing; evenly spaced grid lines are the key to a professional-looking checkered pattern. - 5Fill in alternating squares
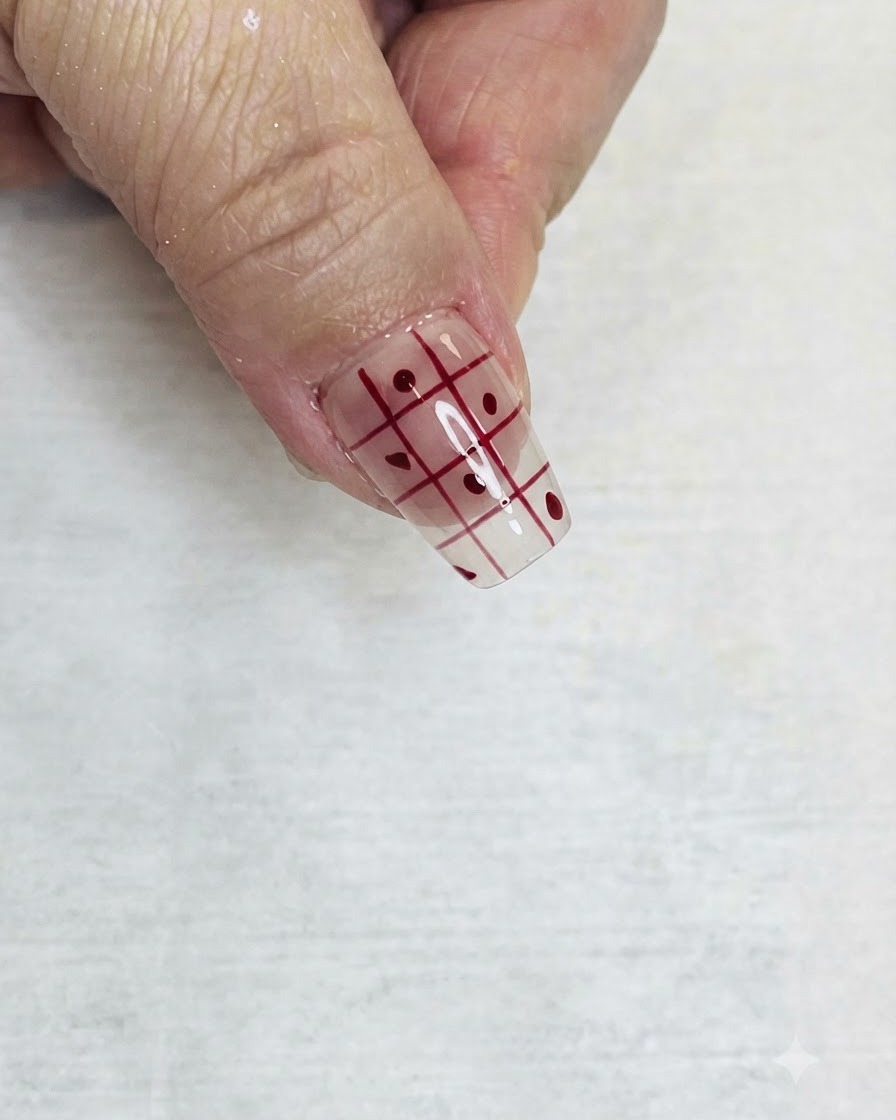
Once the grid is complete, use your fine liner brush to carefully fill in alternating squares with solid red gel polish. Apply the polish neatly within the lines to maintain the crisp checkered effect.
Tip: Use a very small amount of polish on the tip of the brush to prevent flooding the small squares. - 6Complete the checkered pattern
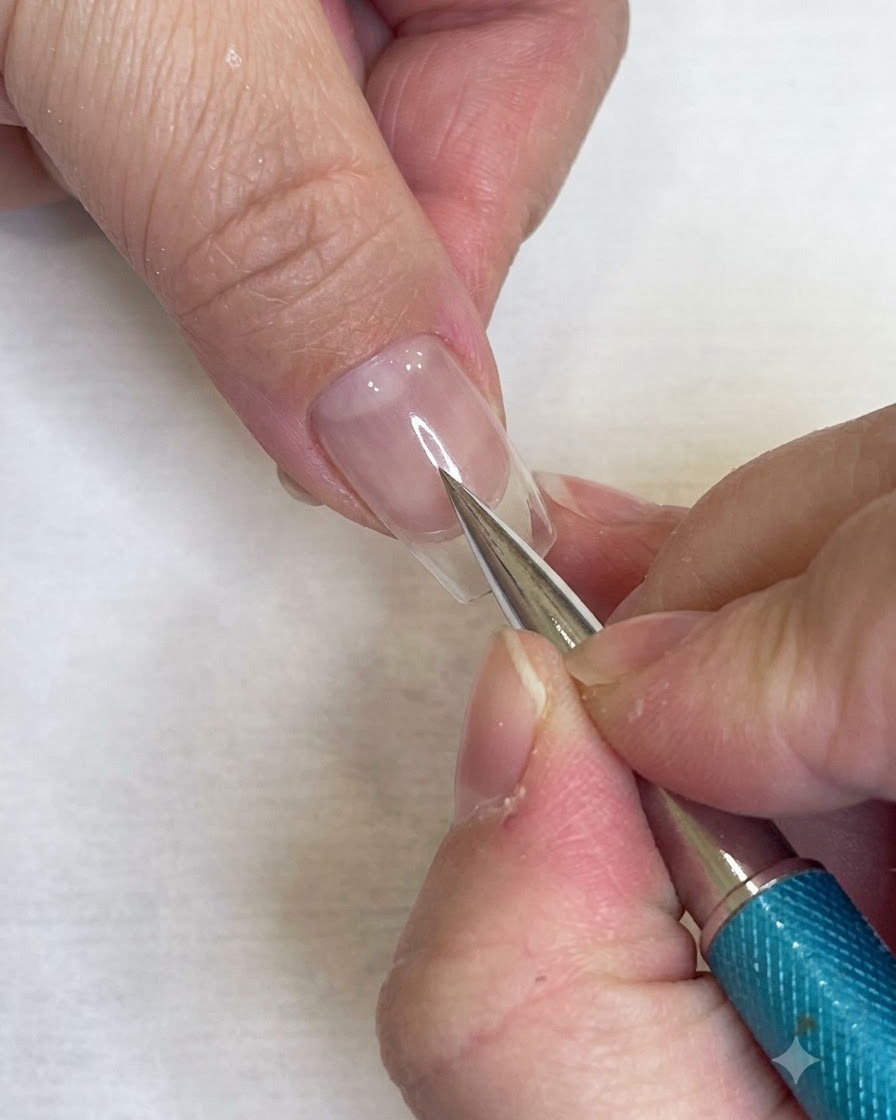
Continue working across the grid, filling in the necessary alternating squares with red gel polish until the checkered pattern is fully formed. Be meticulous with the corners to keep them sharp and precise.
Tip: If you make a mistake, use a clean brush lightly dampened with alcohol or gel cleanser to gently wipe away the stray polish before curing. - 7Refine the checkered blocks
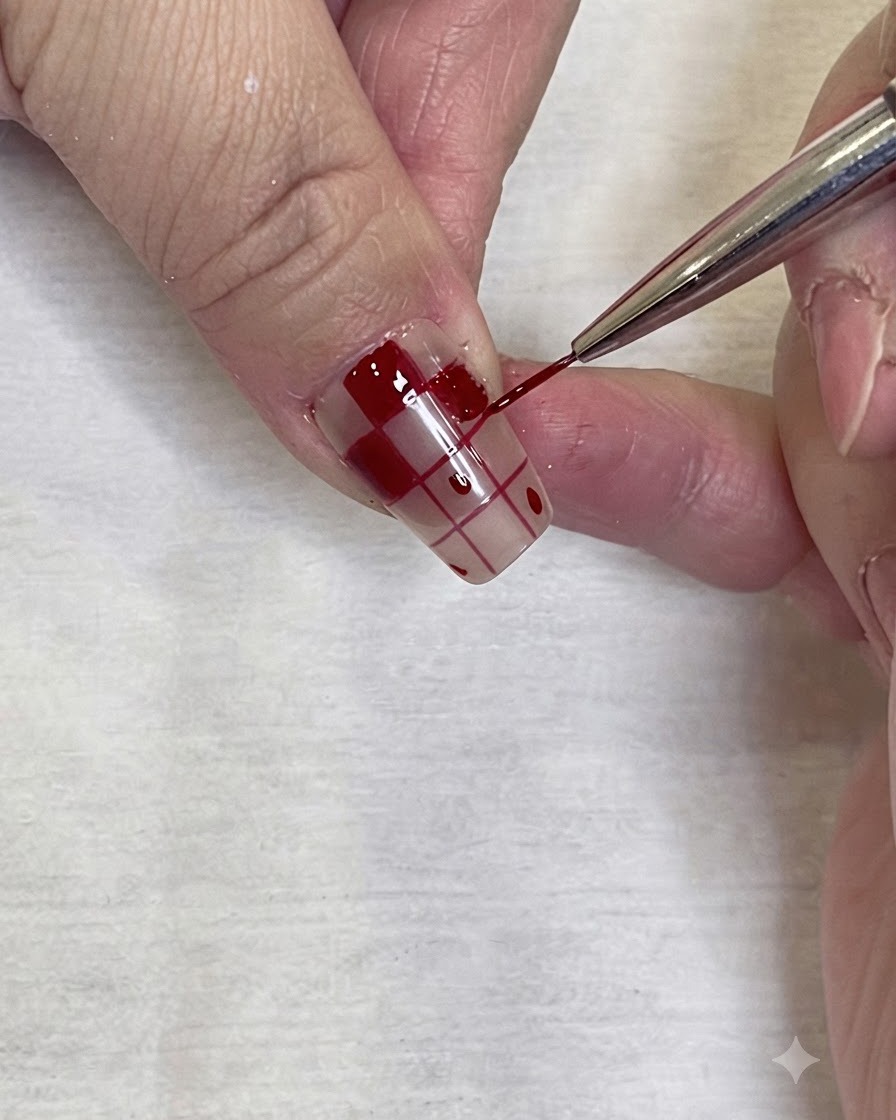
Using a fine liner brush and red gel polish, carefully refine and fill in the edges of the checkered blocks to create neat, clean lines. Ensure the intersections and boundaries of the squares are sharp and well-defined.
Tip: Work with a minimal amount of gel polish on your brush tip to avoid bleeding into adjacent sections. - 8Add silver glitter lines
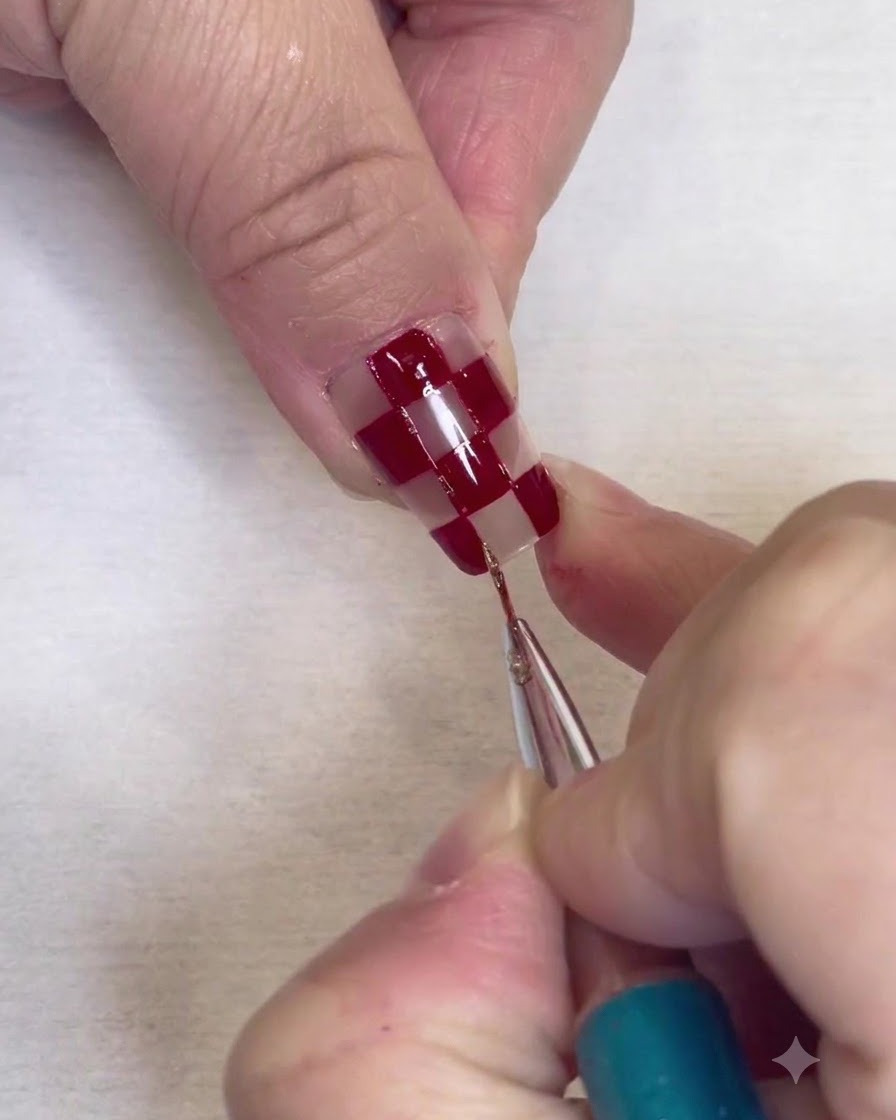
Using a clean fine liner brush and silver glitter gel carefully trace the grid lines where the red and clear squares meet. This delicate outline elevates the overall look and effortlessly hides any minor imperfections along your painted edges.
Tip: Choose a highly pigmented glitter gel rather than standard glitter polish for opaque coverage in a single steady stroke. - 9Apply glossy top coat
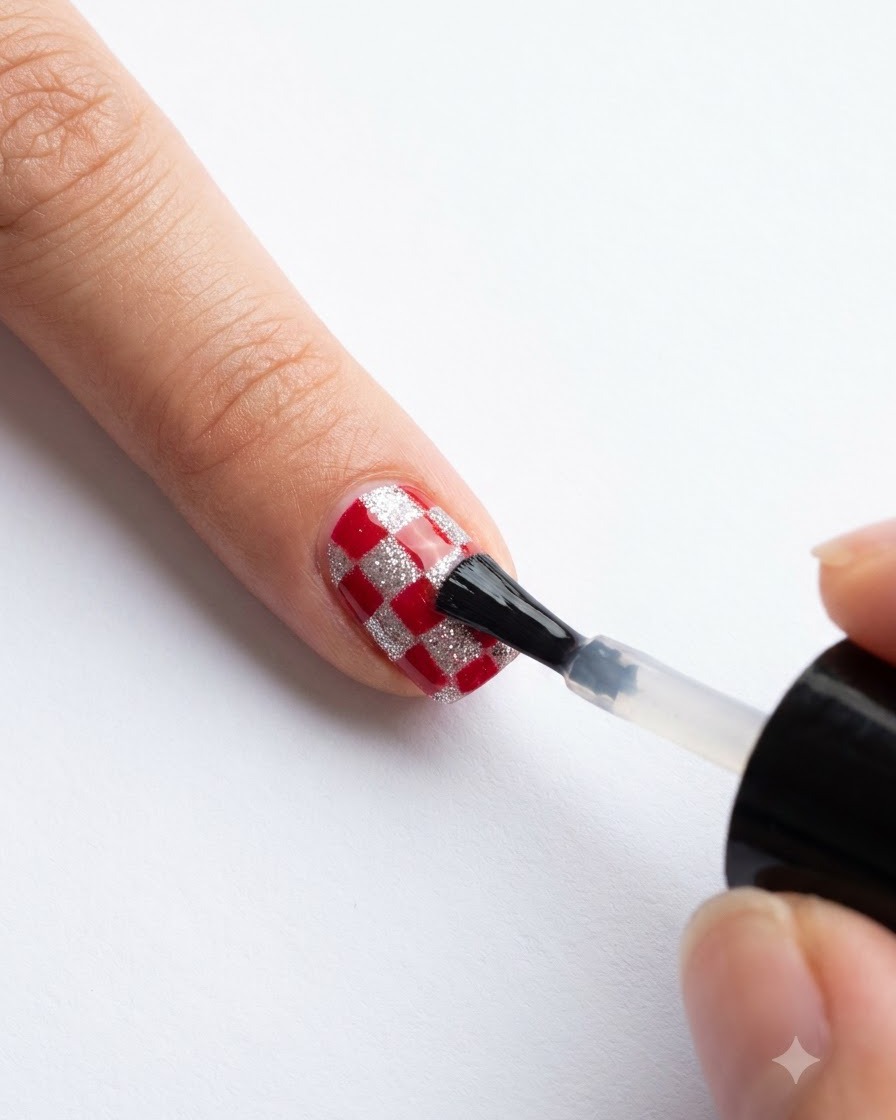
Apply a smooth, even layer of glossy top coat over the entire nail surface using the polish brush. Seal the free edge completely to protect the checkered nail art design from chipping and wear.
Tip: Cap the free edge gently to ensure longevity and a professional, salon-quality finish.