Magenta Brightening Checkerboard Gel Nails — Step-by-Step Tutorial
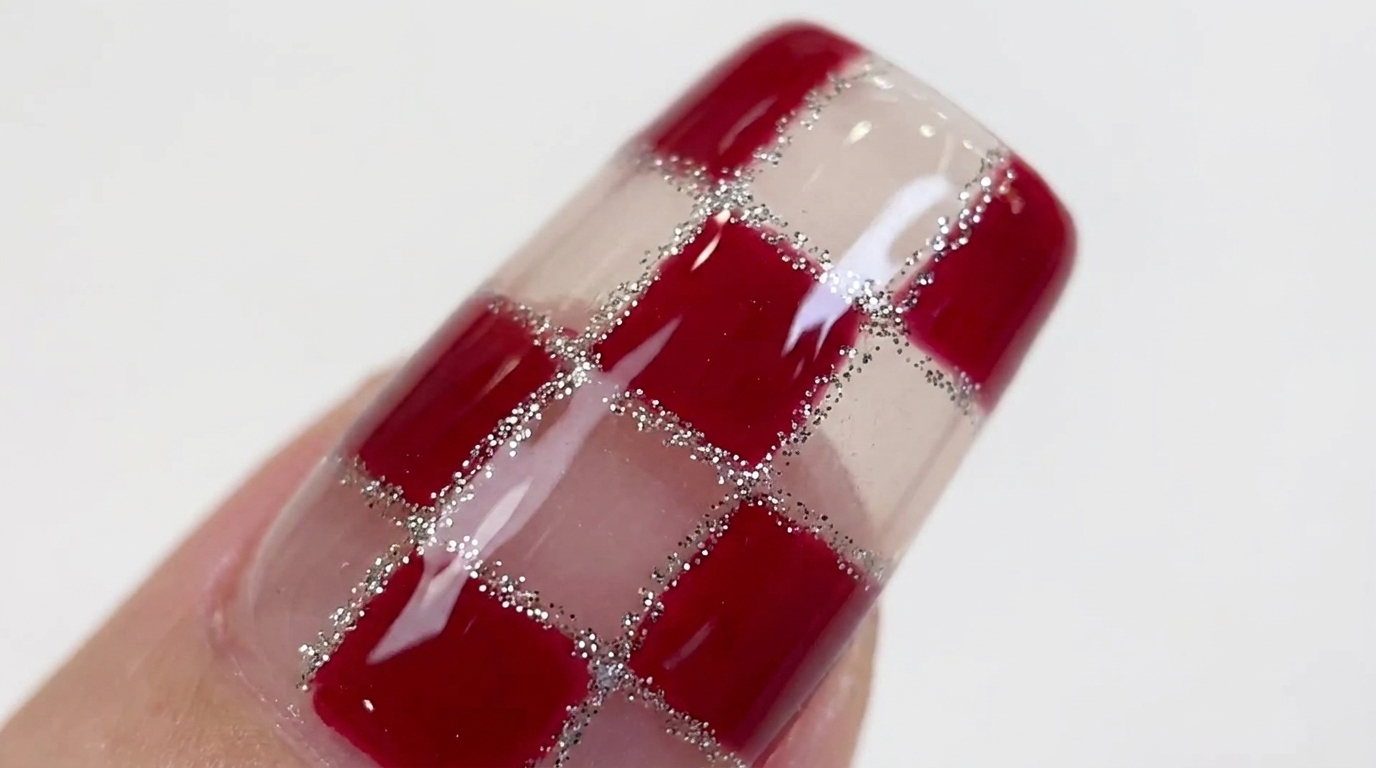
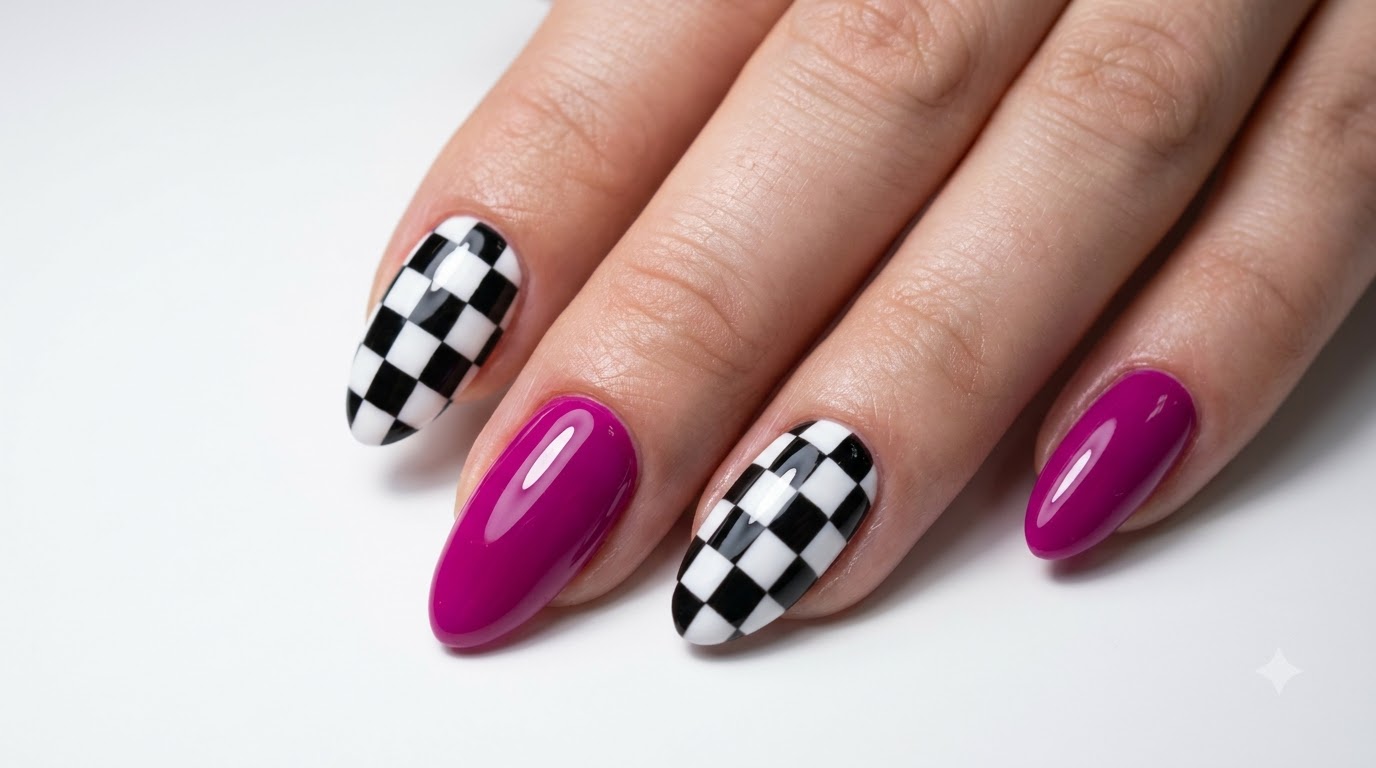
Make a bold statement with vibrant magenta gel polish paired with clean, modern black and white checkerboard nail art using a fine liner brush.
Checkerboard patterns continue to dominate modern nail art trends, offering a graphic and stylish contrast to solid block colors. By combining a rich, high-saturation magenta with crisp monochrome squares, this design creates a striking balance of vibrant energy and sharp precision. Perfect for intermediate artists looking to master steady hand linework.
Steps
- 1Apply gel base coat
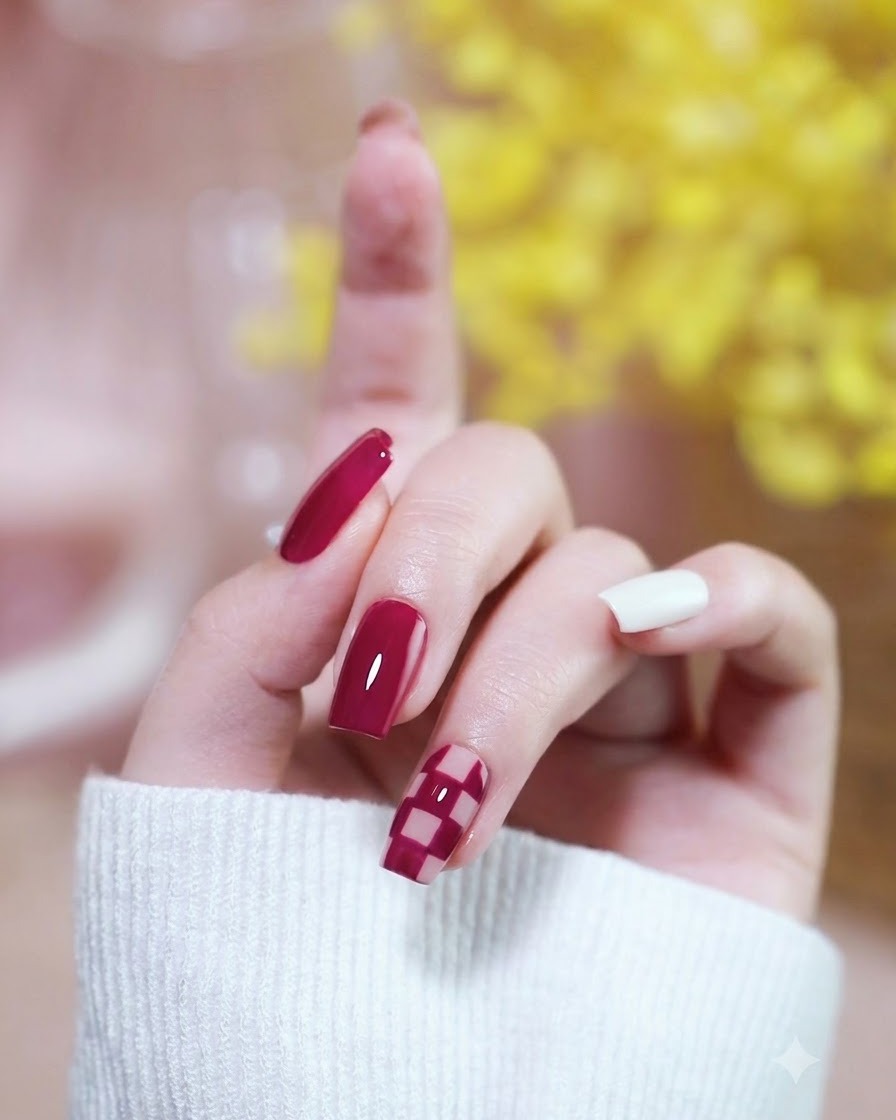
Apply a thin, even layer of clear gel base coat to the prepared nail plate using the application brush. Ensure the edges are neatly coated and cap the free edge to prevent lifting. This layer acts as an essential foundation for the gel color.
Tip: Keep the layer thin to prevent pooling around the cuticles and ensure even curing. - 2Cure base coat under lamp
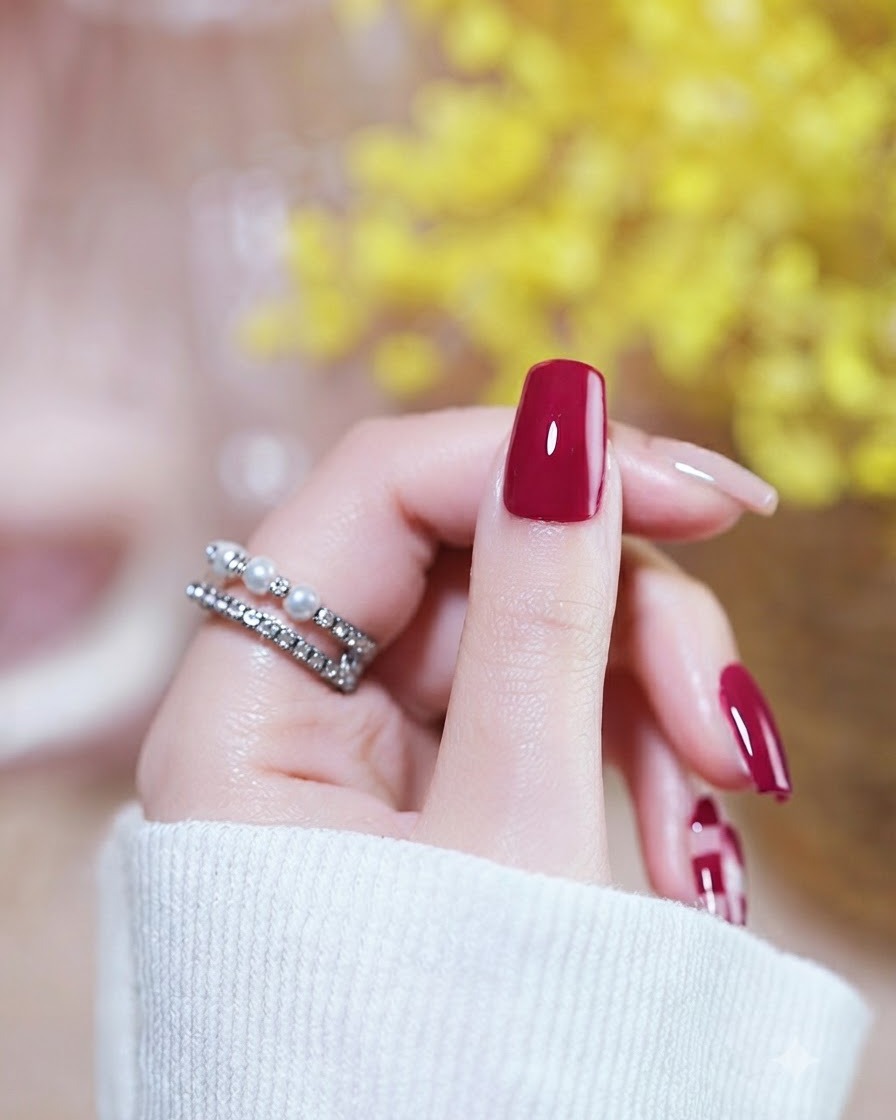
Place your hand under the UV or LED lamp to cure the base coat. Follow your specific lamps recommended curing time to ensure the layer is fully set and tacky for the next application.
Tip: Ensure your hand is centered under the light source for an even cure across all fingers. - 3Apply first coat of magenta gel
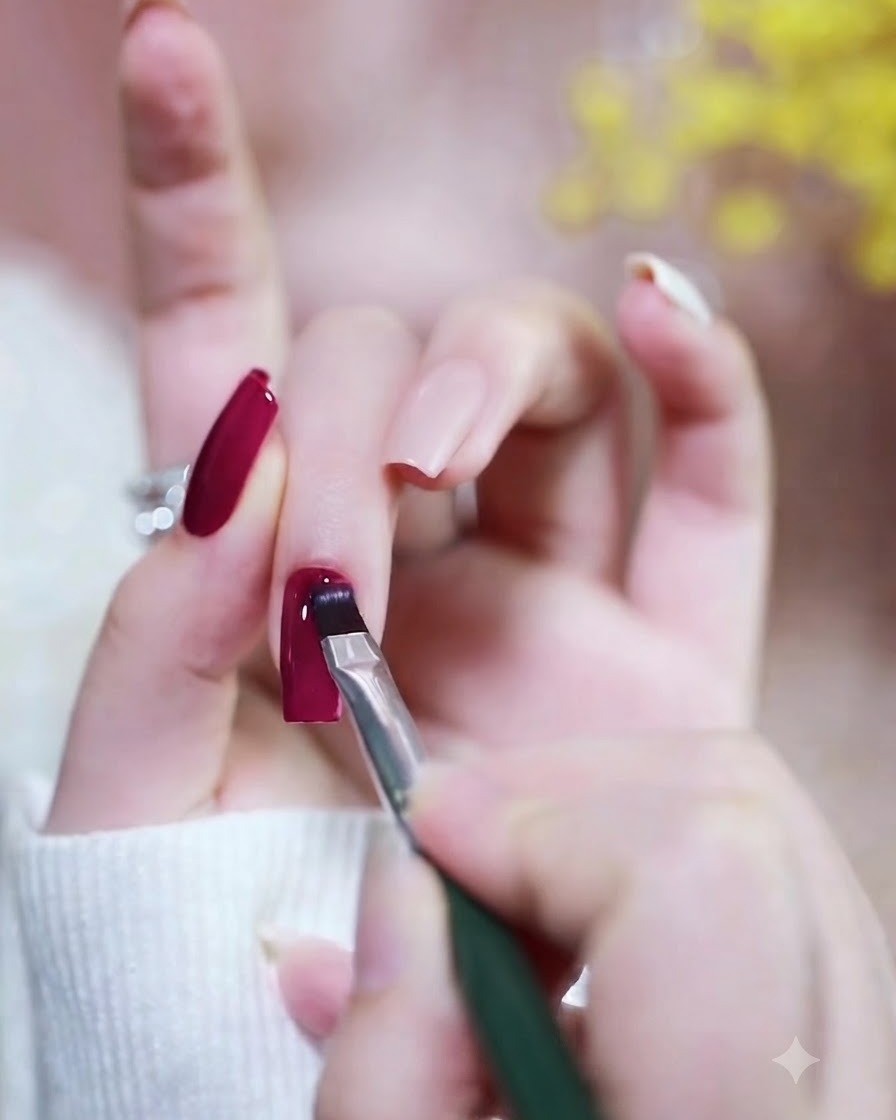
Apply the first coat of vibrant magenta gel polish evenly across the nail surface. Use smooth strokes starting from the cuticle area down to the free edge, ensuring complete coverage without making the layer too thick.
Tip: Apply thin coats to avoid wrinkling or incomplete curing underneath. - 4Cure first magenta coat
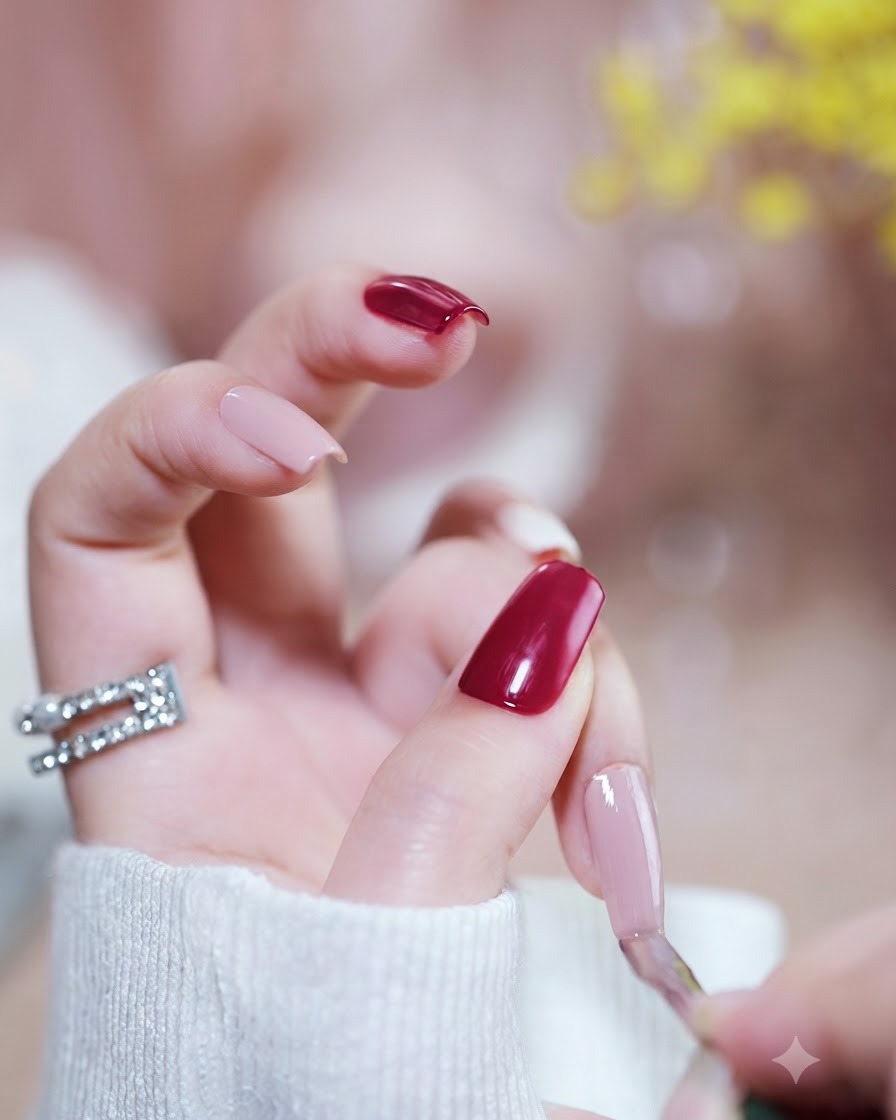
Place the hand back under the UV/LED lamp to cure the first layer of magenta gel polish. Allow it to cure fully so it forms a stable base for the second color layer.
Tip: Do not skip or shorten the curing time between color layers to maintain proper durability. - 5Apply second coat of magenta gel
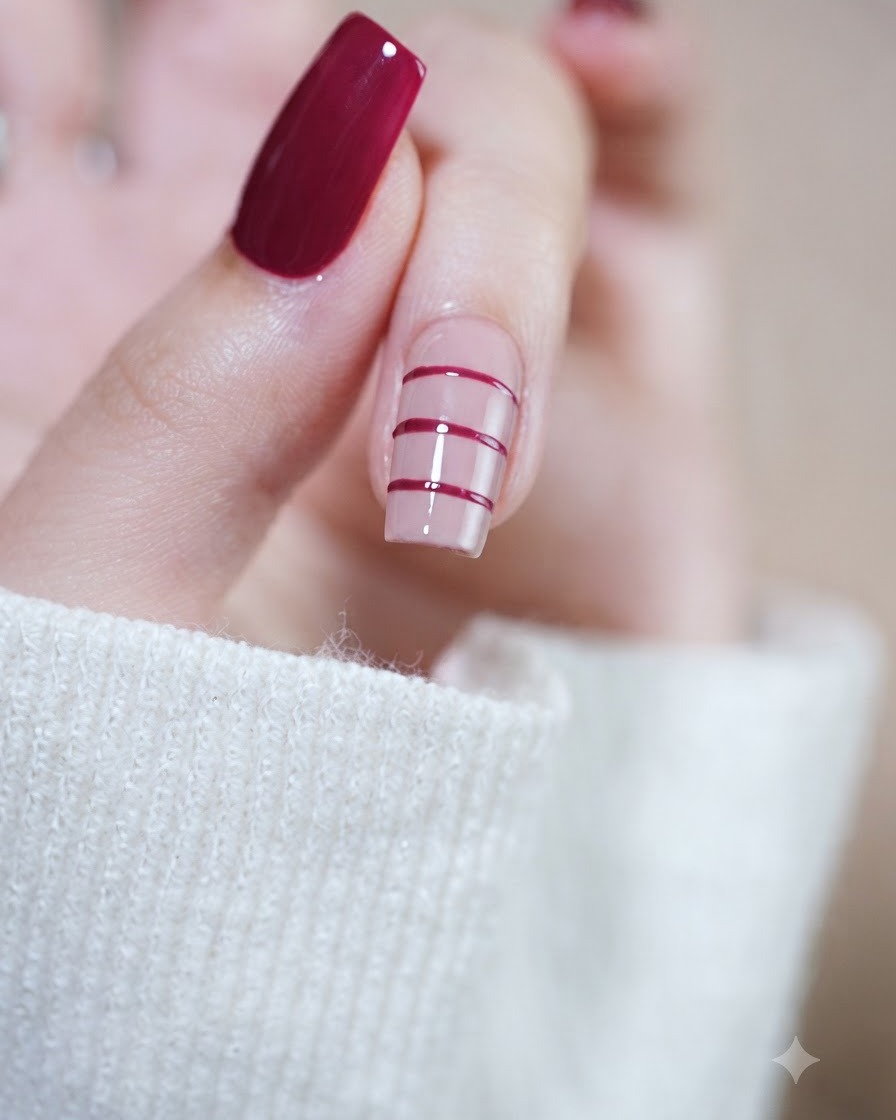
Apply a second coat of magenta gel polish over the first layer to deepen the color opacity and achieve a rich, uniform finish. Carefully cover any lighter patches from the first application.
Tip: Cap the free edge again with this second layer for extra protection against chipping. - 6Cure second magenta layer
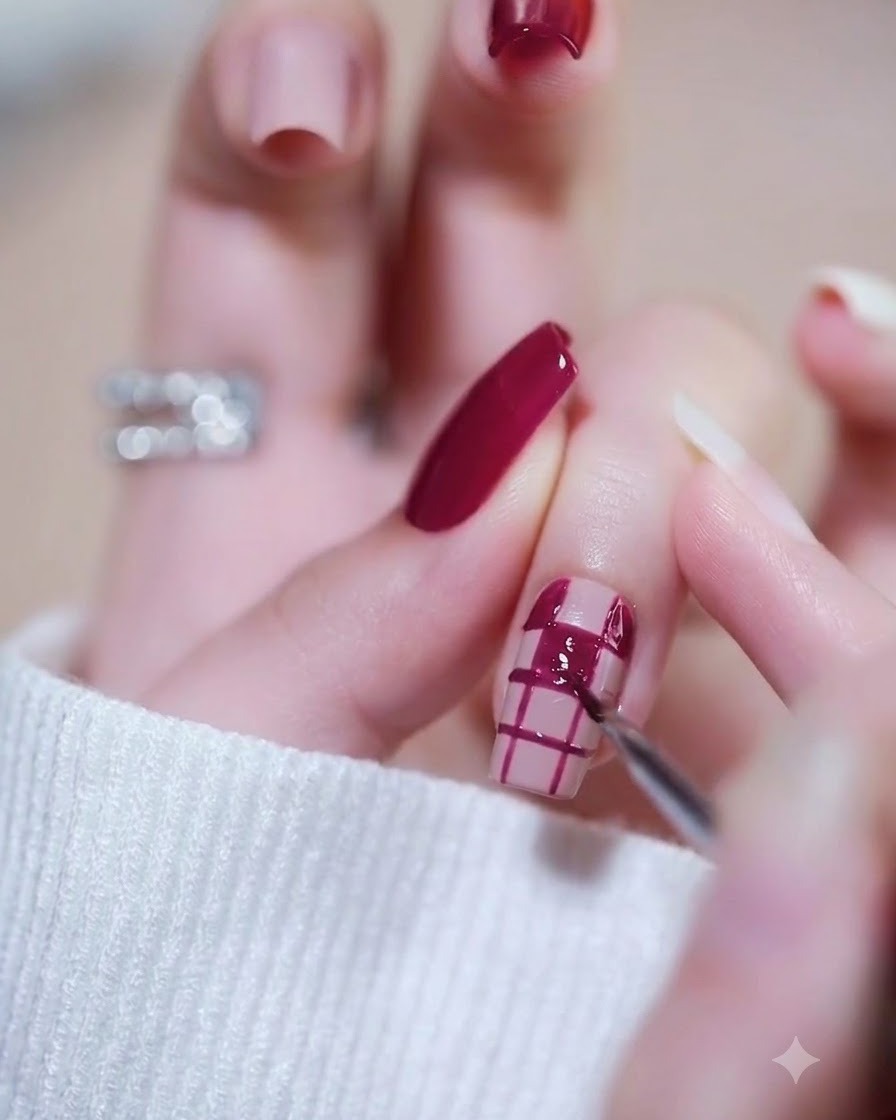
Place the hand under the UV/LED lamp to cure the second layer of magenta gel polish. Ensure the gel is completely hardened before moving on to any detailed nail art or top coat applications.
Tip: Check that the surface is fully set and no longer tacky if required by your specific gel brand formulation. - 7Outline the checkerboard grid
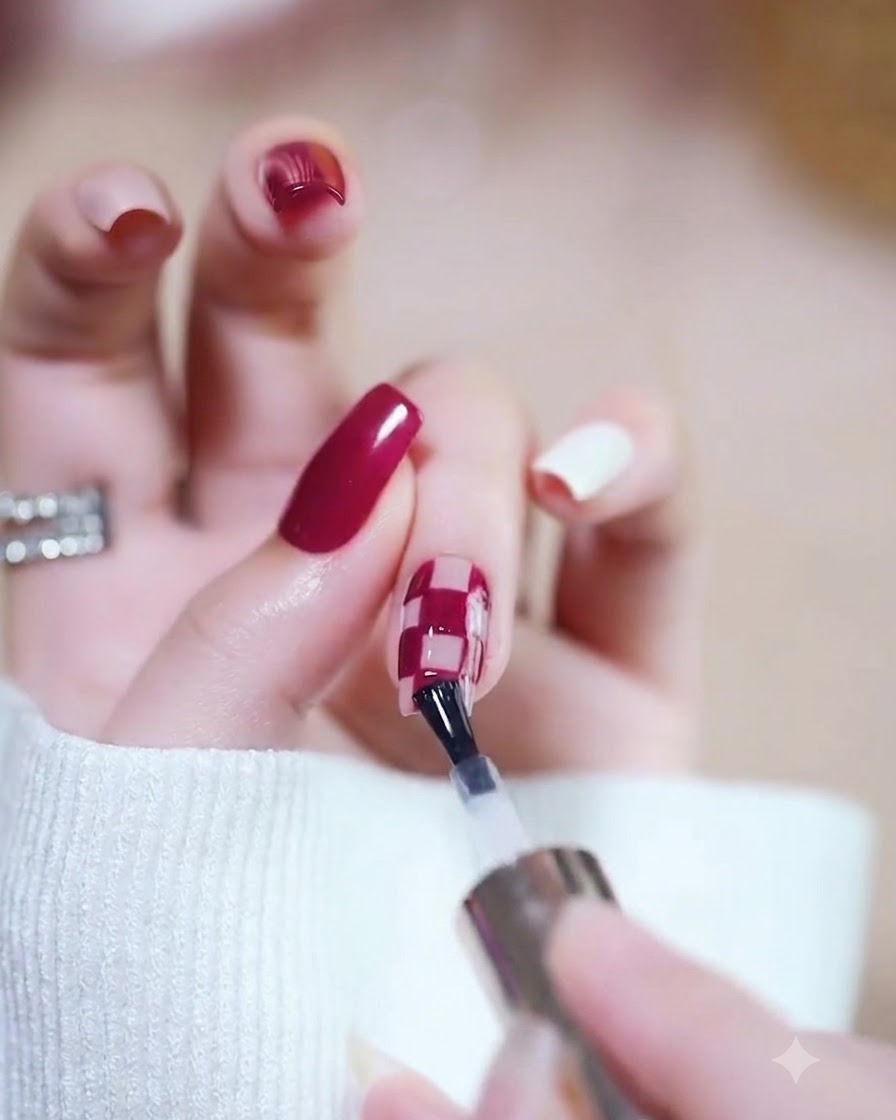
Using a fine liner brush dipped in black gel, carefully outline crisp grid lines across the nail to establish the checkerboard pattern.
Tip: Keep a light hand to ensure the lines remain thin and uniform. - 8Fill alternating squares
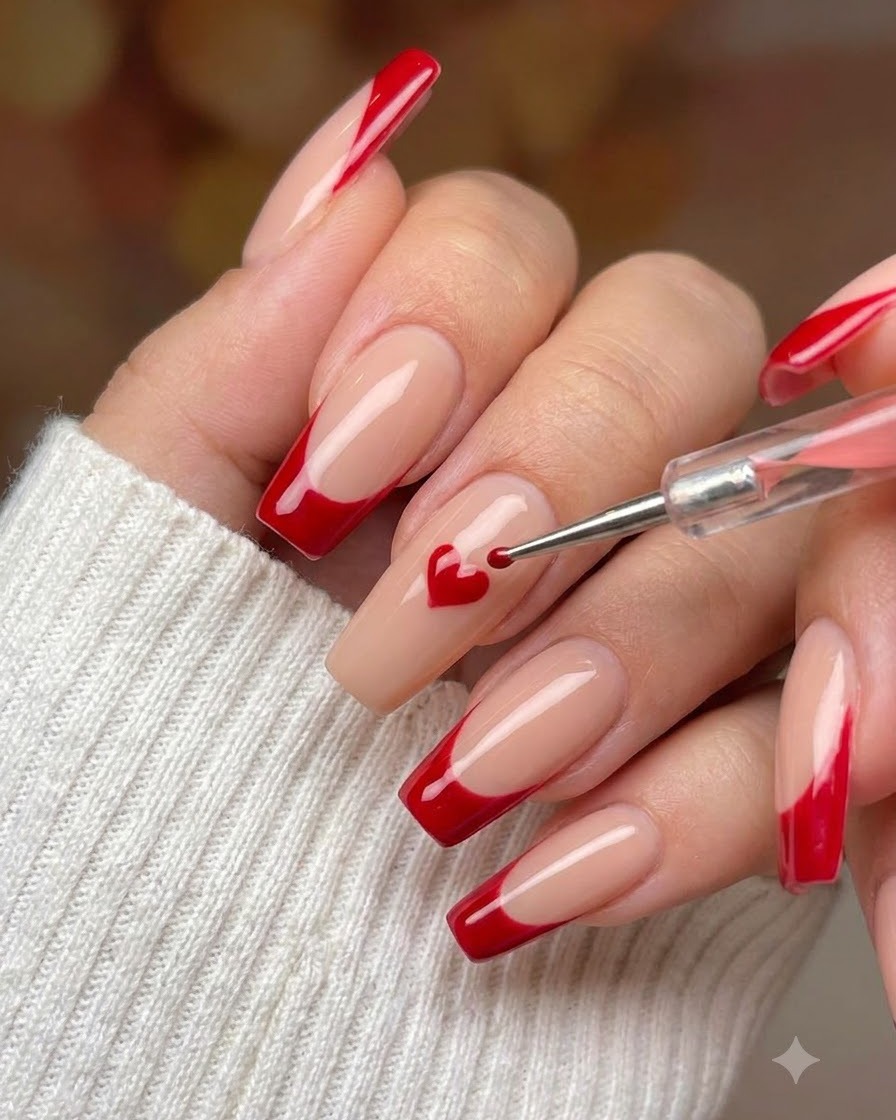
Use a detailed nail art brush to fill in alternating squares of the grid with white gel, creating a classic checkerboard contrast.
Tip: Work carefully within the black boundaries to keep the edges sharp and clean. - 9Cure the line work and design
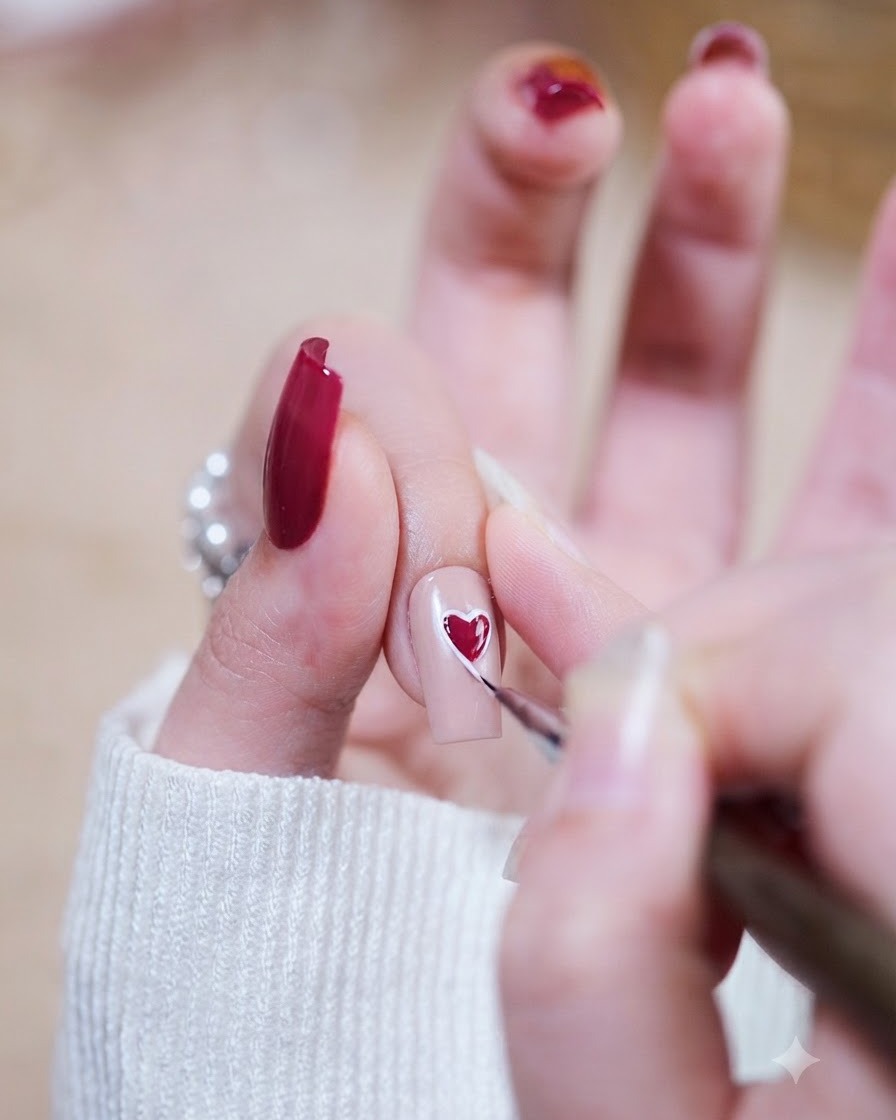
Place the hand under the UV or LED lamp to fully cure the checkerboard line work and filled squares before moving on to the final coat.
Tip: Ensure the gel is completely set to prevent any smudging during the topcoat application. - 10Apply glossy top coat
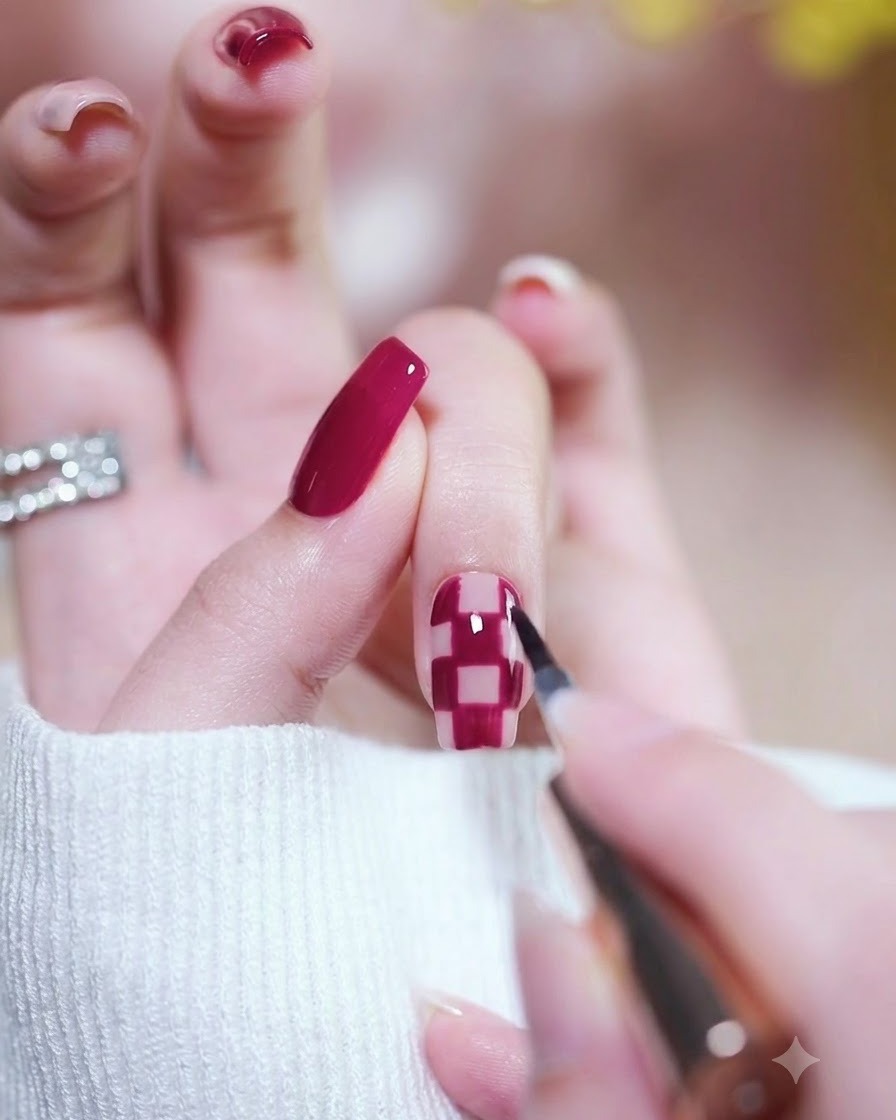
Apply a generous layer of glossy top coat over the entire nail design to seal the checkerboard pattern and protect the art. Make sure to cap the free edge completely to prevent chipping and ensure longevity. Cure the top coat thoroughly under your UV or LED lamp for a high-shine, smooth finish.
Tip: Capping the free edge with top coat seals all underlying layers and prevents peeling or lifting at the tips.