Y2K Magenta Leopard Print
Chrome Gel Extensions — Step-by-Step Tutorial
Master this trendy Y2K-inspired manicure featuring vibrant magenta leopard spots and sleek silver chrome accents with our easy, professional-grade guide.
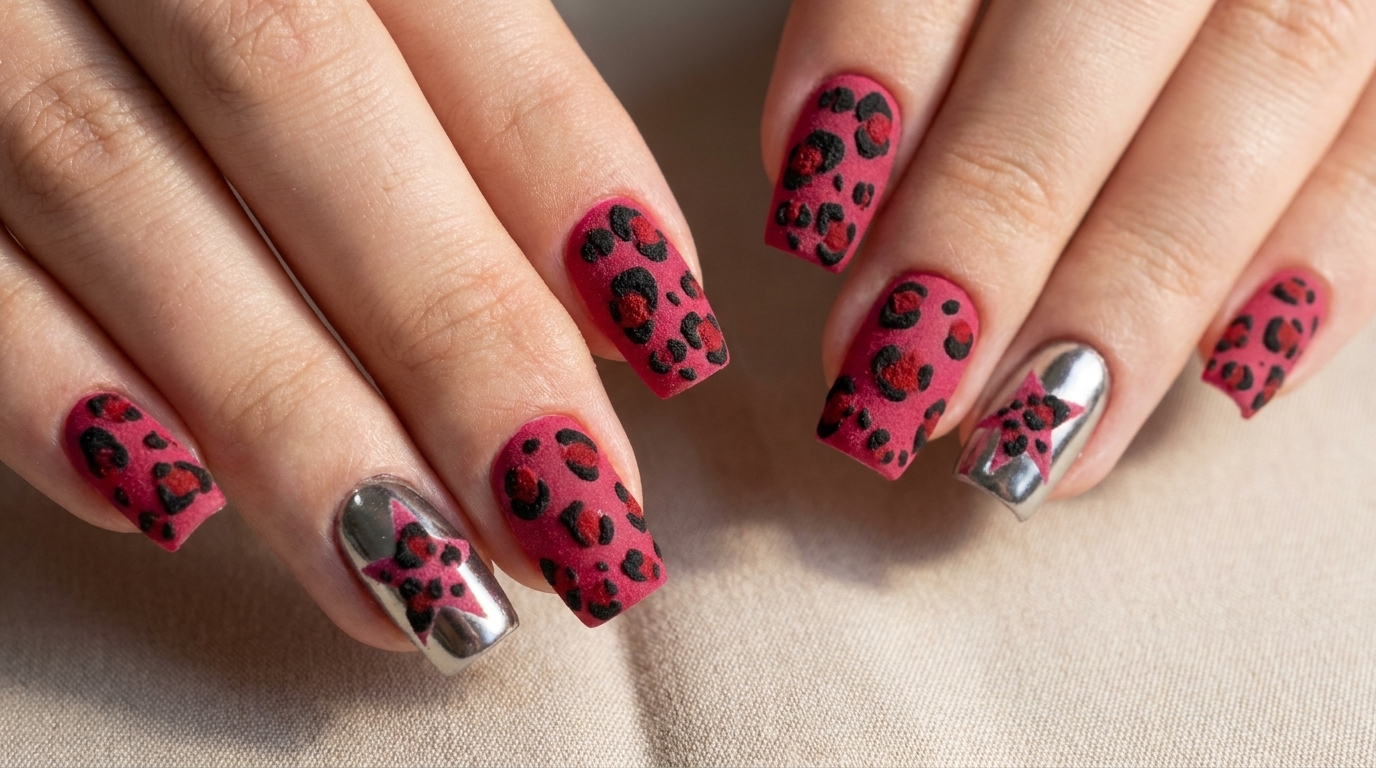
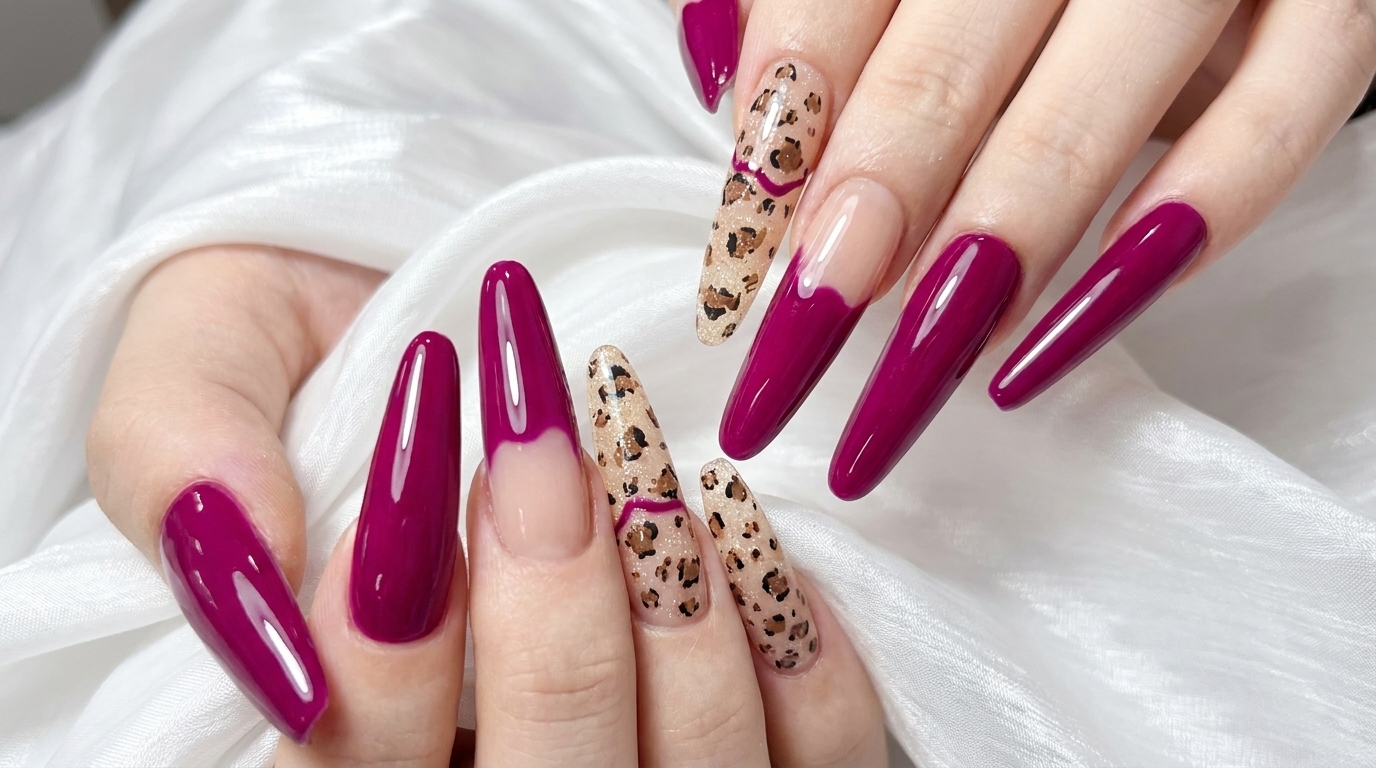
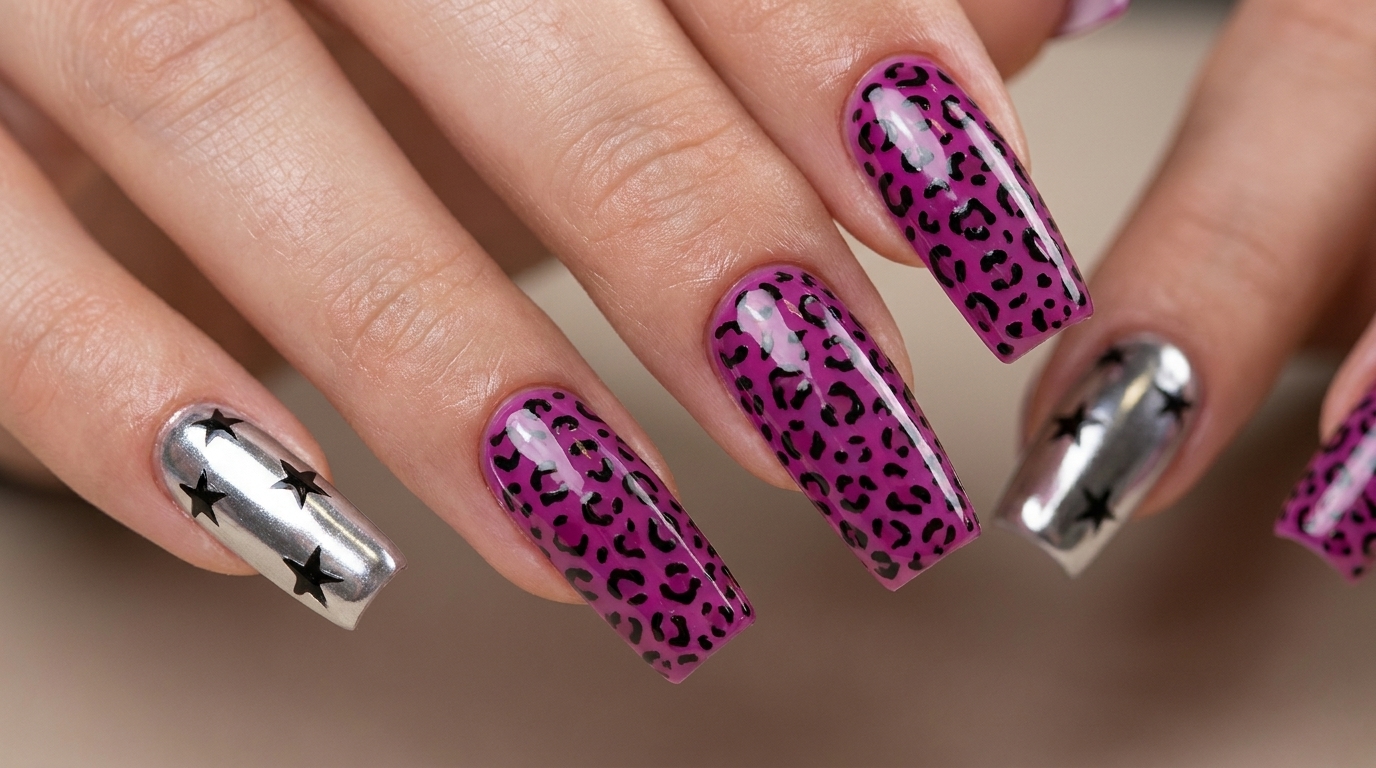
This bold design perfectly captures the playful, high-energy aesthetic of the Y2K era, combining striking magenta leopard prints with modern metallic chrome finishes. As a self-taught manicurist turned studio owner, I have perfected this technique to ensure it is achievable for those looking to bring some nostalgic flair to their nail art repertoire. It is a fantastic way to experiment with mixed-media designs that balance intricate hand-painted details with a clean, high-impact base.
Steps
- 1Prep the natural nail
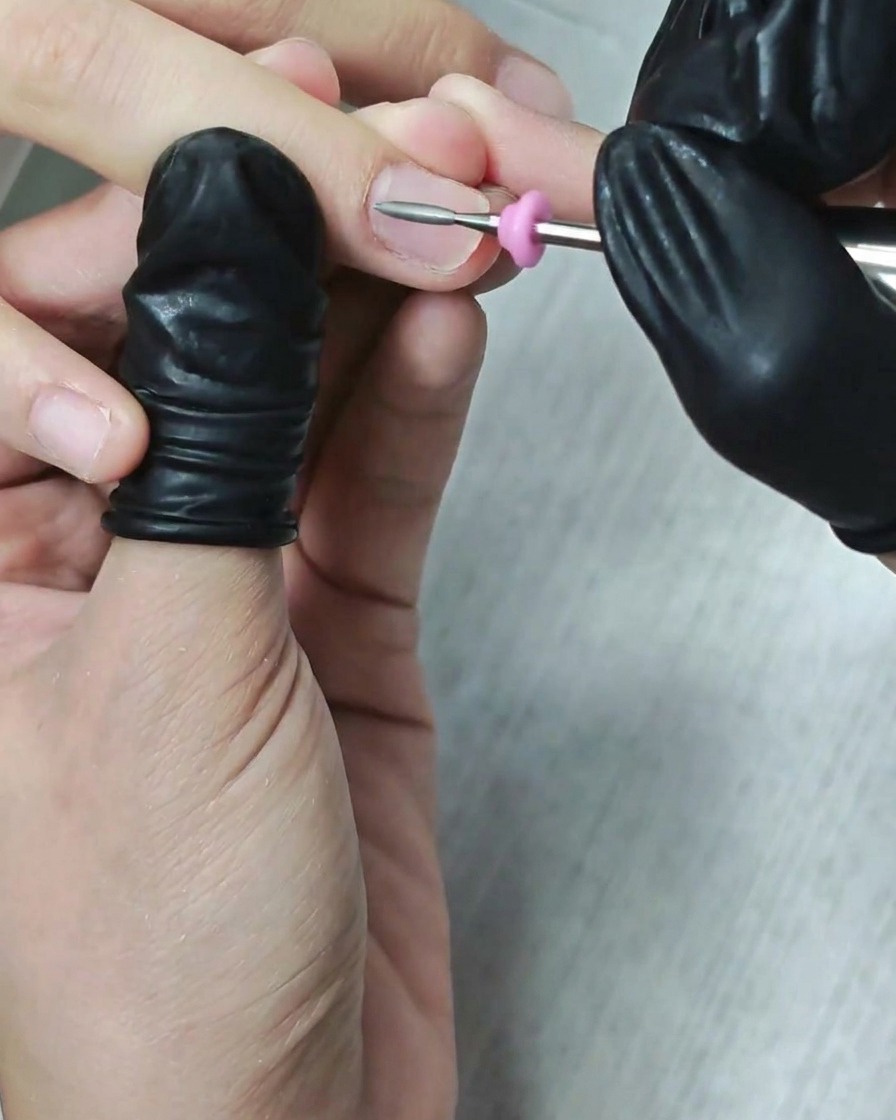
Use an electric file with a fine-grit bit to gently remove the shine from the natural nail plate and refine the surface. This creates the necessary texture for optimal gel adhesion. Keep the file moving consistently to avoid thinning the natural nail.
Tip: Use a light touch and low speed setting to protect the health of your natural nail plate. - 2Apply gel extension tip
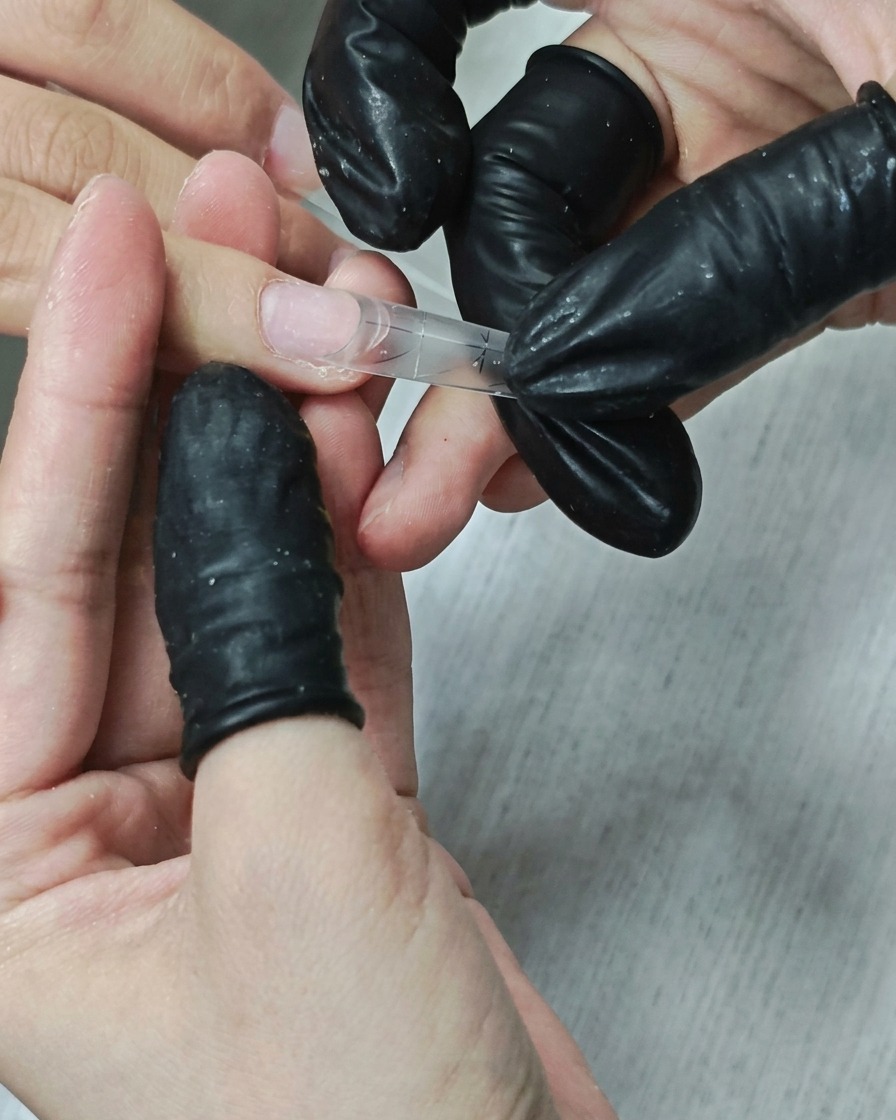
Select the appropriate size gel extension tip for your nail. Apply a small amount of clear builder gel to the well of the tip and place it onto your natural nail, ensuring no air bubbles are trapped. Hold the tip firmly in place against the nail.
Tip: Angle the tip at a 45-degree angle starting from the cuticle area to help push out excess air and product. - 3Trim the extension tip
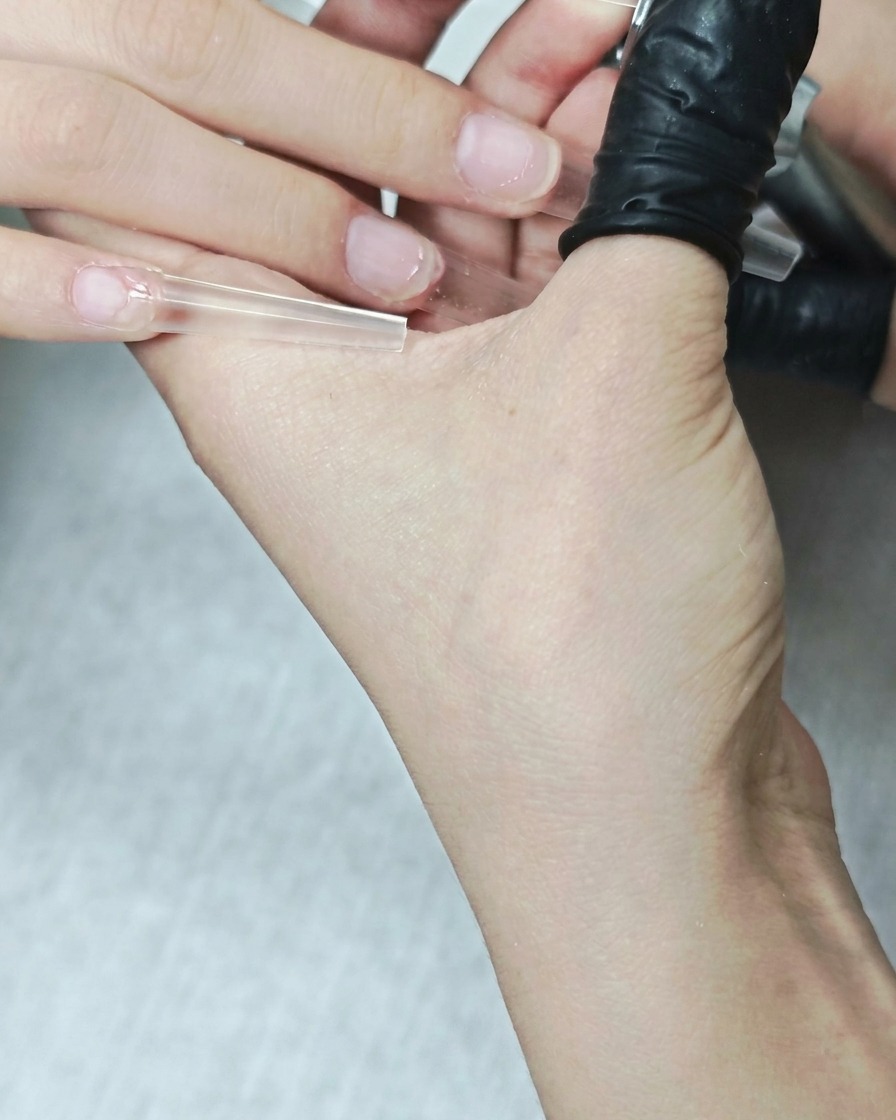
Using a metal nail clipper, carefully trim the clear extension tip down to your desired length. Cutting straight across establishes a sharp, square foundation that perfectly complements a trendy Y2K-style look.
Tip: Hold the free edge of the tip firmly while clipping to prevent the plastic from cracking or flying off. - 4Etch the extension surface
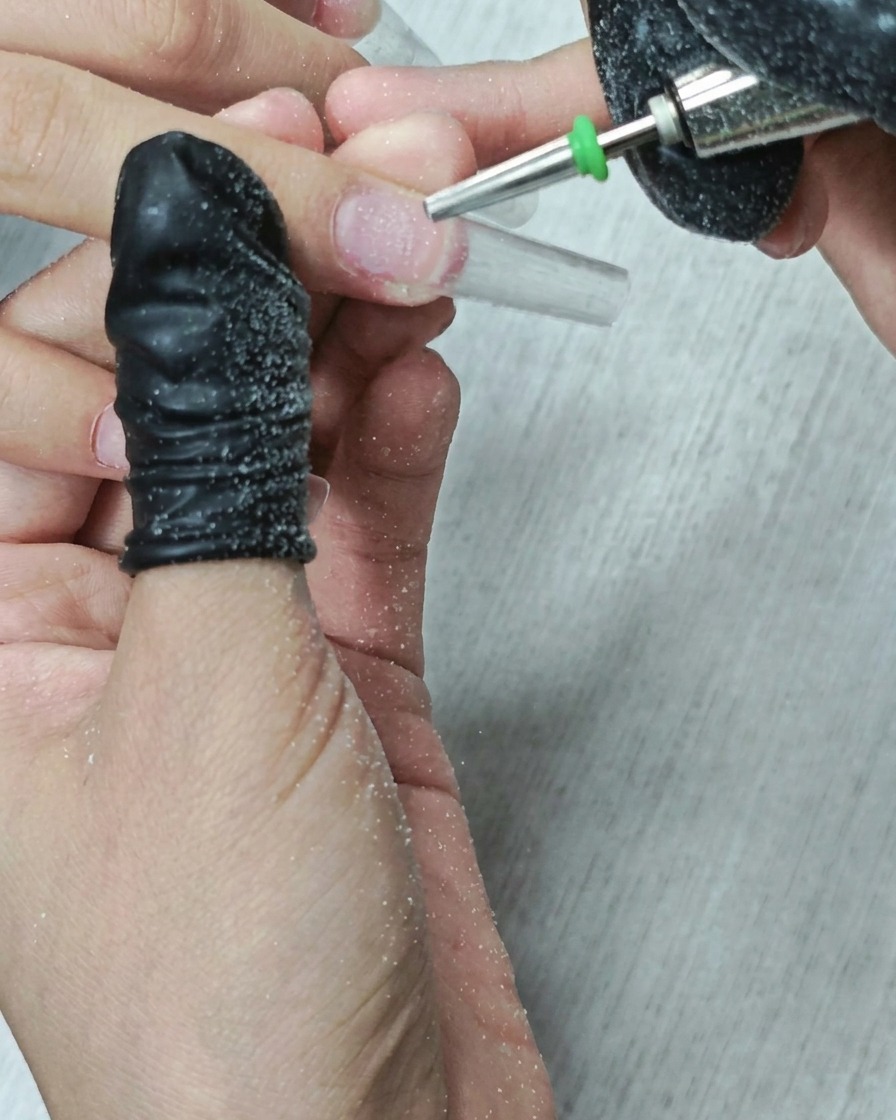
Use a sanding band on your electric file to lightly etch the entire surface of the gel extension tip. This step removes the glossy finish from the plastic tip, providing a better surface for the color and design layers to adhere to.
Tip: Pay close attention to the area where the tip meets the natural nail to ensure a seamless transition. - 5Clean the cuticle area
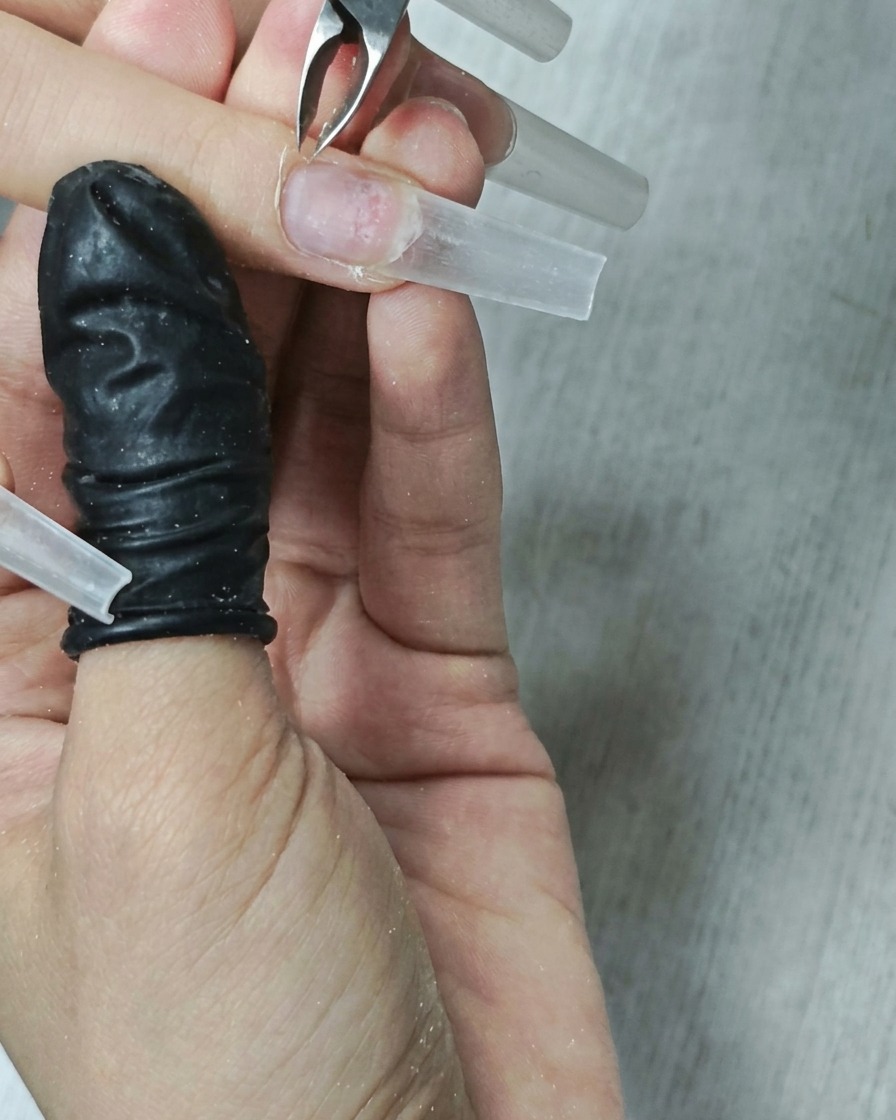
Using a fine-grit cuticle bit, gently clean the skin around the proximal nail fold. This removes dead tissue and ensures your gel application looks clean and stays neat near the cuticle line.
Tip: Work in one direction around the nail fold to effectively lift away dead skin without causing injury. - 6Apply dehydrator or primer
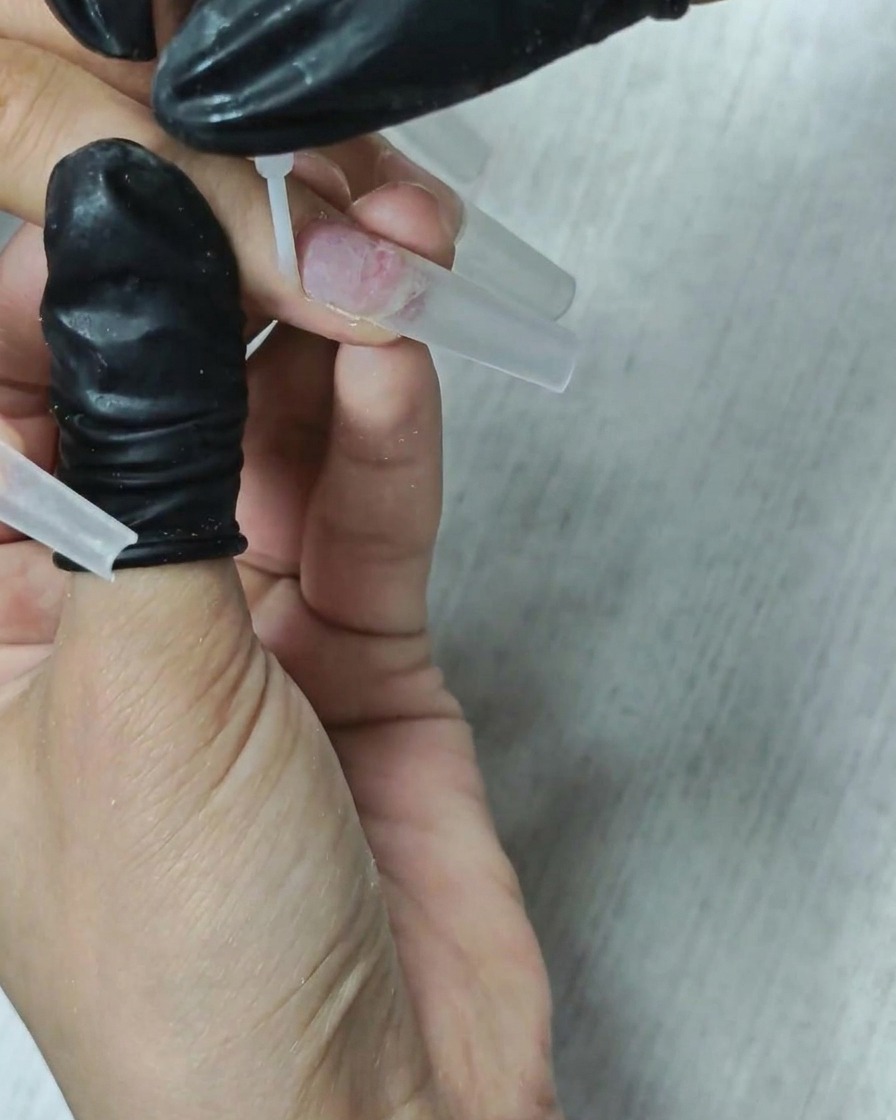
Apply a coat of liquid nail dehydrator to the natural nail plate to remove excess oils. Follow this with a layer of primer to enhance the bonding of the gel products to the nail. Allow it to air dry for a few seconds.
Tip: Focus the dehydrator application on the natural nail area to ensure a long-lasting, lift-free manicure. - 7Apply gel base coat
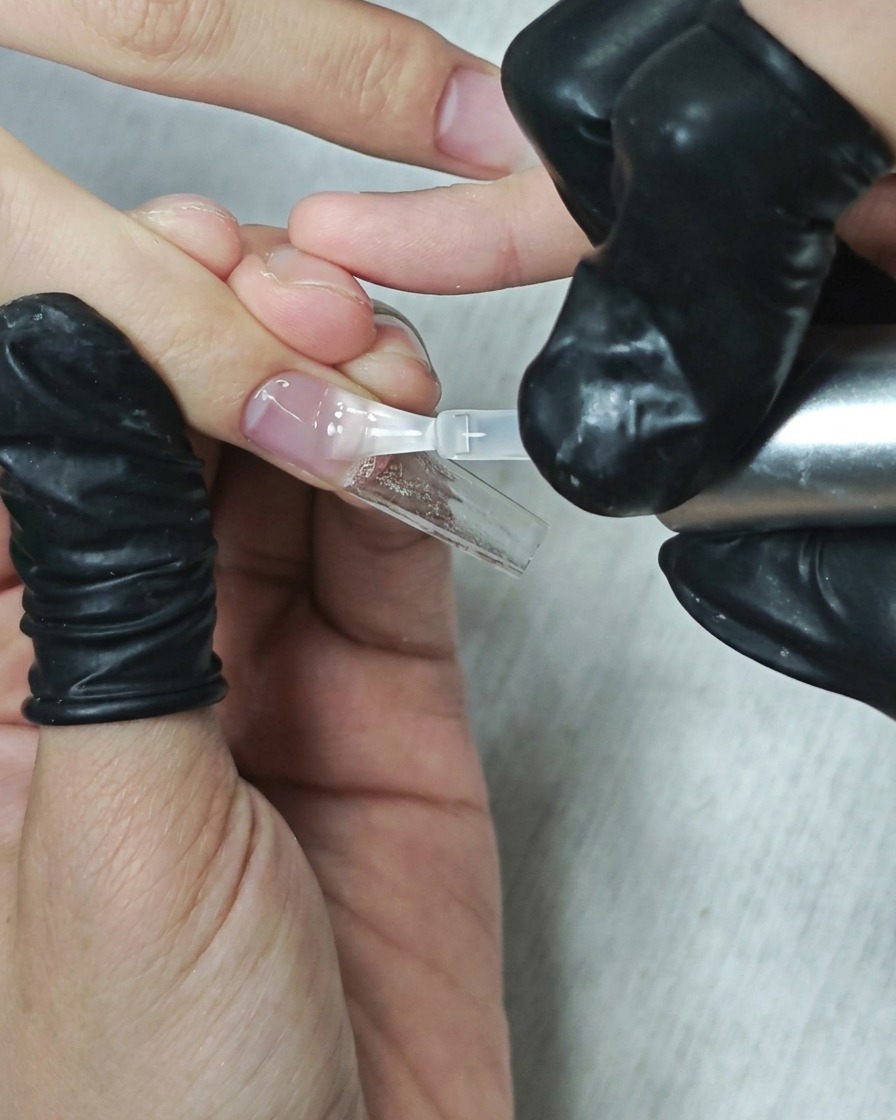
Brush a thin, even layer of gel base coat over the natural nail plate, blending it seamlessly onto the extension. This tacky adhesive layer is essential for bonding your builder and color gels securely to the nail for a lasting finish.
Tip: Keep the base coat layer very thin and avoid touching the cuticles to prevent premature gel lifting. - 8Structure the builder gel
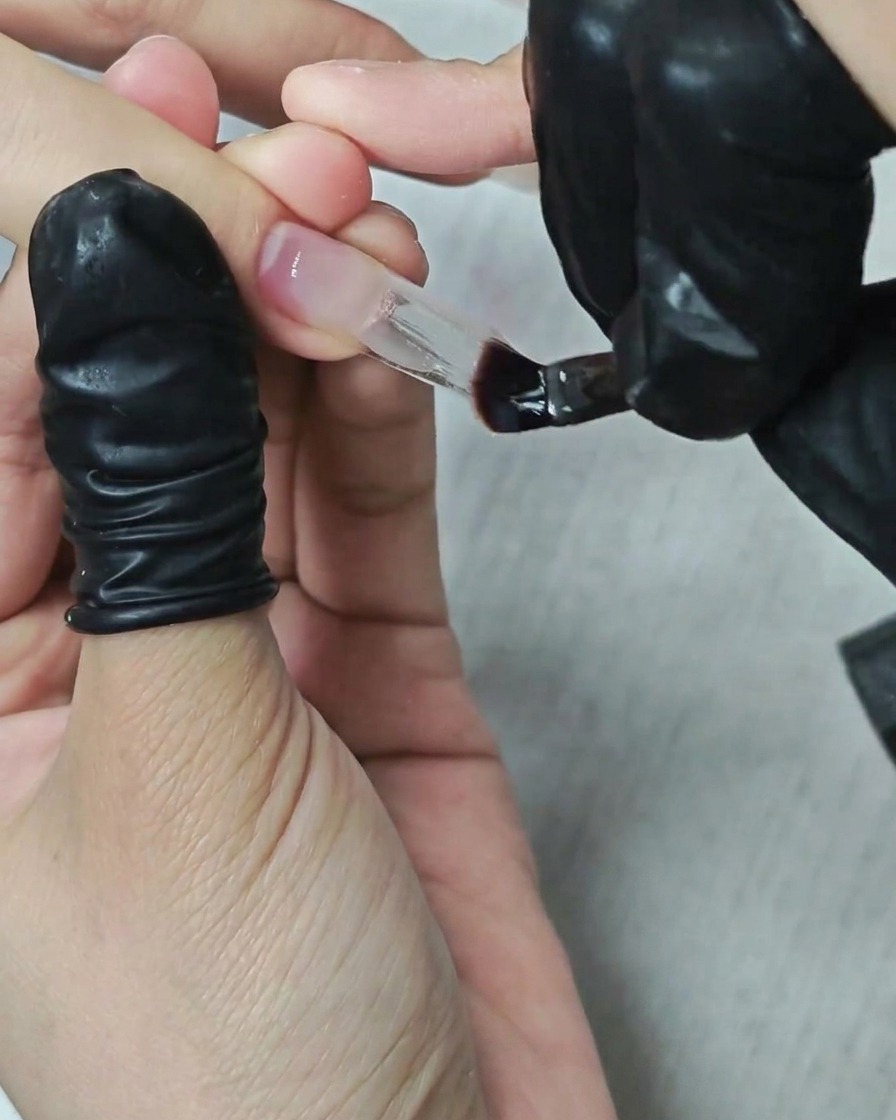
Using a flat gel brush, pick up a bead of clear builder gel and float it gently over the nail and extension tip. Structure the gel to build the apex and add strength to your square tip, ensuring a smooth, even surface for the upcoming magenta leopard art.
Tip: Let the brush float over the gel rather than pressing down to avoid creating streaks and air bubbles. - 9Cure the builder gel
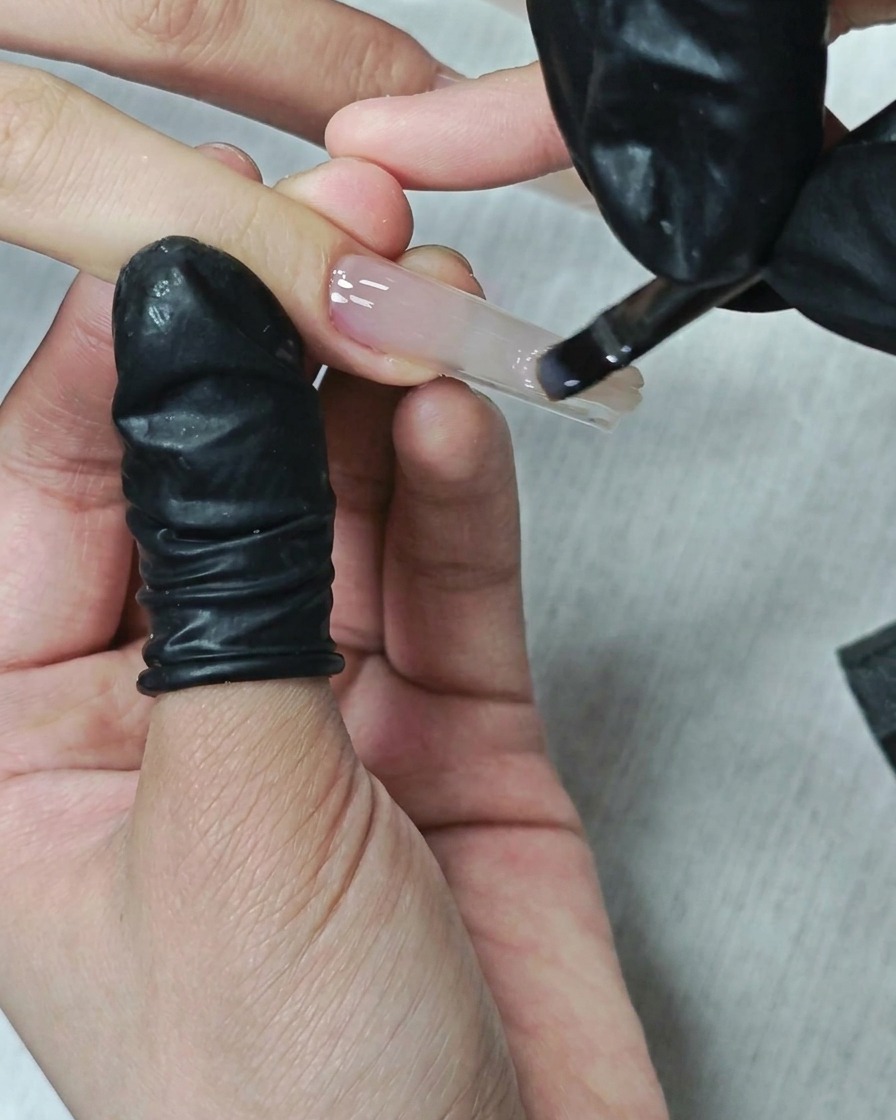
Place the hand carefully under the UV/LED lamp to ensure all fingers are evenly exposed to the light. Cure for the recommended time to fully harden the builder gel and secure the nail structure. Keep the hand steady during this process to avoid any movement that could cause bubbles or uneven curing.
Tip: Ensure your hand is placed flat and stable in the center of the lamp for optimal light distribution. - 10File and shape the square nails
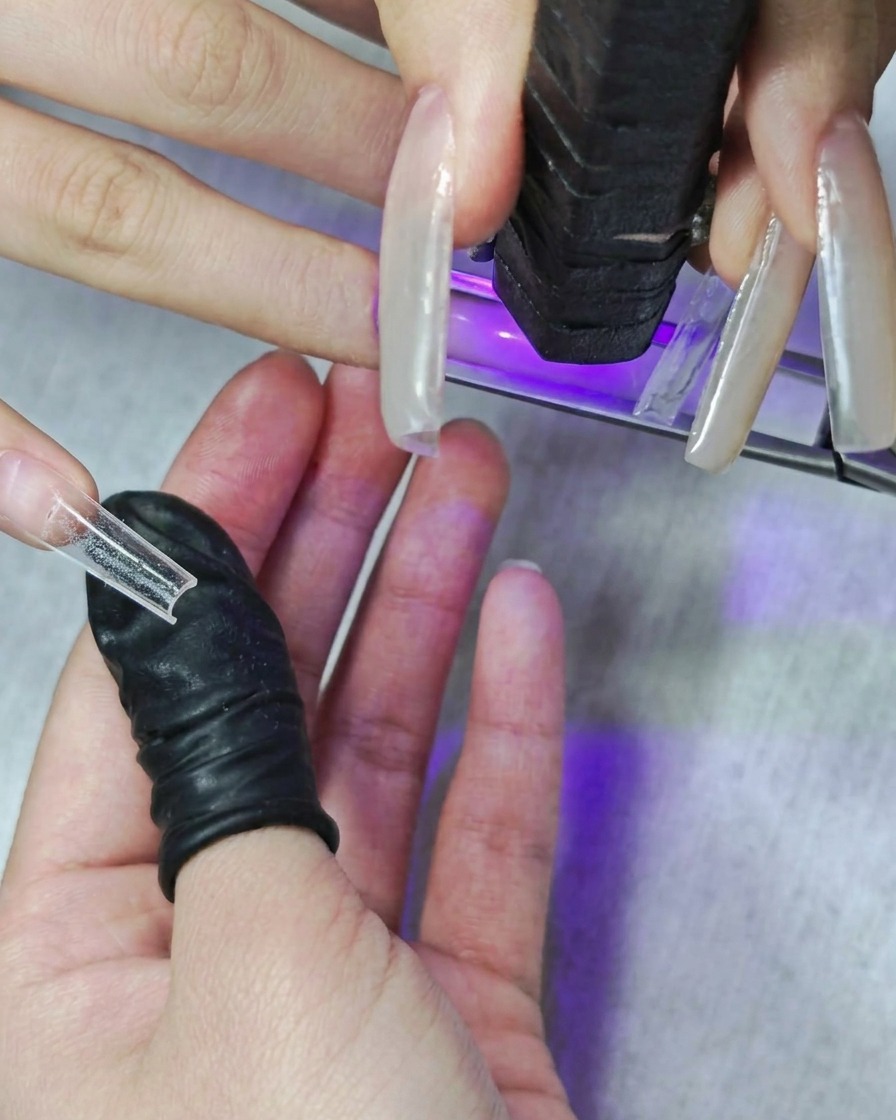
Using a nail file, gently refine the sidewalls and the free edge of the nails to achieve a crisp, clean square shape. Keep the file perpendicular to the nail edge for a straight, sharp line. This refinement stage ensures the nail structure is uniform and ready for the next design step.
Tip: Use a light touch when filing to maintain control and avoid over-thinning the corners of your square shape. - 11Apply no-wipe top coat
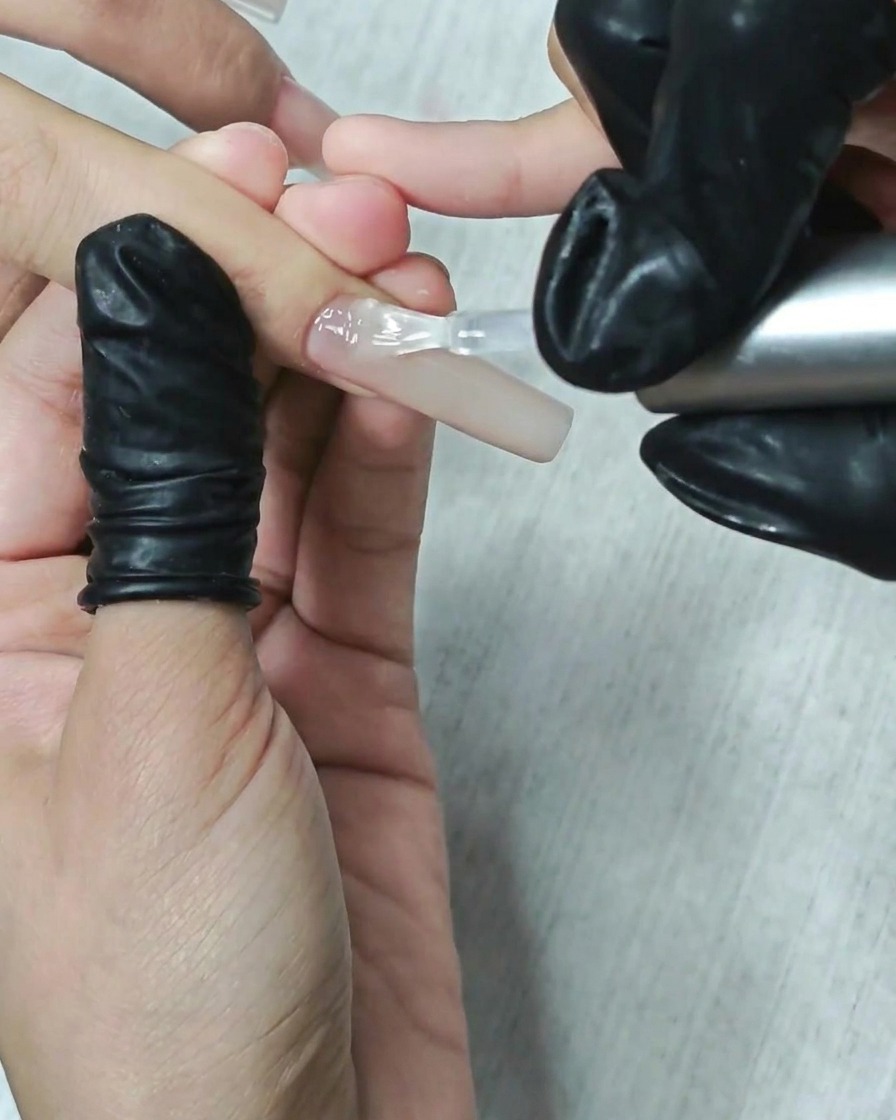
Apply a thin, smooth layer of no-wipe top coat over the entire nail surface, covering the design and capping the free edge. Because this is a no-wipe formula, it will provide a high-shine finish without needing to remove a sticky inhibition layer after curing. Ensure even coverage for a glass-like look.
Tip: Apply slowly to avoid streaks, and check the nail from different angles under light to ensure no spots were missed. - 12Paint magenta gradient tips
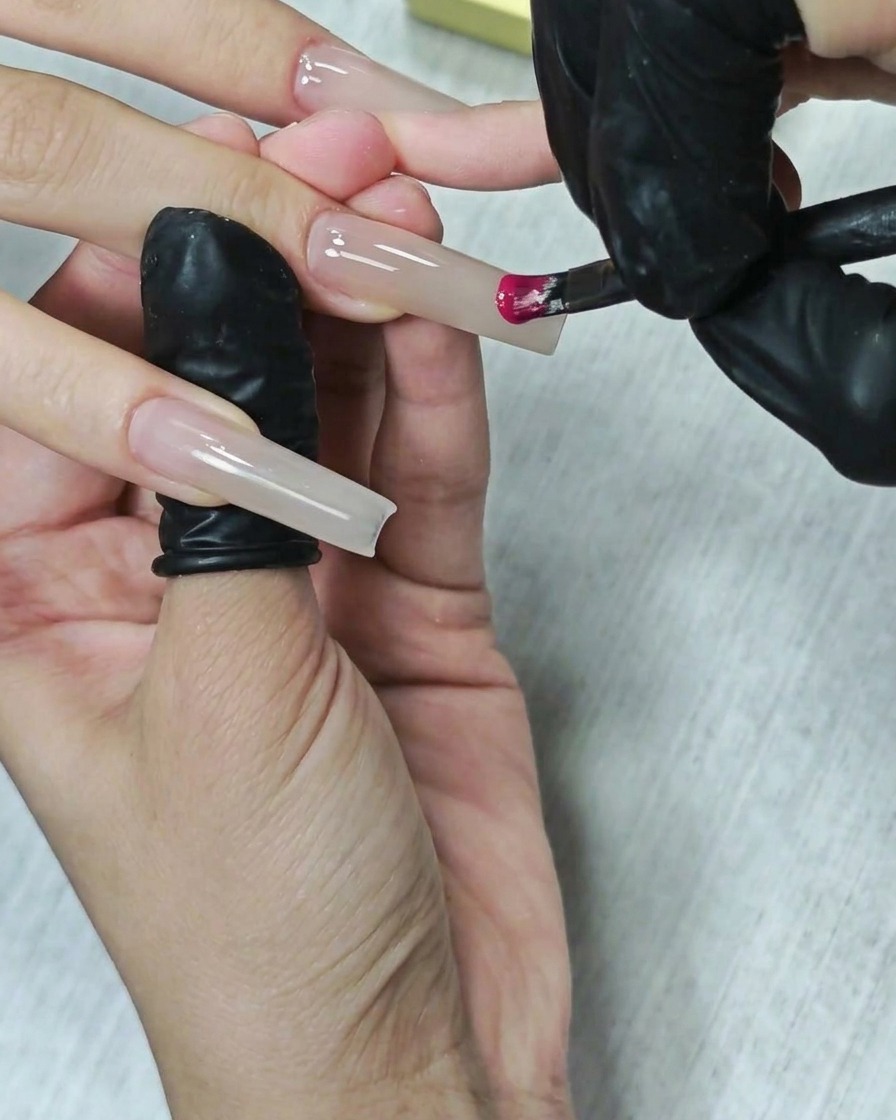
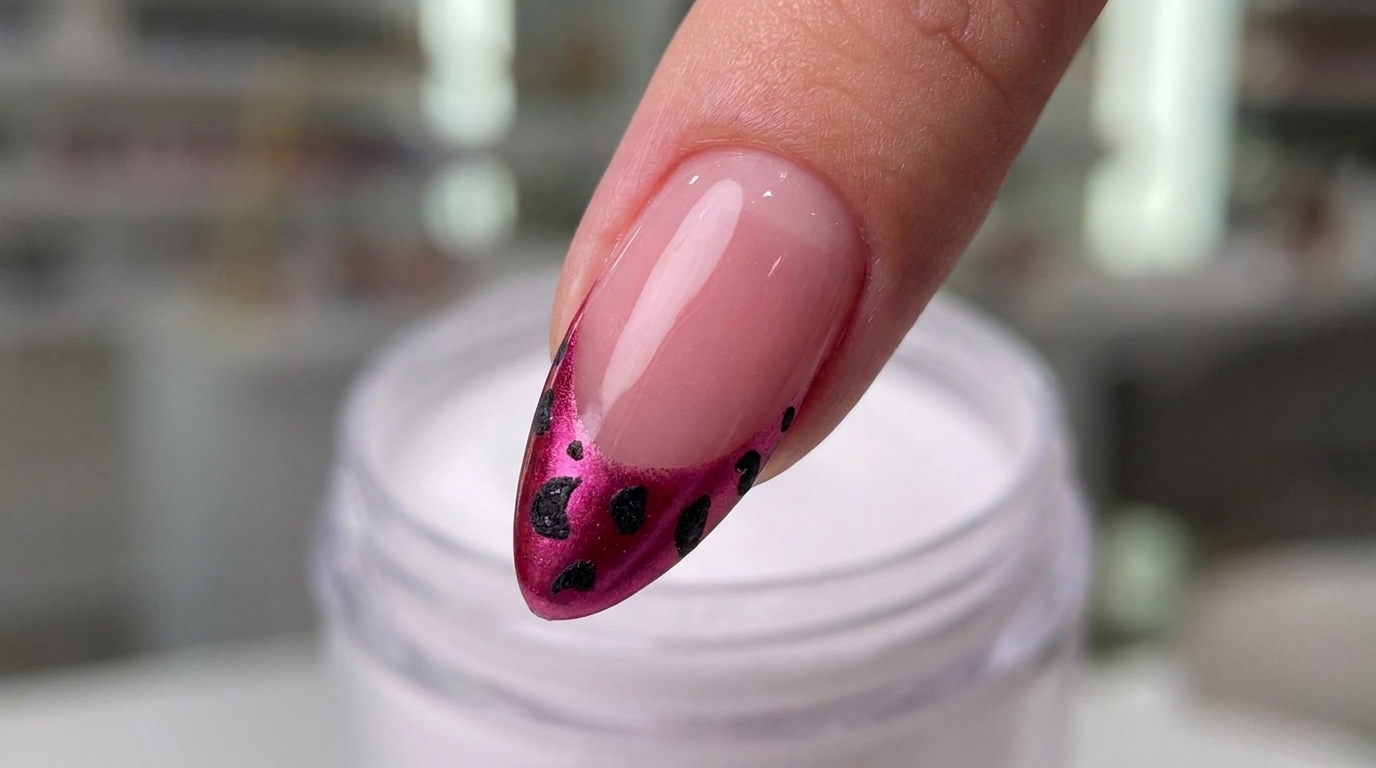
Using a fine liner brush, carefully apply deep magenta gel polish to the tip of the nail. Feather the color upward toward the center to create a seamless gradient fade. Take your time to build the pigment intensity at the tip while keeping the transition smooth and natural.
Tip: Start with a small amount of product and build up the color gradually to keep the gradient soft and blended. - 13Apply silver chrome powder
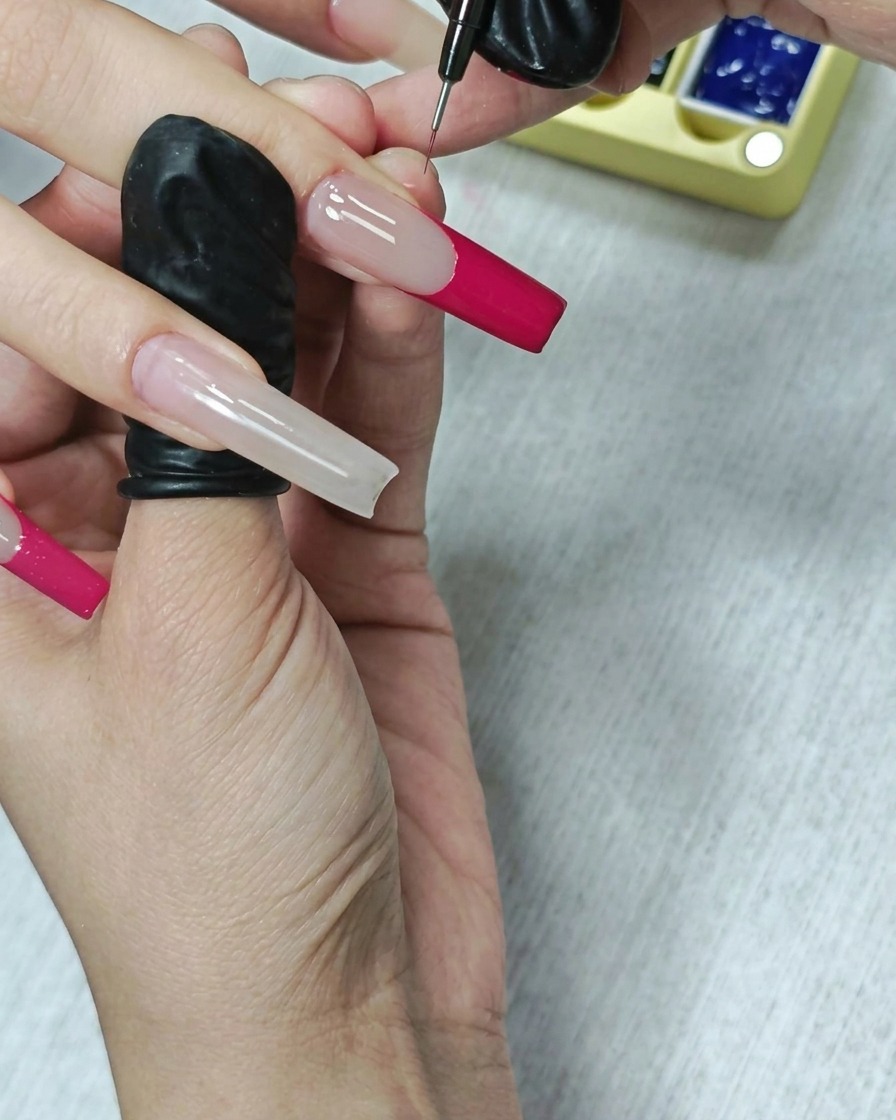
Using a silicone applicator, gently buff silver chrome powder onto the nail surface. Press and rub the powder until you achieve a smooth, mirror-like metallic finish. Ensure the powder is applied evenly across the intended area for a consistent, high-impact shine.
Tip: Apply over a cured non-tacky surface or as directed by the chrome powder manufacturer for the best mirror effect. - 14Draw leopard print details
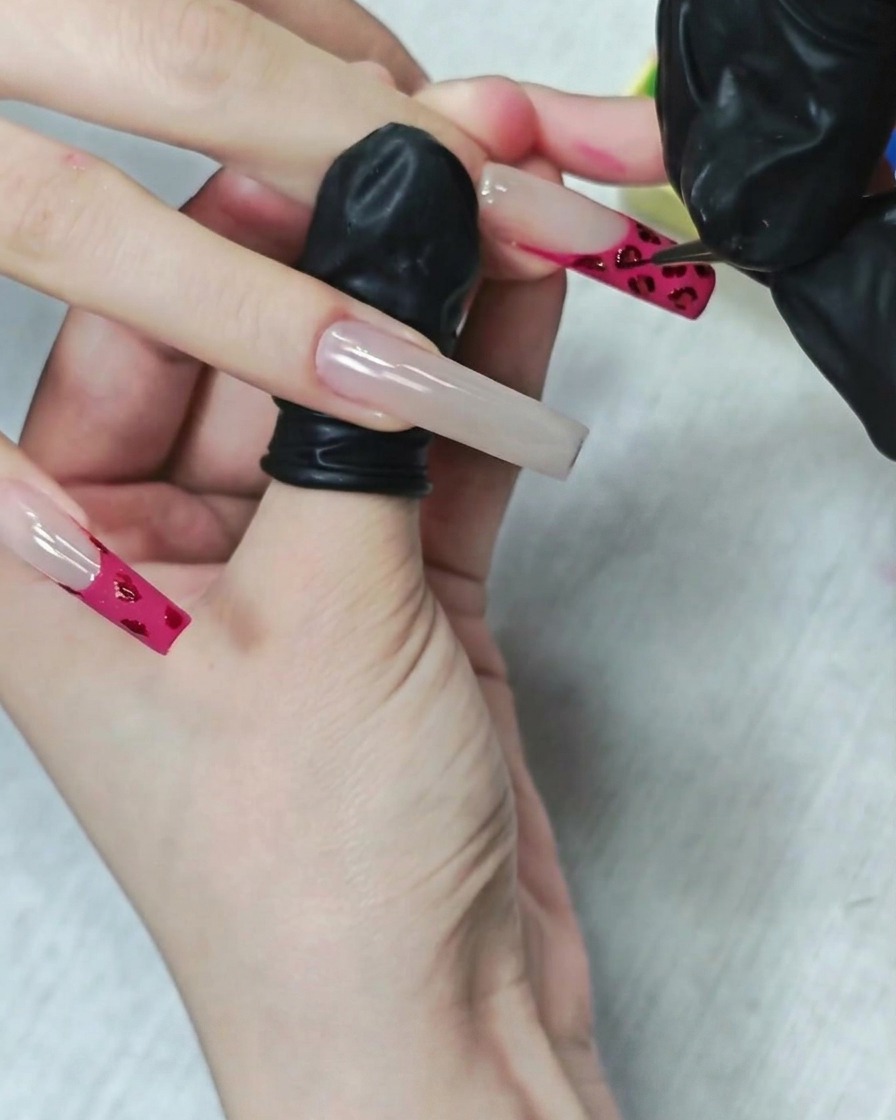
With a thin liner brush and black gel polish, draw small, irregular leopard spots onto the magenta gradient tips. Vary the shape and size of the spots for a realistic, trendy aesthetic. Cure after drawing the spots to set the intricate design.
Tip: Dont make the spots too uniform; natural leopard prints are irregular, so varying the shapes makes the design look better. - 15Add hand-painted star art
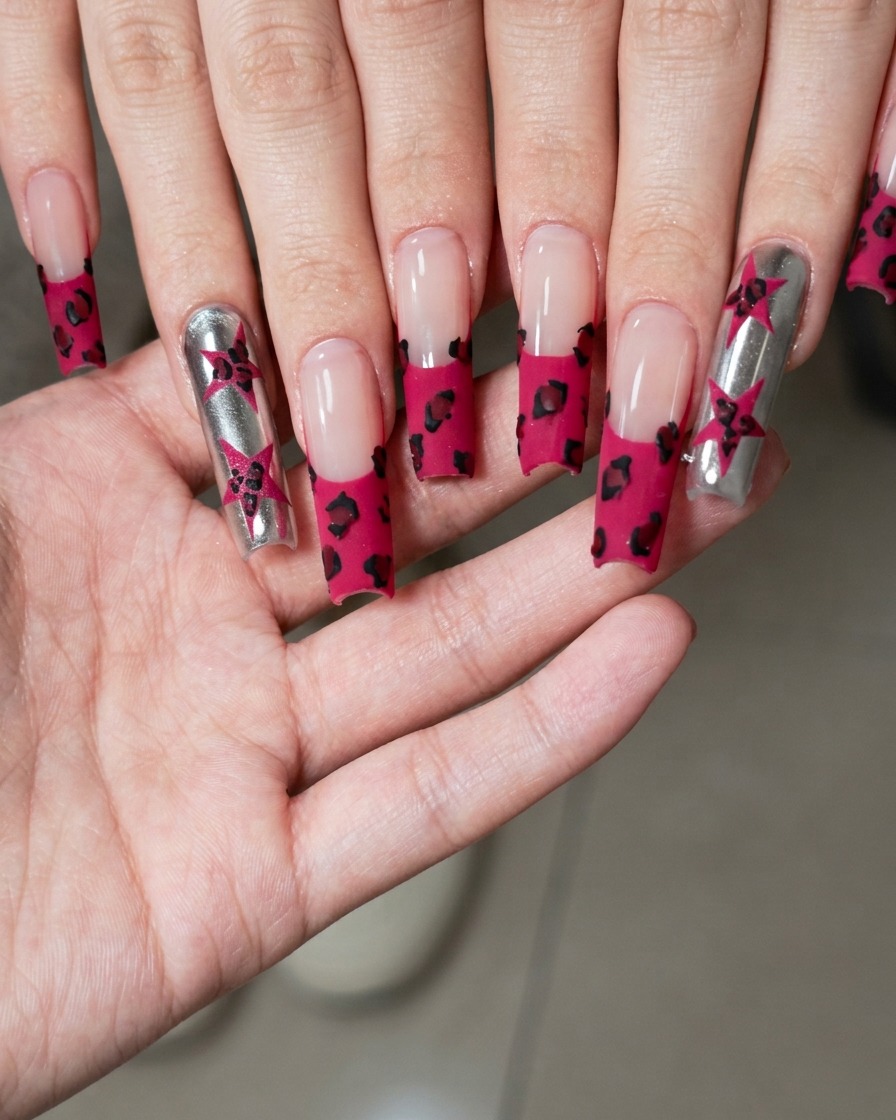
Using a fine-liner brush and black gel polish, carefully paint five-pointed stars onto the chrome-finished nails. Ensure the lines are clean and the stars are spaced evenly across the nail plate for a balanced Y2K aesthetic. Cure under your UV or LED lamp to set the art.
Tip: For crisp points, anchor your pinky finger on your other hand while painting to maintain stability.