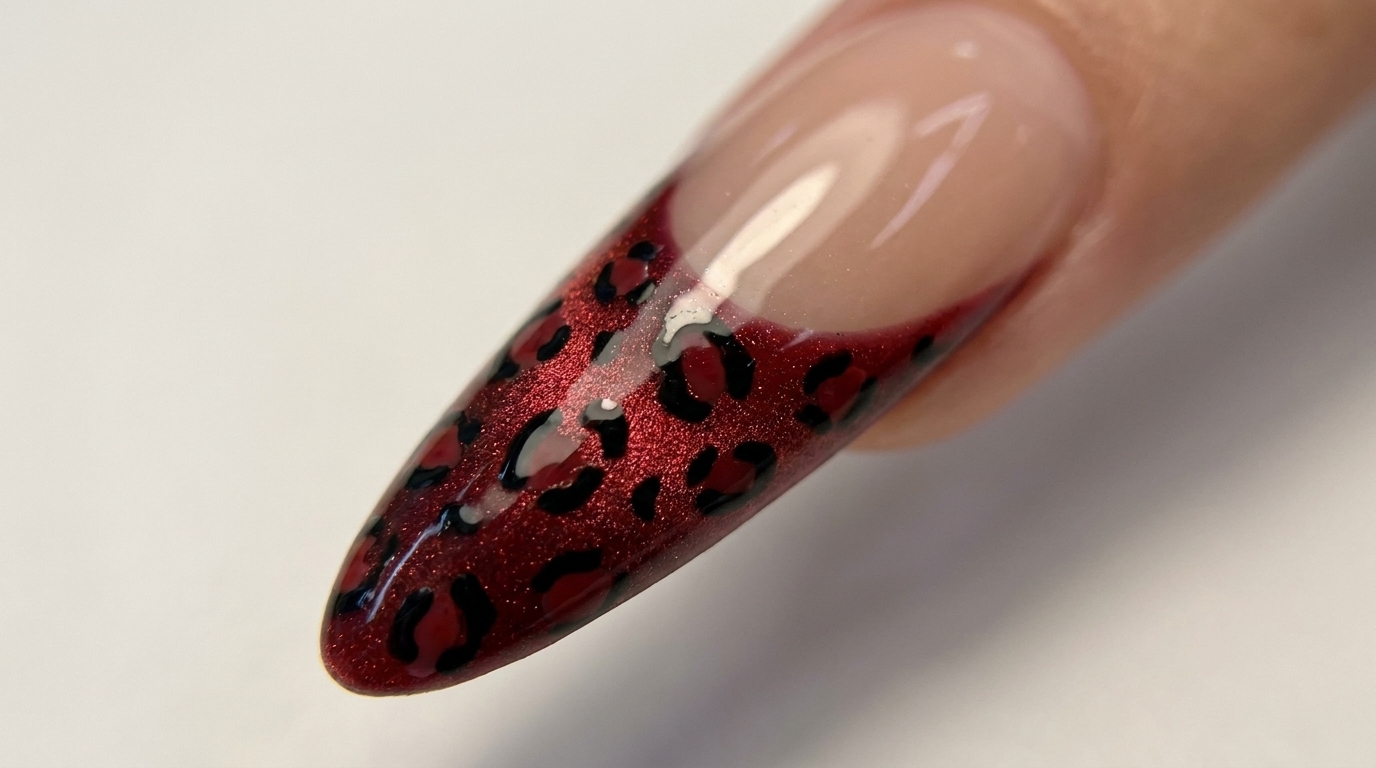
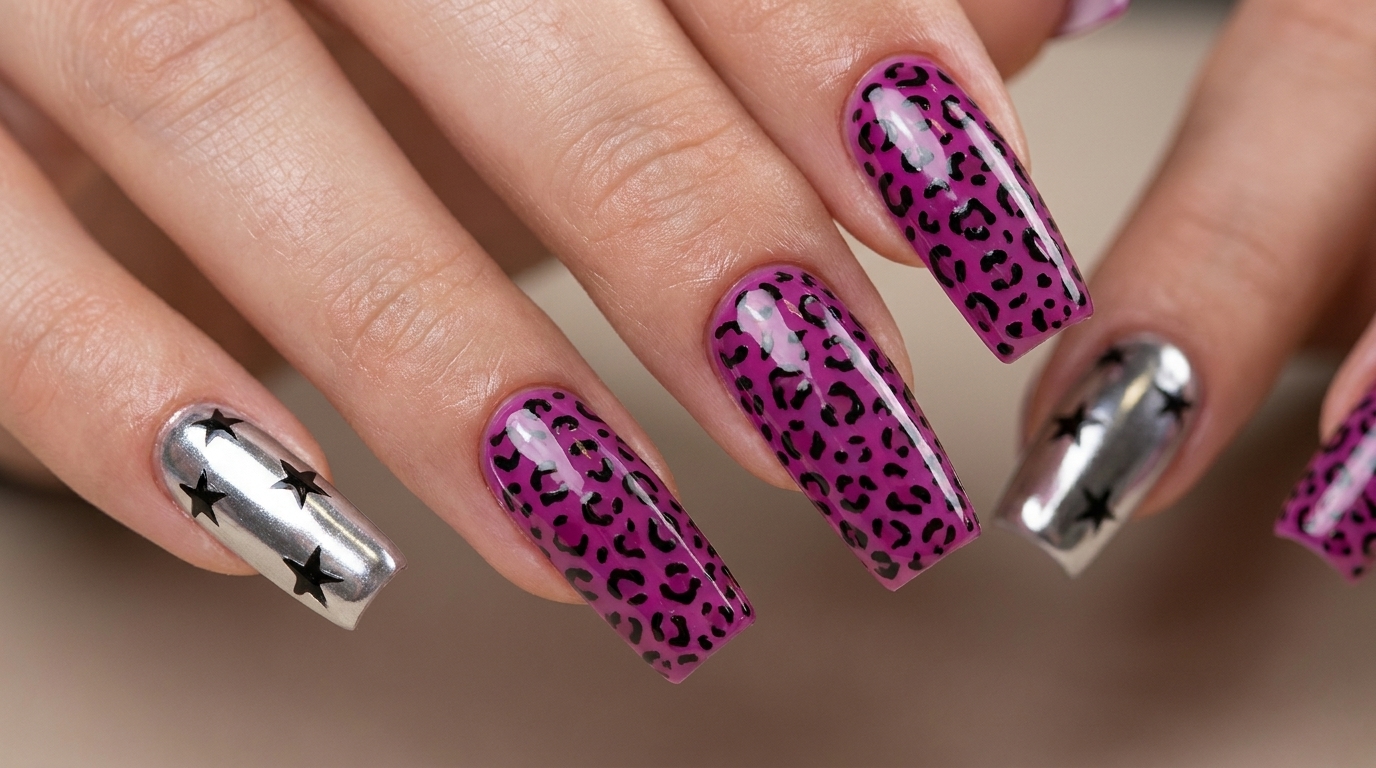
Textured Leopard Print
Silver Chrome Nails — DIY Tutorial
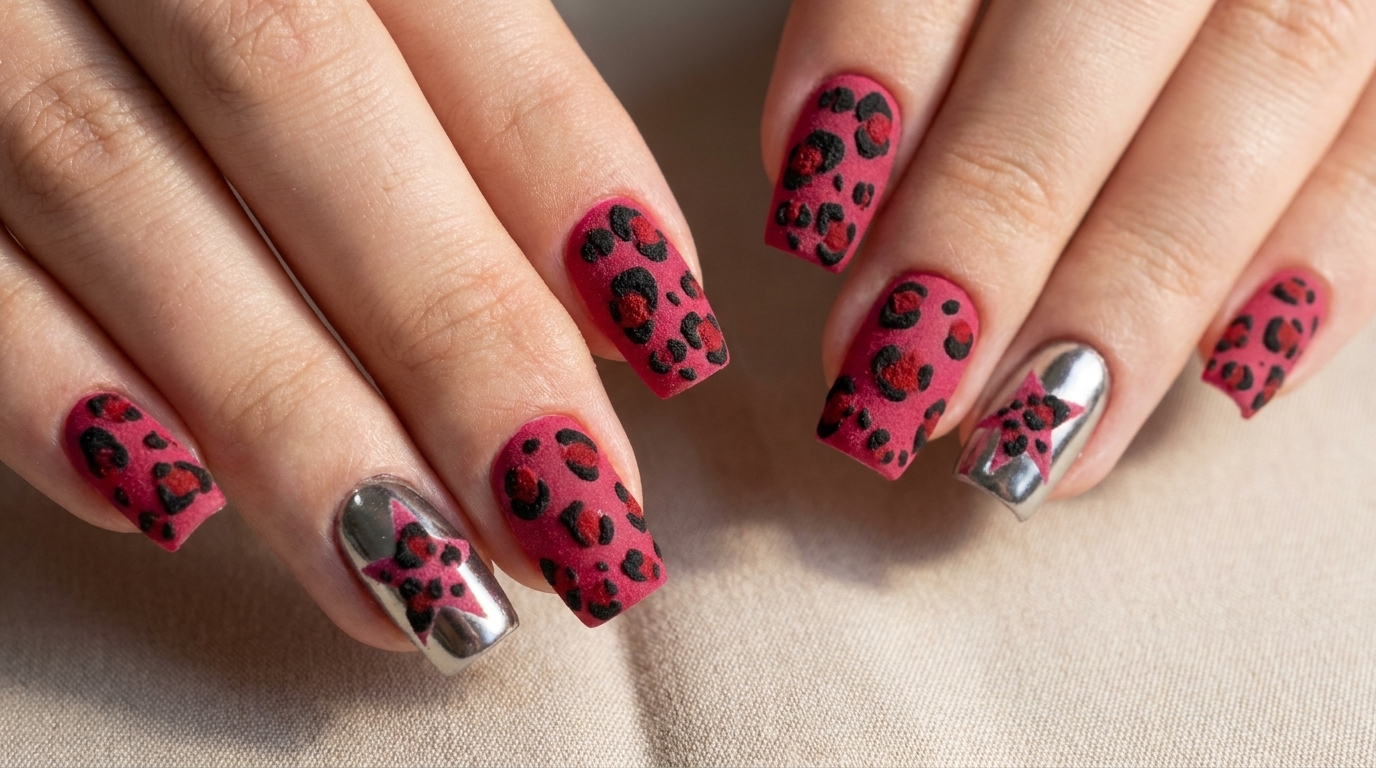
Create a bold, mixed-media look with this velvet-textured leopard print and metallic silver chrome gel tutorial. Perfect for a striking, salon-quality manicure.
This unique design blends the classic, edgy aesthetic of leopard print with a modern, plush finish using acrylic powder technique. By contrasting matte, textured animal print nails with reflective silver chrome accents, this look offers a sophisticated yet playful manicure that stands out. Follow this tutorial to learn how to master both the textured powder application and the mirror-like chrome finish at home.
Steps
- 1Apply Base Color
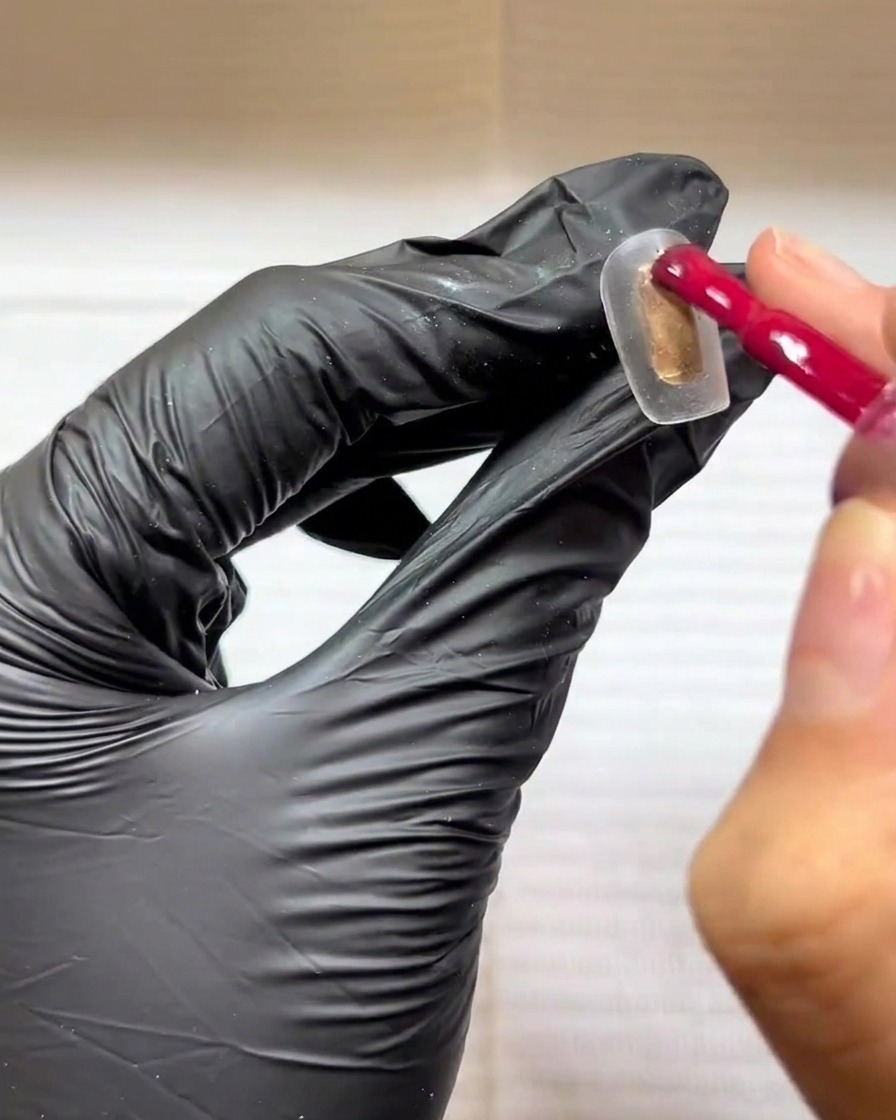
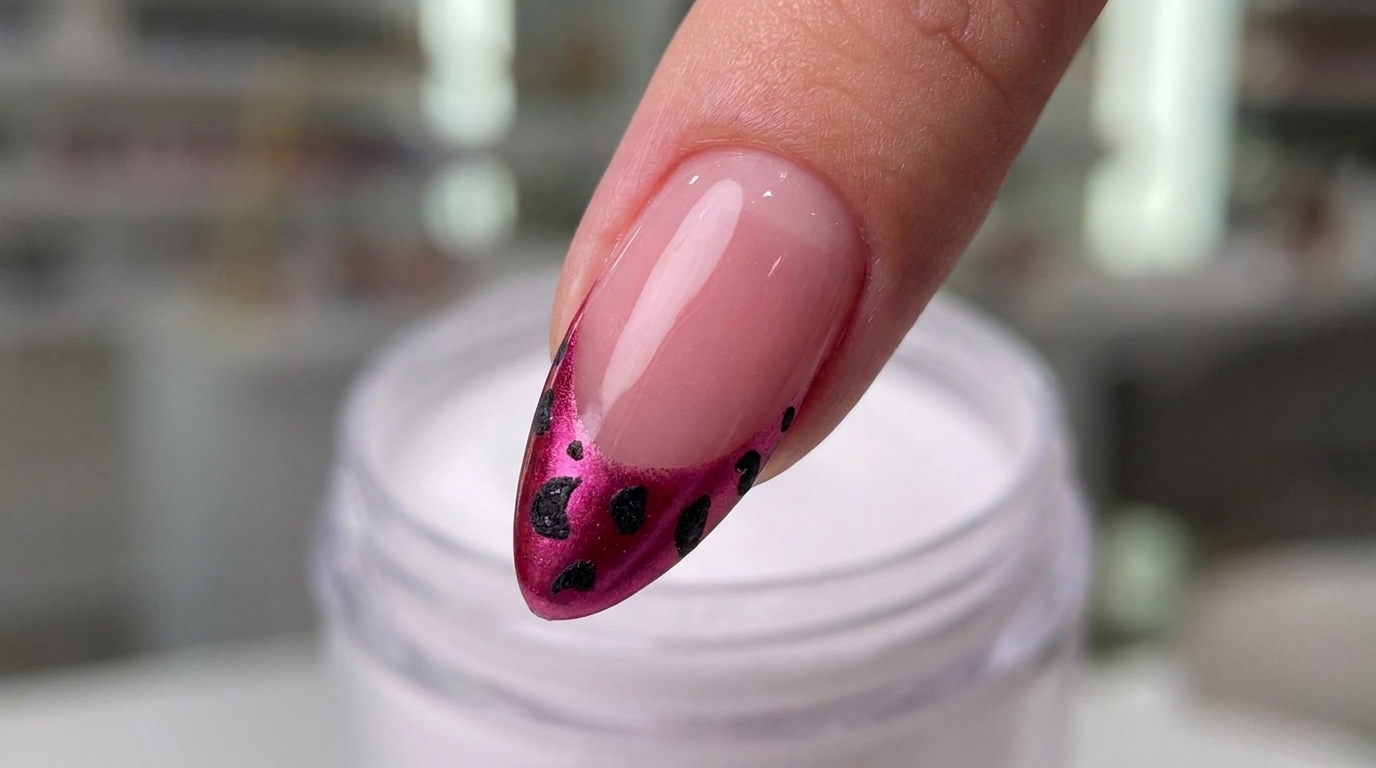
Begin by applying an even layer of rose-red or dragon fruit gel polish to your fully prepared nail tip. Cure this first layer completely under your lamp, then apply a second coat to deepen the color, but do not cure this second layer yet.
Tip: Keep the first layer thin and even to ensure proper curing before adding the second coat. - 2Prepare for Texture
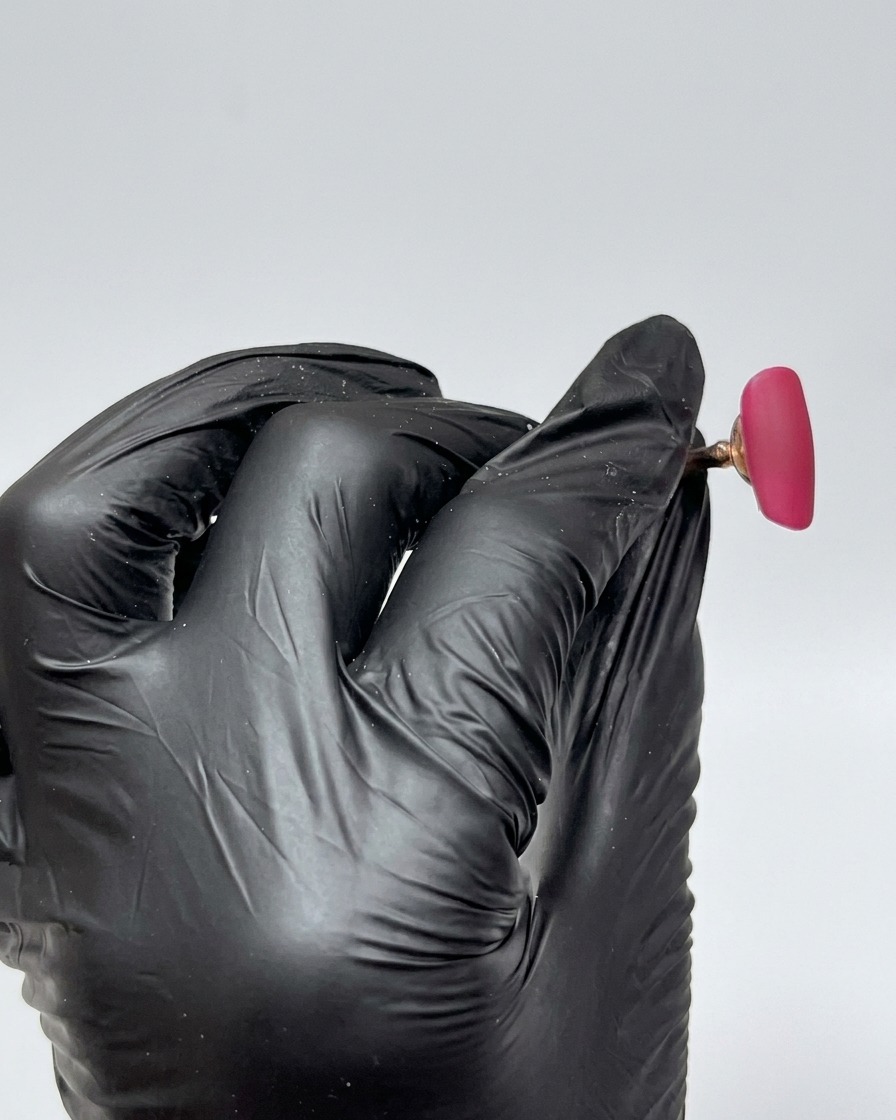
Apply a second, slightly thicker coat of the rose-red gel polish over the base. Ensure full coverage across the nail, but leave it uncured to provide a wet surface for the acrylic powder to adhere to.
Tip: Applying a second coat while the base is still wet (or just before curing) helps deepen the color saturation and creates a perfect adhesive base for the texture powder. - 3Apply Acrylic Powder
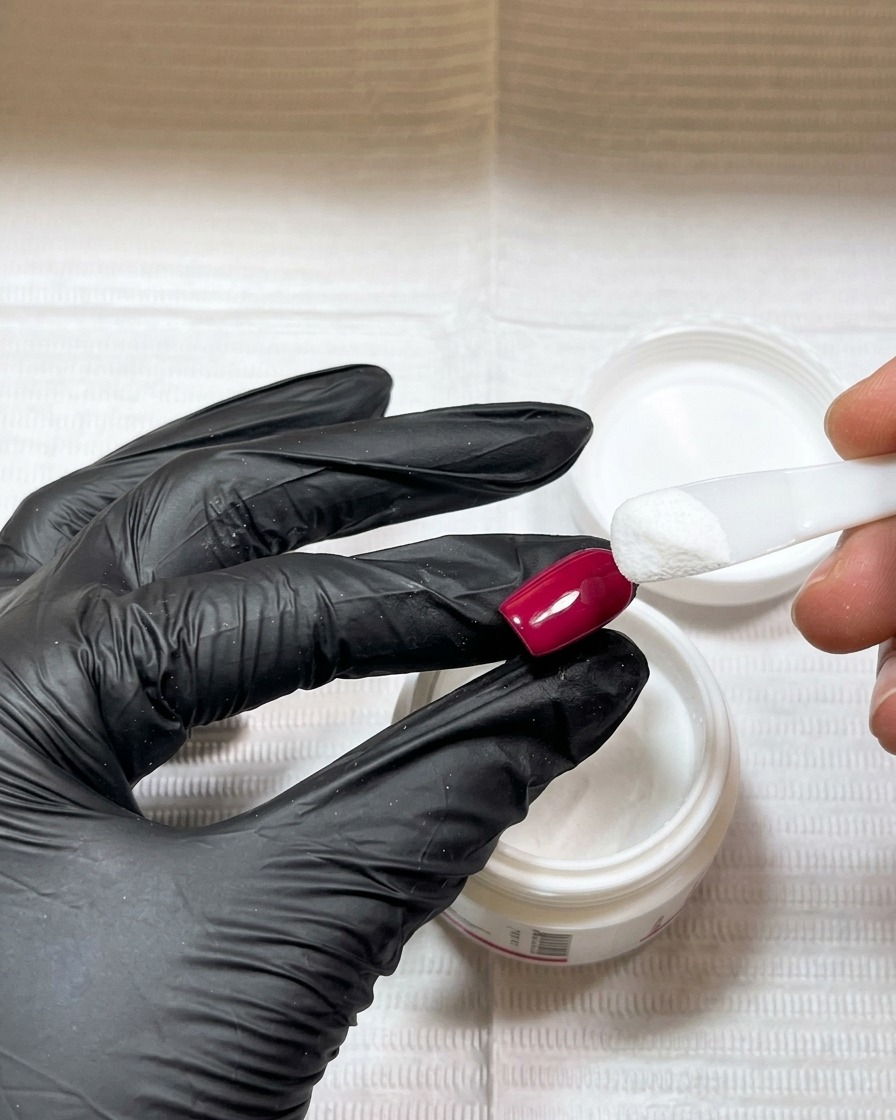
While the second coat is wet, use a cuticle pusher or spare nail tip to scoop and generously sprinkle clear acrylic crystal powder over the entire nail. The wet gel will absorb the powder; repeat the process until the nail is completely and evenly coated with a dry, matte texture.
Tip: Make sure the gel is fully saturated with the powder to achieve that signature plush, textured look. - 4Cure the powder-coated base
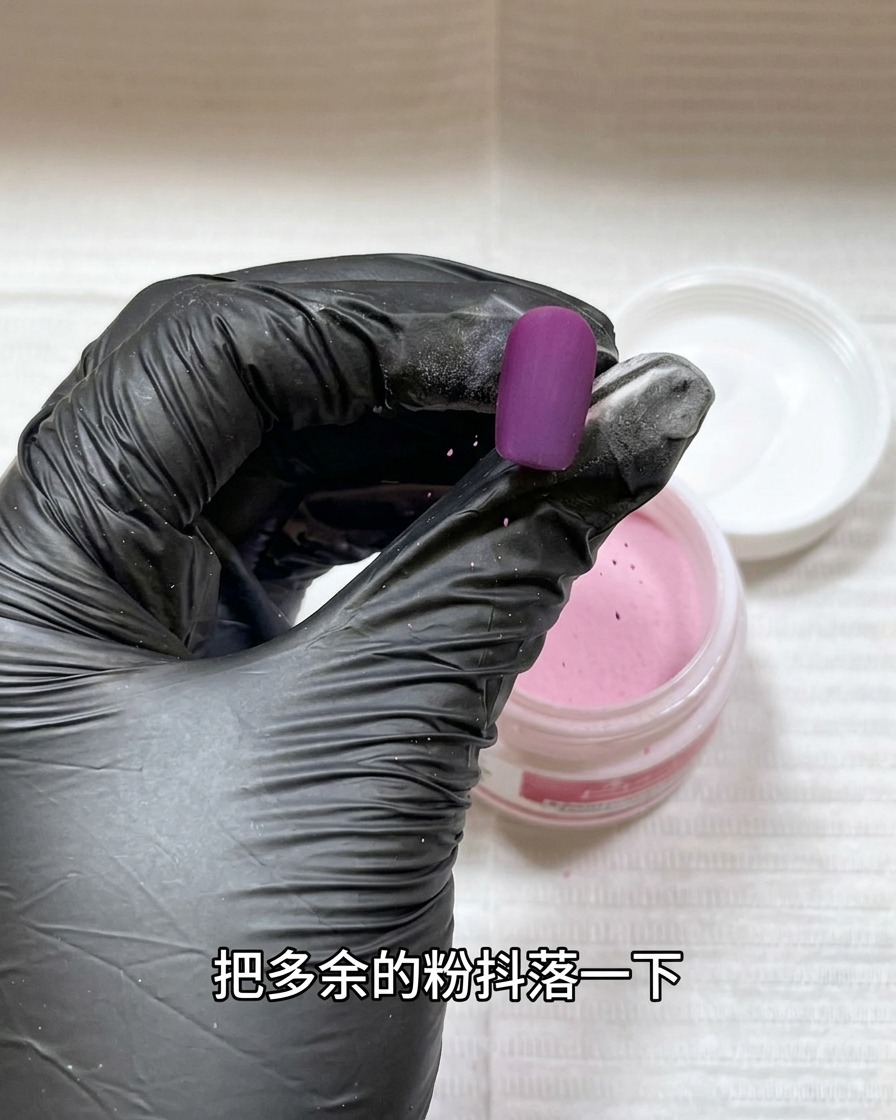
Once the nail is fully coated in the acrylic powder, place it under a UV/LED lamp to cure. This will lock the powder into the gel, creating the durable, textured surface.
Tip: Ensure the entire surface is evenly exposed to the light so the texture sets consistently. - 5Dust off excess powder
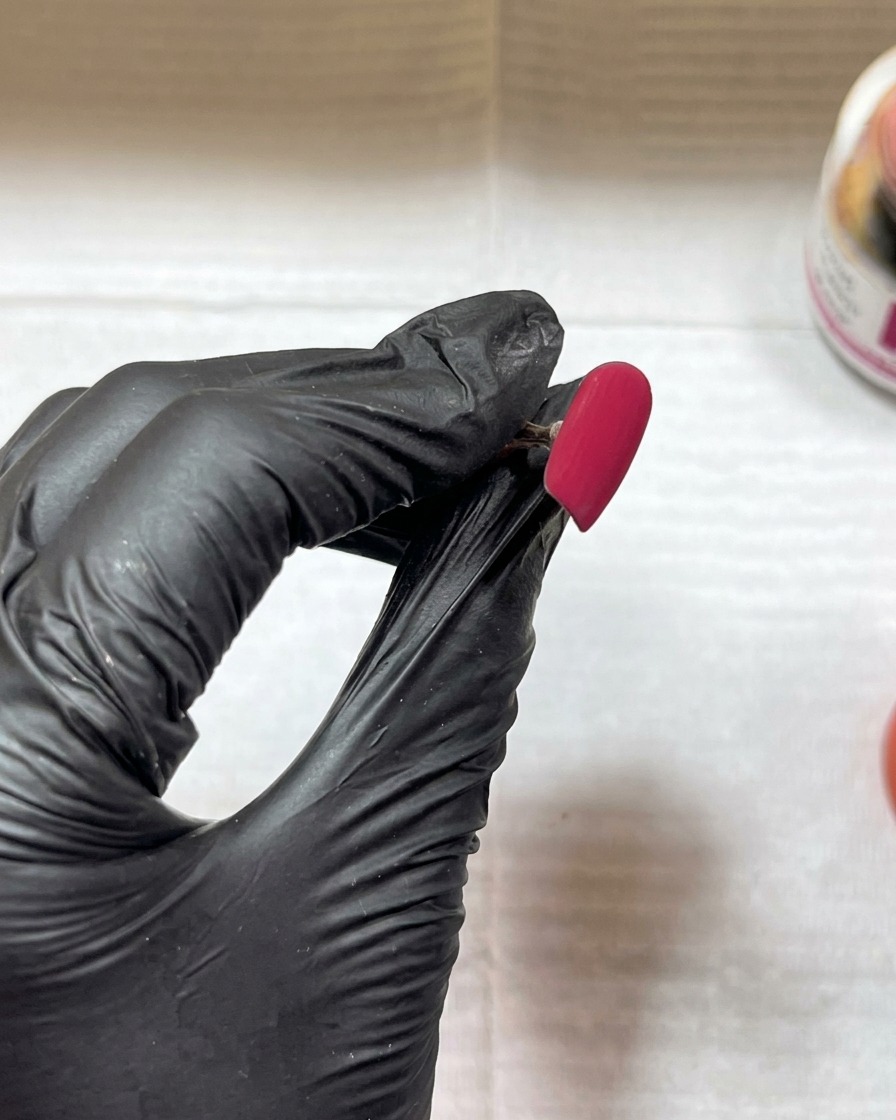
After curing, use a clean, fluffy brush to gently sweep away any remaining loose acrylic powder from the surface. This reveals the finished, plush texture of the red base.
Tip: Use a light, sweeping motion to ensure you dont disturb the texture while cleaning off the excess. - 6Detail Leopard Spots
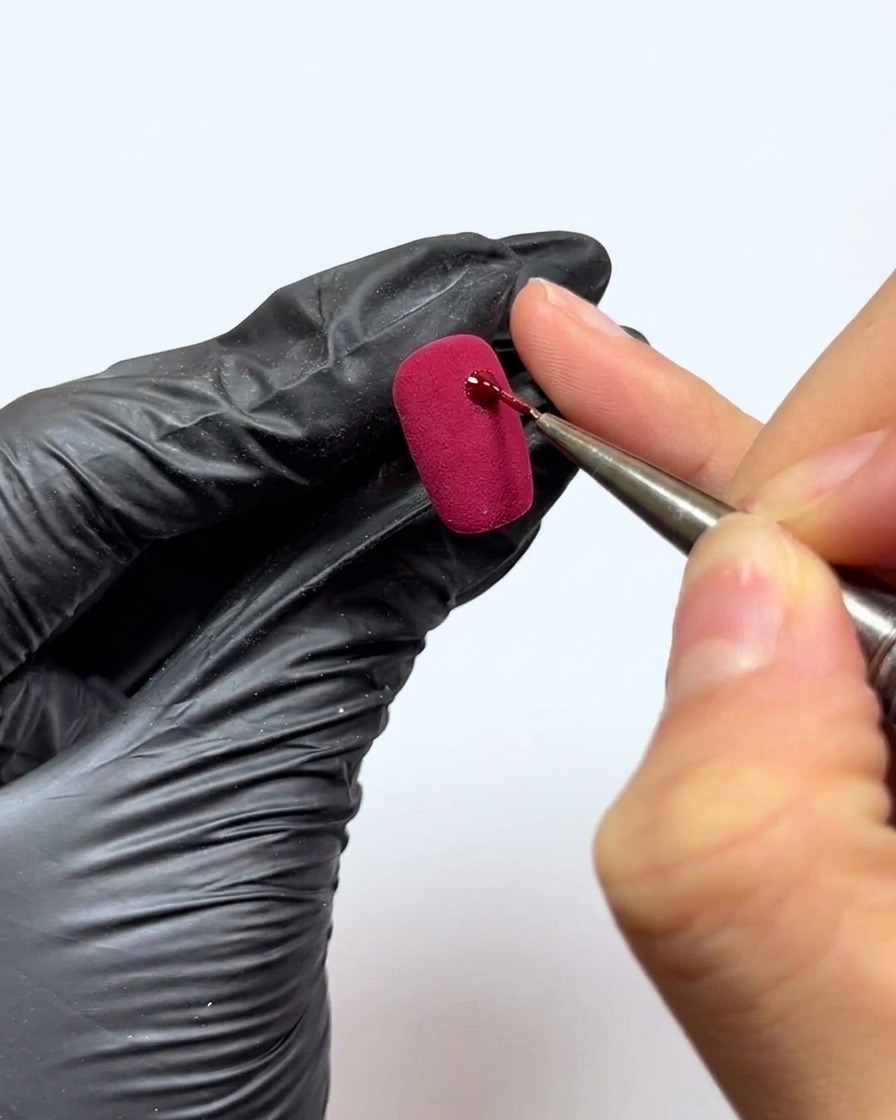
Using a fine liner brush and the same red gel, carefully paint the inner spots of the leopard print onto your textured red base. Work in small sections—paint a few spots, sprinkle them with powder, and cure—to prevent the gel from blurring.
Tip: Working in small batches is key to maintaining crisp lines for the leopard spots. - 7Sprinkle acrylic powder
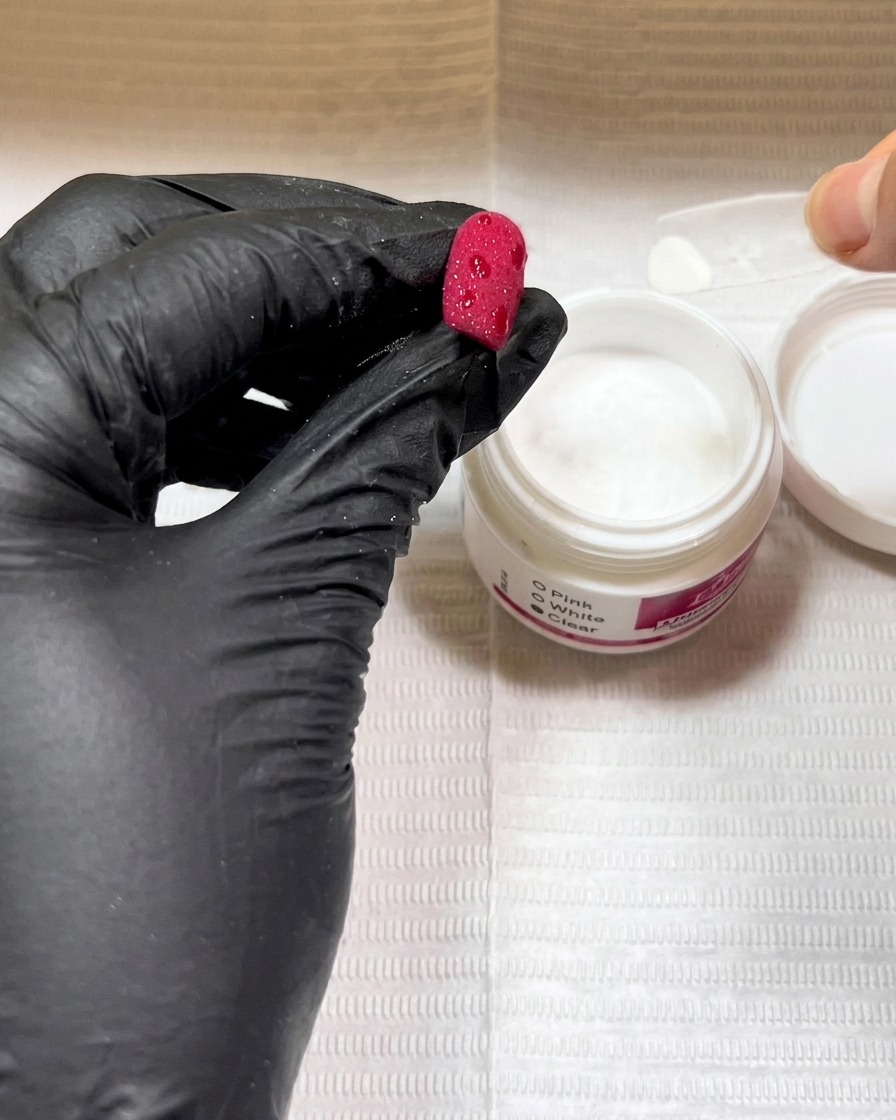
While the red gel spots are still wet, scoop up clear acrylic crystal powder and generously sprinkle it over the design. The wet gel will absorb the powder, so you must sprinkle it multiple times until the spots are fully coated and appear matte. Once fully coated, shake off the excess powder and cure under the lamp.
Tip: Work in small sections—paint a few spots, powder them, and cure—to prevent the gel from spreading and blurring your design. - 8Cure the powdered spots
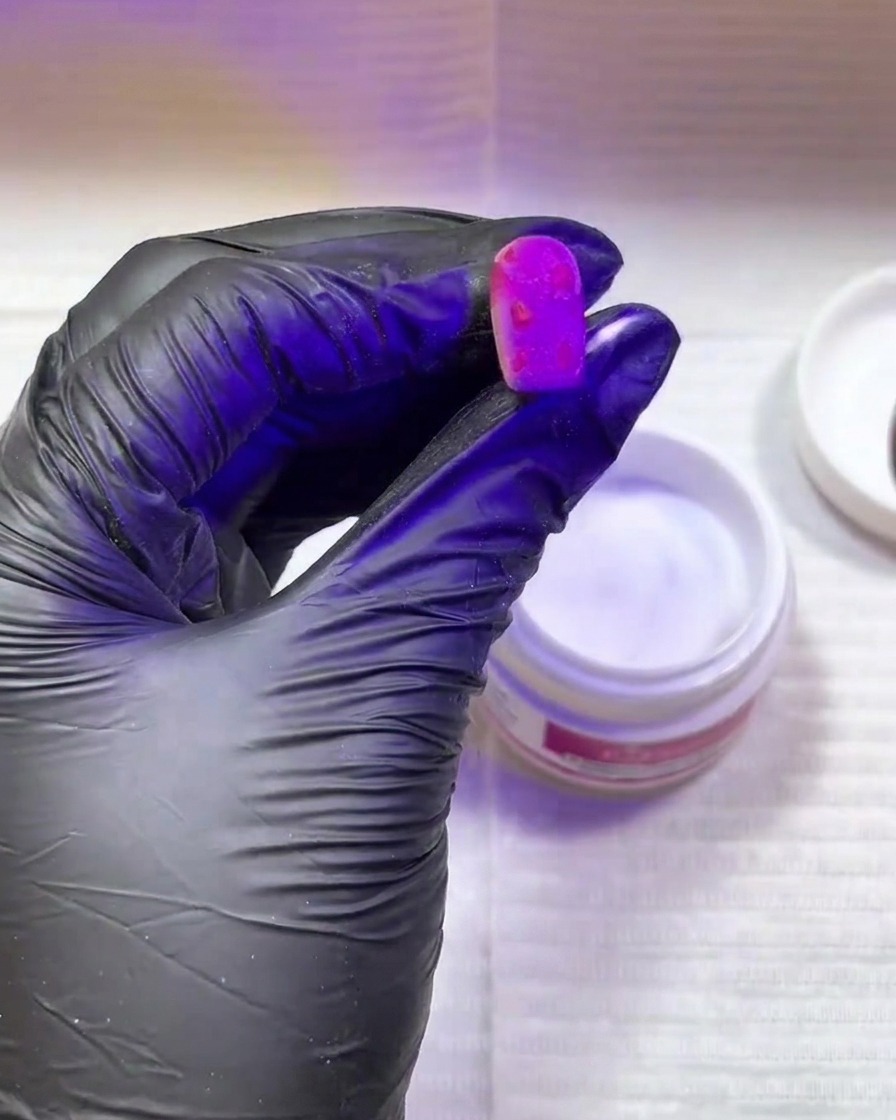
Carefully place the nail under your UV or LED lamp to fully cure the red gel. Since the gel has absorbed the clear acrylic powder, ensure it cures for the full time recommended by the manufacturer to solidify the textured spots.
Tip: Do not touch or bump the nail before curing, as the wet gel and powder mixture is easily smudged. - 9Remove excess powder
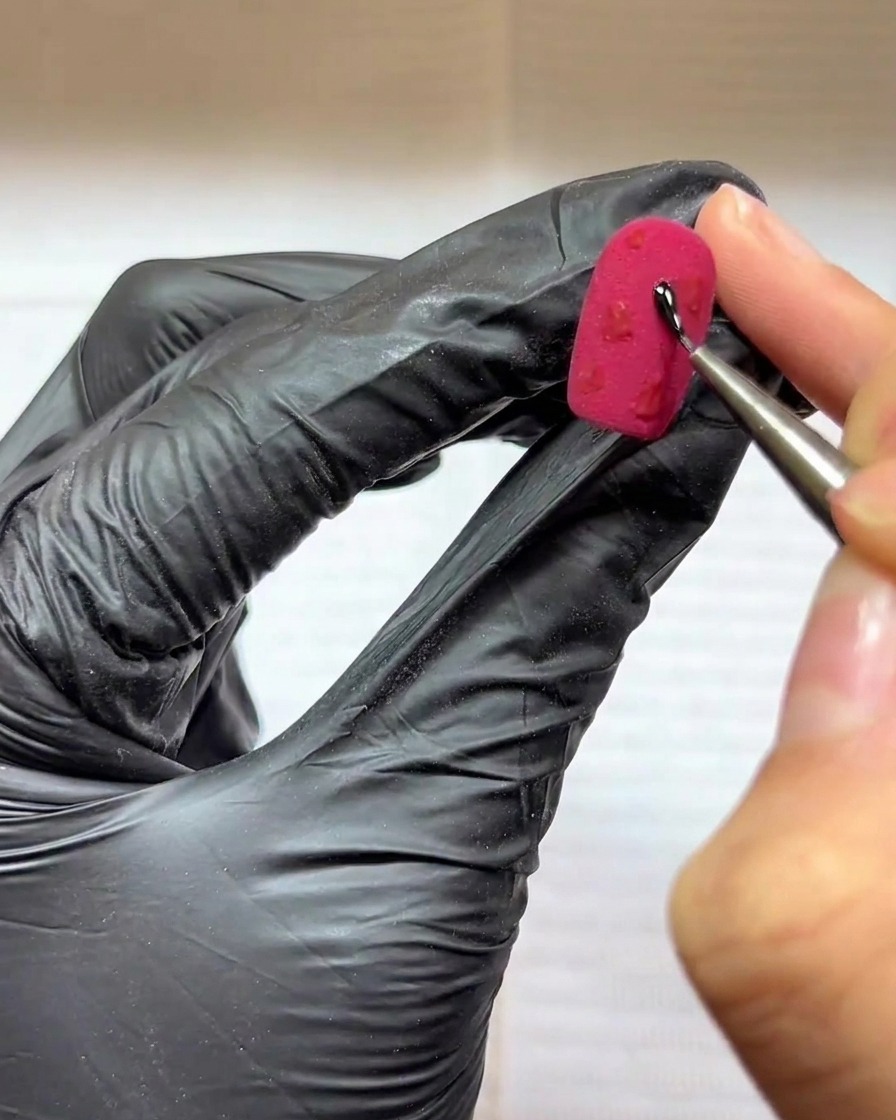
Using a clean, fluffy brush, gently sweep away the excess clear acrylic powder from the nail surface. This step reveals the raised, textured red spots created by the powder and gel mixture.
Tip: Be thorough but gentle to avoid disturbing the texture youve just created. - 10Paint Leopard Outlines
With a fine liner brush and black gel, carefully paint organic outlines around the red spots and add small accent dots. Do not cure yet, as you will need the wet surface to hold the acrylic powder.
Tip: Keep your outlines organic and slightly irregular to mimic the natural look of a leopard print. - 11Apply powder to black accents
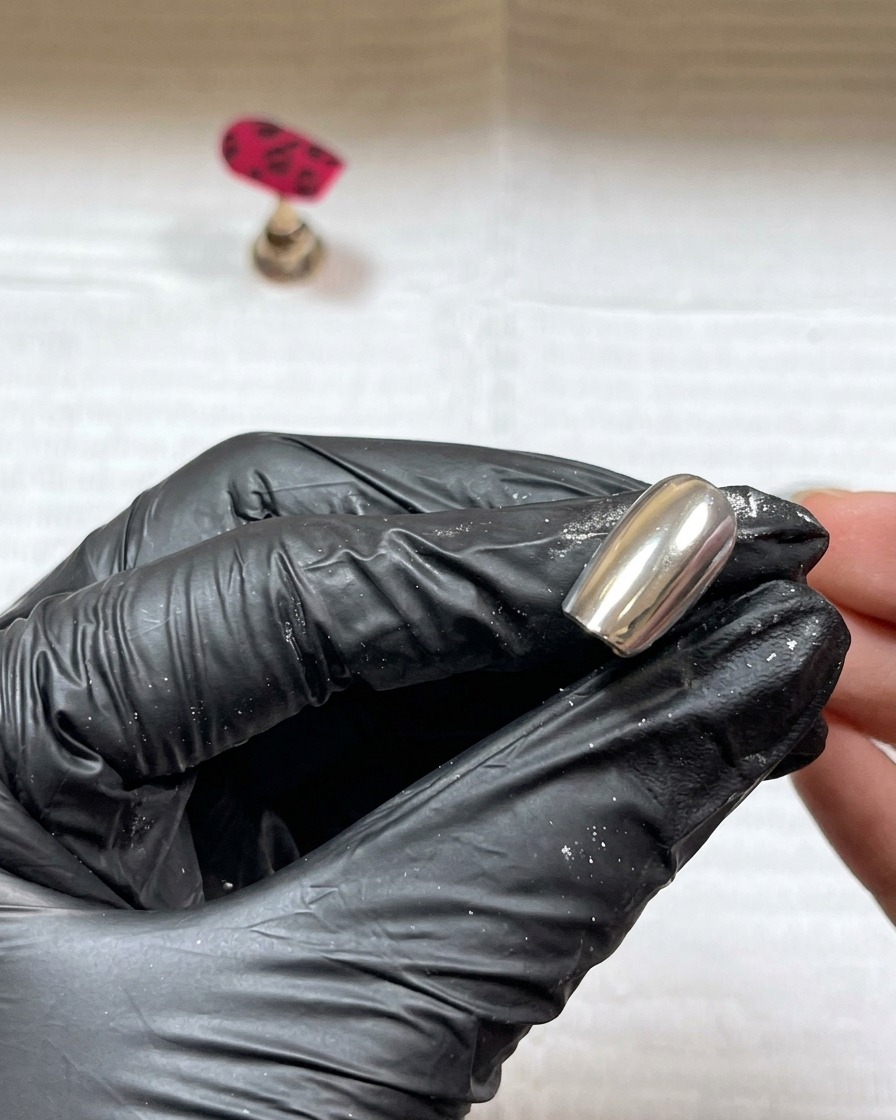
While the black gel is still wet, generously sprinkle clear acrylic powder over the outlines and dots. The gel will absorb the powder, creating the signature fuzzy, plush texture.
Tip: Ensure the powder covers all the wet gel areas thoroughly for a consistent texture. - 12Cure the design
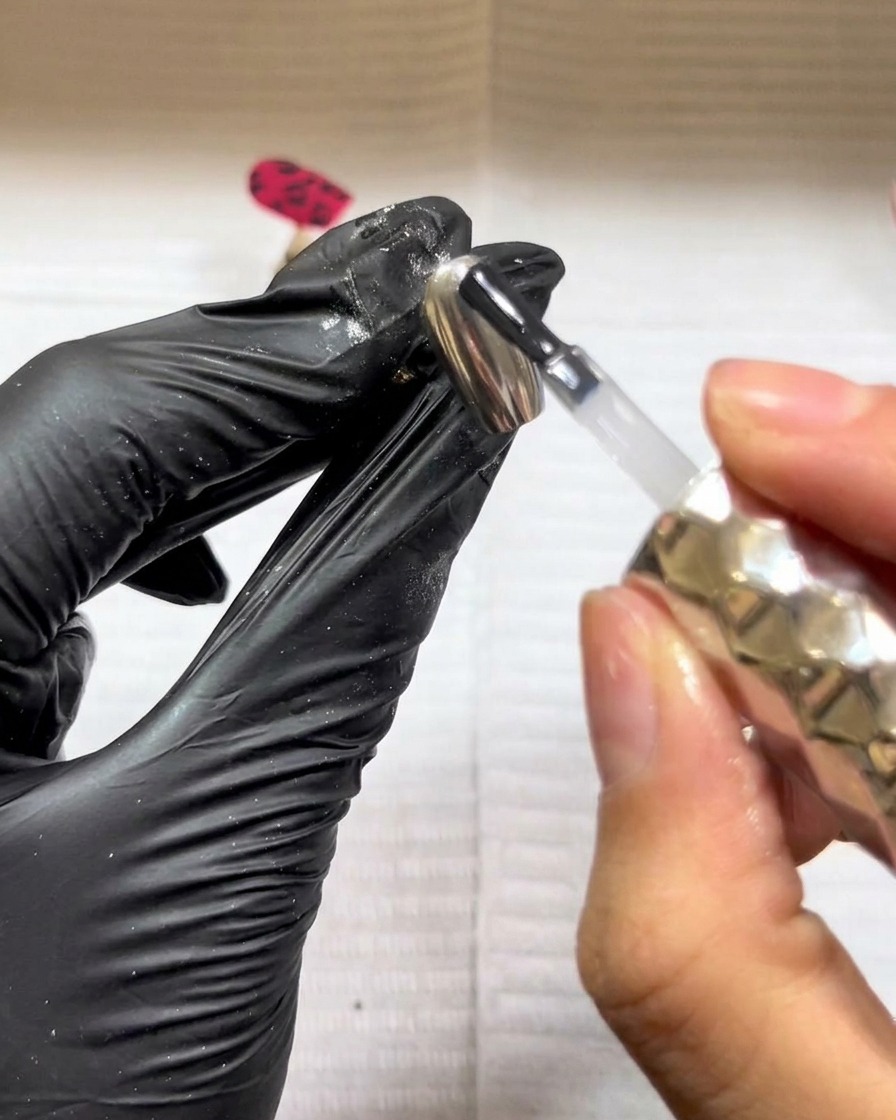
Place the nail under your UV/LED lamp to cure the black gel and the acrylic powder texture. This step sets the design permanently.
Tip: Ensure the nail is positioned correctly in the lamp for even curing. - 13Reveal the texture
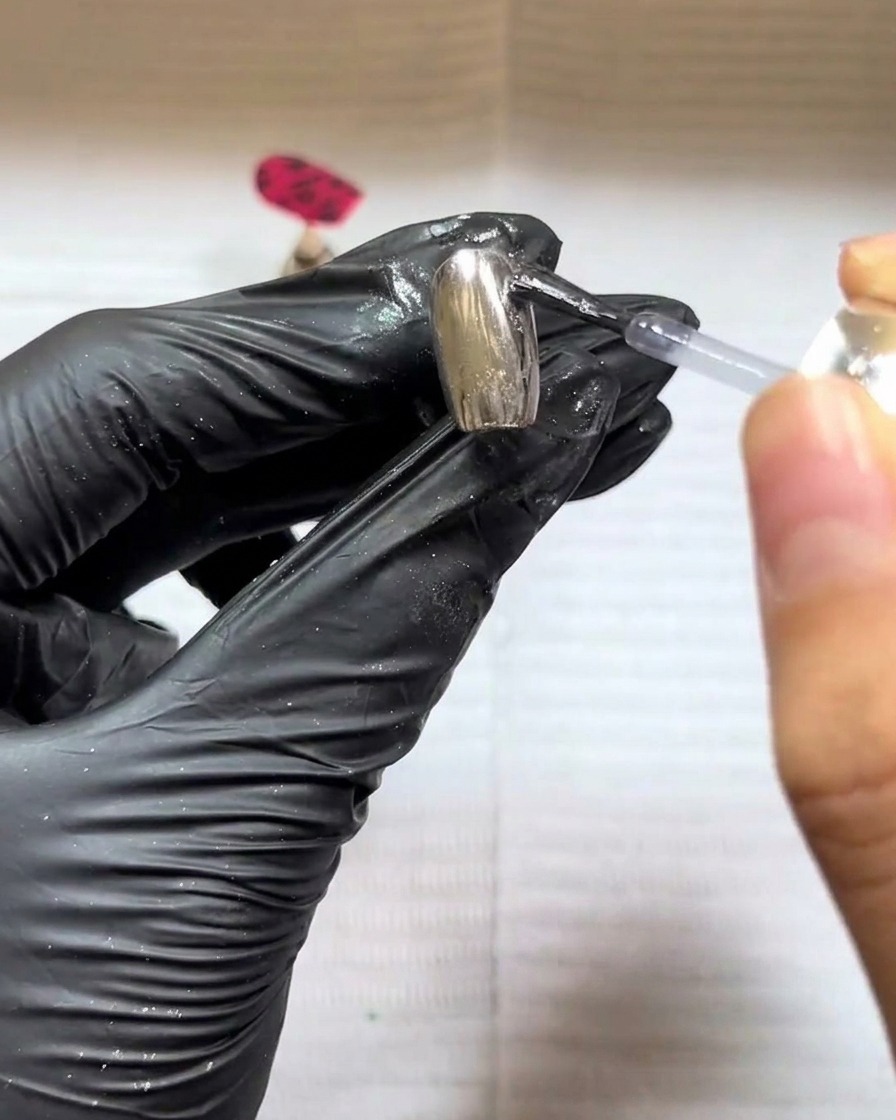
Once cured, use a clean, fluffy brush to sweep away any remaining loose acrylic powder. This reveals the finished, raised, and plush texture of your leopard print design.
Tip: This is often the most satisfying step of the process—take your time to reveal all the details. - 14Prepare accent nail base
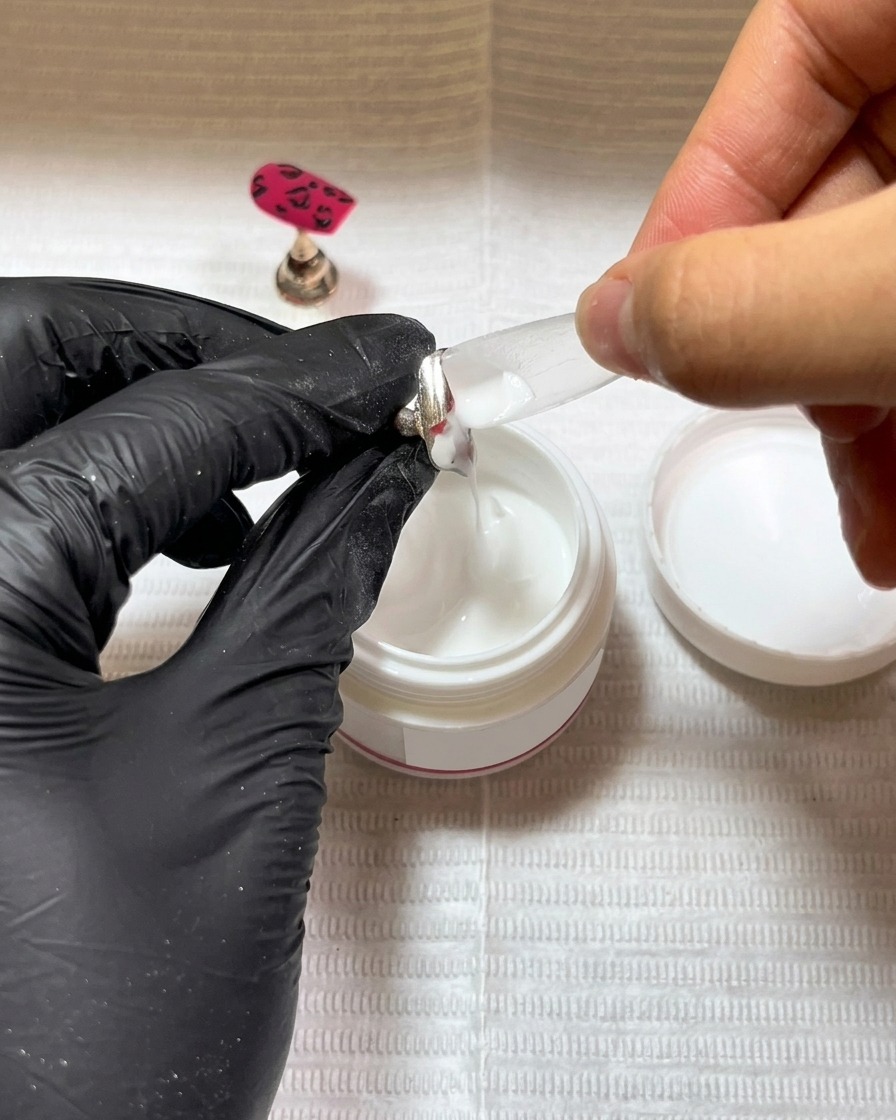
Begin working on the accent nail by applying a thin layer of black gel to the base of a new nail tip. Cure this layer thoroughly before adding a second coat for full opacity.
Tip: Black gel can be difficult to cure fully, so apply thin layers and ensure adequate curing time for each. - 15Cure the star design
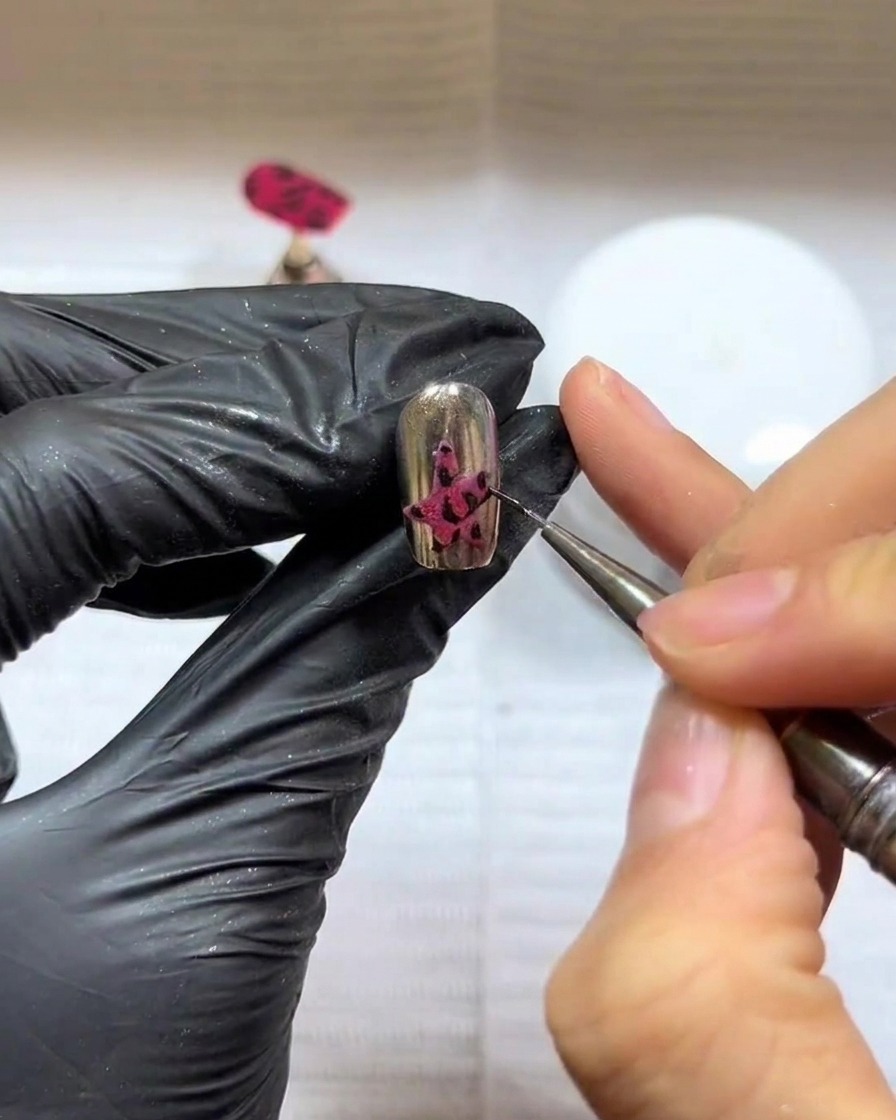
After painting the star shape with colored gel and sprinkling the acrylic powder over the wet surface, place the nail under the UV/LED lamp to cure. The powder will adhere to the wet gel, creating a textured, plush effect once fully set.
Tip: Ensure the nail is positioned correctly in the lamp to cure the gel thoroughly, especially when using pigment-heavy colors or thick layers. - 16Seal the Chrome Finish
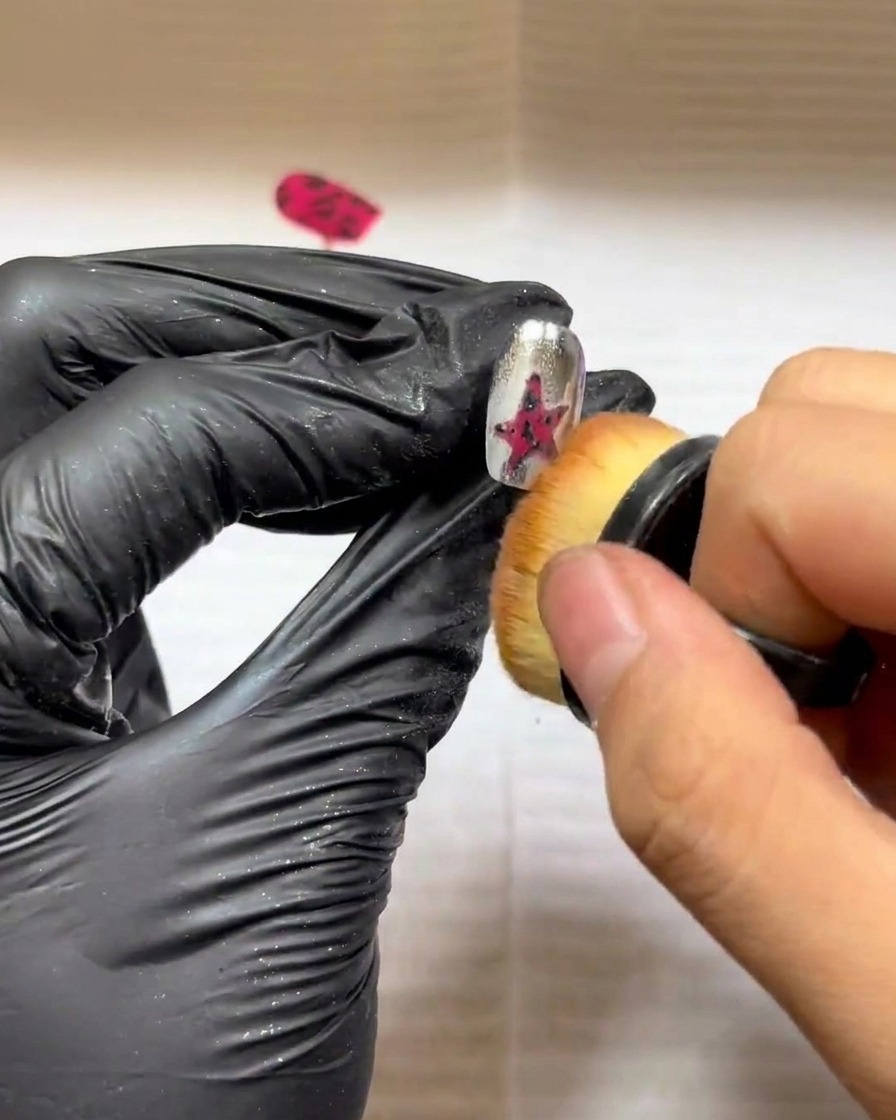
After applying and buffing your chrome powder, gently sweep away any loose dust. Seal the design with a final layer of no-wipe top coat, being careful to apply it gently so you do not drag the brush and disturb the mirror-like finish or any textured elements.
Tip: Apply the top coat gently to avoid dragging the brush through the textured areas, which could smear the design before it is sealed.