Leopard Print French Tip Manicure — Salon-Style Tutorial
Elevate your classic French manicure with a wild, trendy twist. Learn how to create these sophisticated leopard print French tips using simple gel techniques.
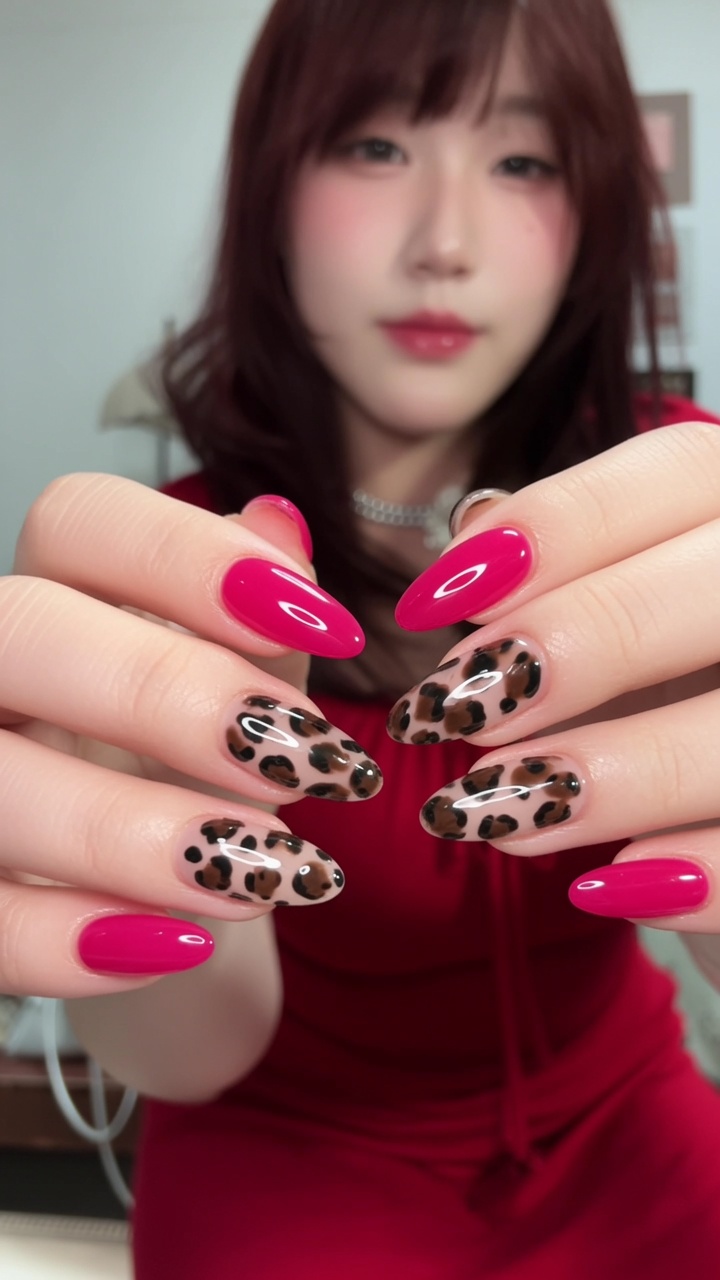
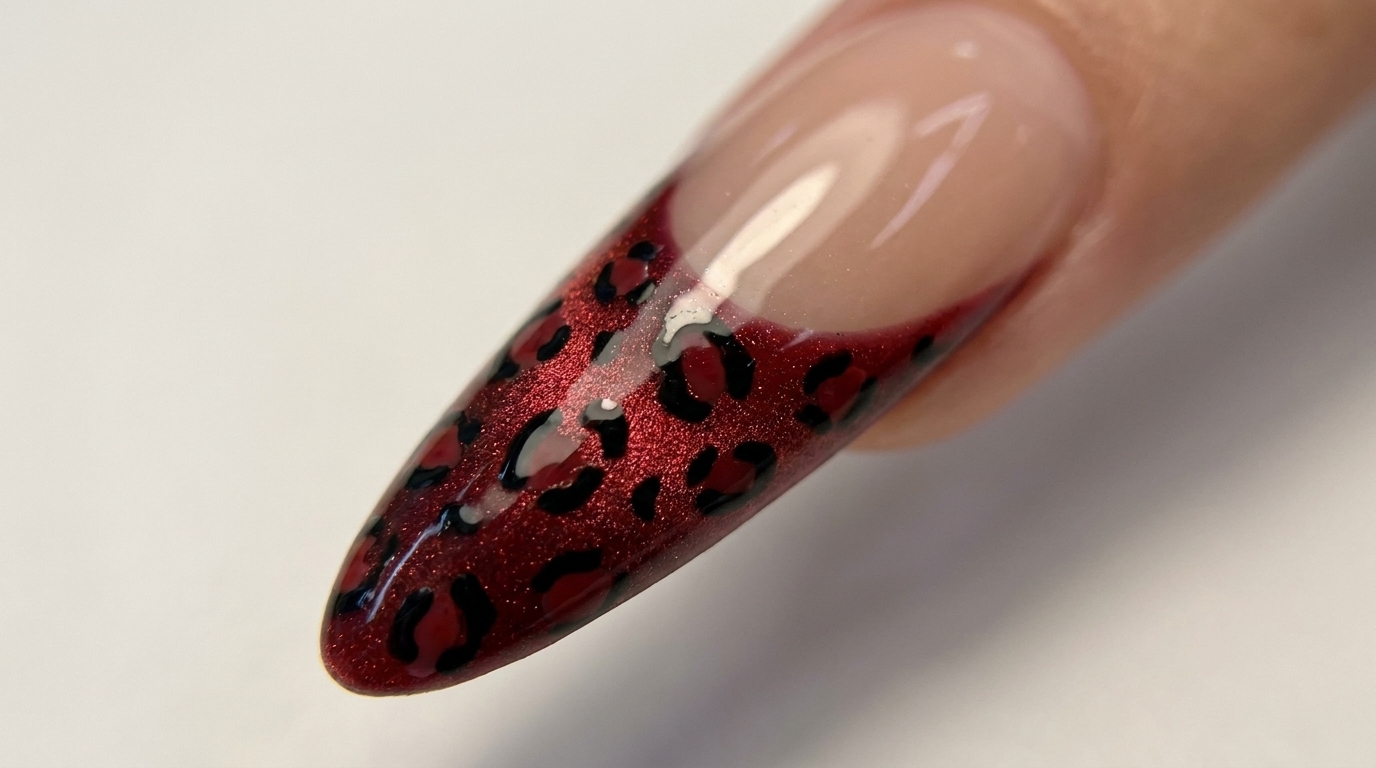
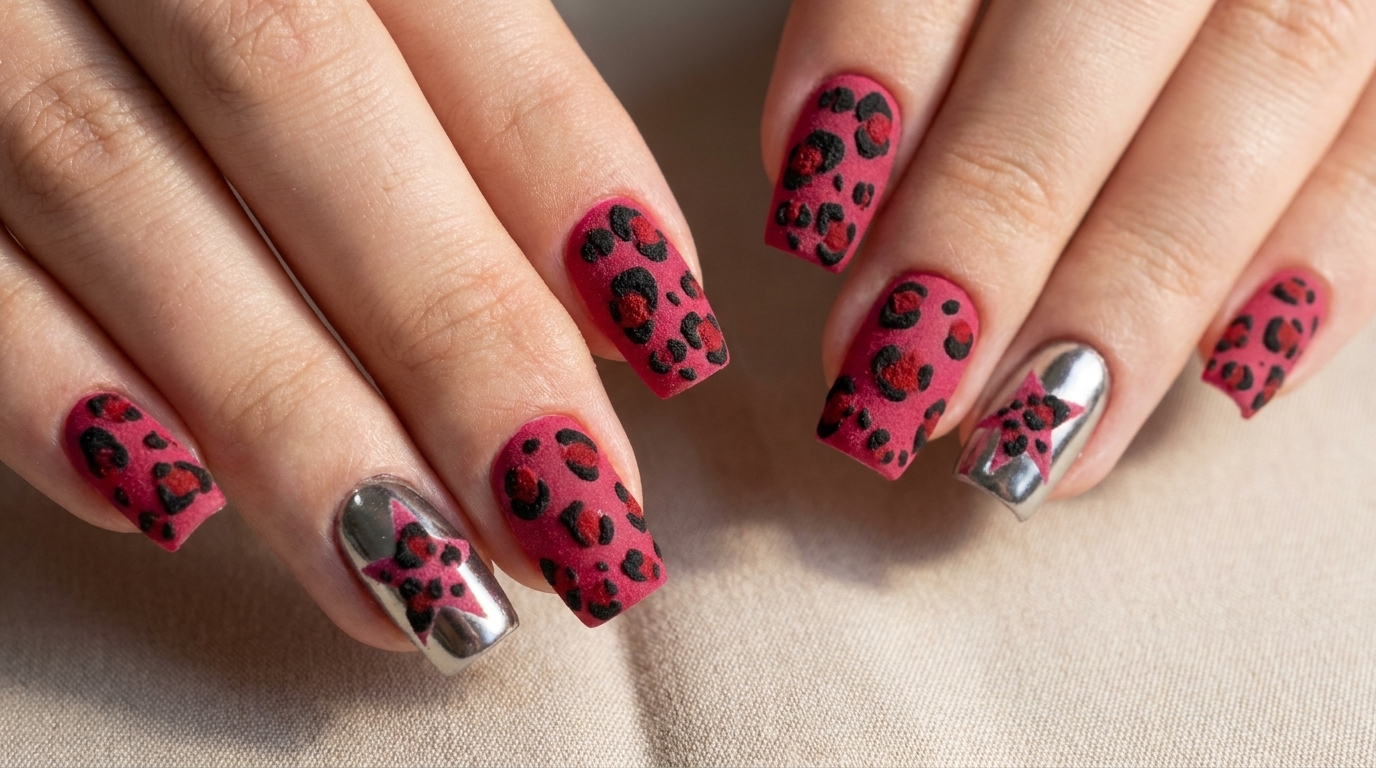
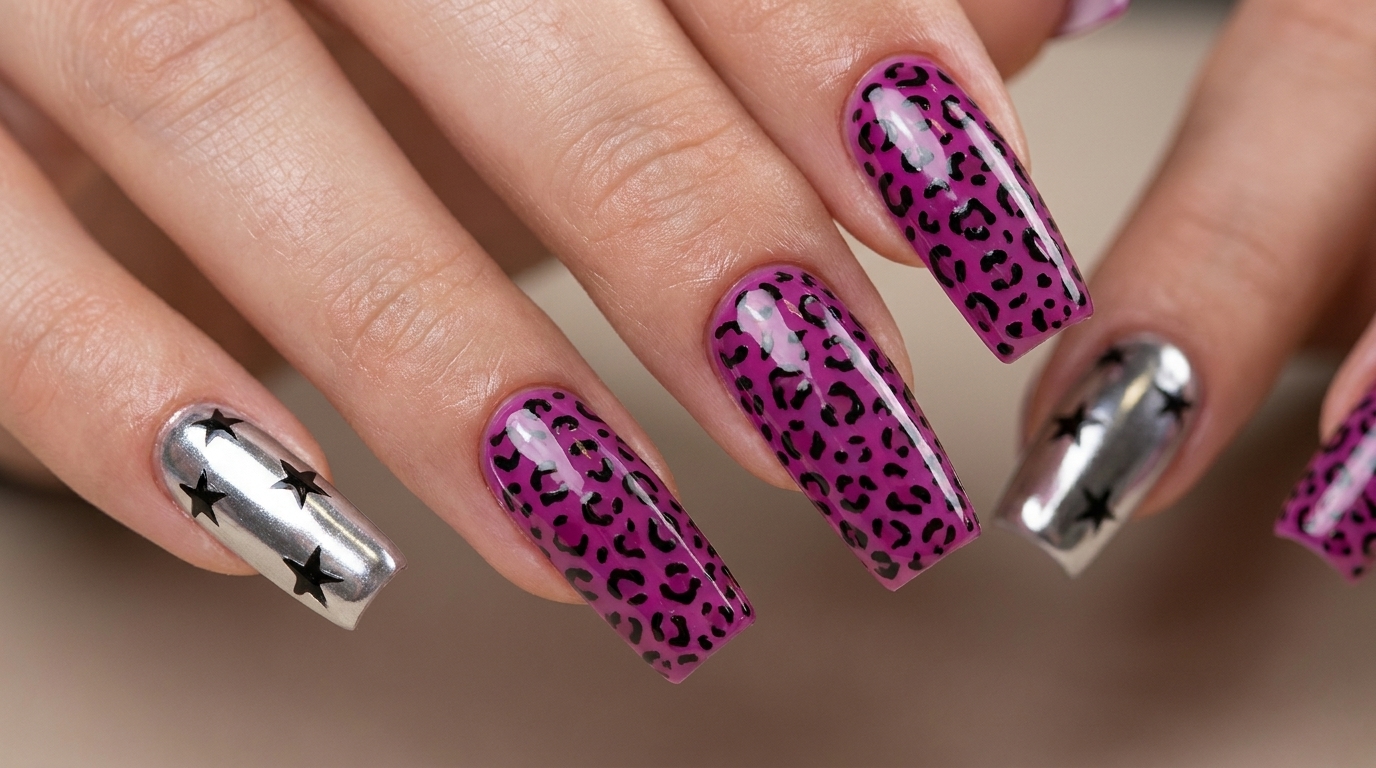
The classic French manicure gets a fierce update with this leopard print design. Perfect for those who love a sophisticated look with a touch of edge, this style balances the clean lines of a traditional French tip with the playful, intricate detail of leopard spots. Follow this step-by-step guide to master the technique and bring a little bit of the wild to your next gel set.
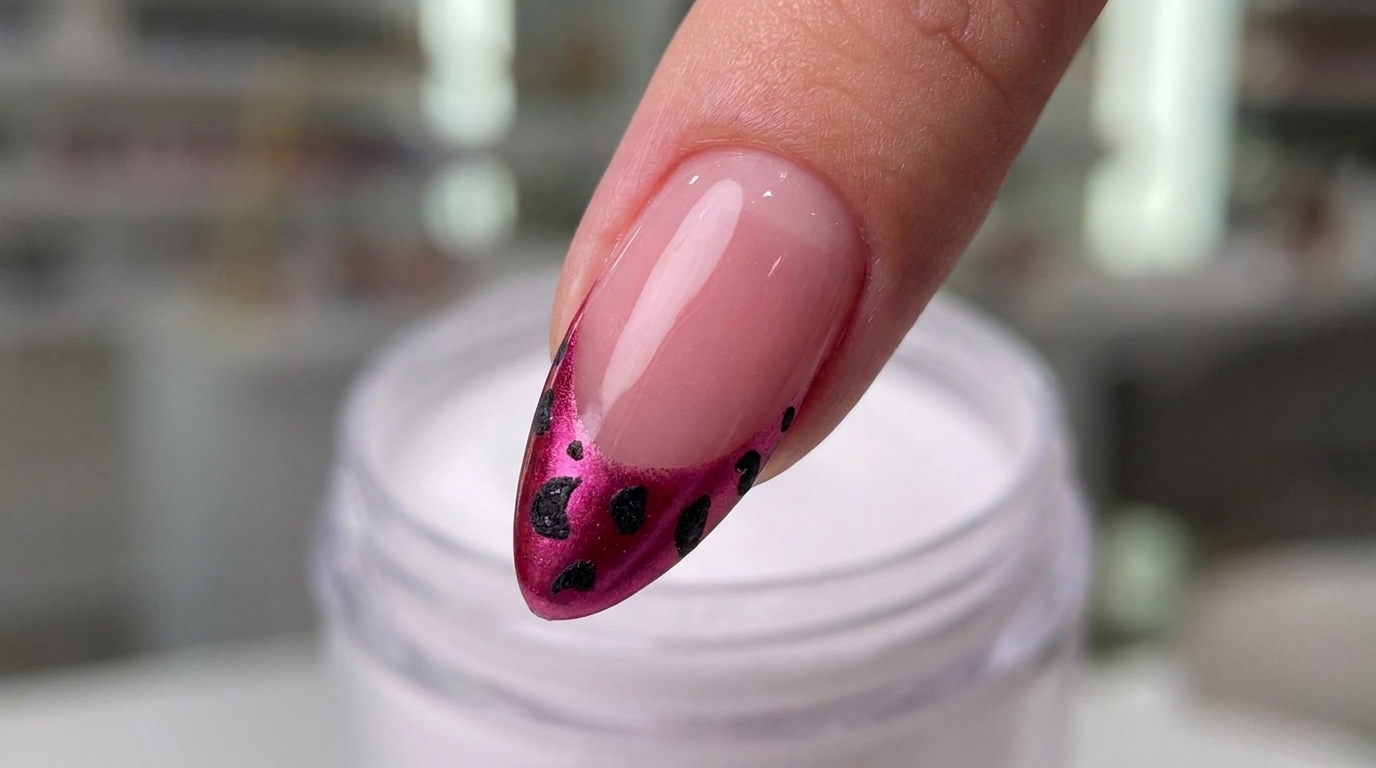
Steps
- 1Buff the nail surface
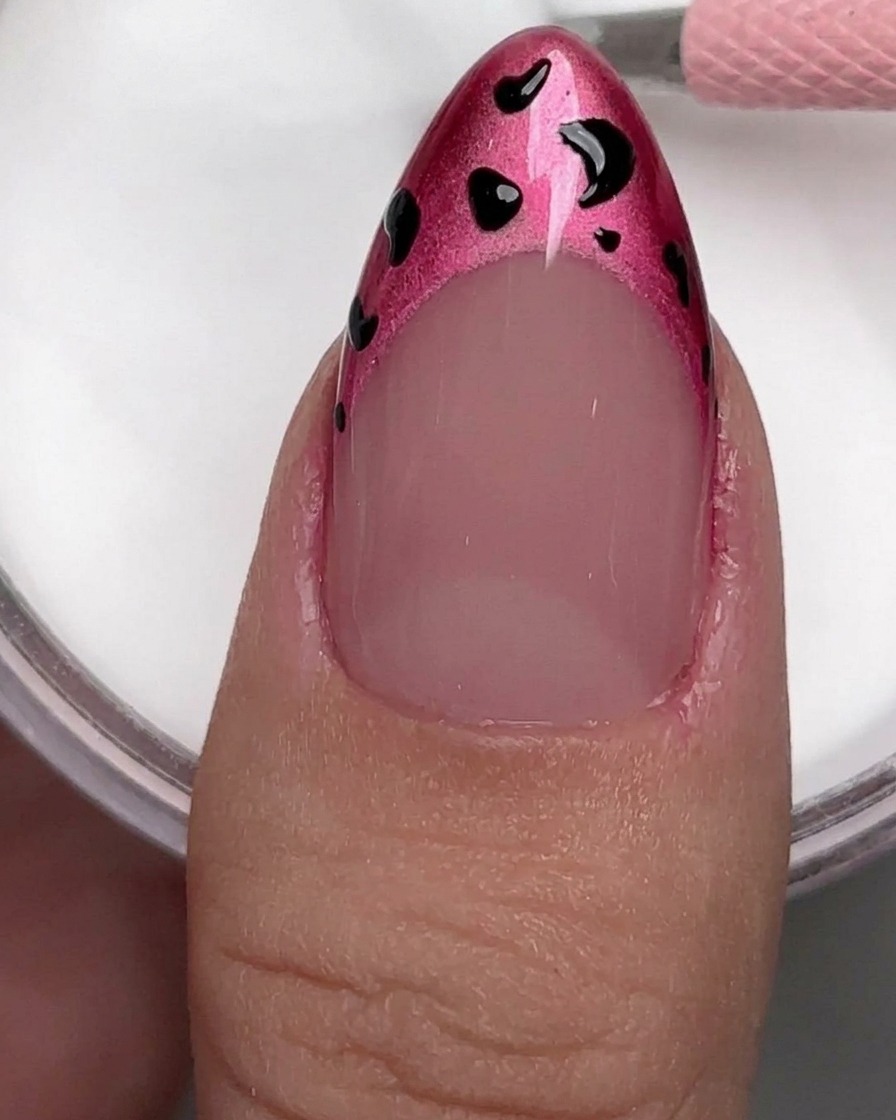
Use a nail buffer to gently remove the shine from the natural nail plate. This creates a slightly textured surface that improves the adhesion of the gel products. Ensure you cover the entire surface, including the sides and near the cuticle, without filing too aggressively.
Tip: Be gentle during buffing to avoid thinning or damaging your natural nails. - 2Paint the magenta French tip
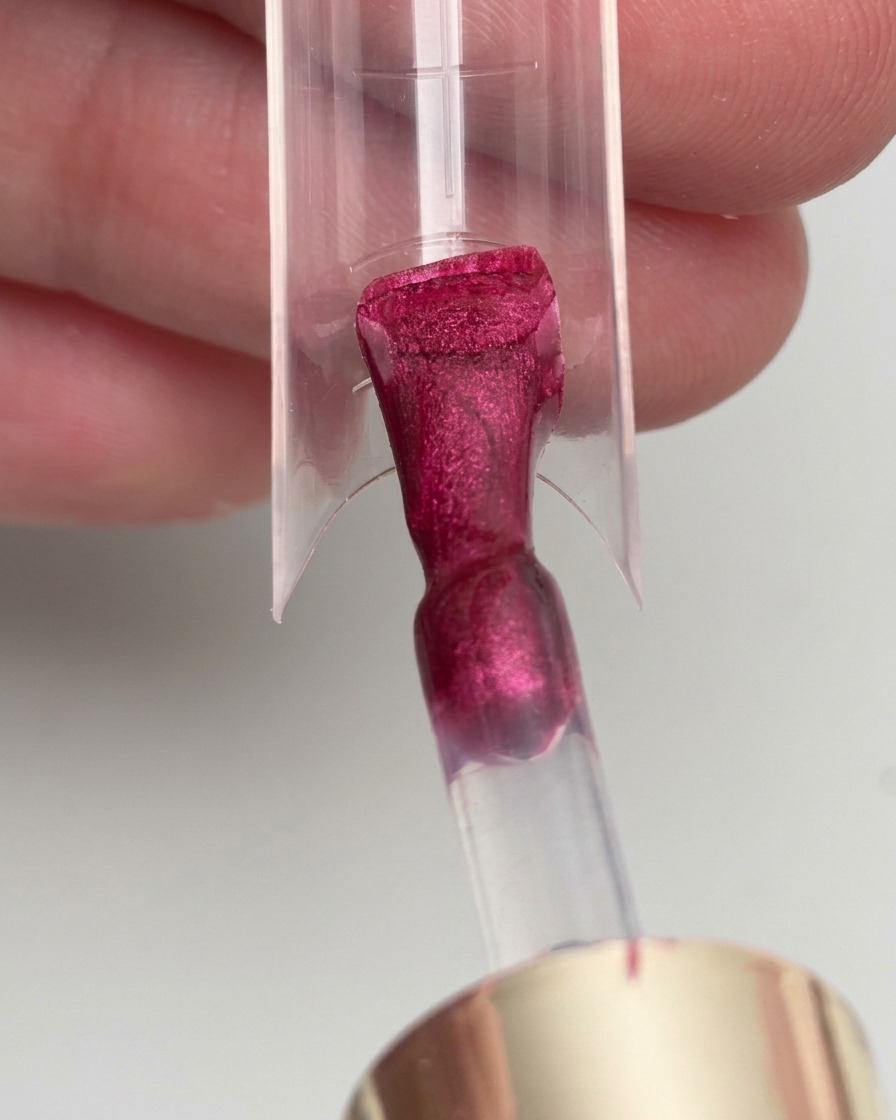
Using a gel brush, apply a layer of vibrant magenta gel polish to the nail extension form to create the French tip shape. Ensure the color is opaque and smooth, following the desired smile line curve. Cure the tip under your UV or LED lamp as required.
Tip: Keep your brush strokes steady to maintain a clean, crisp smile line for the French tip. - 3Perfect the smile line
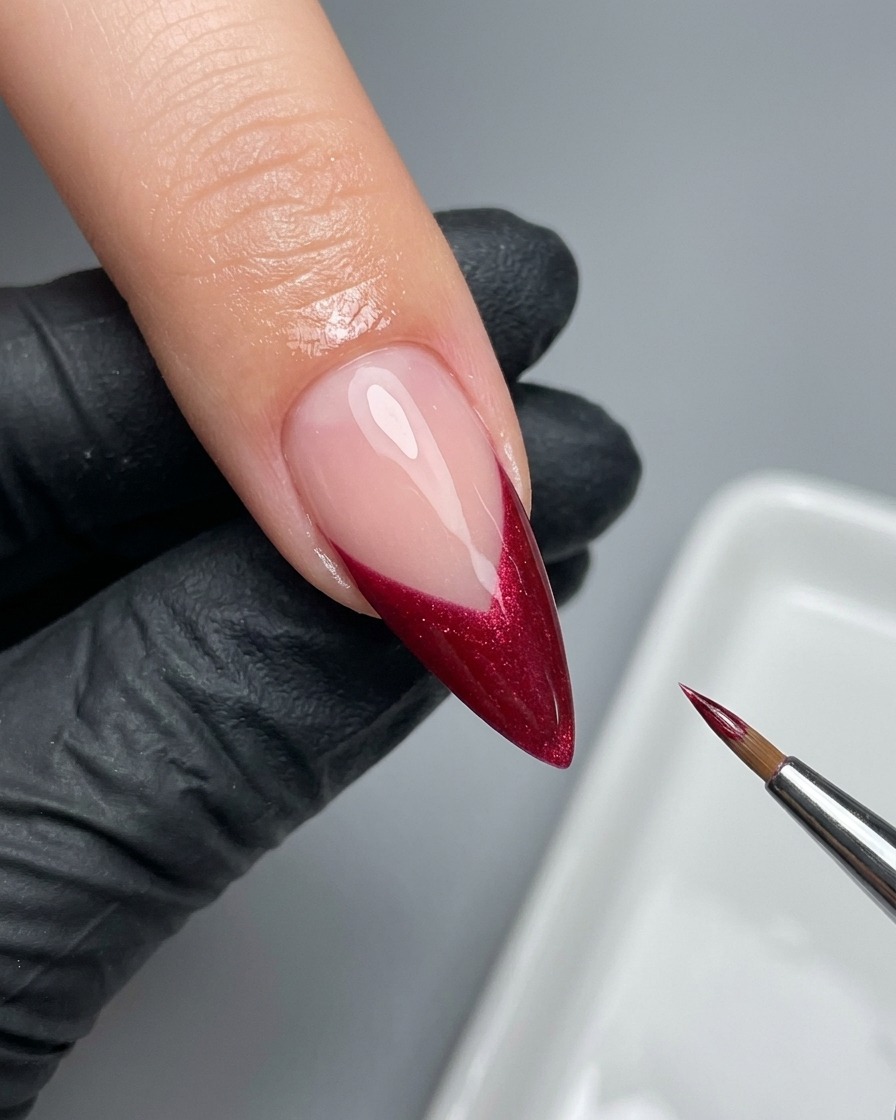
Dip a fine liner brush into a small amount of gel color or base coat to refine the smile line of your French tip. Carefully drag the brush along the edge of the magenta tip to straighten any imperfections and create a sharp, defined curve.
Tip: Use a minimal amount of gel on your liner brush to avoid flooding the nail plate. - 4Create the leopard spots
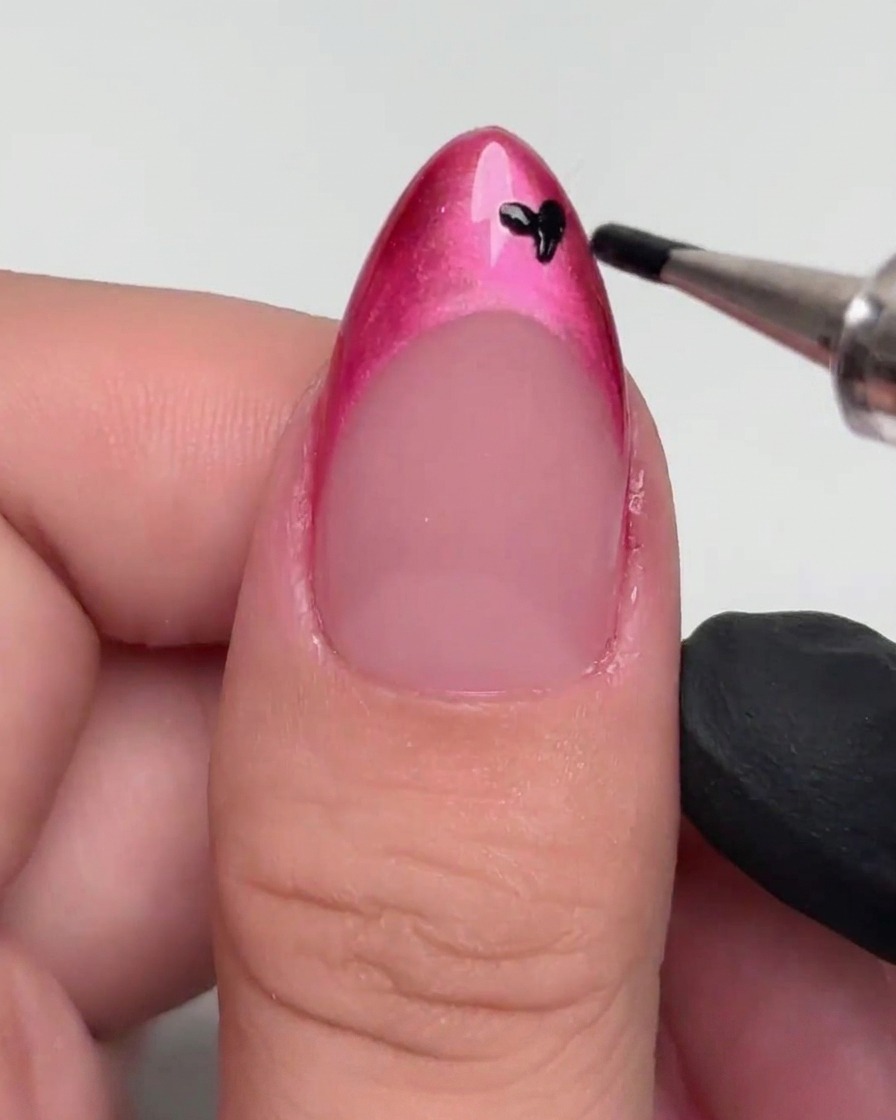
Using a dotting tool, apply small, irregular black gel dots across the magenta French tip. Vary the size and placement of the dots to achieve a natural leopard print aesthetic. Ensure you do not overlap them too much before curing to keep the pattern distinct.
Tip: Irregular sizing and placement make the leopard pattern look more realistic. - 5Frame the leopard spots
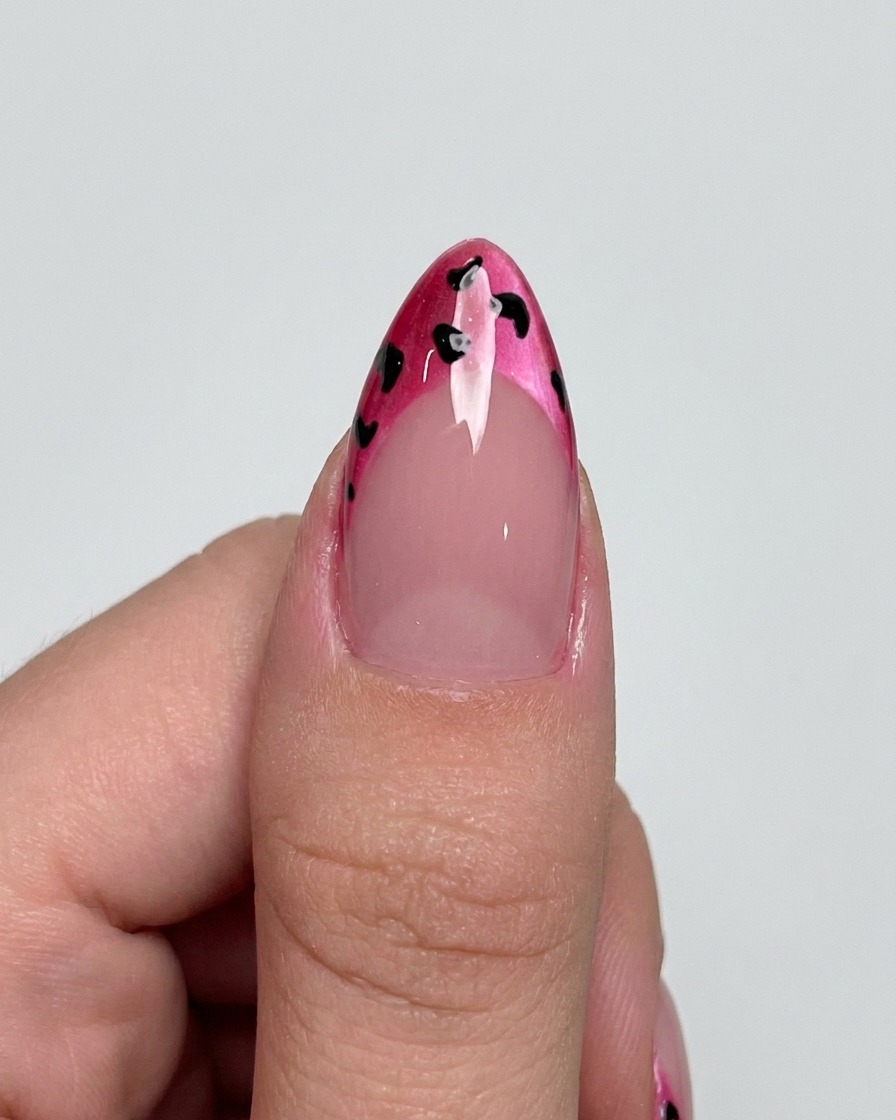
With a thin liner brush, draw small, disconnected black brackets or semi-circles around the black dots created earlier. This framing effect gives the leopard spots their characteristic appearance. Cure the design once you are satisfied with the look.
Tip: Varying the shapes of the outlines adds depth and detail to the overall design. - 6Apply powder for texture
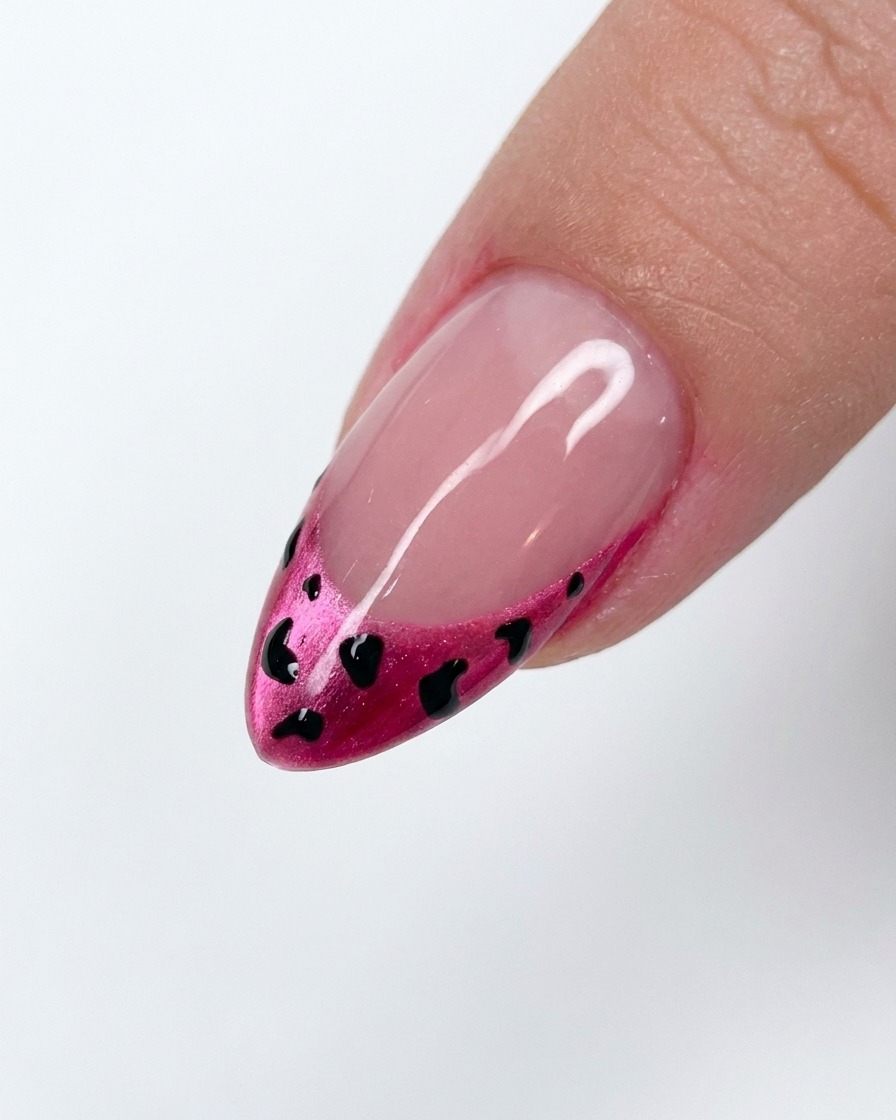
Sprinkle a fine white powder or nail art pigment over the uncured gel design to add texture. Gently tap off the excess before curing the nail under a UV/LED lamp. This provides a unique finish to the leopard spots.
Tip: Apply the powder evenly to ensure consistent texture across all the design elements. - 7Cure the nail under the UV lamp
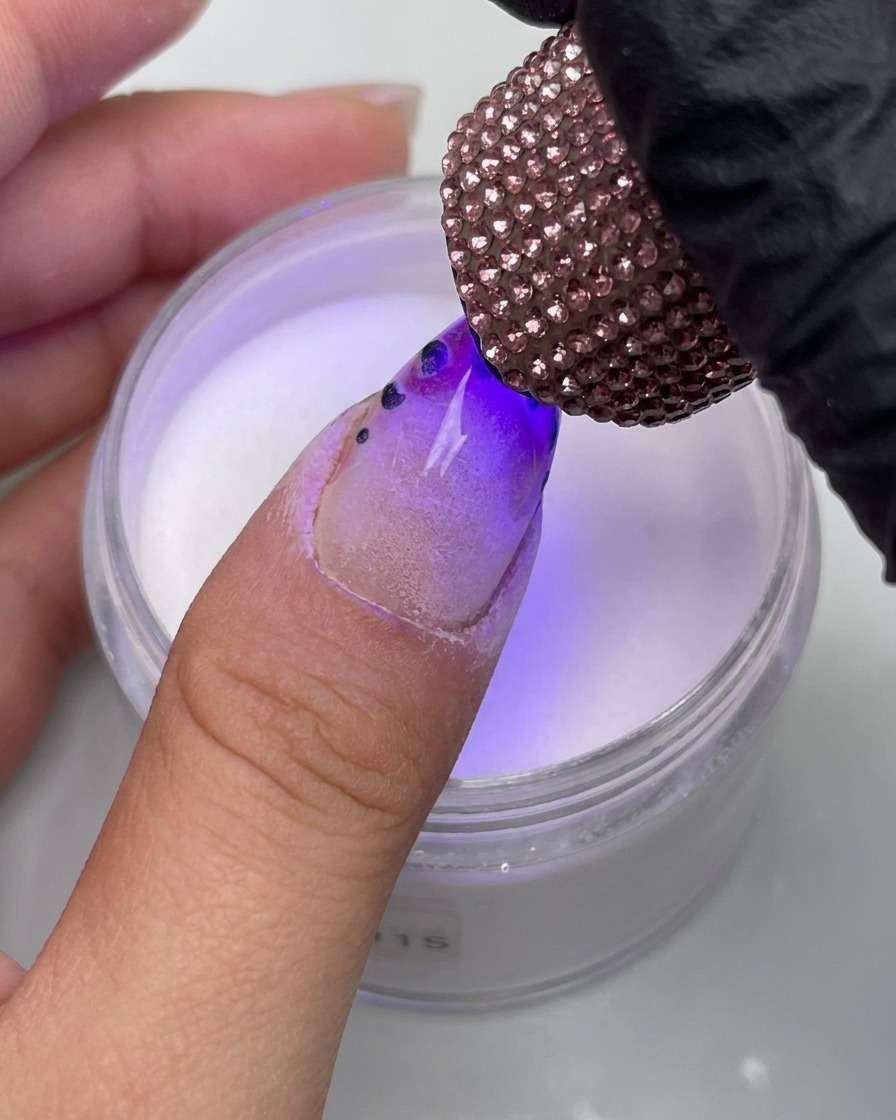
Place the nail under the UV/LED lamp to cure the gel product. The rhinestone-encrusted cover on the lamp adds a decorative touch to your workspace while ensuring the gel hardens into a durable, glossy finish.
Tip: Make sure your finger is positioned directly under the light source for an even, complete cure. - 8Brush away excess powder
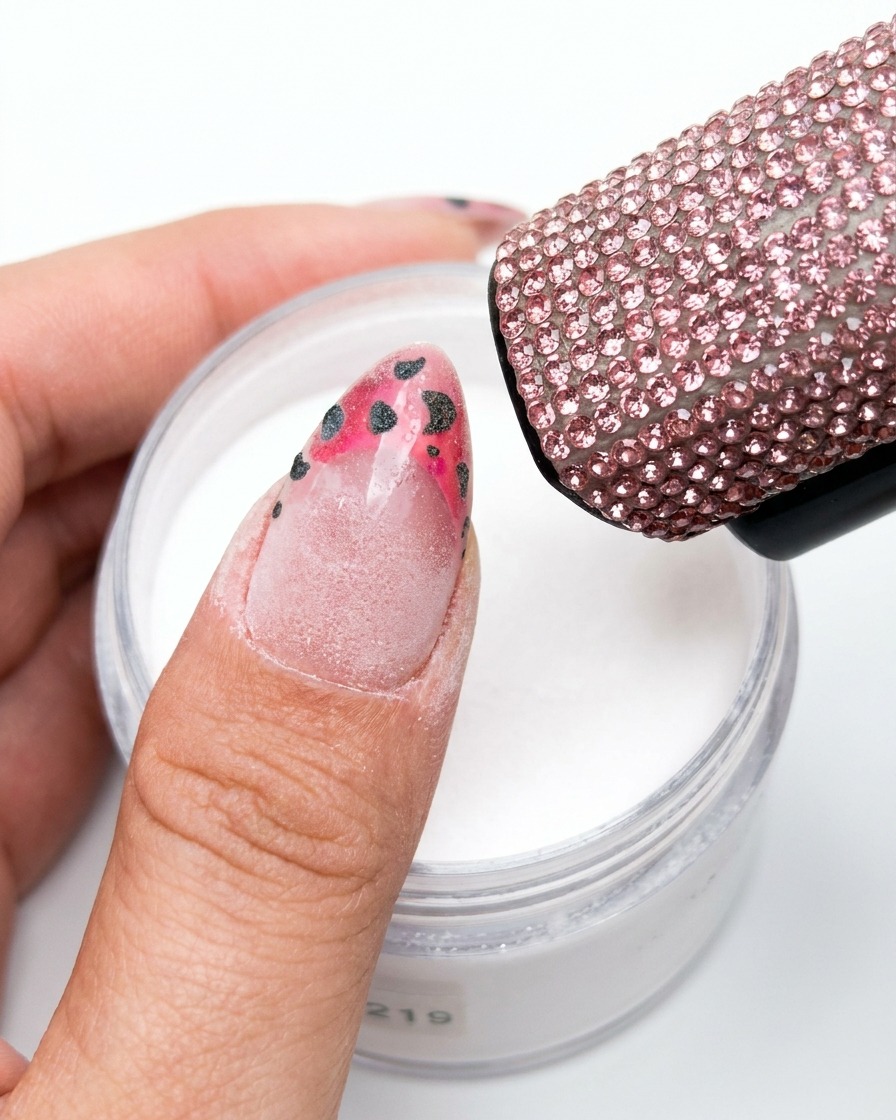
Once the product is cured, use a soft, clean brush to gently sweep away any loose powder or debris from the nail surface. This ensures the final manicure is smooth, clean, and free of any gritty particles before applying a top coat or finishing the look.
Tip: Use a light, dusting motion to avoid scratching the newly hardened surface.