Red Leopard Print Cat-Eye French Nails — Step-by-Step Tutorial
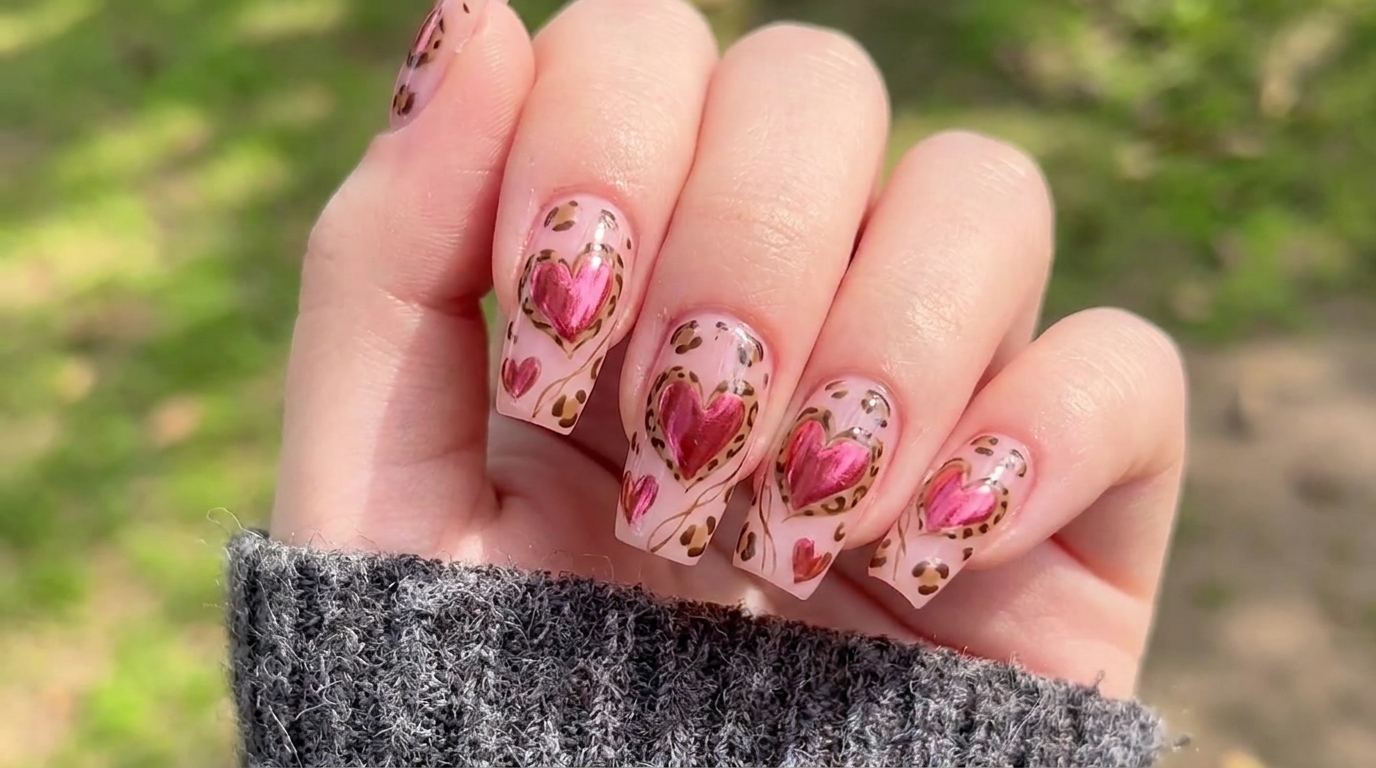
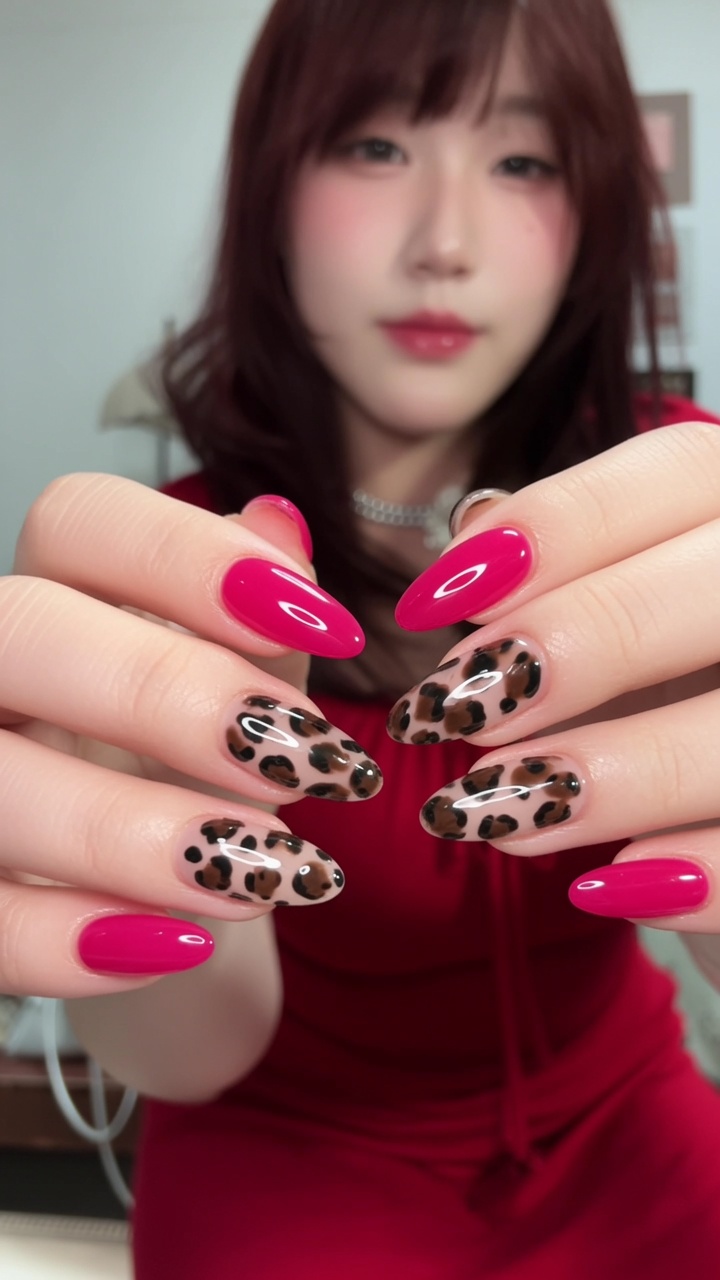
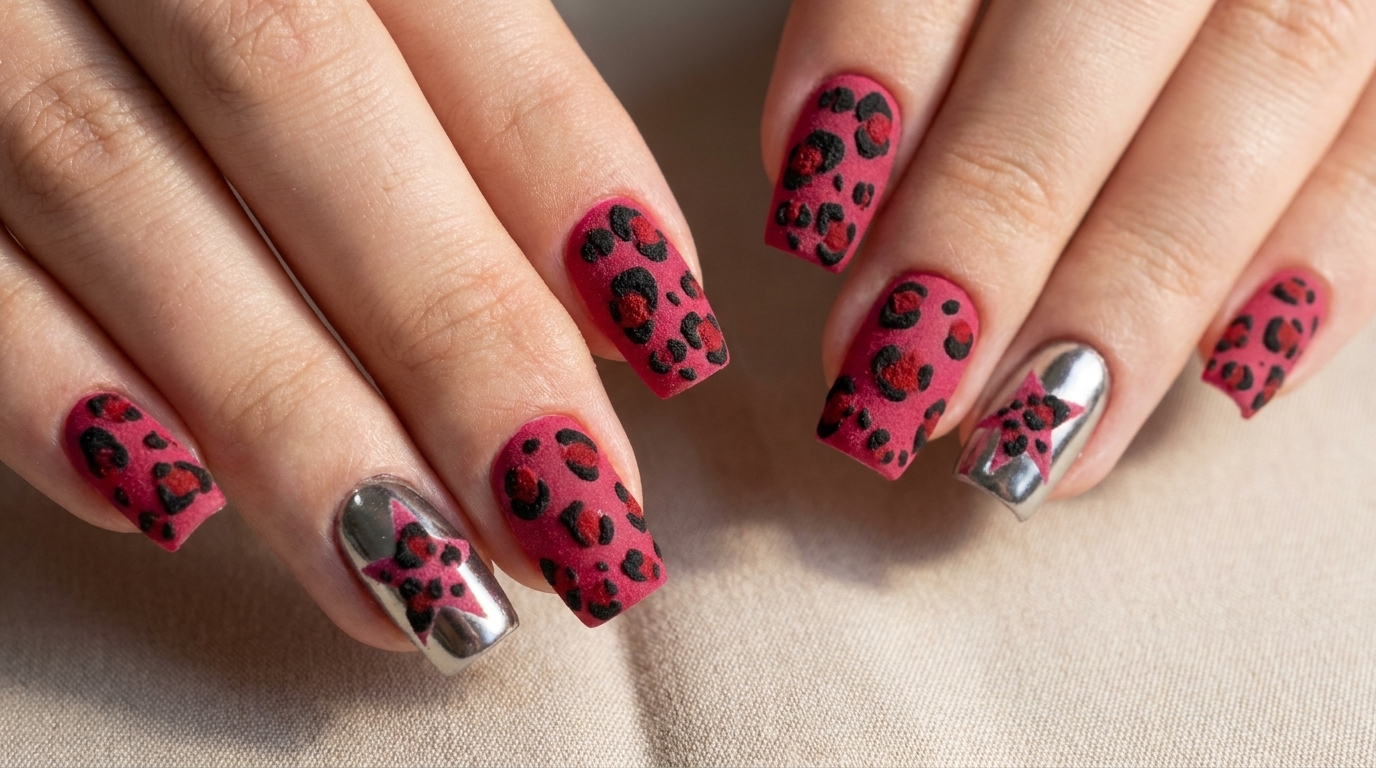
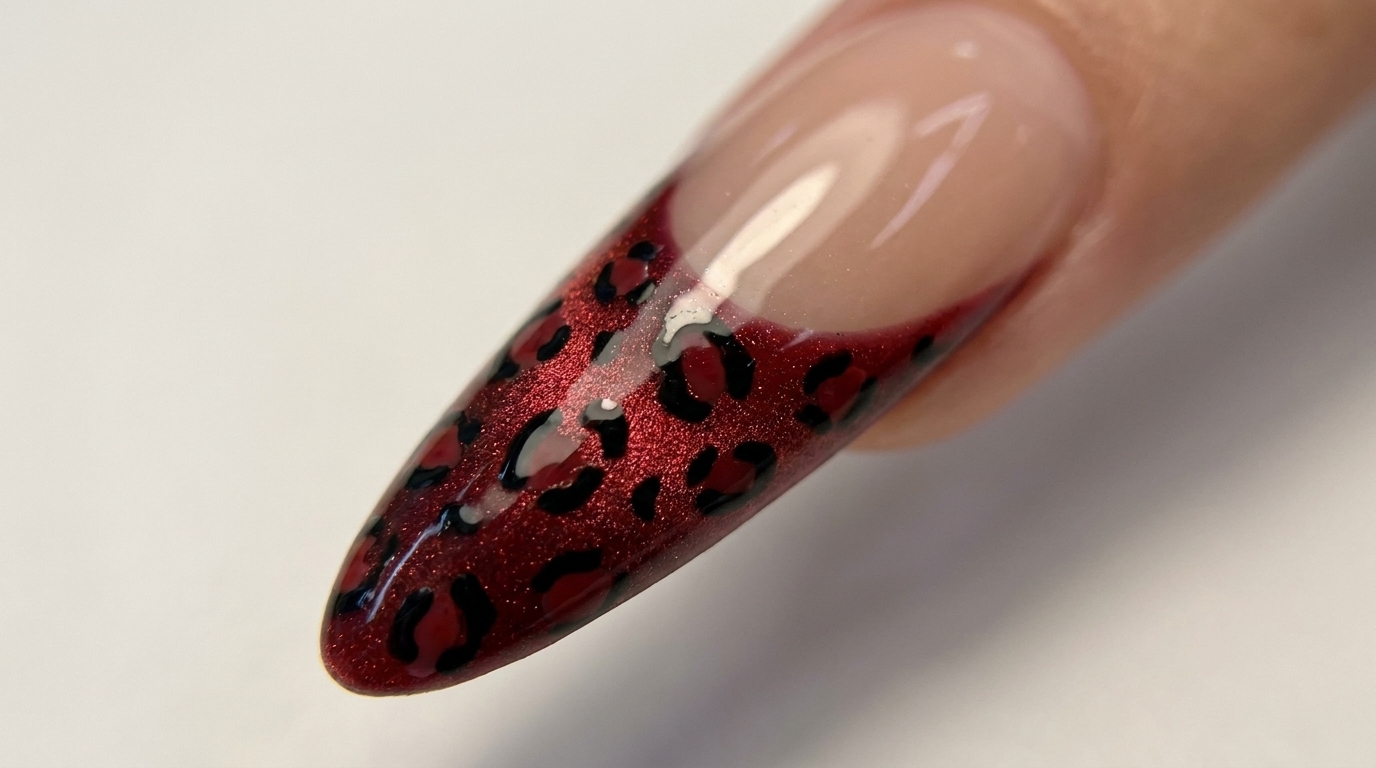
Get ready for autumn with this fierce red leopard print manicure. Learn how to combine a mesmerizing magnetic cat-eye french tip with hand-painted animal print accents.
Autumn brings the perfect opportunity to experiment with richer, deeper tones and bolder patterns. This striking nail look merges the dimensional shimmer of magnetic cat-eye polish with a classic french tip silhouette, elevated by intricate hand-painted leopard spots. It is an edgy yet sophisticated design that brings a touch of wild elegance to a soft, natural nude base.
Steps
- 1Apply peel-off base coat
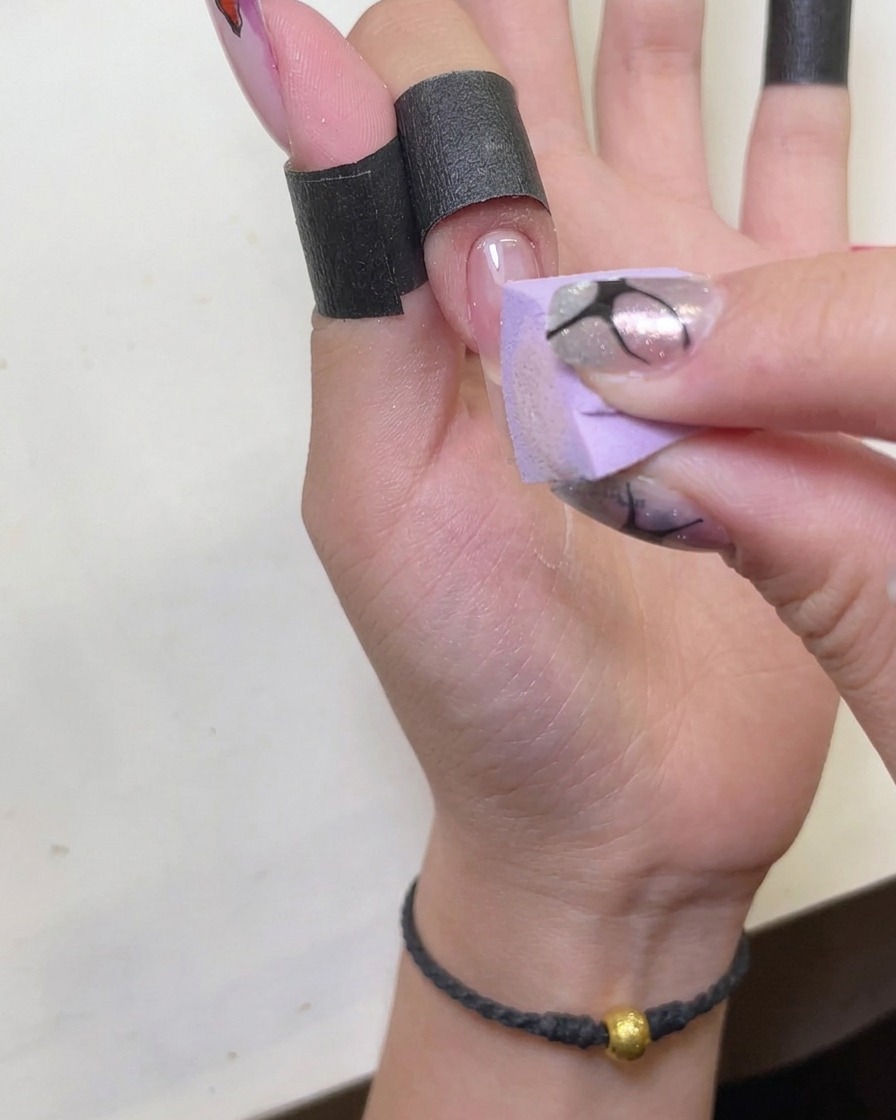
Apply a peel-off base coat specifically around the cuticle area. This creates a barrier that makes cleaning up any excess polish much easier once your manicure is complete.
Tip: Apply only to the skin around the nail; avoid getting it on the nail plate itself so it doesnt interfere with your gel adhesion. - 2Cure the base coat
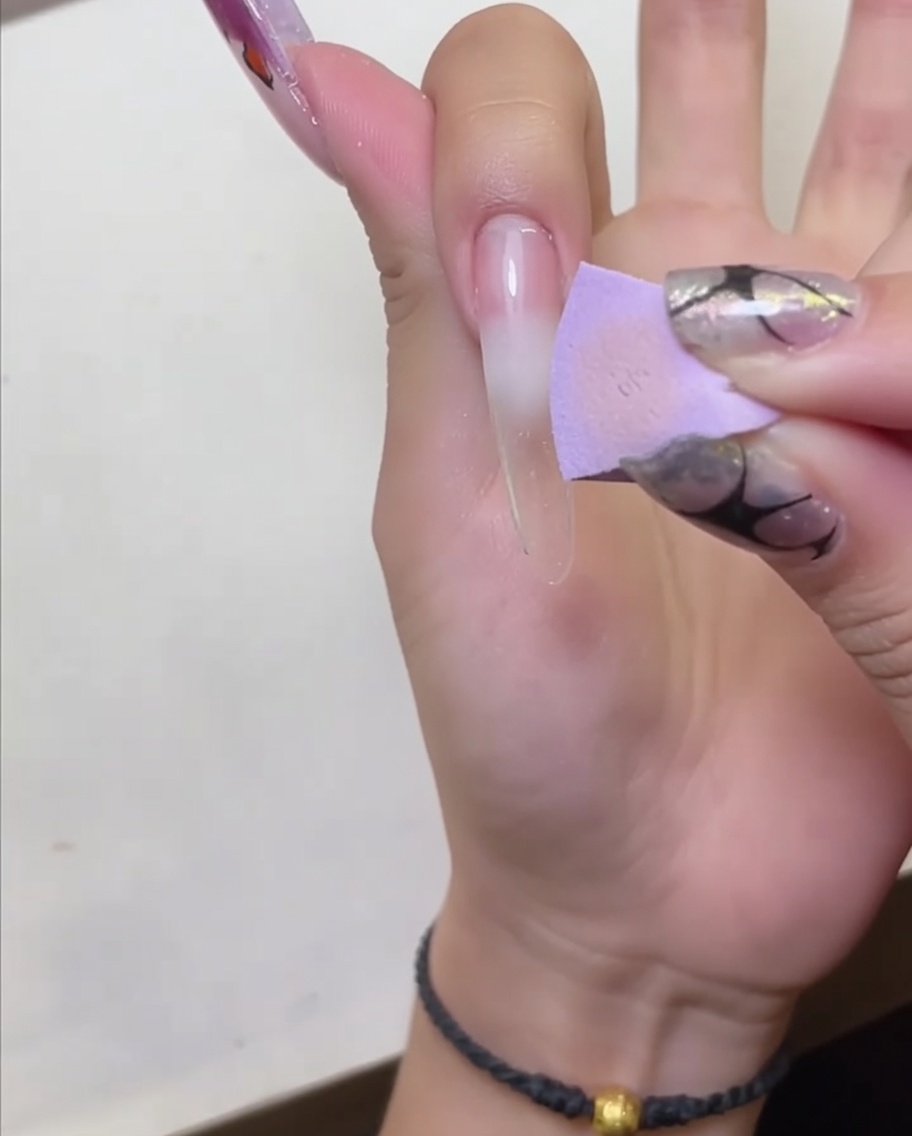
Place your hand under an LED lamp to cure the peel-off base coat. Ensure your hand is positioned correctly to allow for even curing.
Tip: Follow the specific curing time recommended by the manufacturer of your peel-off product to ensure it sets properly. - 3Apply nude base gel
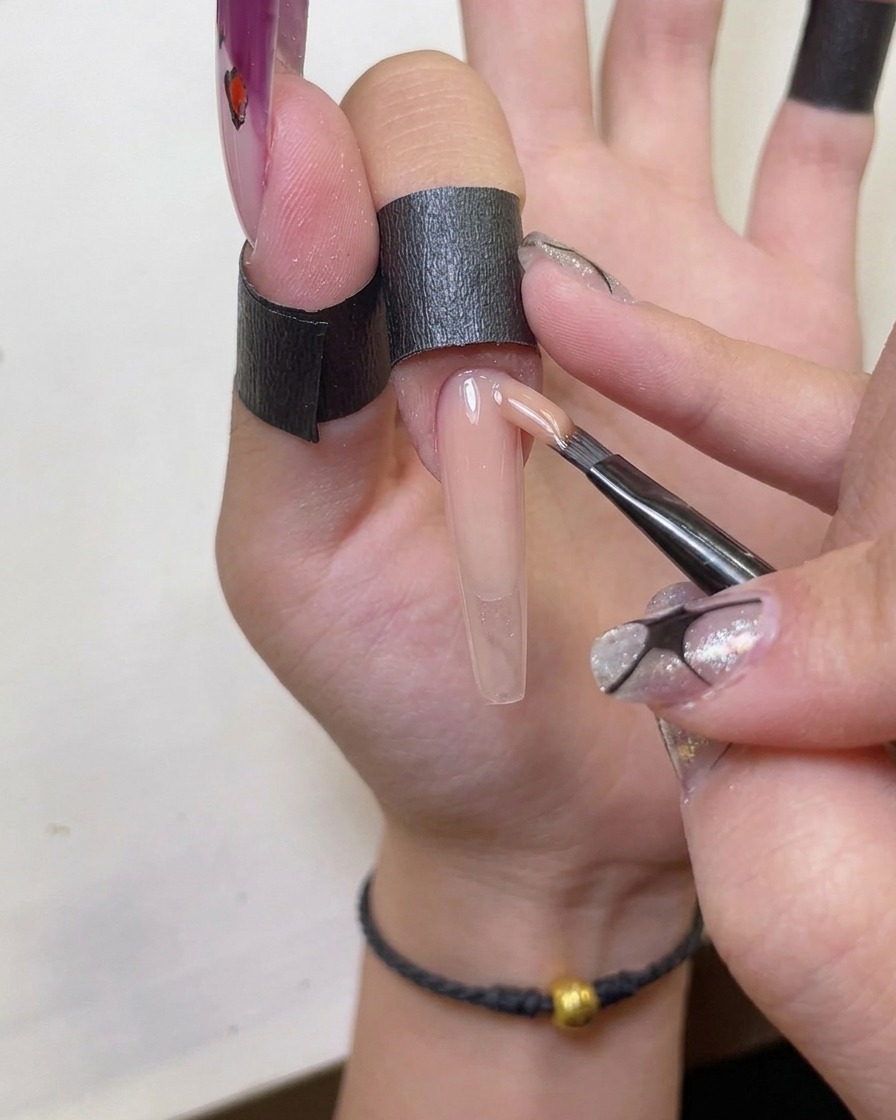
Apply a thin, uniform layer of nude gel polish over the entire nail plate, ensuring you cover the surface evenly without flooding the cuticles. Cure completely under your LED or UV lamp before moving to the next step.
Tip: Keep the layer thin to prevent bubbling and ensure a smooth, professional-looking base for your nail art. - 4Apply cat-eye french tip
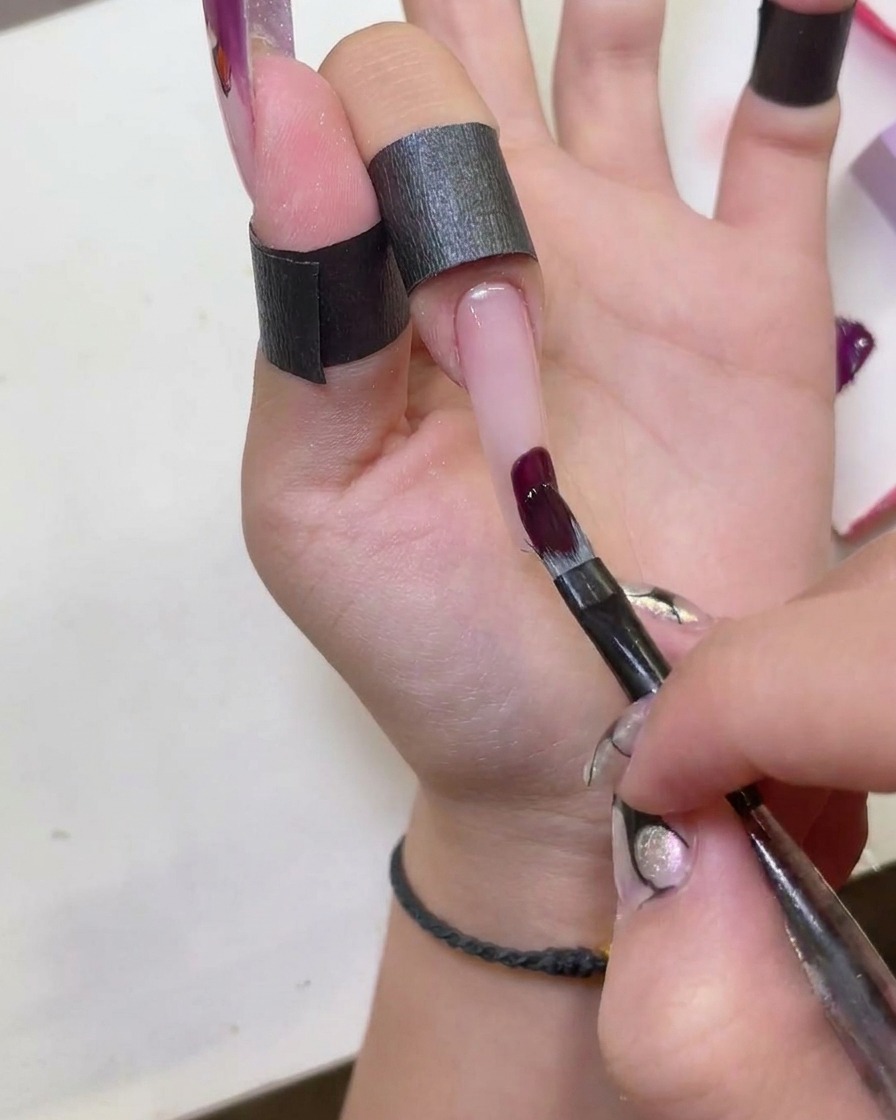
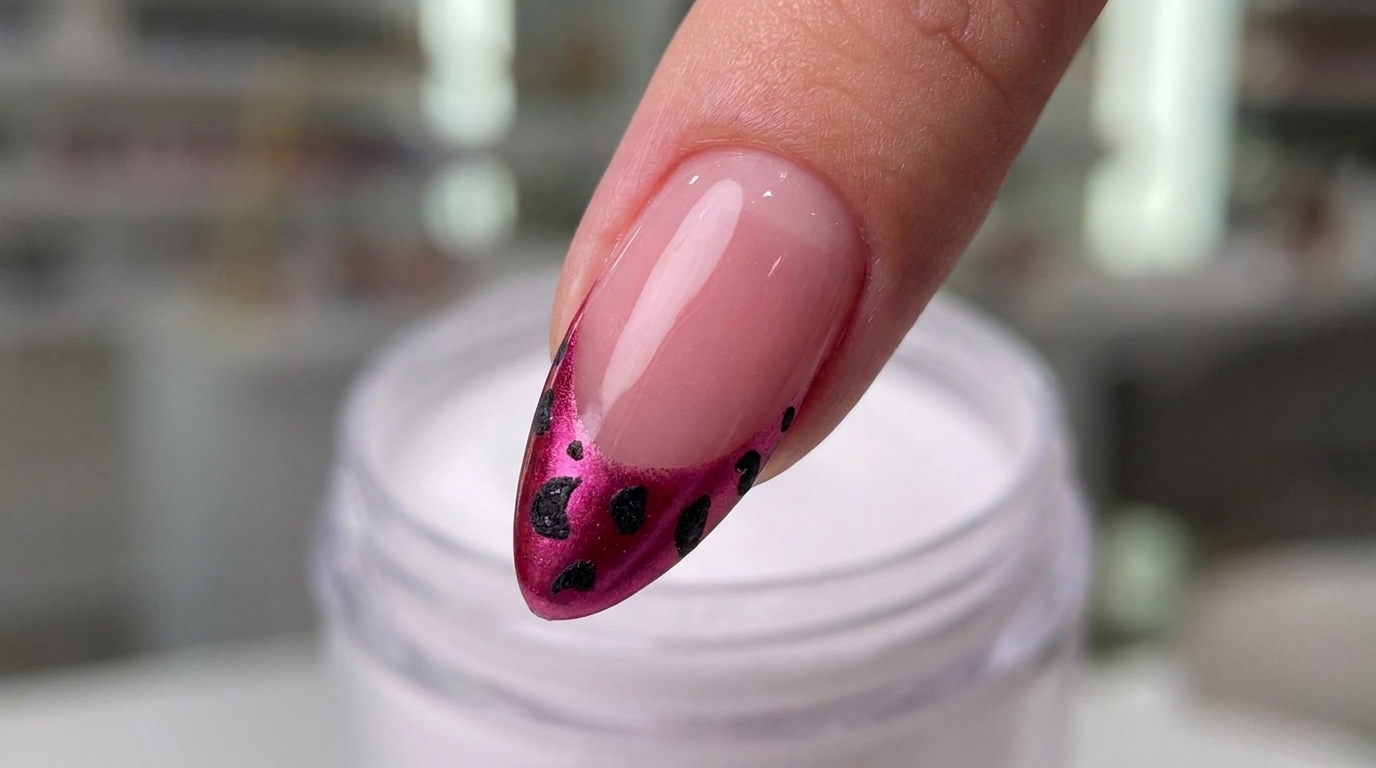
Using a fine brush, apply deep red cat-eye gel polish to the tip of the nail to create a french tip style. Focus on keeping the line clean and consistent.
Tip: Start with a small amount of polish and build up the opacity gradually to maintain control over the french tip shape. - 5Refine the cat-eye tip
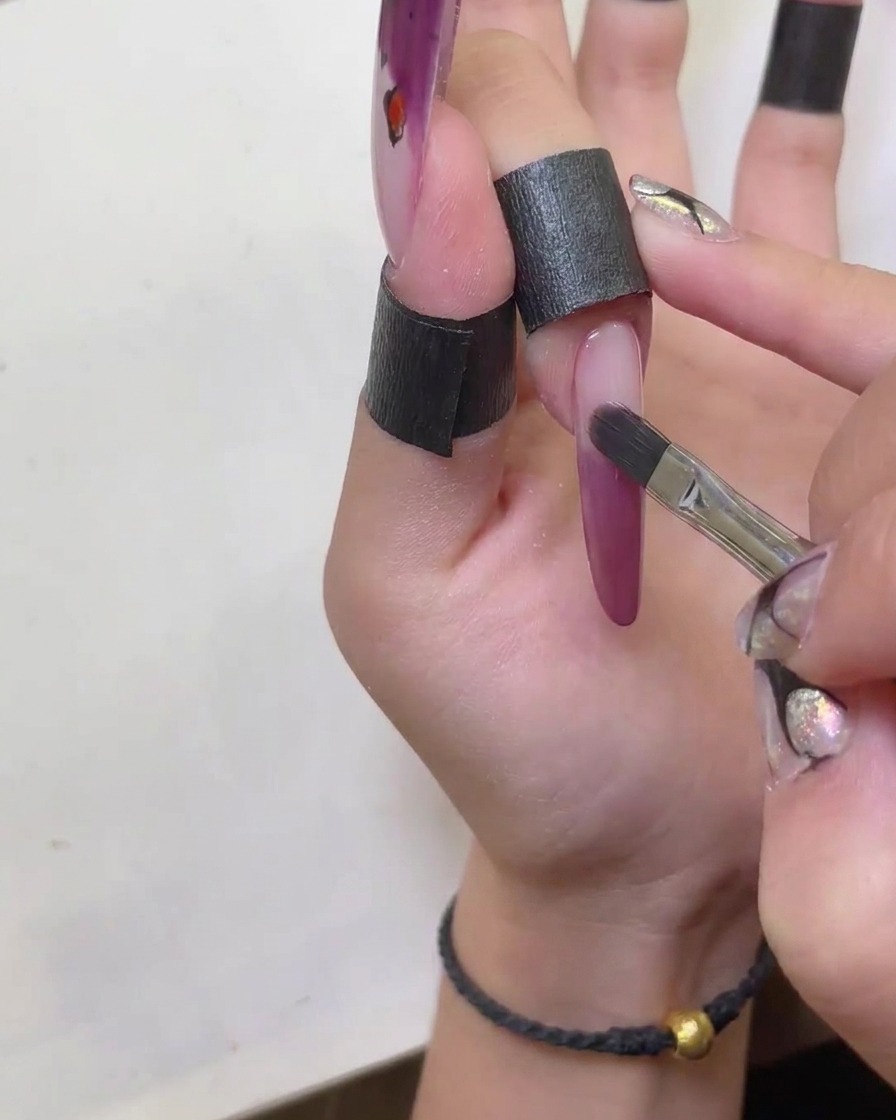
Before curing, use a clean brush to smooth and refine the shape of the red cat-eye gel polish on the tip. Ensure the edges are sharp and the gradient is smooth.
Tip: Working slowly at this stage allows you to perfect the smile line of the french tip before the polish sets. - 6Create cat-eye effect
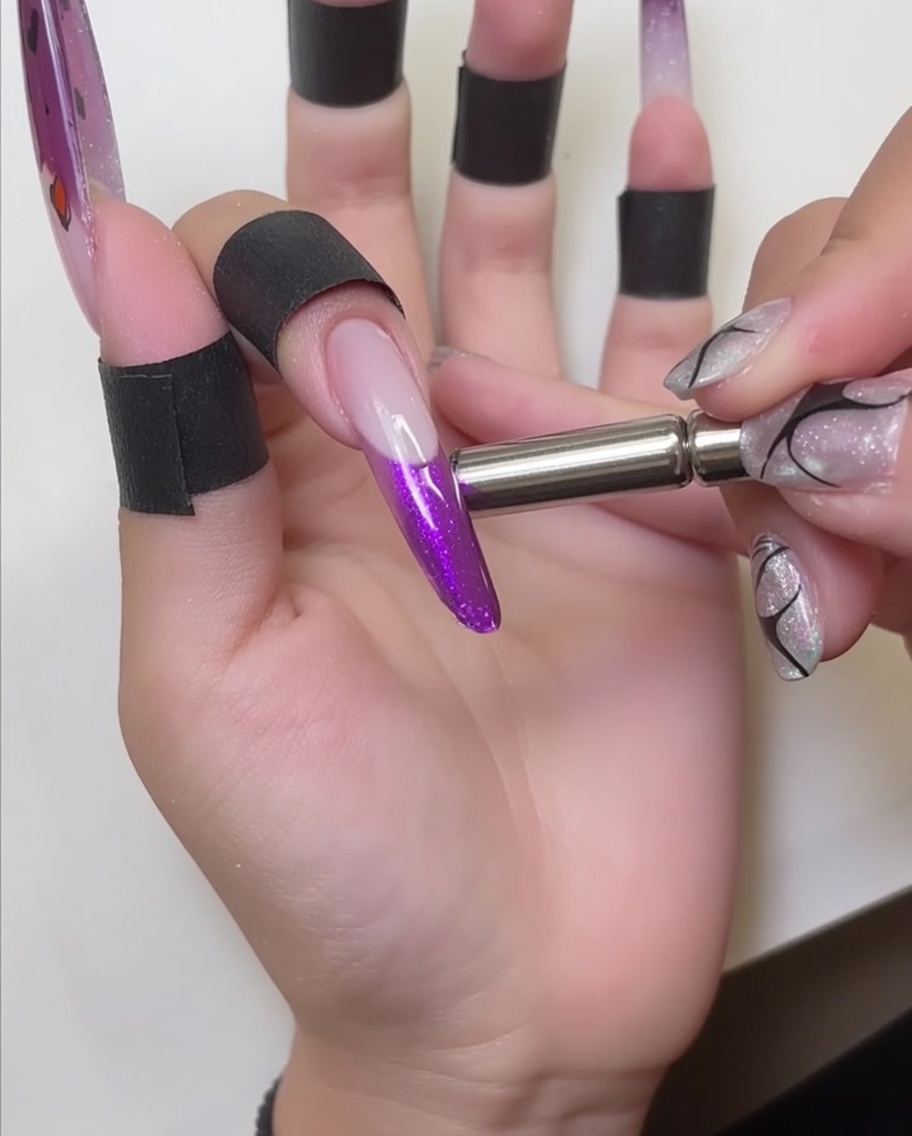
Hold a magnet tool near the uncured cat-eye gel tip. Move the magnet to manipulate the magnetic particles within the polish until you achieve your desired shimmering, multidimensional effect.
Tip: Hold the magnet steady for a few seconds once you have the perfect shimmer pattern to lock it in place before curing. - 7Cure the cat-eye french tip
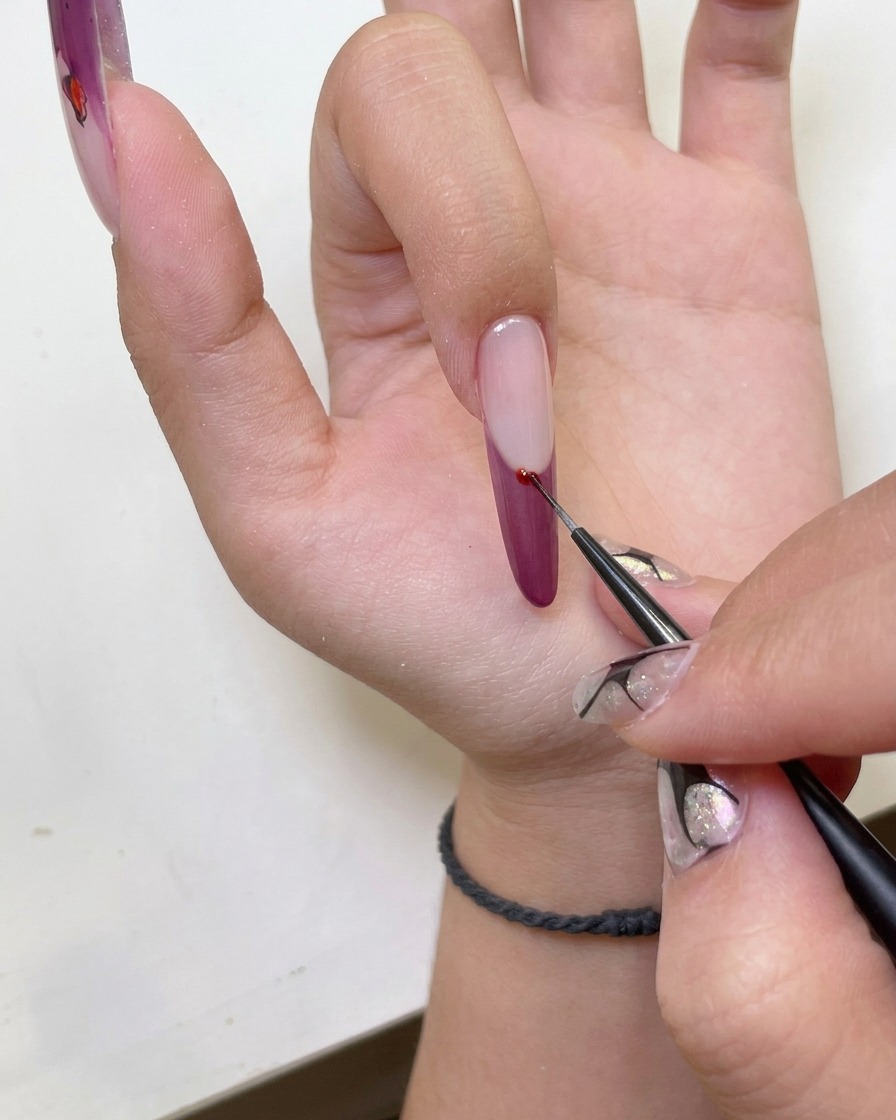
Place your nails under the UV or LED lamp to cure the cat-eye french tip design. Ensure your fingers are positioned comfortably and held steady throughout the entire curing time to prevent the magnetic effect from shifting or the gel from smudging before it sets.
Tip: Keep your hand flat inside the lamp to ensure even light coverage across all five nails simultaneously. - 8Paint the leopard spots
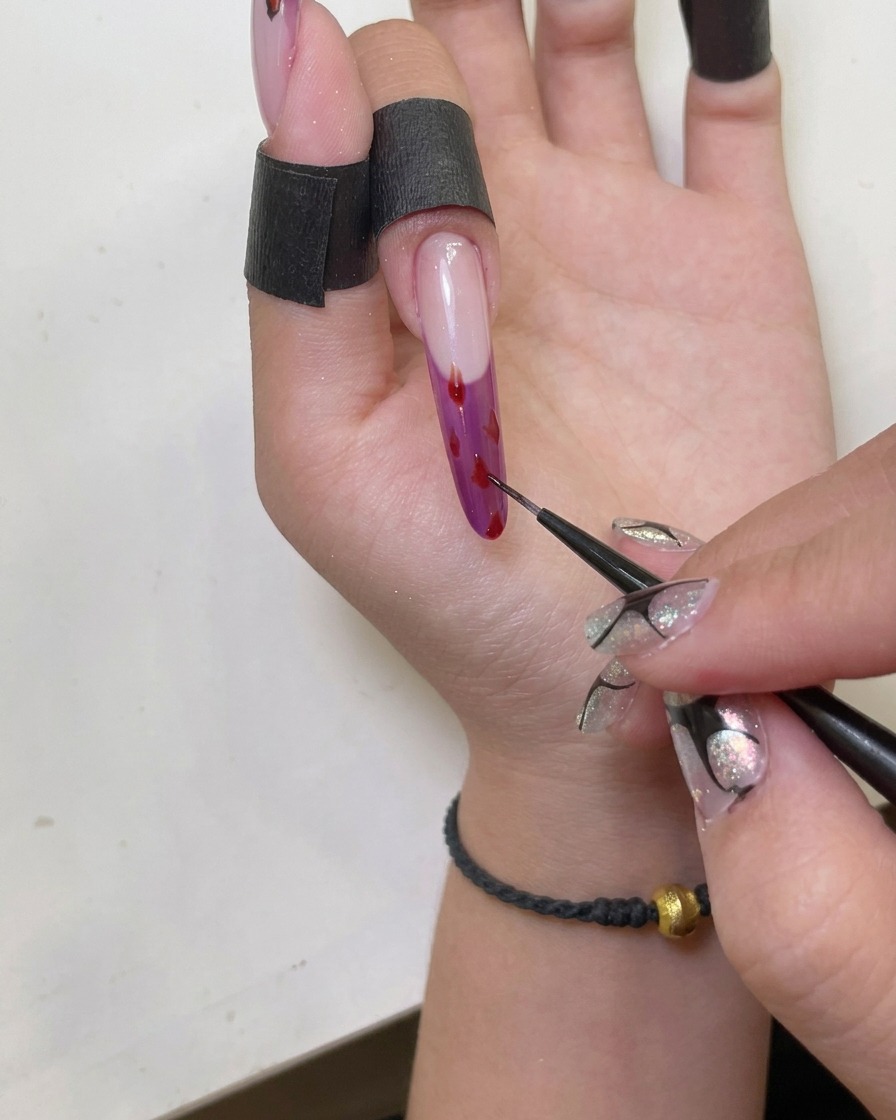
Using a thin liner brush, hand-paint the base of your leopard spots onto the cured french tip. Apply irregular shapes and small clusters of color to create an organic, natural-looking animal print pattern across the cat-eye section.
Tip: Keep your spots varied in size and shape; perfectly uniform dots will look less like a realistic leopard print. - 9Apply a glossy top coat
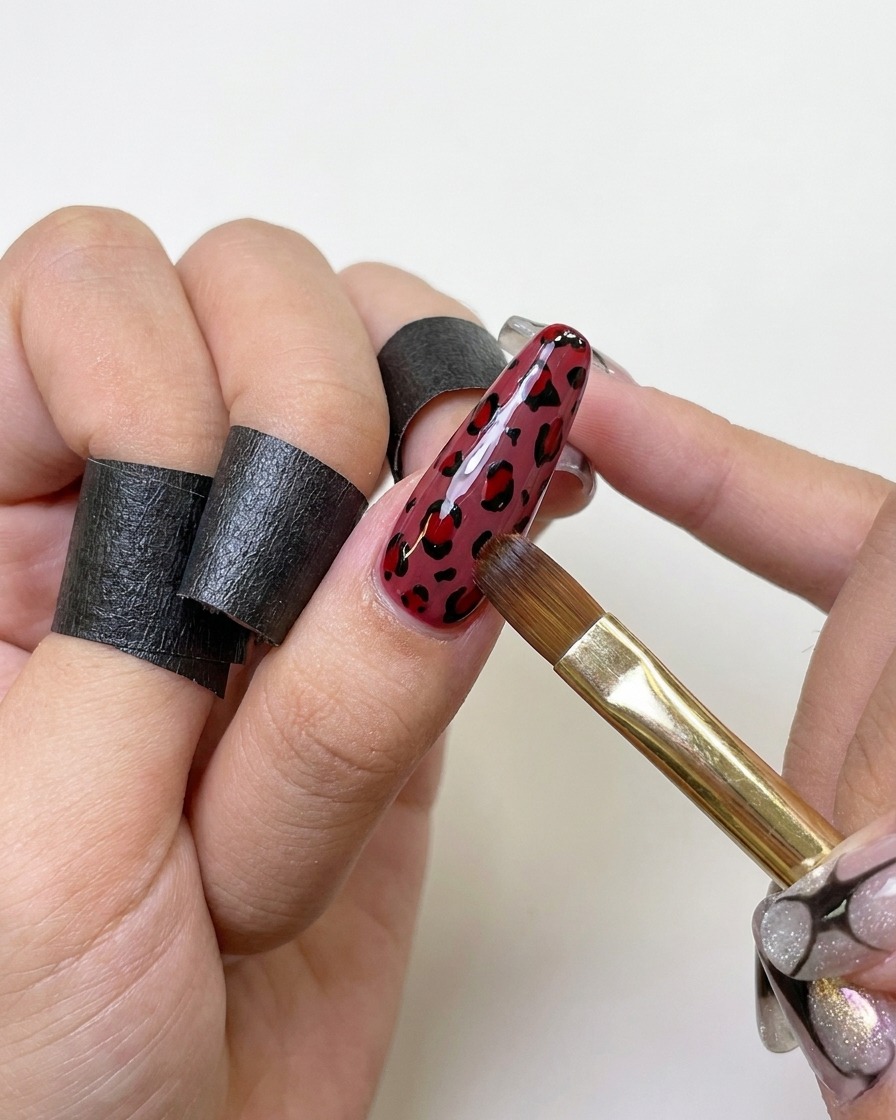
Once your leopard print details are completely cured, apply a smooth layer of glossy top coat over the entire nail. Gently float the brush across the nail surface to seal in the design and enhance the shine, then cure for a final time to complete the manicure.
Tip: Floating the top coat brush lightly over the nail prevents you from dragging or smudging the hand-painted nail art layers.