Asymmetrical Duo-Tone Leopard Print Nails — Trend Tutorial
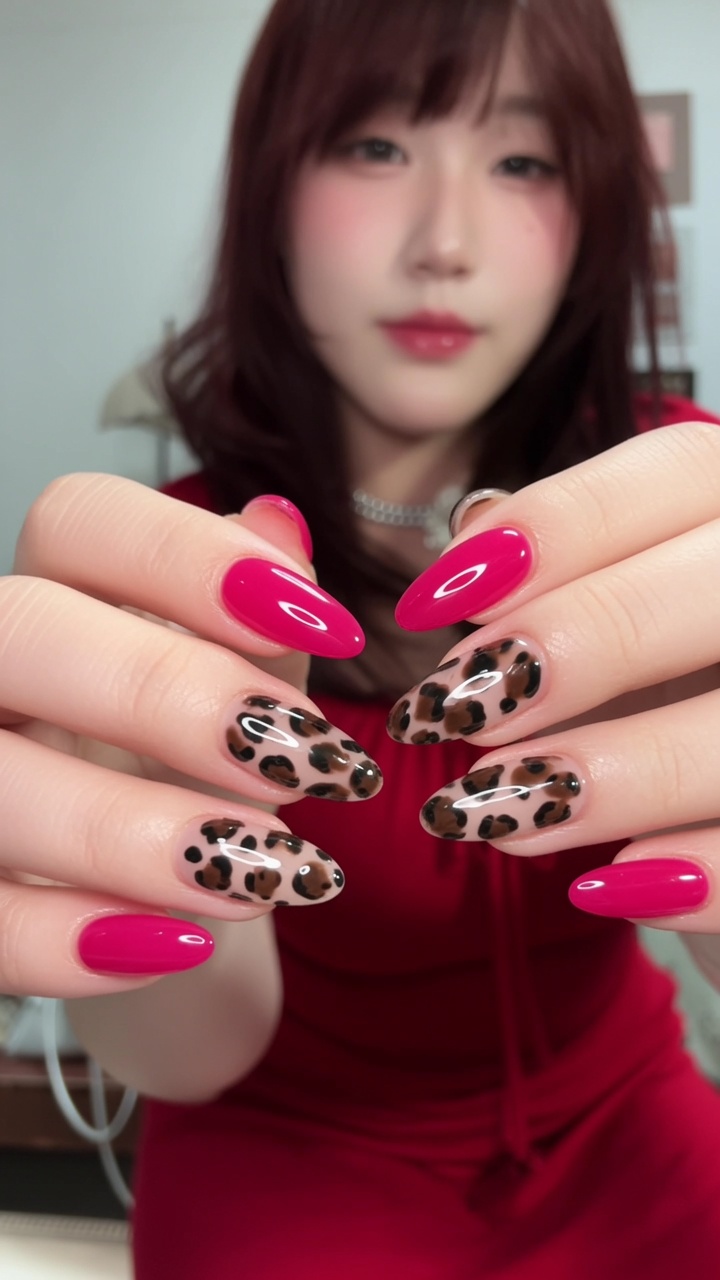
Master the trendy 'Mandarin Duck' nail look with this asymmetrical duo-tone tutorial. Learn to combine bold fuchsia gel with stylish leopard print patterns.
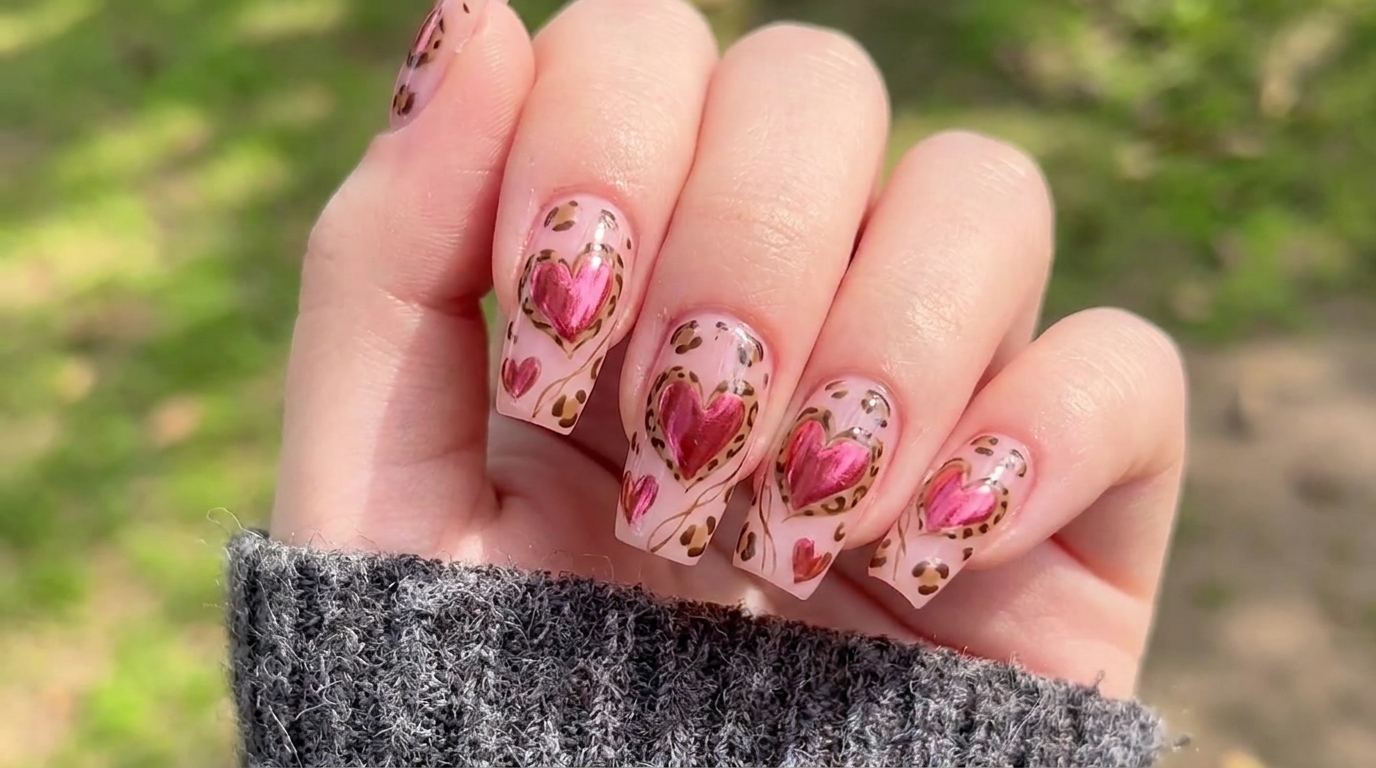
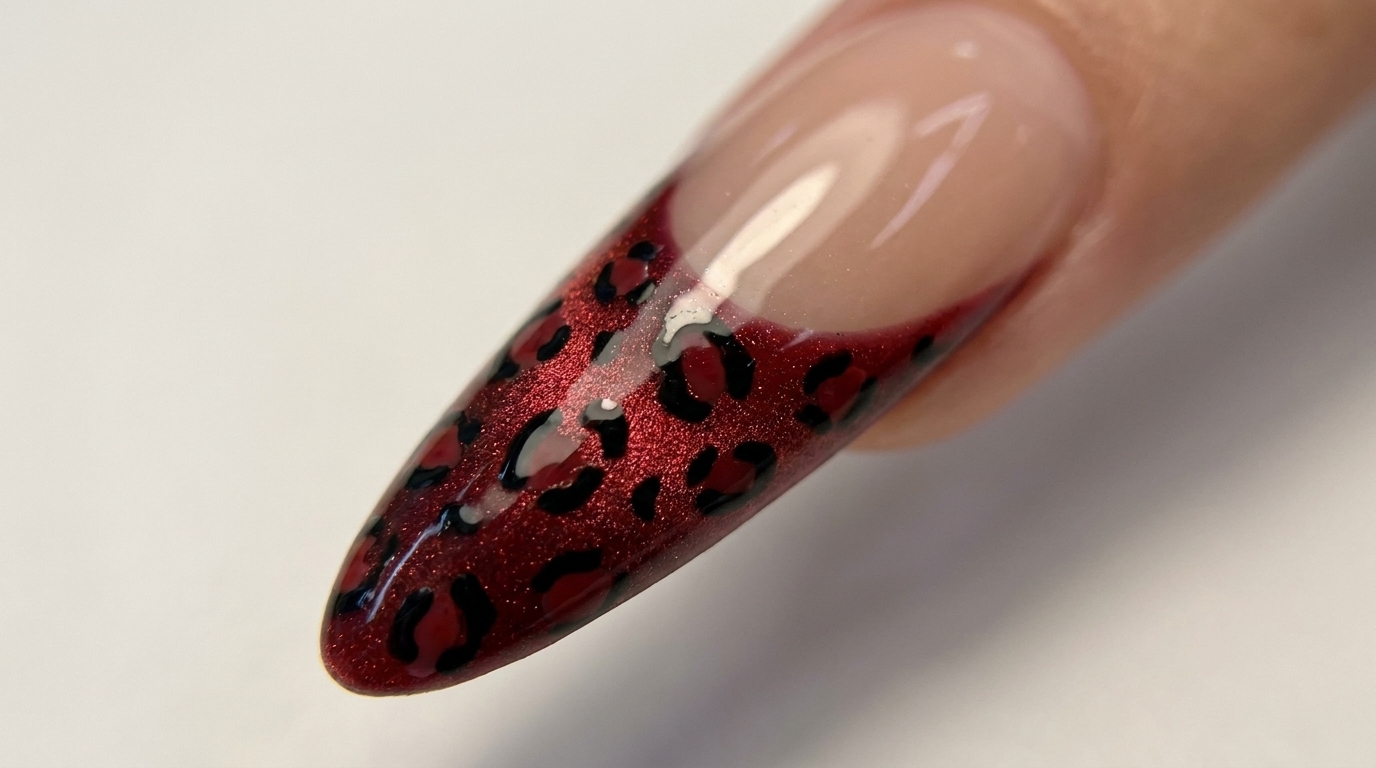
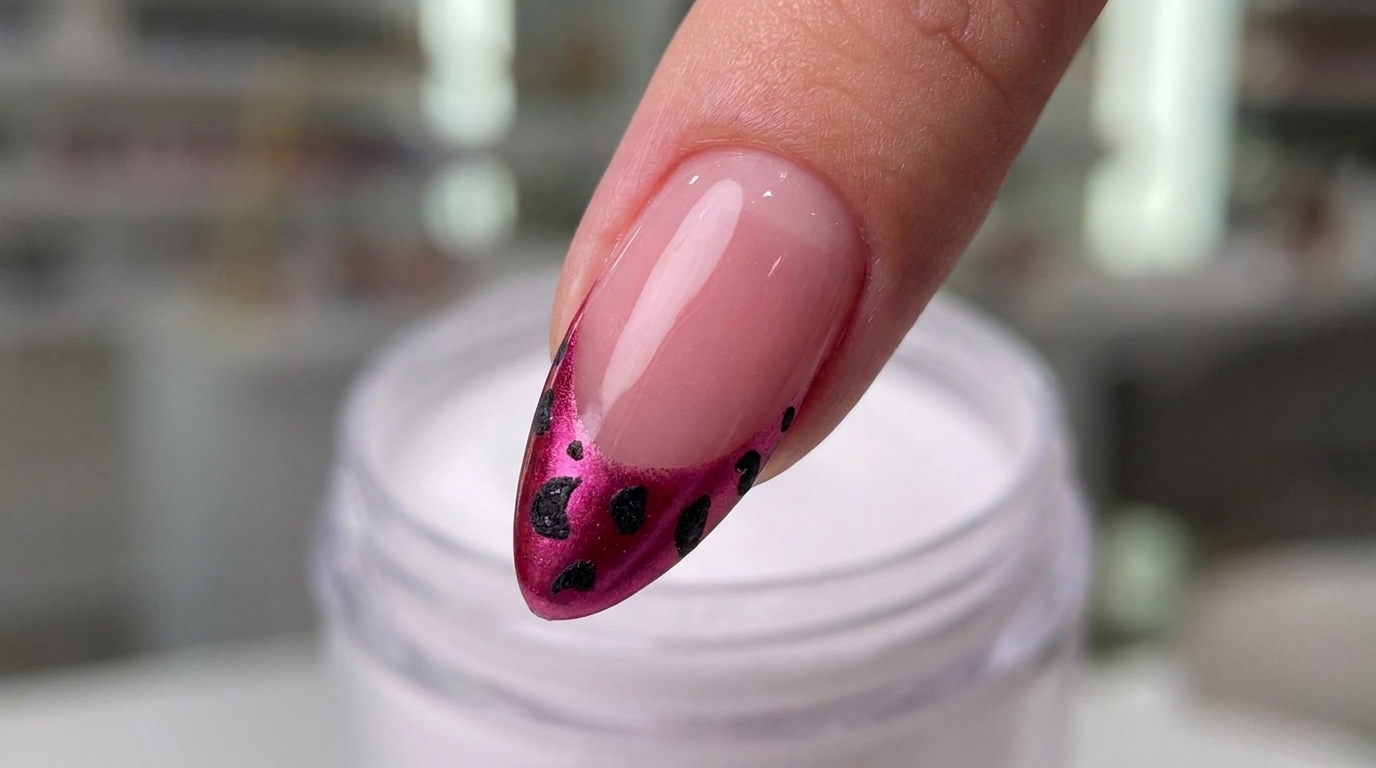
The mismatched nail trend, often called Mandarin Duck nails, is taking the beauty world by storm by allowing you to showcase two different styles on each hand. This design perfectly balances the high-energy vibrancy of a solid fuchsia pink with the playful, edgy flair of classic leopard print. It is an ideal manicure for those who love bold, fashion-forward looks that refuse to choose just one aesthetic.
Steps
- 1Apply gel base coat

Apply a thin, even layer of gel base coat to each nail, capping the free edge to ensure long-lasting wear. Cure under a UV or LED lamp for the time specified by the product manufacturer to create a strong foundation for your nail color.
Tip: Be careful not to touch the cuticle or skin with the base coat to prevent future lifting. - 2Apply fuchsia gel polish (thumb and index)

Apply a thin first coat of fuchsia gel polish to your thumb and index finger. Ensure you cover the nail surface evenly while keeping the layer thin to prevent bubbling or uneven curing, then cure according to your lamps instructions.
Tip: Thin coats are easier to control and provide a smoother, more professional finish. - 3Apply fuchsia gel polish (middle finger)

Continue by applying the fuchsia gel polish to your middle finger. Maintain a consistent, thin application across the nail plate for a smooth result, and remember to cure the nail once the coat is complete.
Tip: Wipe off any excess polish from the brush onto the neck of the bottle before application for better precision. - 4Apply fuchsia gel polish (ring finger)

Apply the fuchsia gel polish to the ring finger. Ensure the polish is applied smoothly and evenly to match the rest of the hand, then cure it under the UV or LED lamp to set the layer.
Tip: If you get polish on the skin, clean it up with a small brush dipped in acetone before curing. - 5Apply fuchsia gel polish (pinky finger)

Apply the fuchsia gel polish to the pinky finger. Ensure complete coverage of the nail, paying attention to the sides and the free edge, then finish by curing the nail to set the color.
Tip: Always cap the free edge of your nail with the polish to help prevent tip wear and chipping. - 6Apply base coat to the right hand

Repeat the base coat application process on your right hand. Apply a thin layer to each nail, ensuring smooth coverage and proper edge capping, and cure each set of nails as you go to prepare them for the color application.
Tip: Keep the right hand steady while applying to maintain the same quality and thinness of the layer as the left hand. - 7Apply leopard print to thumb

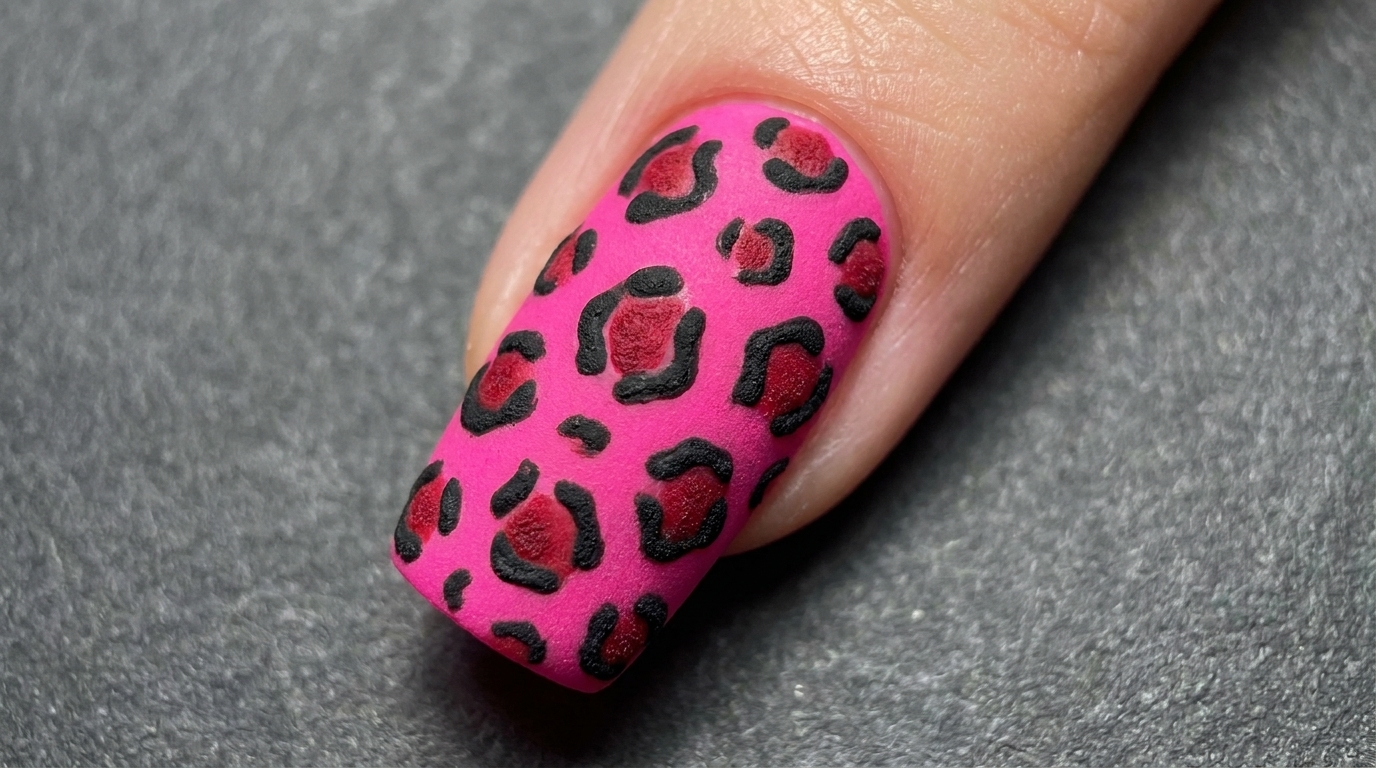
Carefully draw the leopard print pattern onto the thumbnail using a thin liner brush. Start by creating irregular, broken-line shapes in the primary color, then fill in the centers or add accent marks with the secondary color. Cure under the UV lamp to lock in the detailed design.
Tip: Keep the leopard spots varied in shape and size for a natural, trendy appearance. - 8Apply leopard print to middle finger

Repeat the leopard print application process on the middle finger, ensuring consistency with the thumbs design style. Use a fine-tipped detail brush to maintain precision in the pattern. Once satisfied, cure the gel in your UV lamp.
Tip: Clean your brush with a bit of base coat between colors to keep the leopard spots crisp. - 9Apply leopard print to ring finger

Apply the leopard print pattern to the ring finger, completing the artistic details on this nail. Ensure the placement of spots is aesthetically pleasing and matches the rest of the set. Cure the design thoroughly under the UV lamp.
Tip: Dont overcrowd the nail; leaving a bit of space between spots makes the design look more modern. - 10Apply shiny top coat

Finish the manicure by applying a layer of high-shine top coat over all nails to seal in the leopard print and fuchsia color. Cap the free edges to ensure durability and protection against chipping. Cure the top coat under your UV lamp for the full recommended time.
Tip: A shiny top coat enhances the vibrancy of the fuchsia and the detail of the leopard print.