Textured Hot Pink Leopard Print Nail Art — Step-by-Step Tutorial
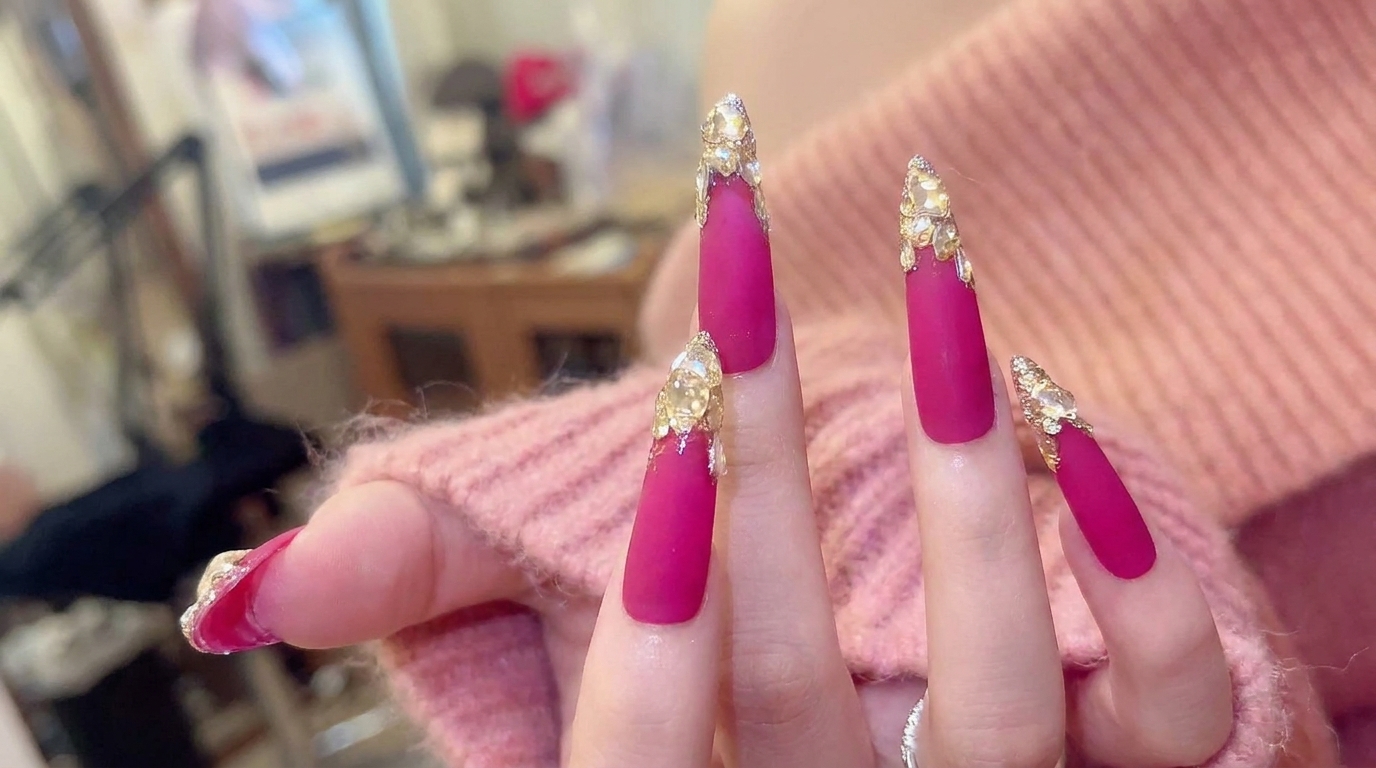
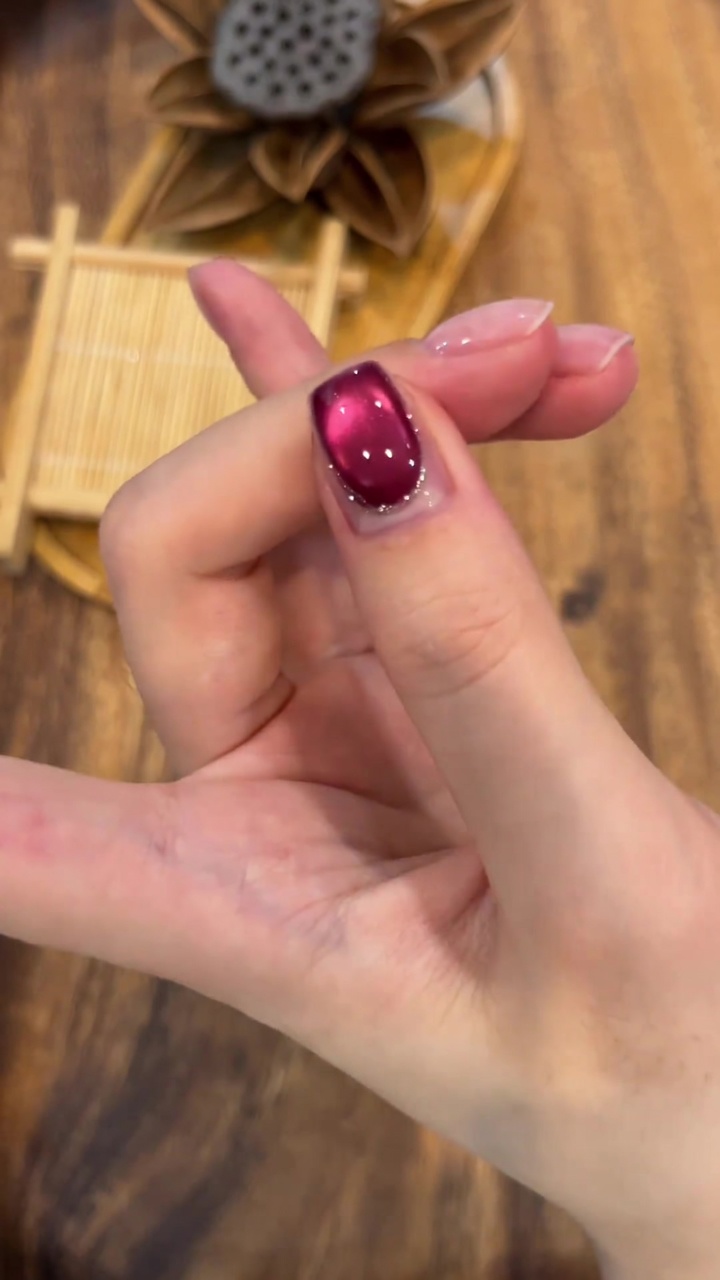
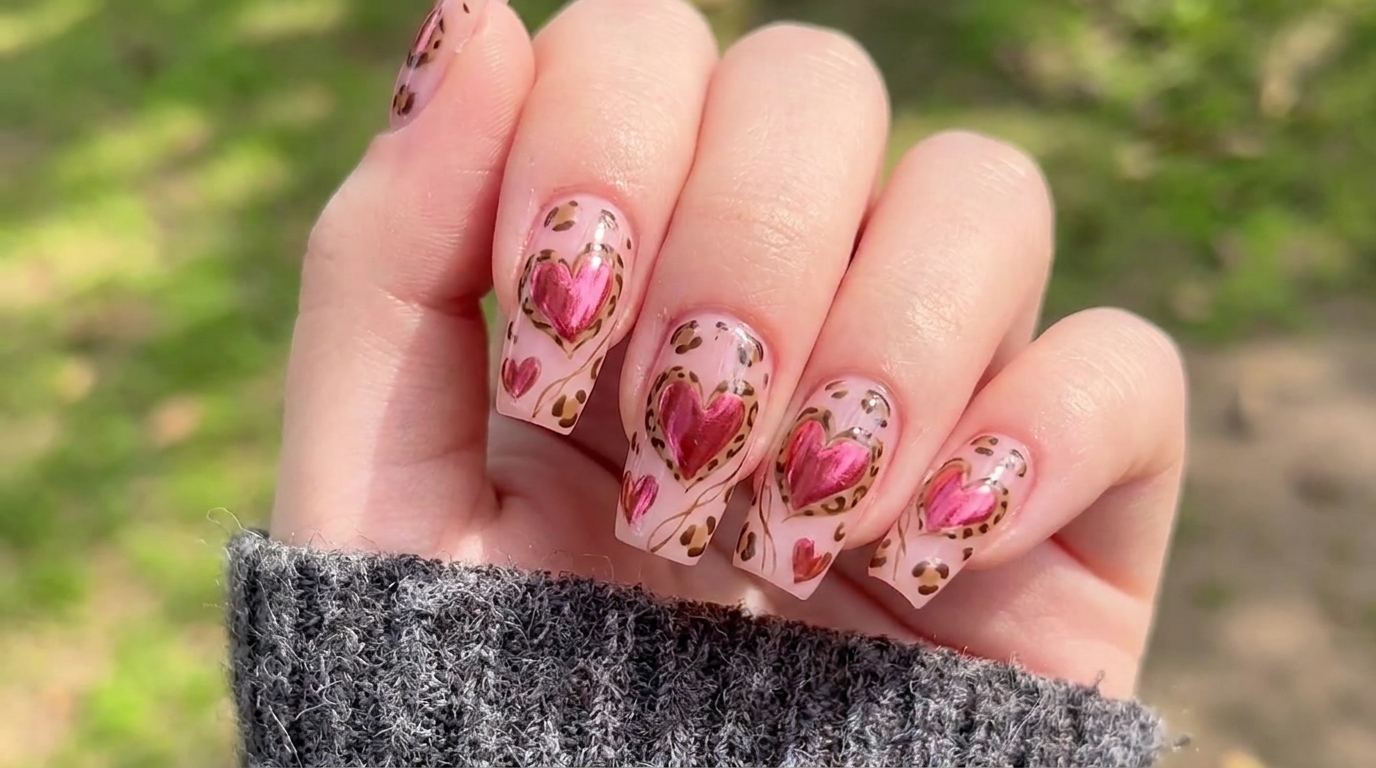
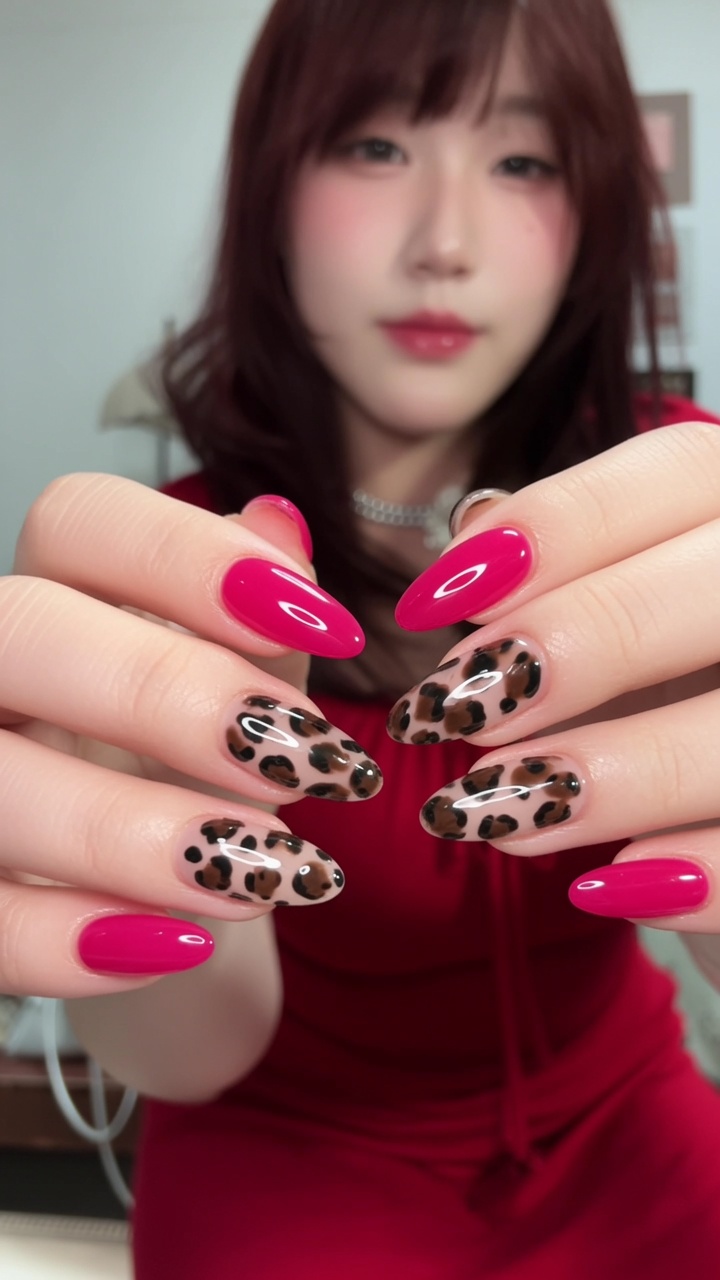
Create a stunning 3D textured hot pink leopard print nail look. This tutorial uses a unique gel and acrylic powder technique for a velvety, submerged finish.
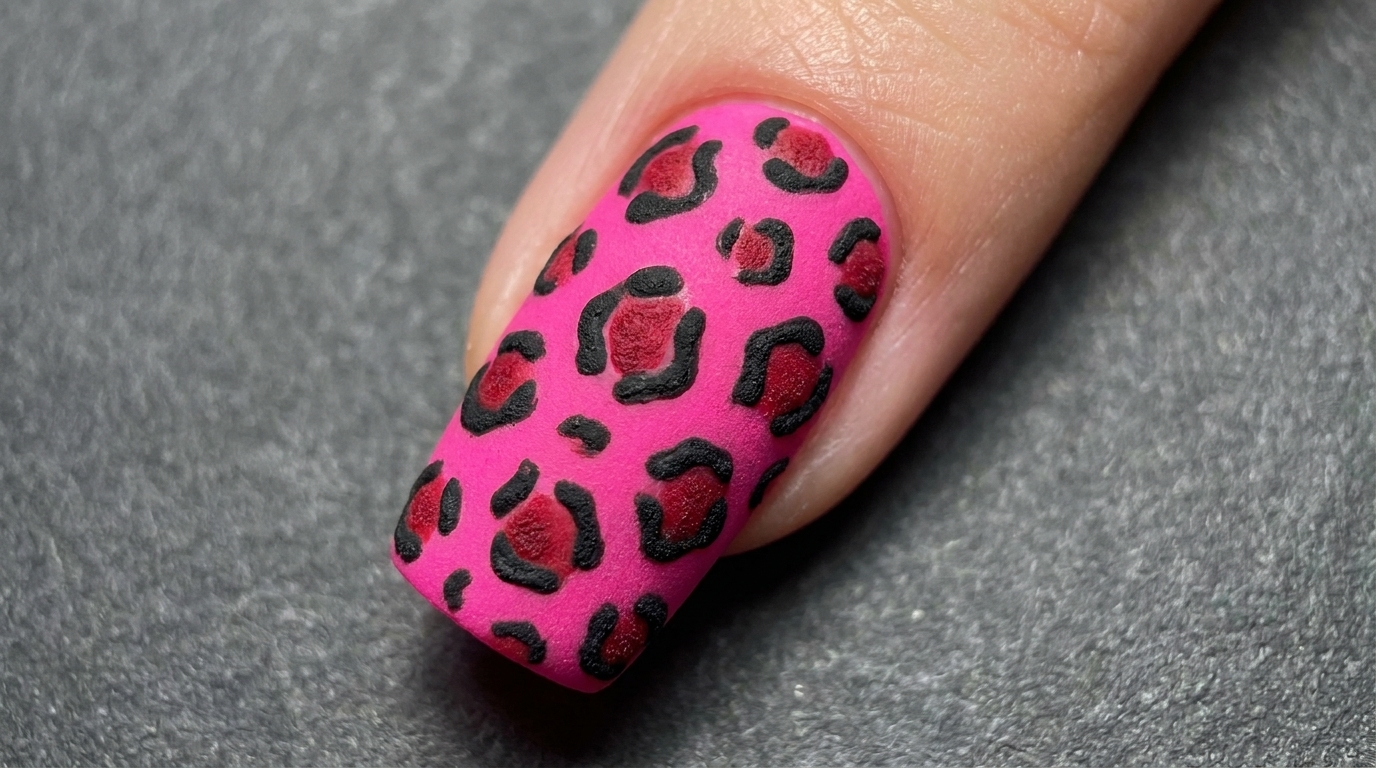
Animal prints never go out of style, but adding a matte, velvety texture takes them to a whole new level. This submerged hot pink leopard print technique uses a combination of gel polish and acrylic powder to create a striking 3D effect without the need for complex sculpting. The result is a bold, tactile design that looks intricately hand-crafted but is surprisingly achievable for at-home artists.
Steps
- 1Apply first coat of hot pink gel
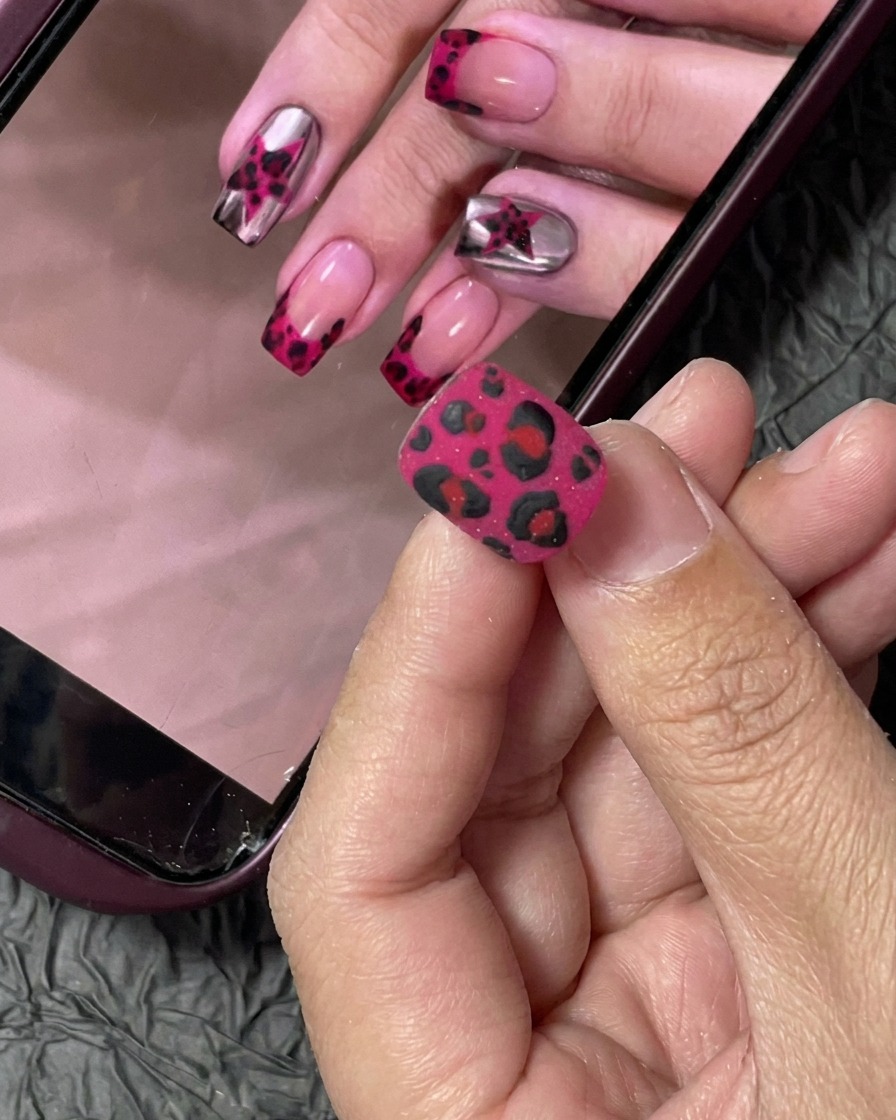
Apply an even, thin coat of hot pink gel polish to the nail tip. Ensure you cap the free edge for better durability. Cure this layer under a UV lamp according to the product instructions to create the base for the design.
Tip: Thin coats are better for curing; applying too much gel can cause it to wrinkle or not harden properly. - 2Apply second coat of hot pink gel
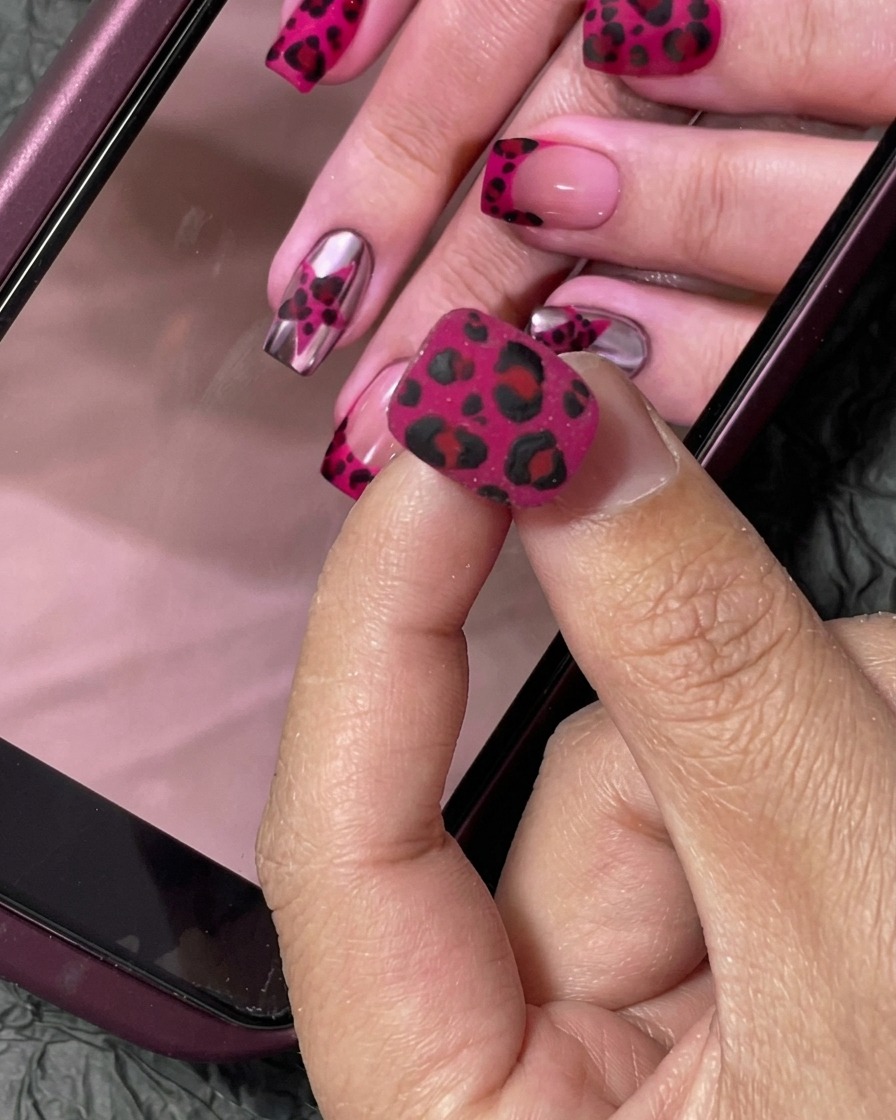
Apply a second, slightly thicker coat of hot pink gel polish over the cured first layer. Do not cure this layer, as it needs to remain tacky to properly hold the base layer of acrylic powder.
Tip: Keep the layer wet to ensure the acrylic powder adheres evenly across the entire surface. - 3Dip into clear acrylic powder
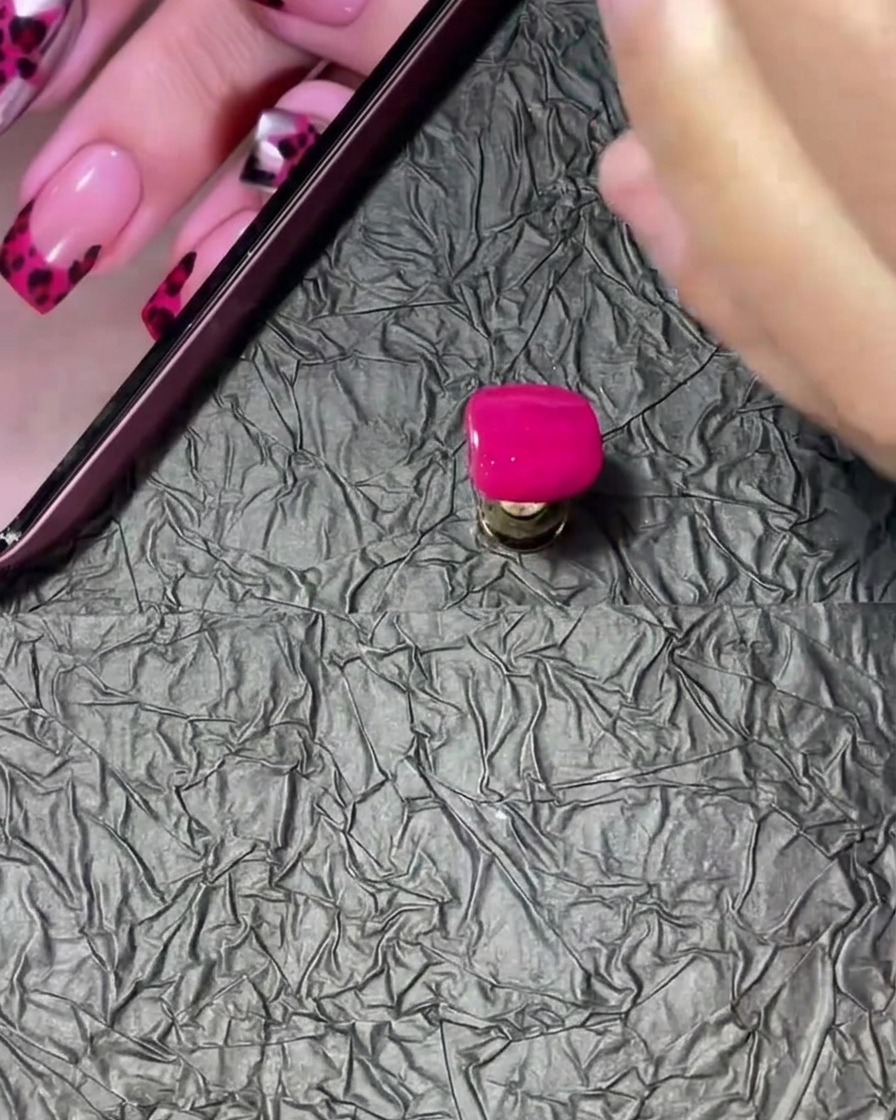
While the second coat of hot pink gel is still wet, gently rotate the nail tip into clear acrylic powder. This will create a textured, velvety base for the leopard print. Once fully coated, cure the nail under the UV lamp.
Tip: Ensure the nail is completely covered in the powder before curing to achieve a uniform texture. - 4Add red gel accents
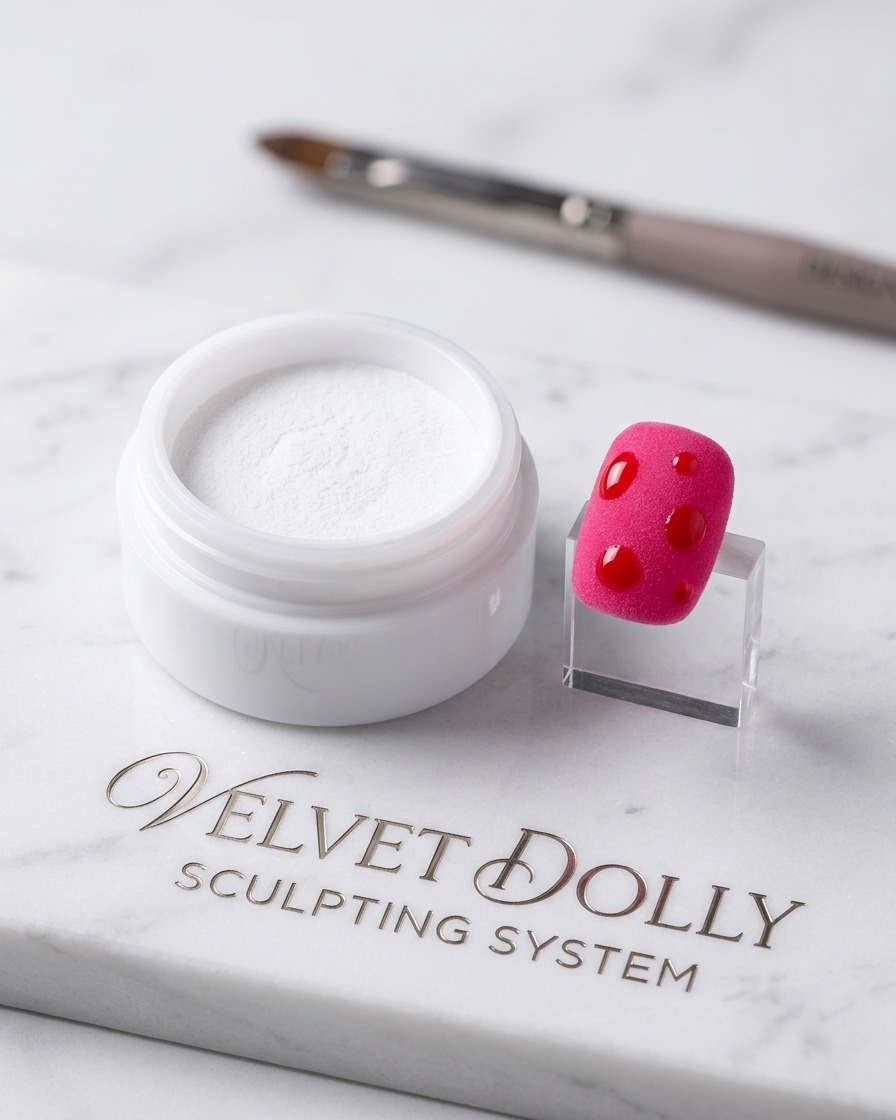
Using a fine-detail brush, place small dots of red gel onto the center of the textured nail. Do not cure these dots yet, as you will need to add powder on top of them.
Tip: Keep the dots slightly separated to allow space for the leopard print pattern later. - 5Set red accents with powder
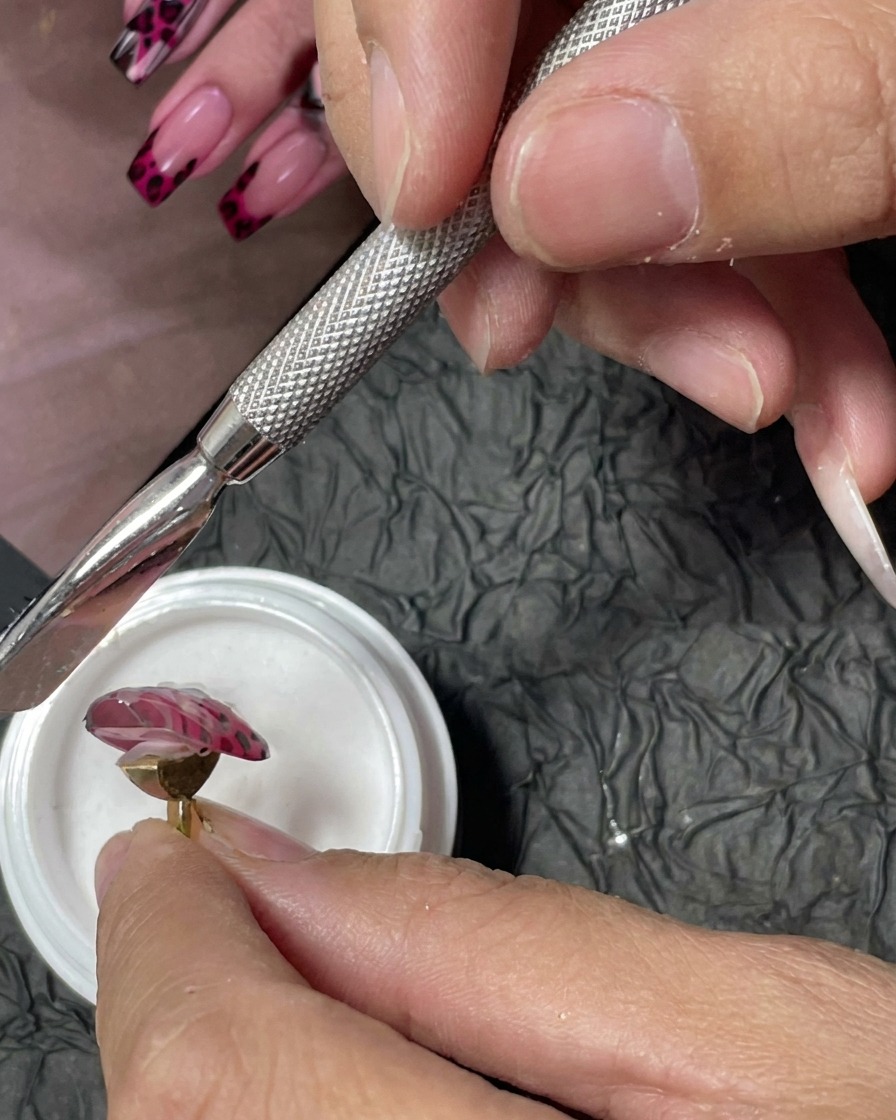
While the red gel dots are still wet, gently sprinkle white acrylic powder over the entire nail. This helps the red gel set with a soft, textured finish instead of remaining glossy.
Tip: Use a small scoop or brush to lightly dust the powder to avoid oversaturating the wet gel. - 6Cure the nail
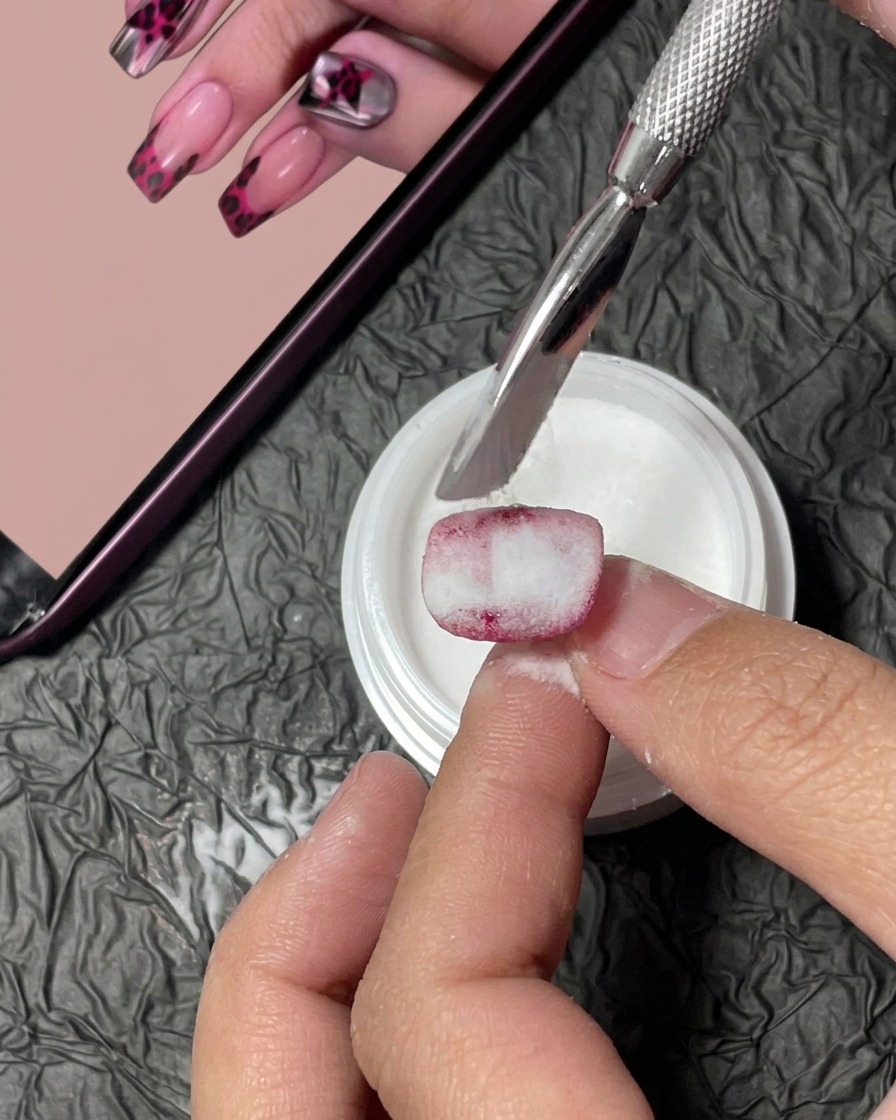
Place the nail into the UV lamp and cure it thoroughly. This will set the red gel dots and the acrylic powder, ensuring a durable, textured surface ready for the final leopard print pattern.
Tip: Follow your UV lamps specific curing time to ensure the gel fully hardens. - 7Outline leopard spots
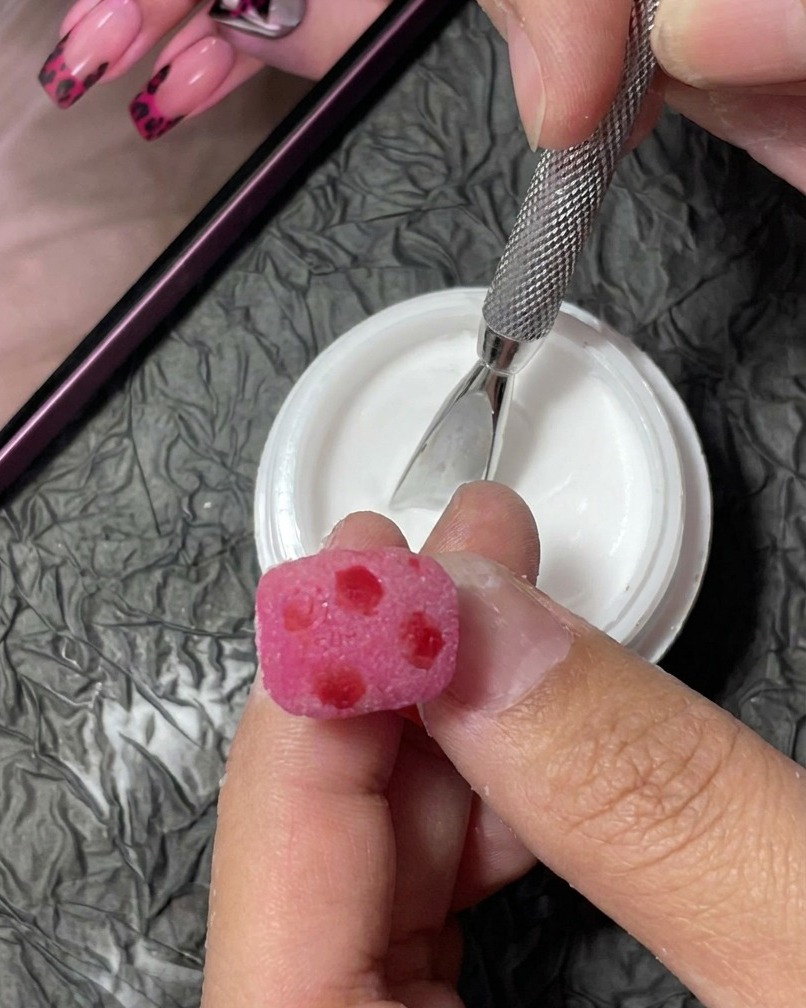
Using a fine liner brush and black gel, carefully draw the outlines of the leopard spots onto the textured nail surface. Vary the shapes and sizes of the spots to create a natural, organic look. Keep the pressure light for delicate, precise strokes.
Tip: Dont aim for perfect circles; irregular, slightly broken outlines look more authentic to real leopard print. - 8Detail the leopard print
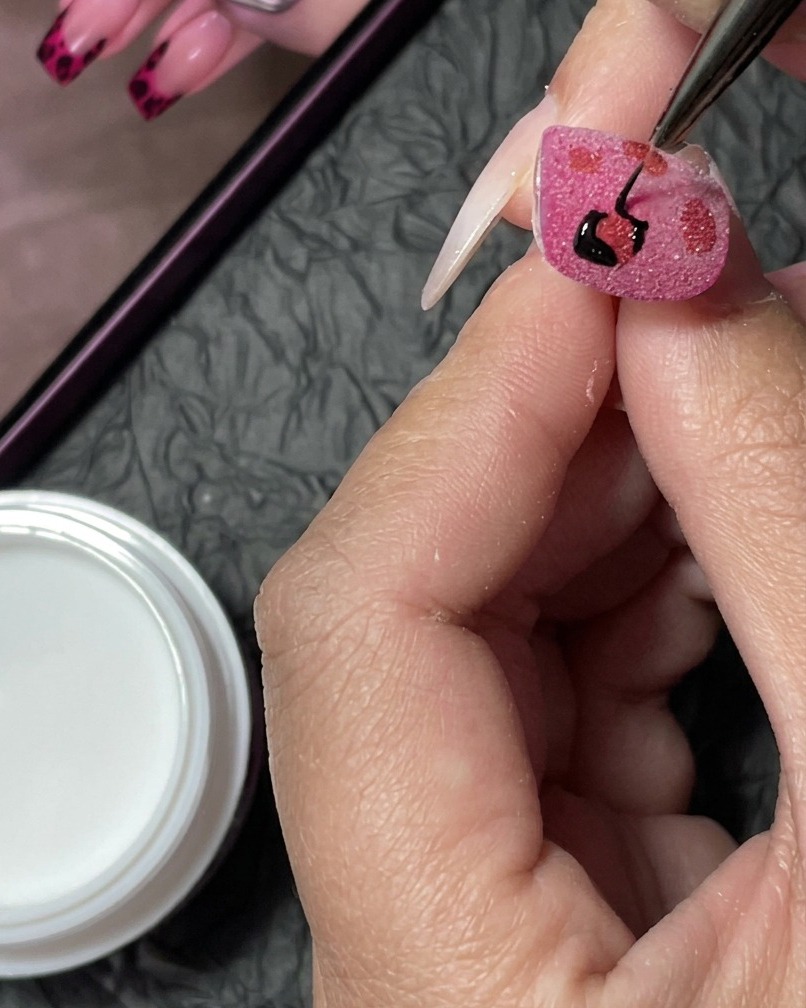
Continue adding more leopard spots across the remaining areas of the nail. Fill in any empty spaces between the initial spots to create a dense, complete pattern. Maintain a consistent style for all spots to ensure a cohesive look.
Tip: Rotate the finger slightly to get better angles for spots on the sides of the nail. - 9Set the pattern with acrylic powder
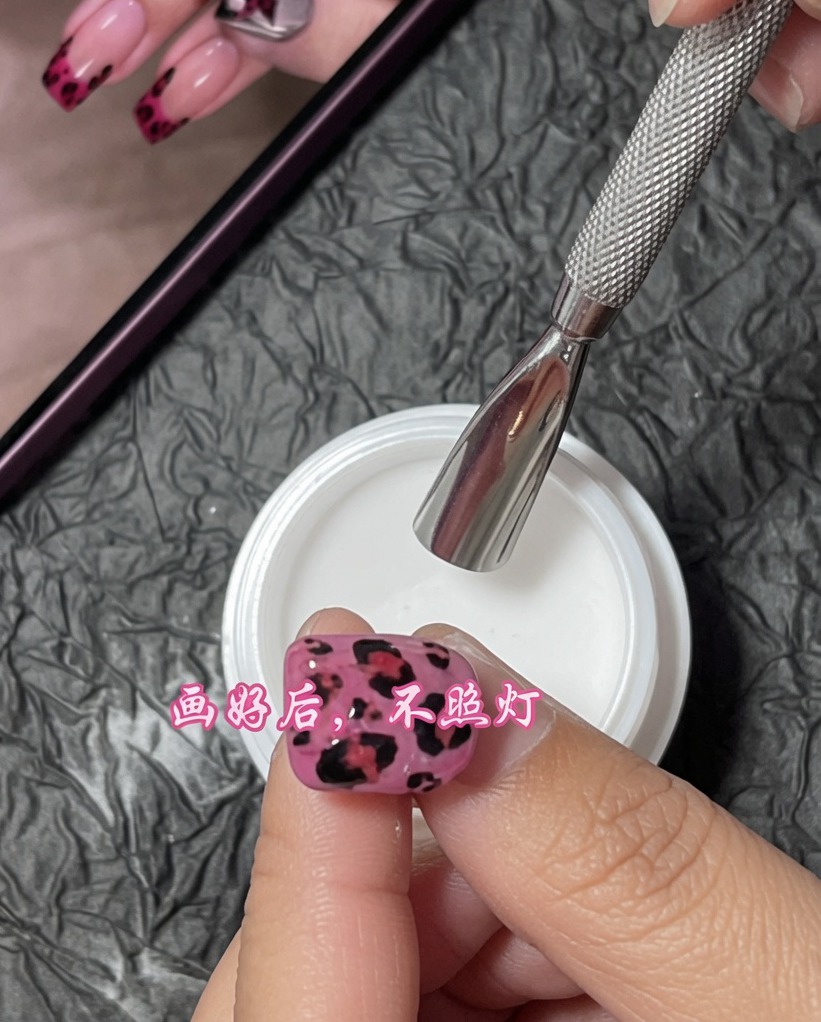
While the leopard print design is still wet and uncured, gently sprinkle clear acrylic powder over the entire surface of the nail. Ensure the powder covers all the wet gel evenly to create a textured, matte finish.
Tip: Use a small spatula or pusher to ensure the powder is evenly distributed without smudging the wet design. - 10Cure the design
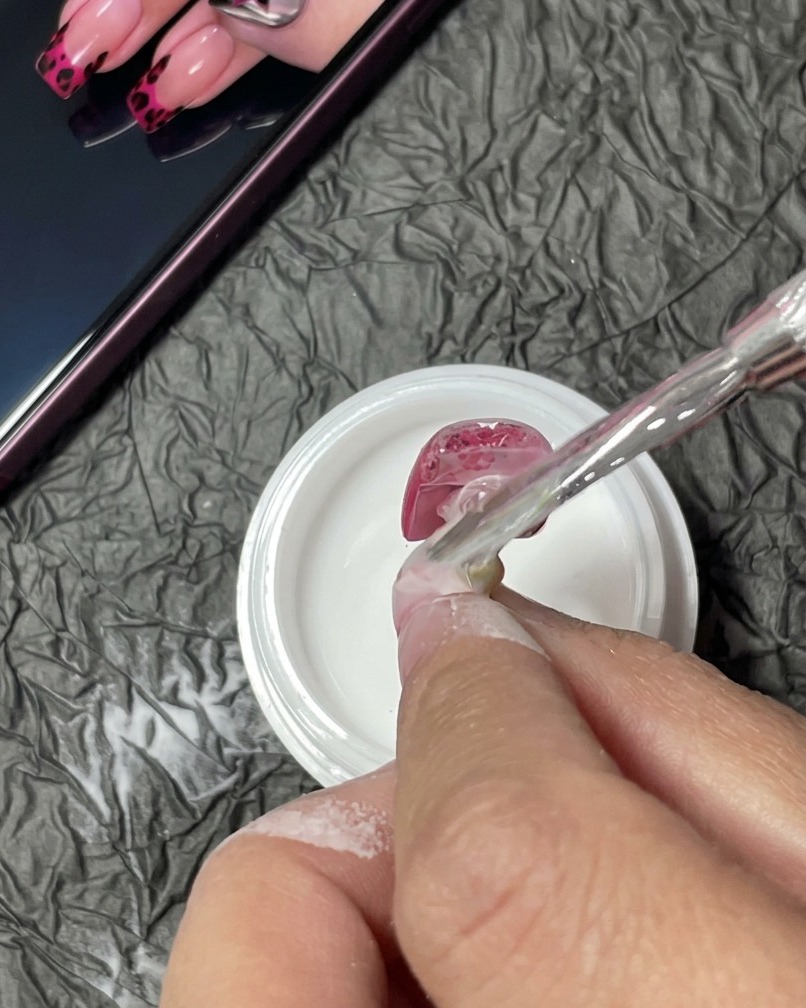
Place the nail under a UV/LED lamp to fully cure the design. This locks in the textured leopard print pattern and ensures the acrylic-infused gel is completely set.
Tip: Follow the curing time recommended for your specific gel polish and lamp to ensure proper hardening. - 11Final dust off
After the final cure, use a clean, dry nail dusting brush to sweep away all excess powder. Focus on the crevices of the leopard spots to ensure the black outlines remain crisp and visible against the textured pink background.
Tip: Brush in multiple directions to ensure no loose powder remains in the crevices of the textured design.