Rose Red Gemstone Magnetic Cat-Eye Nails — Step-by-Step Tutorial
Learn how to achieve a dimensional, gemstone-like rose red cat-eye manicure. This step-by-step tutorial covers magnetic shaping and delicate silver cuticle detailing.
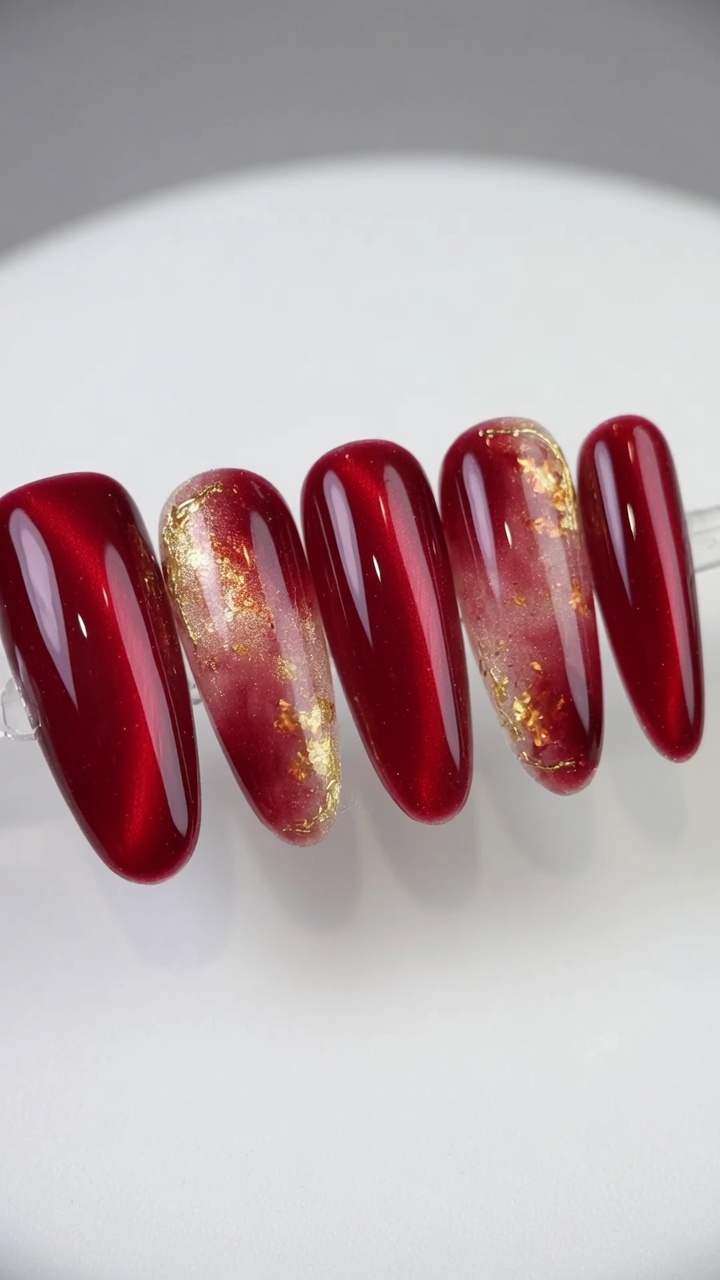
Magnetic gel polish continues to dominate nail trends, offering a mesmerizing, multi-dimensional finish that mimics precious stones. This deep rose red look elevates the classic cat-eye effect by concentrating the magnetic shimmer into a striking, centralized line. Paired with a delicate silver glitter accent along the cuticle, this manicure balances bold color with elegant detailing. It is a captivating design that looks intricately complex but is surprisingly achievable at home with the right tools.
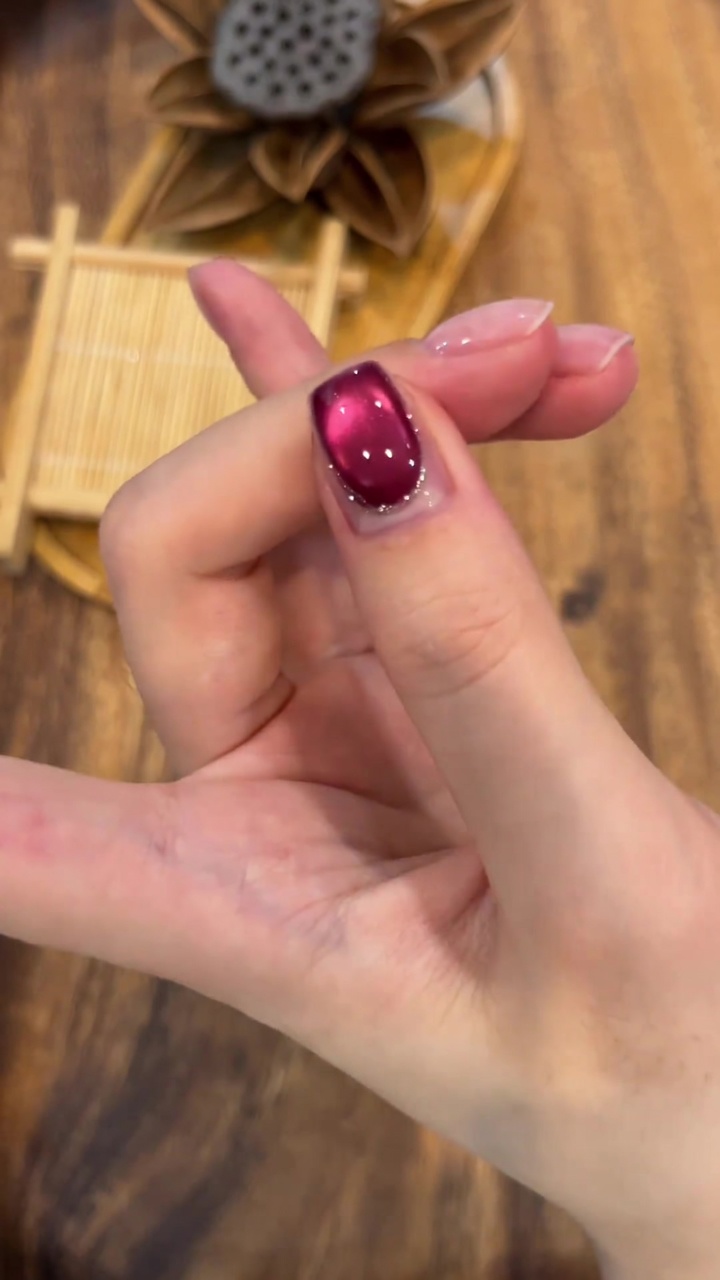
Steps
- 1Prep the cuticle area
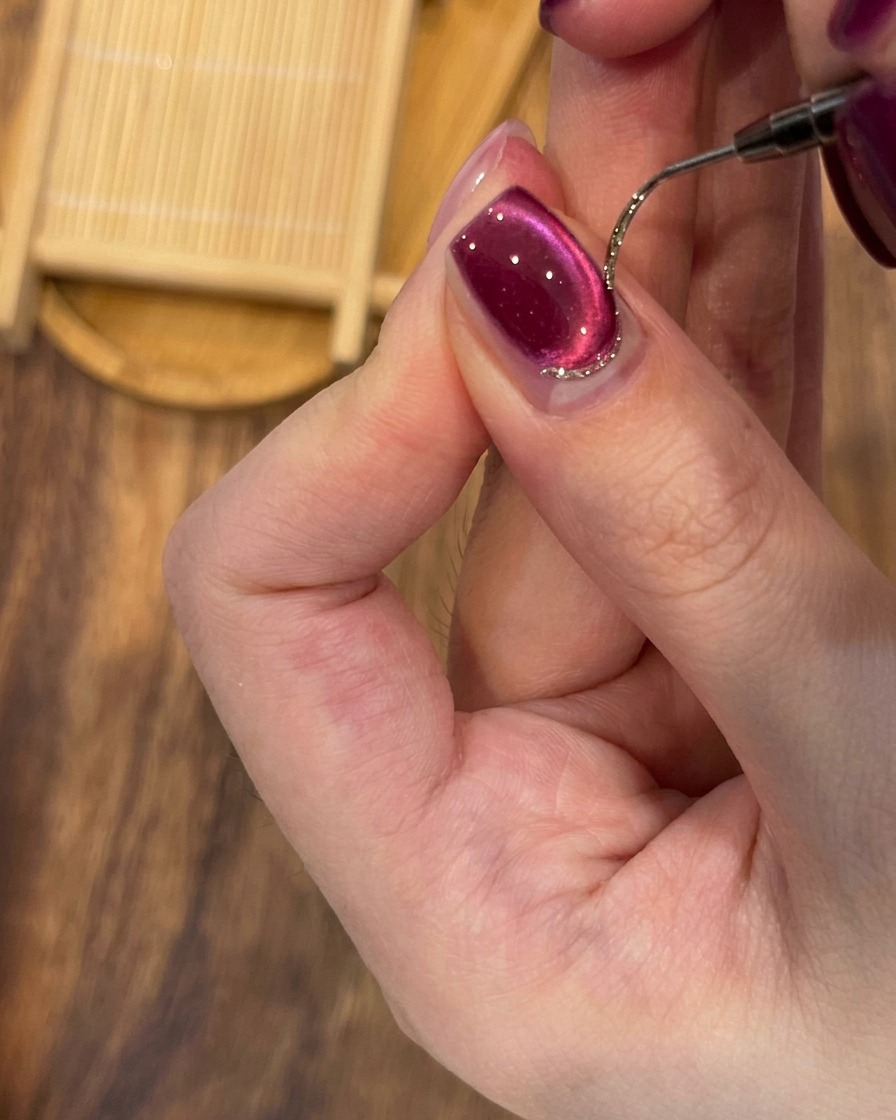
Using a sanitized metal cuticle pusher, gently push back the cuticle along the base of the nail plate. This clears away any skin debris to ensure a clean surface for smooth polish application and helps prevent lifting.
Tip: Apply gentle pressure; do not force the tool into the nail plate to avoid damaging the nail bed. - 2Apply magnetic gel polish
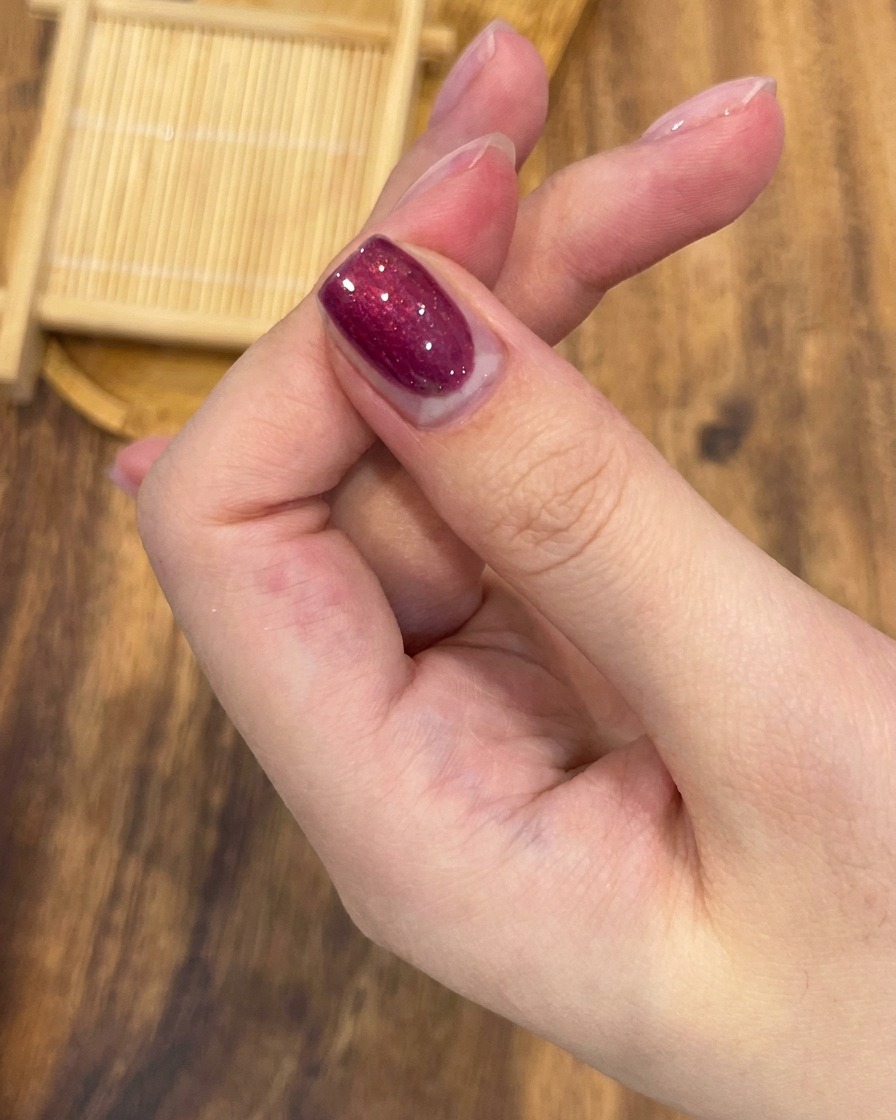
Apply an even layer of rose red magnetic cat-eye gel to your nail. Ensure the coat covers the nail bed thoroughly without flooding the cuticle or side walls.
Tip: If any gel touches your skin, clean it up with a small brush dipped in cleanser before curing. - 3Create the cat-eye effect
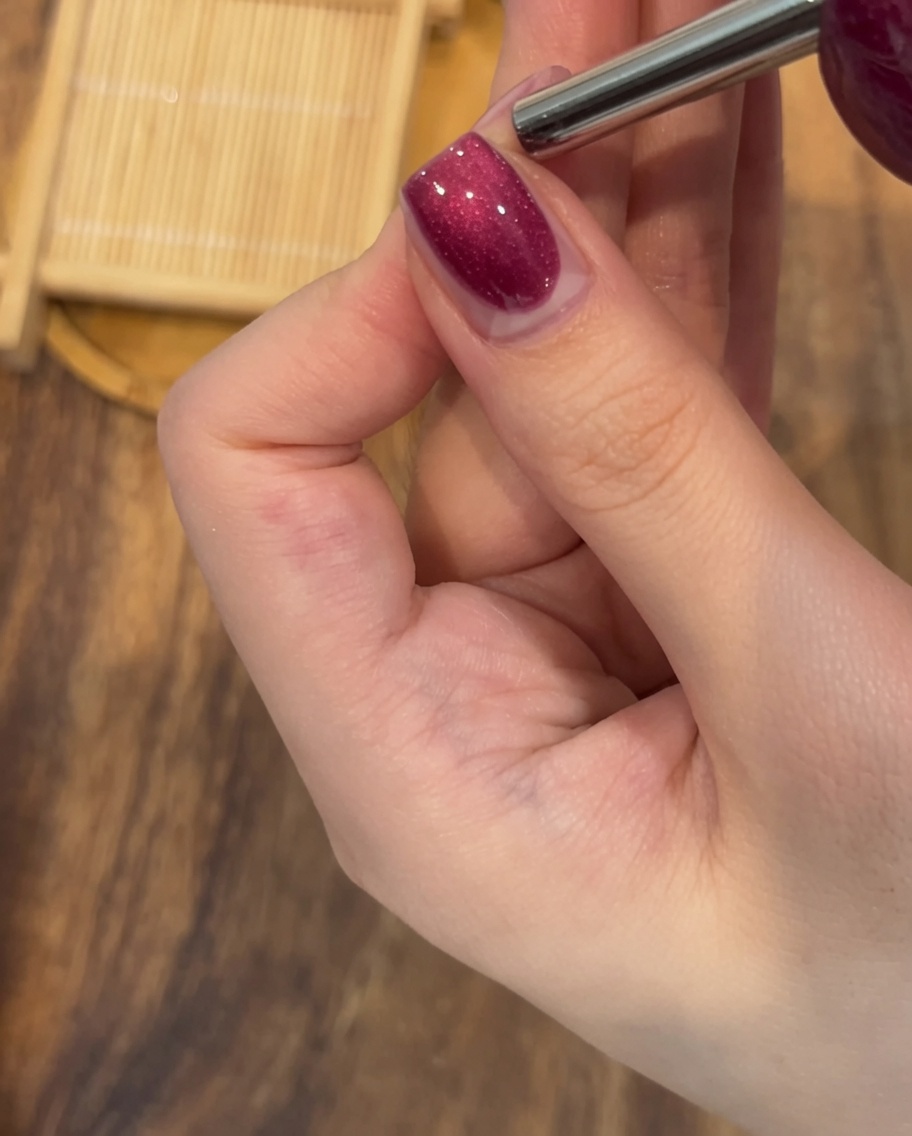
While the gel is still wet, hold a rectangular magnet over the nail without touching it. Position the magnet to attract the magnetic particles, shifting them into a crisp, deep cat-eye line across the nail.
Tip: Hold the magnet steady for about 5-10 seconds to allow the particles to fully settle into the desired shape. - 4Refine the magnetic shimmer
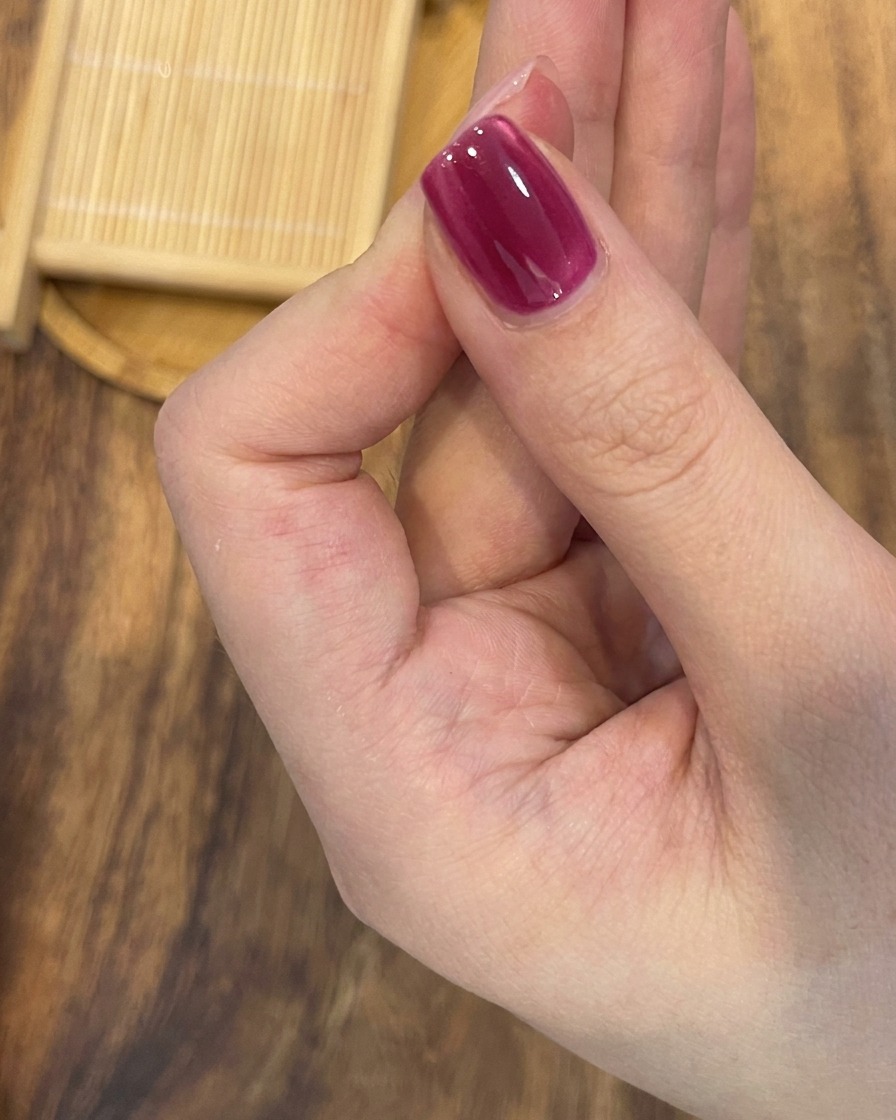
Gently reposition the magnet at a diagonal angle over the nail. This technique helps refine the intensity of the cat-eye shimmer, making the line appear sharper and more defined.
Tip: Experiment with different angles until you achieve your preferred level of shimmer intensity before curing. - 5Center the magnetic line
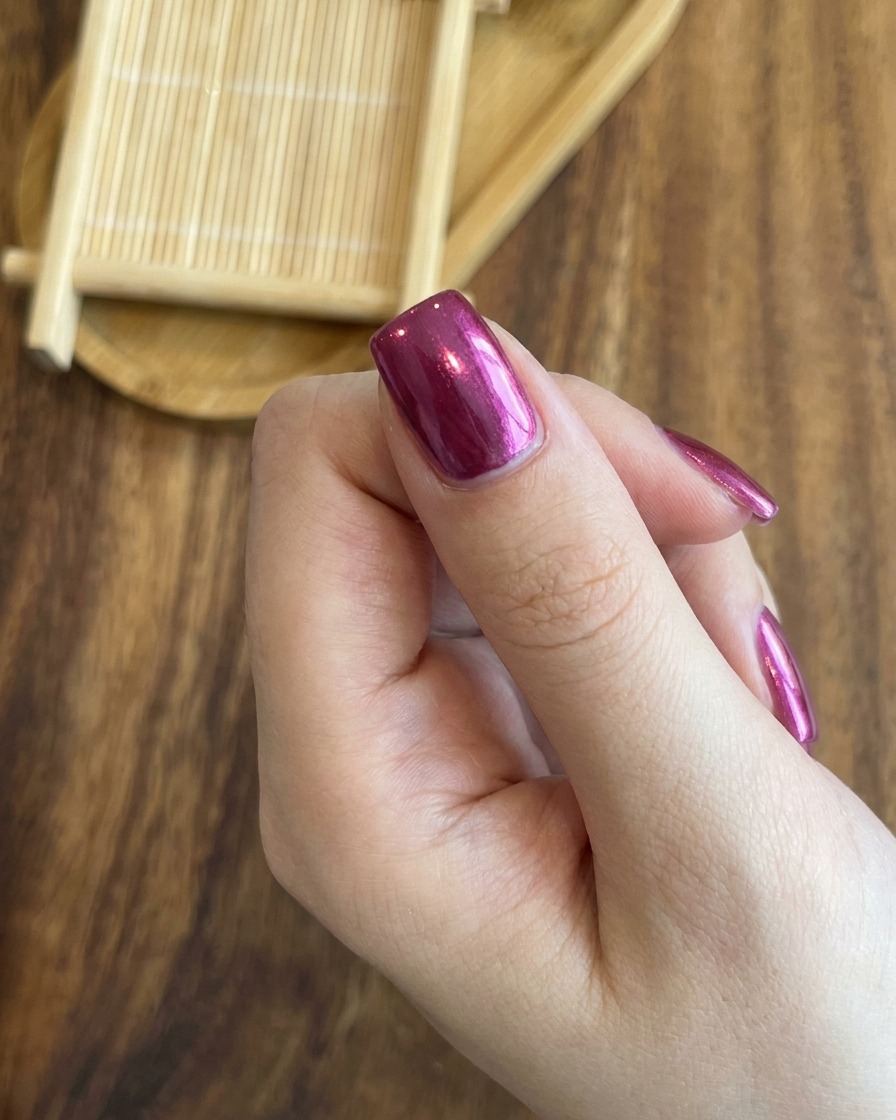
Perform a final adjustment with the magnet, shifting it slightly to ensure the magnetic particle line is perfectly centered on the nail. Check the alignment from different angles to ensure consistency.
Tip: If the line looks off-center, move the magnet slowly to nudge the particles into the perfect position. - 6Final check before curing
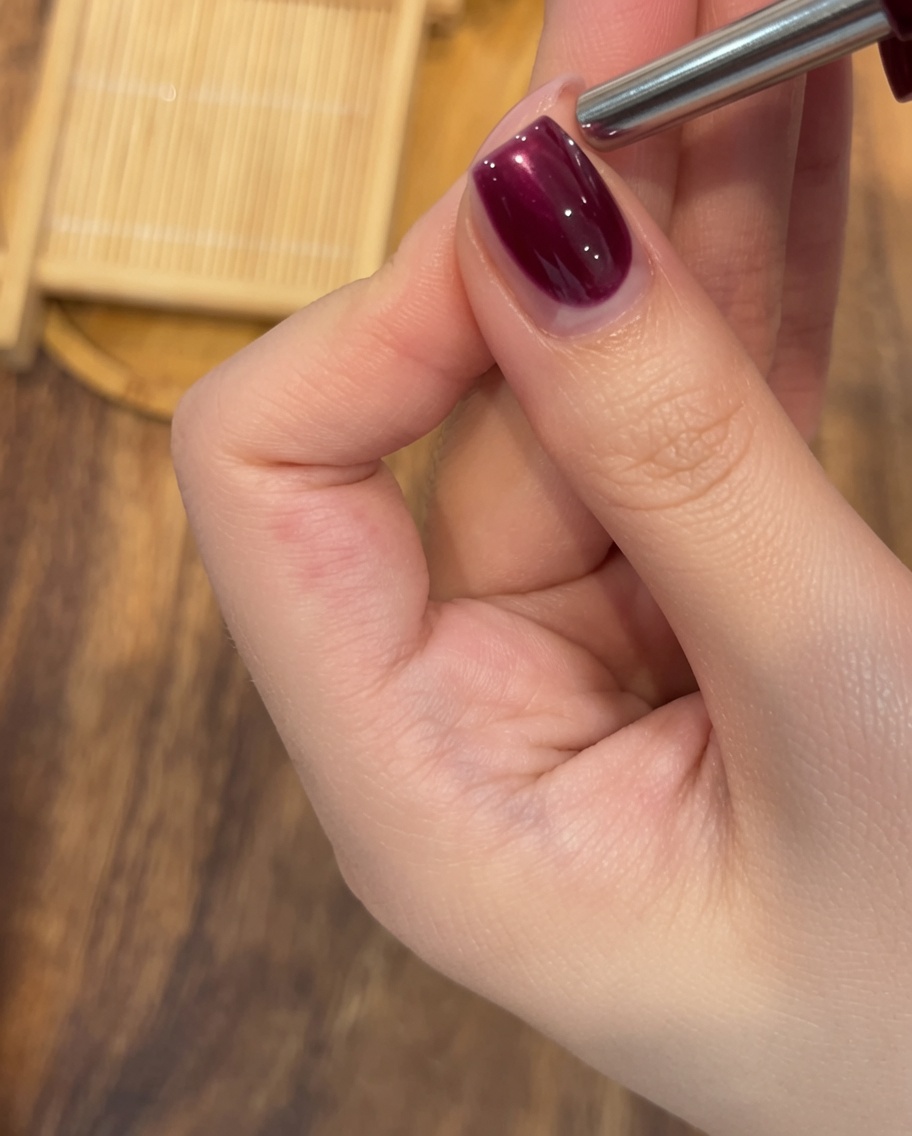
Inspect the nail one last time to ensure the cat-eye shimmer is positioned exactly where you want it. Once satisfied with the look, place your hand under the UV or LED lamp to cure the gel and lock the design in place.
Tip: Always do a final check before curing, as you cannot move the particles once the gel has hardened under the light. - 7Cure the cat-eye gel
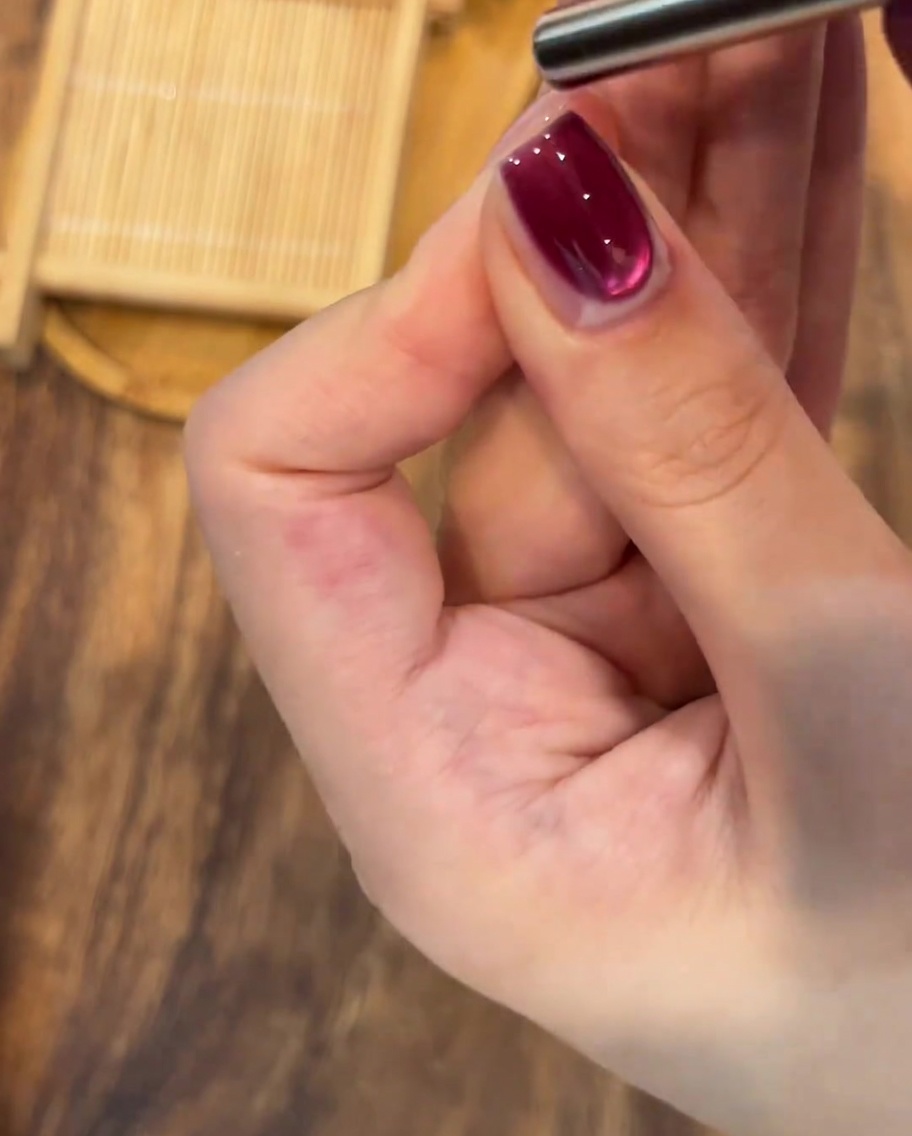
Place your nails under the LED lamp to cure the cat-eye gel polish. Ensure your hand is positioned correctly to allow the light to fully reach every nail, ensuring the magnetic effect is set and the gel is properly cured according to the products required time.
Tip: Check that the entire nail surface is under the light to avoid uneven curing. - 8Detail with silver glitter
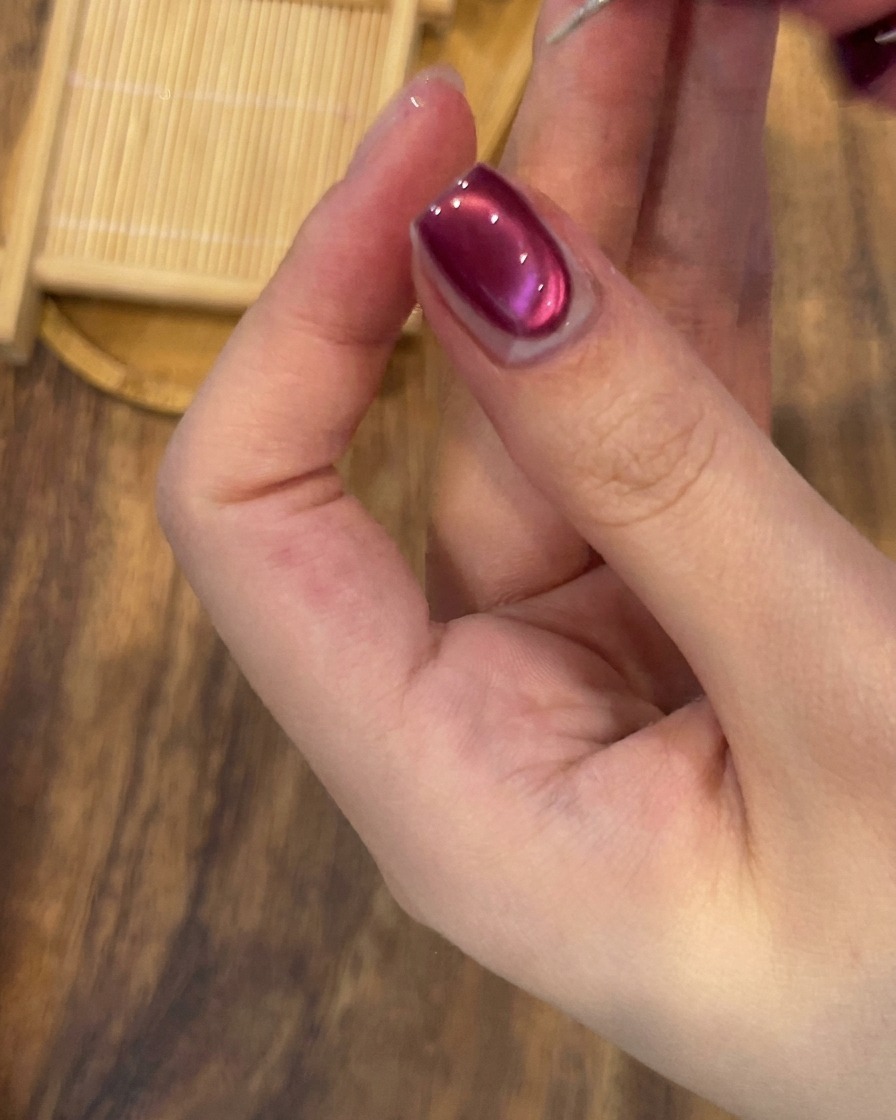
Using a fine liner brush, carefully apply a thin line of silver glitter gel along the cuticle area of the nail. Use steady, light strokes to create a crisp and clean line that highlights the base of the nail.
Tip: Keep your hand stable against the table to maintain control when drawing the thin glitter line. - 9Refine the glitter line
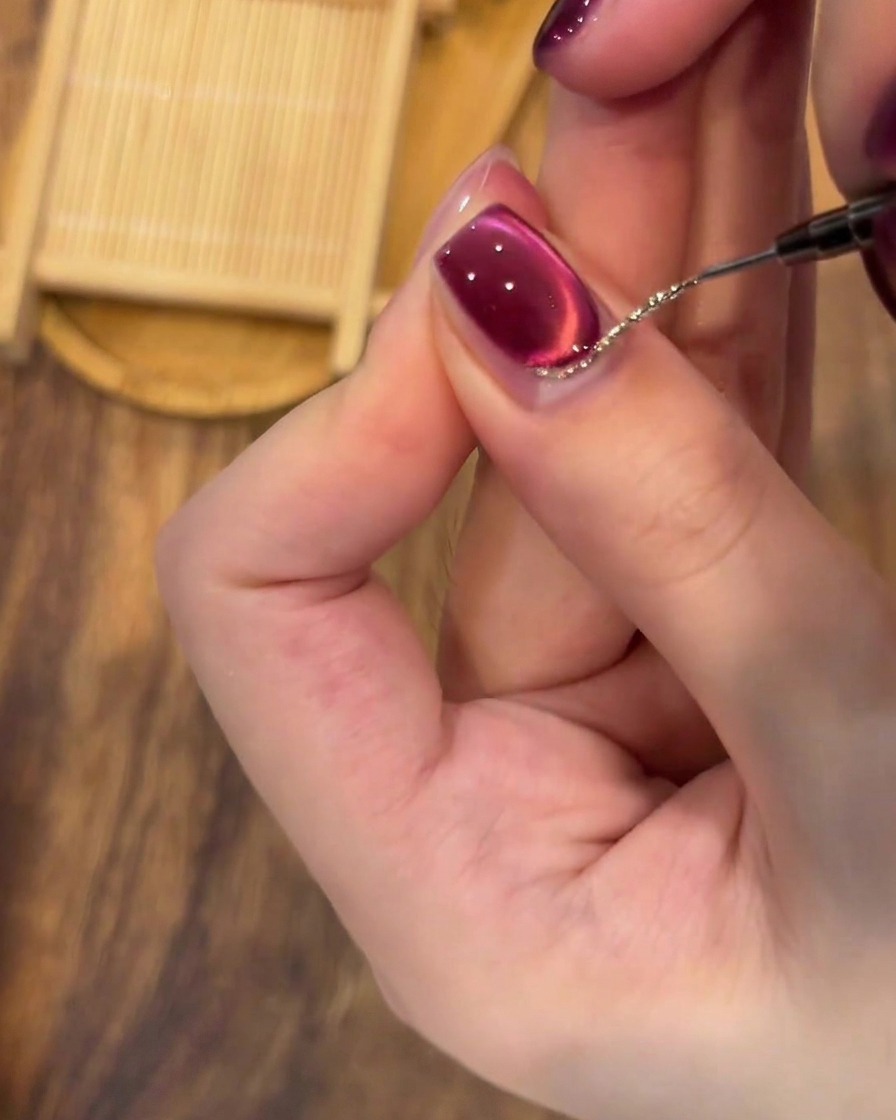
Meticulously continue tracing the silver glitter along the base of the nail to complete the detailing. Ensure the thickness of the line remains consistent for a professional and polished appearance.
Tip: Work in small sections for better precision when creating intricate nail art details. - 10Apply top coat
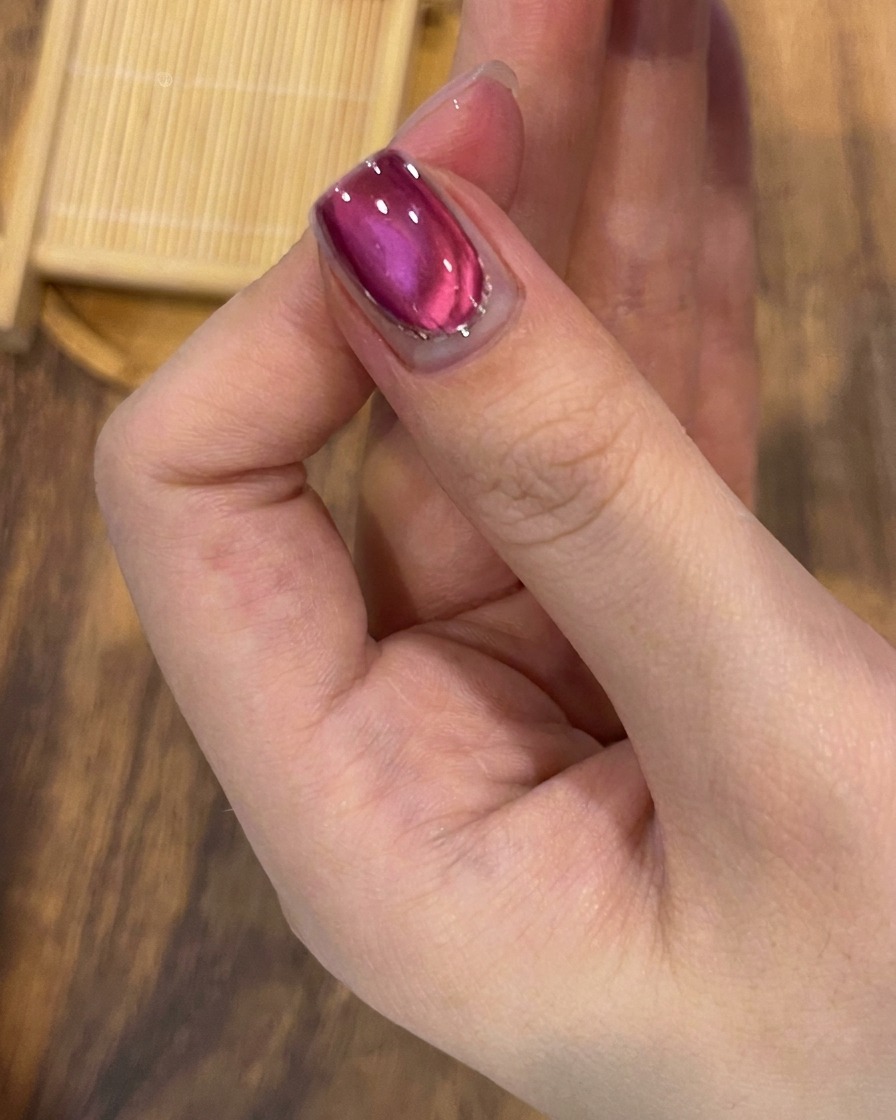
Apply a thin, even layer of gel top coat over the entire nail, making sure to cover the glitter detailing and seal the free edge. This step protects the design and adds a durable, high-gloss finish to the manicure.
Tip: Capping the free edge with top coat helps prevent chipping and extends the life of your nail art. - 11Final cure
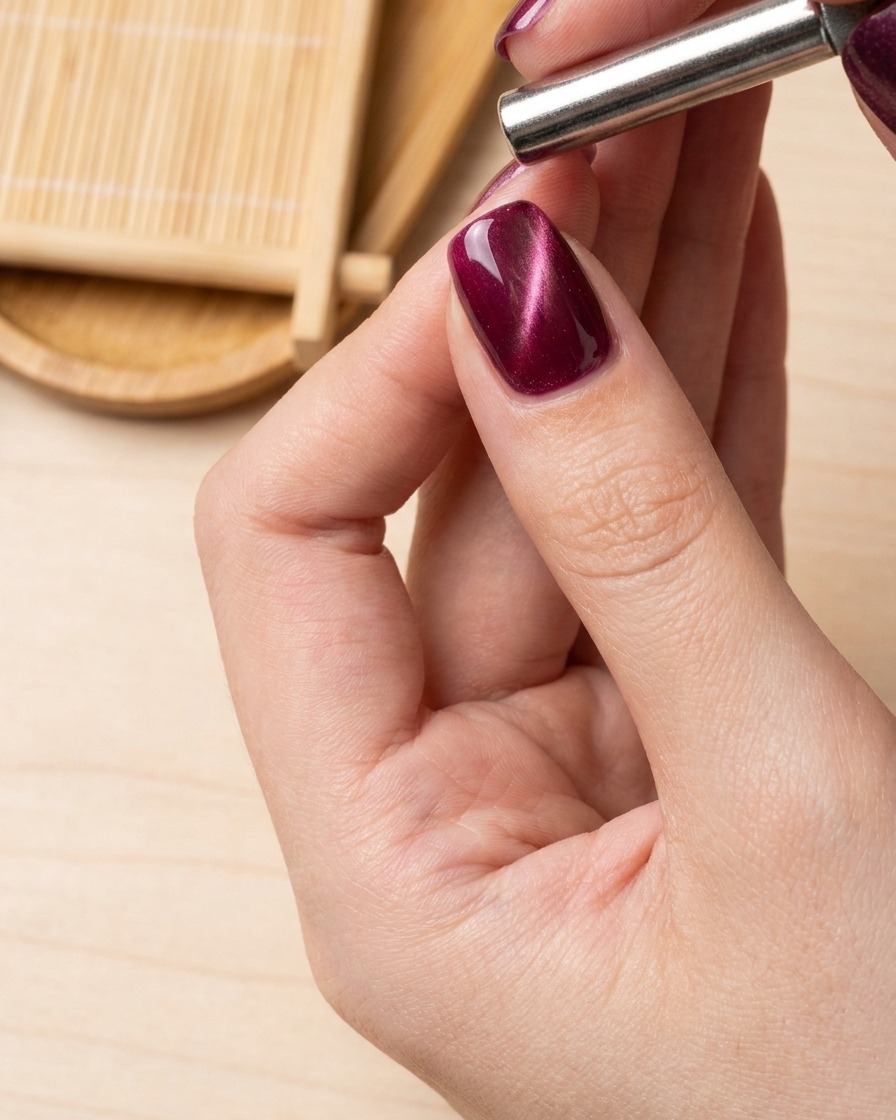
Place your nails back into the LED lamp for the final cure. This step ensures that the top coat is completely hardened and that the entire nail design is securely sealed and ready to last.
Tip: Follow the specific curing time recommended by your top coat manufacturer for the best results. - 12Cleanse the nails
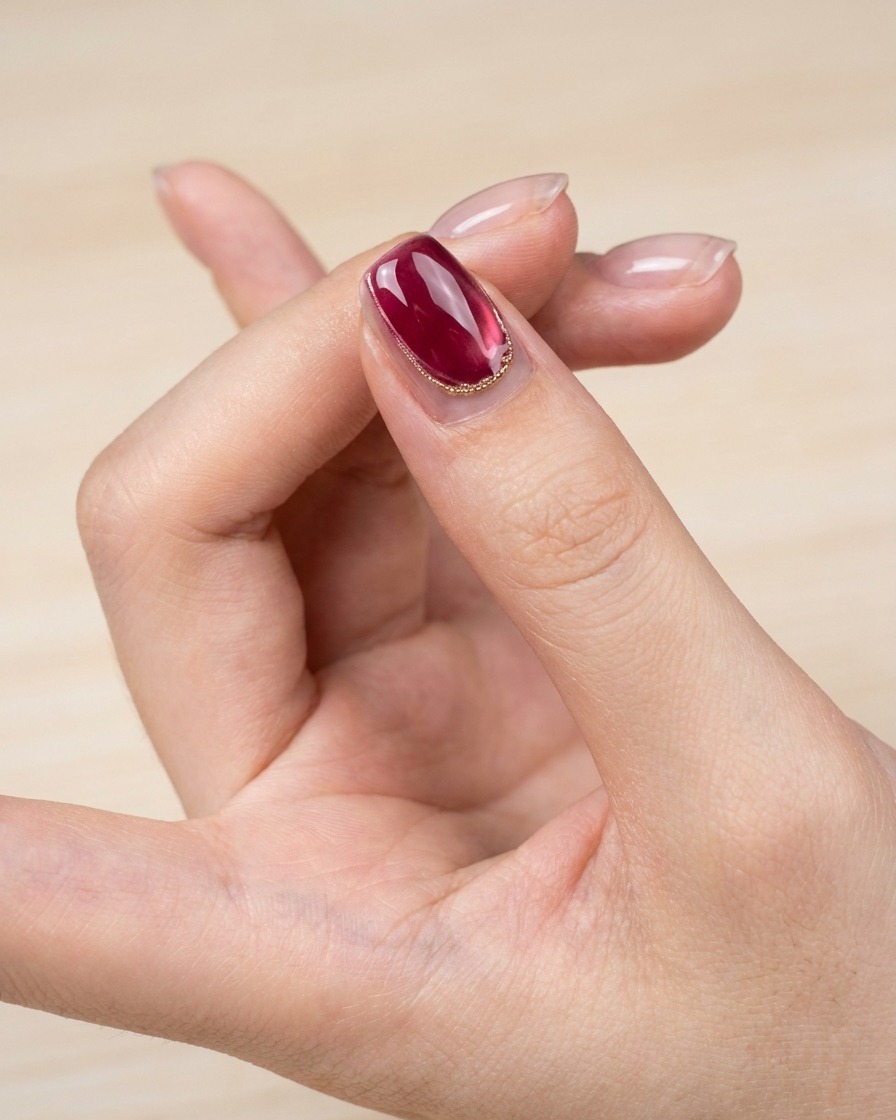
After the final cure, use a lint-free cloth soaked in nail cleanser to wipe away the sticky inhibition layer from the surface of the nails. This reveals a perfectly glossy, non-tacky finish.
Tip: Use a fresh section of the lint-free wipe for each nail to avoid spreading any residue.