Red and Gold Watercolor Marble Nails — Luxury Cat-Eye Tutorial
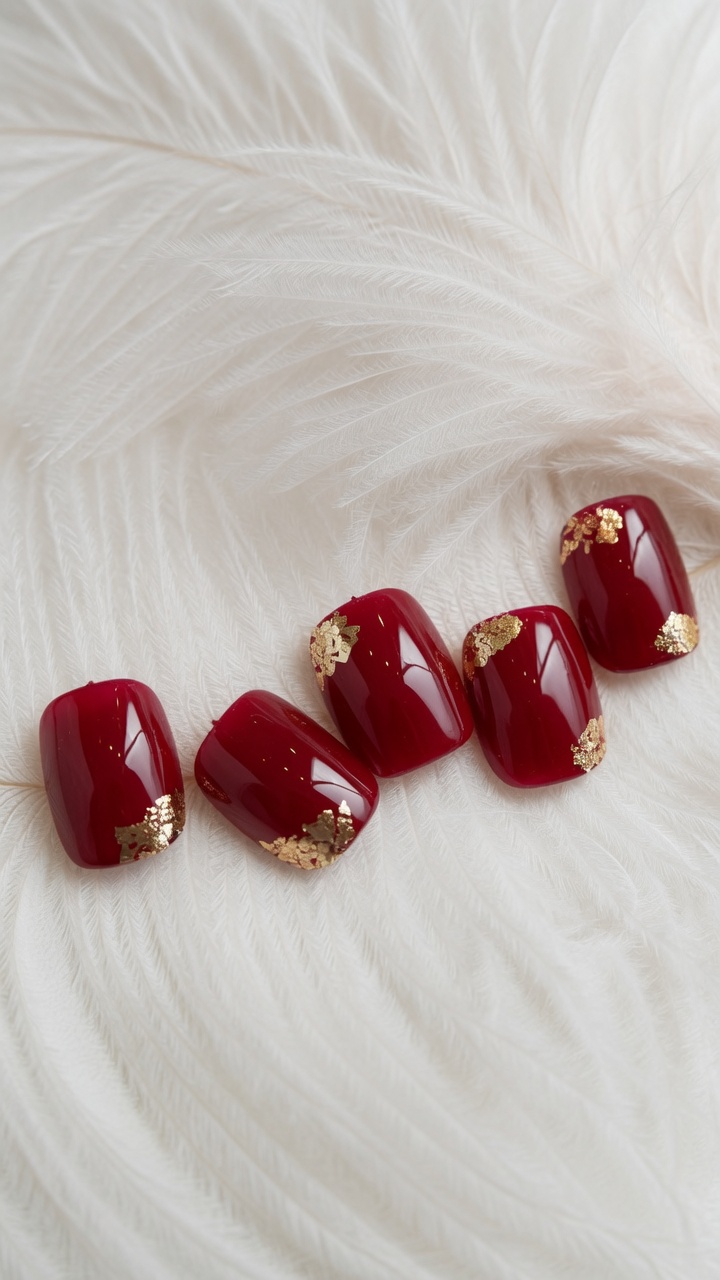
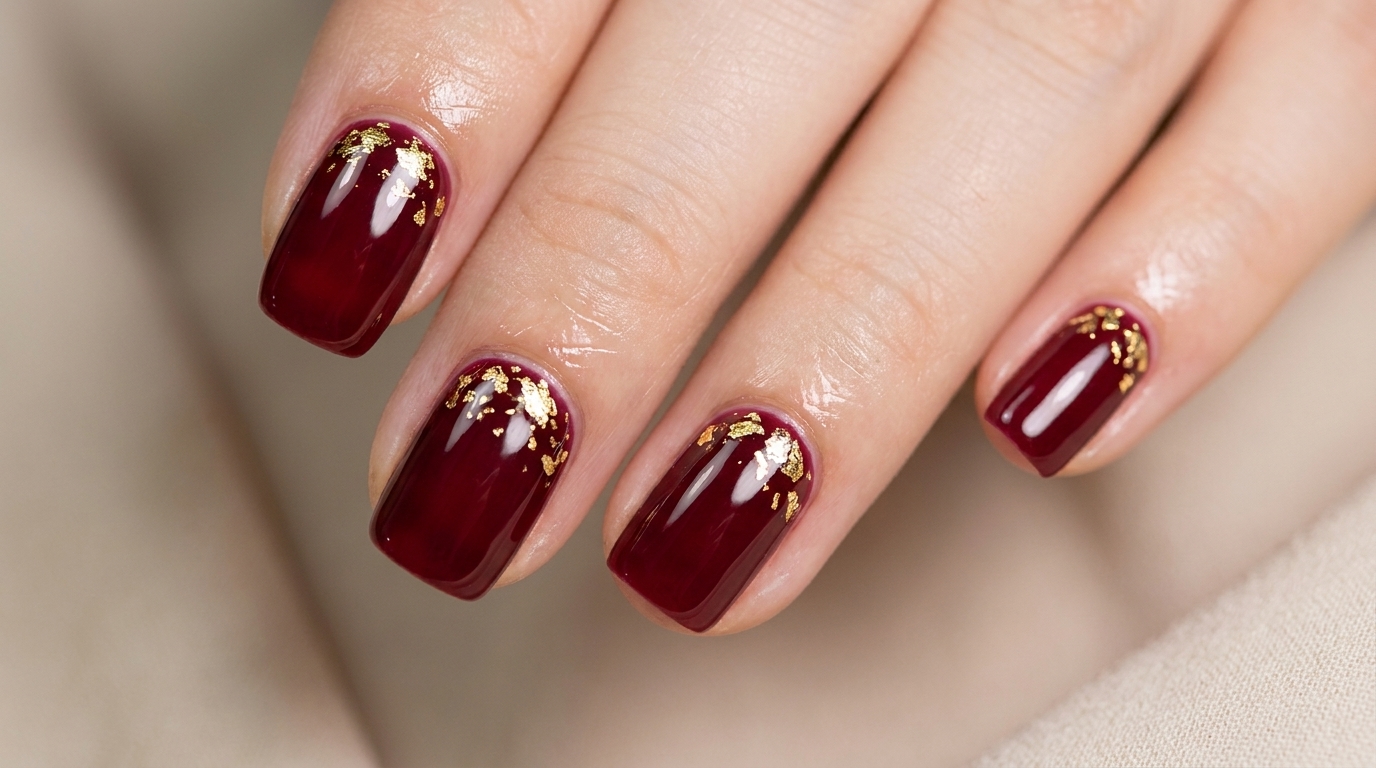
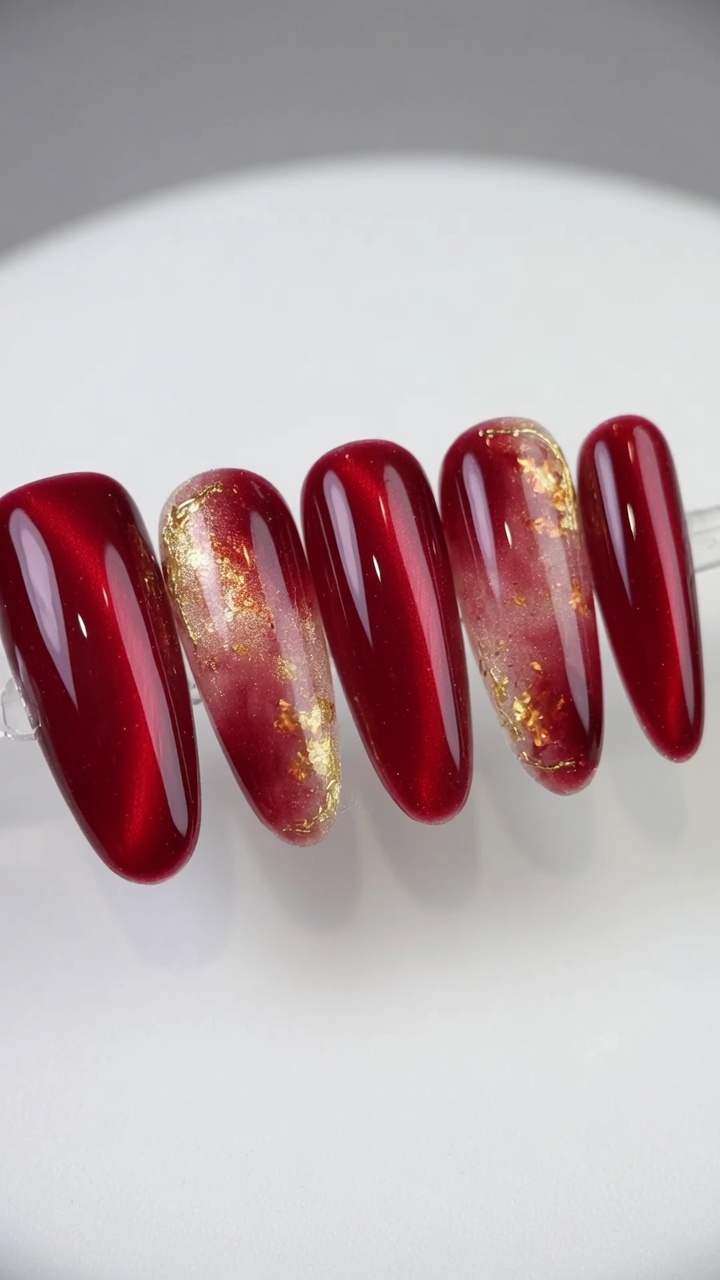
Elevate your manicure with this sophisticated red and gold watercolor marble look, combining cat-eye magnetic effects with delicate gold foil accents.
This opulent nail design blends the deep, mysterious allure of red cat-eye polish with the artistic, airy beauty of watercolor marble techniques. By layering magnetic pigments and metallic foil, you create a rich, multi-dimensional texture that feels both modern and timeless. It is the perfect choice for those who love high-gloss finishes and intricate, jewelry-inspired nail art.
Steps
- 1Apply red cat-eye gel
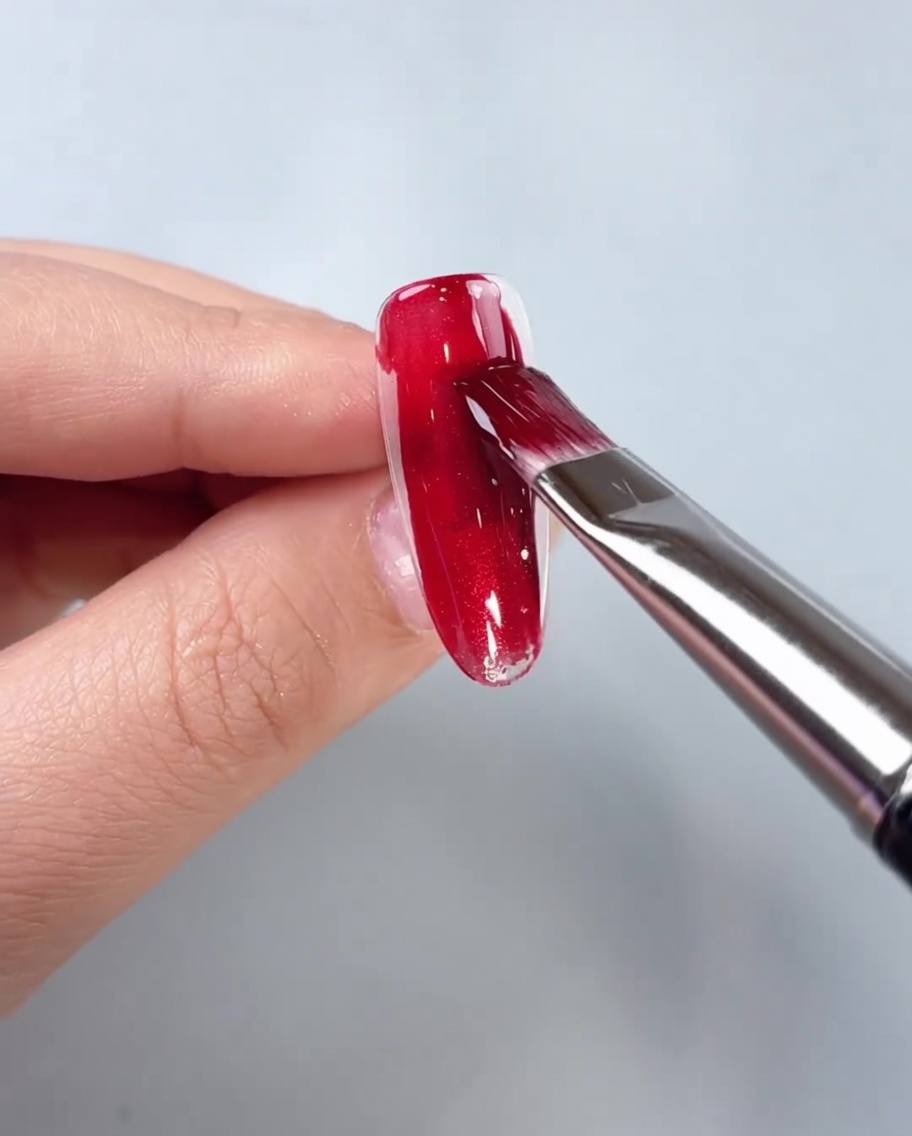
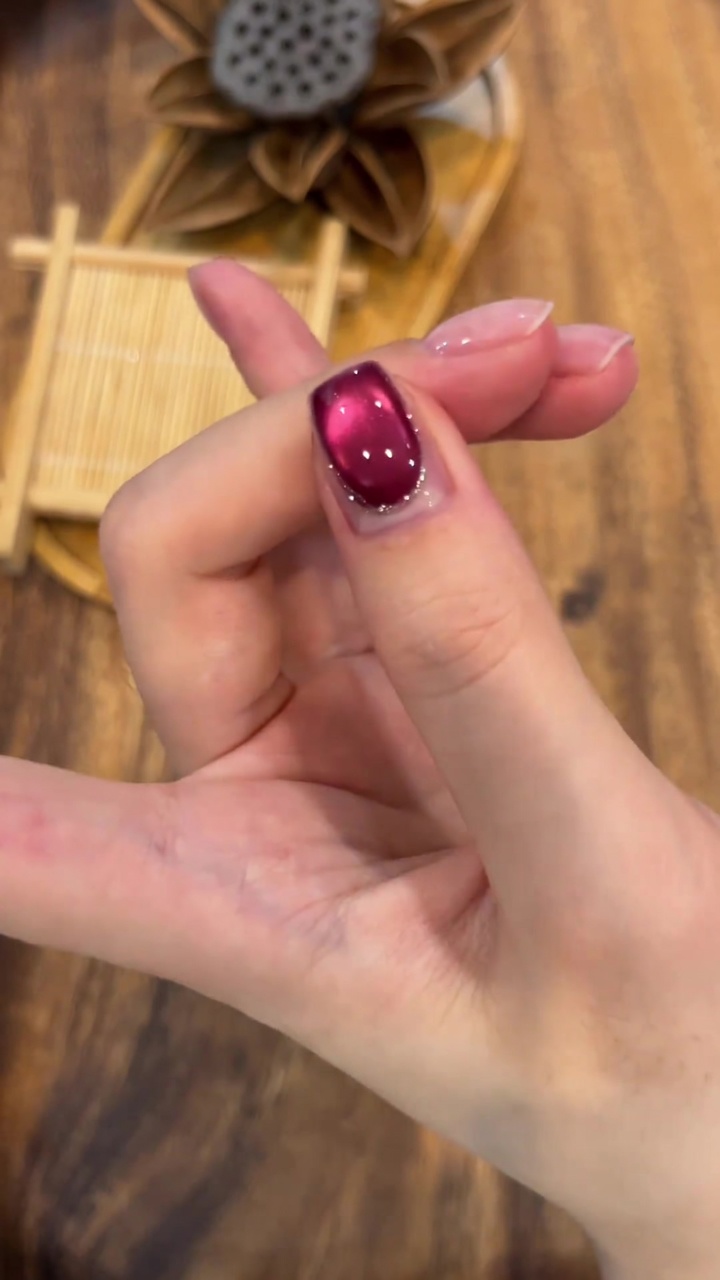
Apply a layer of red cat-eye gel number 04 to the nail tip, ensuring even coverage. Use the brush to gently spread the gel, creating a smooth and consistent base for the magnetic effect.
Tip: Work in thin layers to ensure the gel cures evenly and avoid pooling at the cuticle. - 2Manipulate magnetic particles
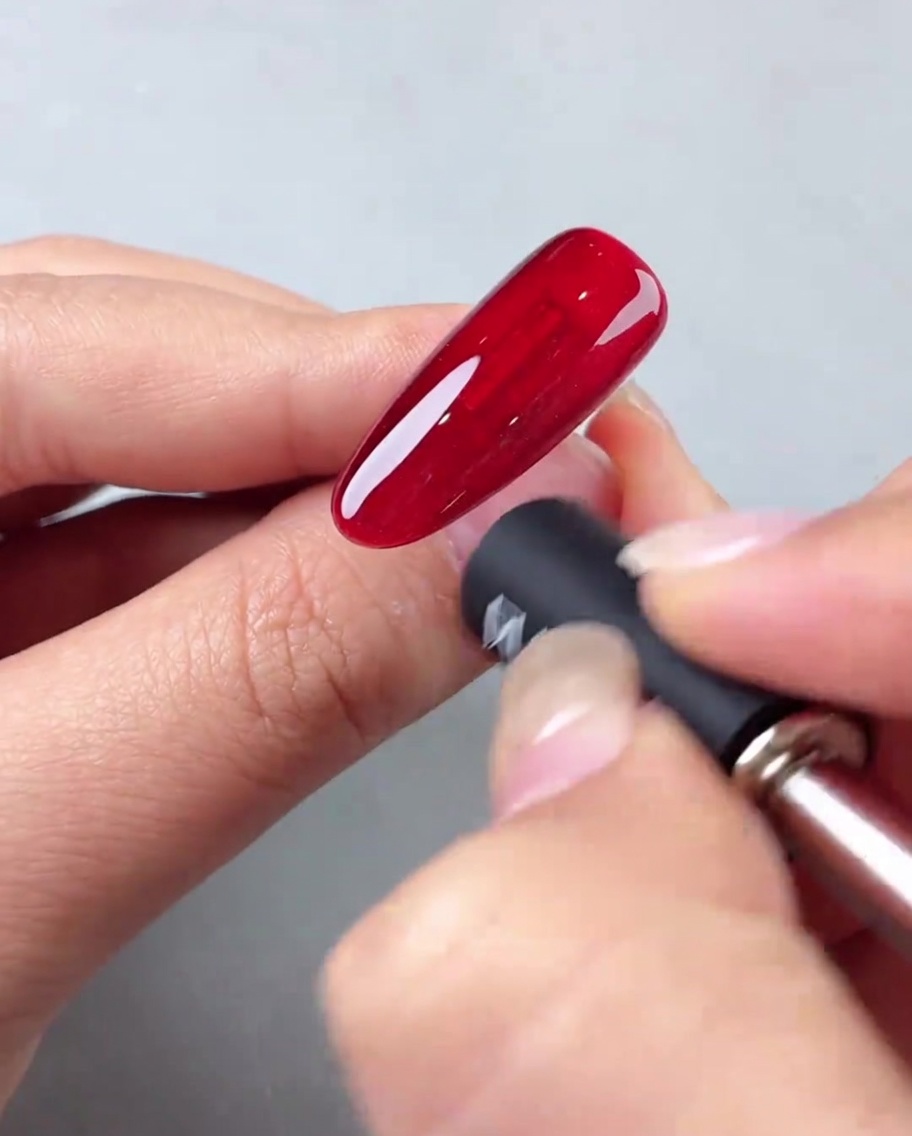
While the red cat-eye gel is still wet, hold a professional nail magnet close to the side of the nail. Move it in a smooth arc motion to shift the magnetic particles, creating a deep side-arc light effect.
Tip: Keep the magnet steady and close to the nail surface for a crisp, defined light line. - 3Seal with glossy top coat
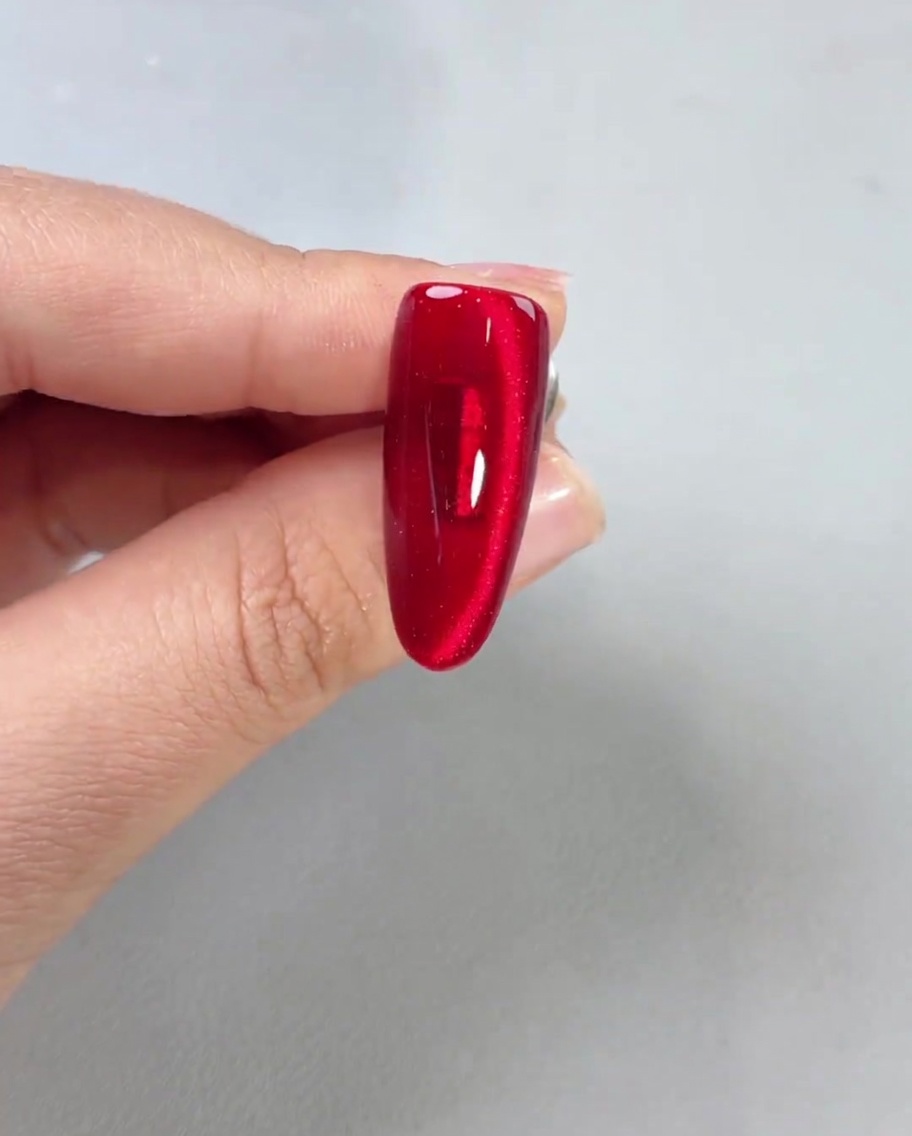
Apply a generous layer of glossy top coat over the cured cat-eye effect to seal the nail. Ensure the free edge is capped for durability and maximum shine.
Tip: Use a smooth, sweeping motion to apply the top coat, avoiding air bubbles for a flawless, transparent finish. - 4Apply jade base foundation
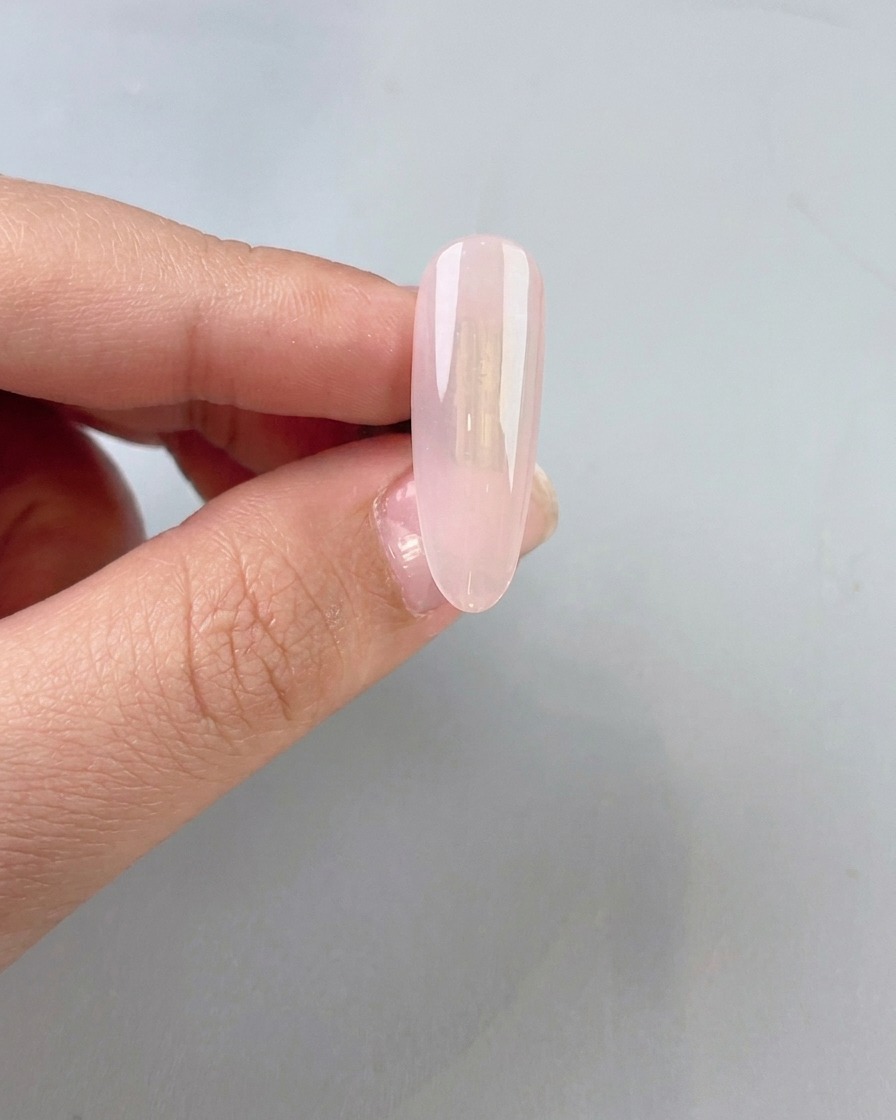
Apply a layer of jade base gel number D01 to the nail surface. This neutral foundation provides the ideal canvas for the blooming effect of the watercolor gels.
Tip: Ensure the base gel is applied evenly to facilitate the blending of subsequent colors. - 5Apply watercolor gel
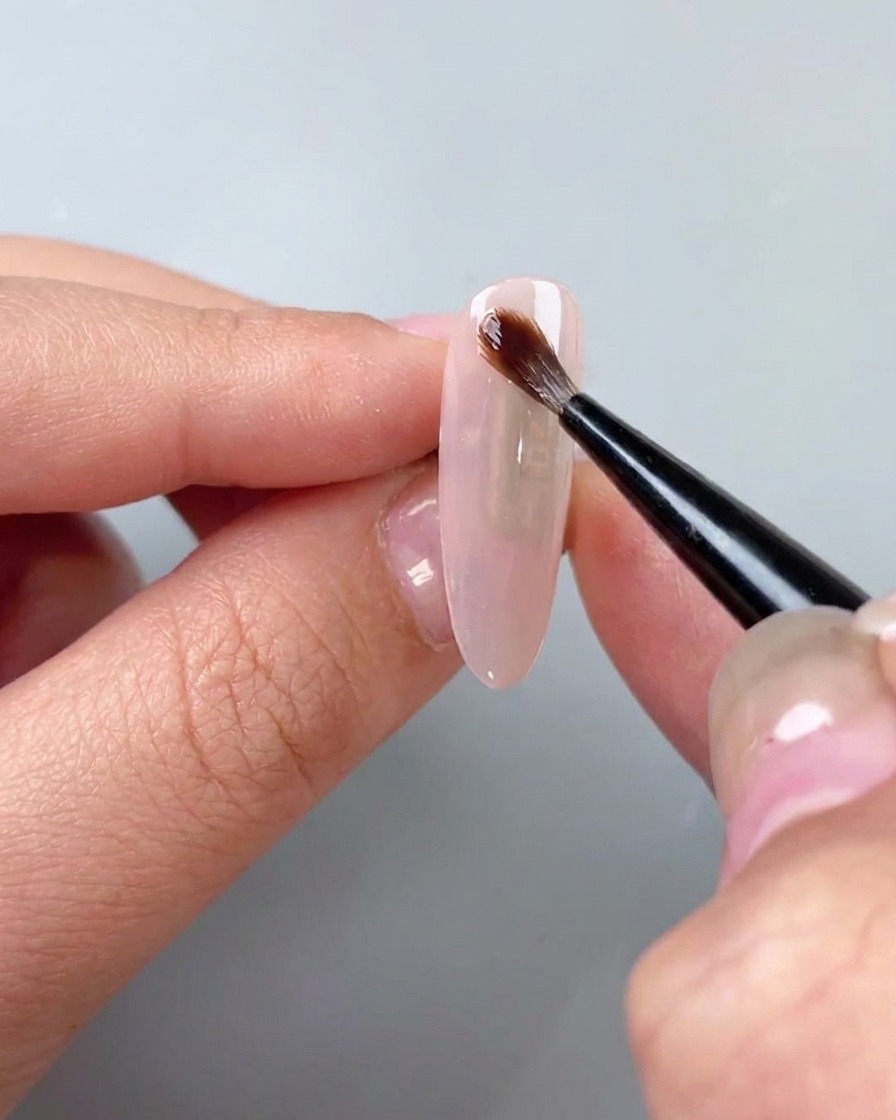
Apply the easy watercolor gel over the cured jade base layer. This specialized gel will help subsequent colors spread and blend for an artistic effect.
Tip: Apply a thin layer to allow the pigment to move and bloom effectively. - 6Add gold foil accents
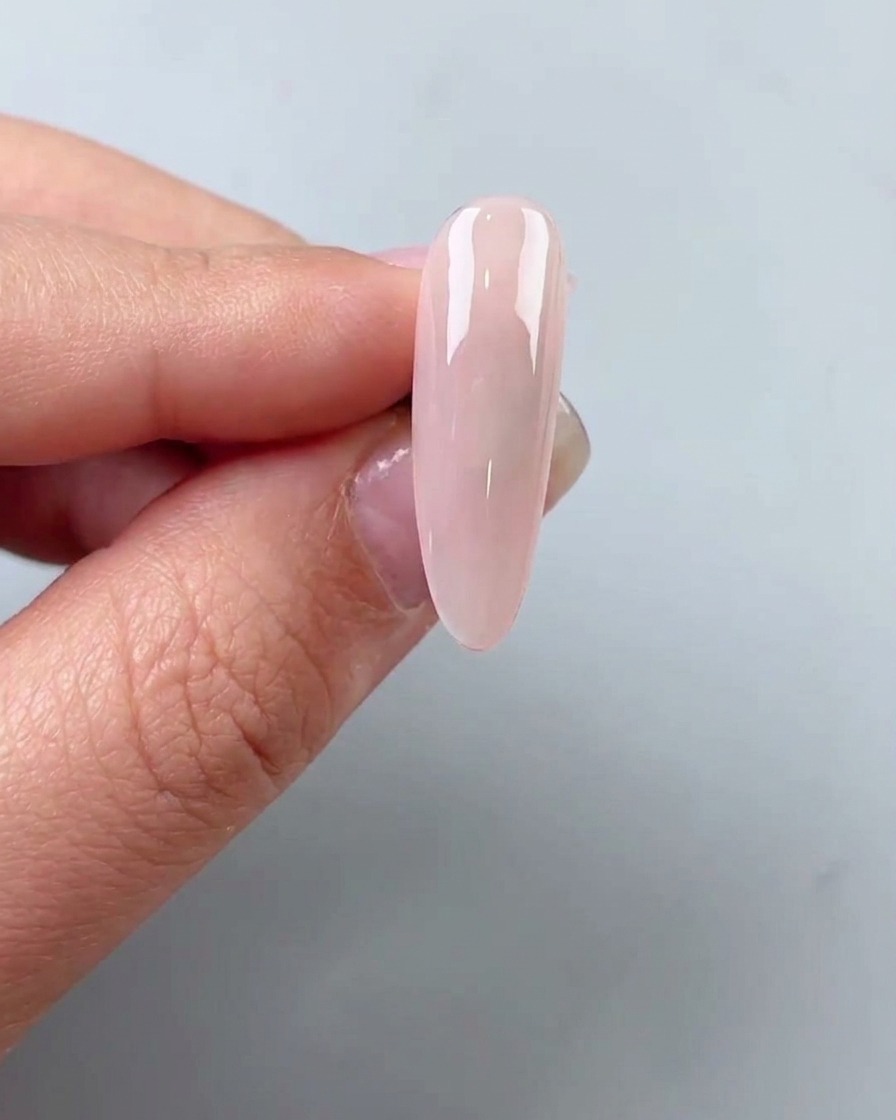
Carefully place small, irregular pieces of gold foil onto the wet surface of the watercolor gel. The foil will adhere and create a luxurious, textured look.
Tip: Use tweezers to position the foil precisely, and dont worry about perfect placement—irregular shapes look more artistic. - 7Apply light-chasing gold gel
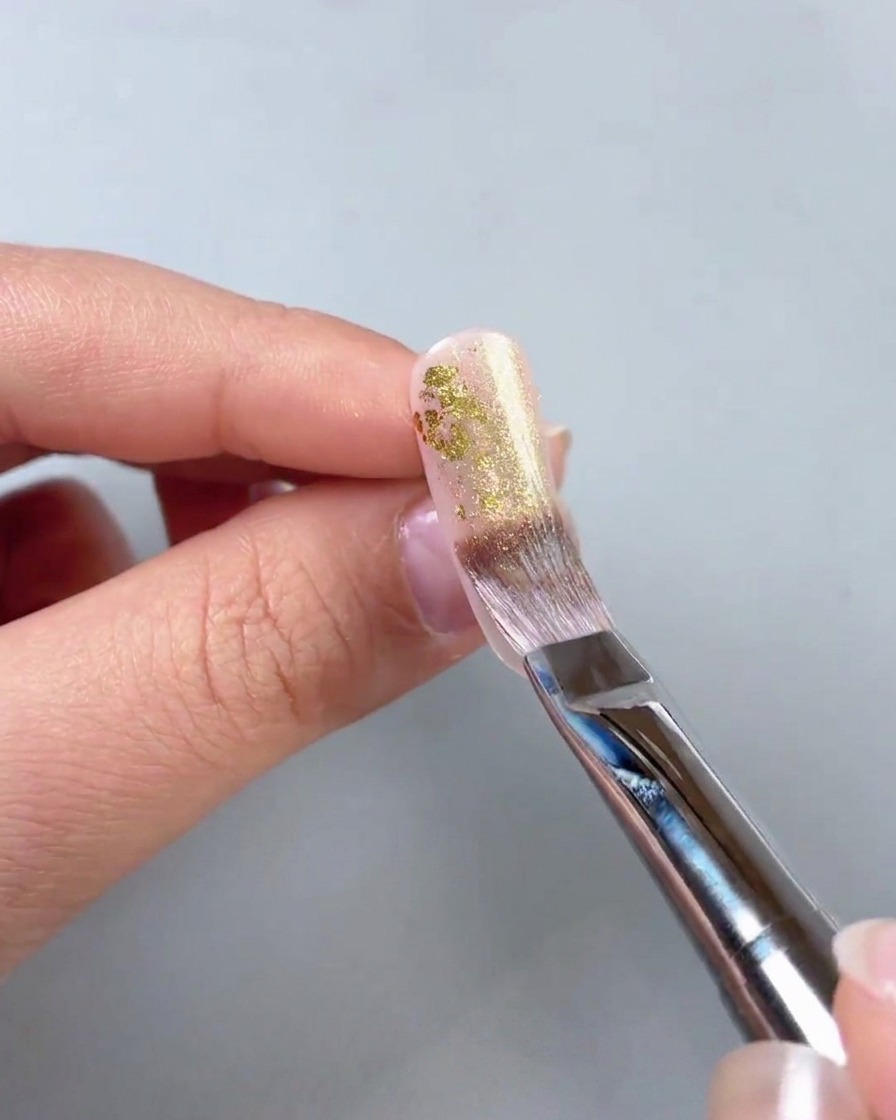
Apply a layer of light-chasing gold gel number 04 over the previously applied gold foil. Ensure even coverage to integrate the shimmer of the gold gel with the texture of the foil.
Tip: Apply the gel gently to avoid shifting the gold foil pieces. - 8Create glass-bead magnetic effect
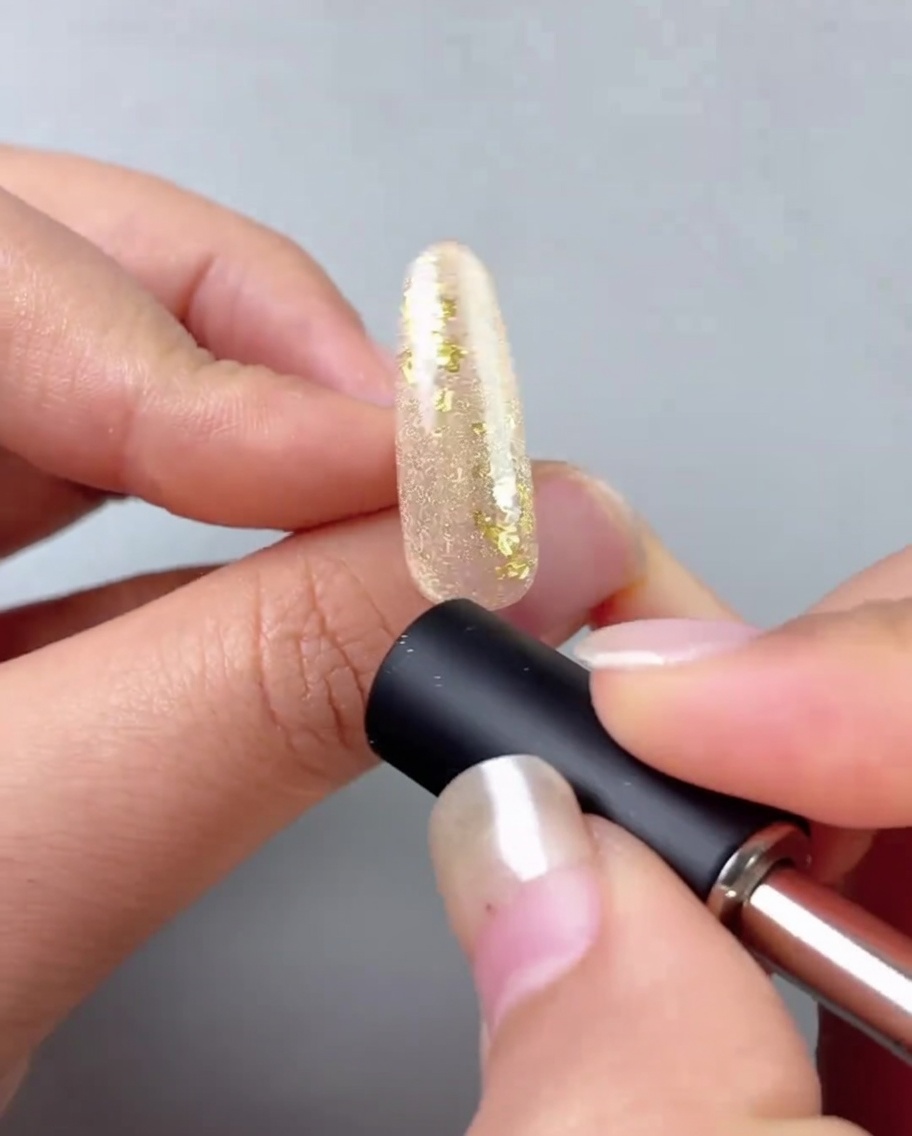
While the gold gel remains wet, hold the nail magnet near the surface to manipulate the magnetic particles, crafting a reflective glass-bead cat-eye effect.
Tip: Hold the magnet steady near the nail for a few seconds to sharpen the magnetic line. - 9Paint red color patches
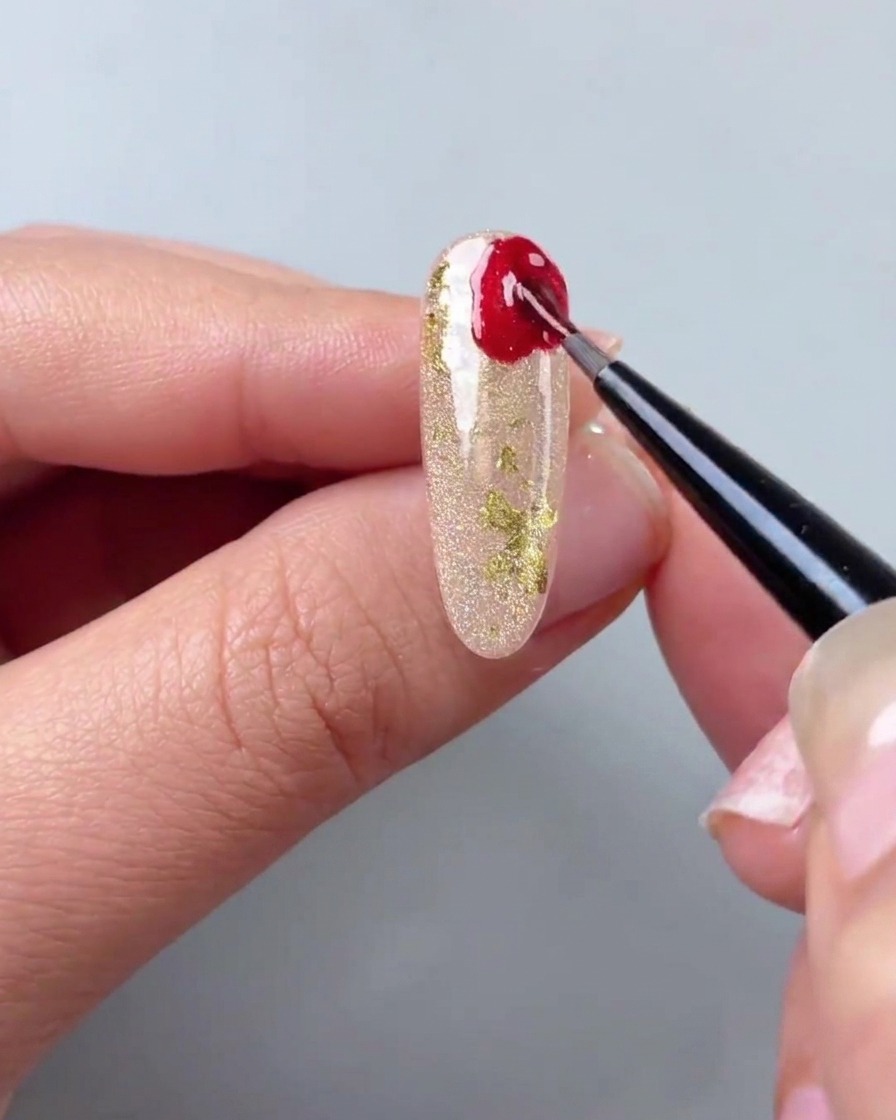
Using red cat-eye gel number 04, carefully paint irregular patches of color at the corner of the nail to begin the marble design.
Tip: Keep the patches slightly irregular for a more natural, marble-like appearance. - 10Develop the marble gradient
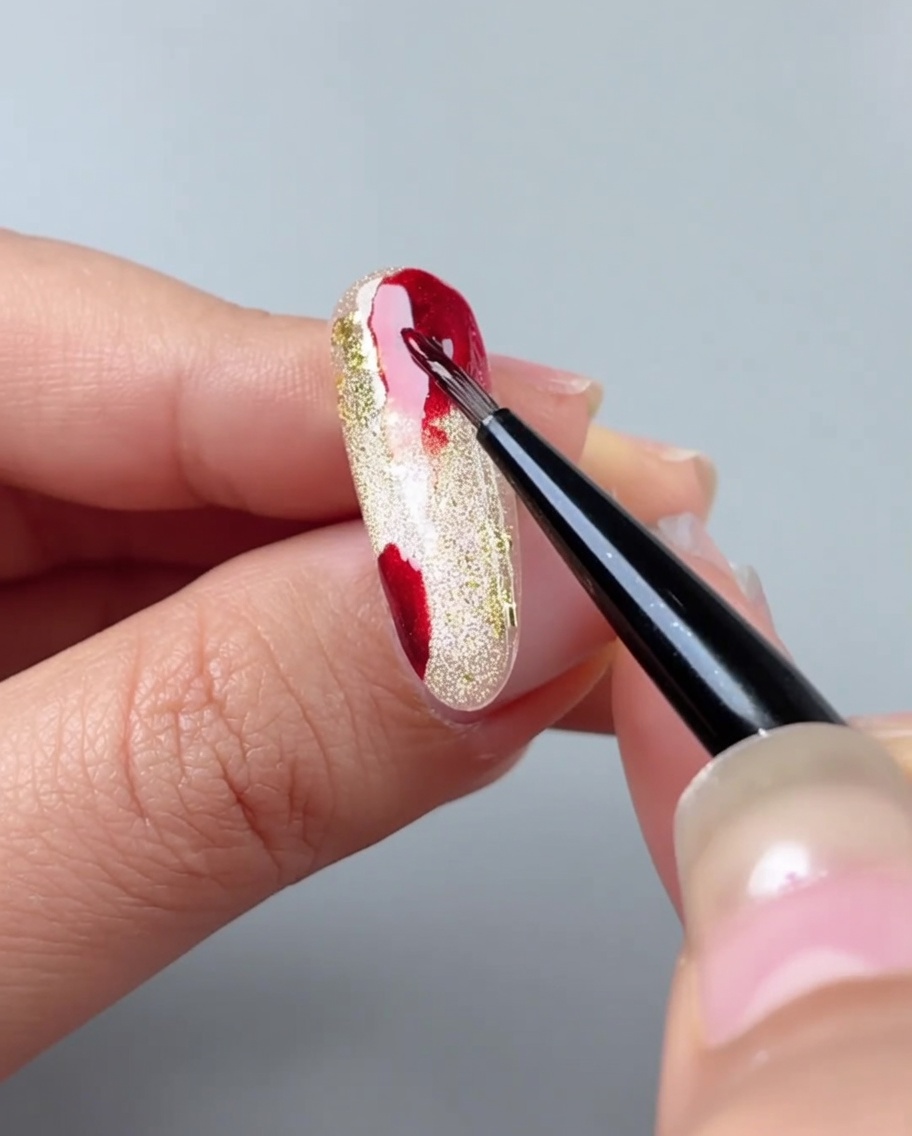
Apply easy watercolor gel over the red patches and gently blend them outwards to create a soft, seamless gradient that merges the red into the shimmering gold base.
Tip: Work quickly to ensure the watercolor gel blends before it sets. - 11Apply powder-isolating top coat
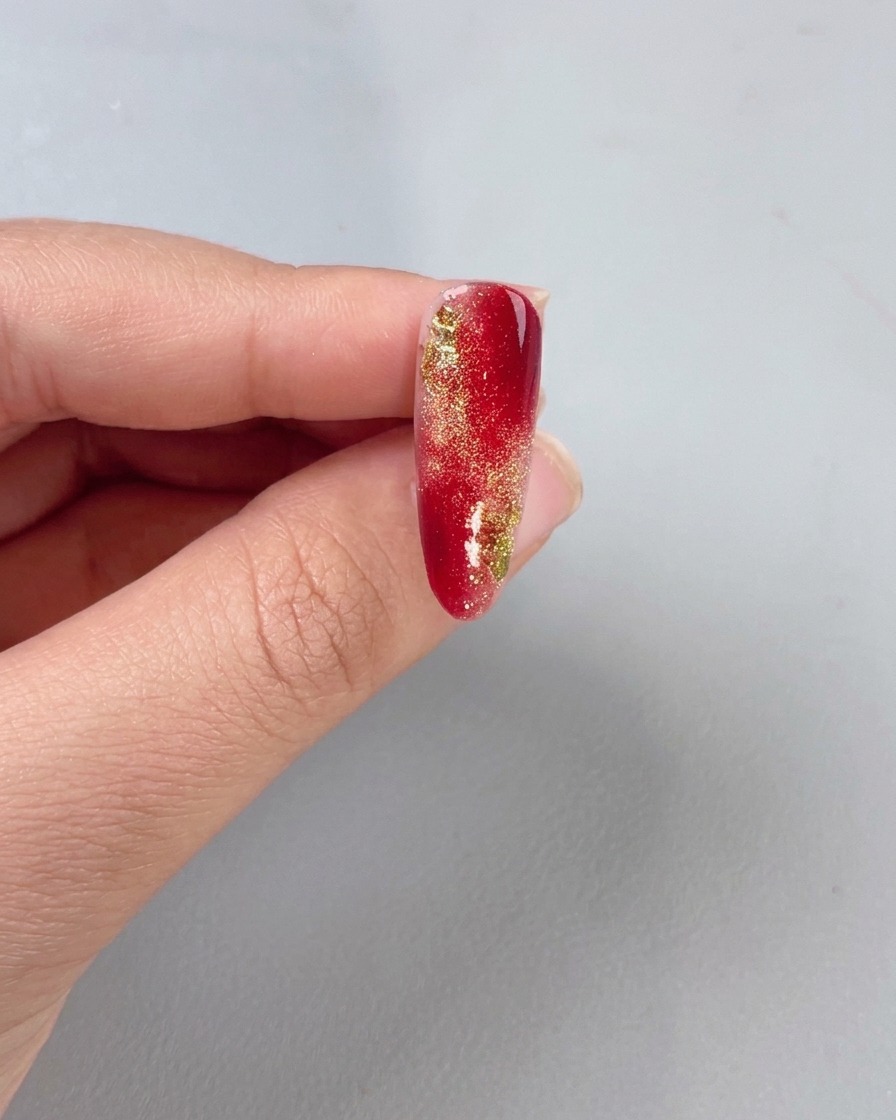
Apply a layer of powder-isolating top coat over the cured gradient design to prepare the surface for the next step.
Tip: Ensure full coverage so the surface is smooth for subsequent texture sculpting. - 12Sculpt textured line details
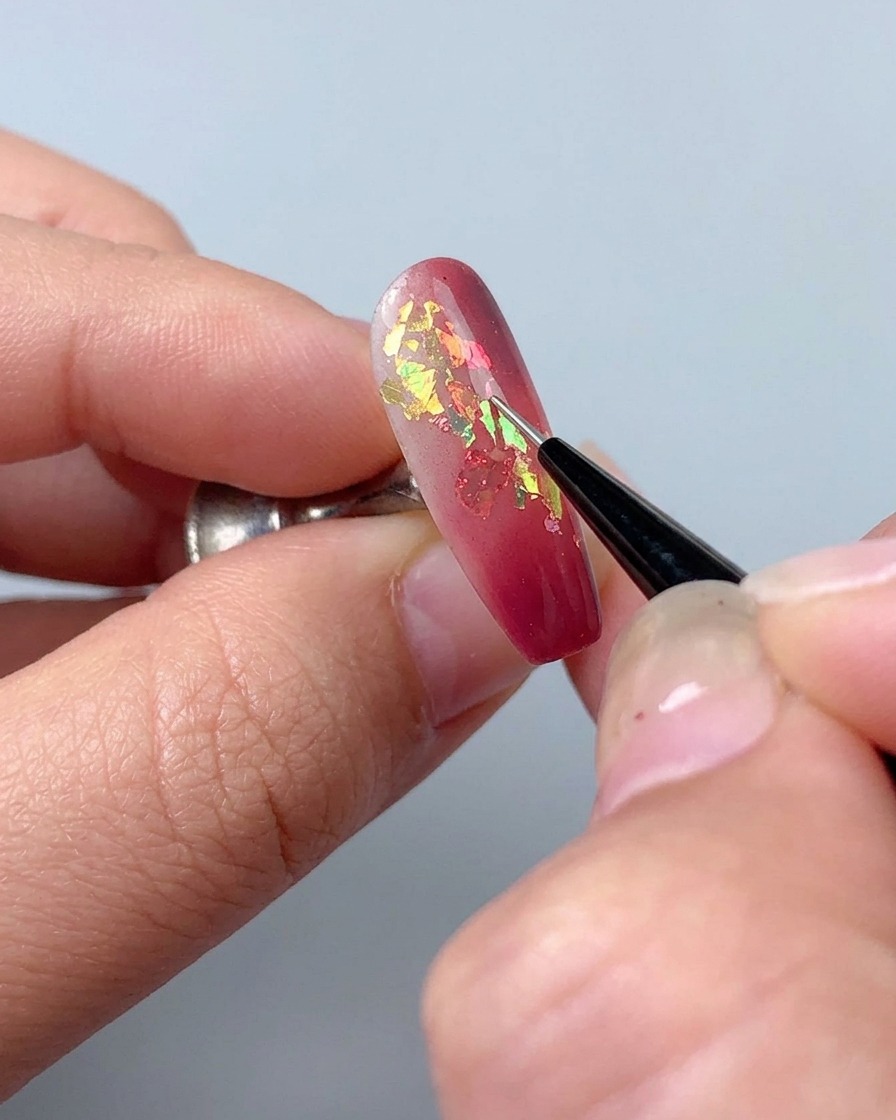
Using a thin liner brush and texture sculpting gel, draw intricate, fine lines across the nail surface to build dimension and define the marble design.
Tip: Use a light touch with the liner brush to create delicate, professional-looking lines. - 13Apply 18K gold powder
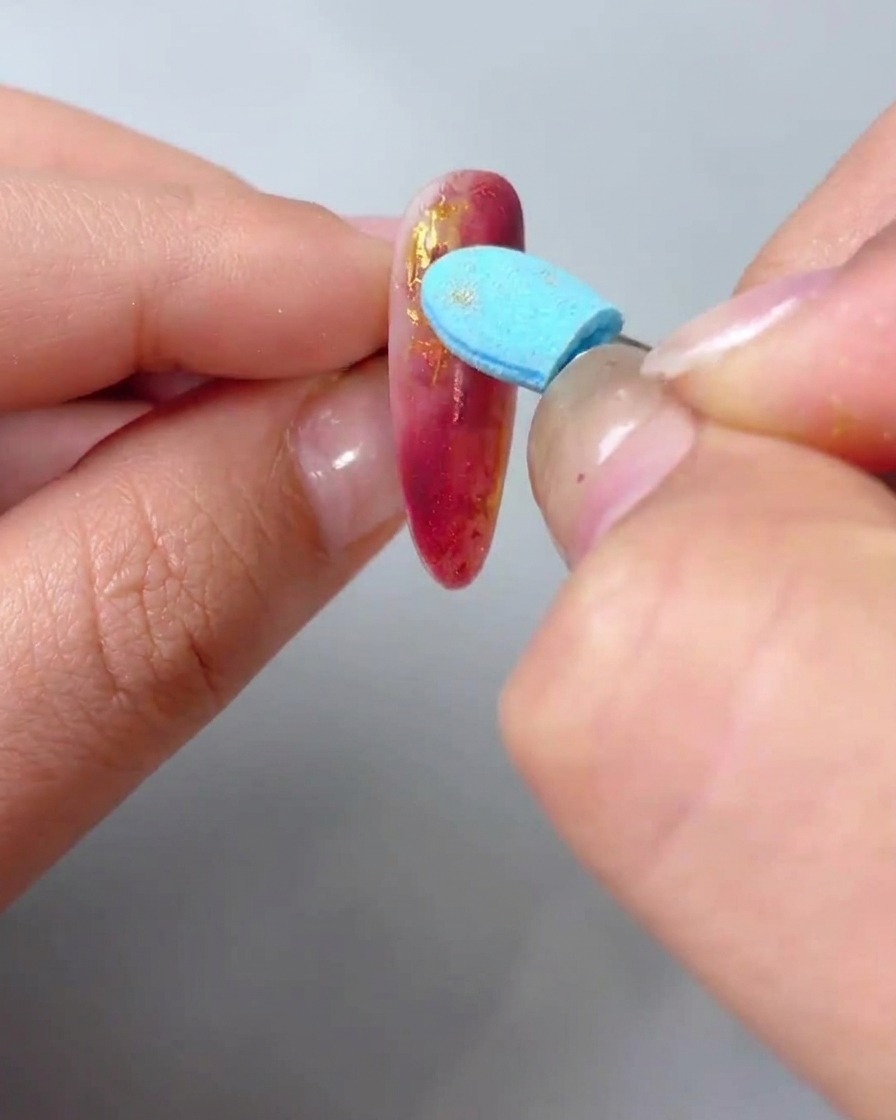
Using a small sponge applicator, gently rub the 18K gold powder over the cured texture sculpting gel lines. Make sure the powder adheres fully to the raised areas to create a bright metallic accent against the red marble background.
Tip: Burnish the powder firmly into the textured lines to achieve a flawless, mirror-like gold finish. - 14Remove excess gold powder
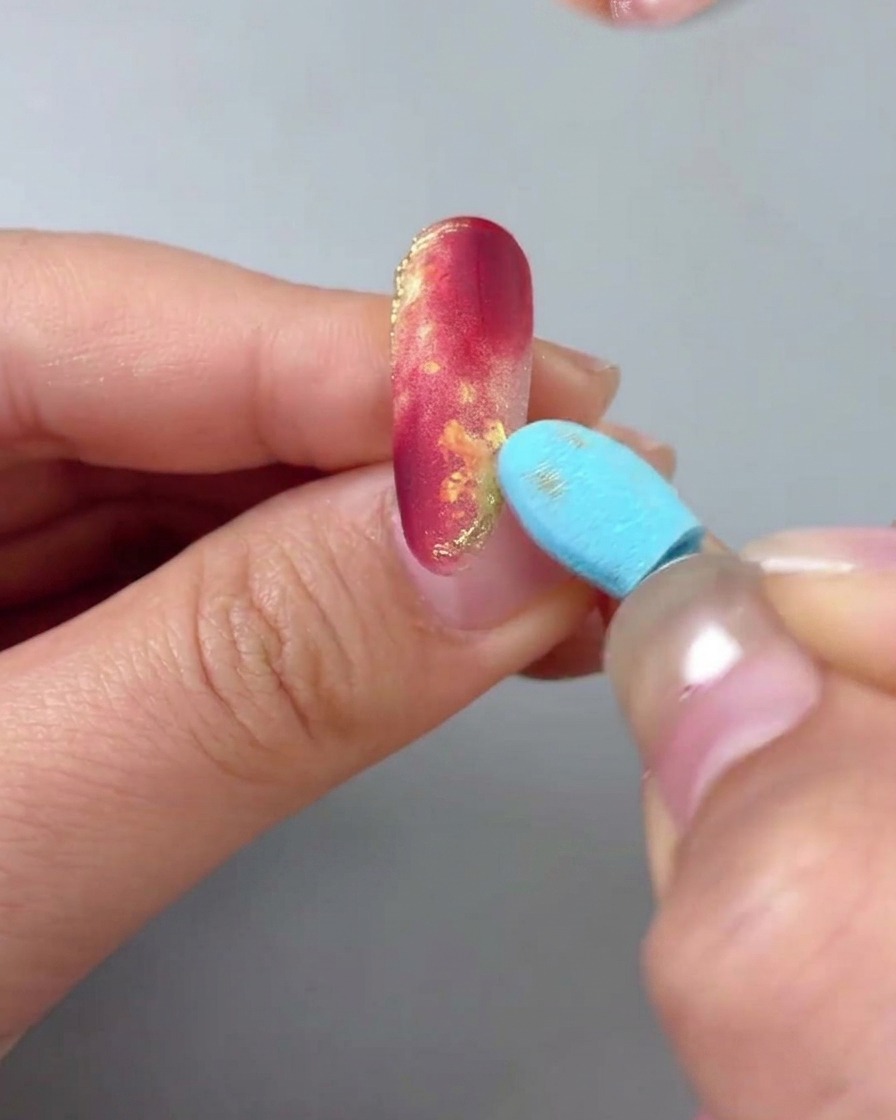
Using a soft sponge applicator or silicone tool, gently brush off any excess 18K gold powder from the nail surface. This ensures the gold adheres only to the intended textured lines, keeping the rest of the marbled watercolor design clean and crisp before you proceed to the final top coats.
Tip: Use a light touch when removing the excess powder to avoid rubbing it out of the sculpted texture lines. - 15Seal with powder-isolating top coat
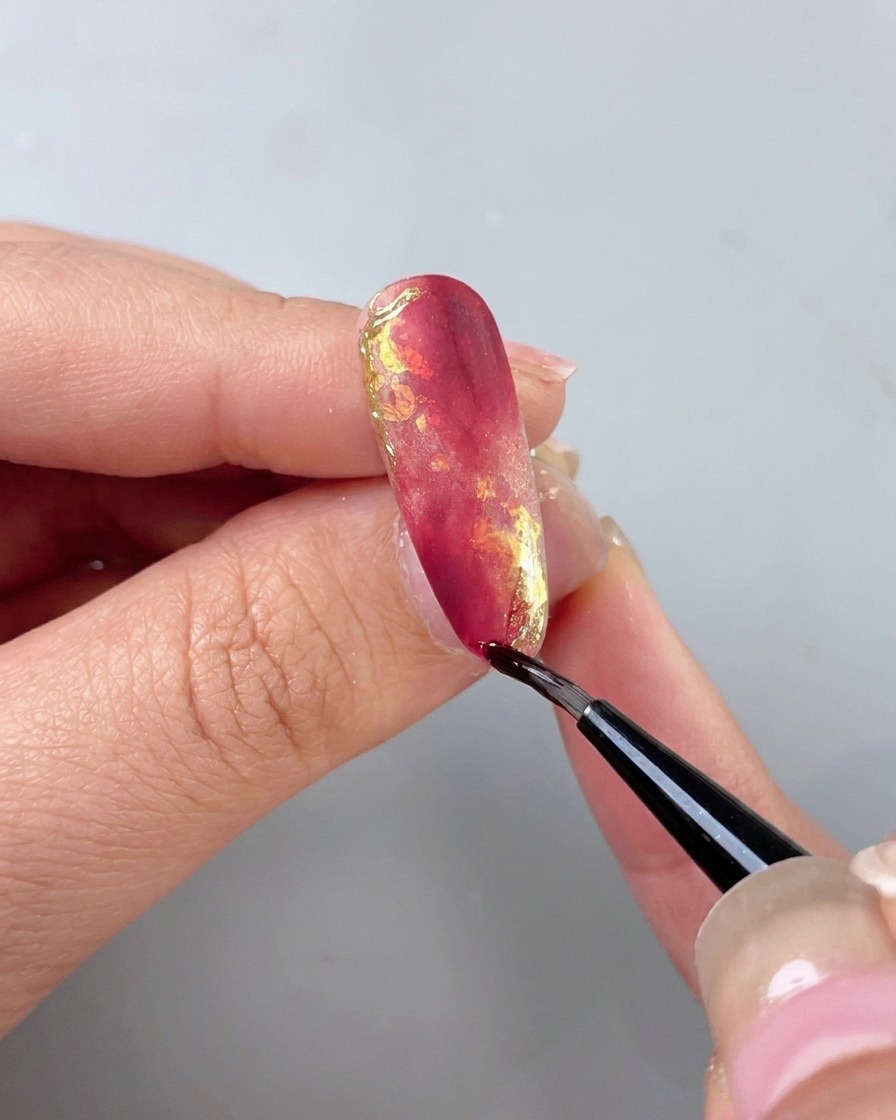
Use a fine nail art brush to carefully apply a layer of powder-isolating top coat over the entire nail design. This essential step locks in the 18K gold powder and foil details, protecting the artwork from dulling or chipping over time.
Tip: Using a dedicated powder-isolating top coat ensures your metallic powders wont lose their mirror shine or bleed into the surrounding colors.