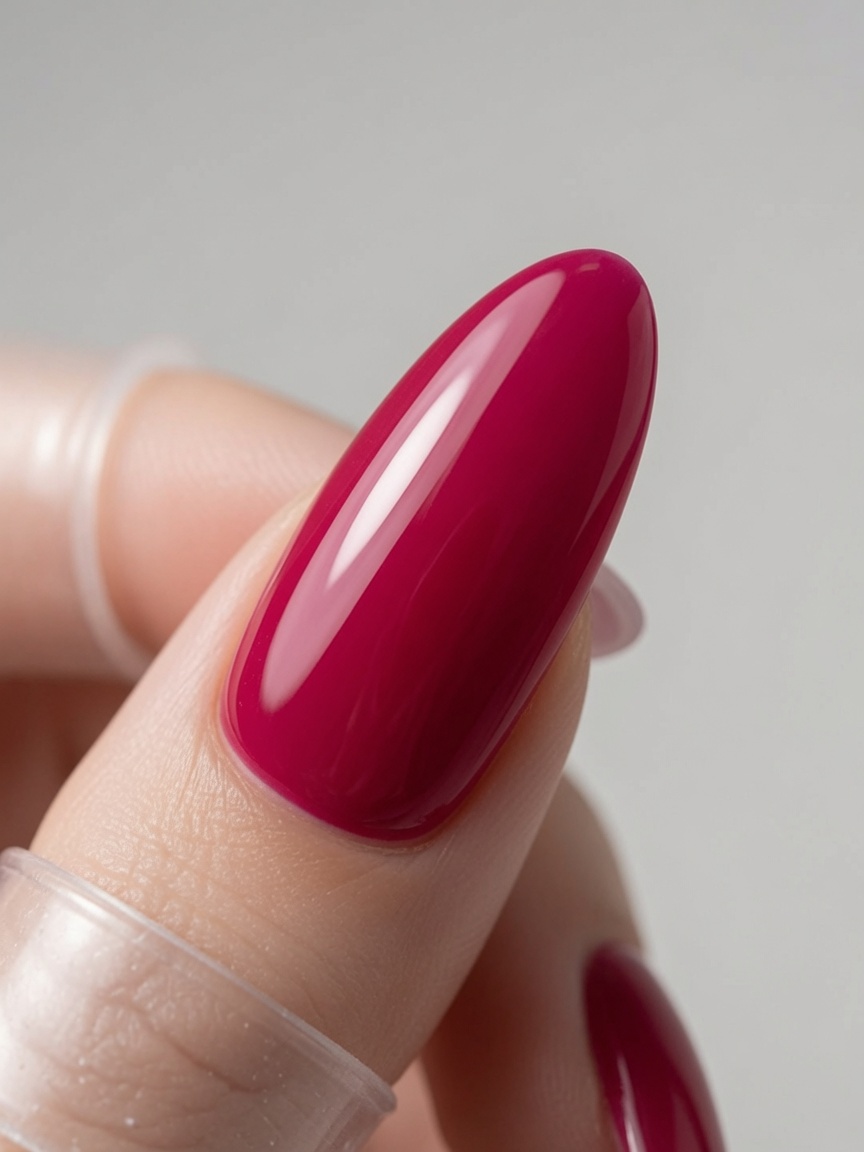
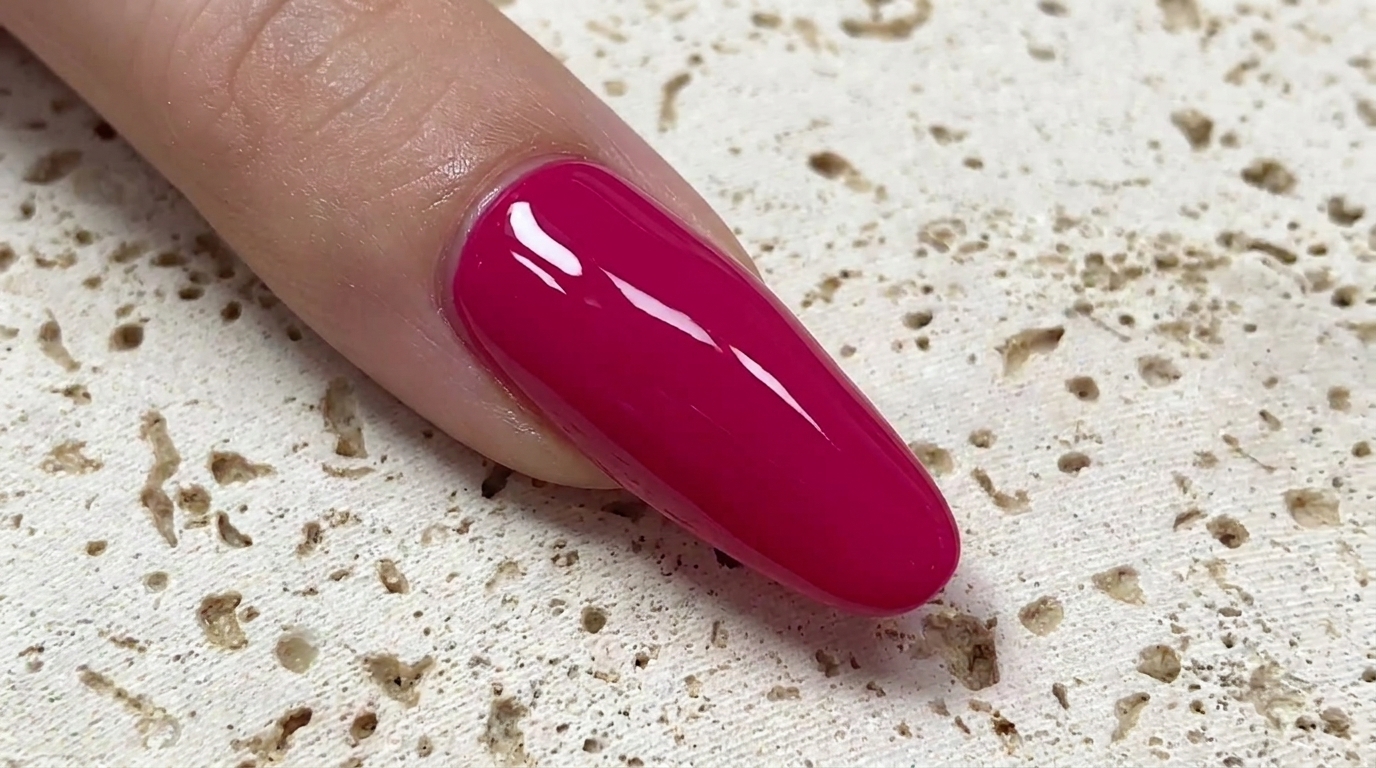
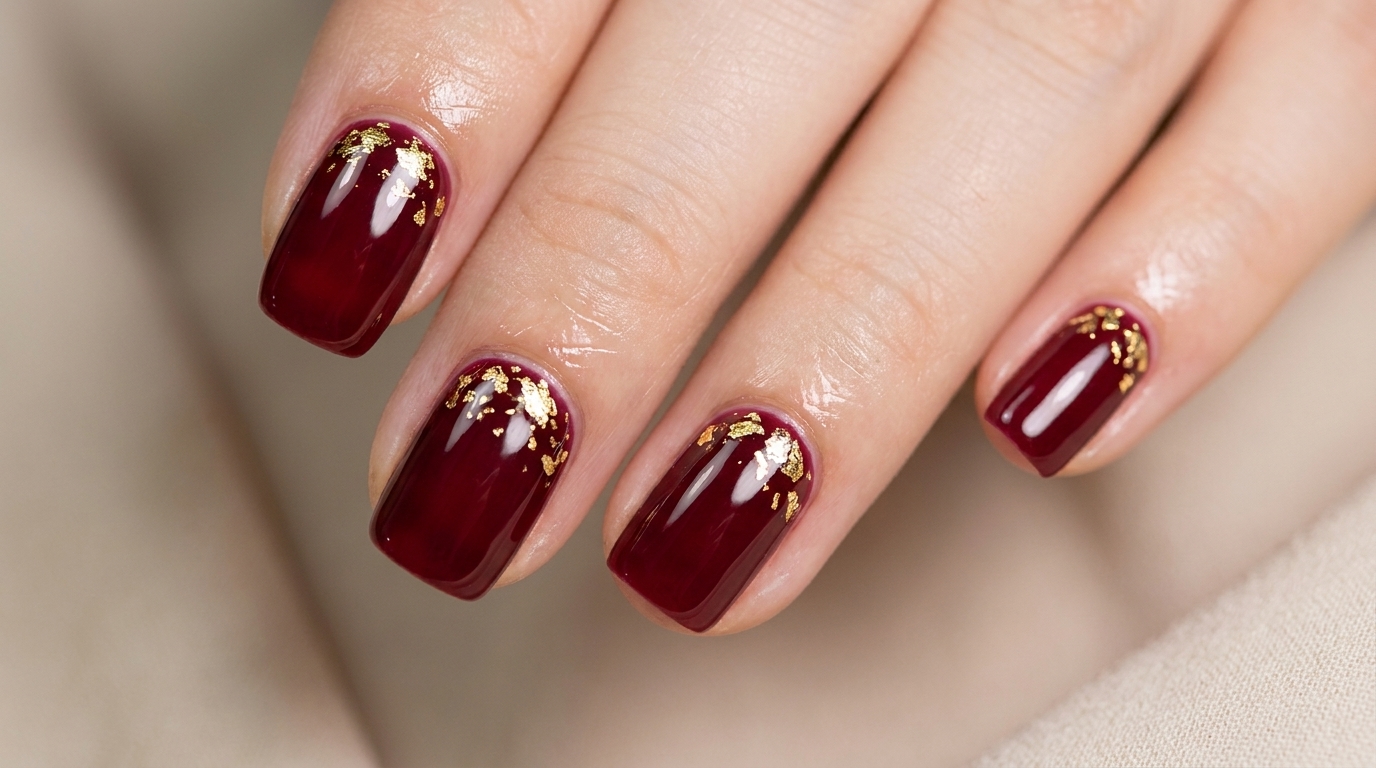
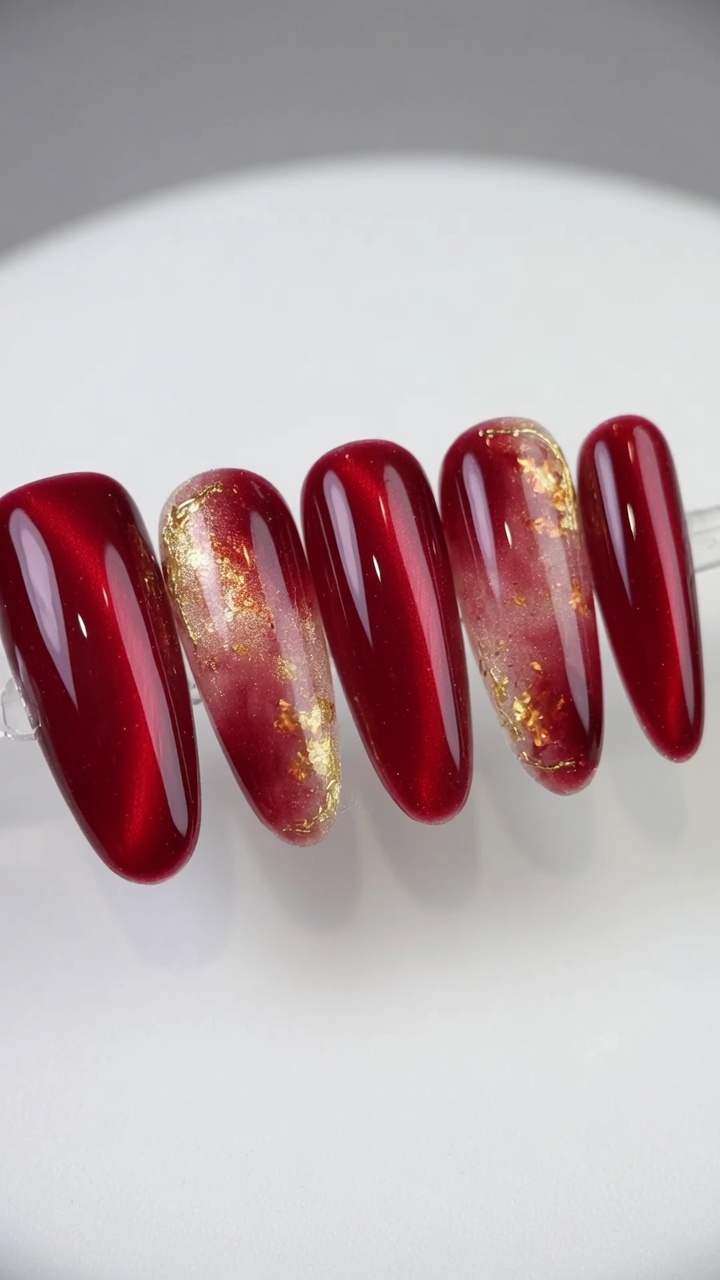
Festive Red
Gold Foil Gel Manicure — Step-by-Step Tutorial
Create a stunning New Year's manicure with this red gel and gold foil tutorial. Learn how to apply delicate foil flakes for a smooth, festive finish.
Red and gold is a classic combination that instantly brings a festive, elegant touch to your manicure. This design utilizes the sticky inhibition layer of your gel base to effortlessly grip delicate gold foil flakes. Perfect for the New Year or any special occasion, this technique requires minimal tools while delivering a luxurious, high-end salon finish.
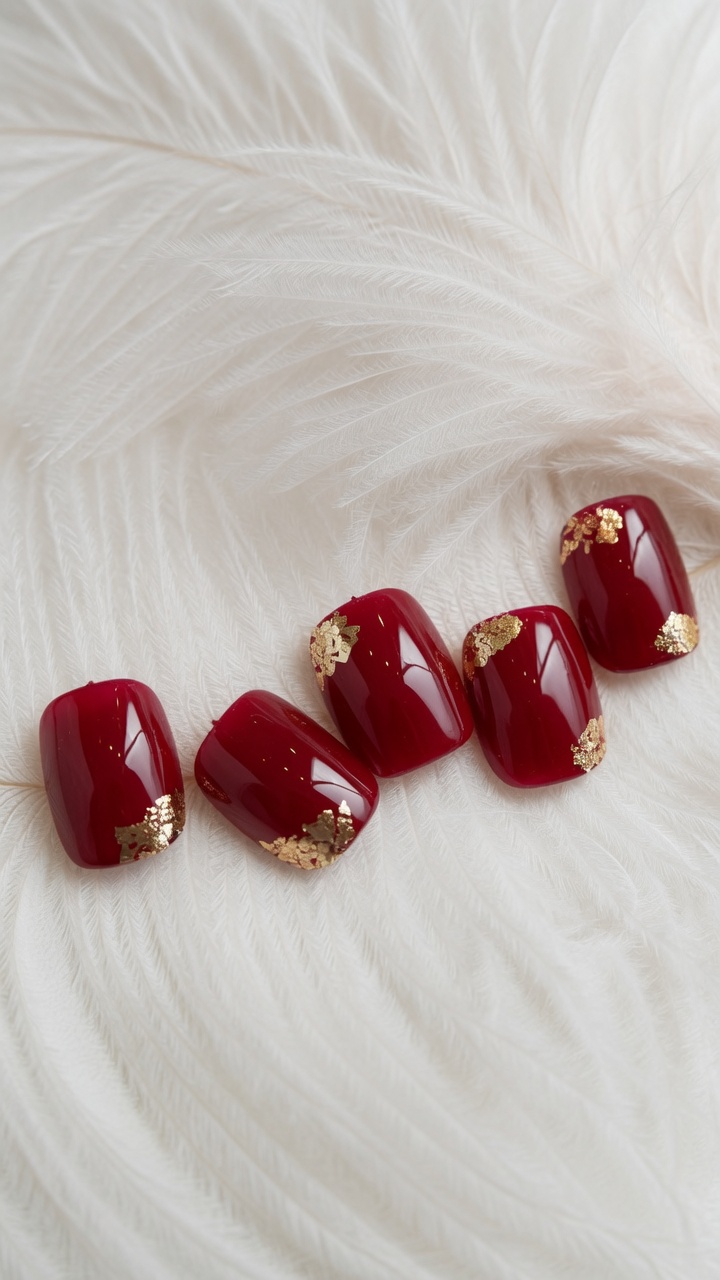
Steps
- 1Place the first piece of gold foil
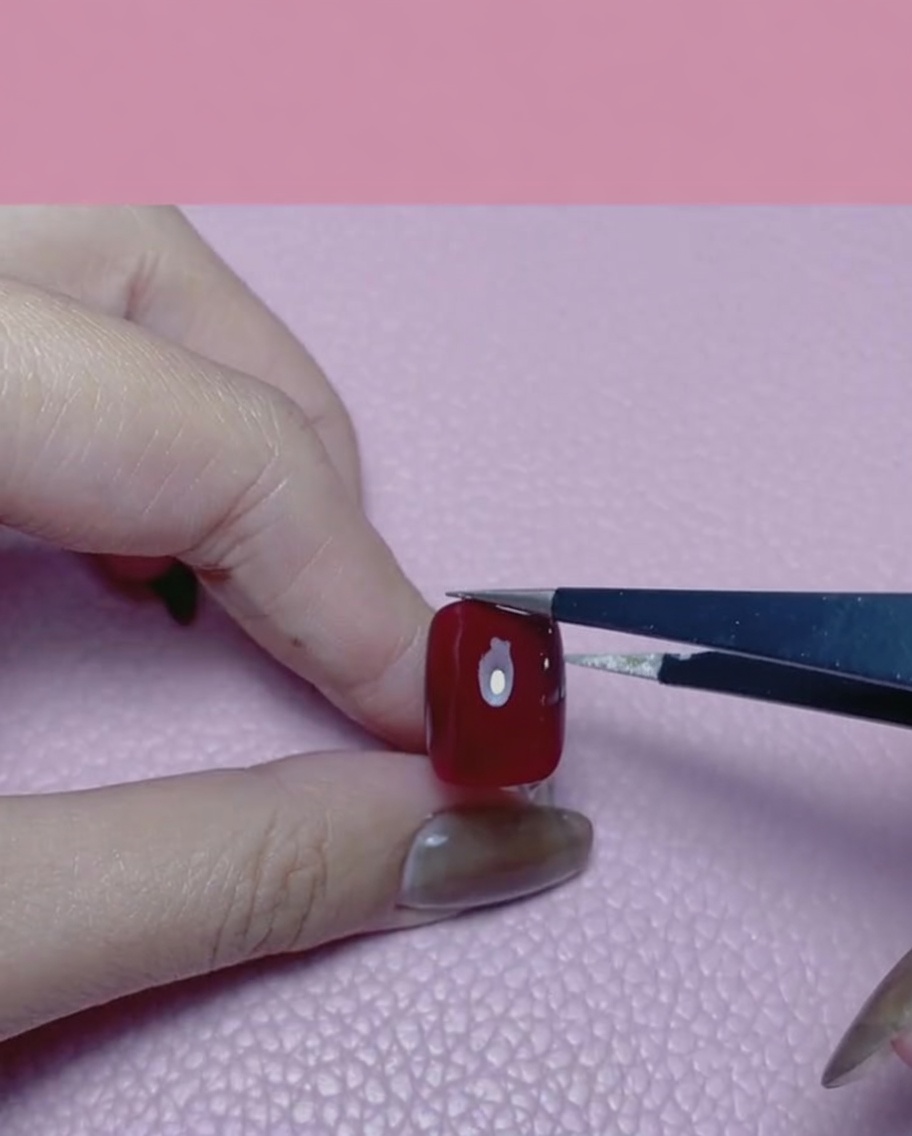
Using tweezers, carefully pick up a piece of gold foil and place it onto the surface of the red-painted nail. The sticky layer left from the base color will help the foil adhere securely to the nail.
Tip: Tweezers give you the precision needed to handle delicate gold foil without it tearing or sticking to your fingers. - 2Place gold foil accents
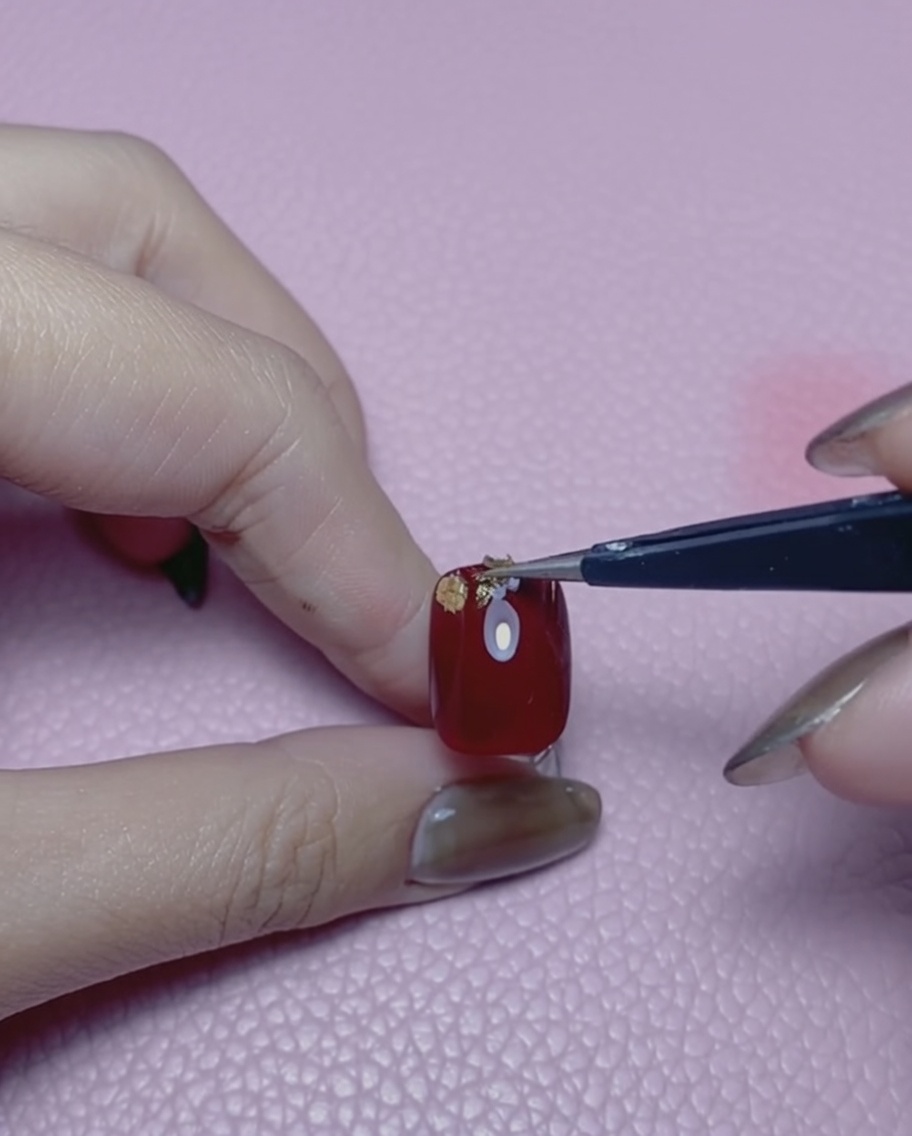
Using a pair of tweezers, carefully place small pieces of gold foil onto the sticky layer of your base color. Position them where you want to add a festive touch. The gold foil will adhere easily to the tacky surface of the cured or semi-cured gel.
Tip: If the foil moves too much, you can press it down gently with a silicone nail pen to help it lay flat. - 3Complete the foil arrangement
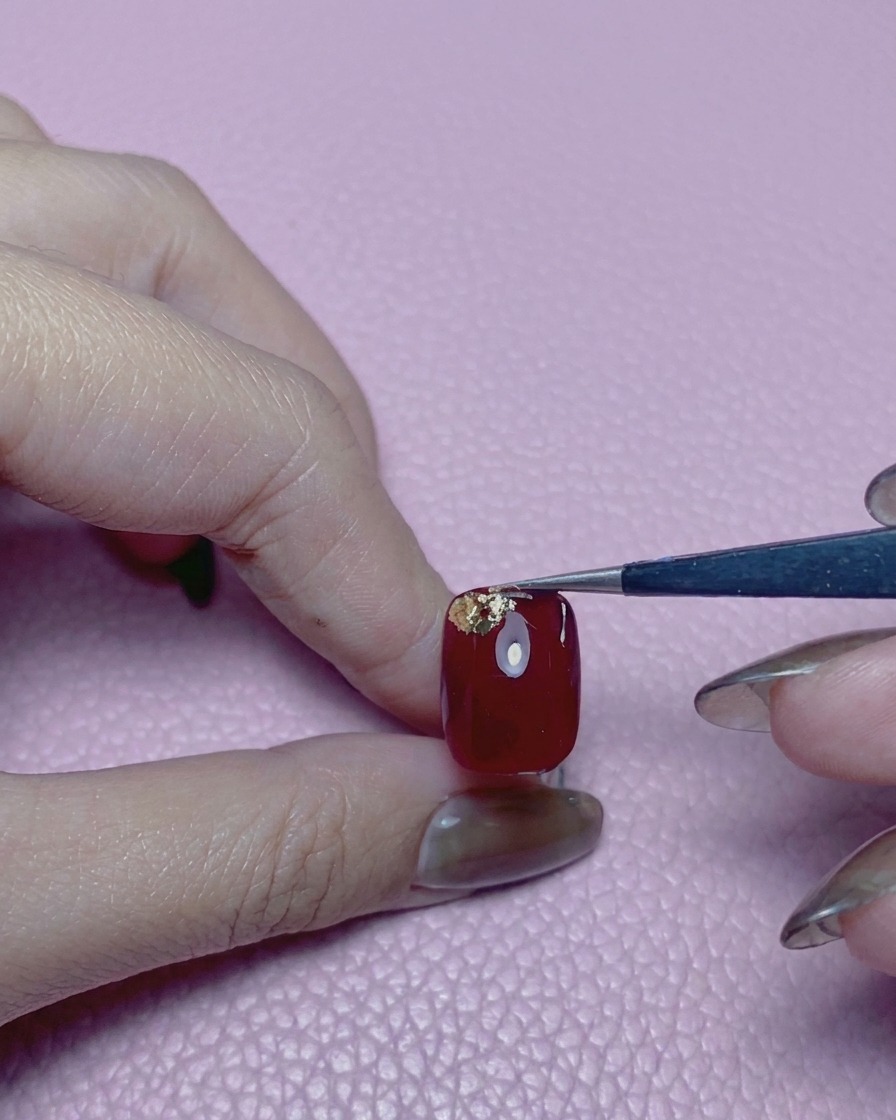
Add a third piece of gold foil to fill in any gaps and complete the desired pattern on the nail surface. Lightly adjust the placement of the pieces with the tips of your tweezers before pressing them down completely.
Tip: Leave some negative space showing the red base color to make the gold foil pop. - 4Press down the foil flakes
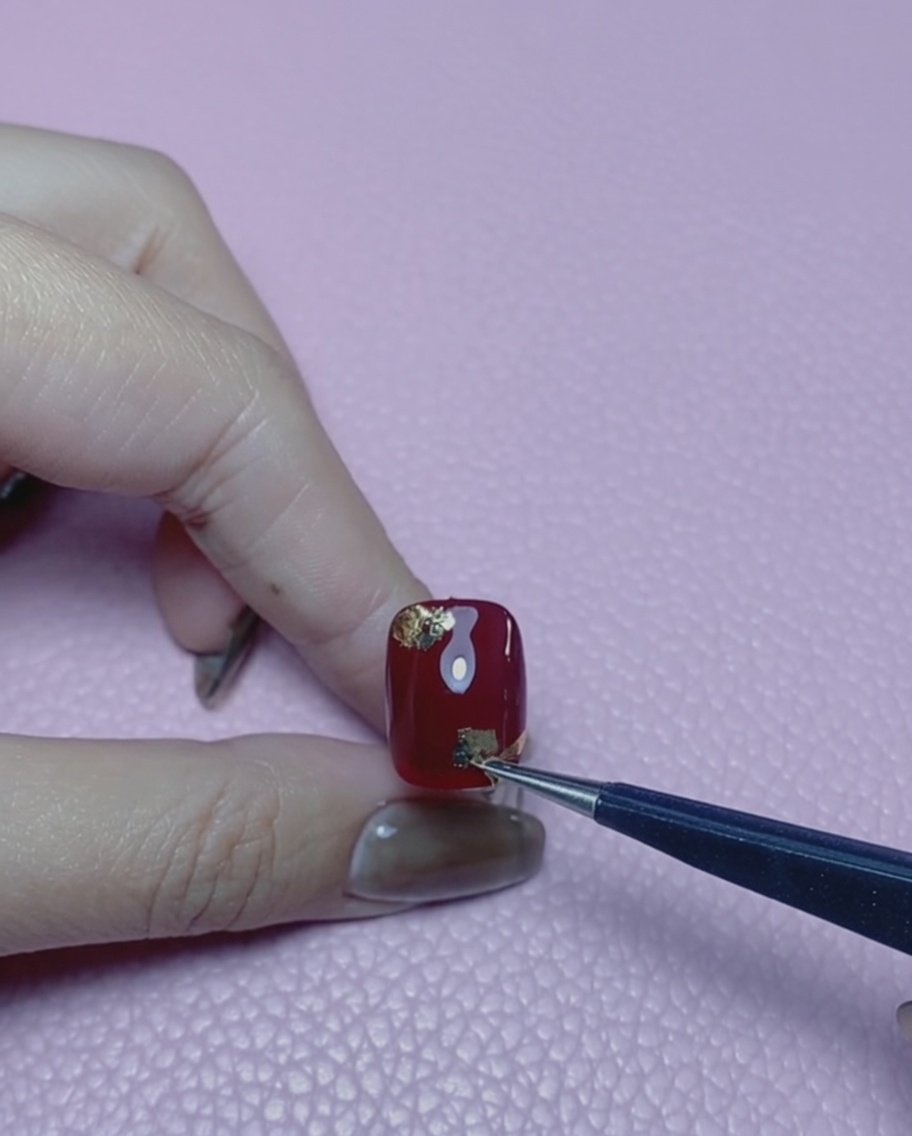
Take a silicone nail pen and gently press down on all the placed gold foil flakes. Flatten them firmly against the curve of the nail so there are no lifted edges or rough textures protruding.
Tip: A silicone tool is ideal for this step because the sticky gold foil will not adhere to the silicone material. - 5Ensure the surface is smooth
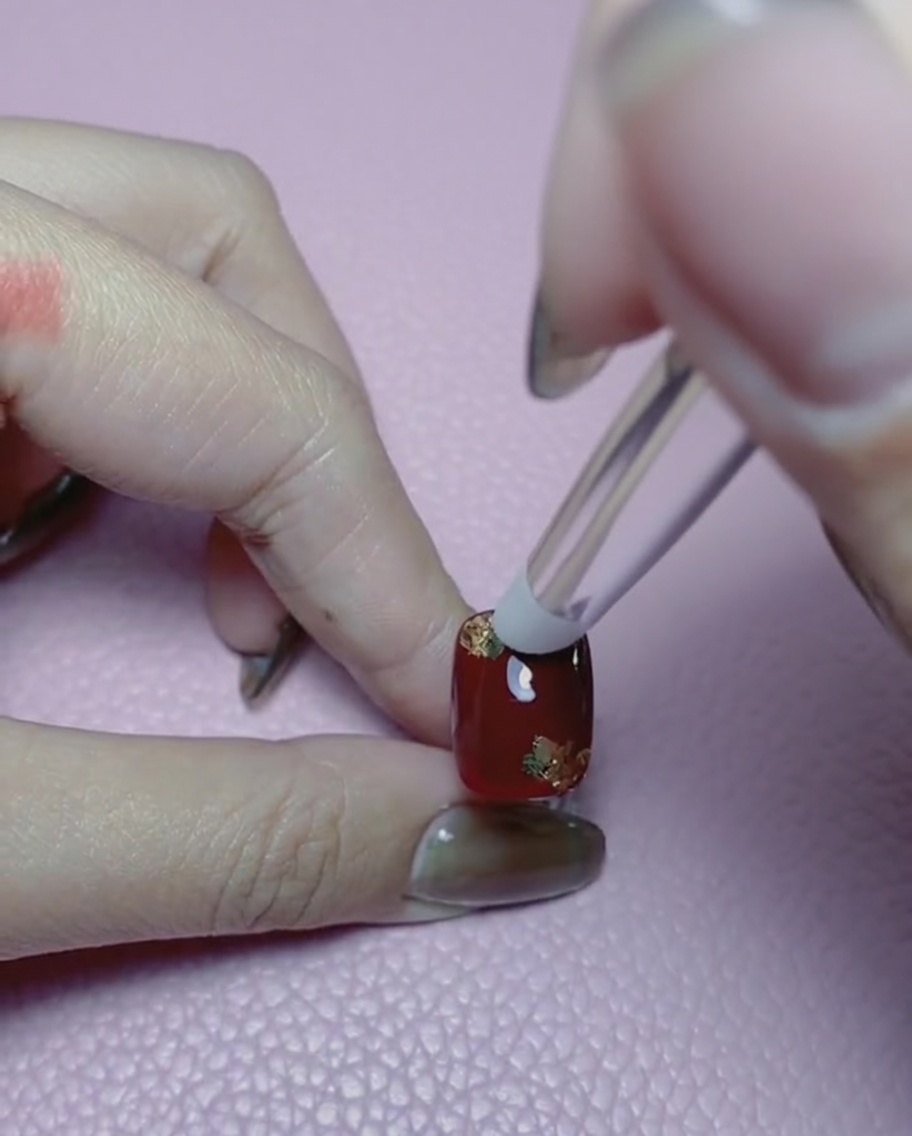
Inspect the nail closely to make sure the gold foil texture is fully flattened and integrated smoothly with the red base color. Run the silicone pen over any stubborn, lifted spots one last time.
Tip: A perfectly flat foil application prevents the design from snagging and ensures a smooth, glass-like finish when the top coat is applied. - 6Seal with top coat
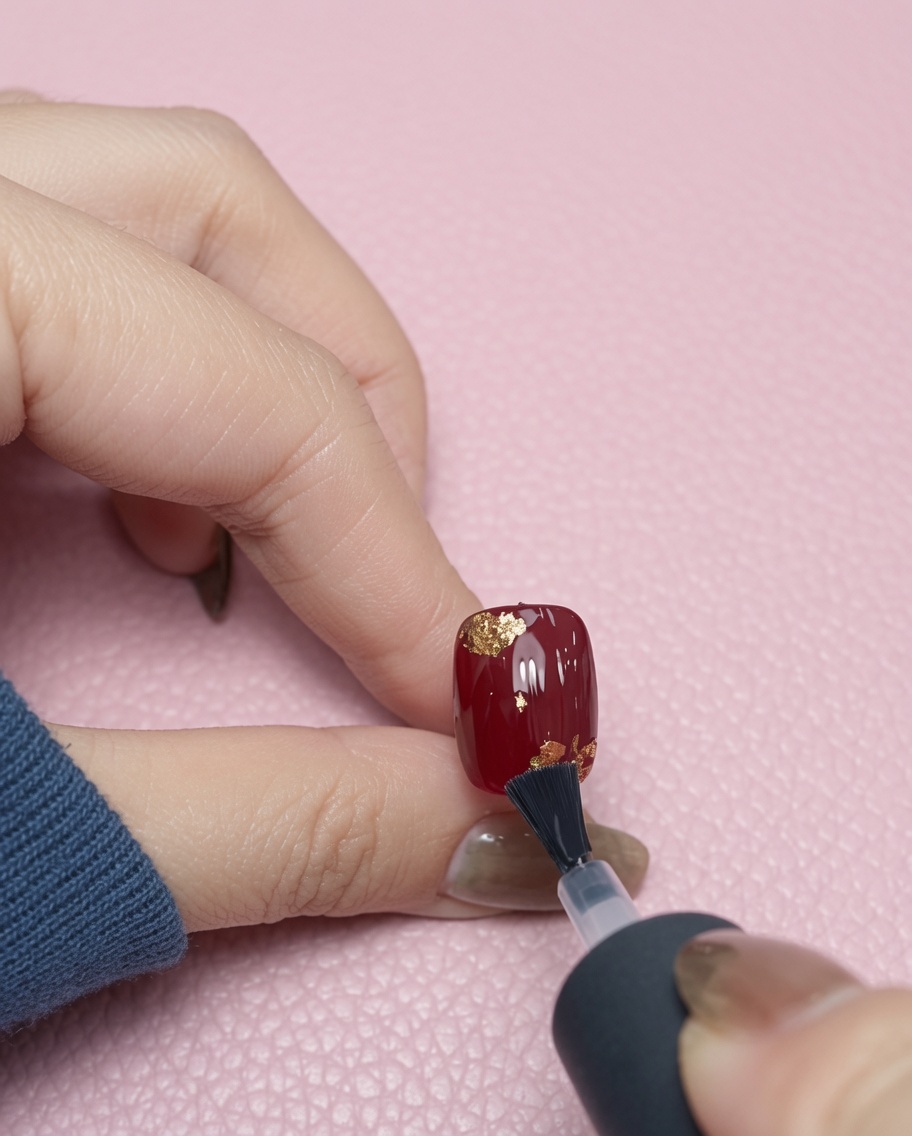
Finally, apply an even layer of top coat over the entire nail to seal in the red polish and encapsulate the embedded gold foil. Cap the free edge well and cure under your lamp to complete this beautiful New Years manicure.
Tip: You may need to apply a slightly thicker layer of top coat or use a self-leveling gel to completely cover the foil flakes smoothly. - 7Cure and finish
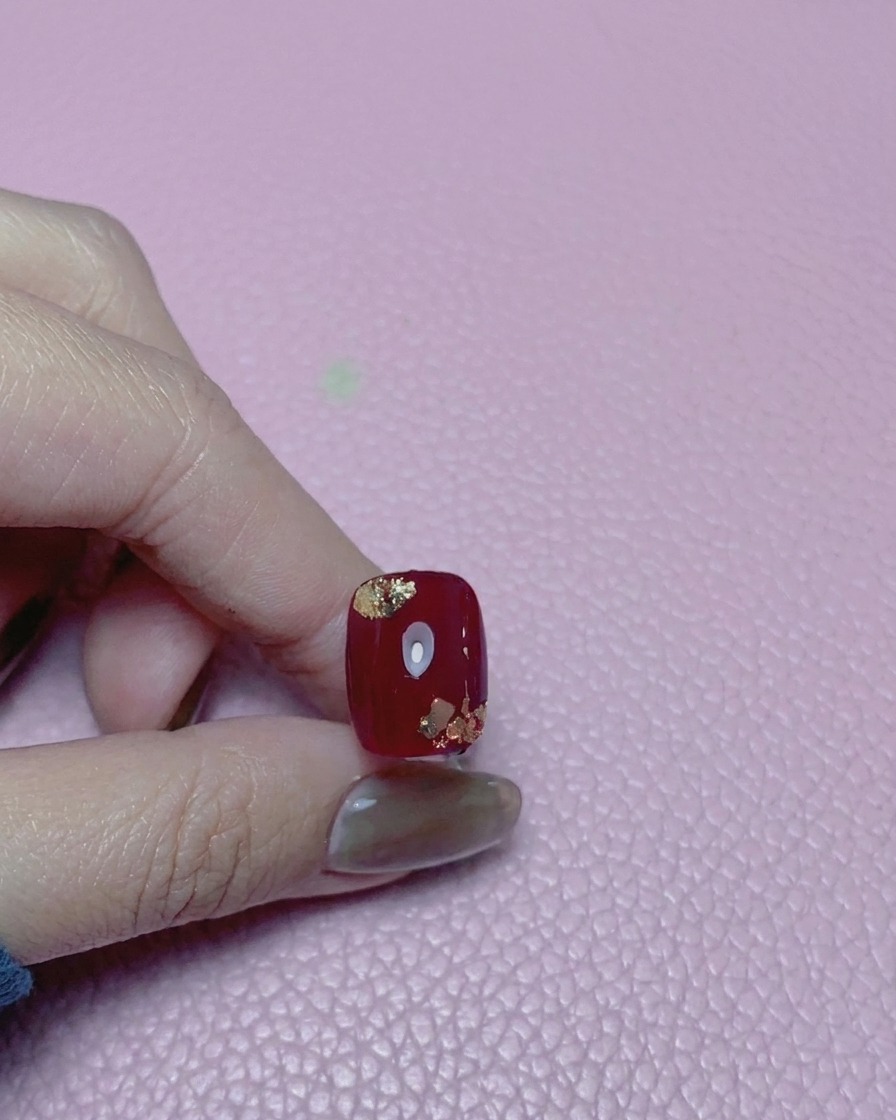
Once the top coat is applied smoothly over the entire design, give the nails a final cure under your LED or UV lamp. This will lock in the encapsulated gold foil and ensure a durable, glass-like shine for your festive manicure.
Tip: Make sure to cap the free edge of the nail with the top coat to prevent the gold foil from peeling and to ensure longevity.