Custom Berry Red Gel Nail Color Mixing Tutorial
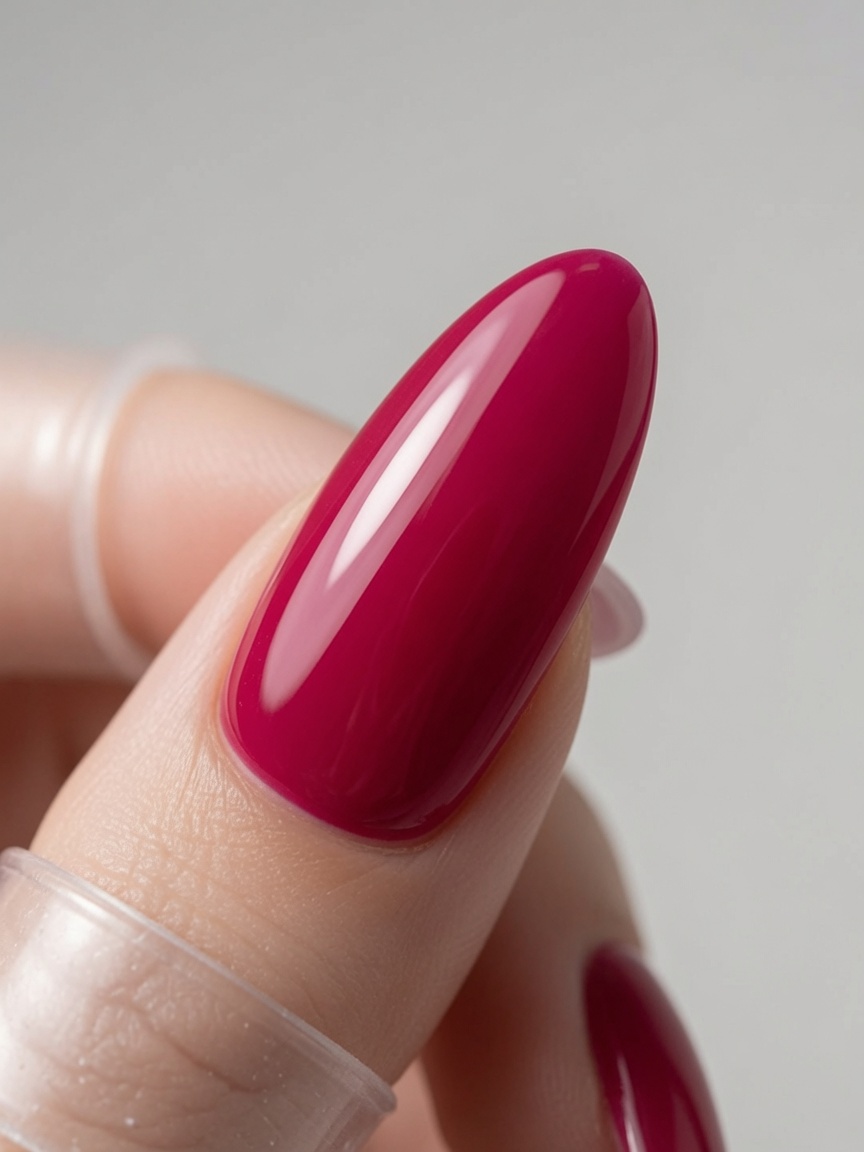
Learn how to mix your own vibrant, flattering berry red gel polish. Follow this step-by-step guide to achieve the perfect custom shade at home.
Creating a signature berry red shade is a fantastic skill for any nail enthusiast. By blending primary colors with precision, you can achieve a sophisticated, deep-toned red that is both cool and flattering. This guide walks you through the artistic process of mixing custom gel colors from scratch.
Steps
- 1Prepare your colors
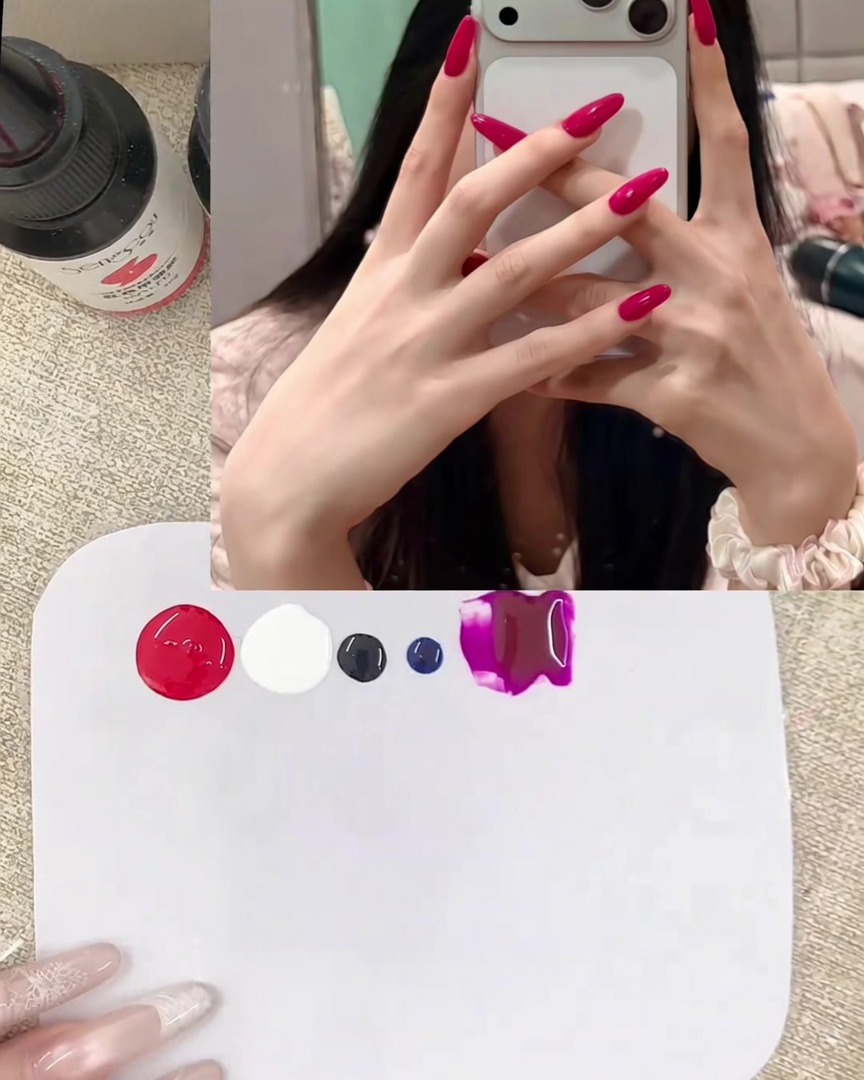
Begin by using a metal spatula to scoop and place a small amount of red and white gel onto your mixing palette. These will serve as the foundation for your custom berry red shade. Keep your palette clean to ensure accurate color blending as you work.
Tip: Always use a clean spatula for each color to prevent cross-contamination in your gel jars. - 2Create your base pink
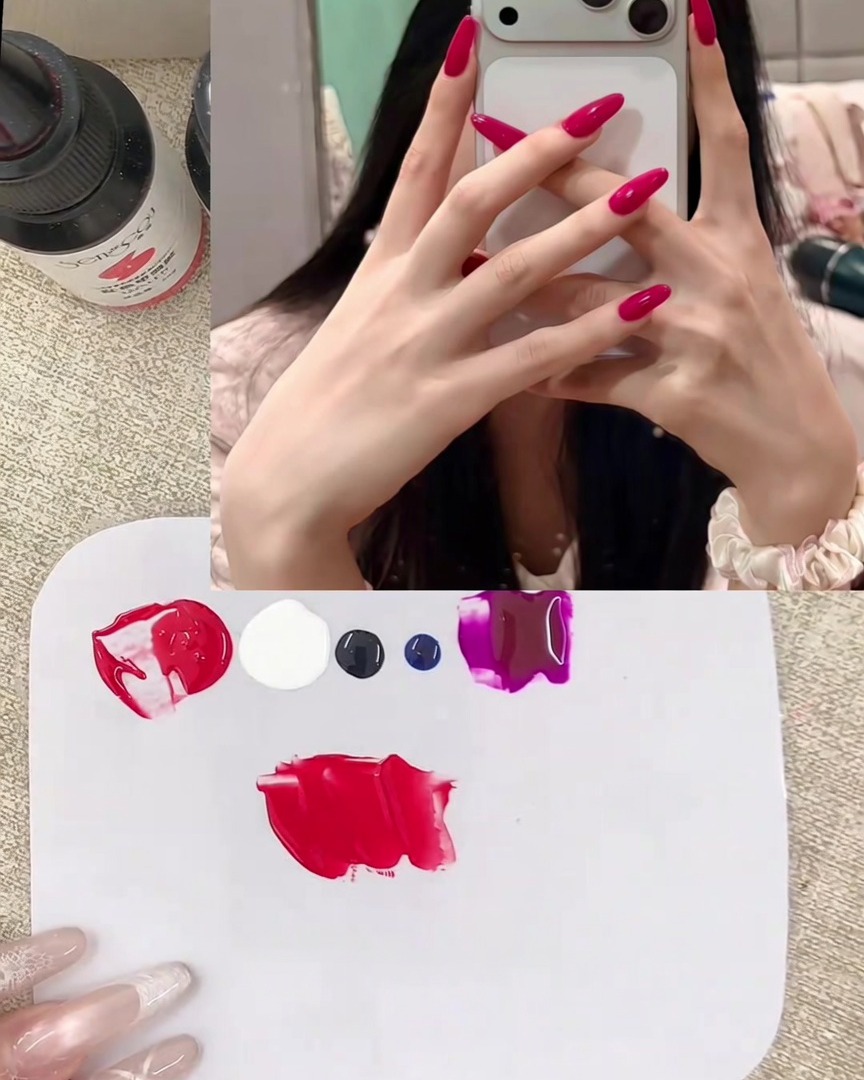
Using your metal spatula, thoroughly blend the red and white gel together on the palette until you achieve a consistent, smooth pink color. This base will provide the brightness needed for the final berry red tone.
Tip: Mix slowly to avoid creating air bubbles in the gel, which can affect the smooth application on the nail. - 3Add depth with purple
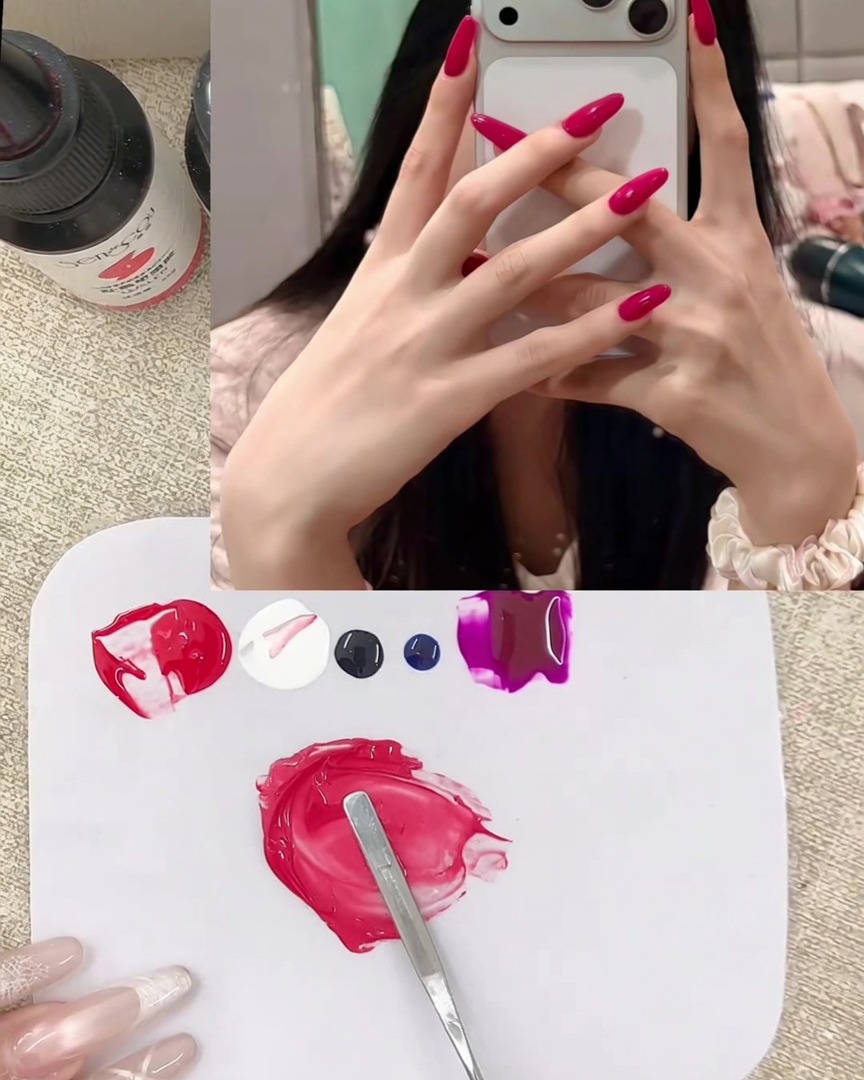
Once your base pink is ready, add a small, controlled amount of purple gel to the mixture. This is the crucial step for shifting the color from a standard pink to a deeper, richer berry-toned pink.
Tip: Add the purple in tiny increments; you can always add more, but you cannot remove it once mixed. - 4Adjust brightness
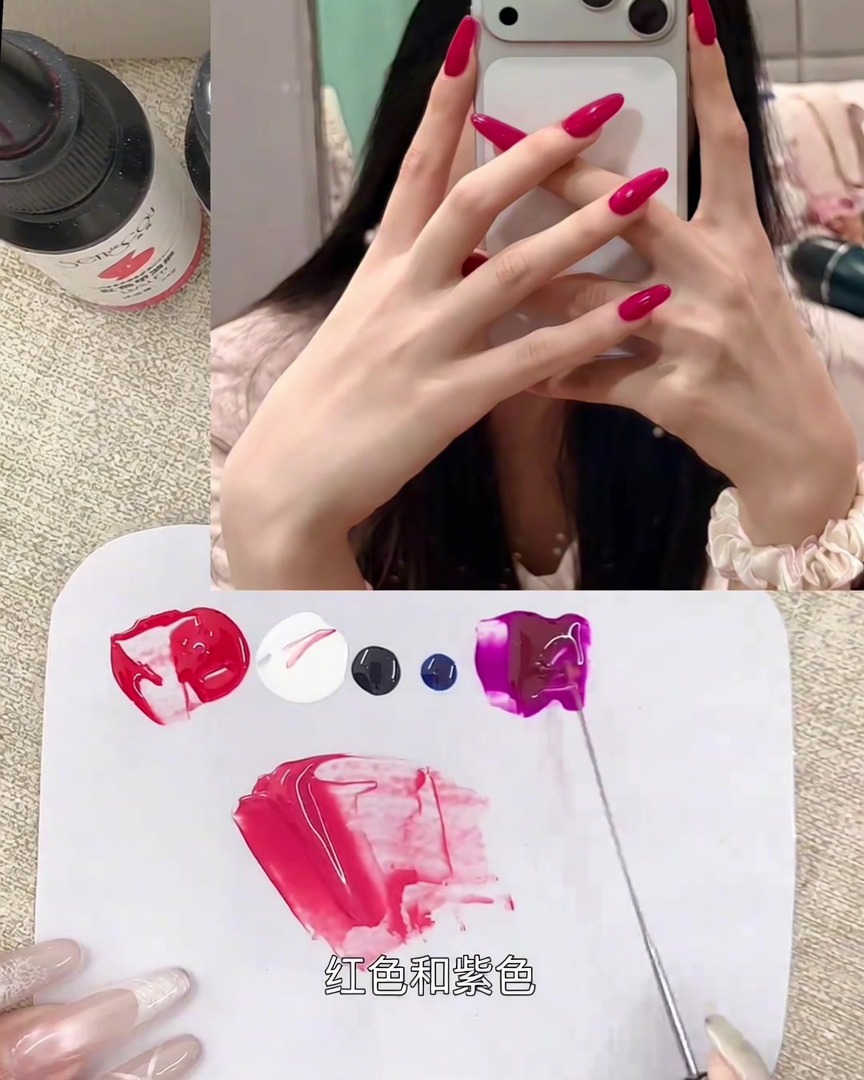
Incorporate a very small amount of black gel into your mixture. This helps to reduce the overall brightness and saturation, pushing the color toward a sophisticated, muted berry red finish.
Tip: Black gel is extremely potent; a tiny amount goes a long way, so be very precise. - 5Cool the undertones
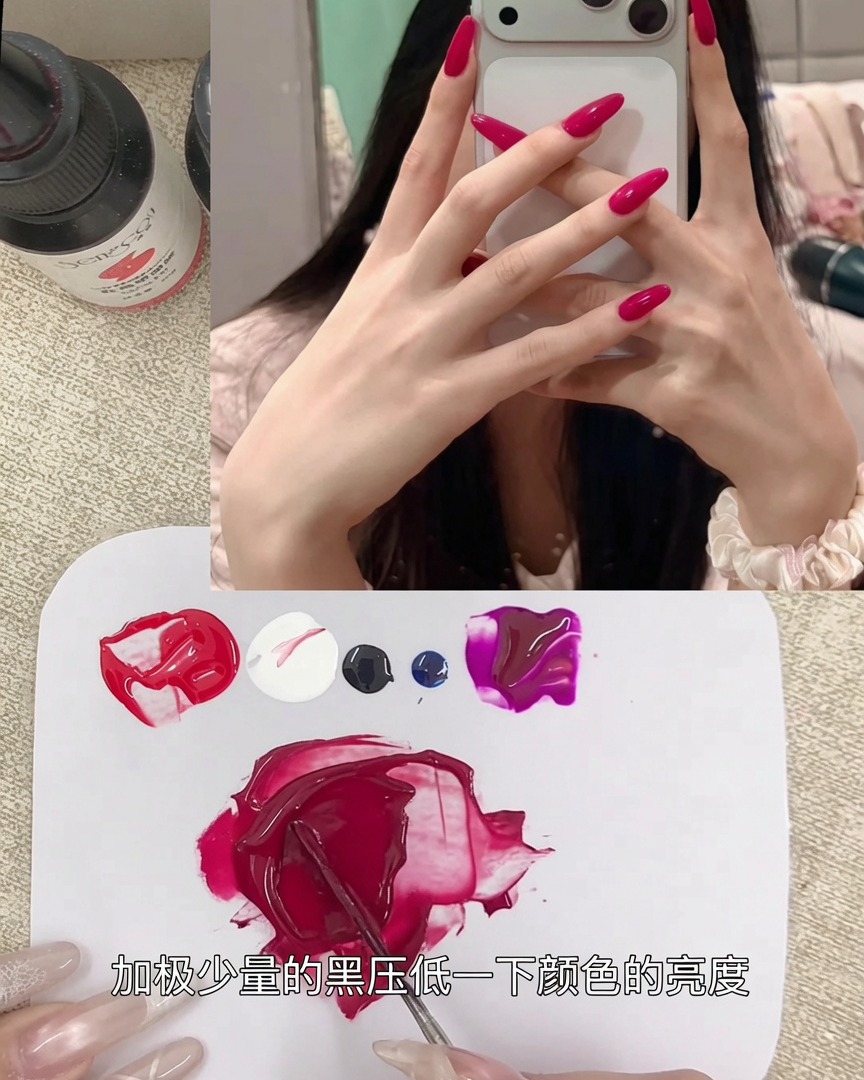
Add a tiny amount of blue gel to the mixture. This will help balance the warm tones of the red and the depth from the black, giving the berry color its characteristic cool, flattering undertone.
Tip: Blue effectively cools down a warm red mixture, creating a more complex and professional-looking berry shade. - 6Final color adjustment
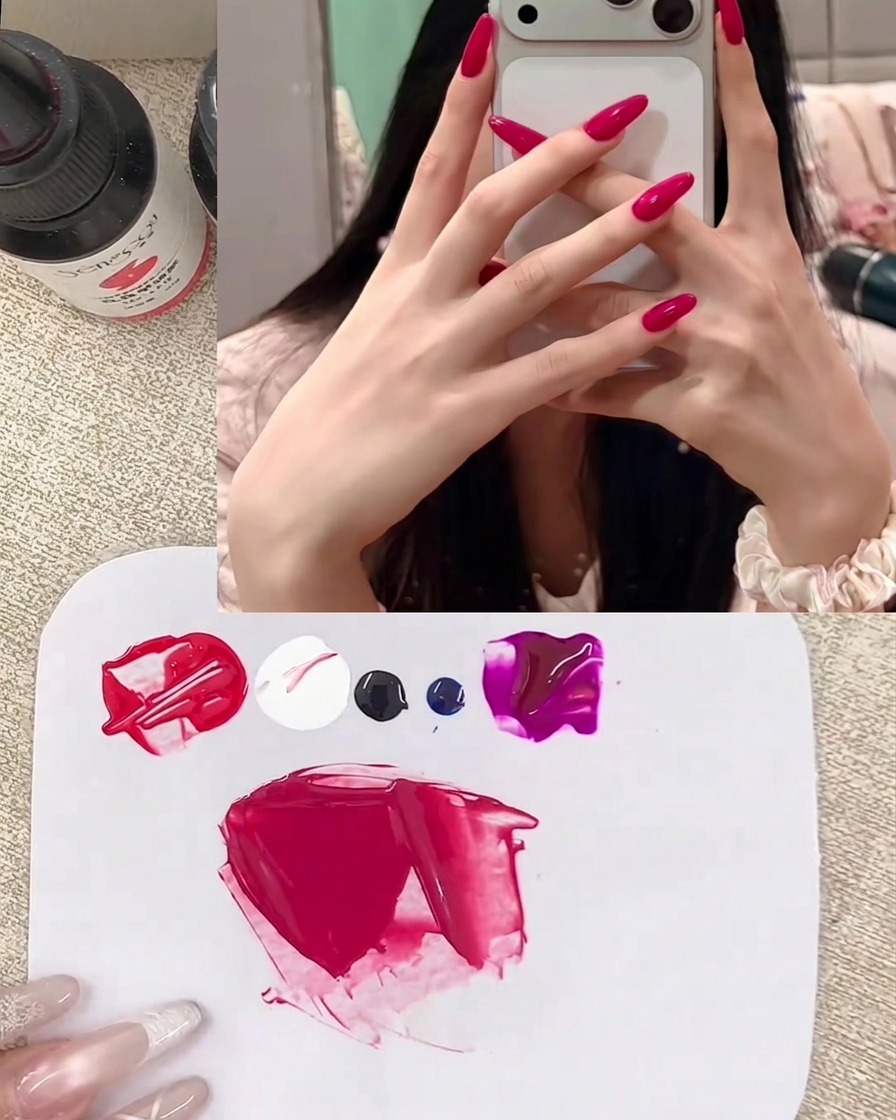
Finally, add a small amount of red gel back into the mixture to fine-tune the shade. This helps brighten the overall tone if the previous additions of black and blue made it too dark or muddy.
Tip: Observe the color carefully against a light background to ensure it matches the vibrant berry look you want. - 7Improve gel consistency
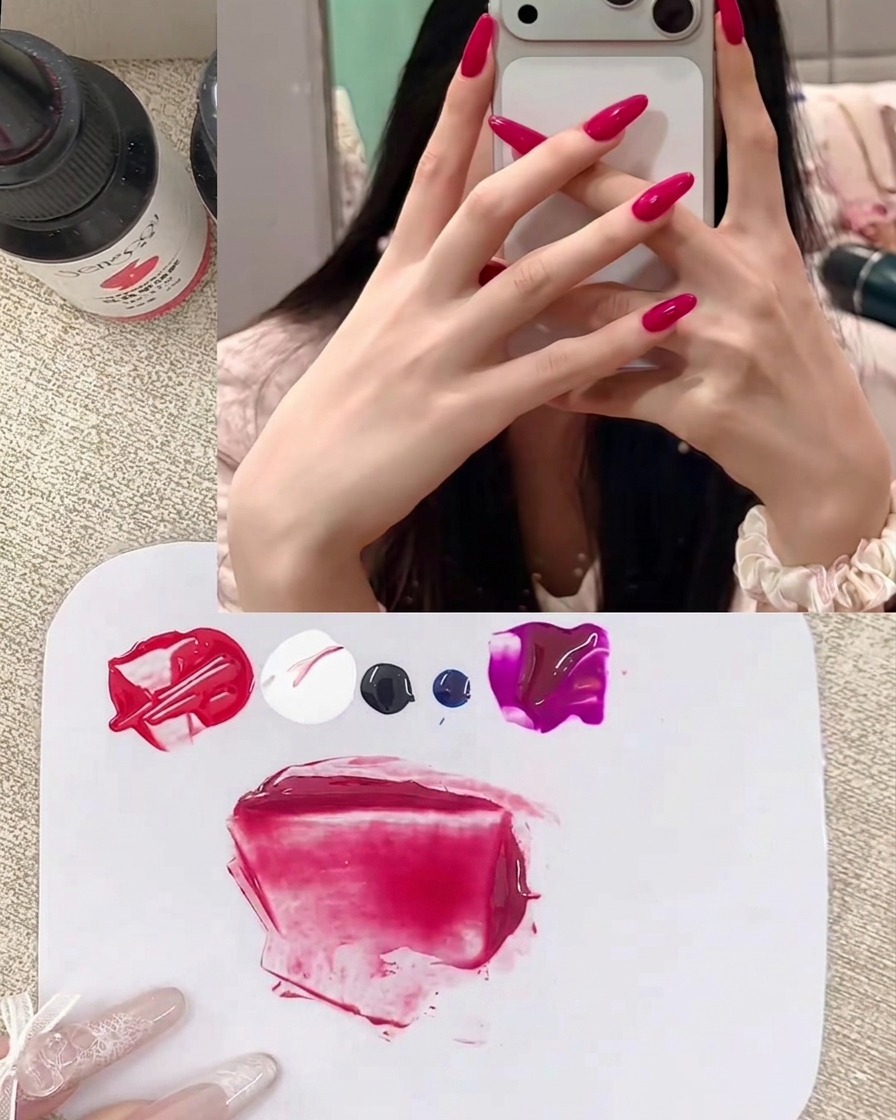
Add a small amount of clear mixing gel to your colored gel mixture. Use your spatula to blend the mixing gel thoroughly into the color until the consistency is smooth, making it easier to apply and level on the nail.
Tip: If your custom color feels too thick or tacky, adding a bit of mixing gel is the perfect way to get a professional, self-leveling texture. - 8Final color adjustment
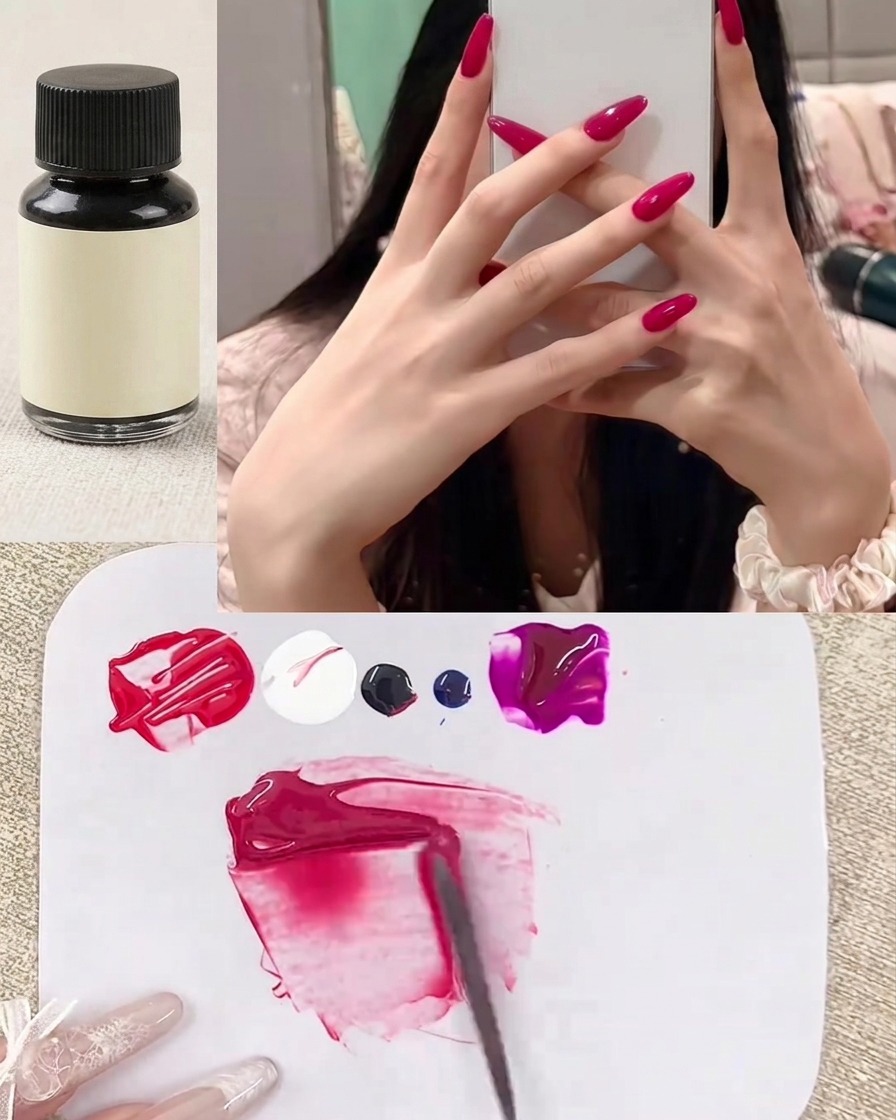
Using your spatula, gently mix in final, tiny amounts of red and black gel to fine-tune the shade. Continue blending until you achieve the exact bright and flattering berry red tone desired.
Tip: Add pigments in very small, multiple portions to maintain control over the shade and avoid over-darkening the color. - 9Apply berry red gel
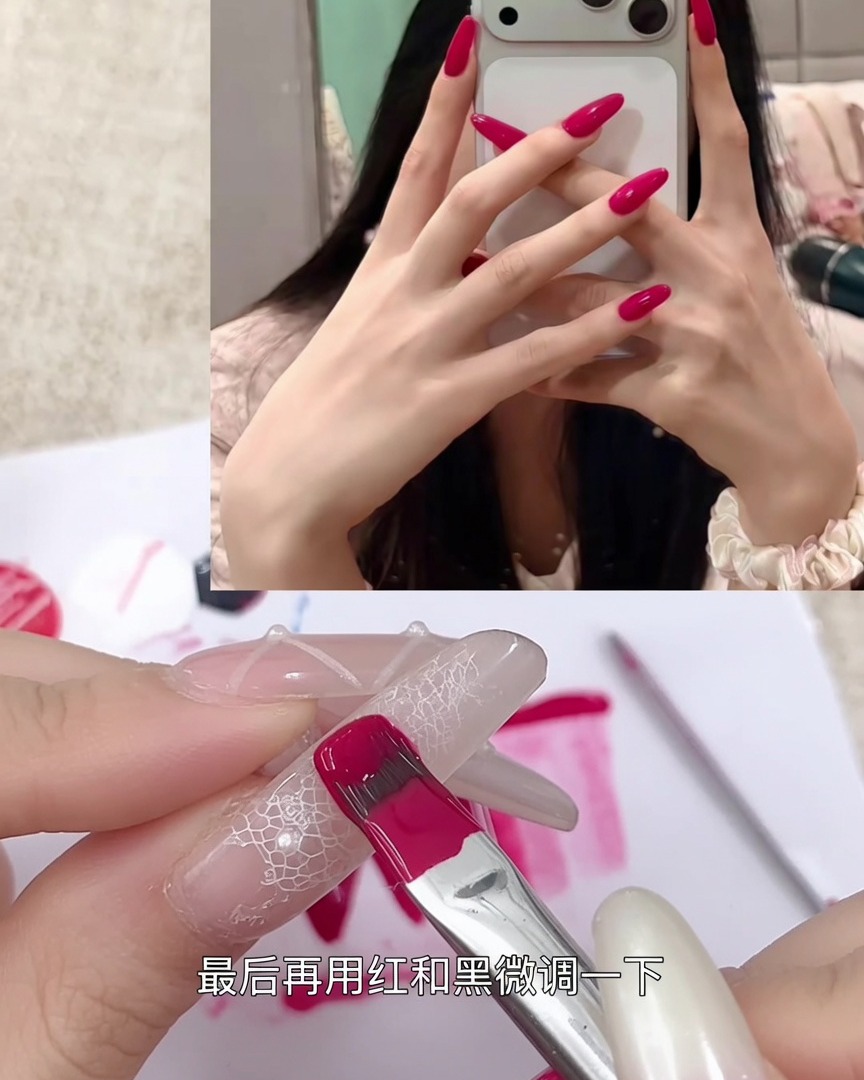
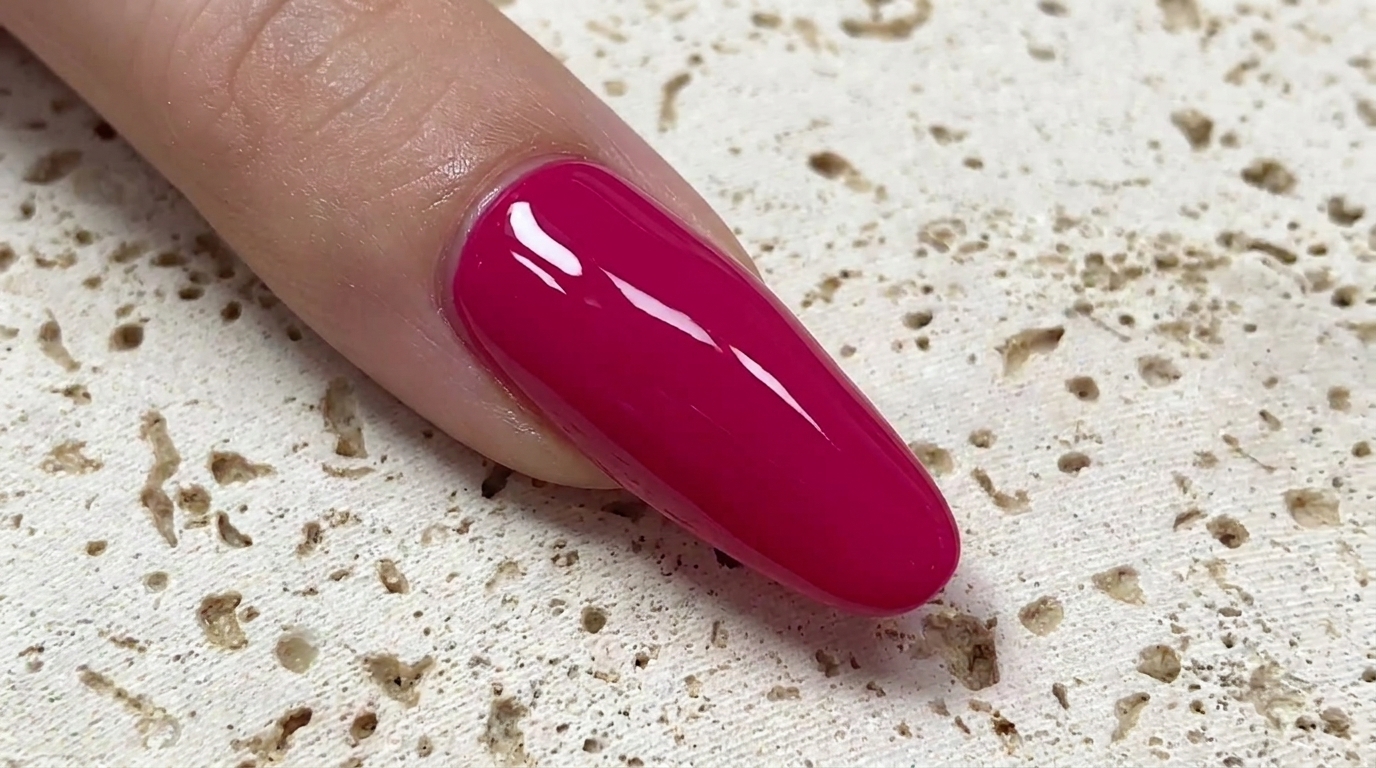
Dip your nail brush into the custom-mixed berry red gel and apply a thin, even layer onto the clear practice nail tip. Start from the cuticle area and pull the gel toward the free edge.
Tip: Keep your brush strokes light and steady to ensure the gel applies smoothly without streaking. - 10Smooth the gel coverage
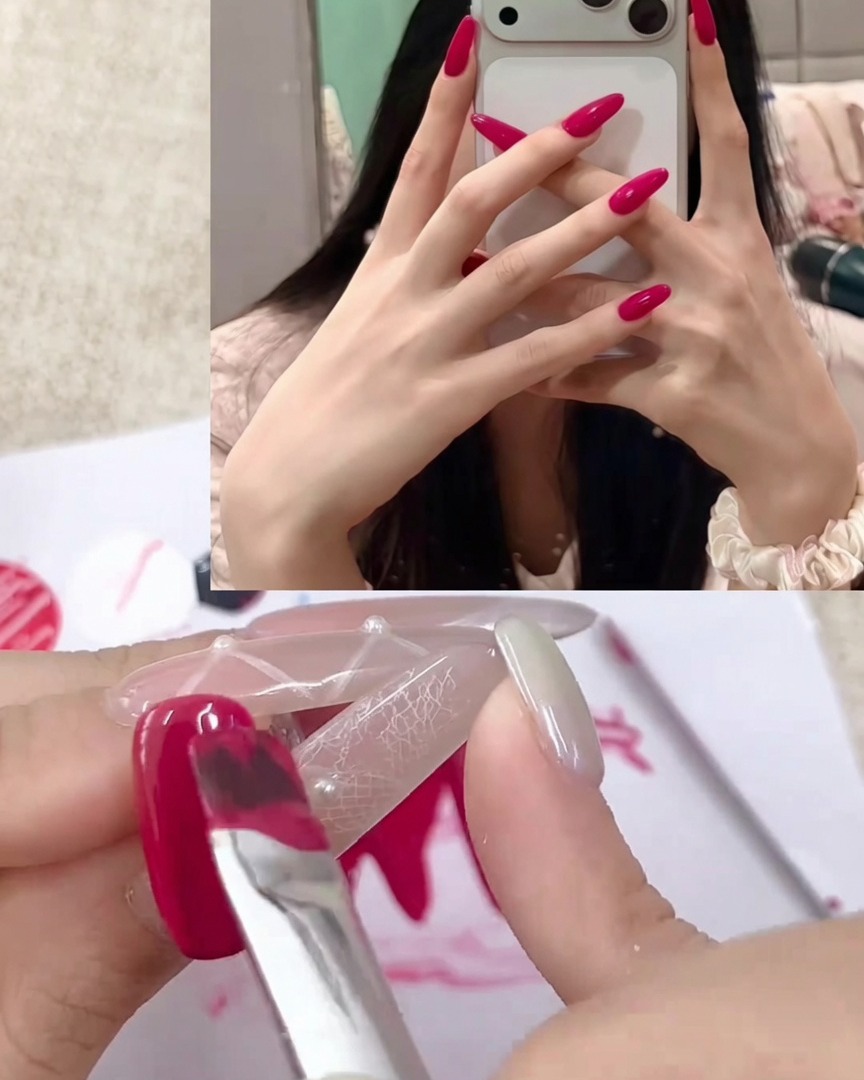
Gently glide your brush over the surface of the nail tip to smooth out the gel, ensuring even coverage from cuticle to free edge. Check that the color is uniform and free of bubbles or uneven patches.
Tip: Let the gel self-level for a few seconds before curing to get a perfectly smooth, glass-like finish.