Tri-Color Gel Manicure: Dragon Fruit, Red,
Mint Green Tutorial
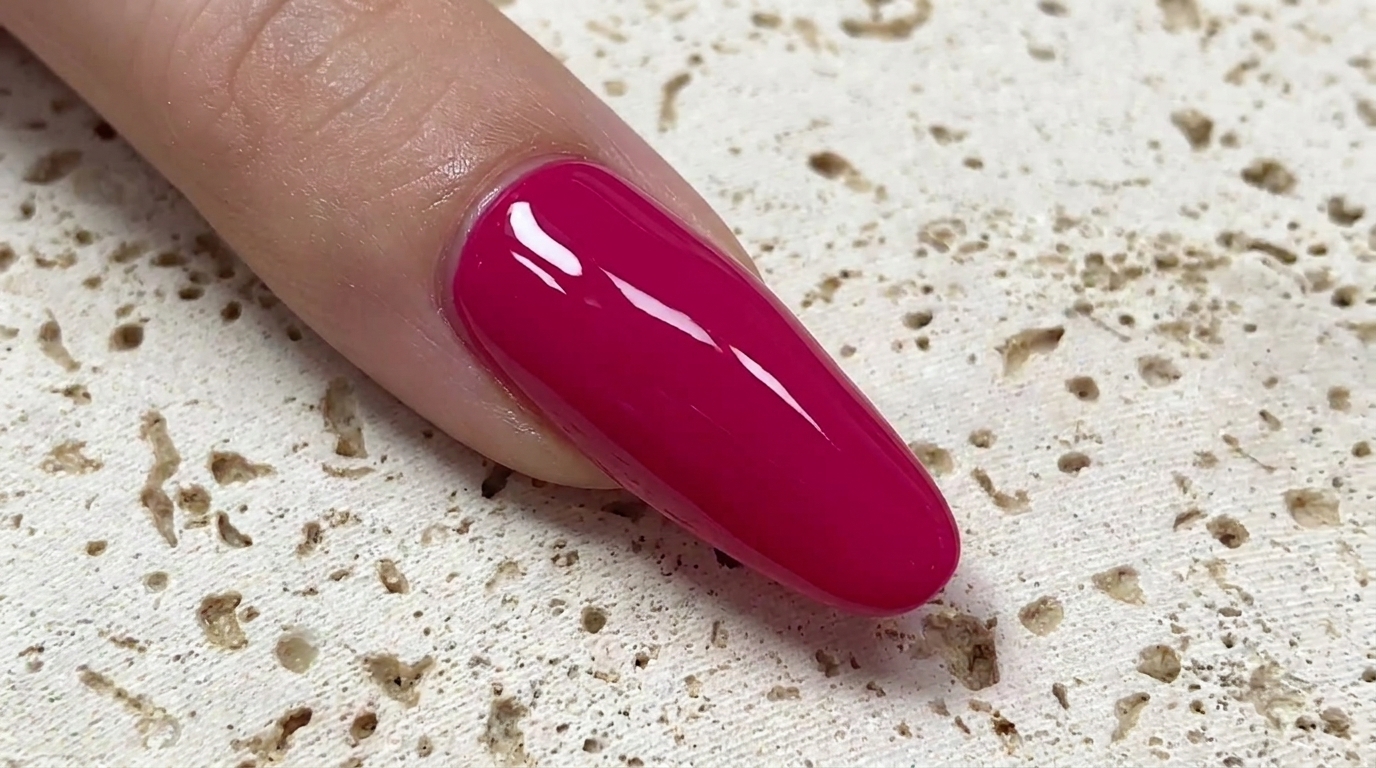
Elevate your manicure with this vibrant tri-color gel look. Learn how to achieve a flawless, high-gloss finish using magenta, classic red, and mint green shades.
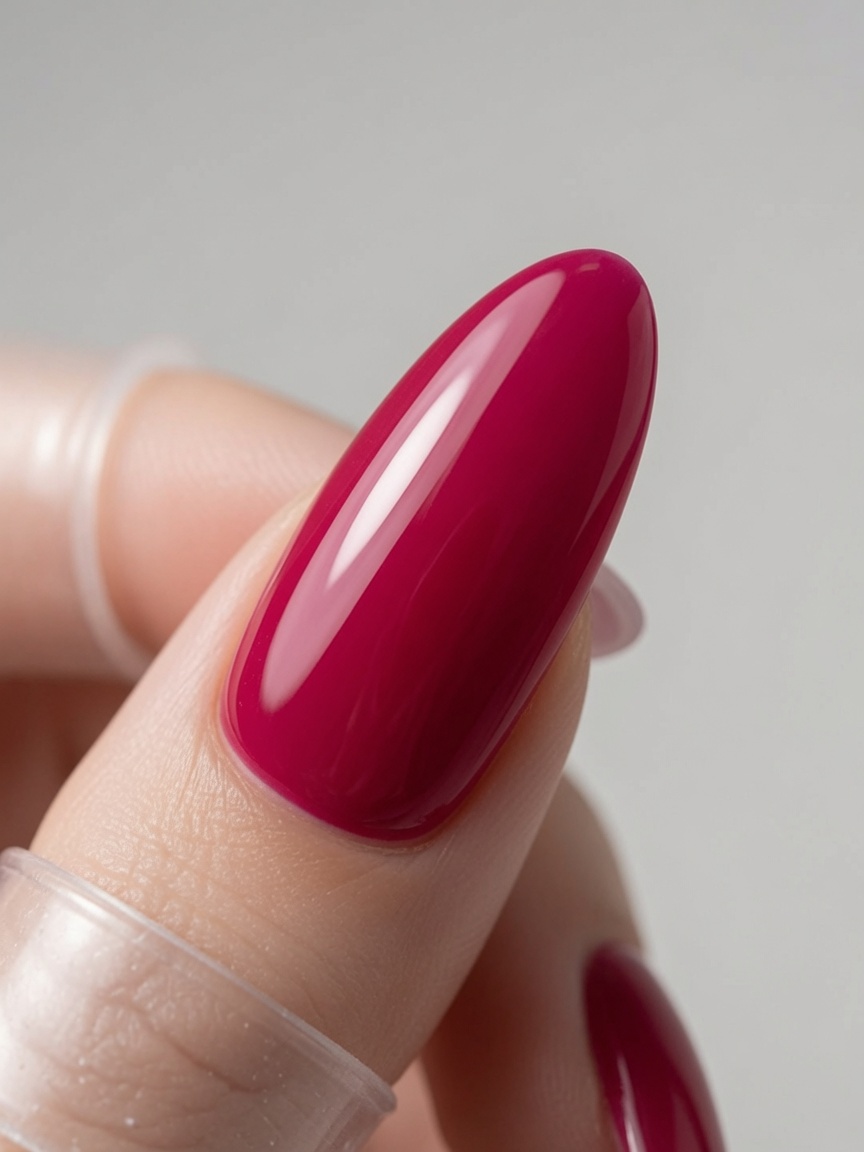
This bright dragon fruit color makes the skin look fairer and creates a striking base for a multi-tonal manicure. Pairing it with classic red and fresh mint green offers a playful, high-contrast look perfect for those who love bold colors. Follow this guide to achieve a smooth, professional gel application at home.
Steps
- 1Apply dragon fruit gel polish
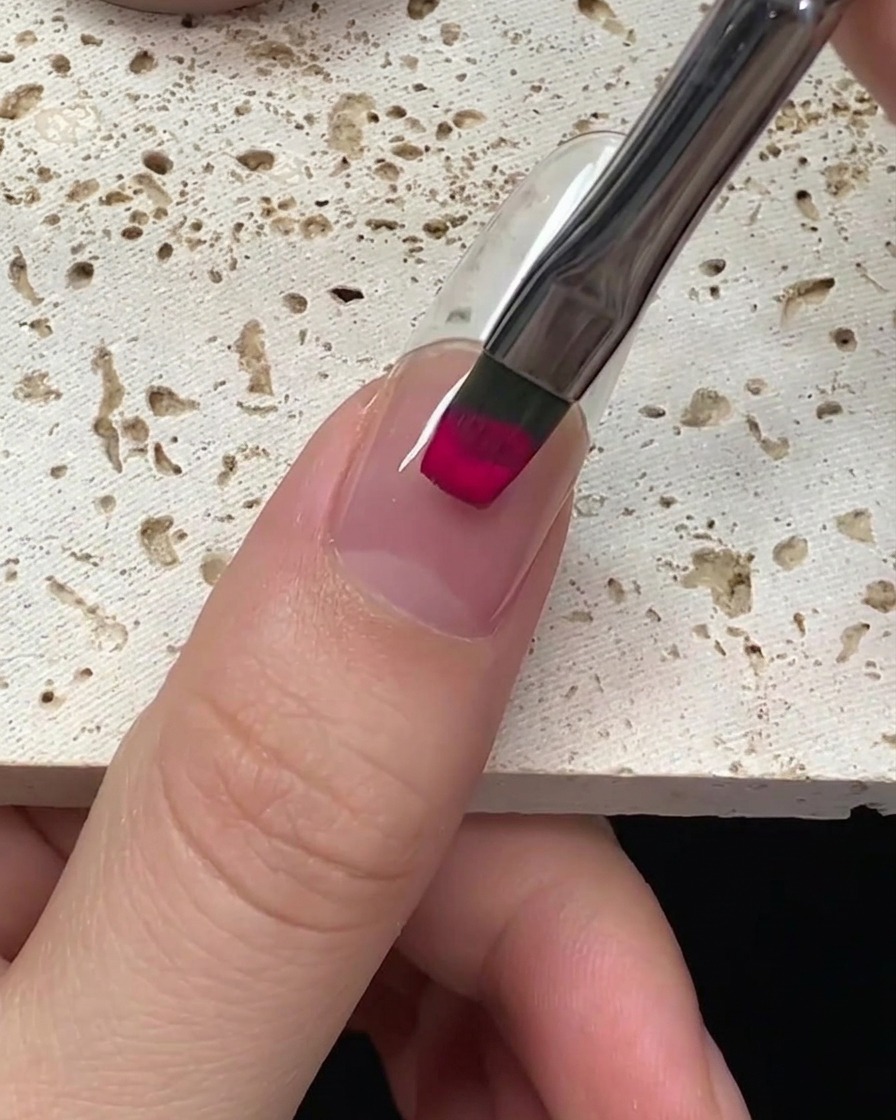
Load your brush with the magenta dragon fruit gel polish. Starting at the cuticle area, gently push the brush towards the base of the nail, then pull it down towards the free edge, ensuring even coverage.
Tip: Work with a light hand to avoid flooding the cuticle area, keeping the layer thin and smooth. - 2Extend polish down the nail
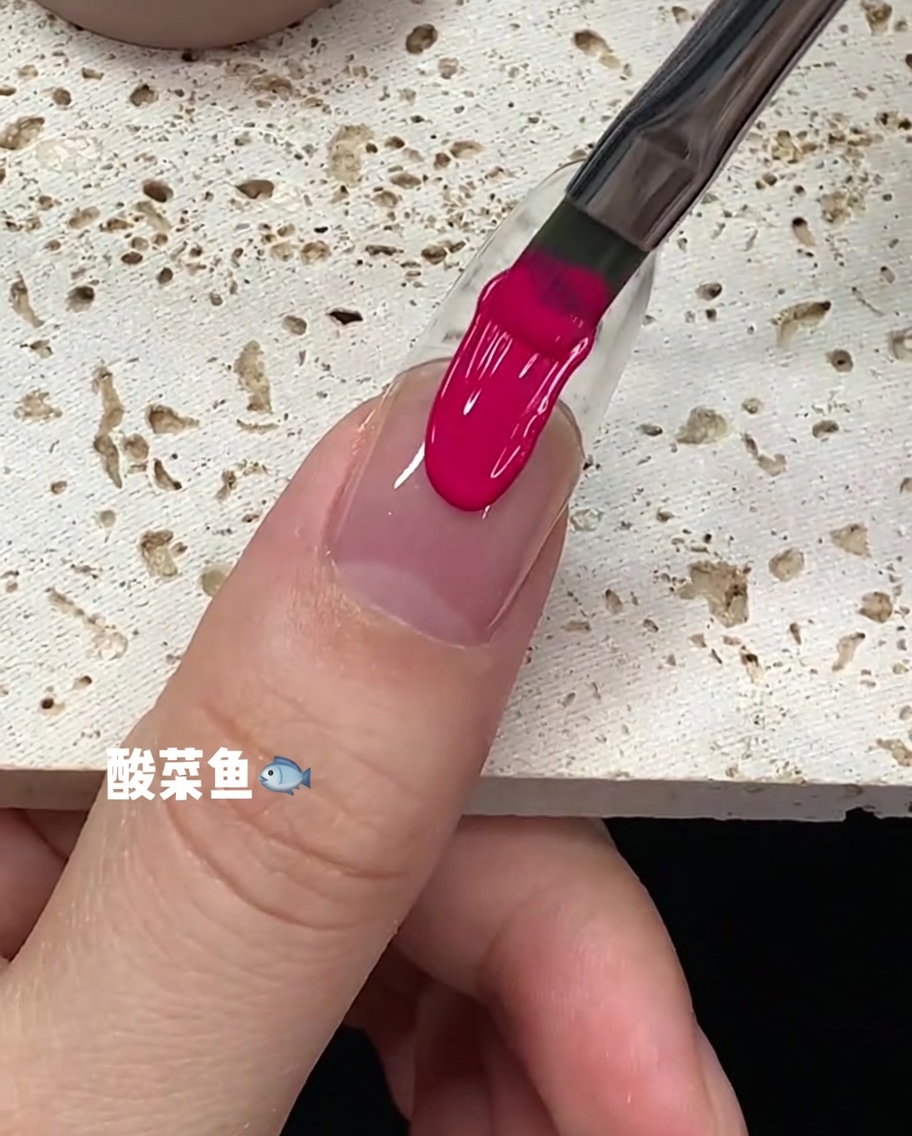
With the magenta gel polish applied, draw the brush down the center of the nail plate towards the free edge in one steady stroke. This helps establish a clean line for the rest of the application.
Tip: Keep the brush centered to maintain a uniform look across the nail surface. - 3Smooth the gel application
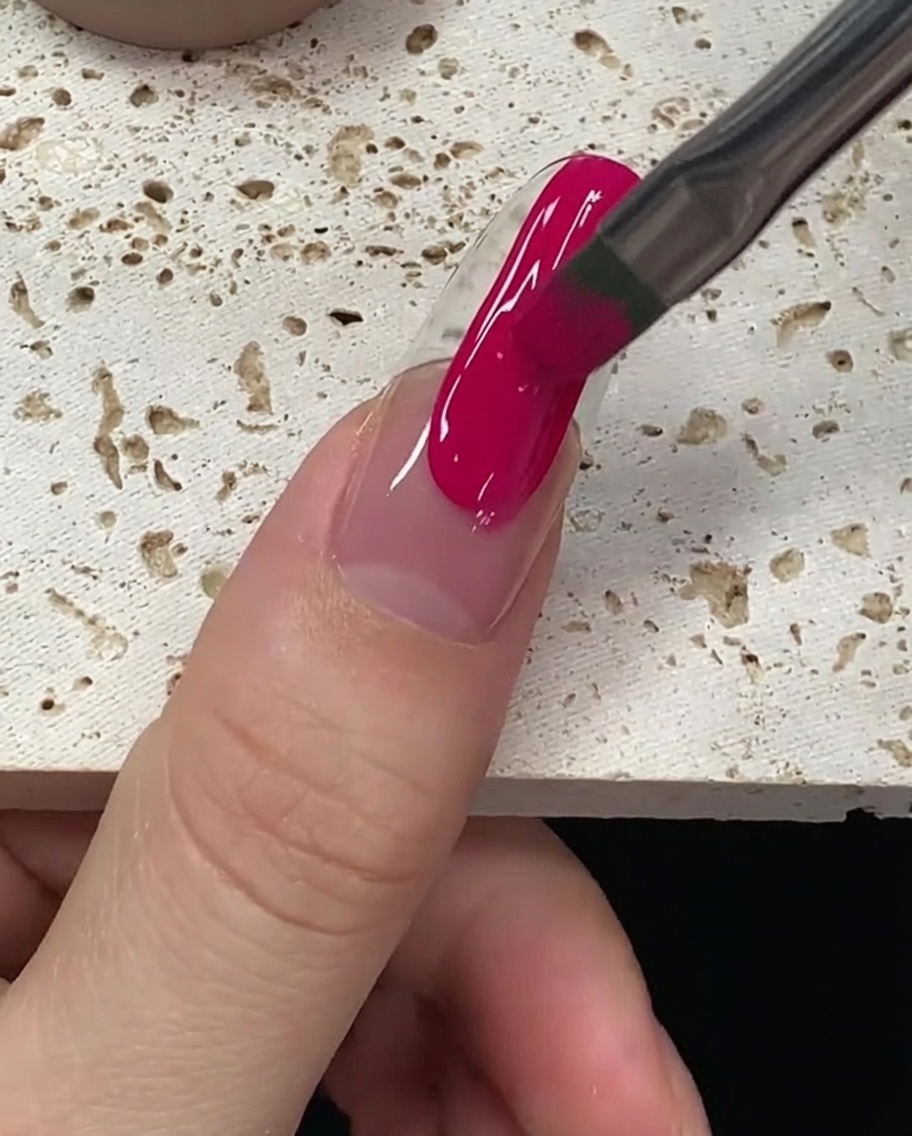
Gently smooth the magenta gel polish over the entire nail surface. Ensure the polish is distributed evenly, covering the sides for a uniform and professional finish.
Tip: Use light, sweeping motions to avoid creating bubbles or streaks in the gel layer. - 4Apply red gel polish
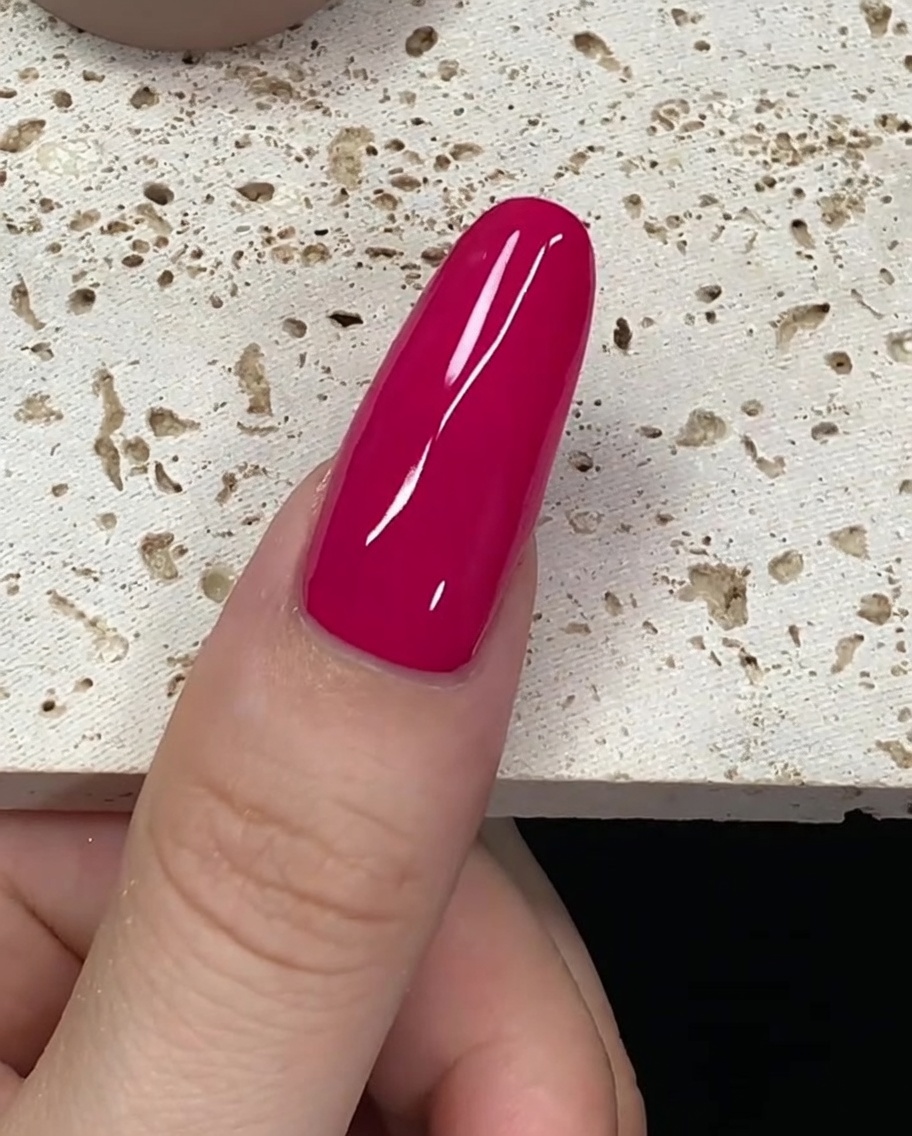
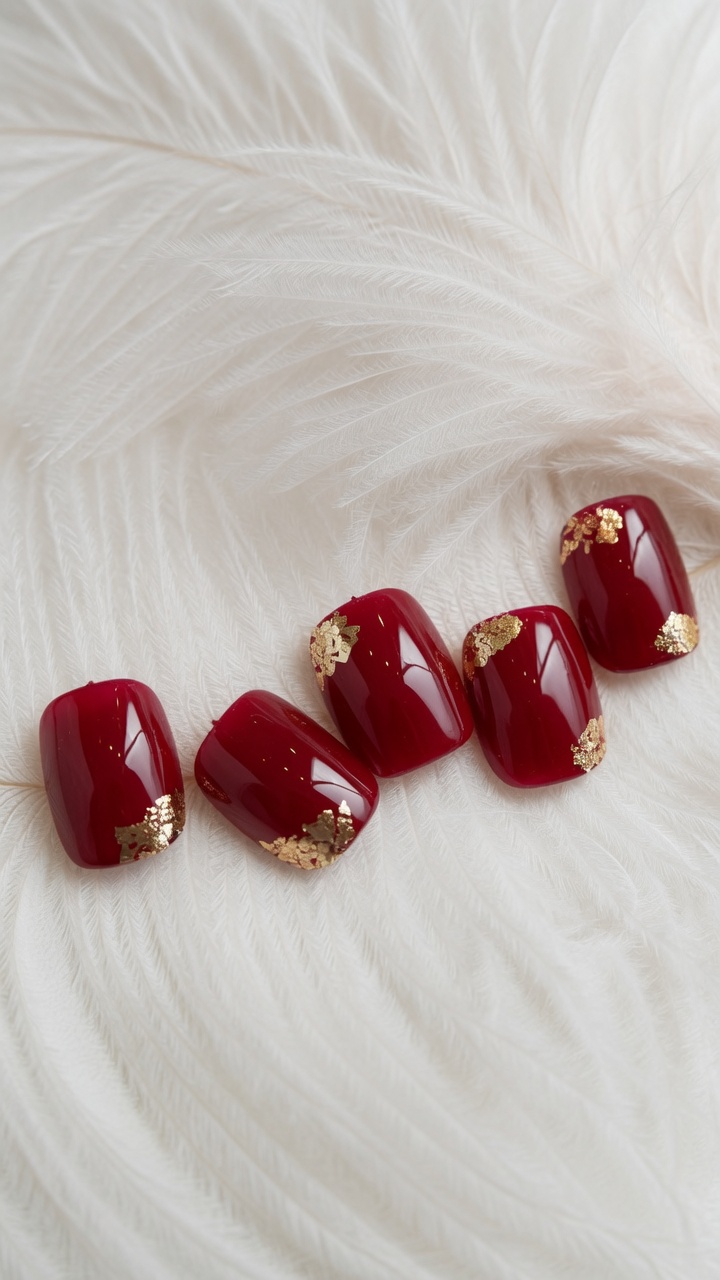
After curing the initial color, load your brush with the deep red gel polish. Carefully place the brush near the cuticle area to begin applying the next layer.
Tip: Ensure your brush is not overloaded to prevent the gel from pooling at the cuticle. - 5Stroke red polish down
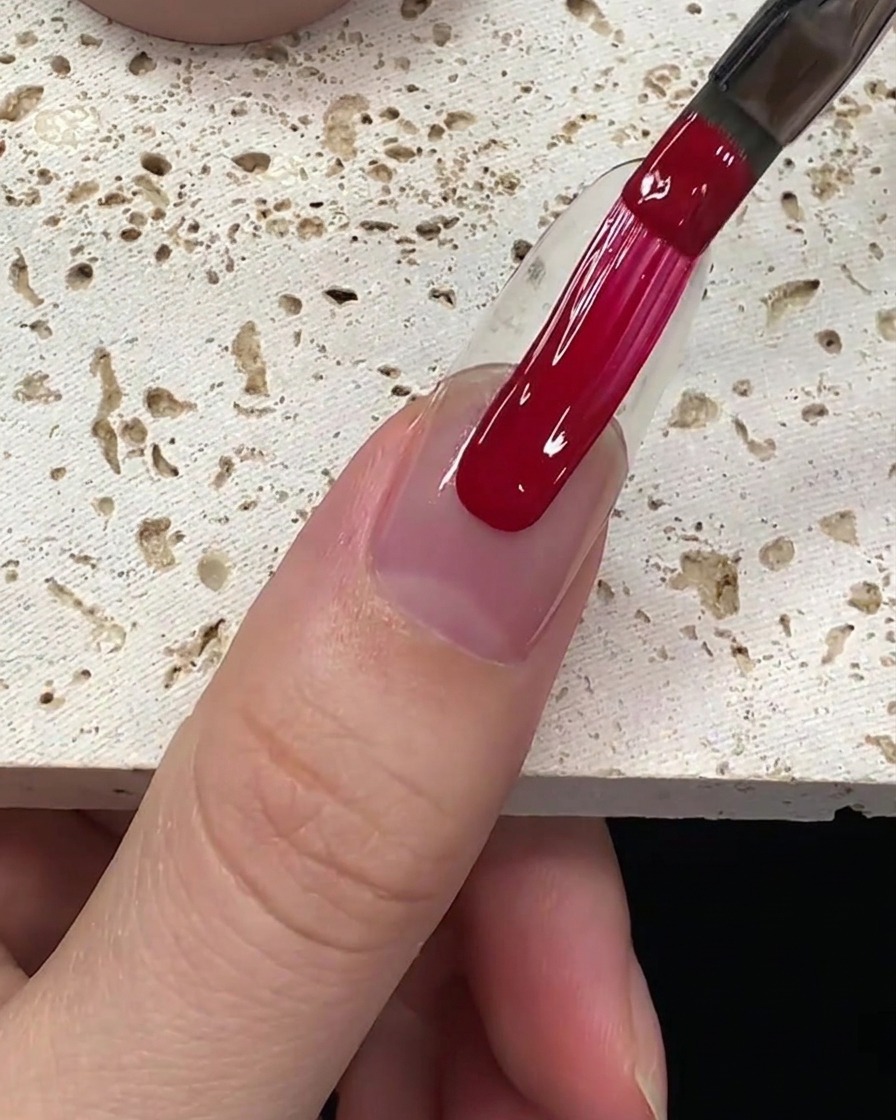
Apply the deep red gel polish in long, even strokes down the length of the nail plate. Use steady pressure to maintain an even thickness from cuticle to free edge.
Tip: Even strokes ensure a streak-free appearance for the deep red shade. - 6Refine and finish coverage
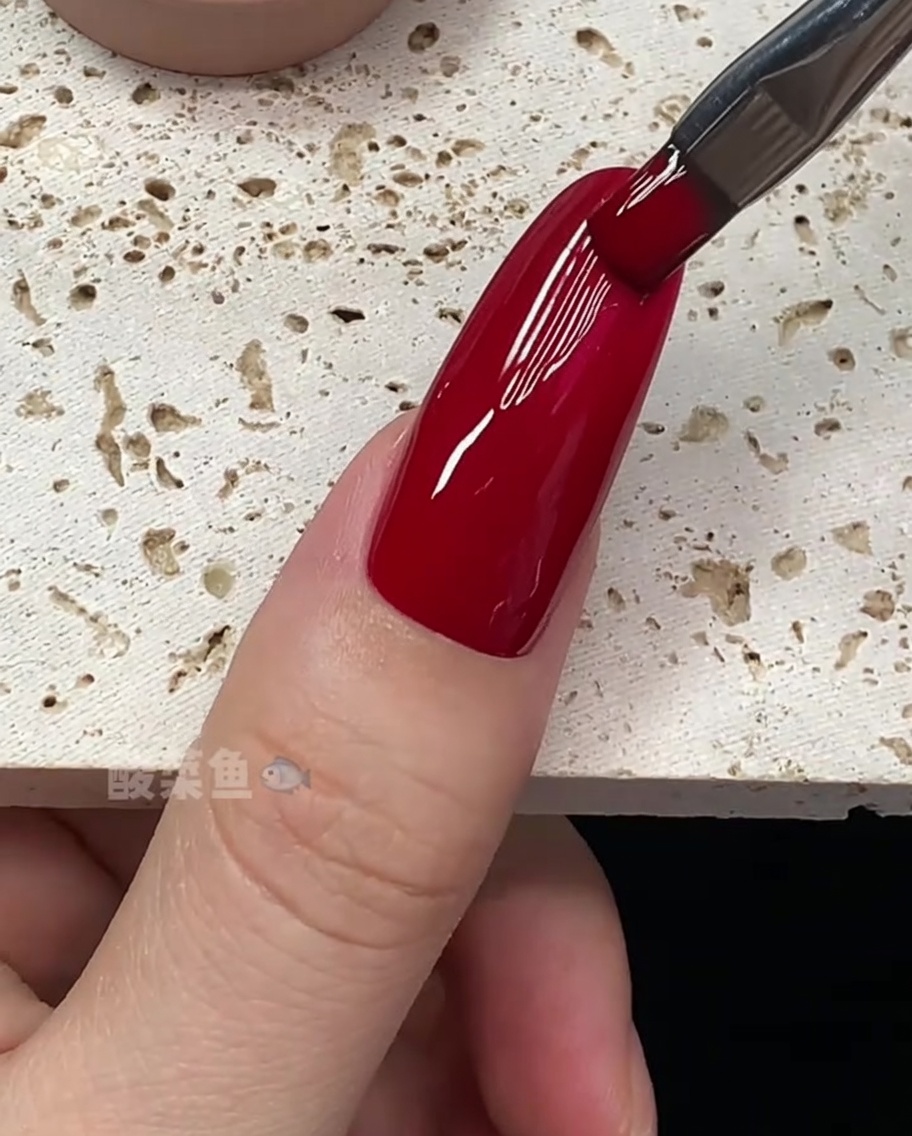
Carefully refine the edges of the nail with your brush to ensure full coverage of the deep red polish. Check that the sides are neat and the color is applied evenly to the free edge.
Tip: Cap the free edge with the polish to increase the longevity of your manicure. - 7Begin mint green application
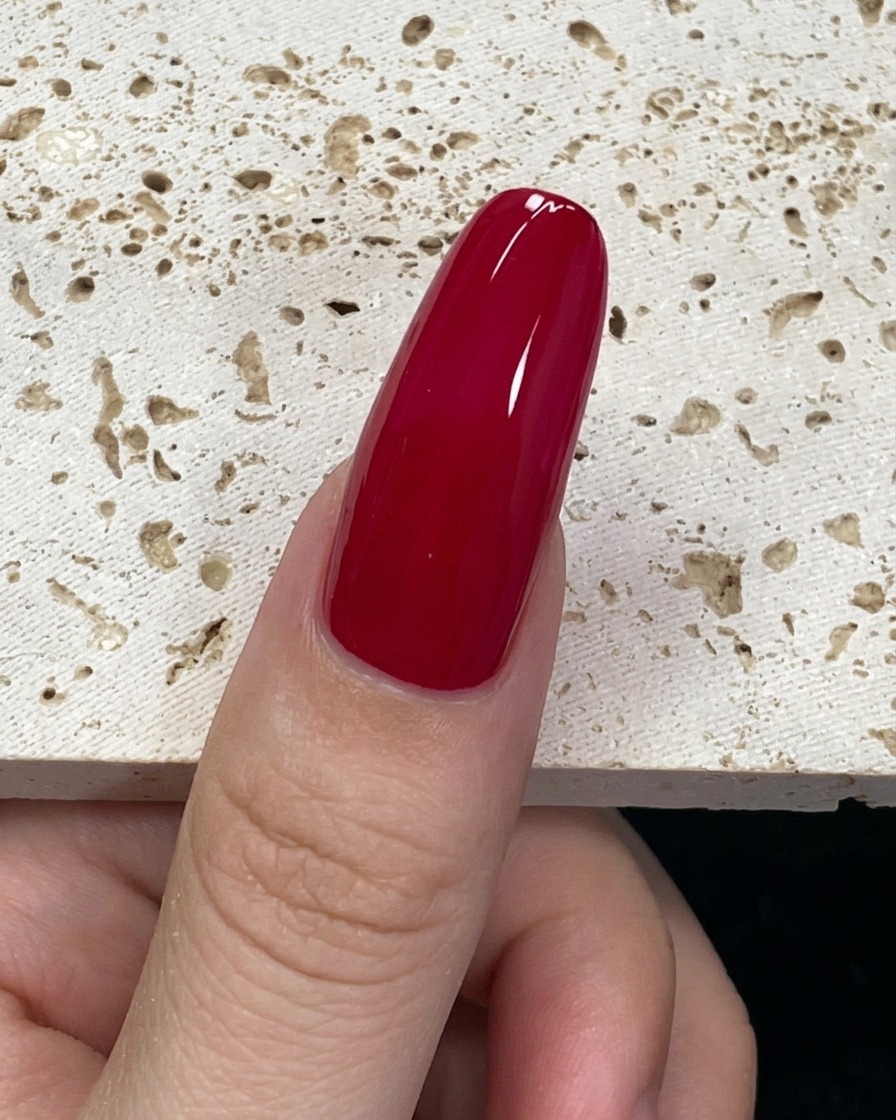
Load your brush with a small amount of mint green gel polish. Start the application by carefully placing the brush near the cuticle area, leaving a tiny gap to prevent flooding the skin, then guide the brush toward the free edge.
Tip: Use a light touch near the cuticle to ensure a clean, smooth line. - 8Distribute color evenly
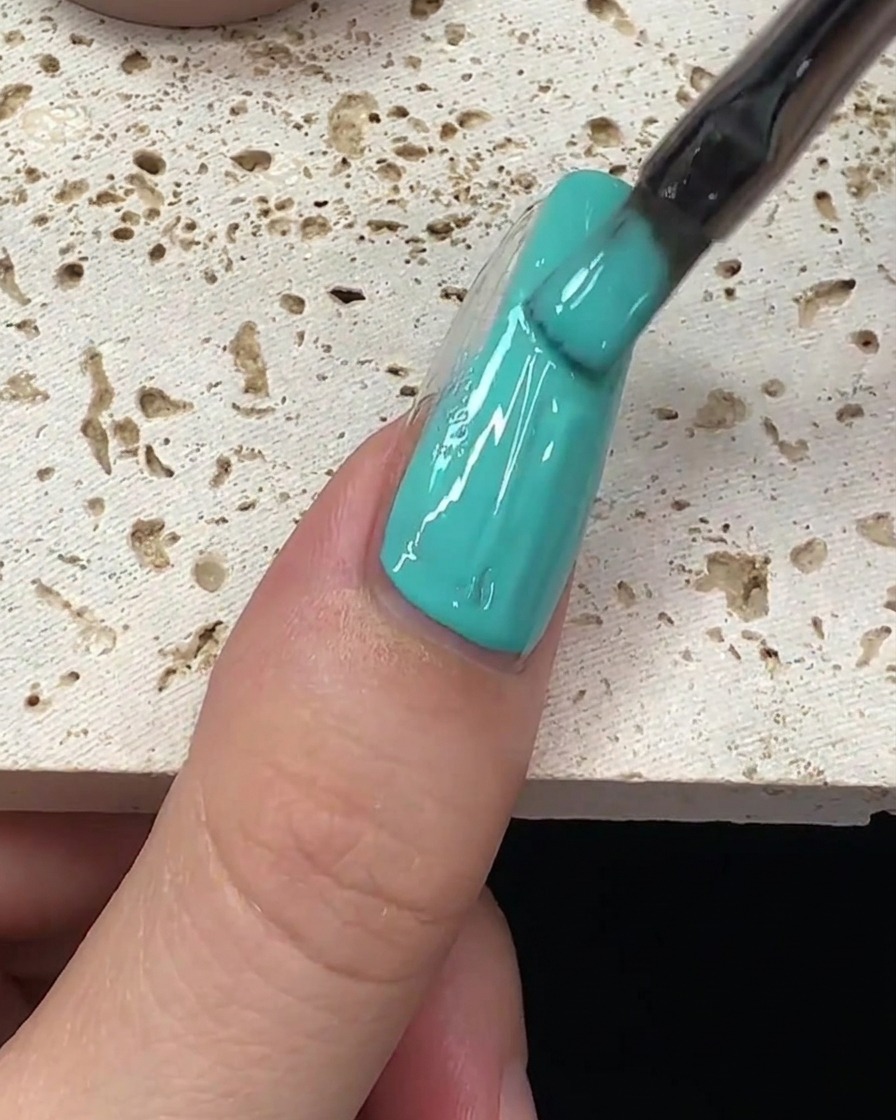
With the product placed at the cuticle, pull the brush down the center of the nail to distribute the polish evenly. Use gentle pressure to ensure consistent coverage from the cuticle area down to the free edge, keeping the layer thin and controlled.
Tip: Keep the brush parallel to the nail surface to avoid streaks and ensure an even thickness. - 9Smooth to the free edge
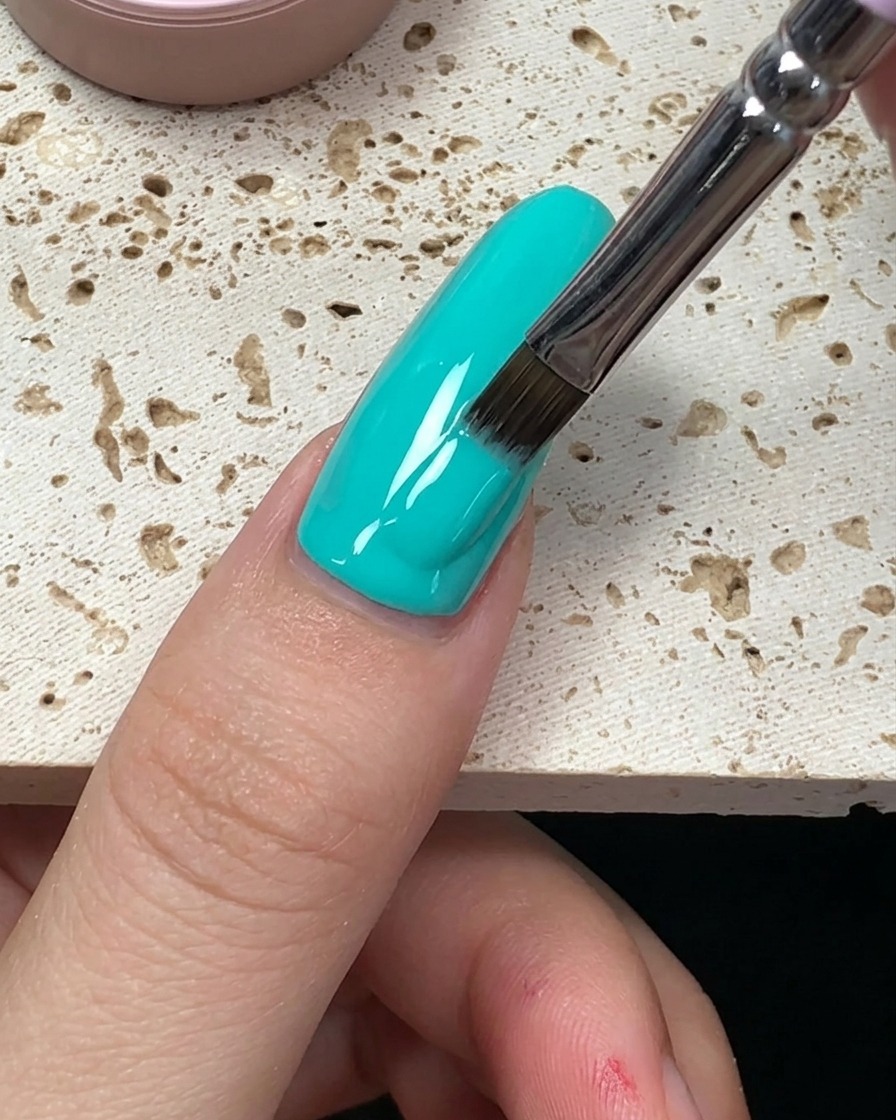
Complete the application by smoothing the mint green gel polish out to the free edge. Ensure the product is applied evenly across the entire surface and cap the free edge to prevent premature lifting.
Tip: Ensure the free edge is fully capped for a professional and durable finish.