Deep Red and Gold Foil Gel Manicure — Step-by-Step Tutorial
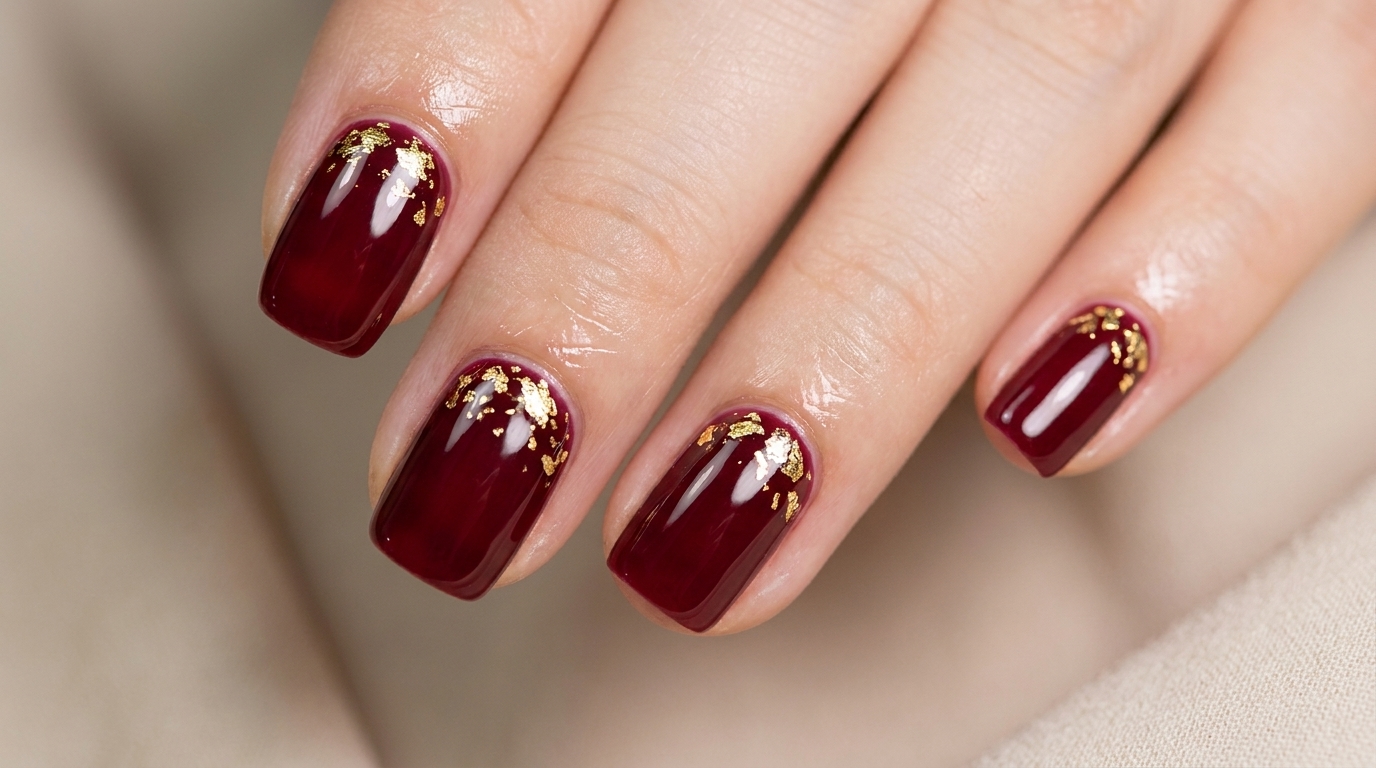
Create a stunning, elegant manicure with deep burgundy gel polish and delicate gold foil accents for a luxurious, high-shine finish.
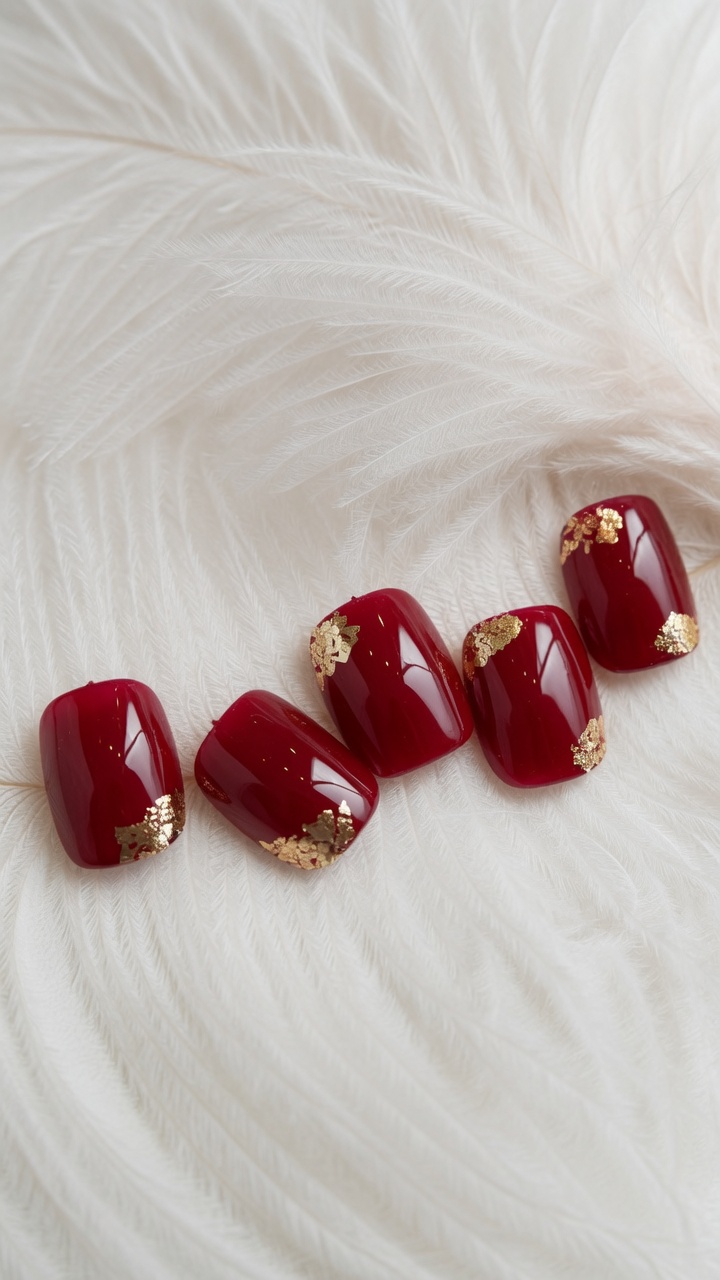
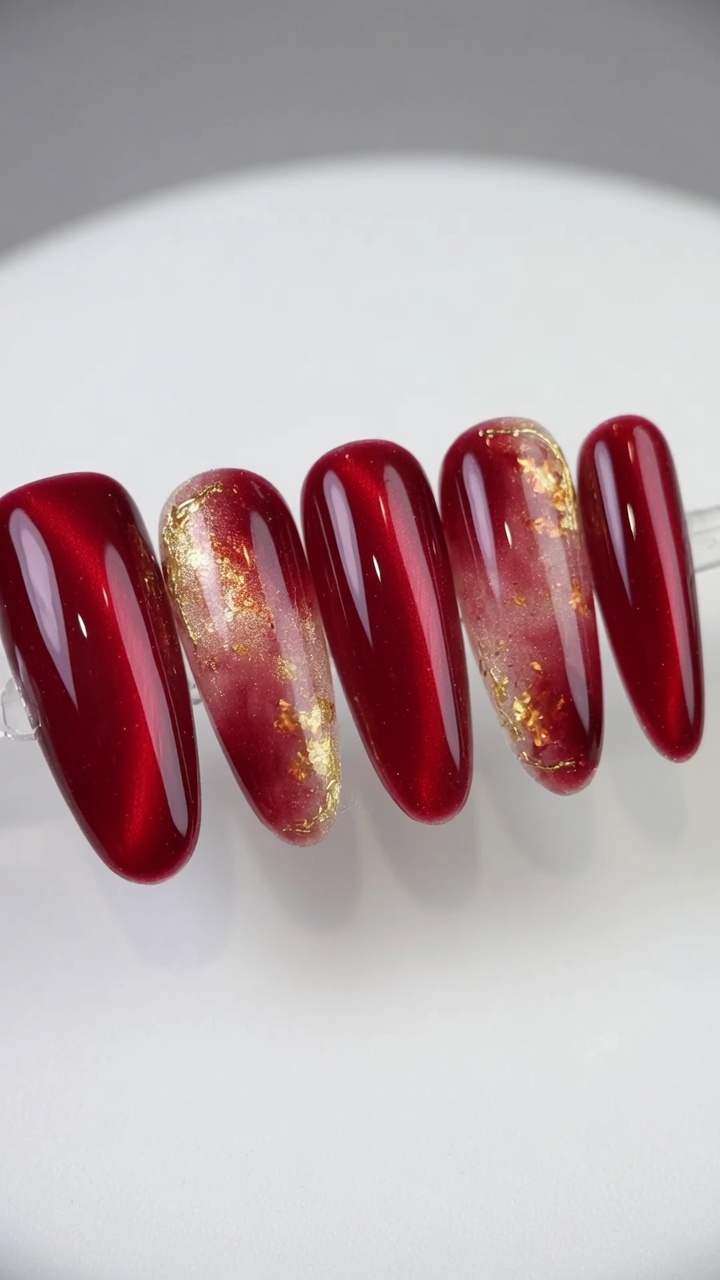
The combination of rich, deep red and shimmering gold foil is a timeless pairing that instantly elevates any manicure. The warmth of the gold beautifully complements the bold burgundy, making your hands look exceptionally fair and elegant. Best of all, placing foil flakes is surprisingly forgiving and doesnt require advanced nail art skills to look incredibly professional.
Steps
- 1Apply base coat
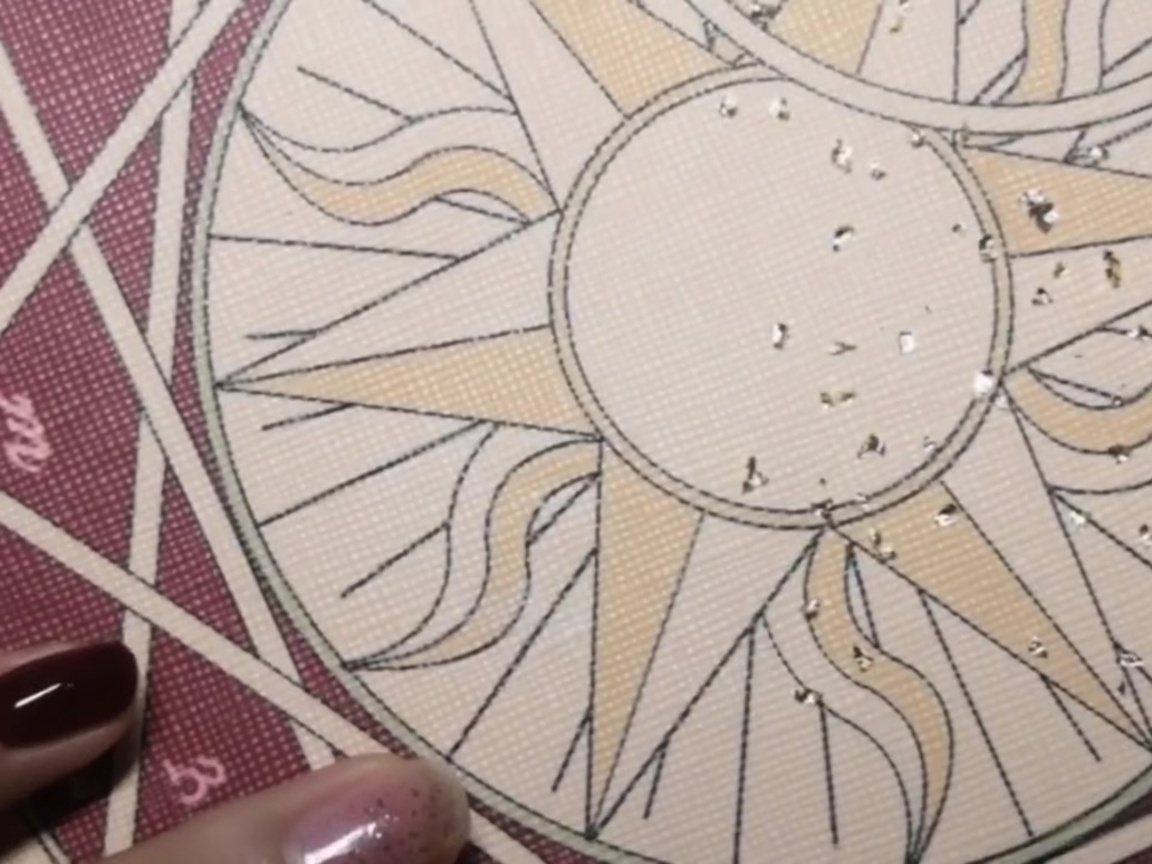
Apply a thin, even layer of clear base coat to your nail. This layer serves as the adhesive for the gold foil, so ensure it covers the nail surface completely but thinly to avoid pooling. Do not cure this layer yet, as it needs to remain tacky for the foil to stick.
Tip: Apply a slightly thicker layer than you would for polish if your gold foil isnt adhering well, but be careful not to flood the cuticles. - 2Apply gold foil
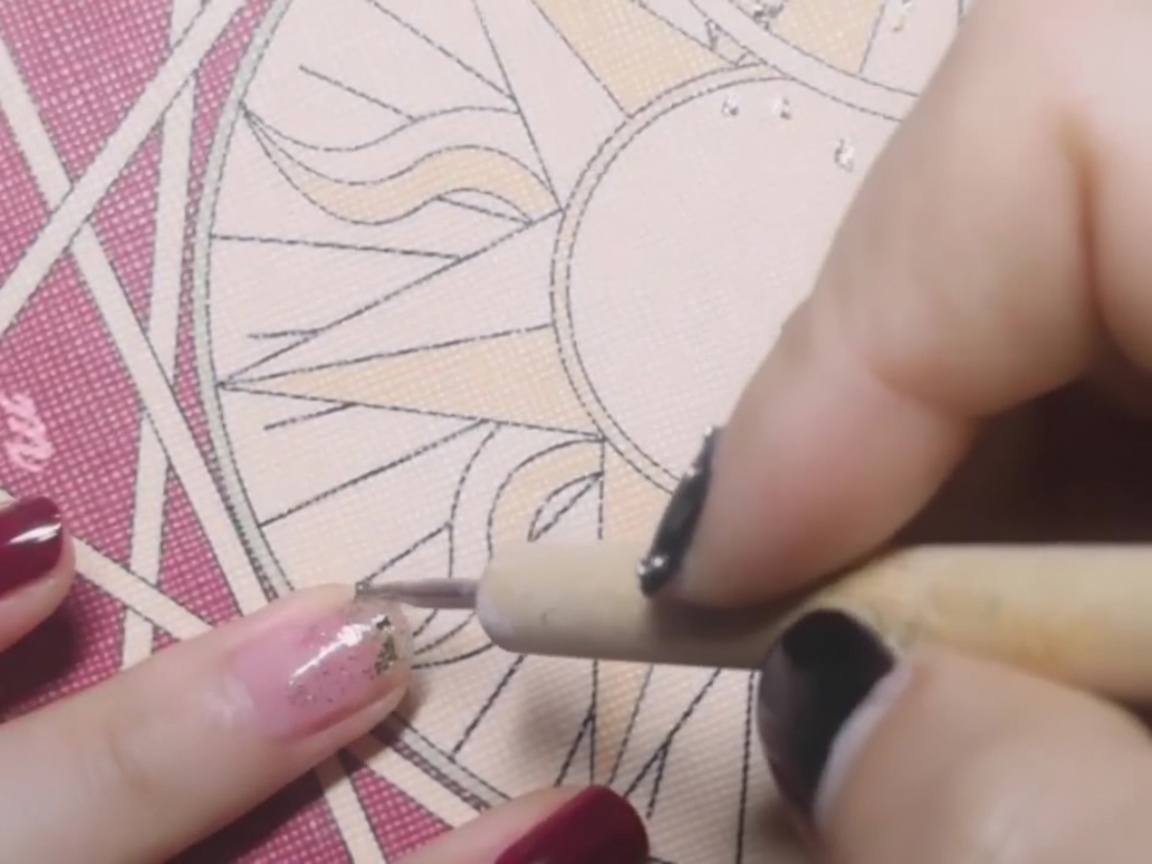
Using a dotting pen, carefully pick up small flakes of gold foil and place them onto the tacky base coat. Focus the majority of the foil at the base of the nail, gradually thinning out the amount as you move toward the tip to create a beautiful gradient effect.
Tip: If the foil curls after placement, gently use your finger to press it flat against the nail surface. Avoid breathing on the foil while placing it, as it is extremely light and will blow away easily. - 3Prepare next nail
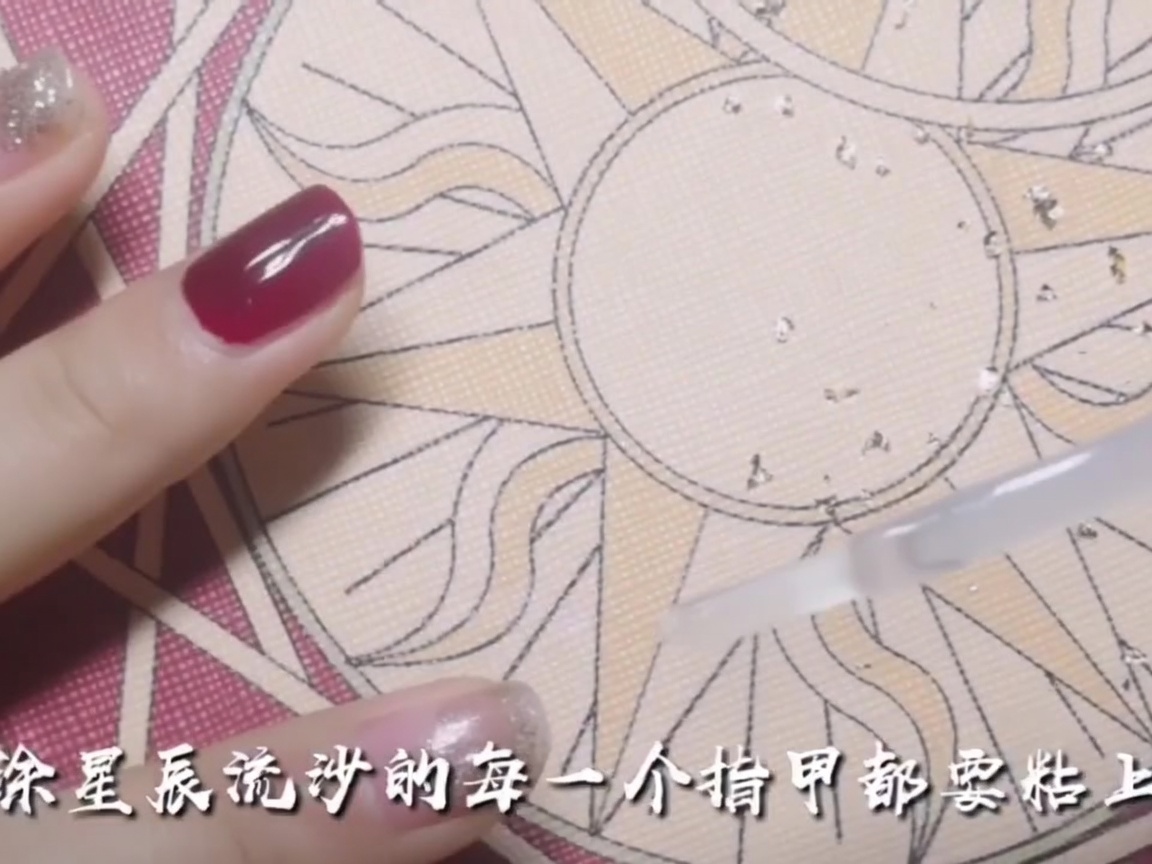
Continue the process by applying a fresh layer of clear base coat to the next nail. Ensure you reach the edges for uniform foil placement. Keeping the base coat wet is key for the foil to stick consistently across every nail.
Tip: Work one nail at a time to prevent the base coat from drying out before you can finish placing the foil. - 4Apply foil to second nail
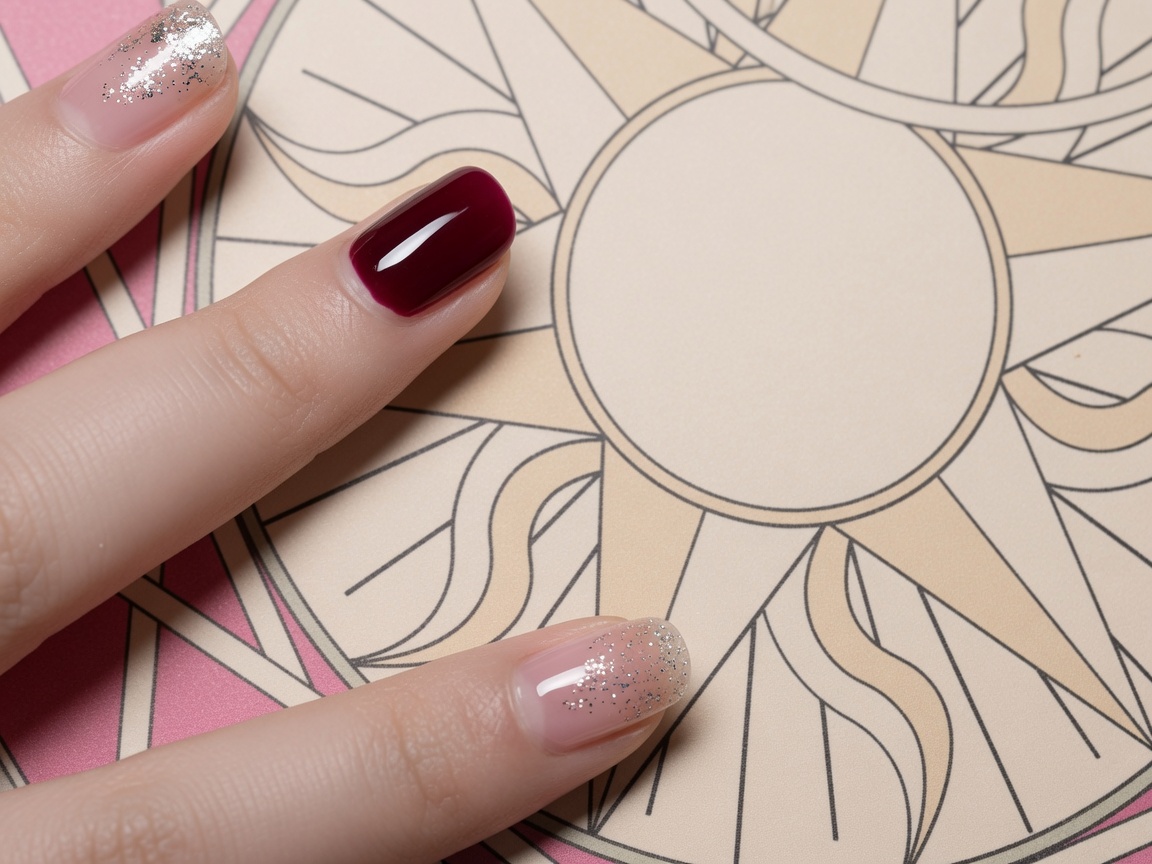
Repeat the foil application technique on the second nail. Pick up small pieces with the dotting pen and layer them, starting from the cuticle area. Ensure the concentration of foil is heaviest at the base for a consistent look across all nails.
Tip: Check your progress in good lighting to ensure the gold foil is distributed evenly to your liking. - 5Apply base for red gel
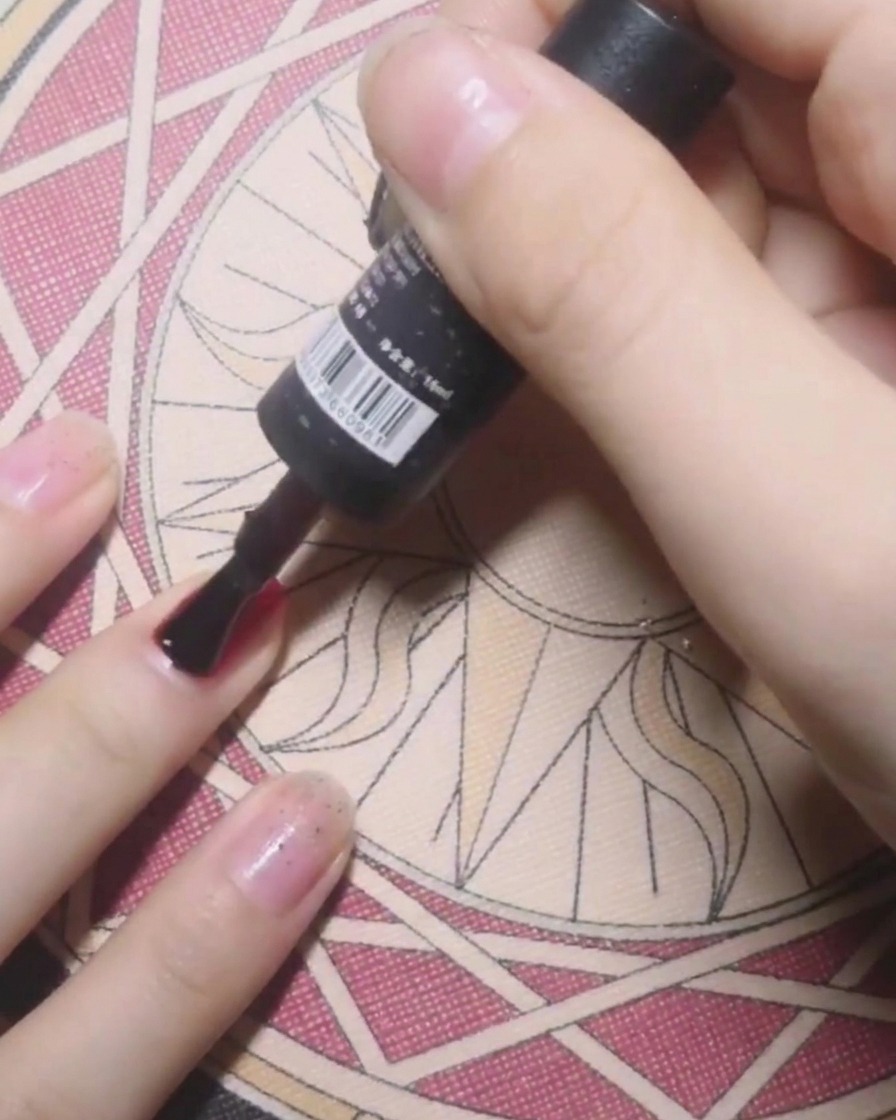
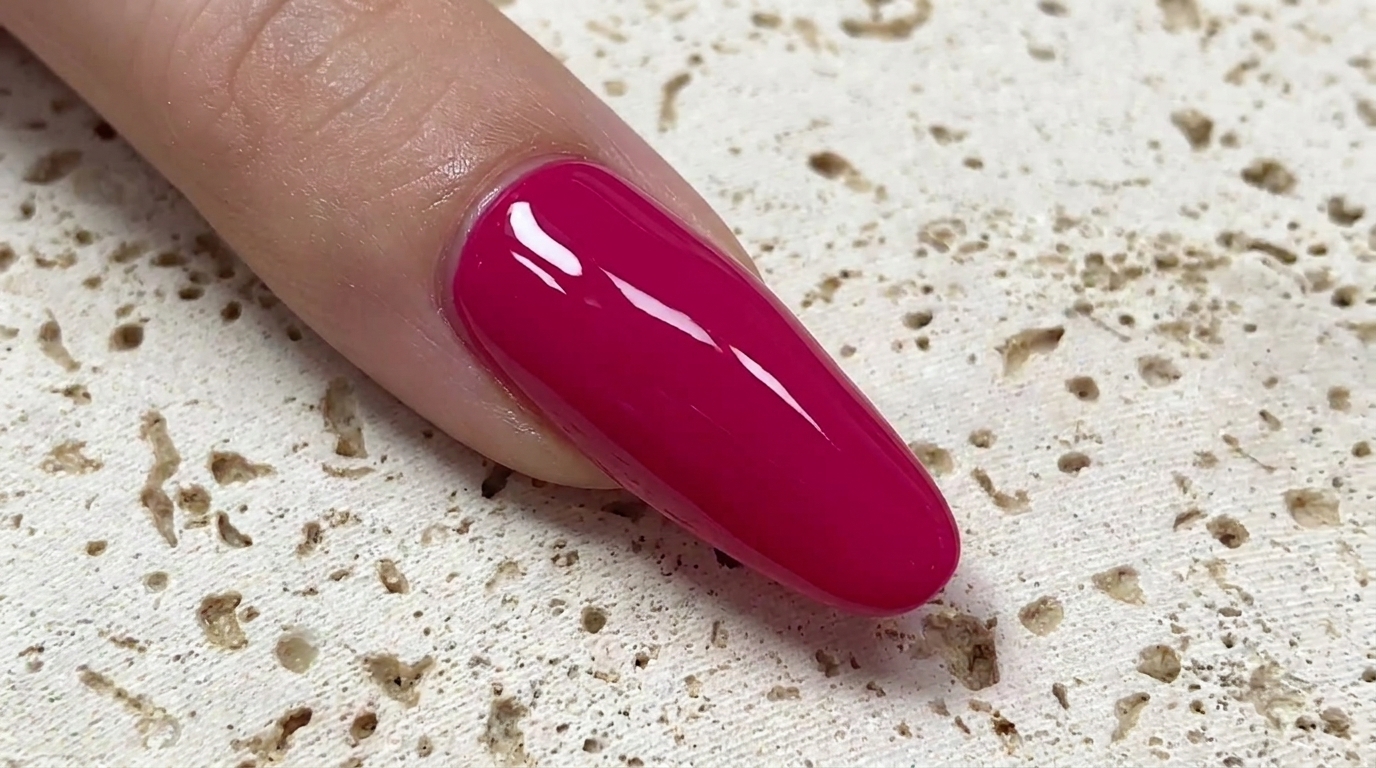
For nails intended to be solid red, apply a base coat first to protect your natural nail and ensure a smooth surface for the colored gel. Apply it thinly and evenly across the entire nail plate.
Tip: A clean base coat application is essential for a flawless, long-lasting red manicure. - 6Apply deep red gel
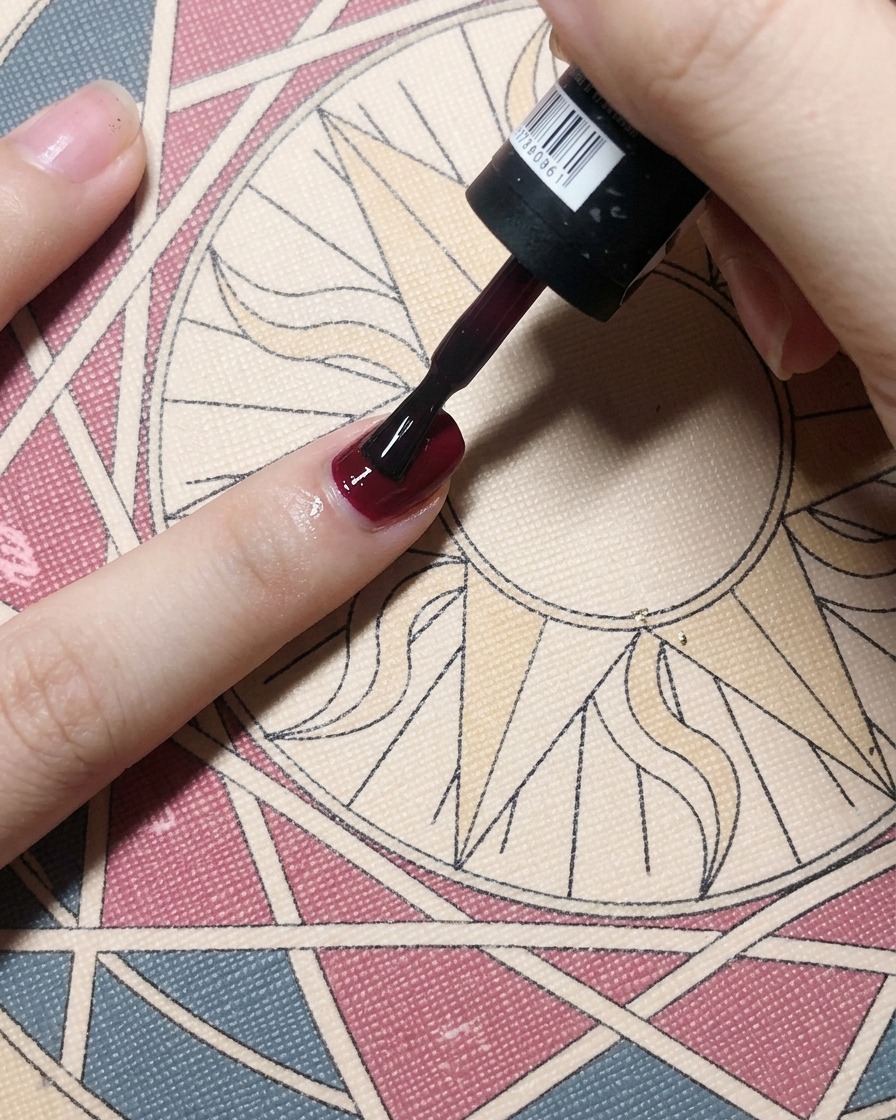
Apply a coat of deep red gel polish over the cured base coat. Use smooth, even strokes to cover the nail completely, starting near the cuticle and pulling down toward the free edge.
Tip: If needed, apply a second thin coat of red for deeper opacity, and always cap the free edge. - 7Apply base coat for gold foil
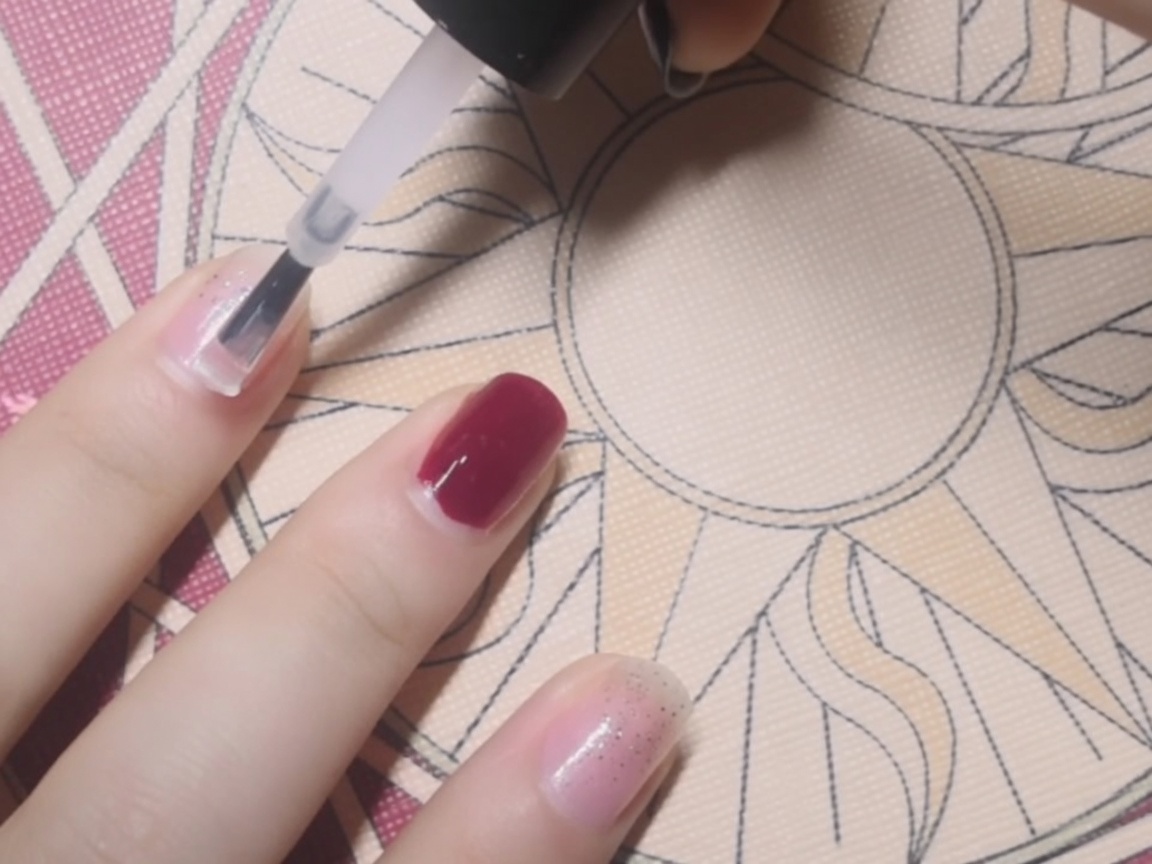
Apply a layer of clear base coat to the nails where you intend to add gold foil. This provides a tacky surface that helps the delicate foil flakes adhere properly during the application process.
Tip: If the foil still doesnt stick well after the base coat, ensure you are applying it while the layer is still slightly tacky. - 8Place gold foil flakes
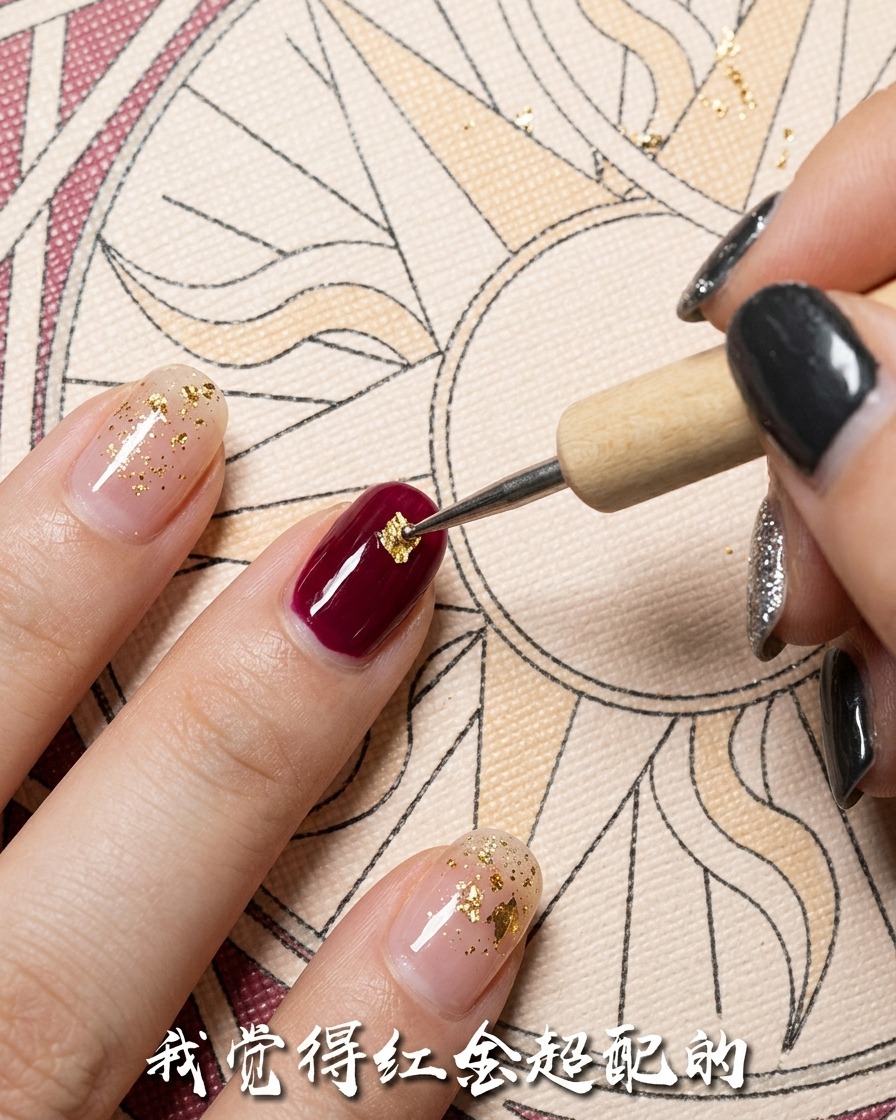
Using a dotting pen, pick up small pieces of gold foil and place them onto the nail. Concentrate the foil at the base of the nail and gradually use less as you move toward the tip for a natural, diffused look. Use your finger to gently press down any edges that may be curling.
Tip: Avoid breathing directly on the gold foil, as it is extremely light and will easily blow away or stick to your breath. - 9Seal with top coat
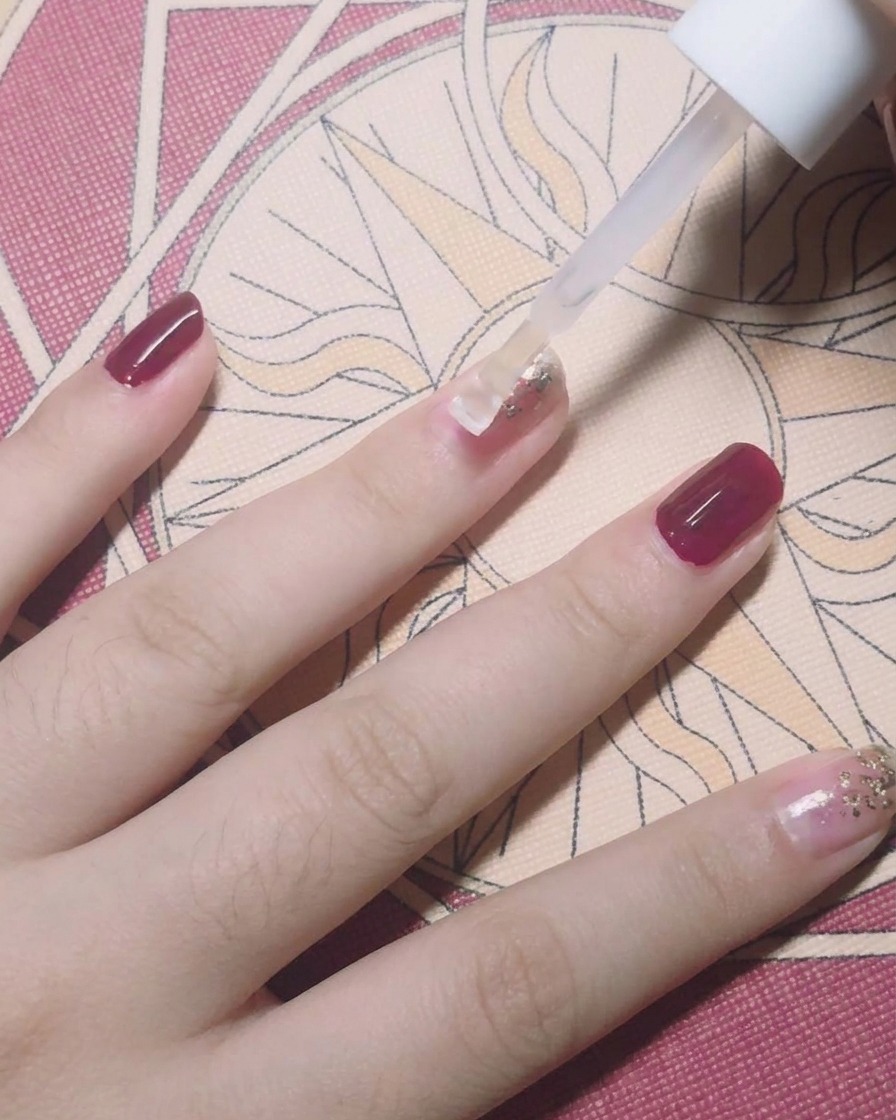
Once the gold foil is placed to your satisfaction on all nails, apply a layer of top coat to seal the design and protect the foil. Cure the top coat thoroughly under your UV or LED lamp to ensure a long-lasting, shiny finish.
Tip: Ensure the gold foil is fully encapsulated by the top coat to prevent the edges from lifting. - 10Apply top coat to red nails
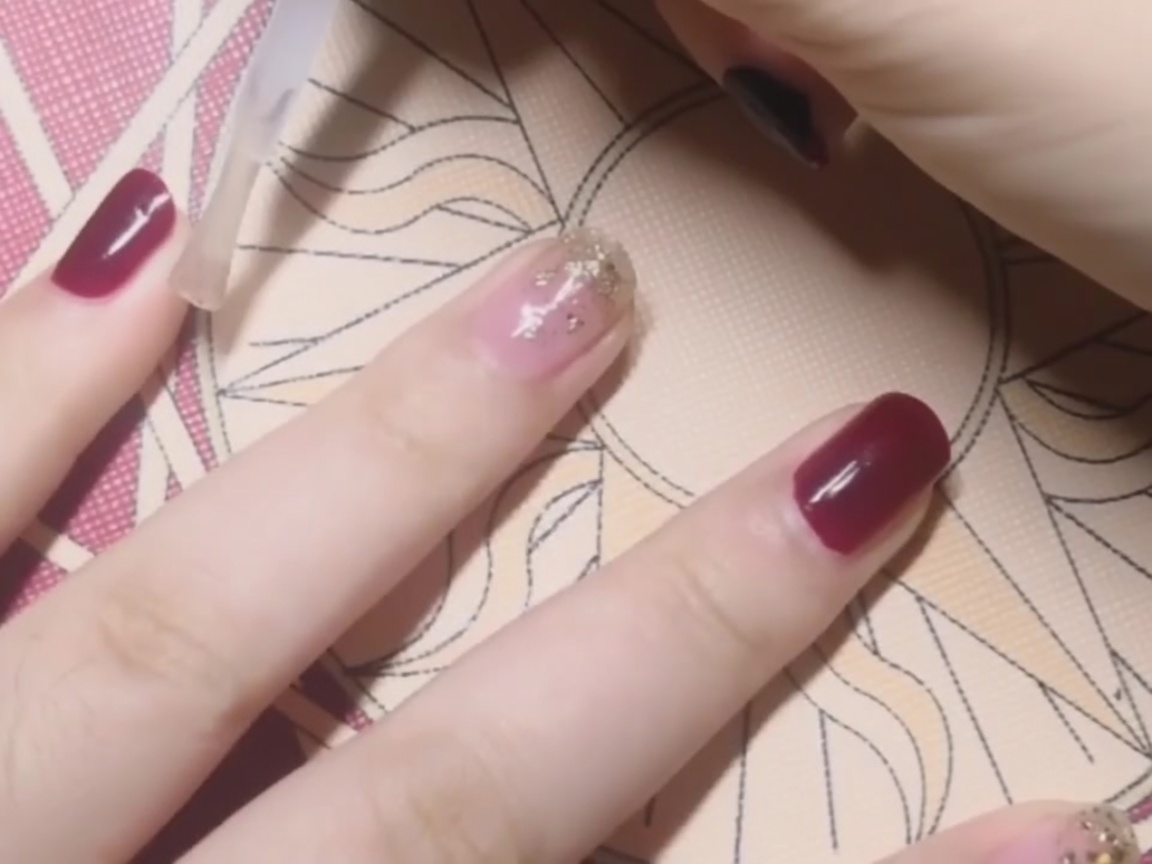
Apply a final layer of top coat over the solid red nails to seal in the color and provide a high-shine finish. Ensure you cap the free edge for better durability, then cure in your lamp as instructed.
Tip: Ensure you apply a generous amount of top coat to fully encapsulate the color and protect the free edge from early chipping.